If you’ve read my blog for a good amount of time, you know how much I love to use different moldings and trims to create the looks that I want in my house. And while I do use many different trims and moldings, I do have a favorite — base cap molding. I find it to be so versatile and so useful in so many different projects and in so many different ways. So let me show you the many ways that I’ve used this versatile molding (although this may not be an exhaustive list).
But first, let’s talk about what base cap molding is. While you can find base cap molding in various profiles, they’re all going to be very similar. This is the profile of the one that I use from Home Depot…
The size is 11/16 inch by 1 3/8 inches, and it comes in pre-primed fingerjoint (which is what I always buy for interior use) or PVC (great for outdoor use). The pre-primed fingerjoint is sold by the linear foot. The PVC is usually sold by the 8-foot piece. And of course, you can also find it unfinished in various wood species, although those are generally something you have to order online.
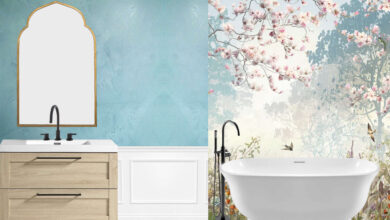
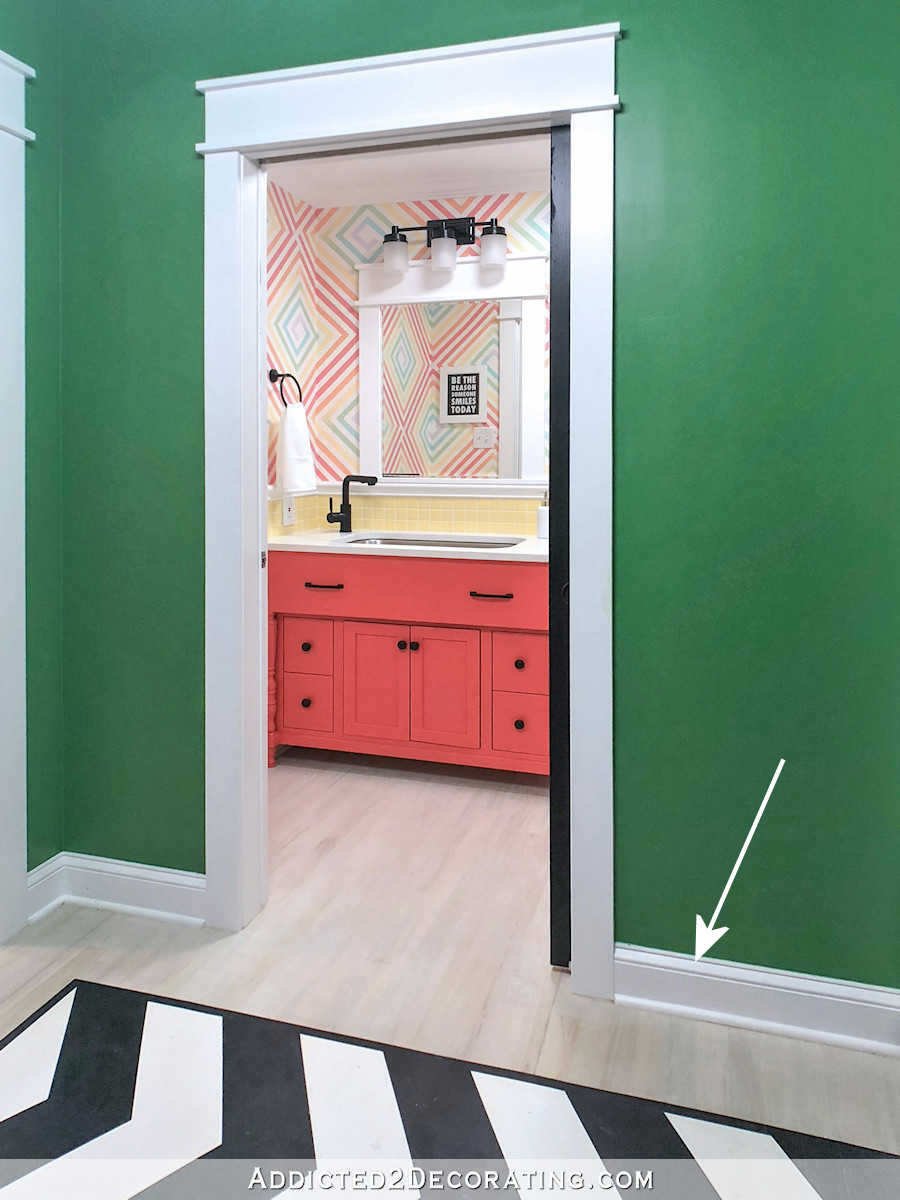
So how do I use this versatile trim? Well, as the name would suggest, the main purpose of base cap molding is to cap a baseboard. If you use plain 1″ x 4″ or 1″ x 6″ lumber for your baseboards, as I did in the back entry of the studio and the studio bathroom, then it just adds a little detail to the top of those plain baseboards.
Can you spot it? It’s just this little piece here…
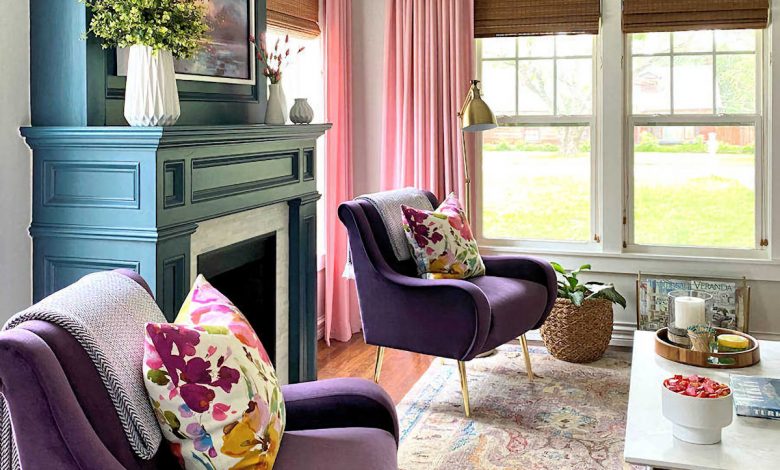
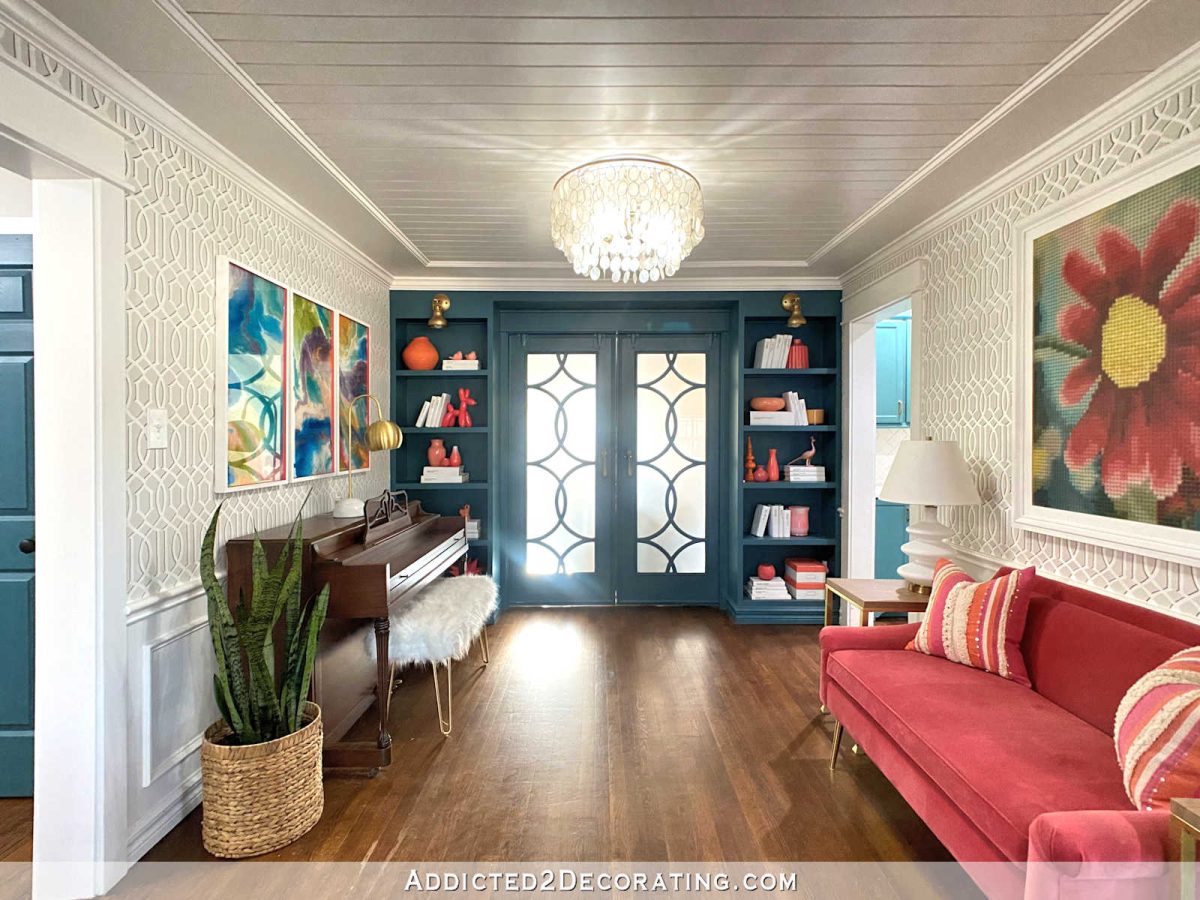
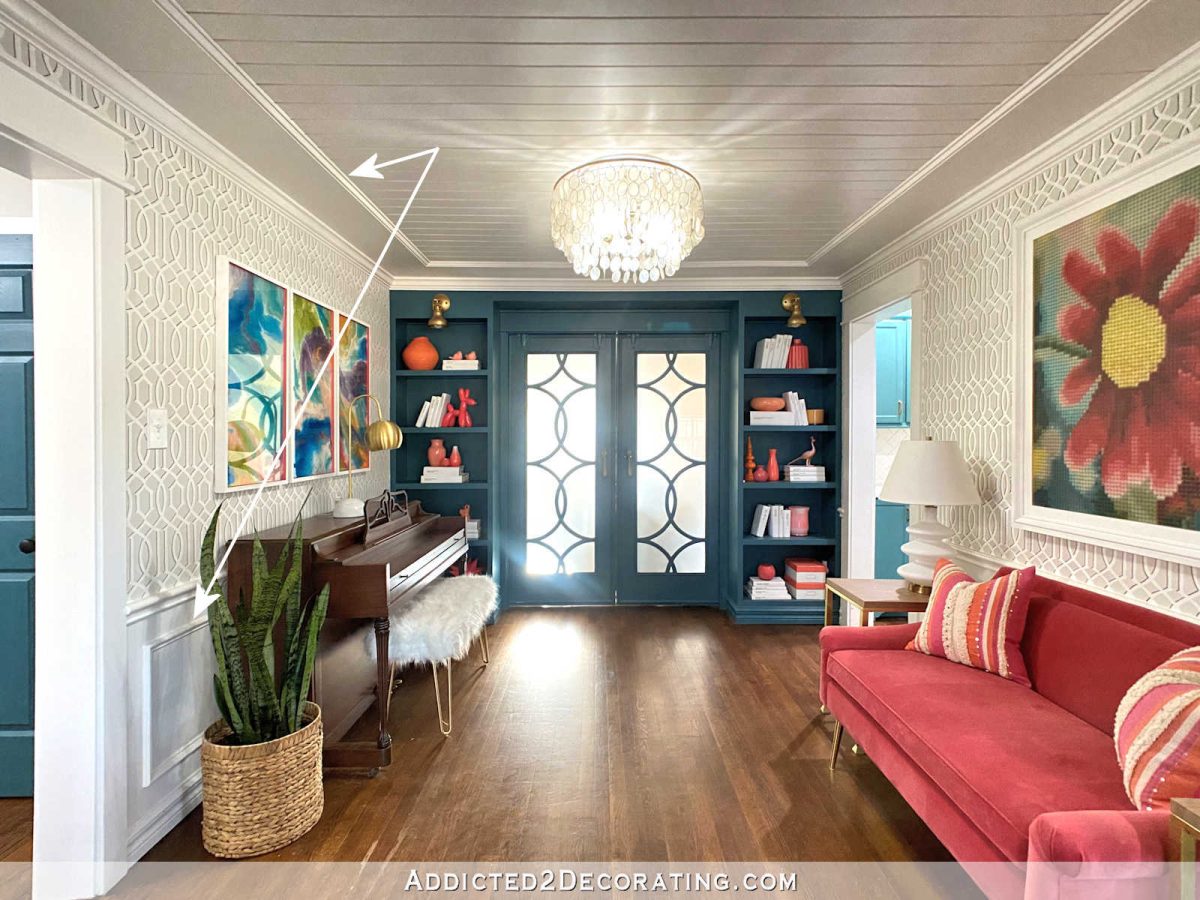
But you don’t have to limit its use to capping plain baseboards. In my hallway, music room, and living room, I used fancier baseboards, and I still used the base cap to add height and a little more flourish.
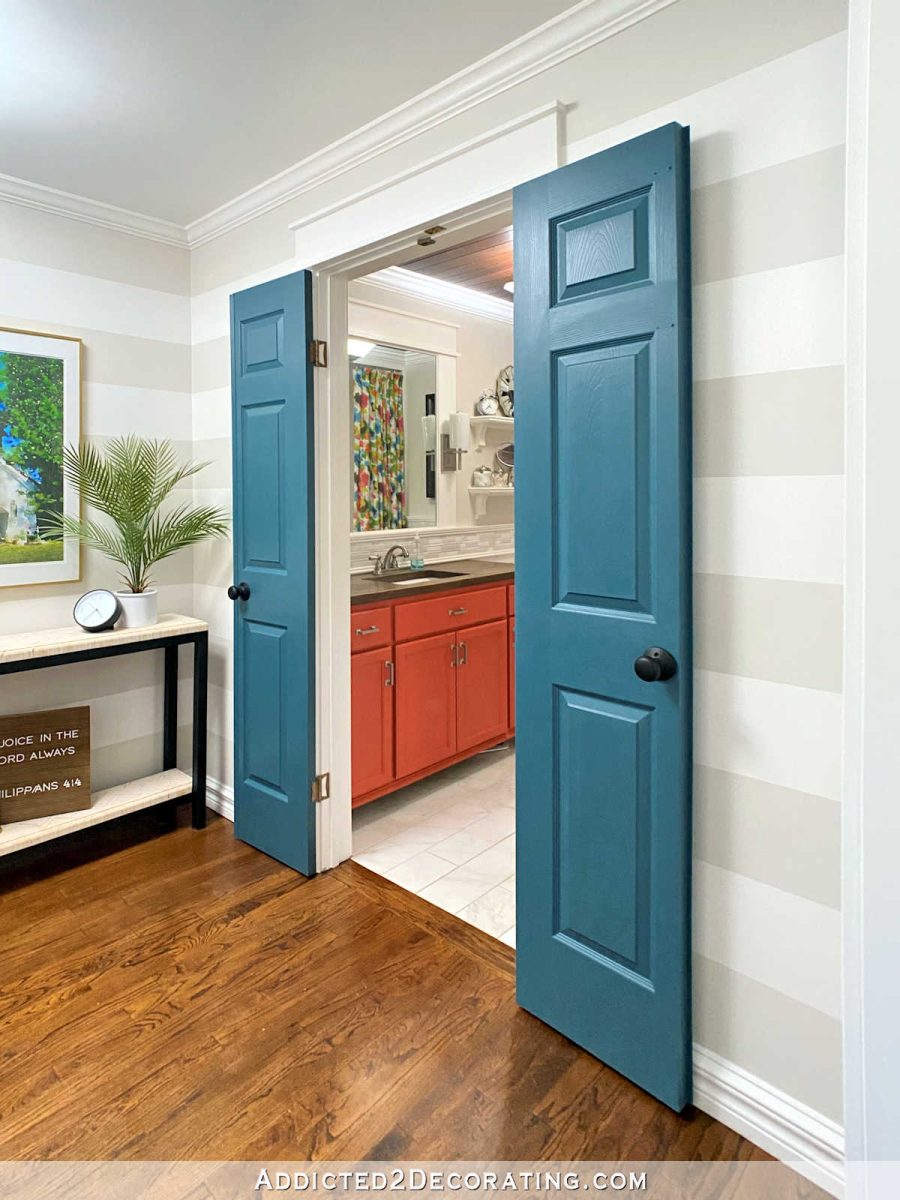
Could you tell where the baseboard ended and the base cap started?

But there are so many ways other than capping baseboards to use this awesome trim. I’ve just recently shown you how I used base cap molding to beef up the crown molding in the master bathroom. I still need to caulk between the two to get rid of the dark shadow between them, but you can see how it adds some height to the crown molding…


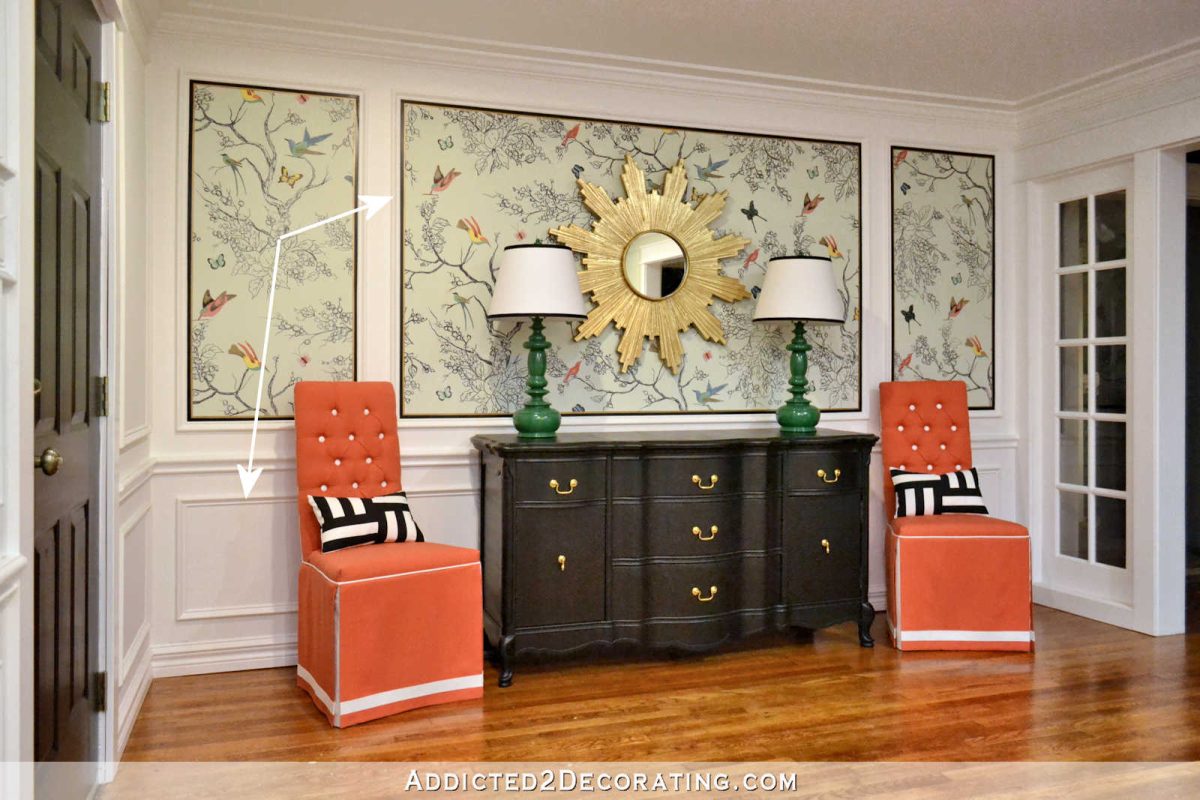
Base cap molding is also my go-to molding for creating picture frame molding. Remember the entryway when it had the hand drawn branch and butterfly mural?

The trim I used to create those boxes framing the mural, as well as the picture frames on the bottom of the wall, was base cap molding.
My music room also has picture frame molding on the bottom section of the wall under the chair rail, and it’s also created out of base cap molding. But in the music room, I also used the base cap on the ceiling to finish off the edges of the MDF that forms the “frame” around the ceiling.
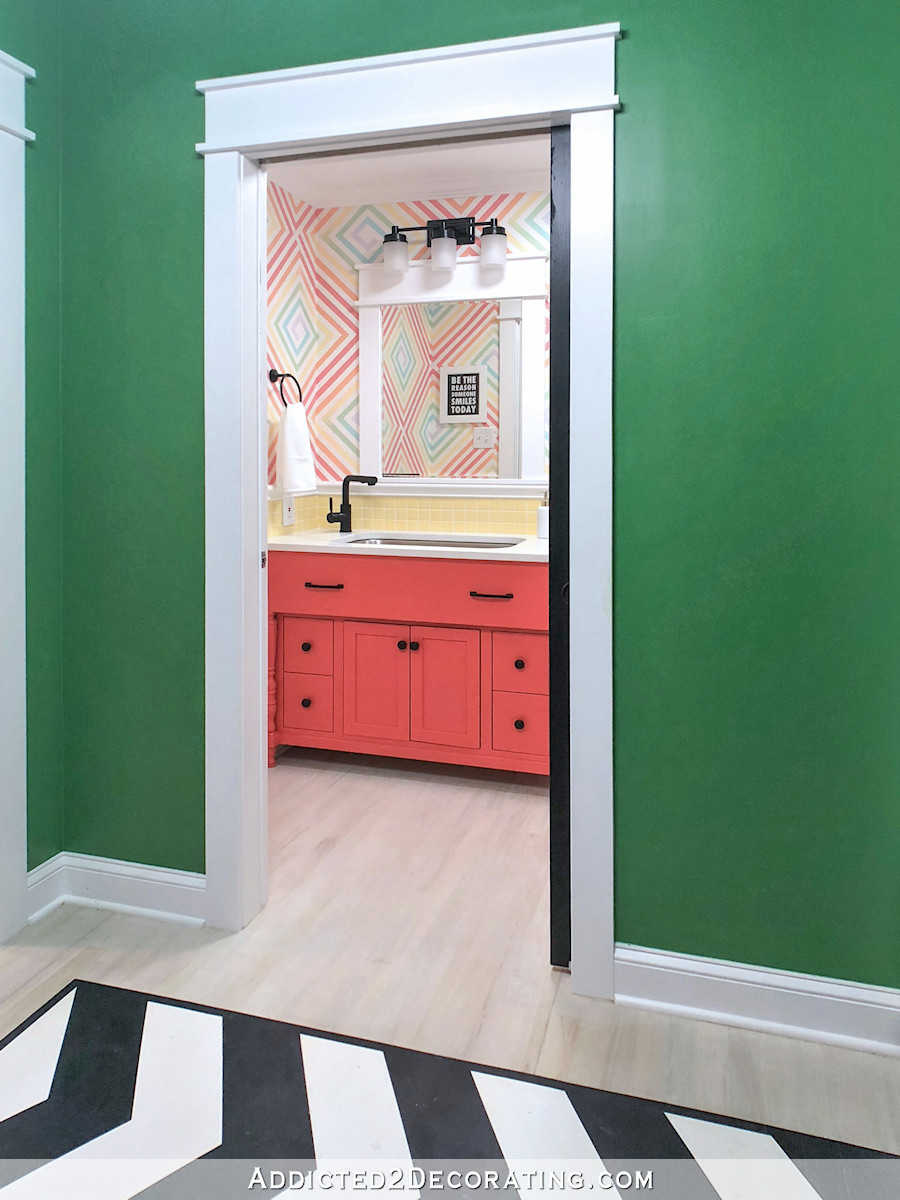
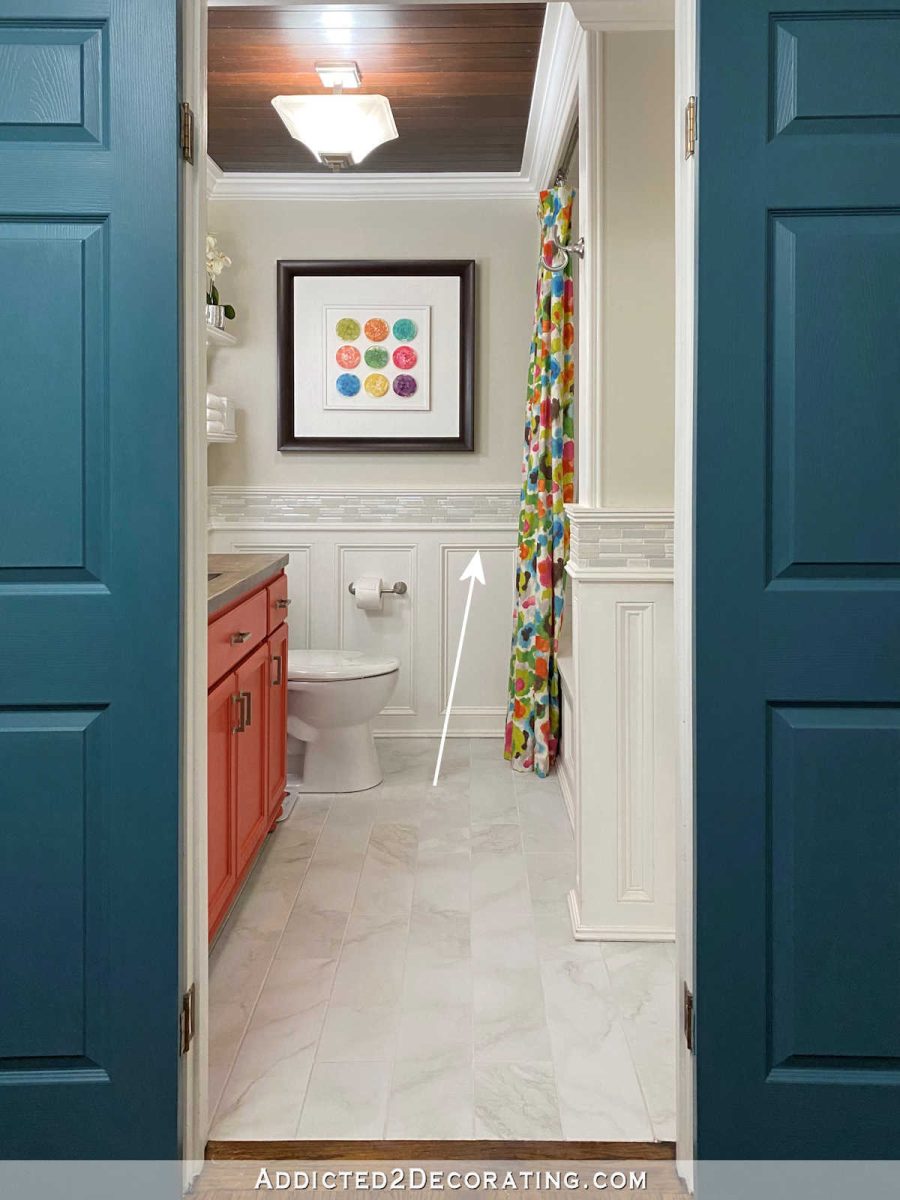
In the hallway bathroom, rather than simple wainscoting using picture frame molding, I opted to create panels out of 1″ x 4″ lumber, and then trimmed the inside of those panels using base cap molding.
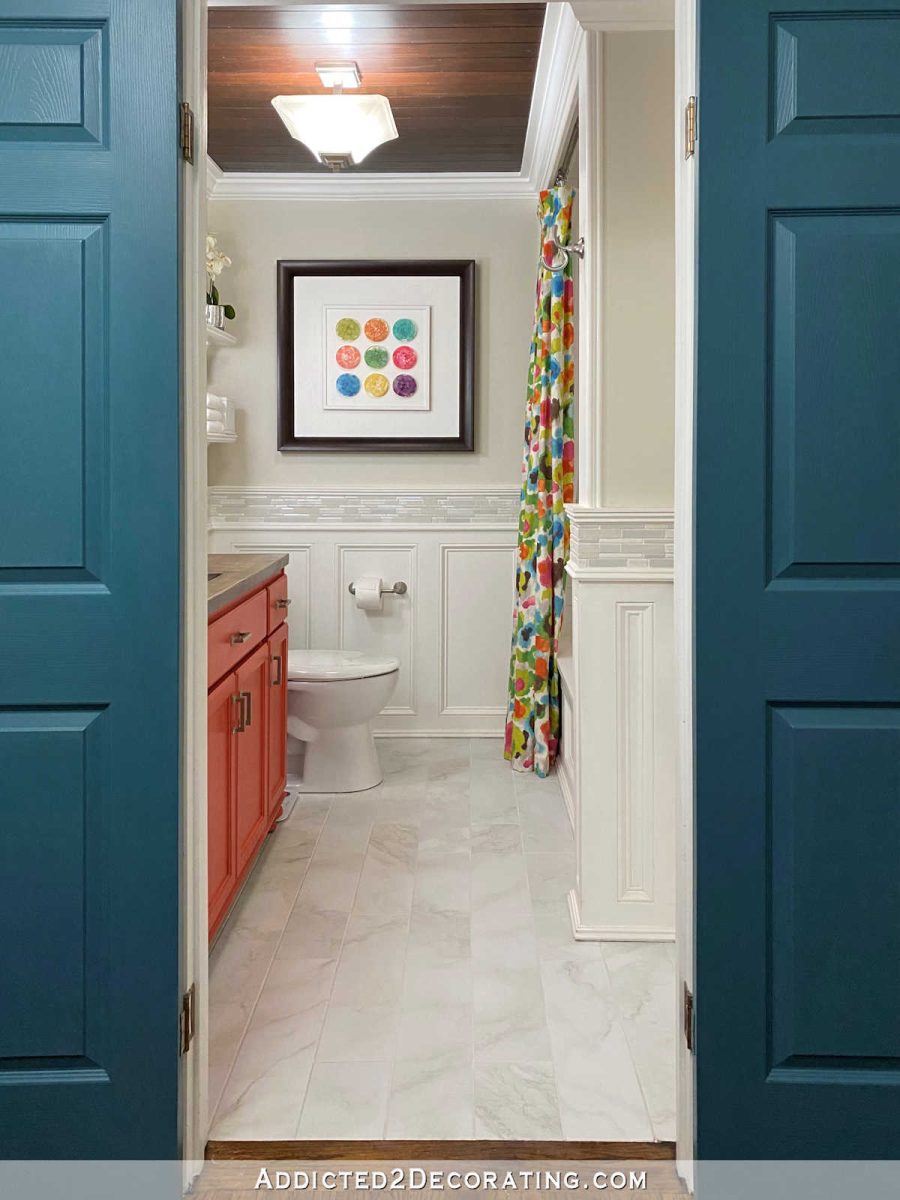
The base cap is this little trim inside each of those panels, and it gives the panels such a pretty, finished look…
I also used base cap in a very similar way when I built the fireplace.
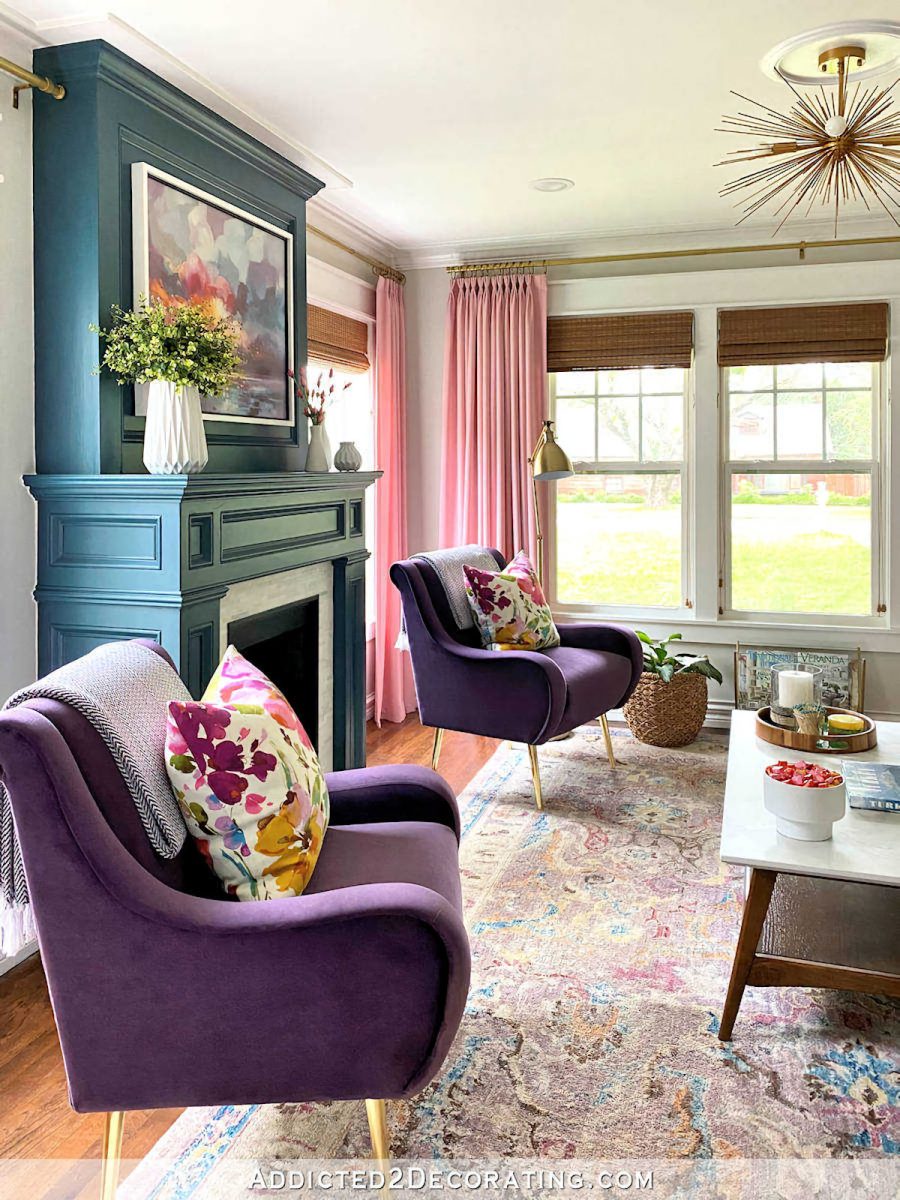
Just like I did on the bathroom walls, I used 1″ lumber to create panels, and then trimmed the inside edges of those panels with the base cap molding to give it a finished and traditional look.

Base cap can also be used on the exterior of a home (but I’d recommend using PVC outdoors). I used it when I beefed up those skinny columns on our front porch to create these columns and the matching newel posts for the steps. Can you spot it?
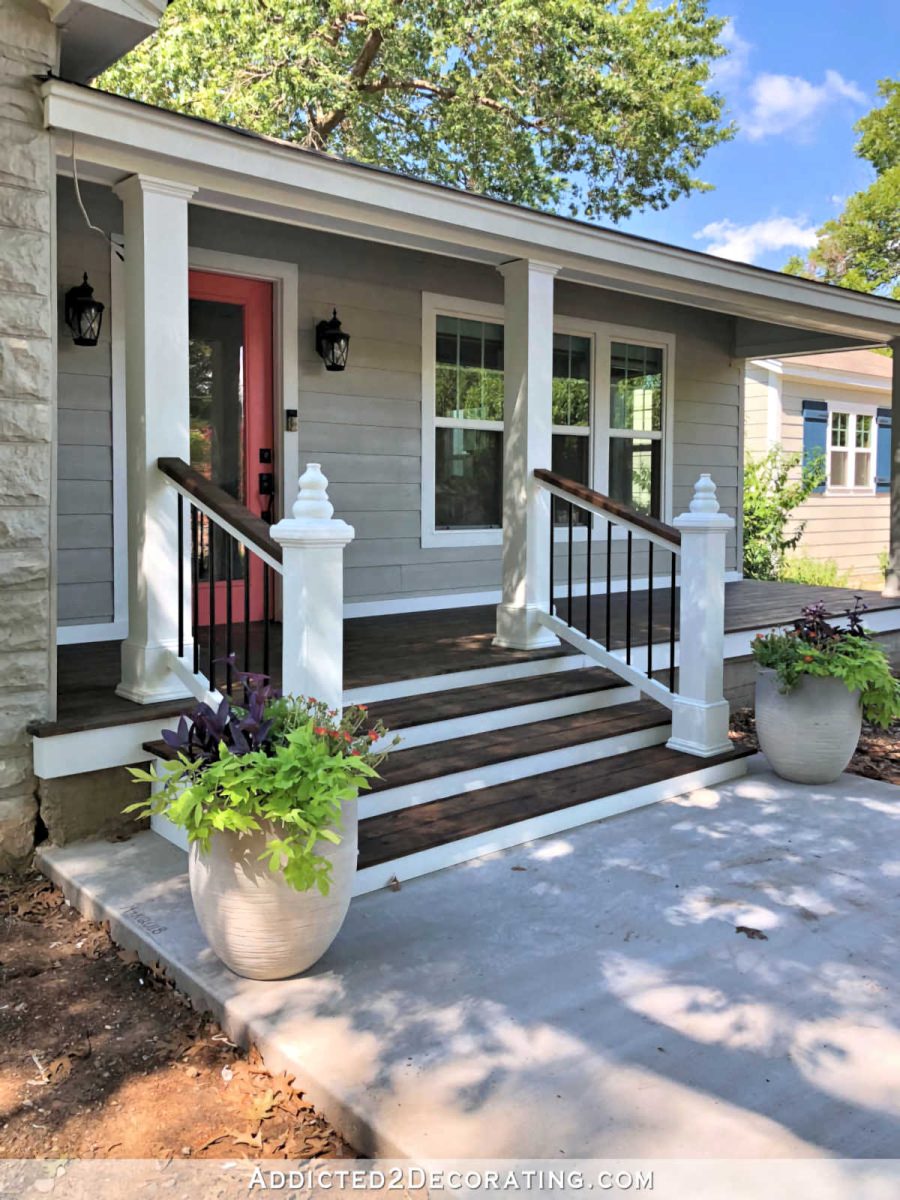
It’s this trim that tops off the thicker bases of the posts.

And then I can’t overlook the usefulness of base cap molding for decorative pieces. The frame on the pixel art in the music room was built using base cap molding. I’m sure you can spot it.
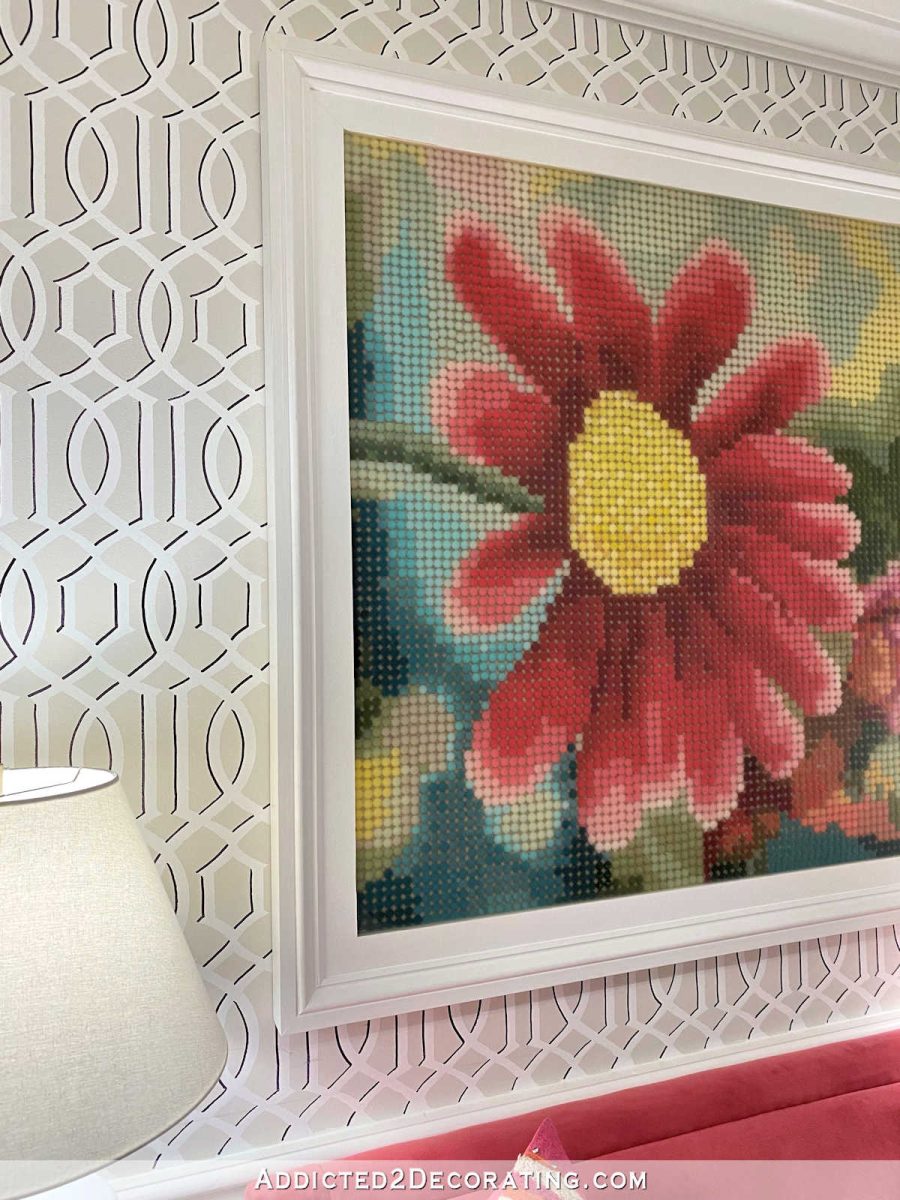
The outer edge of the frame is a simple 1″ x 2″ piece of lumber, and the flat piece up against the art is a 1″ x 3″ piece of lumber. Those two pieces on their own would have been a bit too plain for my taste, so I added a little flourish with some base cap molding.

So when it comes to decorative trim, this is my main go-to trim. If you’re not familiar with base cap molding, look for it the next time you’re in Home Depot or Lowe’s or whatever home improvement store you shop in that carries trim. Let your imagination go wild. There are so many ways you could use this trim.
You could even use it to fancy up your door and window casings. If your door and window casings are just plain 1″ x 4″ lumber (or something similar and plain), just add this around the whole thing, nailing it to the outer edge of the face of the casings. You’ll go from plain to custom without having to take anything apart or completely redo your casings.
Seriously, the possibilities with this trim are limitless. Once you see it, and let yourself imagine the various ways sit can be used, you’ll see why it’s my favorite.

Addicted 2 Decorating is where I share my DIY and decorating journey as I remodel and decorate the 1948 fixer upper that my husband, Matt, and I bought in 2013. Matt has M.S. and is unable to do physical work, so I do the majority of the work on the house by myself. You can learn more about me here.
I hope you’ll join me on my DIY and decorating journey! If you want to follow my projects and progress, you can subscribe below and have each new post delivered to your email inbox. That way you’ll never miss a thing!
Source link