I got the butterfly gallery wall finished in the water closet area of the master bathroom yesterday. To find these images, I headed to The Biodiversity Heritage Library on Flickr and spent a couple of hours looking through the various libraries and picking out the butterflies I wanted to use. Every one of the butterflies needed to be edited using my photo editing software for size and color since I wanted them on a white backgrounds. After I narrowed down 30 butterfly images and got them all edited, this is what I wound up with…
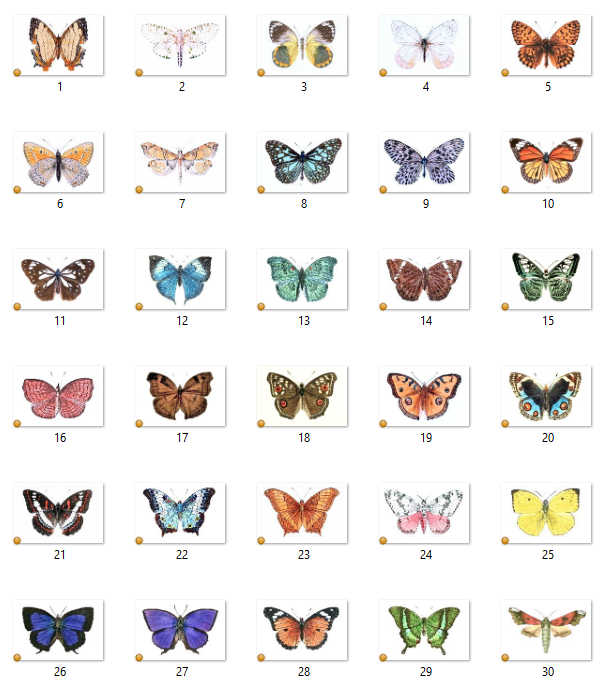
I got my frames from Michael’s for a bargain (8 double mat frames for $48.64), and then had the butterflies printed at CVS. I had them printed as 8″ x 10″ prints with two butterflies per print. I also found an online coupon for 60% off, so I got all 30 butterflies printed for around $25.
It took way longer than I had anticipated to unwrap and take the frames apart, cut down the butterflies to fit the mats, clean all of the glass, tape the butterfly prints into place, and assemble everything. But once that was done, I was ready install the gallery wall.
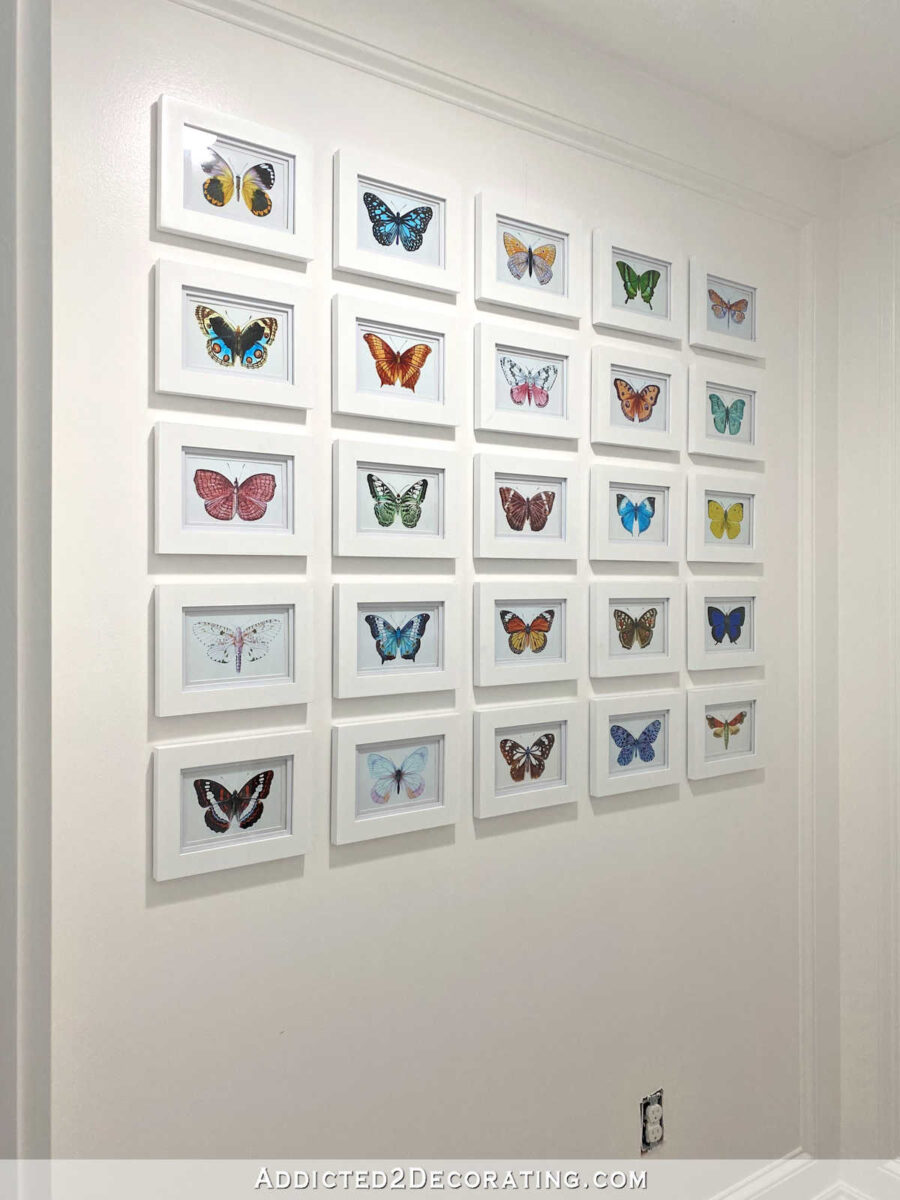
I almost always hang frames (anything 11″ x 14″ and under) with Command Picture Hanging Strips (the two-piece strips that kind of go together like Velcro). So after attaching those strips to the backs of the frames, I was ready to stick the frames to the wall. I had already determined the order in which I wanted to hang the butterflies, making sure that the colors were evenly disbursed (I didn’t want two blues hanging side-by-side, or all of the warm colors grouped together), I started with the top center frame. After marking the middle of the wall, and the middle of the frame, I stuck the frame to the wall using the bubble level to make sure it was level.
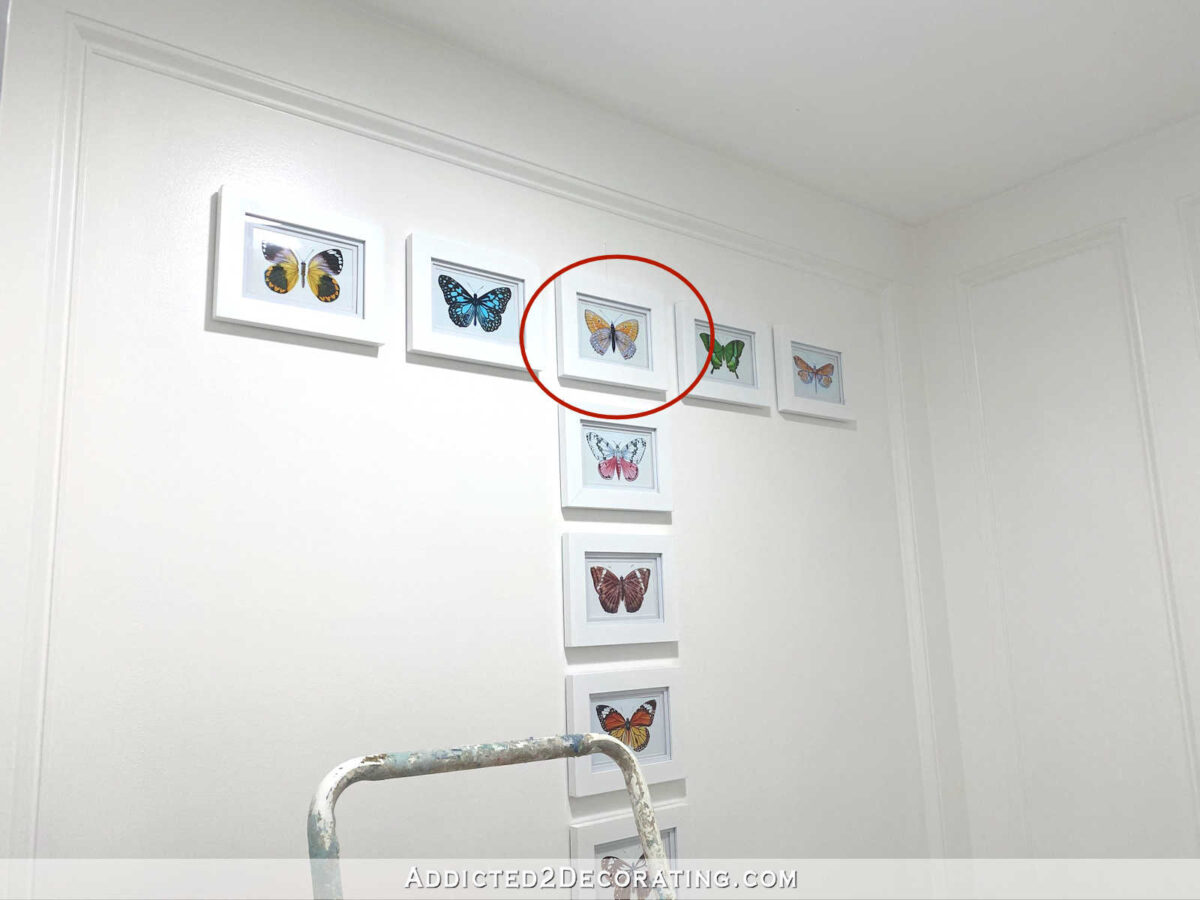
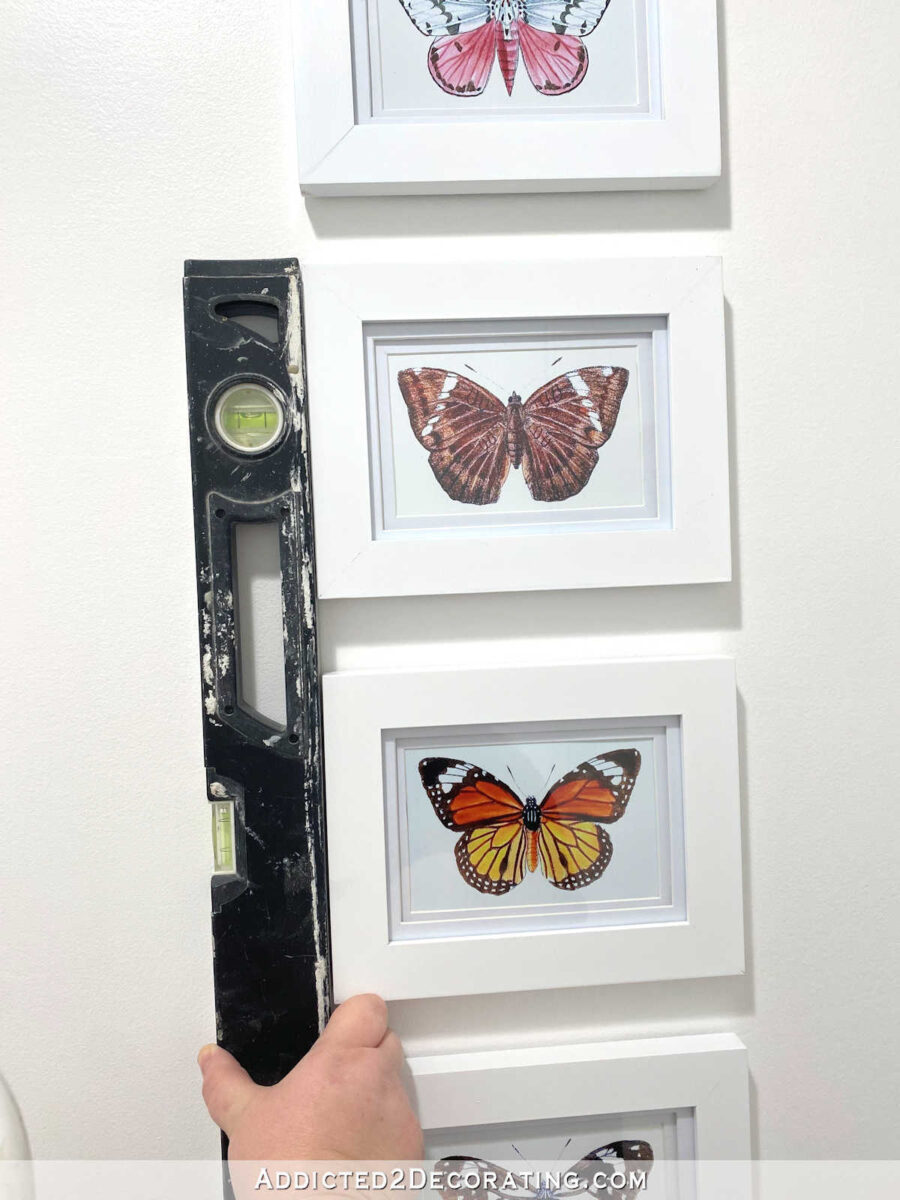
And then I worked out from there, using the level along the top, and a piece of trim between the frames to ensure proper and consistent spacing.
I just used a scrap piece of the trim that I put along the bottom of the walls at the floor, which happened to be about 1.5 inches wide. That spacing seemed perfect, so I went with it.
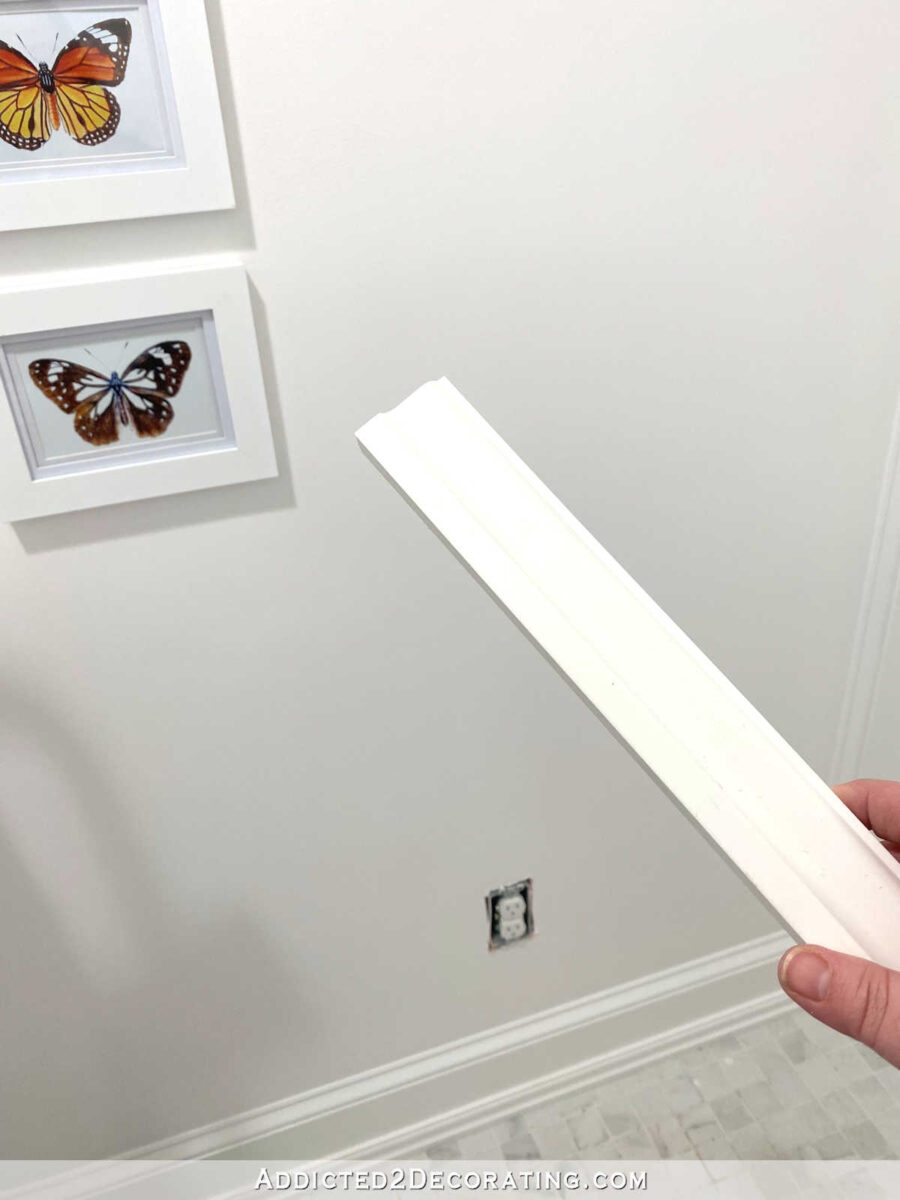
Of course, I used two hands for this process, but I held the next frame to be installed in one hand with the trim piece sitting on top…
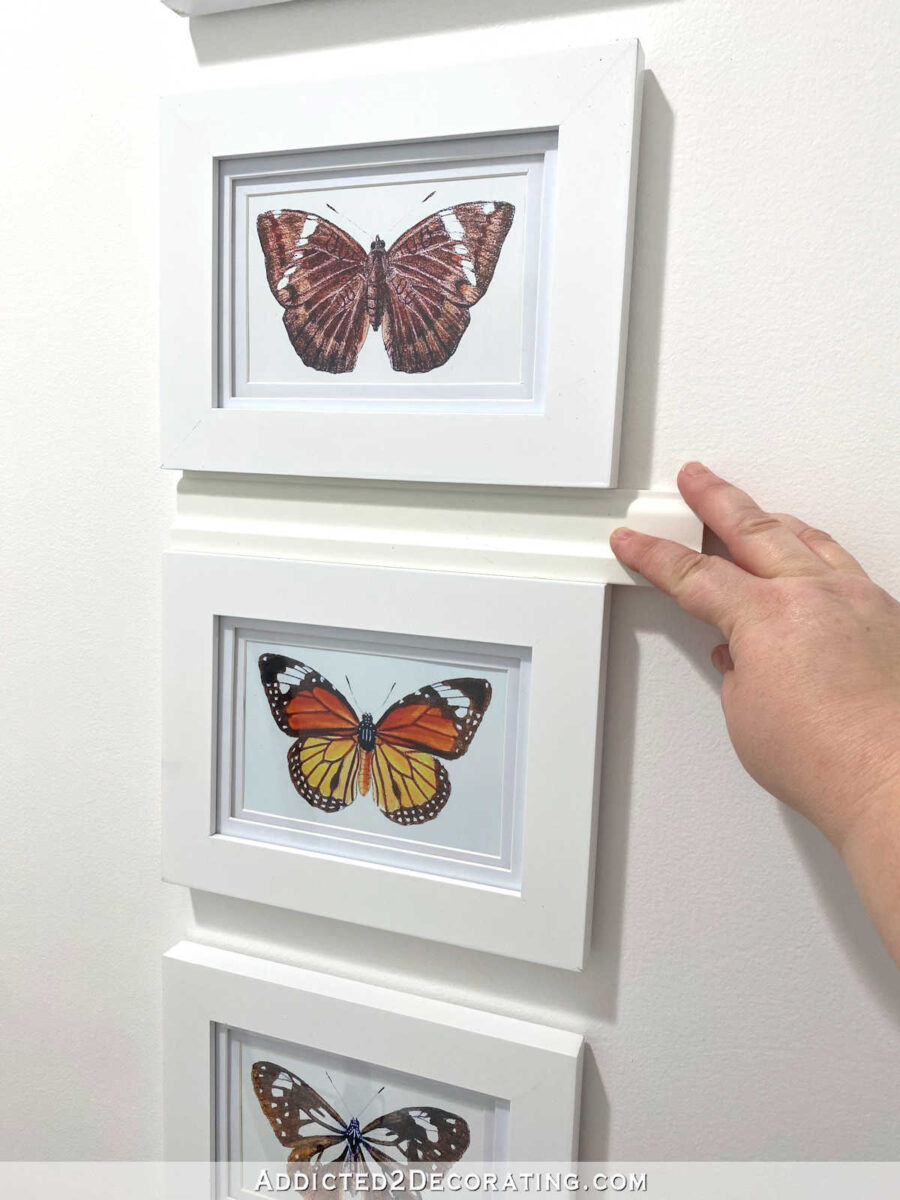
…,and with the other hand, I held the bubble level vertically on the side to ensure it was going on level. And then I just pressed the frame to the wall.
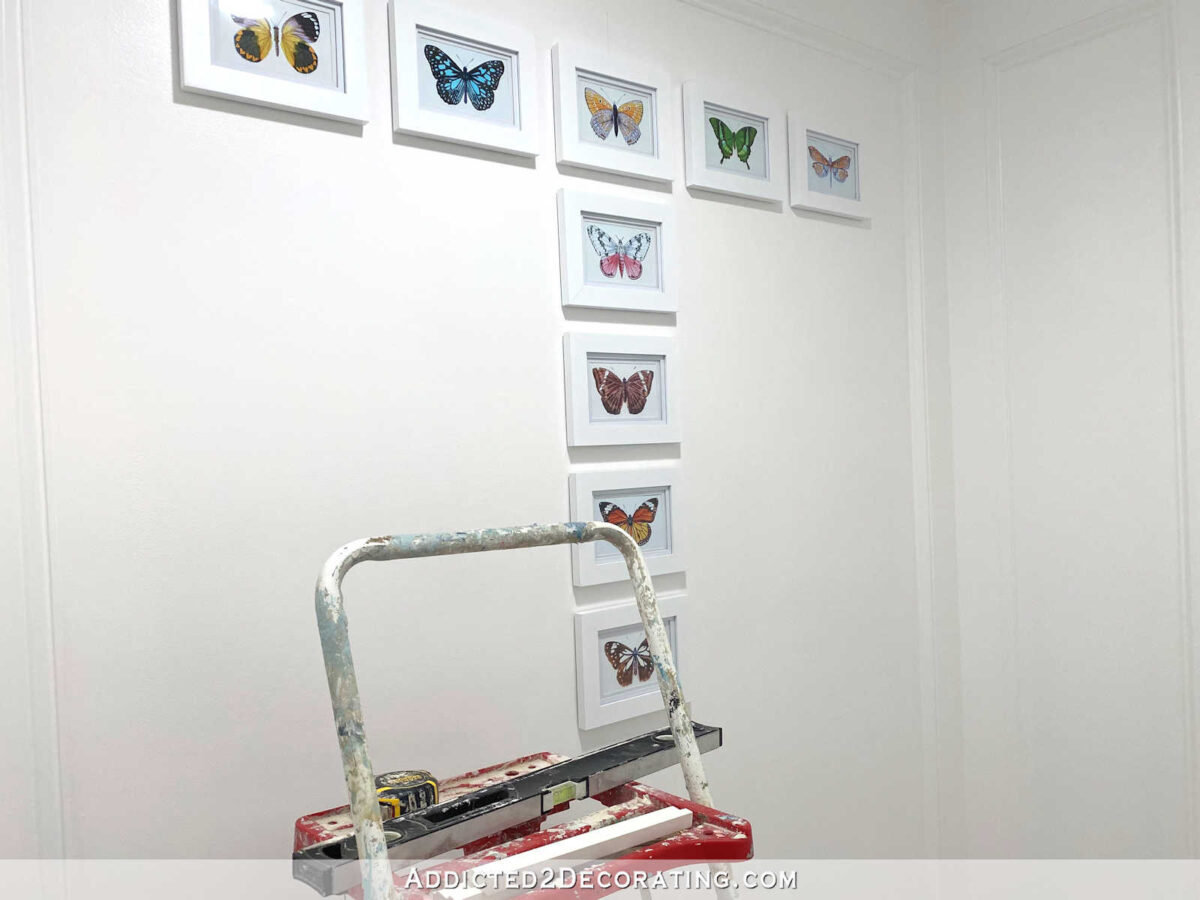
Once I got the “T” in place with the top horizontal row and the middle vertical column, I worked on the rest of the rows, working from top to bottom.
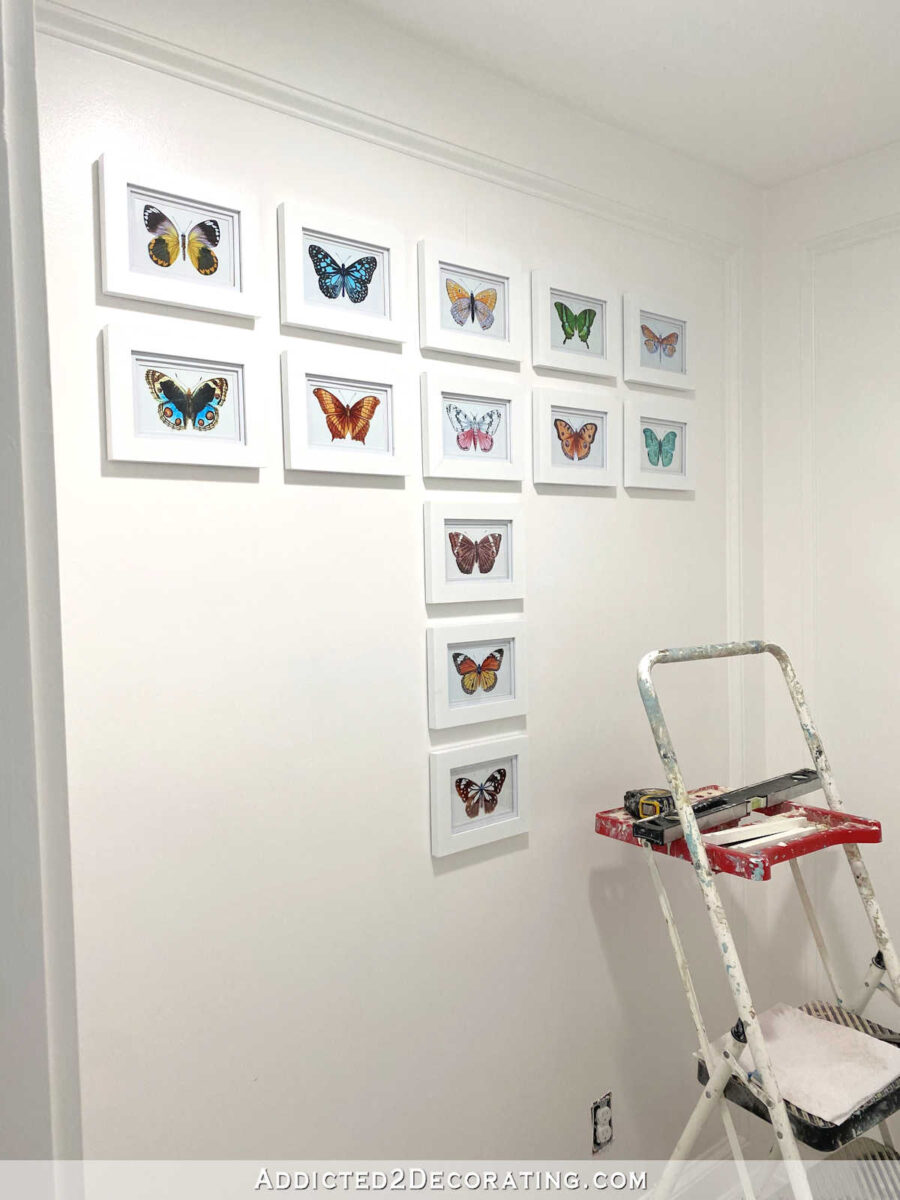
Since I knew the top row and middle column were level, I simply used two pieces of trim, one on the top and one on the side, to space everything else. It made the rest of the process go very quickly.
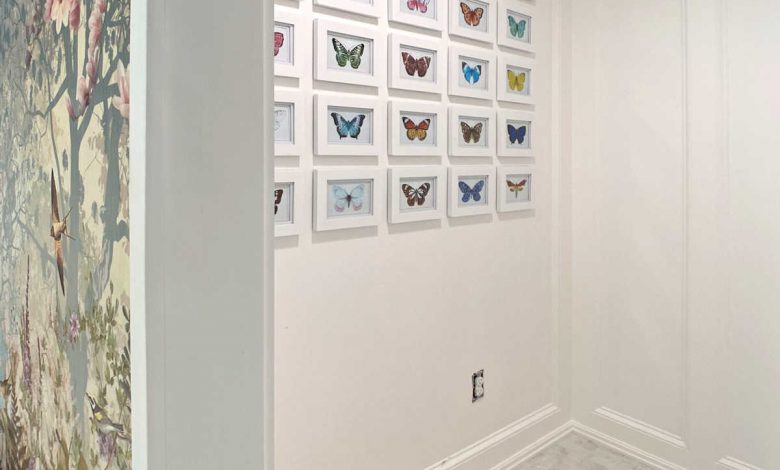
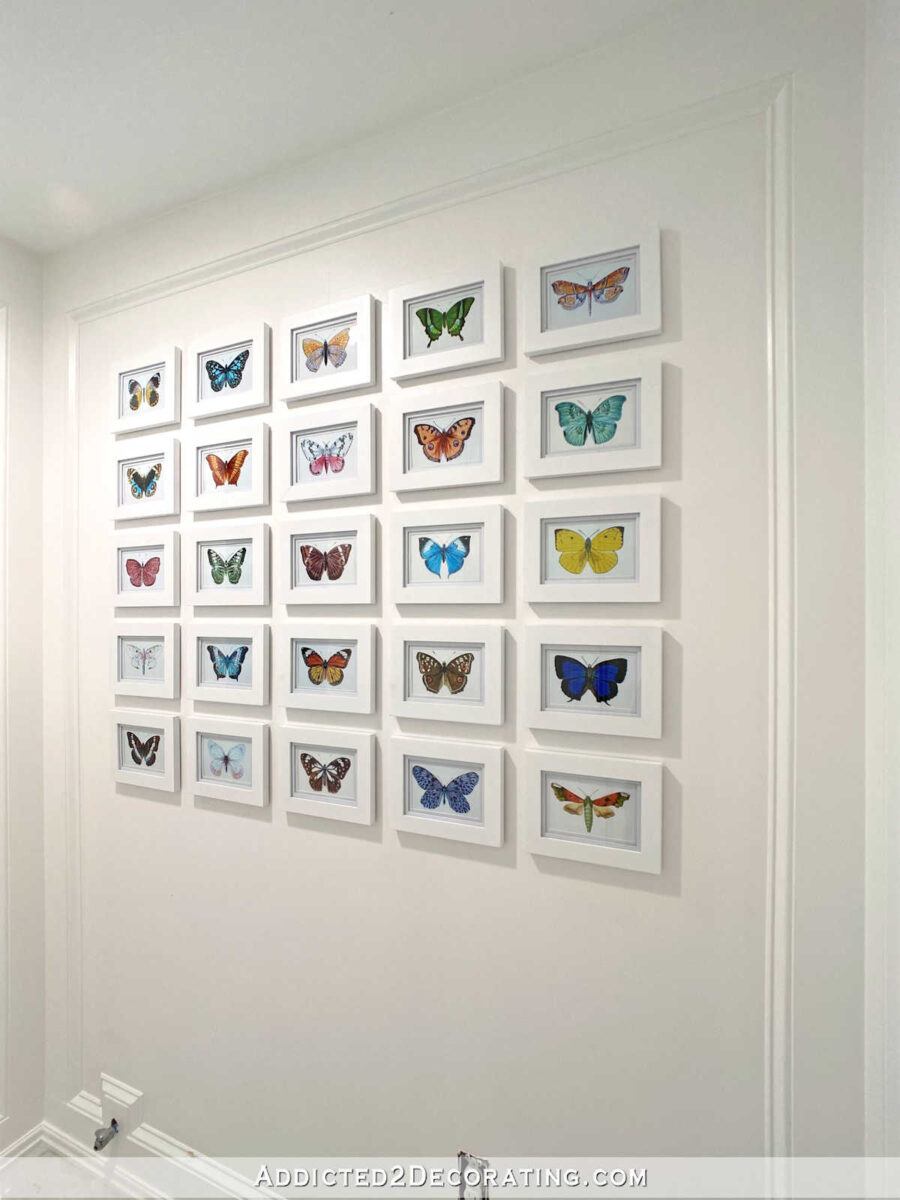
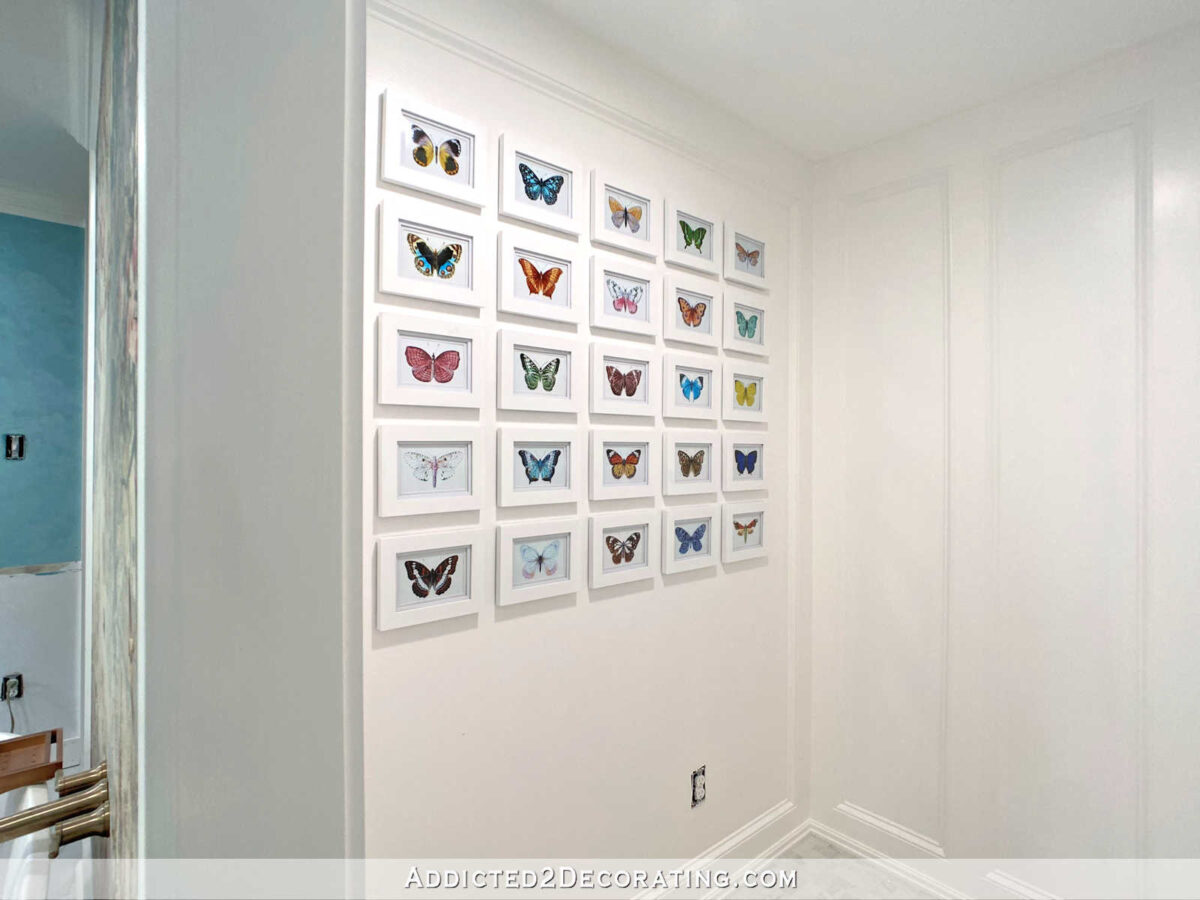
And here’s the finished wall. I didn’t reinstall the toilet yet because I think it will be much easier to build the cabinet without the toilet in the way. And once I get it installed, I may find that I need one more row of frames. But I’ll wait and see about that once it’s installed. For now, I have five rows of five frames.
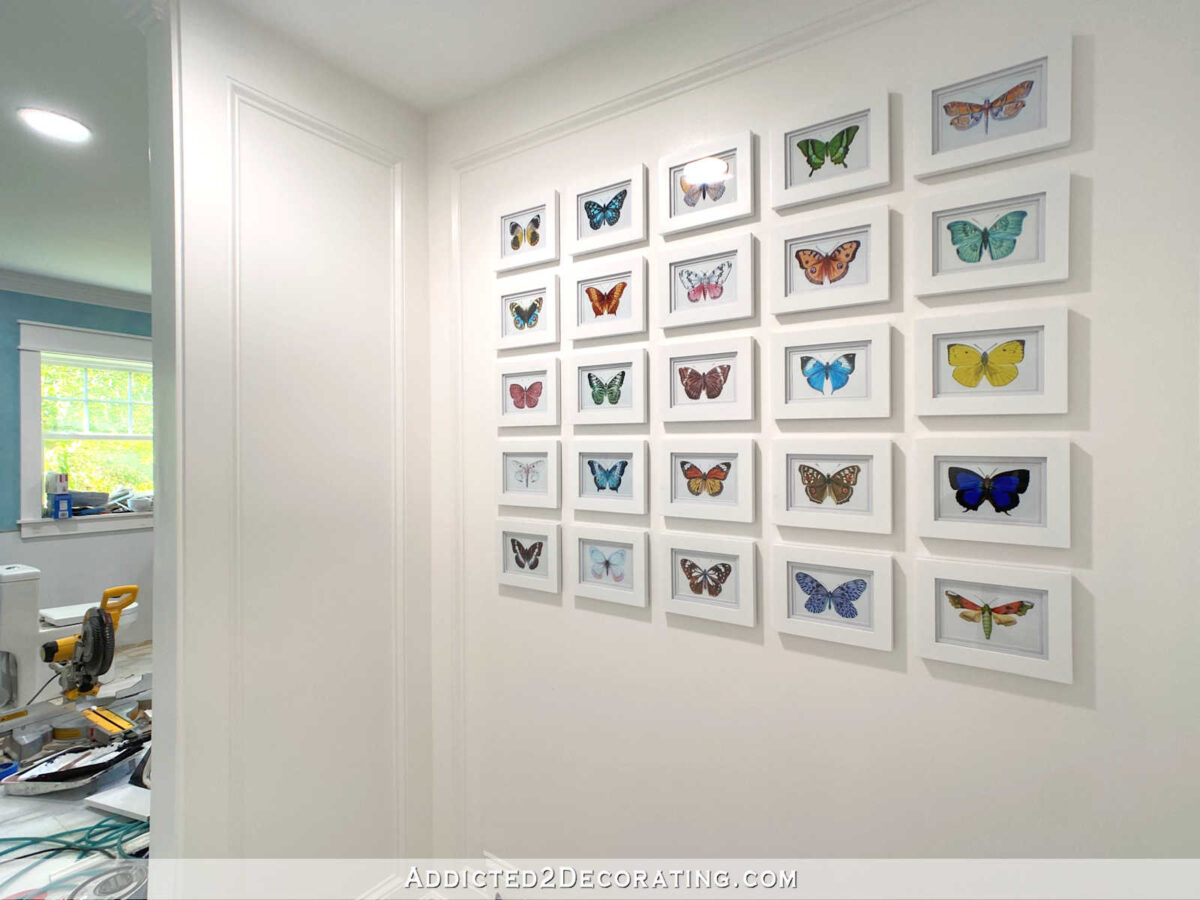
I really love how it turned out. It brings just enough color into this otherwise very white and sterile area.
You do have to be inside the water closet to actually see all of the frames. Even standing just outside the area, right by the bathtub, I still can’t see all of them.
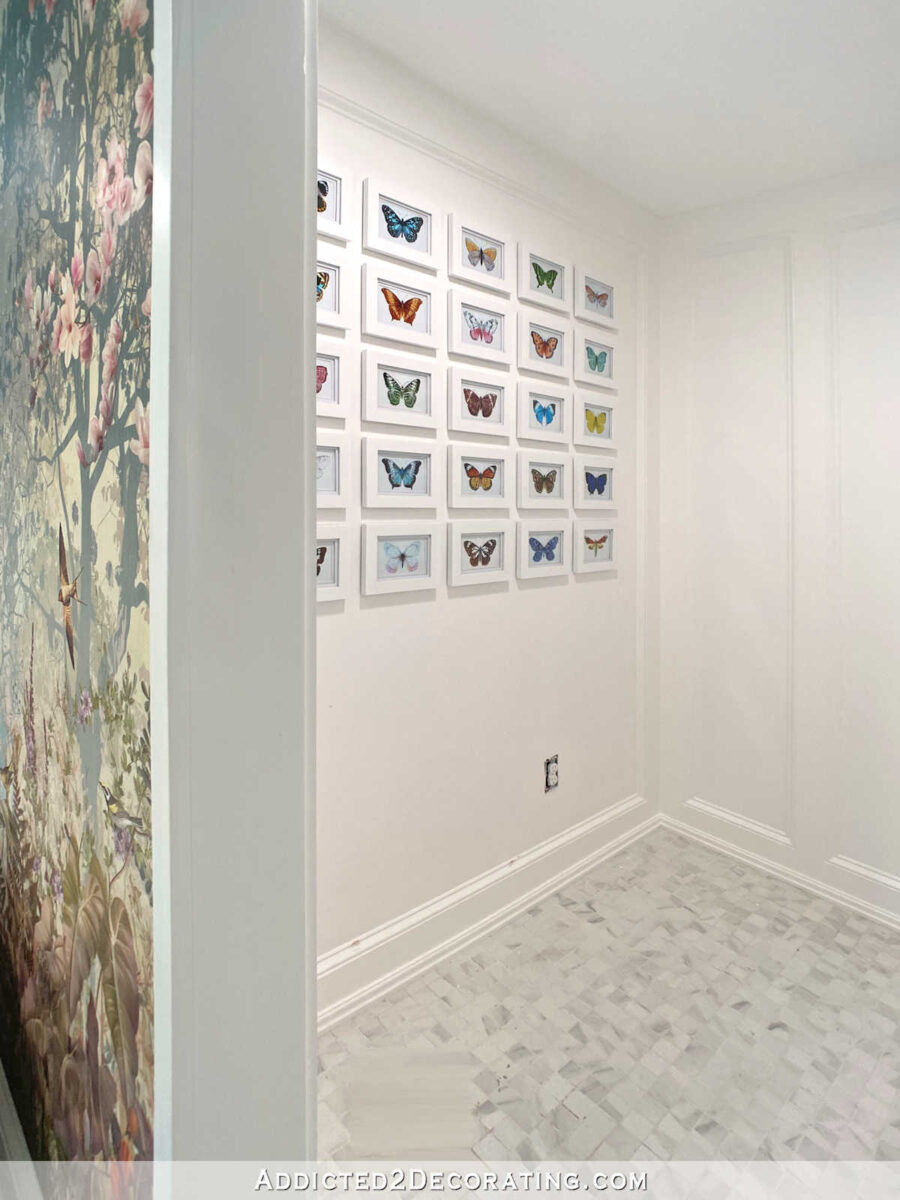
But I do love how these bring the nature feel of the mural into this area of the bathroom. I actually originally wanted to do birds, because y’all know how much I love birds. But I already have one bird wall in our house, and I thought another one might be too much. Butterflies and moths were a close second since they come in so many different colors. I think these are the perfect addition to this area.
Next up, I’ll start on the building of the cabinet that will go in this area. It’ll be a painted cabinet, and I’m still unsure about what color to paint it. I don’t want it to be too jarring since it will be seen from the main part of the room, but I’m also not sold on painting it white. That seems way too boring. Maybe a light gray from the mural? I don’t know. We’ll see.

Addicted 2 Decorating is where I share my DIY and decorating journey as I remodel and decorate the 1948 fixer upper that my husband, Matt, and I bought in 2013. Matt has M.S. and is unable to do physical work, so I do the majority of the work on the house by myself. You can learn more about me here.
I hope you’ll join me on my DIY and decorating journey! If you want to follow my projects and progress, you can subscribe below and have each new post delivered to your email inbox. That way you’ll never miss a thing!
Source link