*This post contains affiliate links.
A couple of months ago, I purchased a new coffee table for the living room. I decided to get a new one when I rearranged the furniture to its current layout and realized that the edge grain plywood herringbone coffee table that I had made was way too skinny with the furniture arranged in the new way. (It will make an appearance in another spot, though.)
So after looking at probably hundreds of coffee tables, I kept coming back to this mid-century modern coffee table with a stained wood base and white top.
The choice was uncharacteristic for me because mid-century modern generally doesn’t appeal to me, and yet this is the one I kept going back to. I found it in several different stores online, but I ended up purchasing it from Amazon, which had the lowest price and free shipping.
The table had consistently high ratings with rave reviews, with the exception of one thing. Almost every review mentioned that the table top is NOT white. It was described as anywhere from off-white to a yellowish color. That made me hesitate and continue to look.
Somewhere along the way, I decided that I’d love a table with a stone (preferably marble) top. I came across this very similar table with a marble top from West Elm, and almost purchased it. I had put in all of my payment info and was ready to click that final button to make my purchase, and I just couldn’t do it. I finally decided that I change my mind way too easily and often to pay that much for a coffee table. And it was only 20 inches wide, anyway. I really wanted something at least 24 inches wide.
So I ended up going with the first coffee table. And sure enough, the top was definitely NOT white. I think it actually started off white, but the clear coat they used for the top was definitely not non-yellowing. It just looked like an oil-based polyurethane that had yellowed quite a bit over time.
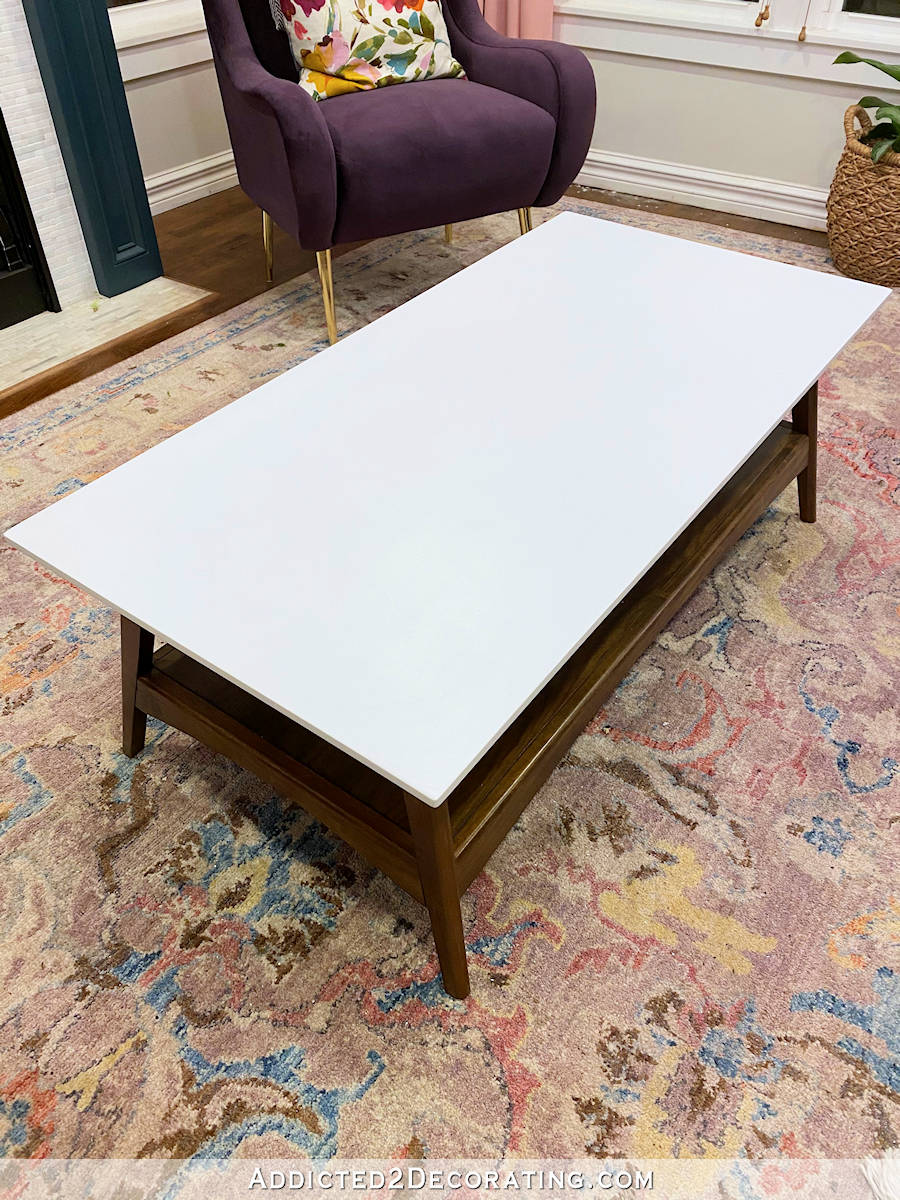
I had already made up my mind that if the finish was too yellow, I would paint it. So that’s exactly what I did. About three weeks ago, I sanded the top down, primed it with Rust-Oleum spray primer, and then sprayed it with Rust-Oleum Painter’s Touch spray paint in white. I’ve been living with it that way for over two weeks now to see if I liked it, and I finally decided that it was just too glaringly white.
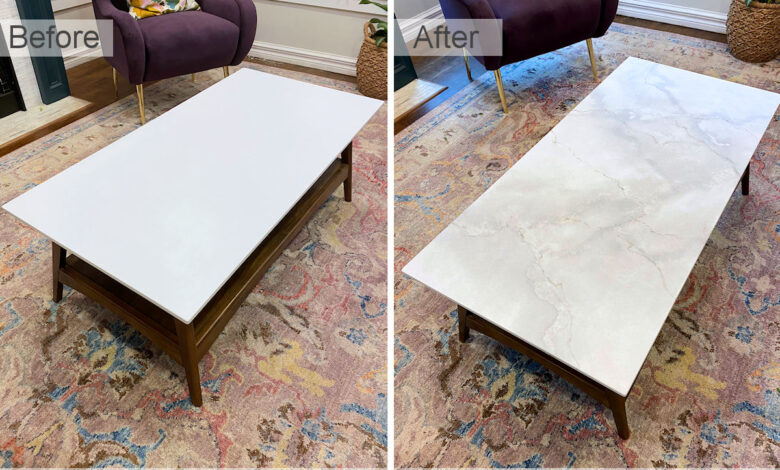
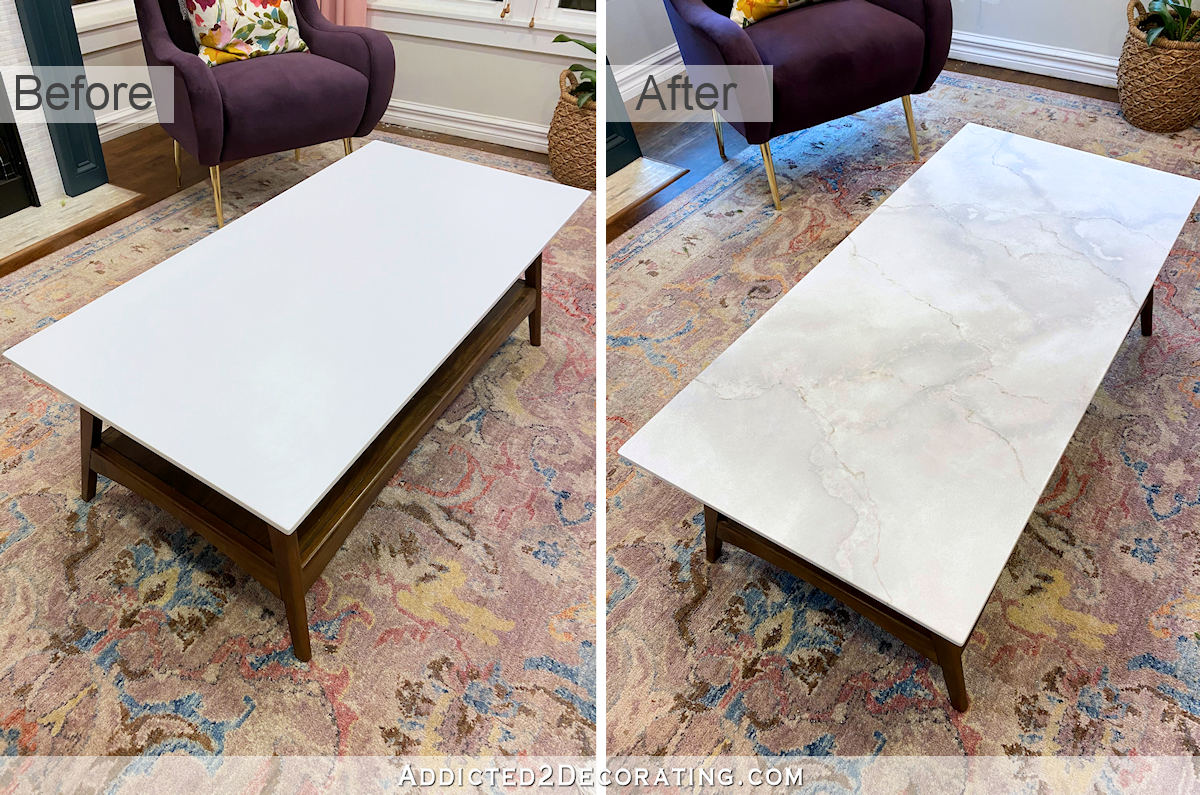
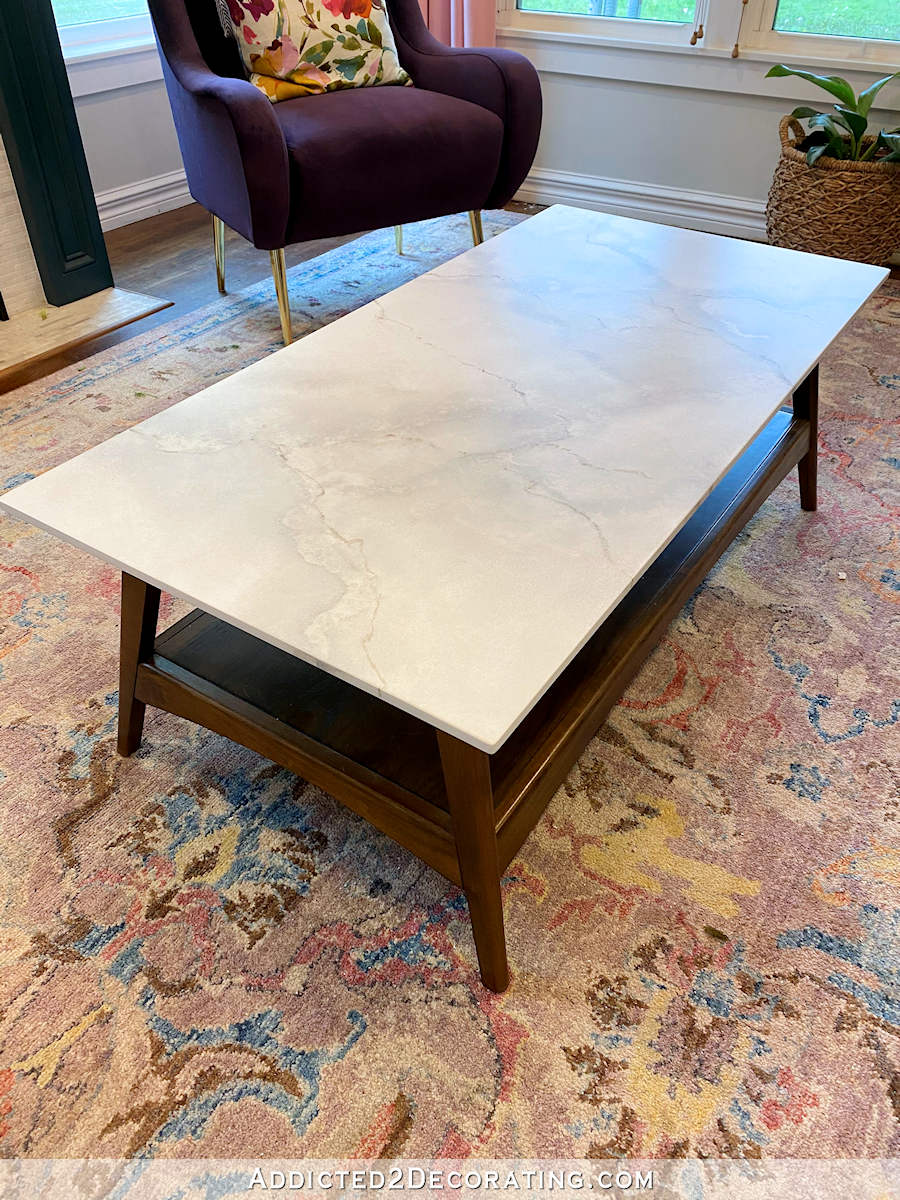
So yesterday, I decided to do a faux marble finish on the top. I didn’t want a busy marble with a lot of veins. I just wanted something subtle that would give the appearance of marble while toning down that glaring white table top. Here’s how it turned out…
(Note: If you’re reading this post on any website other than Addicted 2 Decorating, that means you’re reading on a site that is stealing my blog content. I hope you’ll consider joining me on my actual blog by clicking here.)
I used paints in two colors — Behr Polar Bear (white) and Behr Intellectual (gray) both mixed about two parts paint to one part Floetrol, and then with a splash of water added. I also used a sponge dampened with water. I couldn’t find a large sea sponge, so I used a yellow sponge from Home Depot (the kind found in the tile section) and pinched off pieces and cut it to give it a more natural look like a sea sponge. And then I had an assortment of brushes on hand. I didn’t end up using any of the artist brushes in the plastic package, but I used all of the rest — a 1-inch sash brush, a 1.5-inch sash brush, a very large and soft watercolor brush (the one that looks like a makeup brush), a large and wide stain brush, and two small round art brushes.
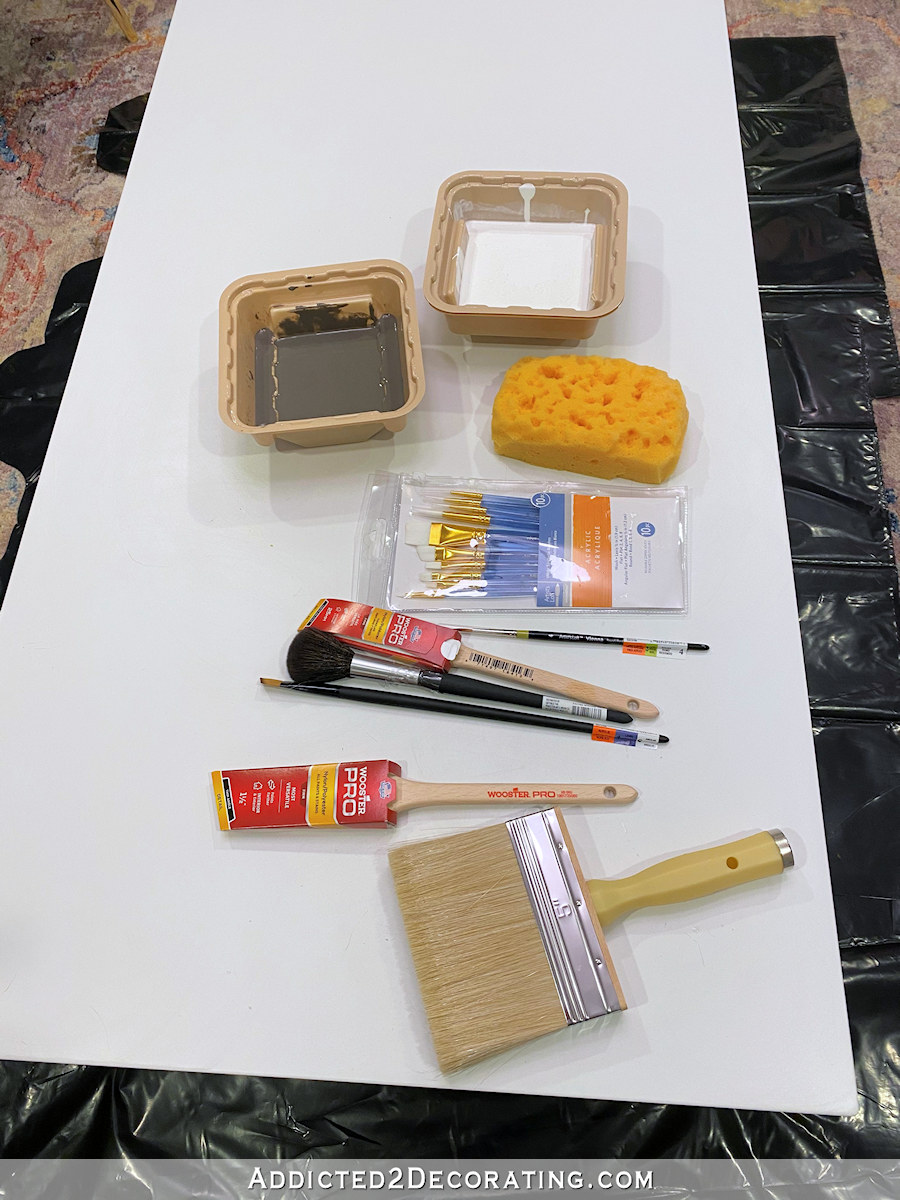
I also used a spray bottle with water, and had some paper towels on hand. With all of my supplies together, I was ready to get started.
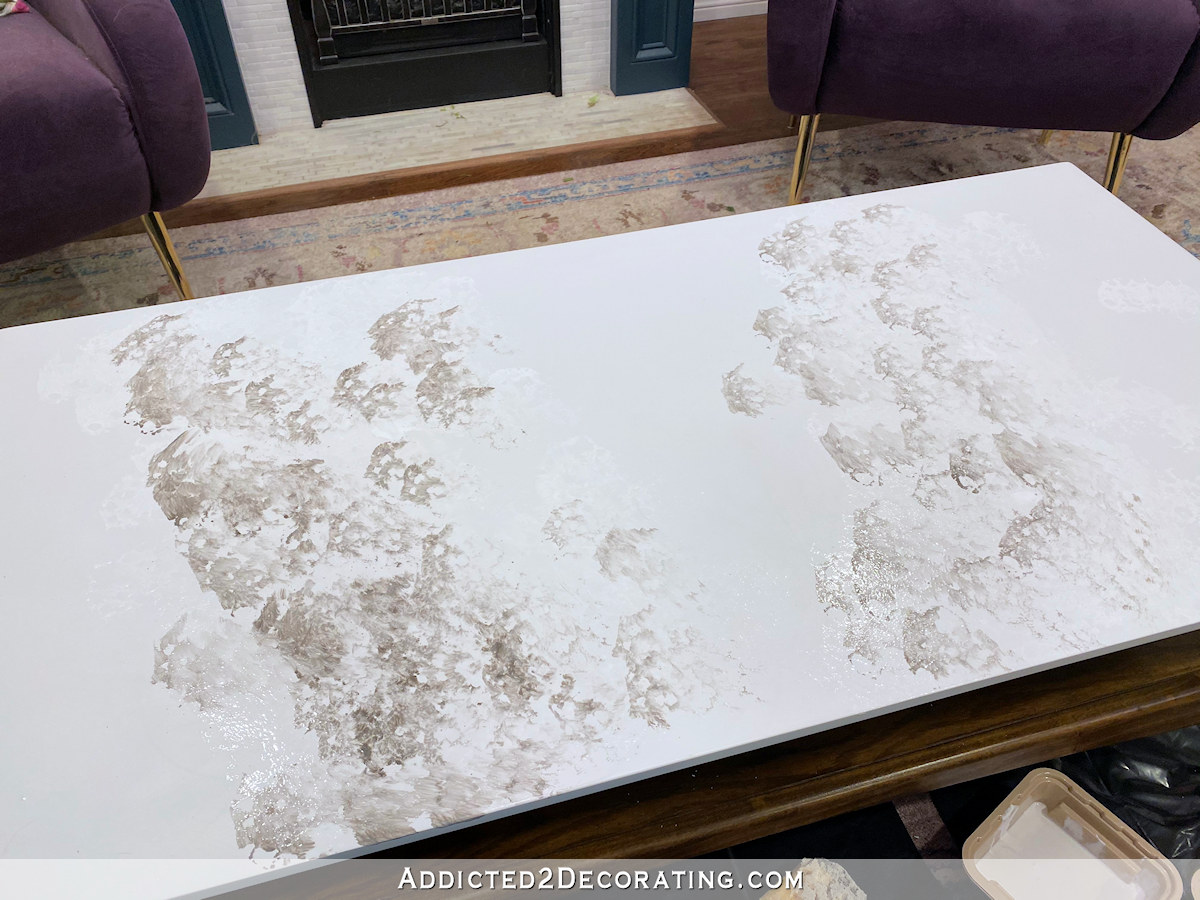
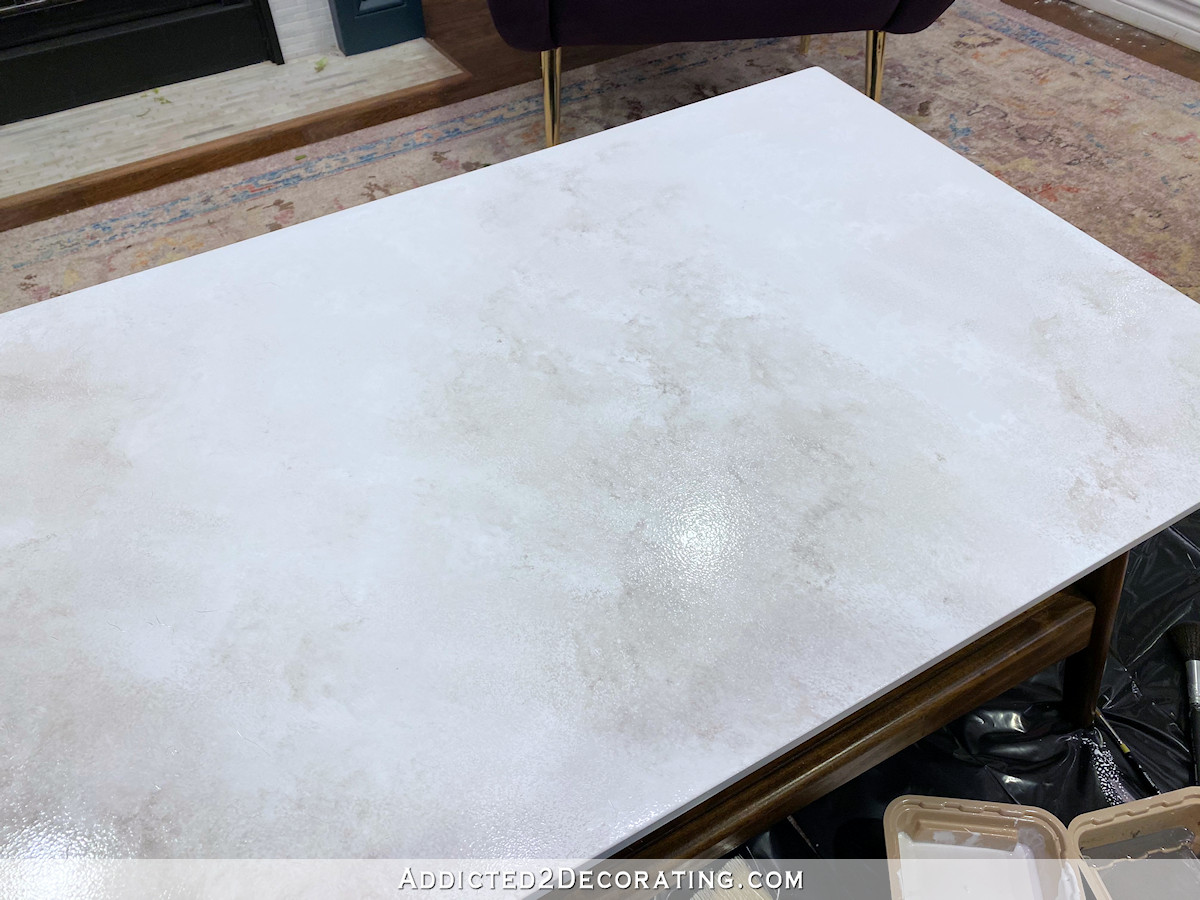
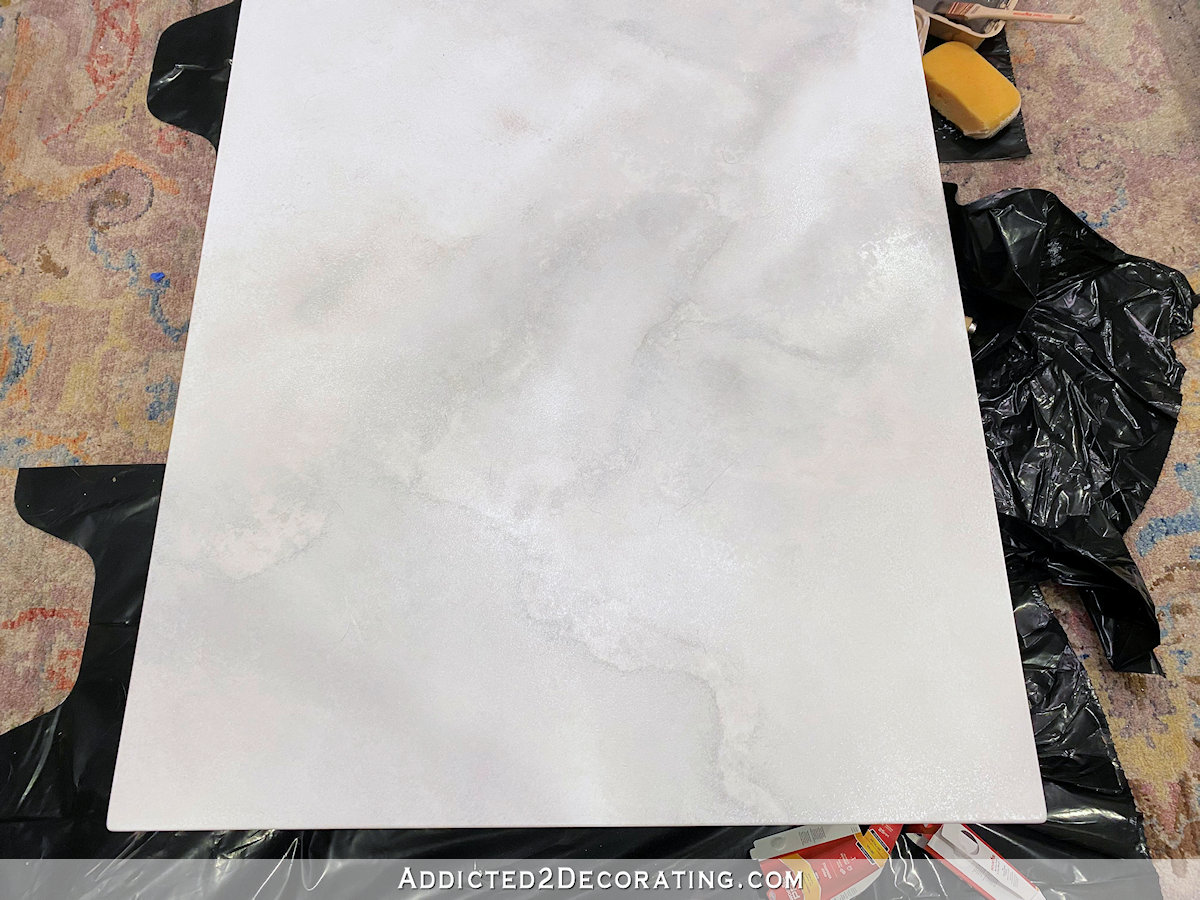
Step 1: Create a soft gray and white background.
Using the damp sponge, I sponged some white paint on the surface of the table.

And then I sponged some of the gray paint into the wet white paint.
And then using the big stain brush…
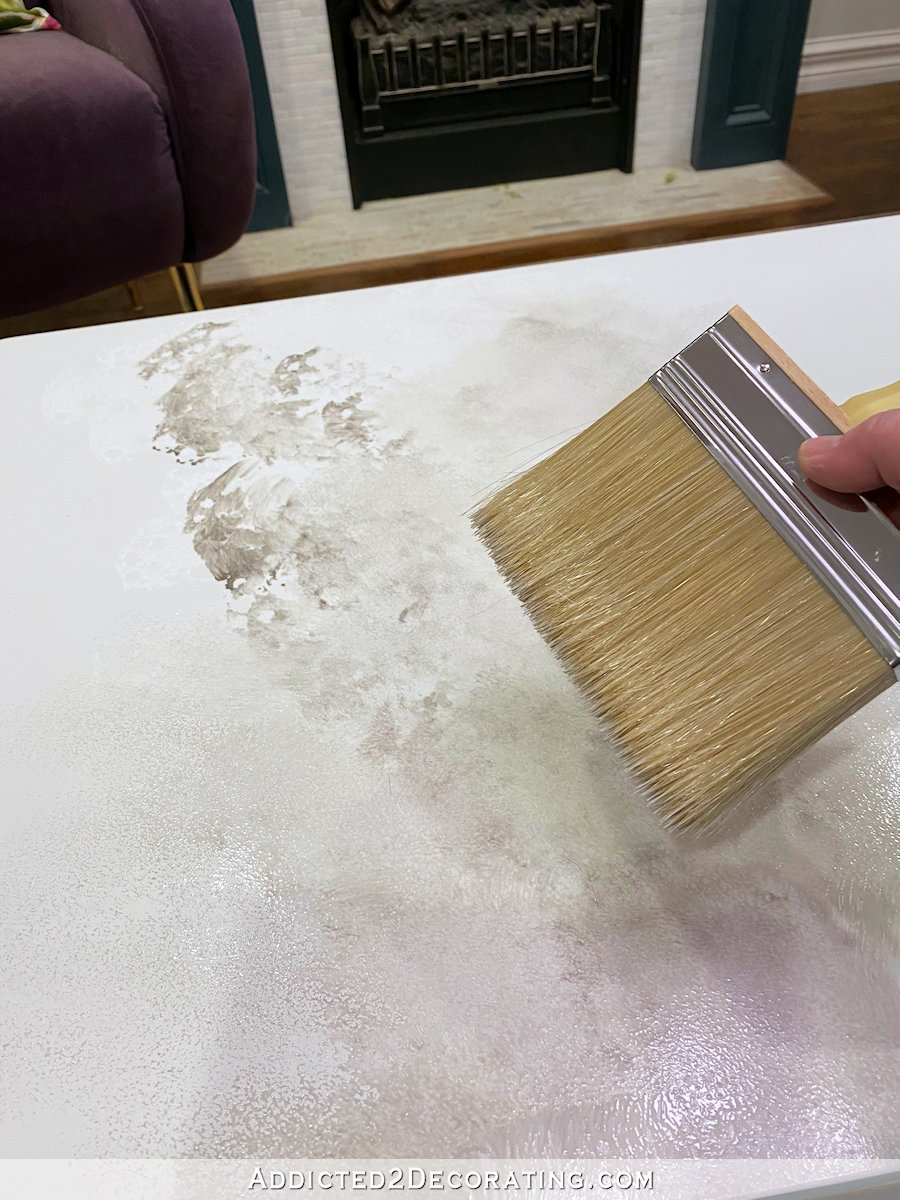
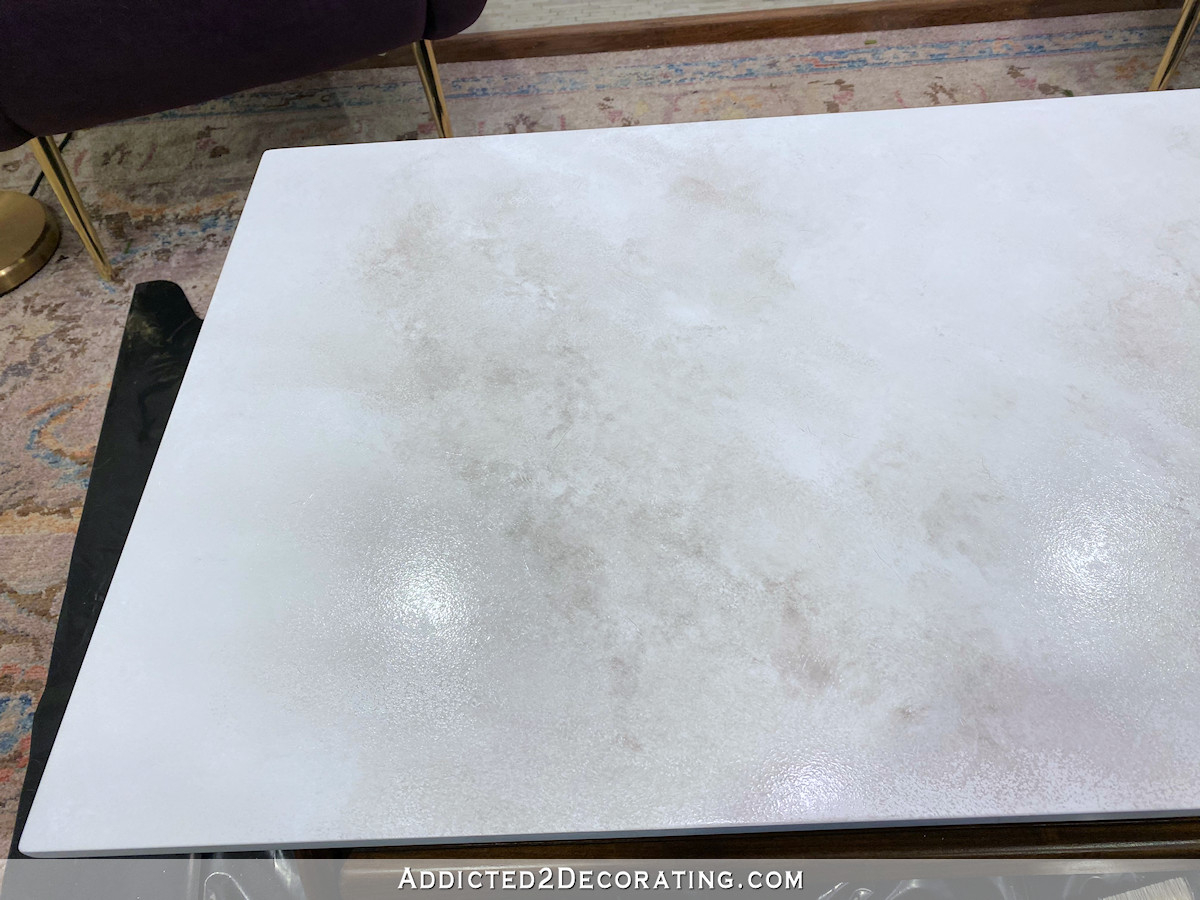
…I pounced and dabbed and brushed and swirled until the two colors had mixed enough to create a soft background with color variation.
Step 2: Create large gray veins.
Next, using the 1-inch sash brush, I created some really large gray veins. The key when creating veins with a brush is to be messy. You don’t want to brush them on, but rather, fill the brush and then drag, push, and roll the brush as you’re moving across the surface.
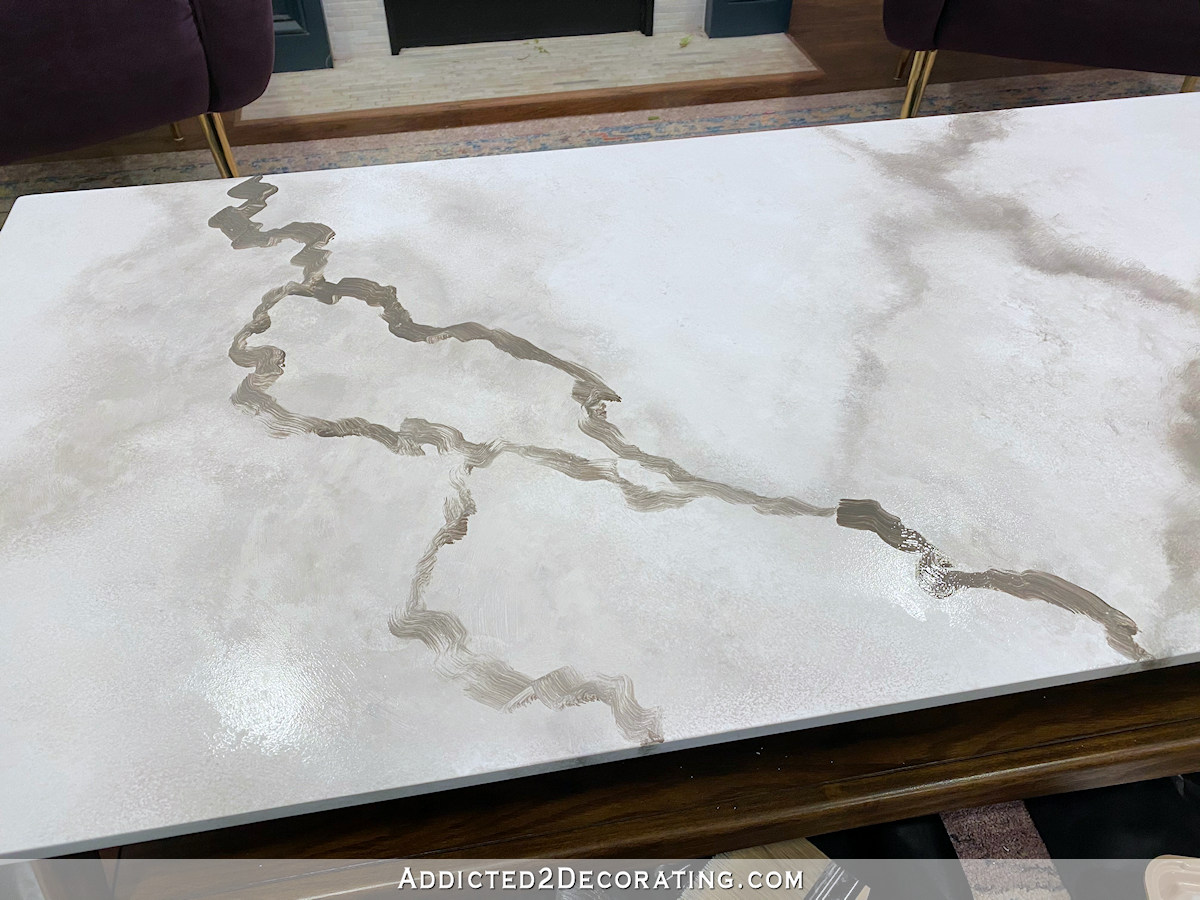
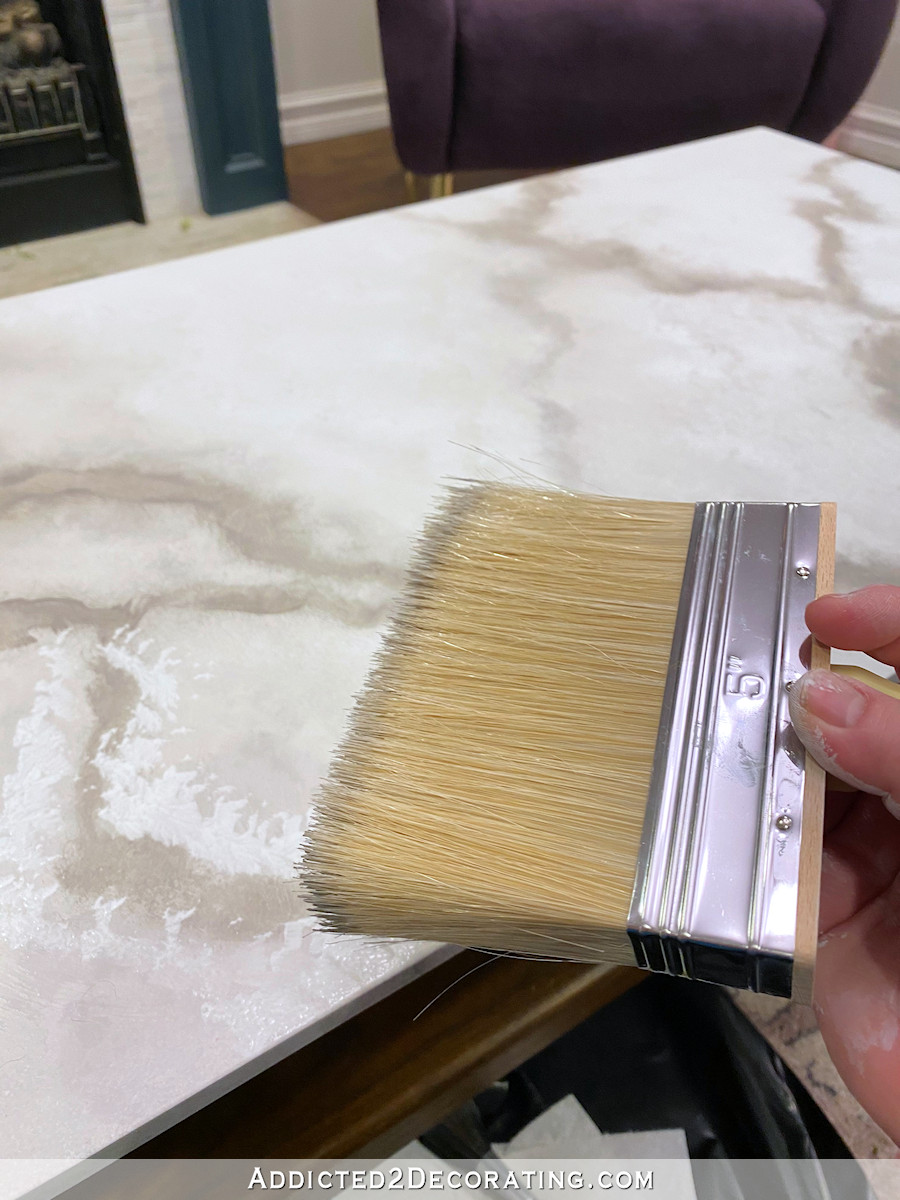
Once I had the veins in place, I used the big stain brush to soften those veins a little bit.
I also used the large, soft watercolor brush to soften the look.
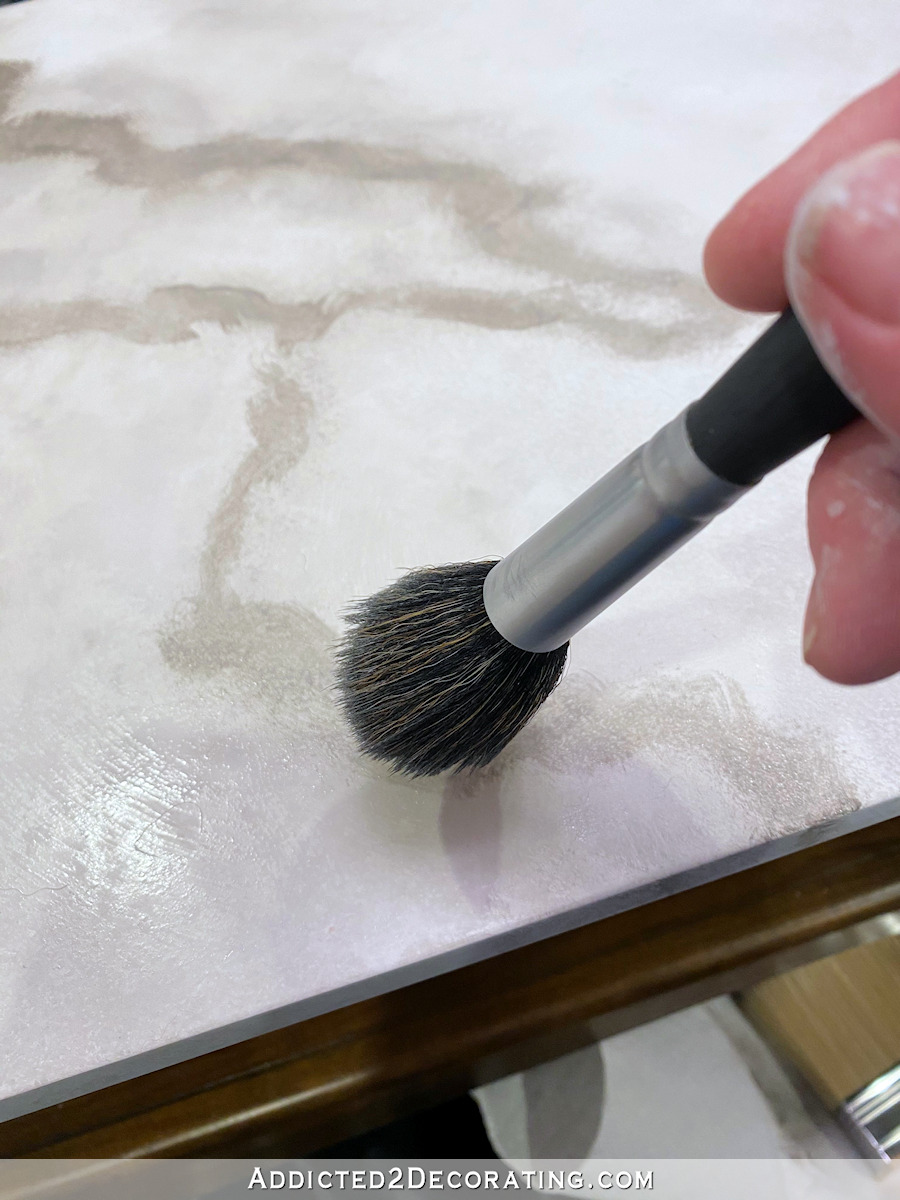
Here’s how it looked with those veins softened with both of those brushes.
And then it was time to bury those veins a little. Using the sponge, I dabbed white paint on either side of the dark veins…
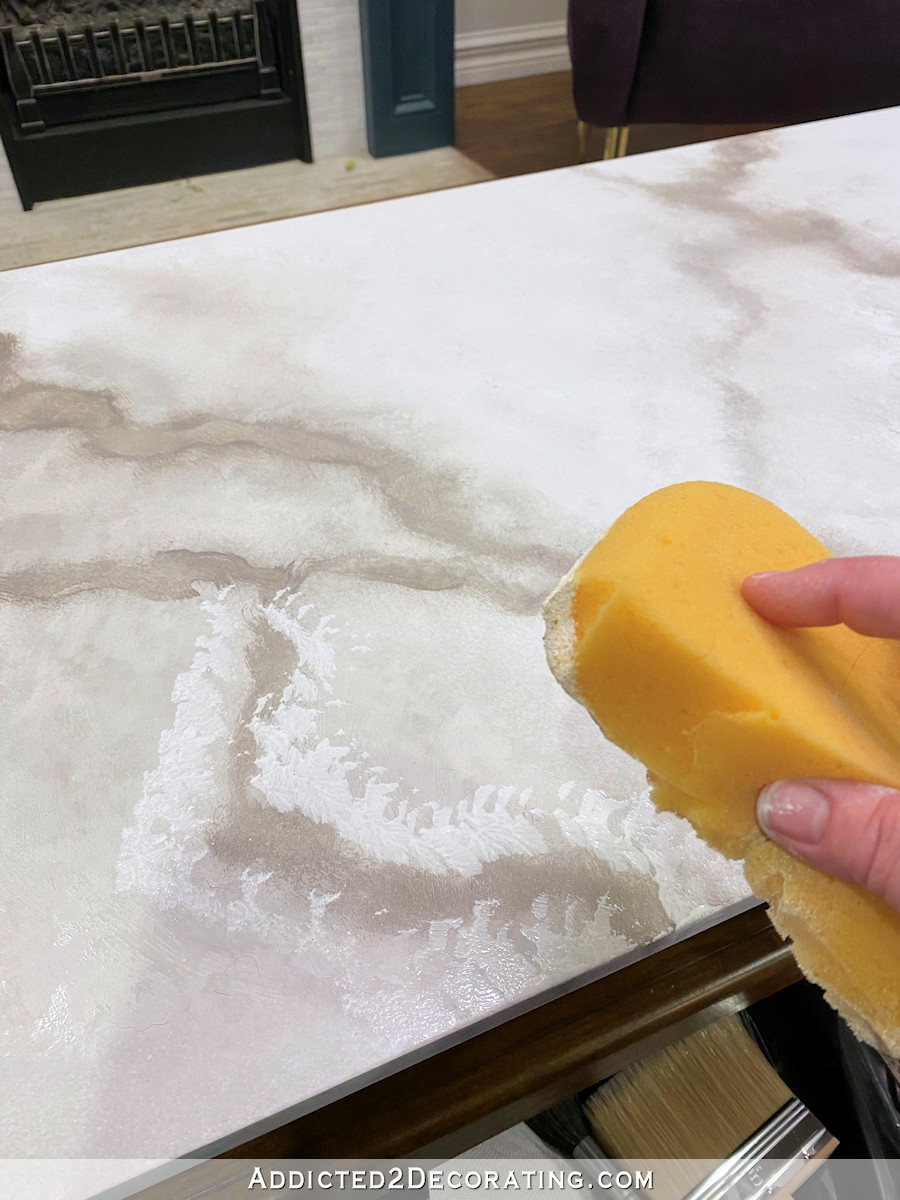
…and then using the large stain brush, I began to pounce and swirl until those dark veins were buried enough to suit my taste.
Here you can see the difference between the buried vein on the bottom, and the rest of the gray veins that hadn’t been softened and buried with the white paint yet.
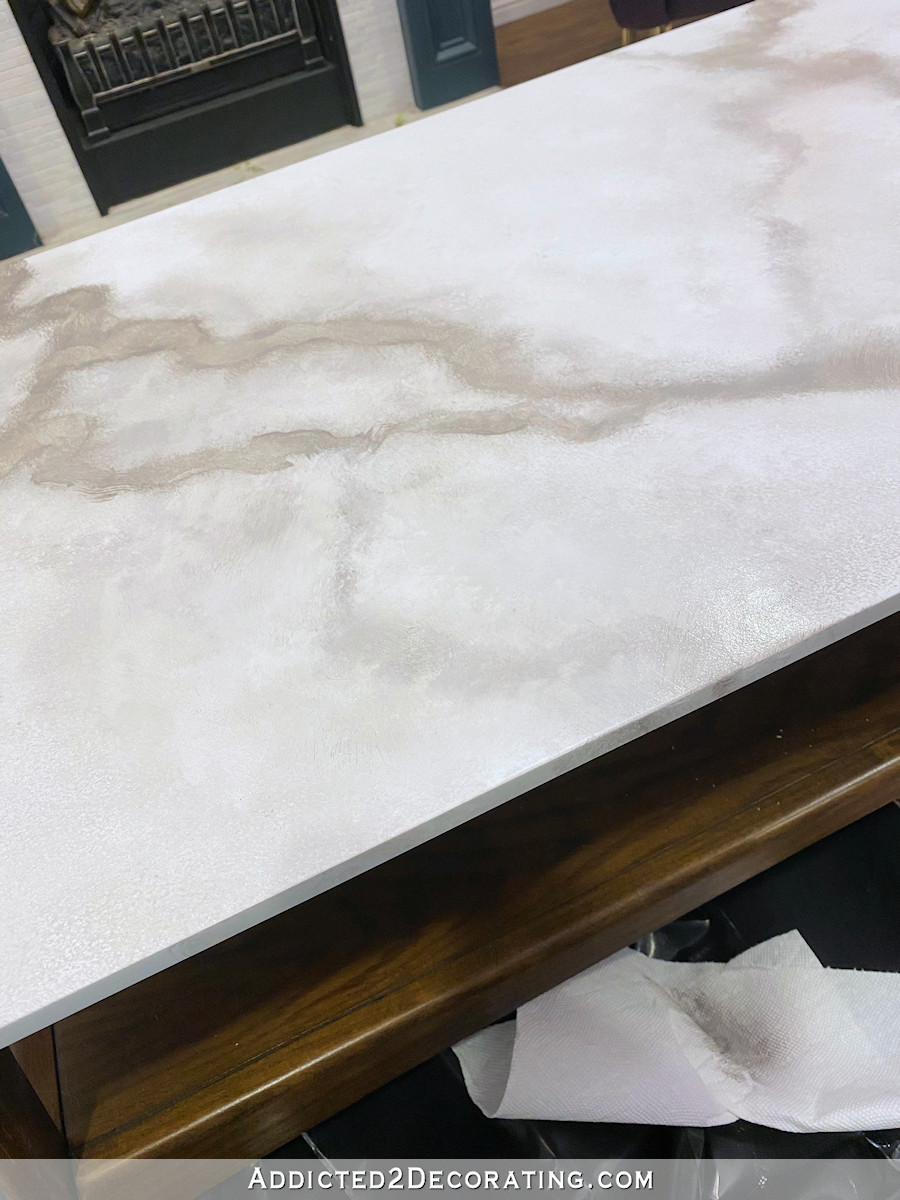
I kept on doing that until I had those large, dark veins buried and softened, and they looked like I wanted them to look.
Here you can see the difference again with half of the table done. The veins in the foreground of this picture were just like I wanted them, but the veins on the far side of the table hadn’t been softened with the white yet.

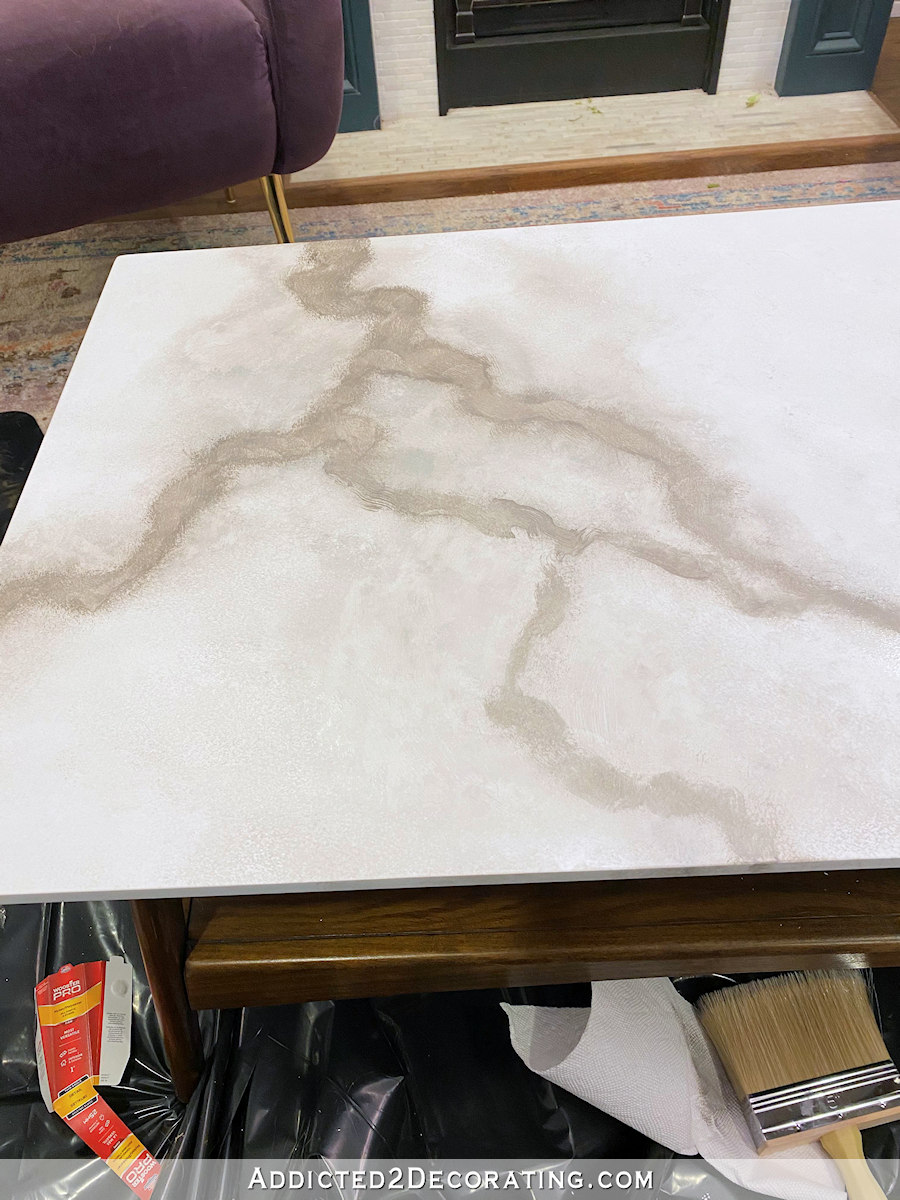
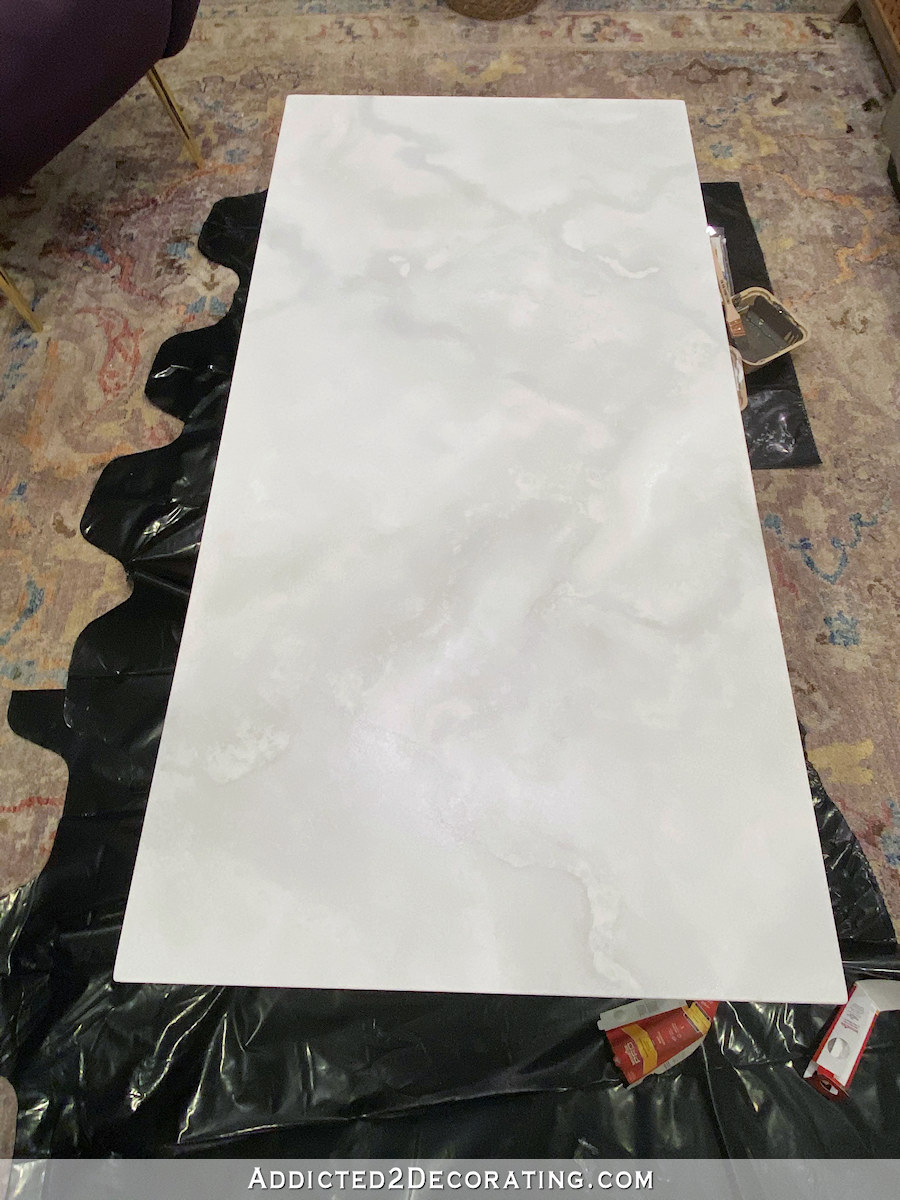
Here’s how the table top looked after all of the big gray veins had been buried and softened to my liking.
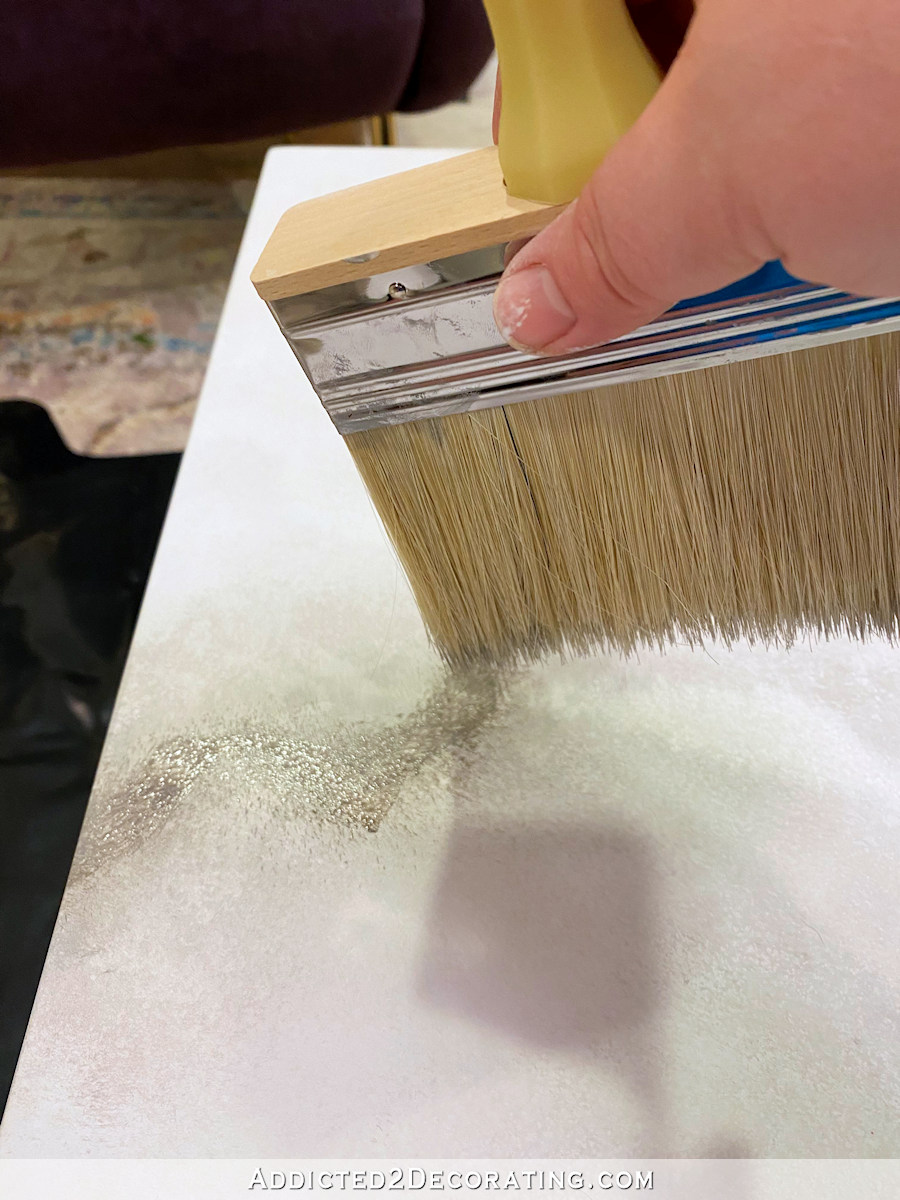
Step 3: Add the small dark veins.
The final step for the marbling was to use a small round art brush for the small, darker veins. Again, the goal is to be messy and imperfect. To get this look, I loaded up the brush with the gray paint, and then dragged it across the surface as I pushed, pulled, and rolled the brush along.
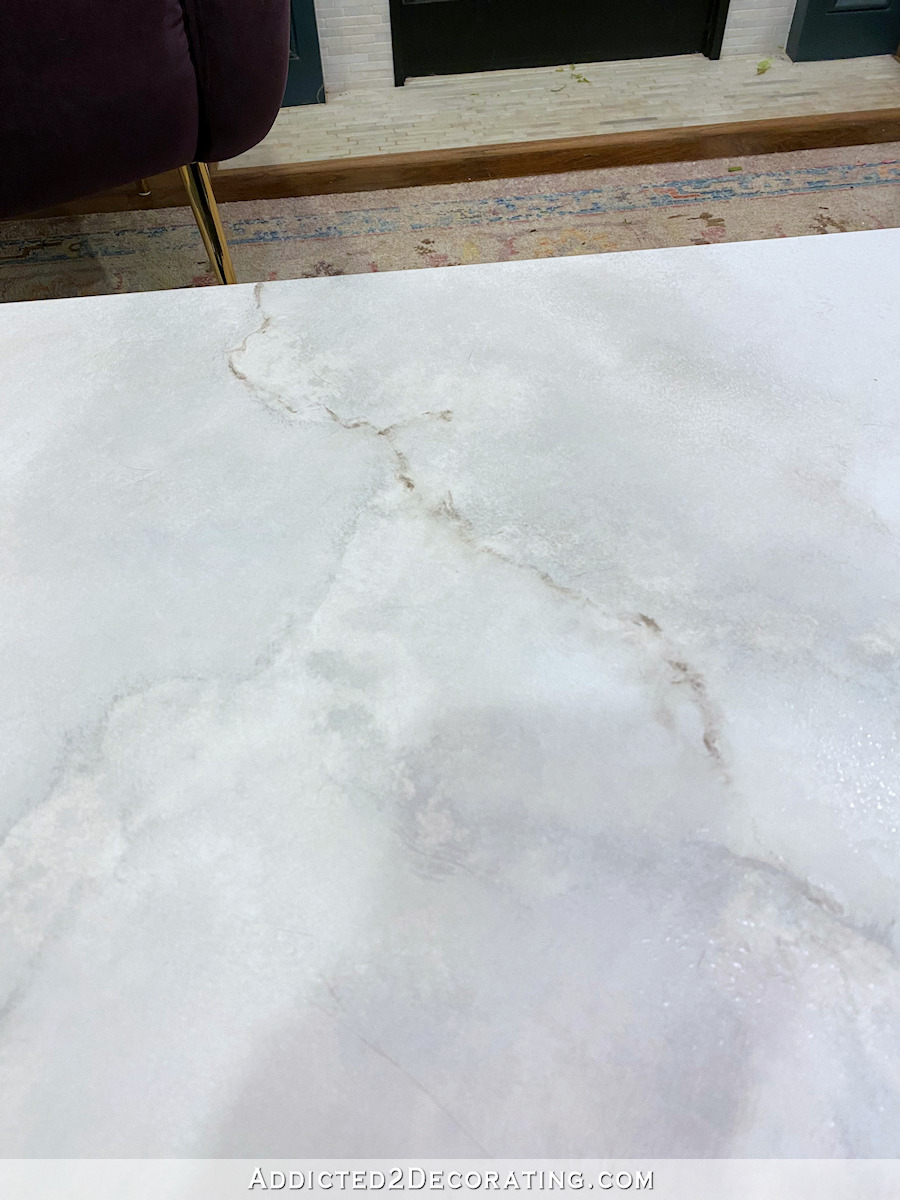
The bottom half of this thin vein is what it looked like right after I had painted it on…
And then I used a spray bottle filled with water to gently spray over the top of that vein.
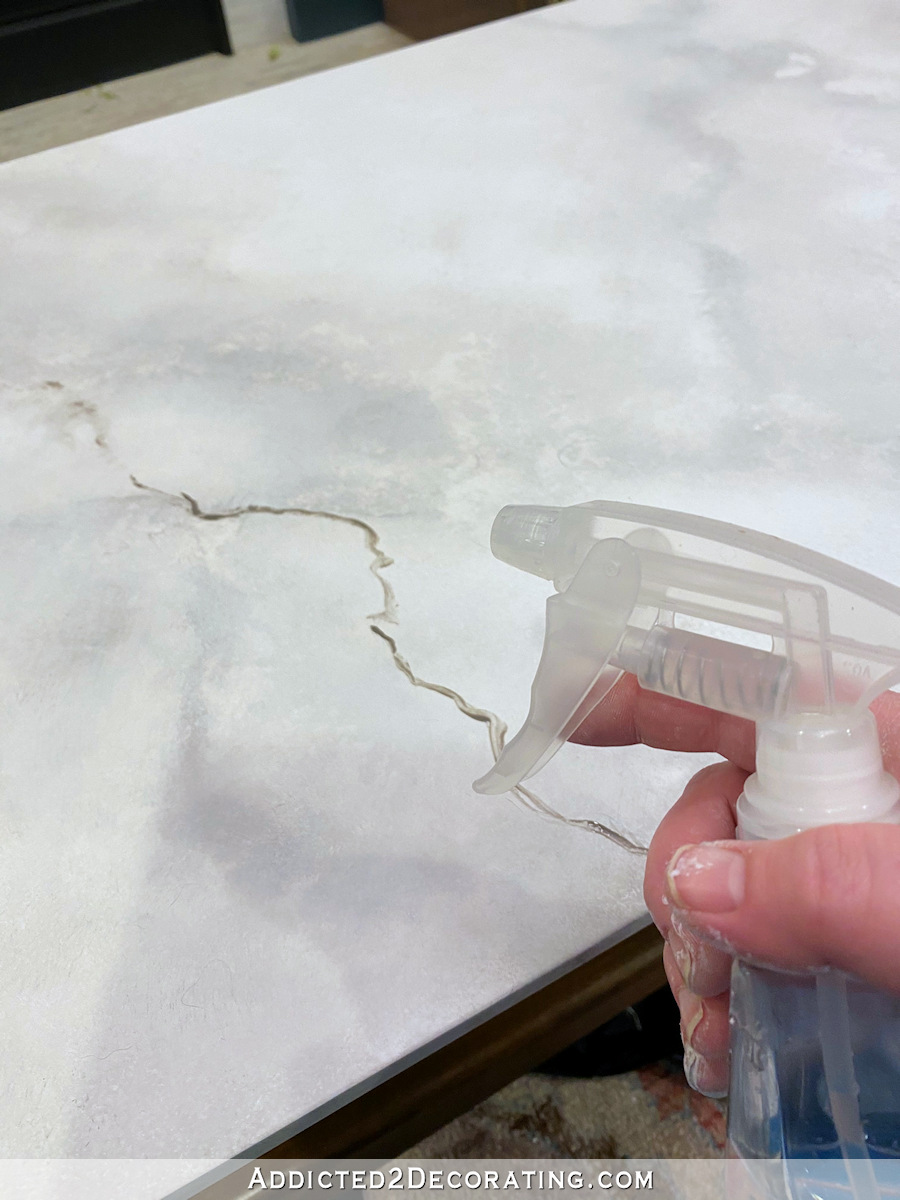
The water alone did a great deal to soften and break up those lines (because you don’t want perfect lines), but there were areas that I pounced on just a little with the 1-inch brush (which I had thoroughly cleaned) to break up the paint a little more to give it a more natural look.
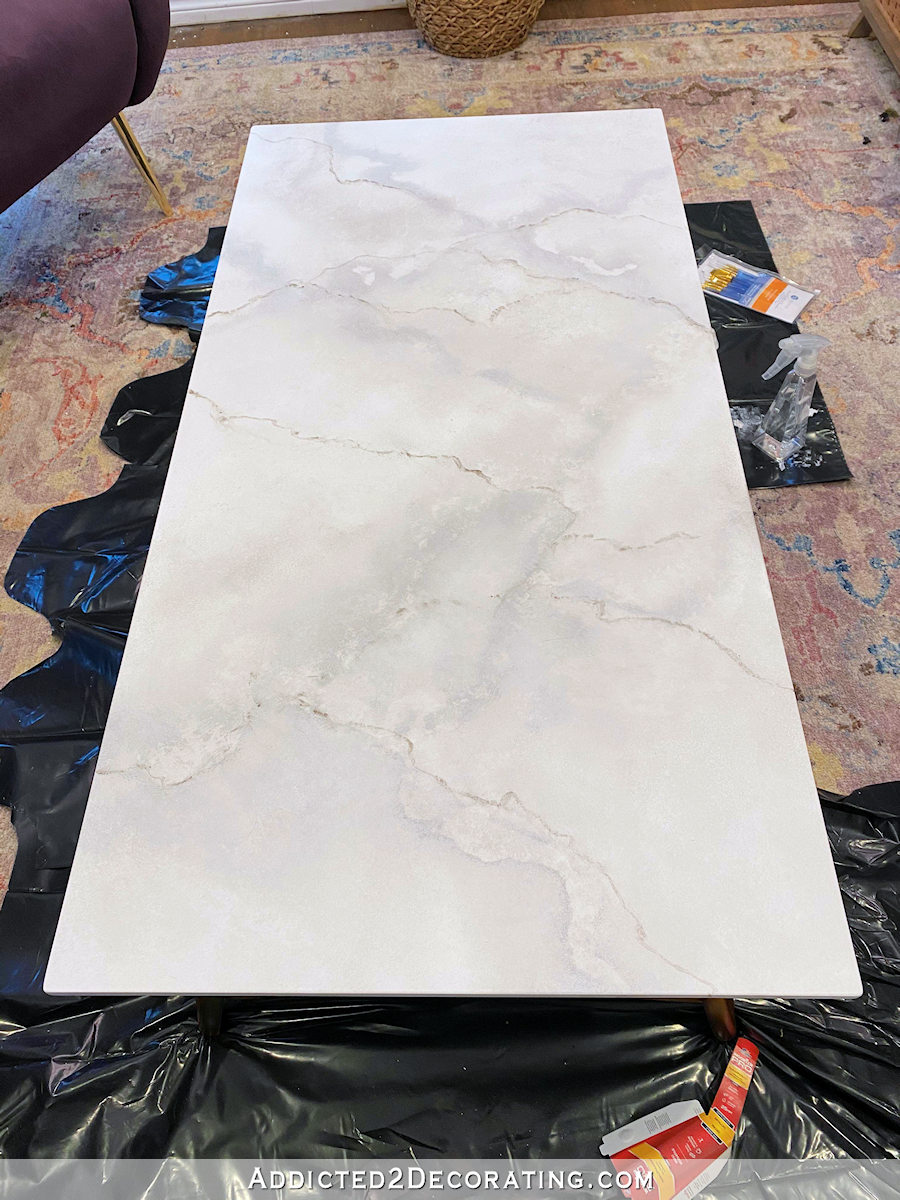
And of course, you can do as much or as little veining as you want. I decided to keep it light on the veining, so I stopped when it looked like this…
Step 4: Clear coat the top.
Once everything was dry, I sanded the top very lightly with 22o-grit sandpaper just to be sure there weren’t any paint ridges anywhere. After wiping away all of the dust, I used my absolute favorite clear top coat — General Finishes High Performance Top Coat in a flat finish.
I rolled on the topcoat using a 6-inch roller and a 1/4-inch nap roller cover labeled for smooth surfaces. I did two coats, sanding lightly with 220-grit sandpaper between coats.
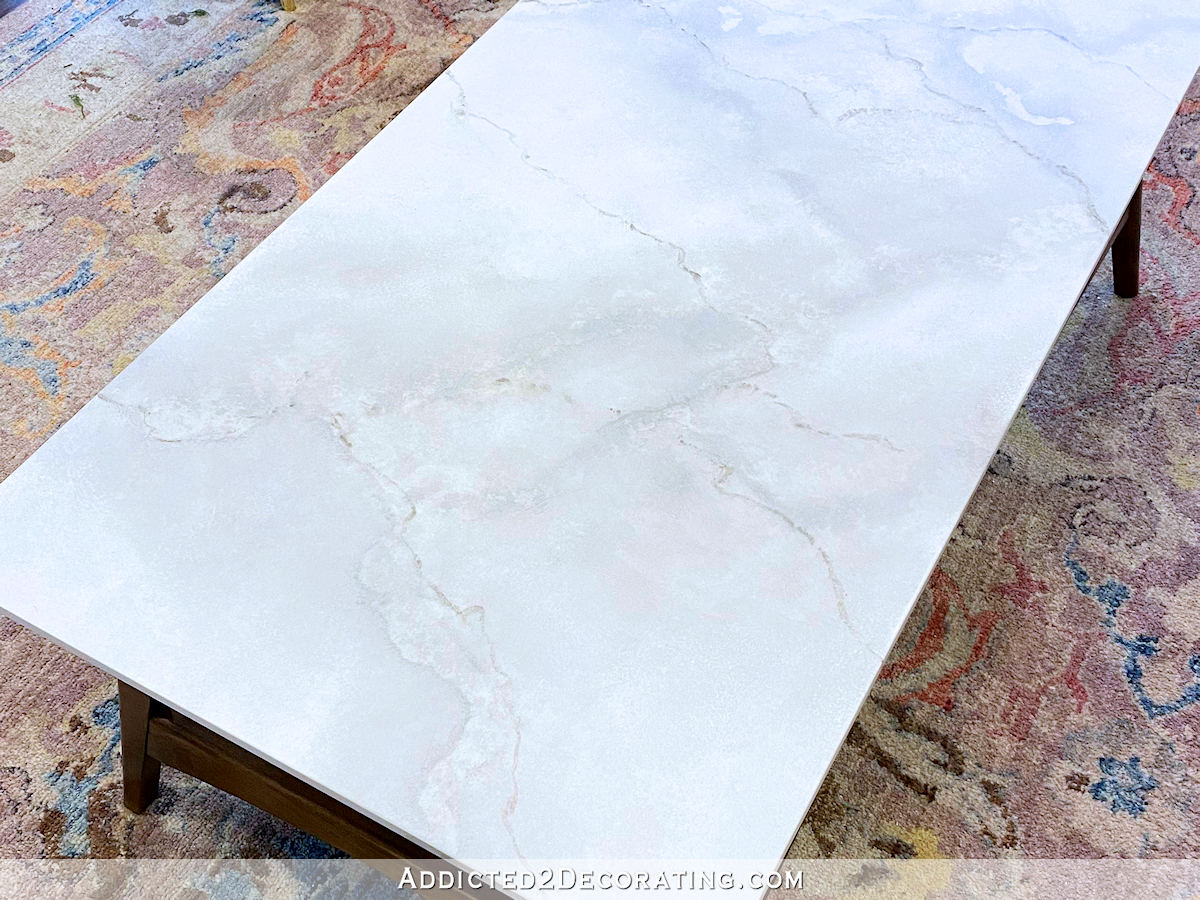
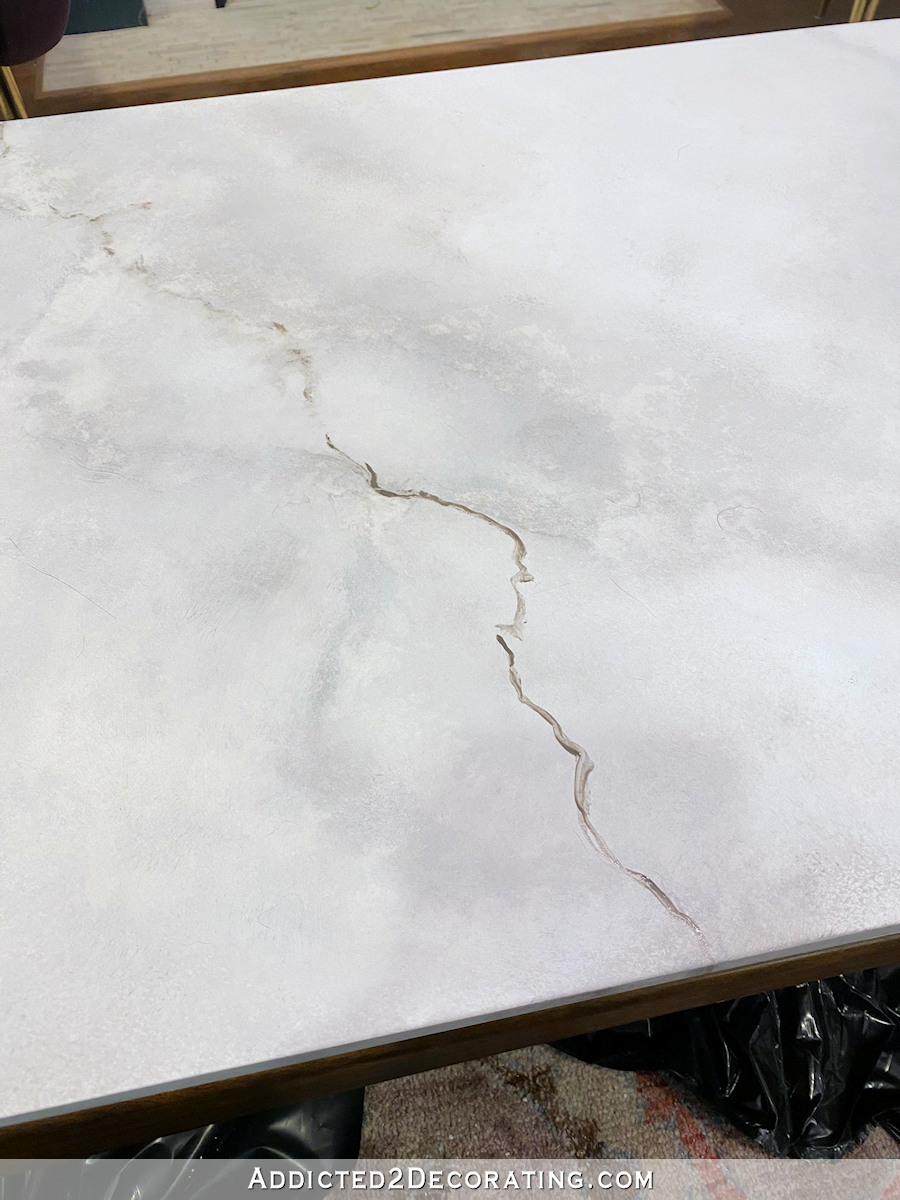
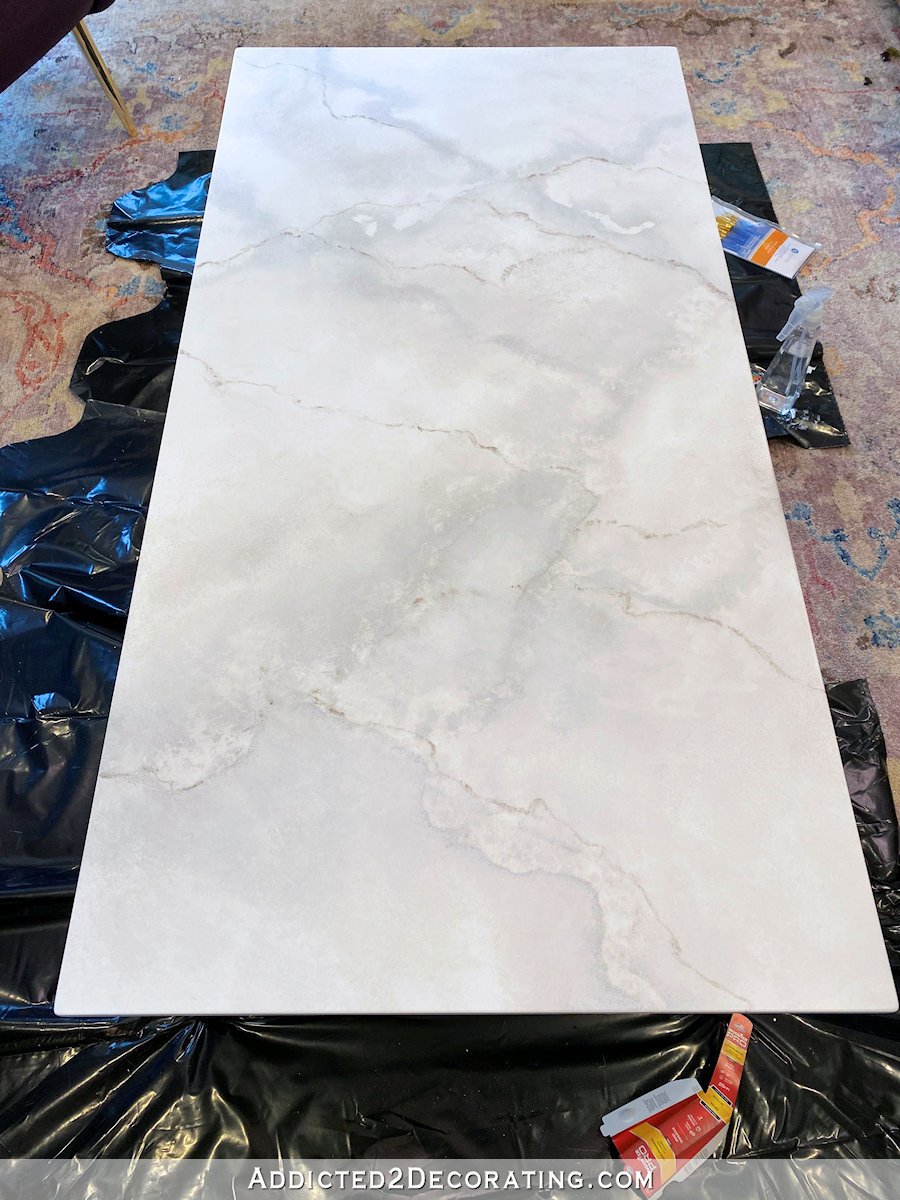
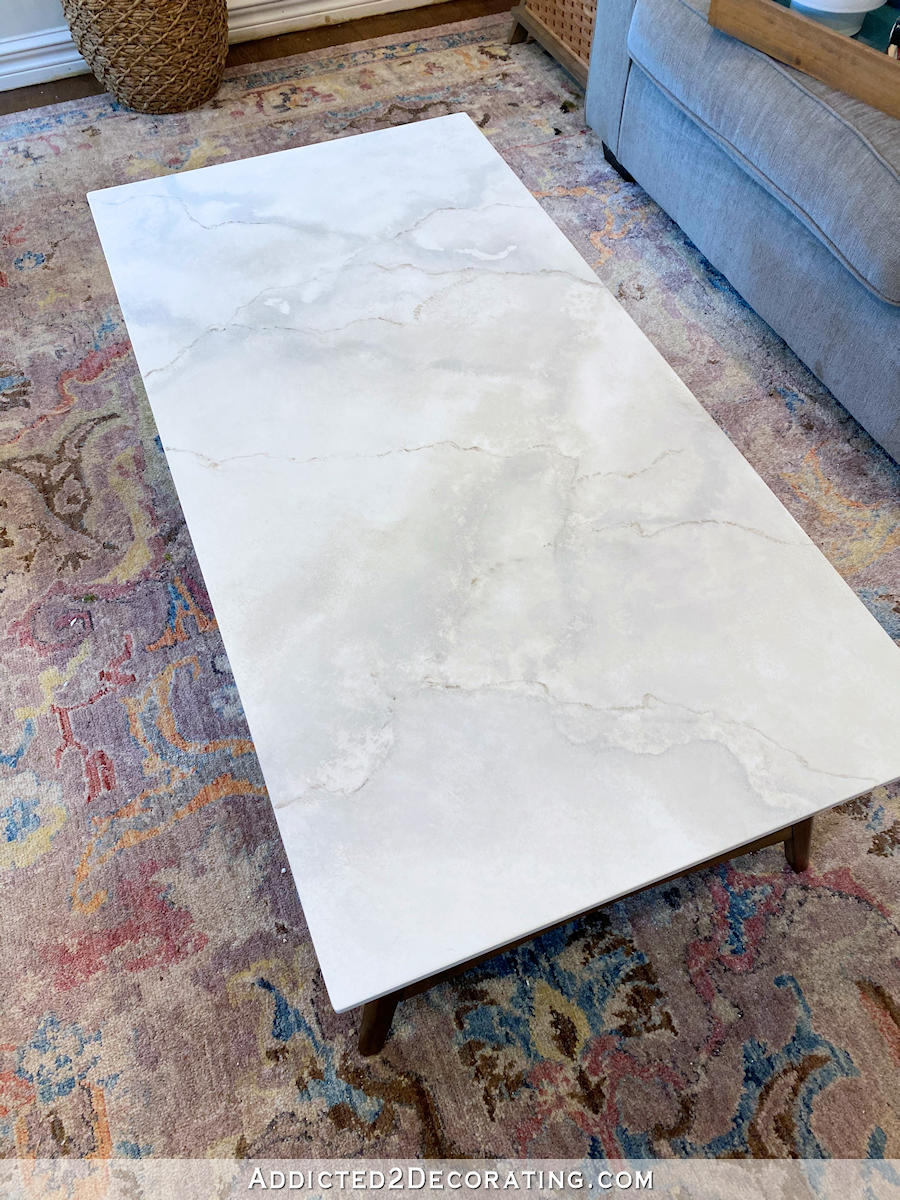
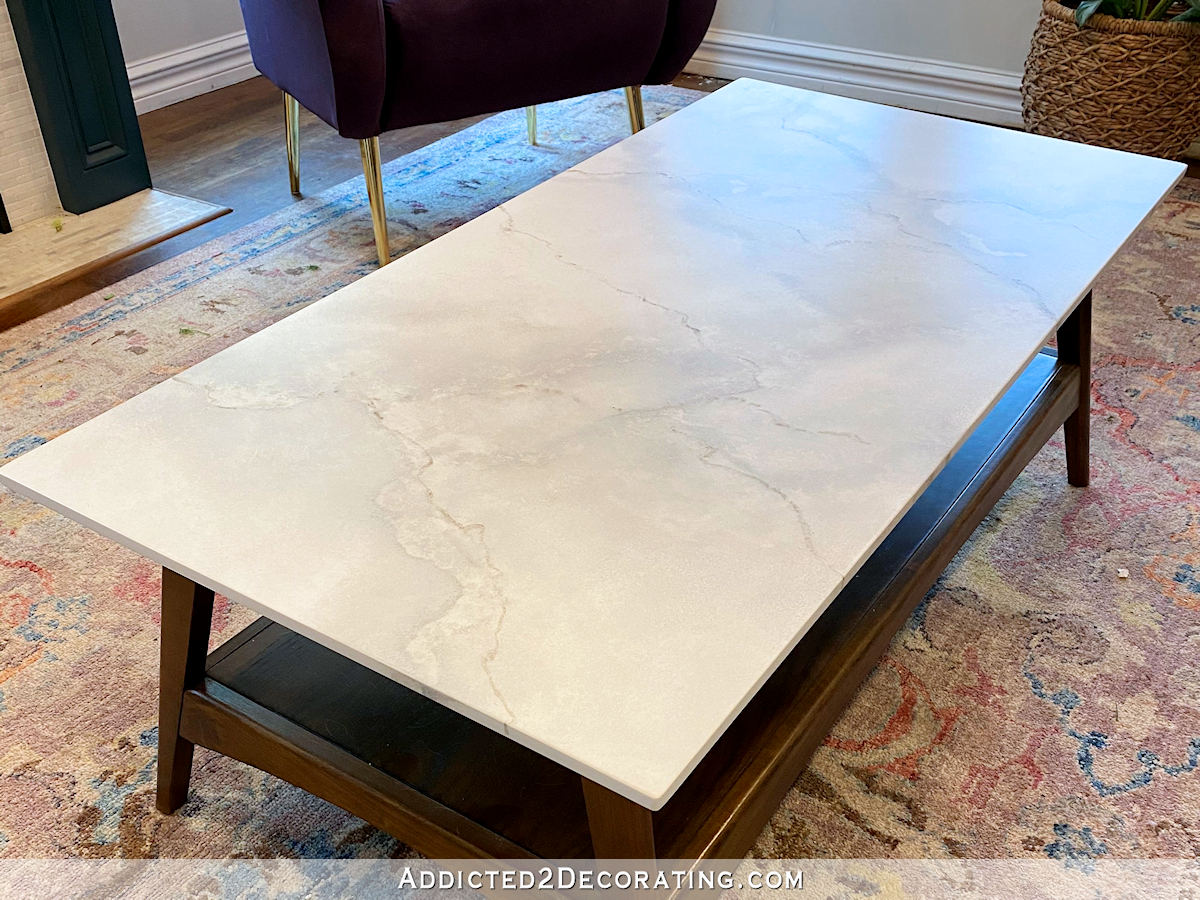
And here’s the finished table!
One thing that I learned while looking through pictures of marble online is that you can’t really mess up marble. There are so many variations out there! I came across several pictures that I thought for sure weren’t real marble because they didn’t look like real marble to me. But they were! I couldn’t believe it. Some of them just didn’t look like real marble at all to me. All of that to say that it’s pretty hard to mess up and do something that doesn’t “look like” real marble.
The challenge is getting it to look like a real marble that I actually like, because I can be a little picky. 🙂 Fortunately, I managed to get a look that I like. But of course, the sky’s the limit with this. You can do as much or as little background color variation as you like, as much or as little “burying” of the big veins as you like, and as much or as little small veining as you want. I mean, if something like this is more to your liking, you can really go crazy with it.
But I personally like the more subtle marbles, so this one is perfect. And it really toned down that glaring white that it used to be.
Source link