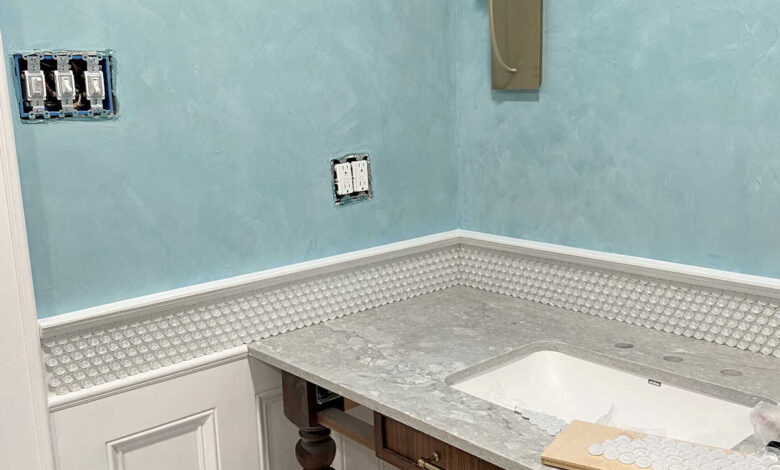
I’m still plugging away at the master bathroom, and the wainscoting on the home gym side of the room is almost finished! I finally started the final step yesterday — adding the glass penny tile accent strip into the top of the wainscoting.
If you missed the previous two posts on this judge’s paneling wainscoting project, you can find them here:
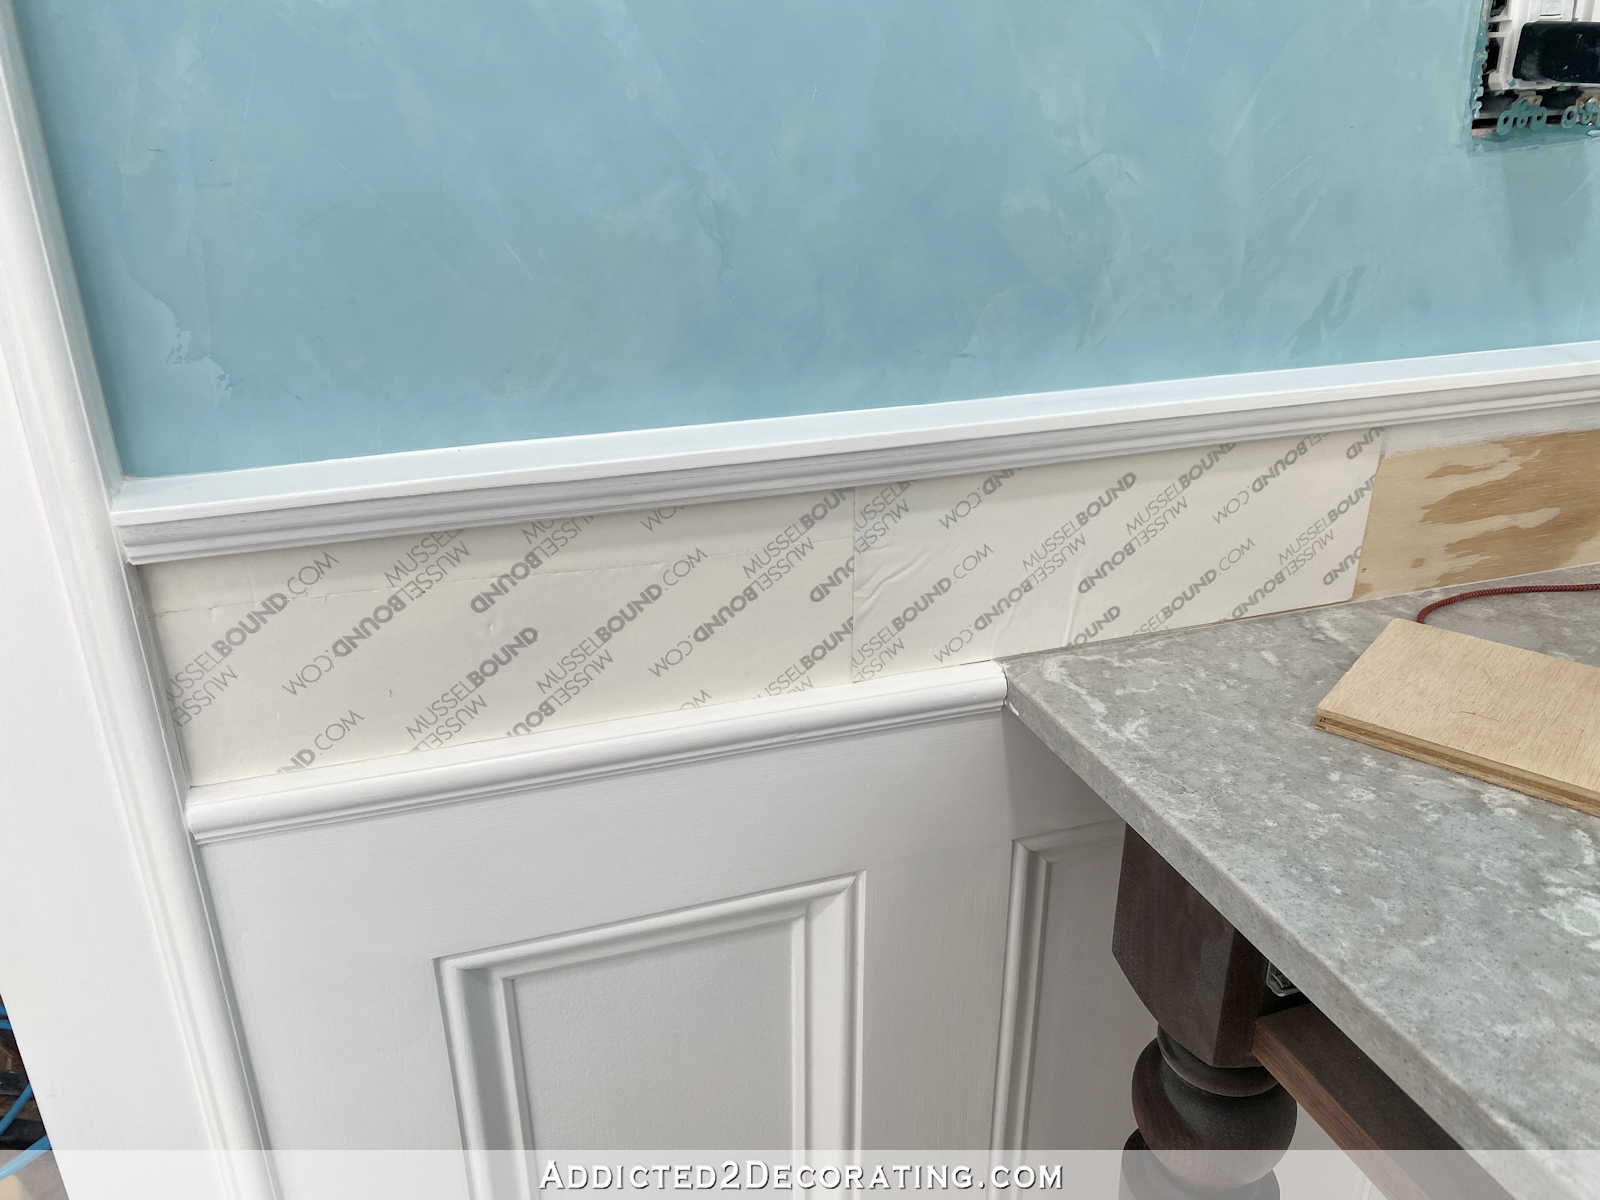
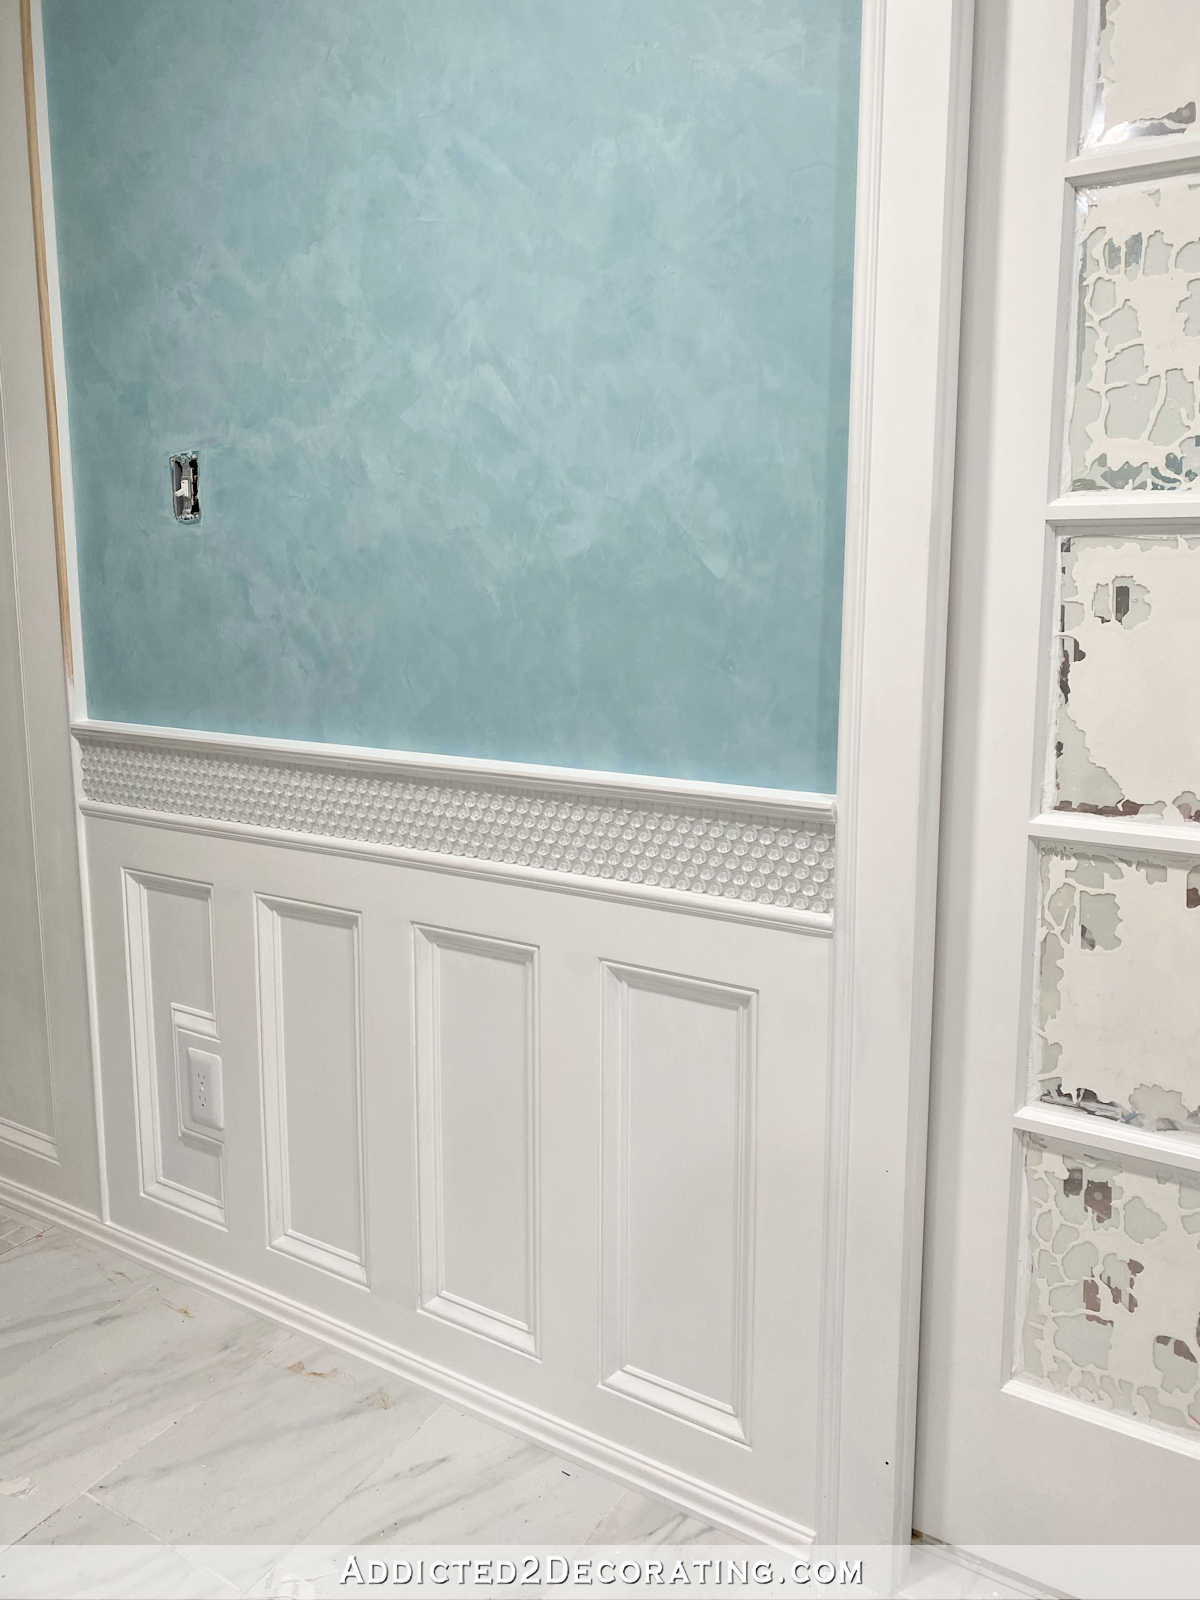
Here’s how the wainscoting looked before adding the glass penny tile. I wood filled, sanded, caulked, primed, and painted all of the wood parts…

And then I added Musselbound tile adhesive backing to the area where the tile was going to be installed…
When I had all of that area covered with the Musselbound adhesive backing, I peeled off the protective paper from the front, and then pressed the tile onto the backing. This stuff is VERY sticky, and it’s not easy to adjust the tiles once they’re stuck on. I wouldn’t say it’s an “only one chance” kind of thing, because you can get the tiles off if you need to readjust (at least you can with these tiny tiles), but it’s not easy.
I started in the corner so that I wouldn’t need to make any cuts in this corner. Because penny tiles are staggered, they fit together in a corner flawlessly and seamlessly without having to make cuts.
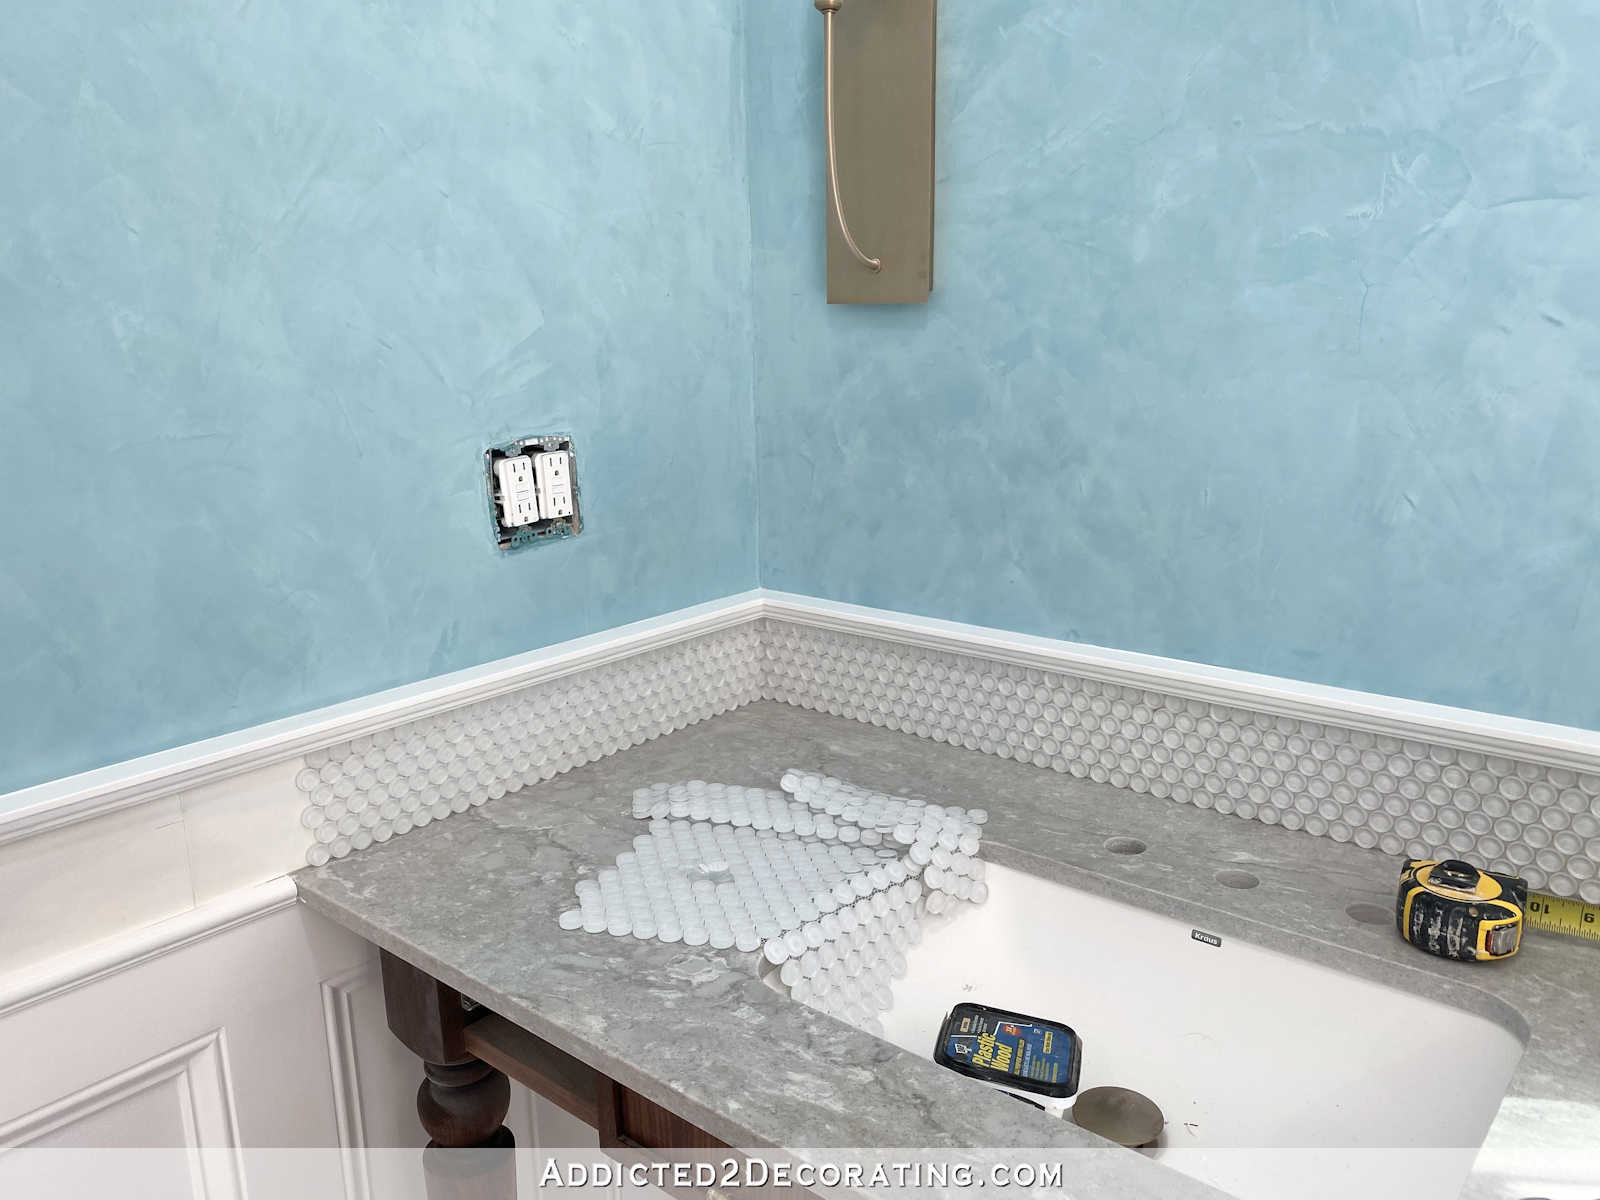
And then I worked out from the corner towards the ends…
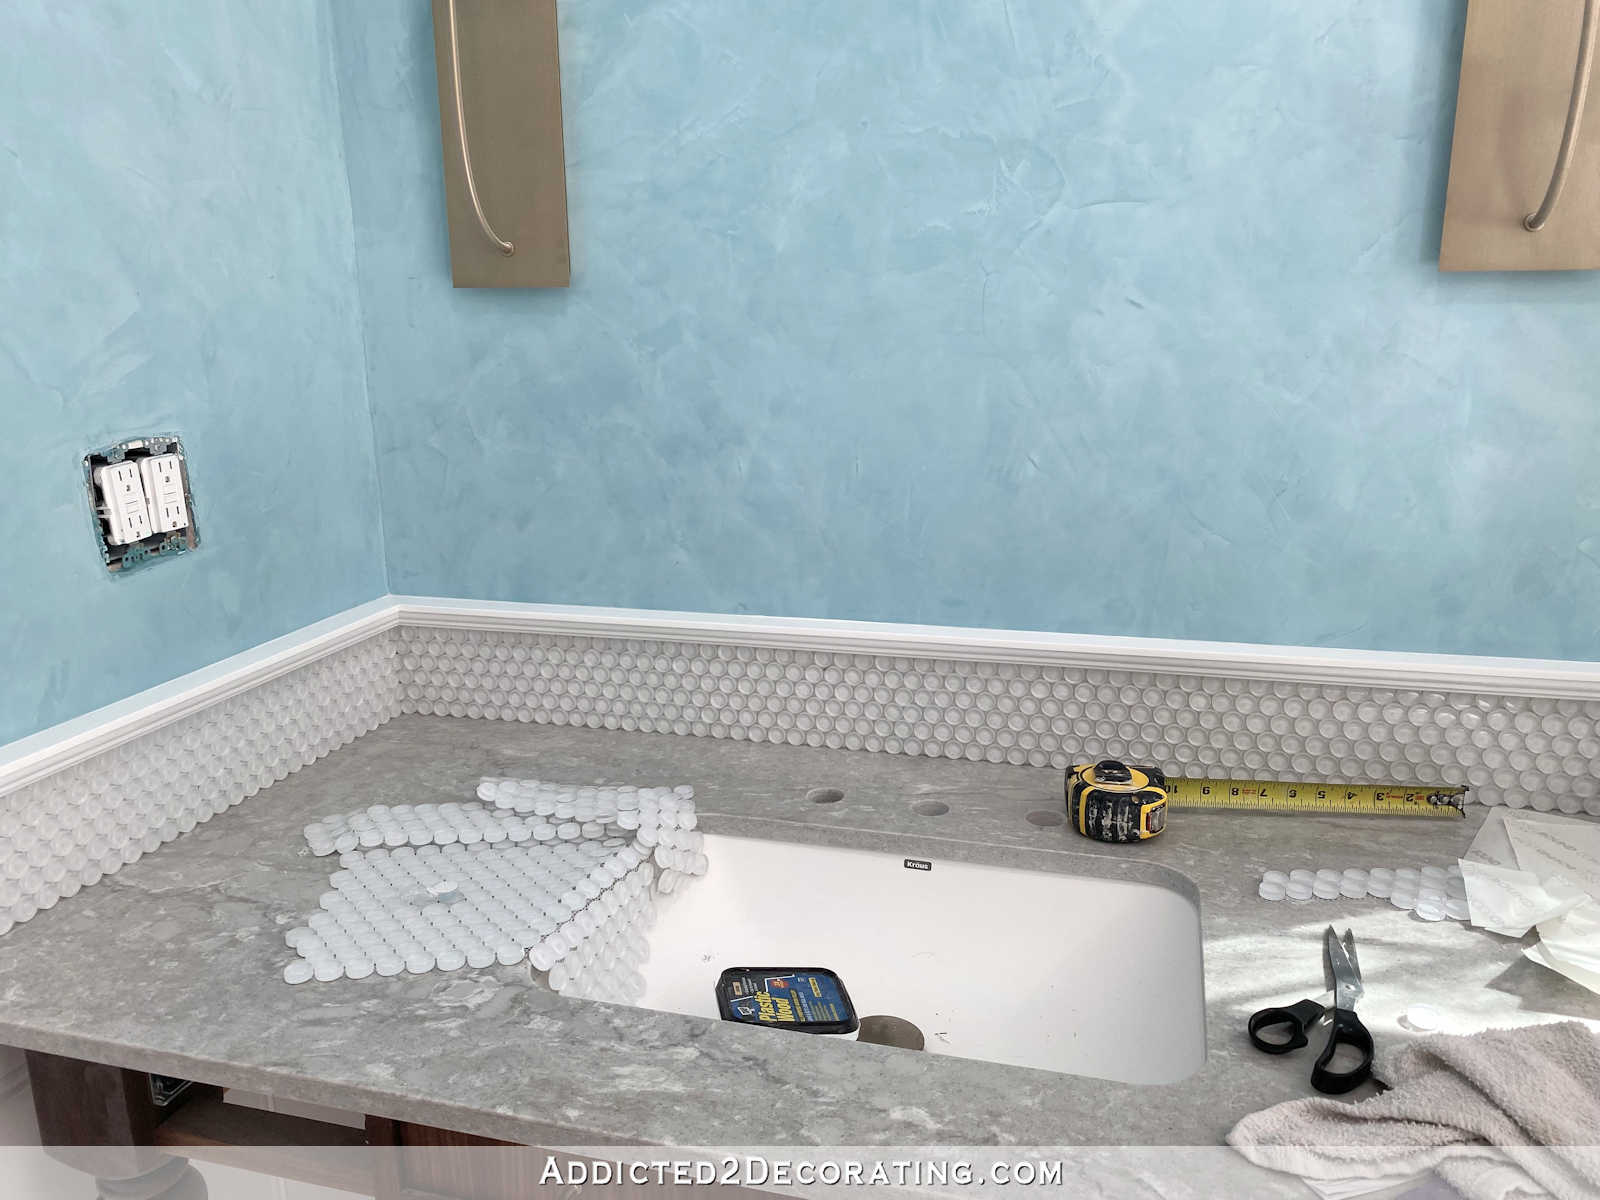
The ends weren’t so easy because those tiles did require cuts. I had to purchase this glass tile nipper to trim those tiles. This is a different kind of nipper than the one you’d use for ceramic or porcelain tile.

I managed to get the tiles for this end cut, but they are far from perfect. Let’s just say that glass cutting is not something I’ve ever been good at, and I’m especially not good at it when dealing with tiny pieces of glass. But I at least got the four cut for this end. Just don’t look too closely. 😀 I think once it’s grouted, my glass cutting flaws will be hidden a little better.
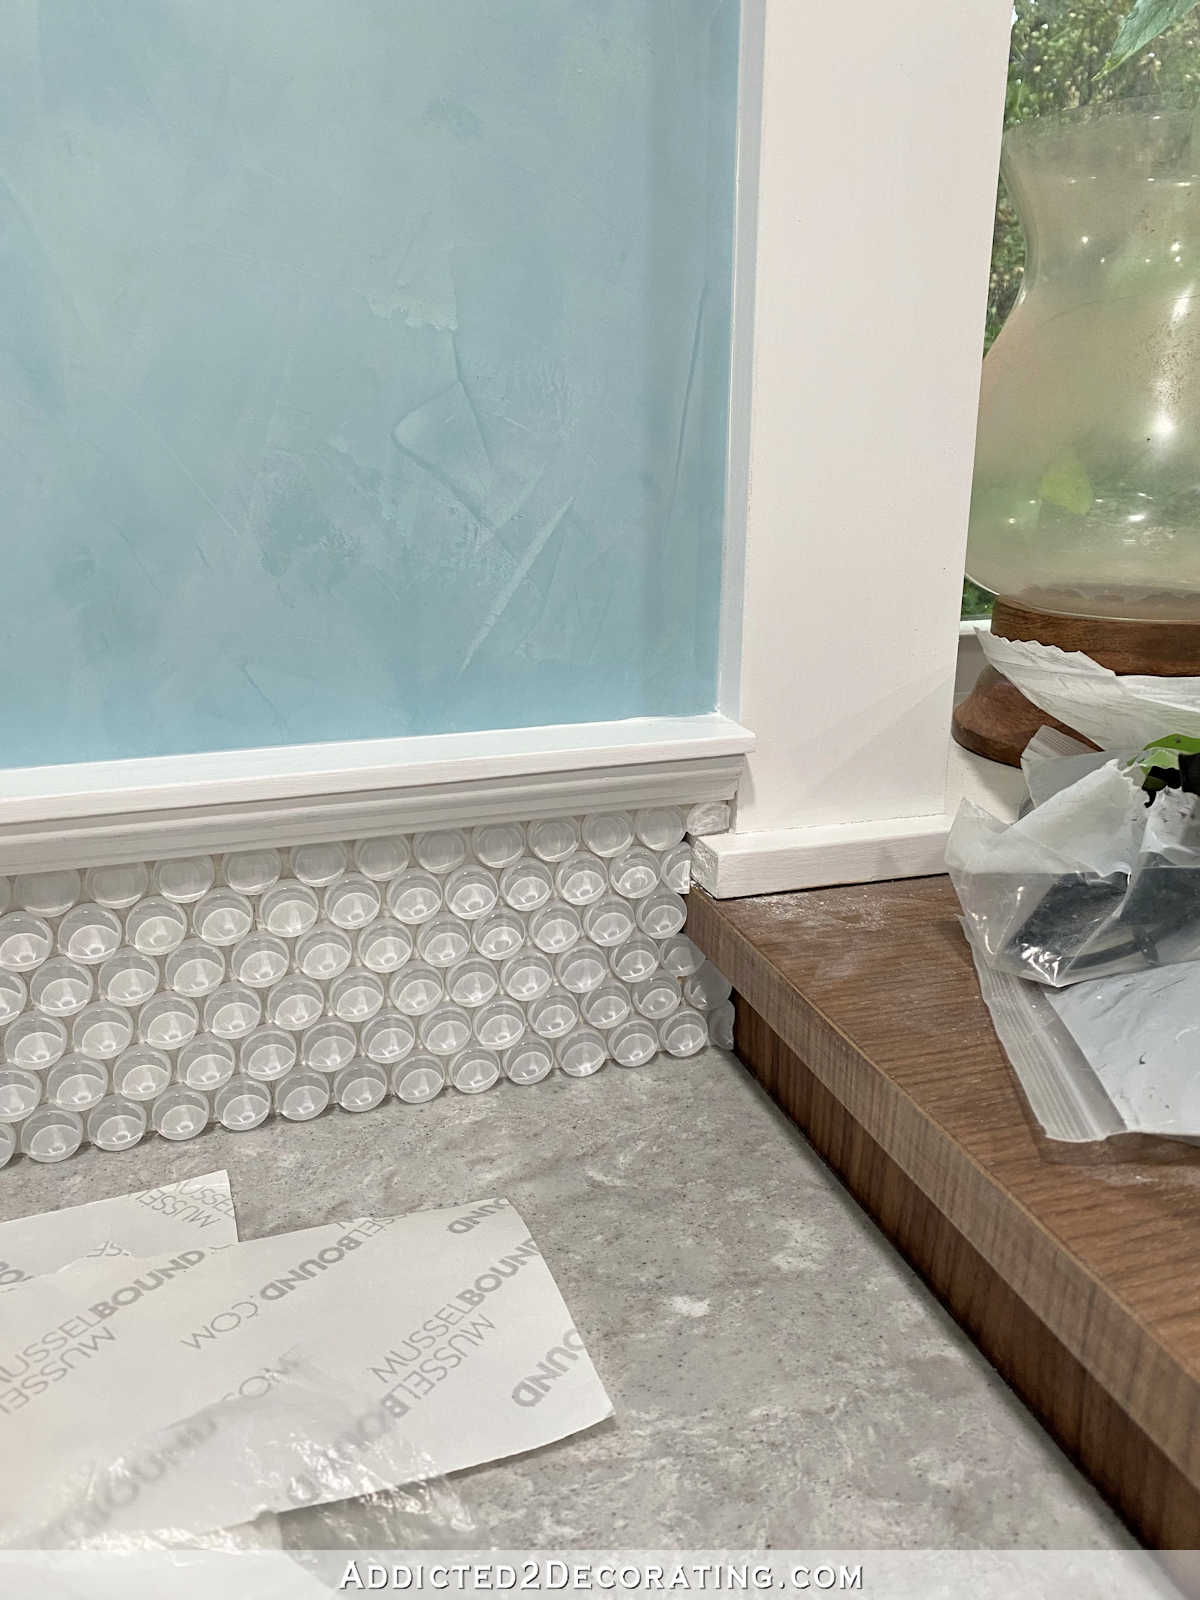
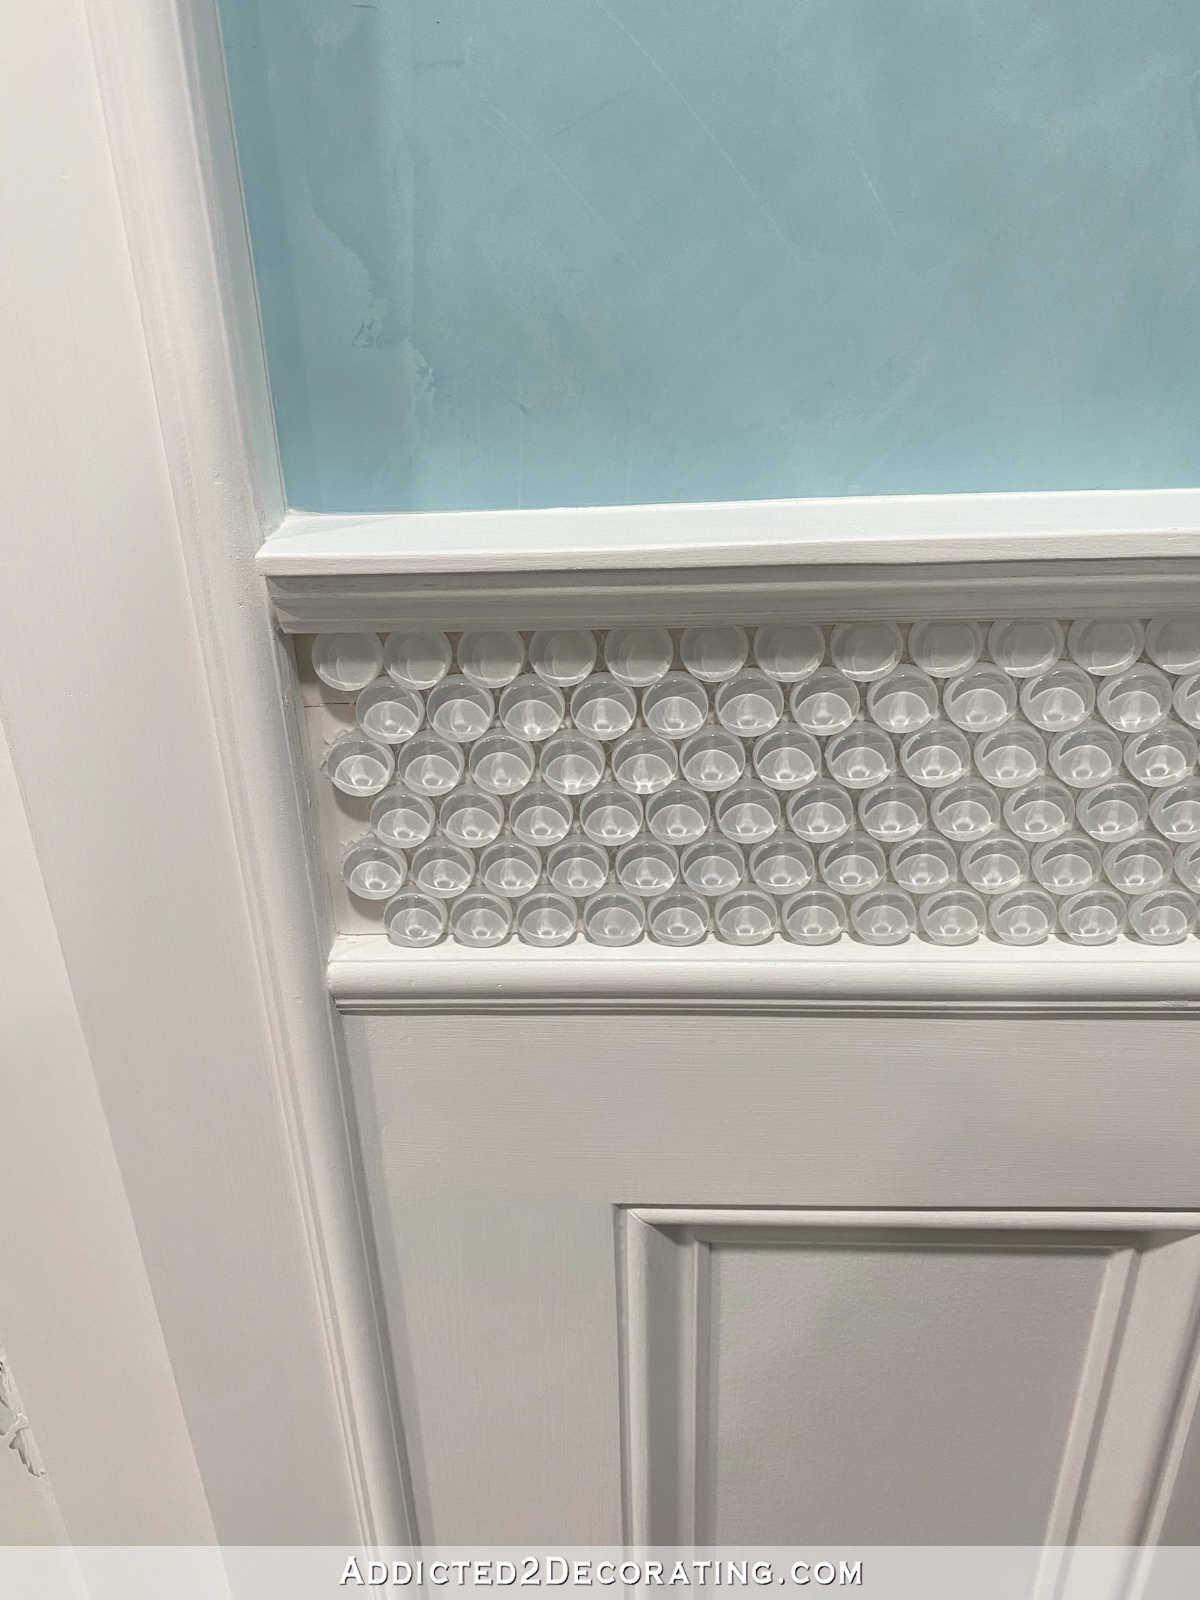
Unfortunately, I tried over and over and over again to cut the ones for the other areas, but I haven’t had any success yet. So the area where the tile dead ends into the door casing still looks like this…
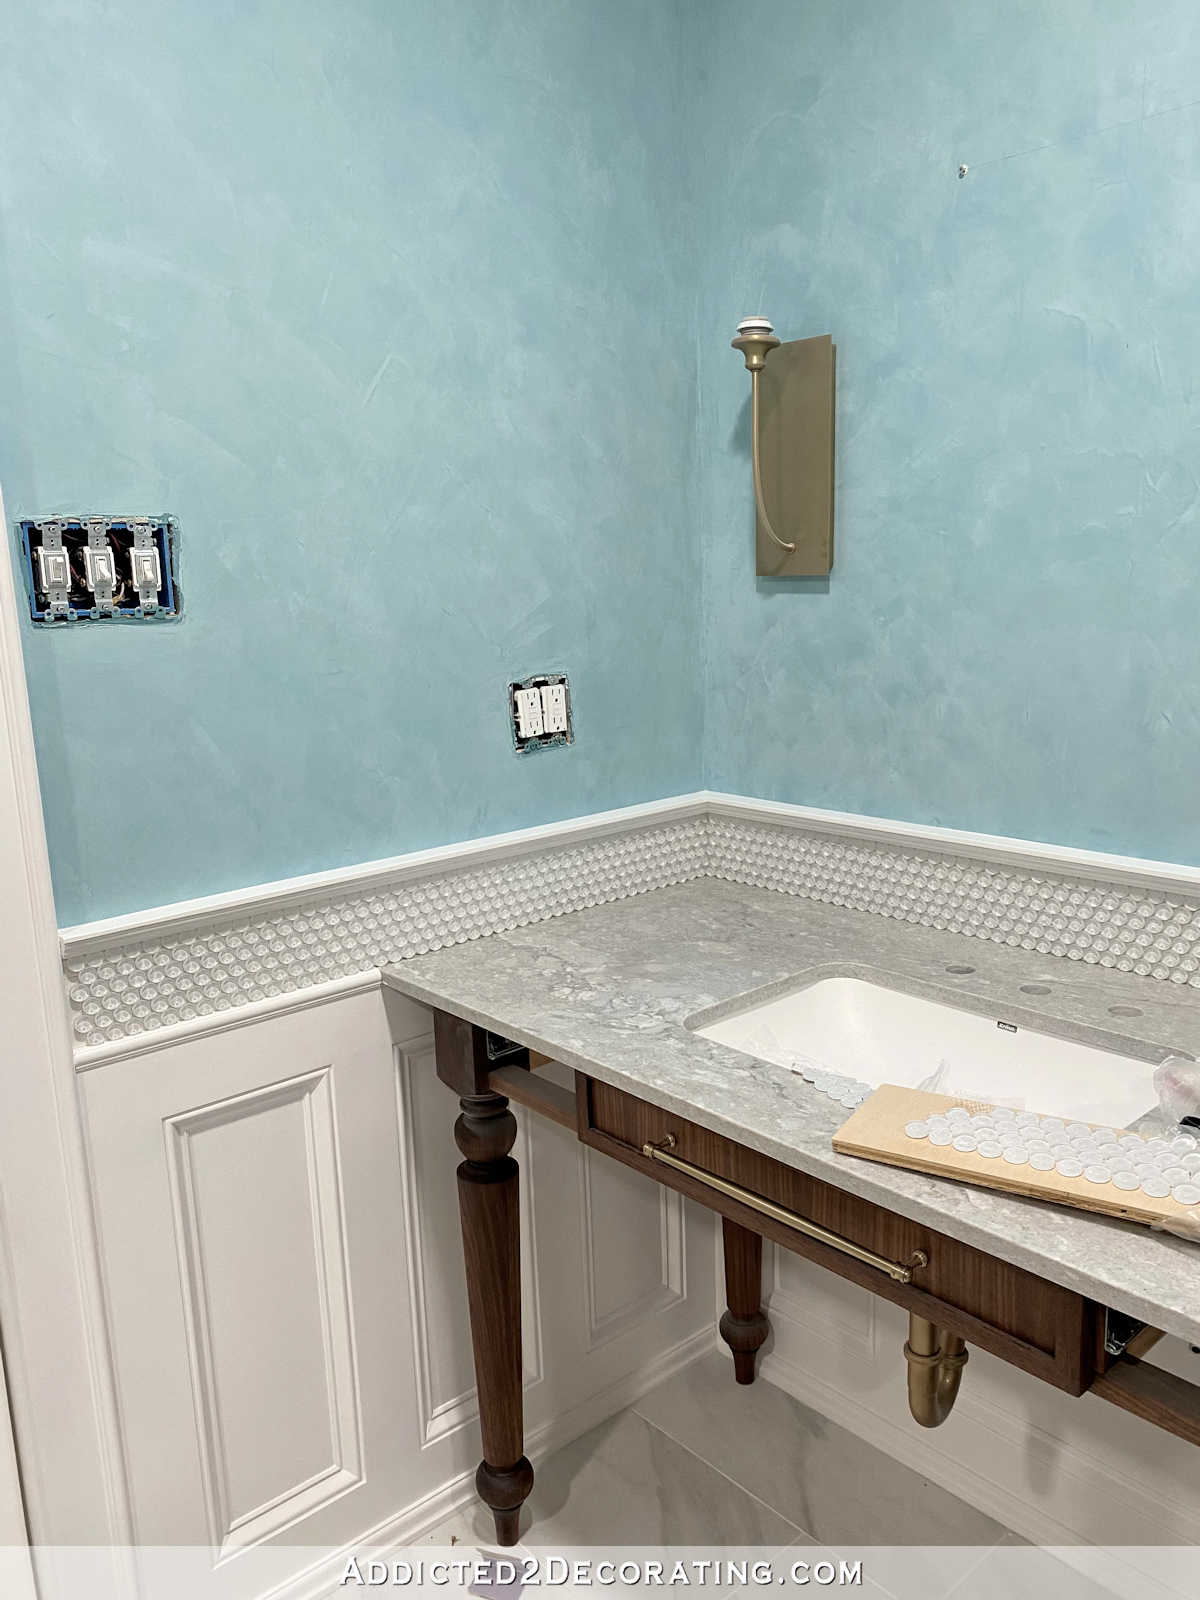
Here’s a closer view so that you can see what I’m dealing with…
And then I have the two ends of this section that will need tiles cut.
I’ll just have to practice a bit more, and then do my best. I can guarantee that those won’t be perfect, but I’m hoping that once it’s grouted, those little cut pieces on the ends won’t be all that noticeable. But, I mean, I can’t really do better than my best effort, so that will have to be good enough.
This will be my final post on the step-by-step wainscoting project. I’ll just update this post once it’s all grouted. Hopefully that will be later today, but that all depends on how long it takes me to cut those tiles. 😀

Addicted 2 Decorating is where I share my DIY and decorating journey as I remodel and decorate the 1948 fixer upper that my husband, Matt, and I bought in 2013. Matt has M.S. and is unable to do physical work, so I do the majority of the work on the house by myself. You can learn more about me here.
I hope you’ll join me on my DIY and decorating journey! If you want to follow my projects and progress, you can subscribe below and have each new post delivered to your email inbox. That way you’ll never miss a thing!
Source link