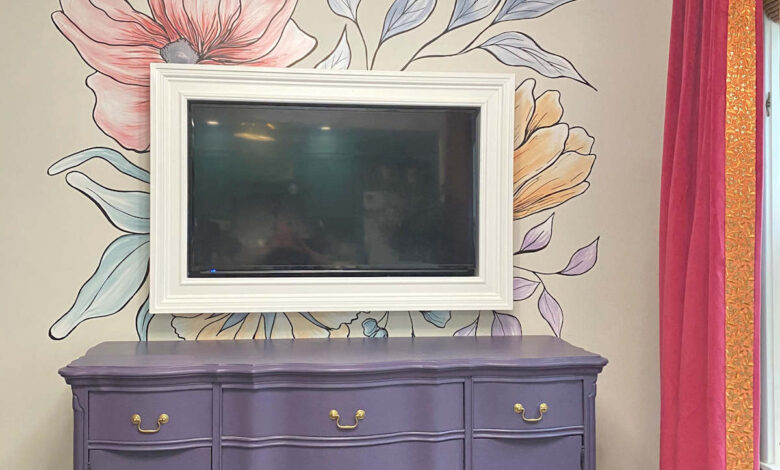
With the changes I’m making in the sitting room, I needed to find something to replace the plates and lanterns I had used on the TV wall for the first iteration of this room. So a couple of weeks ago, I had a grand idea of painting an easy DIY floral wall mural just around the TV frame. The mural was so fast and easy, and it only took me a couple of hours from start to finish.
When it was finished last night, I stood back and looked and thought to myself, “Wow, that’s really pretty.” And my very next thought was, “But it’s not right for this room.”
So while I probably won’t keep the mural (thank goodness it only took a couple of hours and not a few days), I won’t exactly call this a fail. I really do think it turned out pretty, but it’s just a little too….I don’t know what the word is. A little too precious. I think that’s a fitting word.
I do love florals. If you’ve been around here for any length of time, you know that I love flowers and have something floral in just about every room. But I generally like my flowers to pack a punch, either with bold color, or a bold design, or both combined. And this is just a little too soft and precious for me. But I thought some of you might benefit from seeing the process I used, and maybe you can use the process to design your own frame-style wall mural.
So here’s how the wall mural turned out…
So let me show you how I did it. And don’t worry. This is yet another project that takes little to no actual artistic ability.
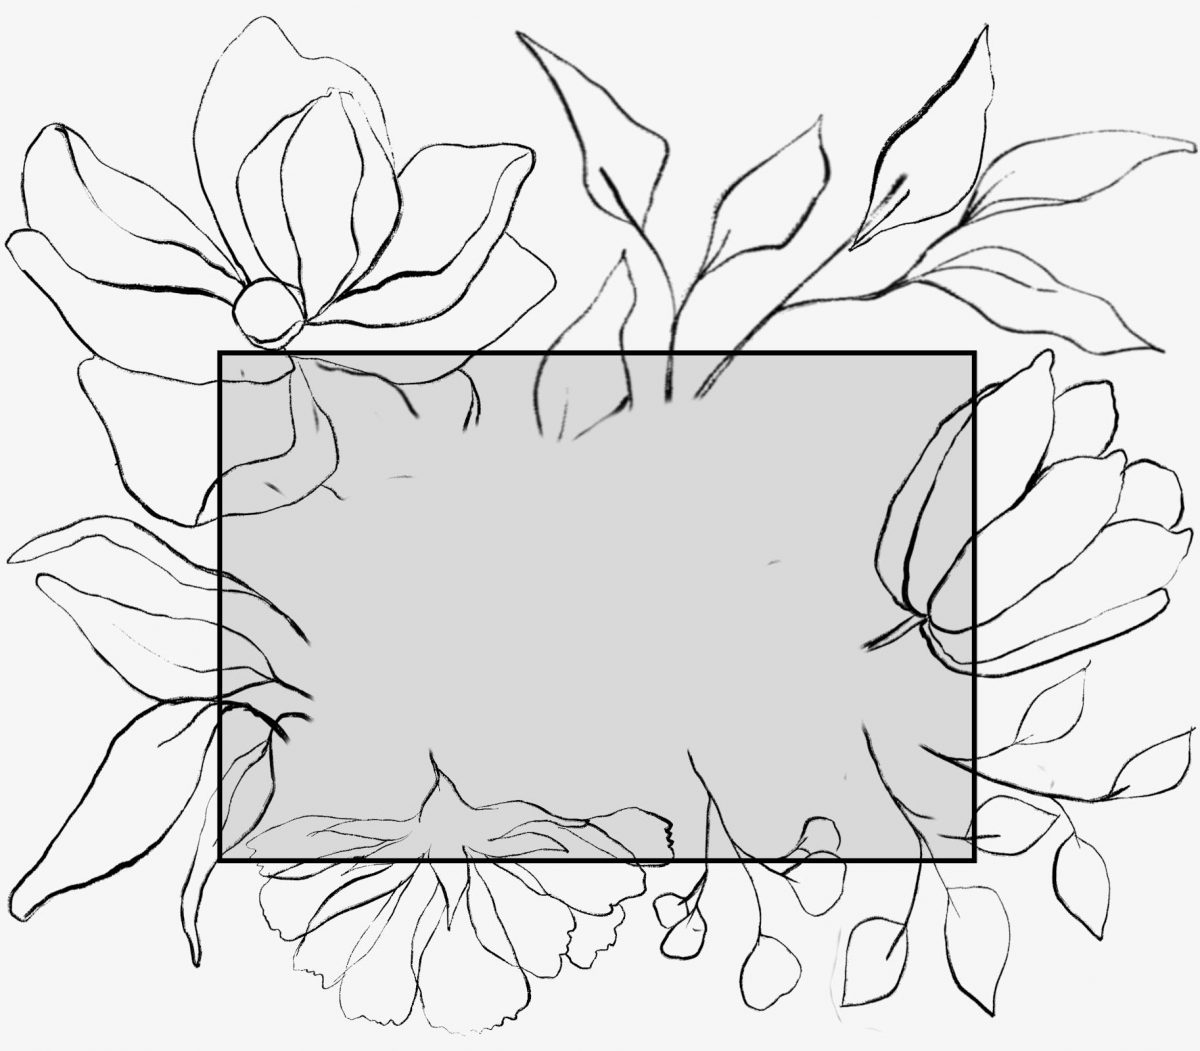
First, I headed over to one of my favorite websites to find creative hand-drawn flowers (among a thousand other things) that various artists offer — creativemarket.com. I knew what I wanted, so I searched “line art flowers.” There were plenty to choose from, and I ended up selecting this package. Each flower or stem is a separate .png file on a transparent background, so I used my photo editing software to layer the flowers and arrange them like I wanted them. I added a rectangle to represent the position of the TV frame.
The photo editing software that I use is Paint Shop Pro. I’ve used it for years, and I love it. Even my mom, who is a retired professional photographer and photo restoration pro who uses nothing but Photoshop, has commented in the past about how impressive this software is for the price (it’s a one-time cost of under $50).
Anyway, if you don’t have a photo editing software, but you do have a printer, you can move to the next step and just arrange your flowers by hand and trace them. You might go through several plastic bags and several prints of your flowers to adjust the sizes, but it’s very possible to do it this way and skip the photo editing software altogether.
But since I did my arrangement on the computer, I printed it out on regular printer paper. Then I cut a 1-gallon freezer bag into two pieces…
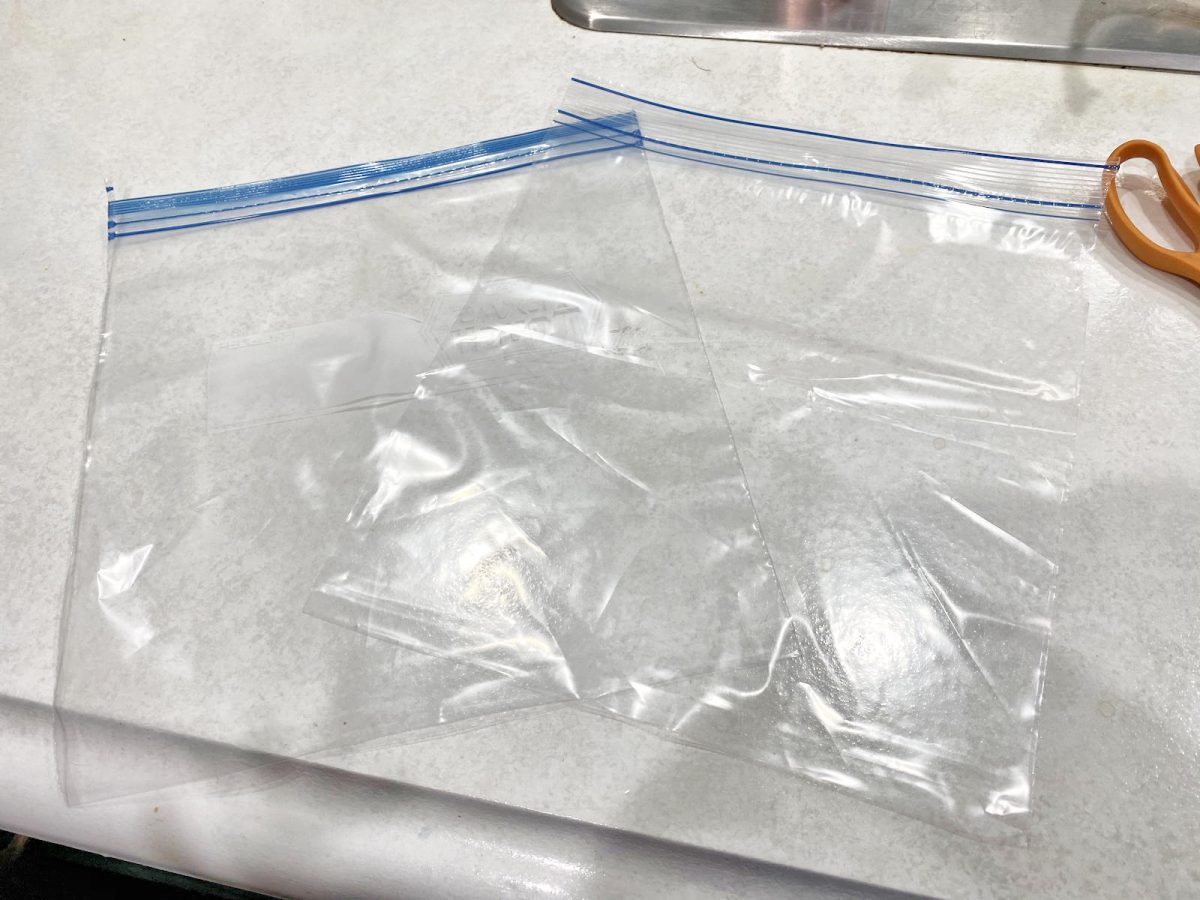
And then I used the back side of the bag (i.e., the side with nothing printed on it) to trace my design using a permanent marker.
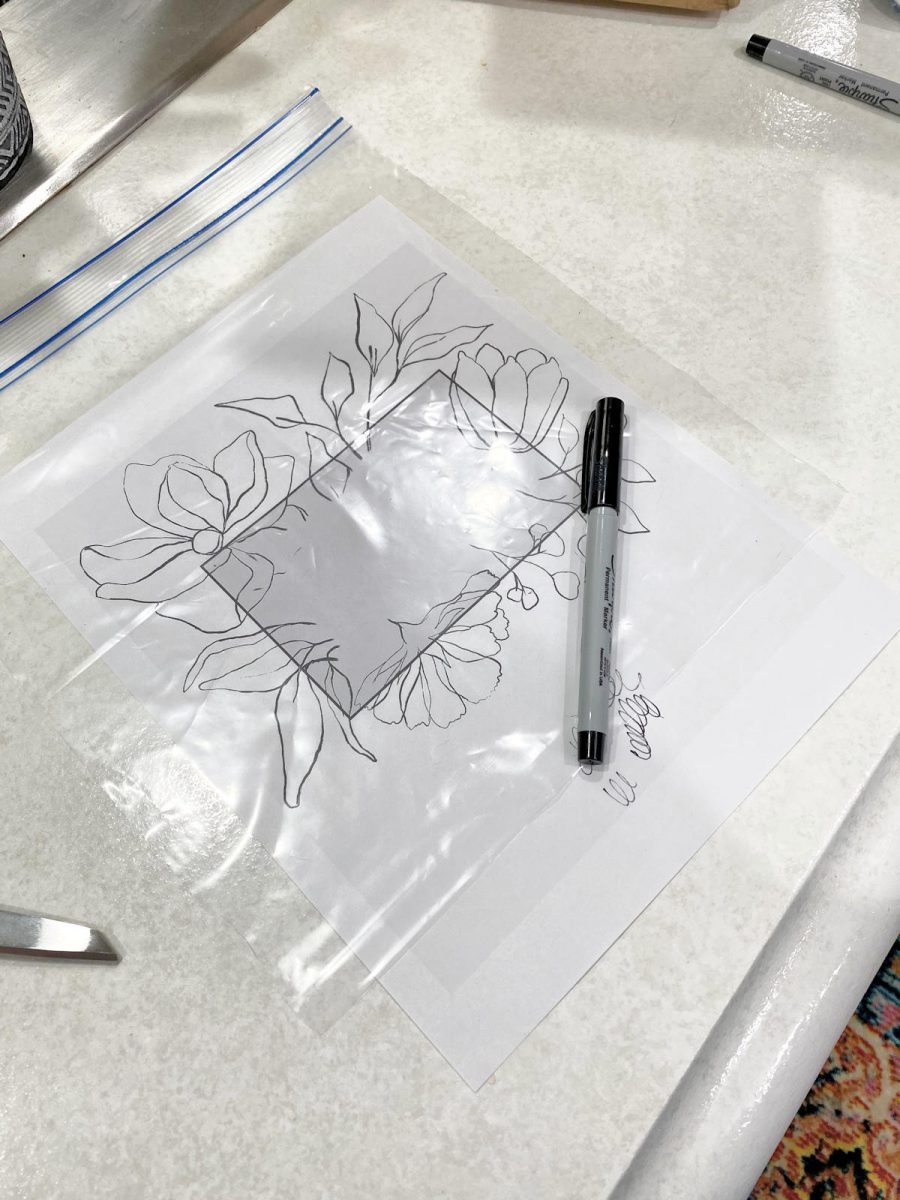
It was a quick and easy way to make a transparency for my overhead projector.

If I had a more elaborate design, like the one I did on the guest bedroom wall, I would have taken the file to FedEx Office and had them print it out on a transparency. But since this design was so simple, I could hand trace the design onto the plastic bag AND draw the design onto the wall in the amount of time it would have taken me to drive to FedEx Office.
Before removing the TV frame from the wall, I used a pencil to trace lightly around the frame. I used my photo editing software to enhance the lines on the photo below, but they were actually very light pencil marks.
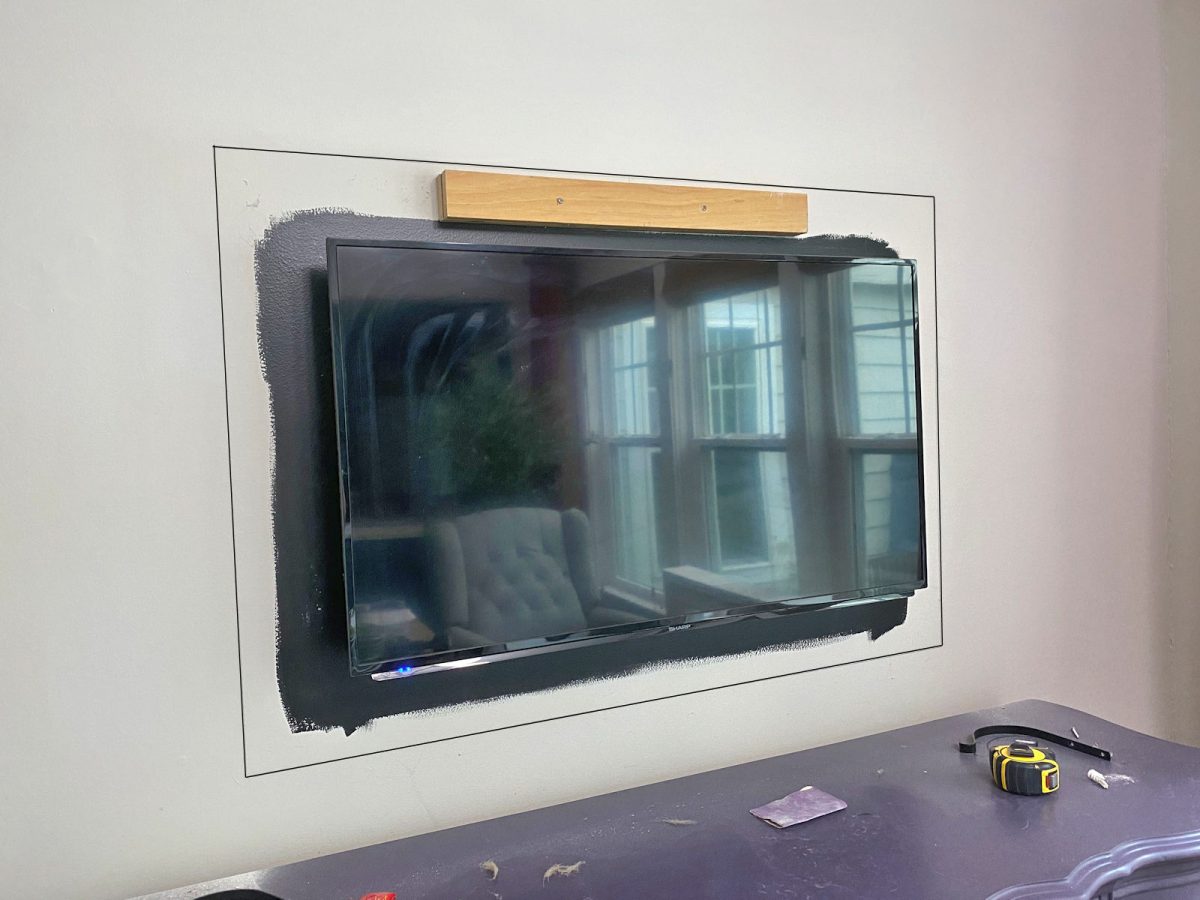
And then I set up my overhead projector (which I bought for around $50 on Ebay) on the kitchen peninsula countertop, lined up the rectangle on the transparency design with the rectangle I drew on the wall, and then traced the design onto the wall…

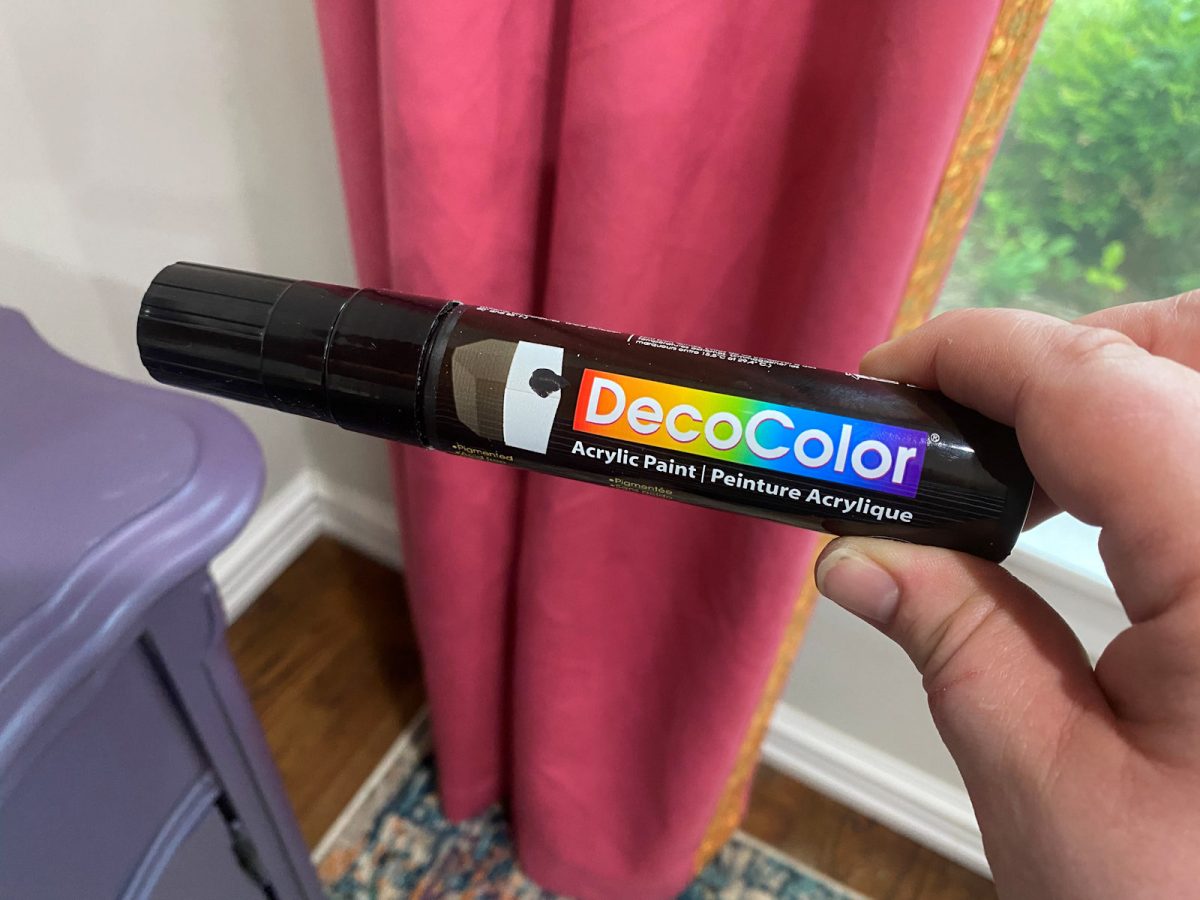
I used a DecoColor acrylic paint pen to draw the design on the wall.
And when the design was traced on the wall, it looked like this…
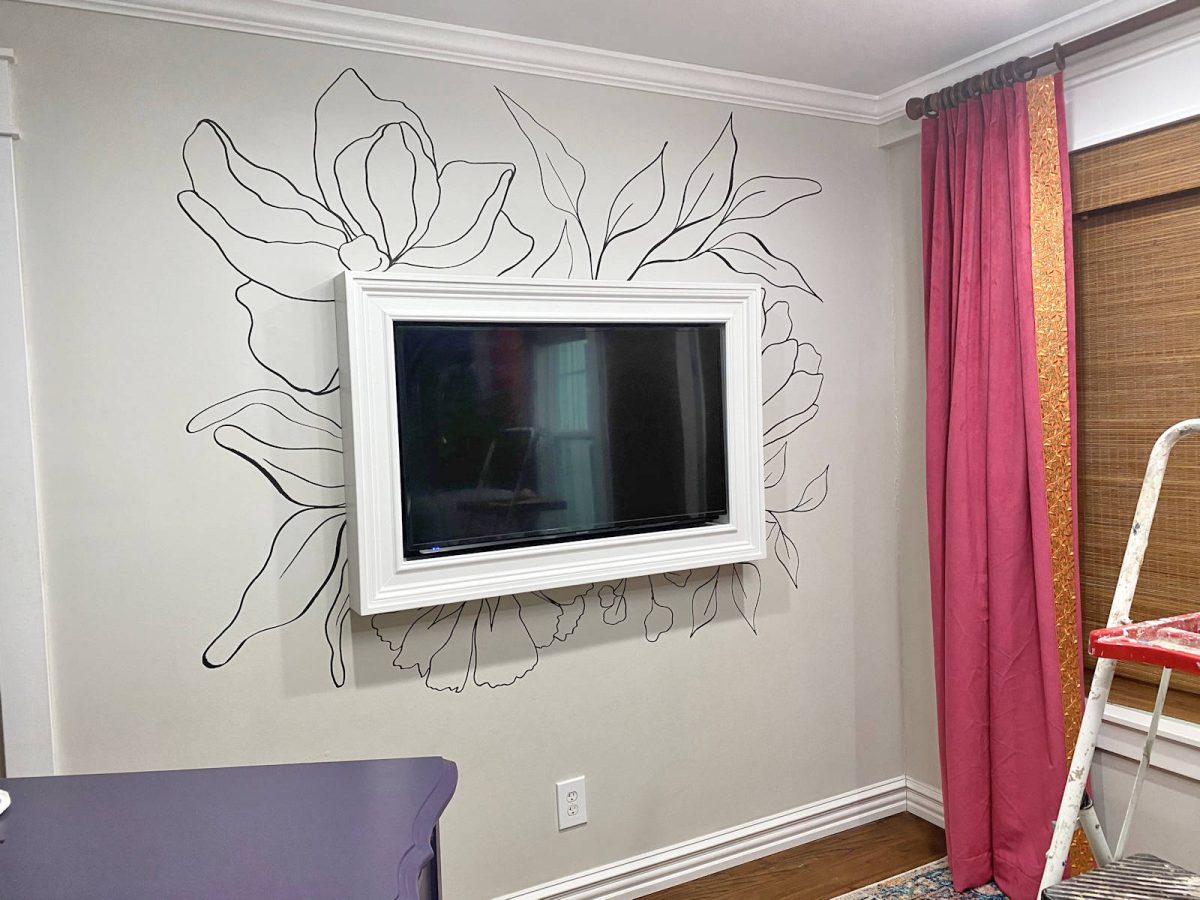
Tracing the design took about ten minutes, start to finish.
I had actually thought that maybe just a simple black line art design would be enough, but it looked a little plain to me. So I decided it needed color. This was also a fairly quick and easy process because the key is to not overthink it. Starting with the tulip, I used a large brush (the 2.5-inch sash brush I used to paint trim) to fill in each petal, and then used a 1-inch square artist brush and brushed on orange paint starting at the base of each petal and going towards the tip of the petal. As I repeated this, the white and orange blended a bit and gave some depth to each petal.
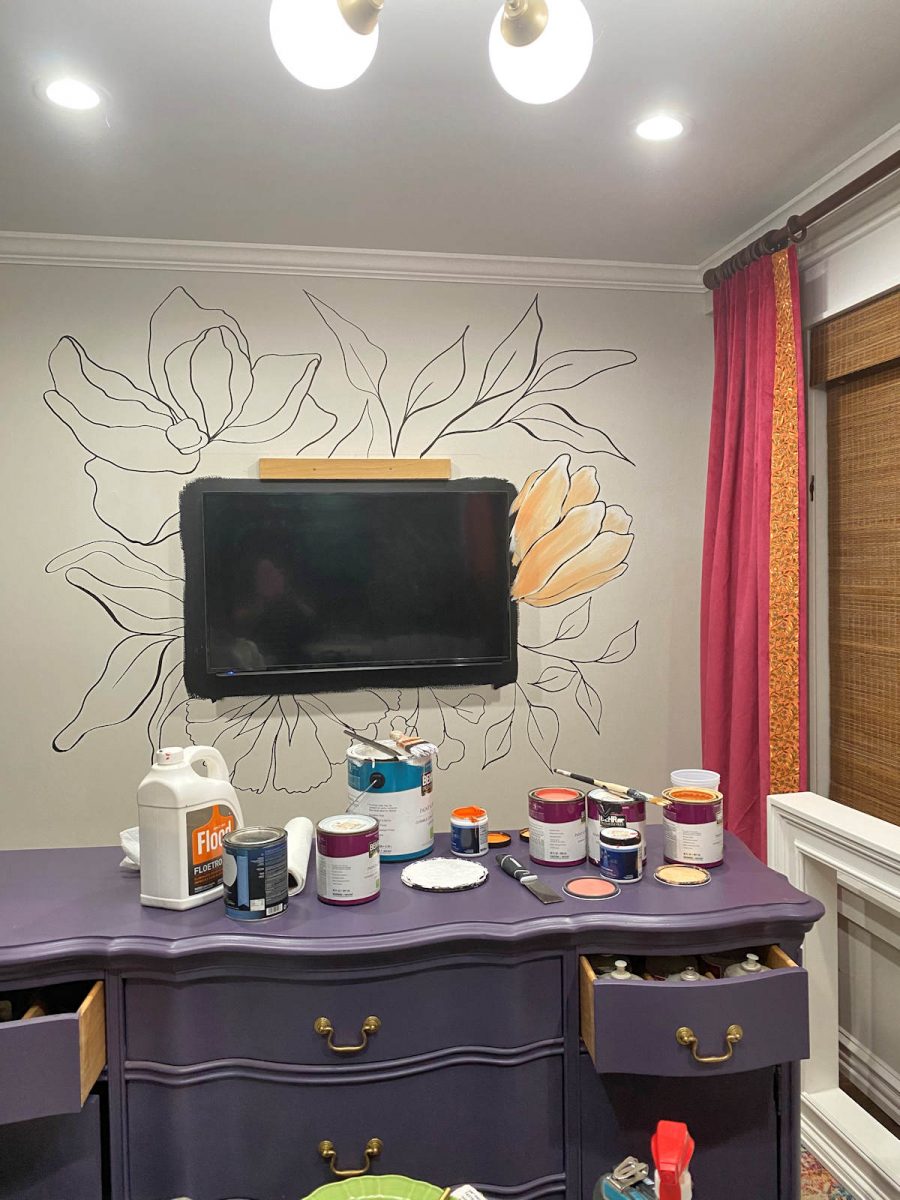
I repeated that exact process on the other leaves and flowers — fill each leaf or petal with white, and go back over it with a little color, starting at the base and brushing towards the tip.
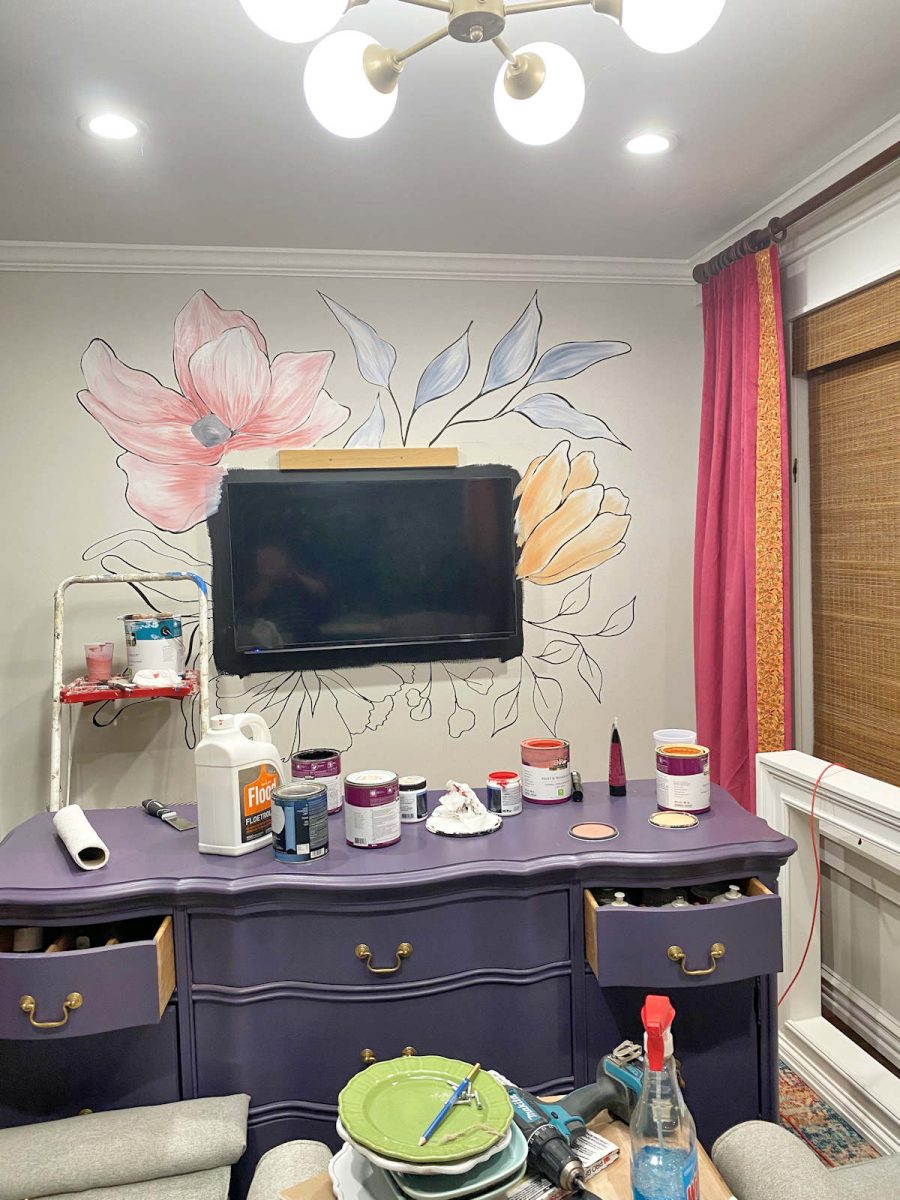
After everything was painted, I went back and touched up the black lines, and added a few more.

This was so easy and pretty fast, as far as wall mural projects go. And I really do think it’s pretty, but it just doesn’t quite seem right for this room. Oh well. It was a fun way to spend a couple of hours on a Sunday evening. 🙂 But now I need a new idea for this wall. The wall looks WAY too plain with just the buffet and the framed TV. But the mural was my one and only idea for that wall. Back to the drawing board!

Addicted 2 Decorating is where I share my DIY and decorating journey as I remodel and decorate the 1948 fixer upper that my husband, Matt, and I bought in 2013. Matt has M.S. and is unable to do physical work, so I do the majority of the work on the house by myself. You can learn more about me here.
I hope you’ll join me on my DIY and decorating journey! If you want to follow my projects and progress, you can subscribe below and have each new post delivered to your email inbox. That way you’ll never miss a thing!
Source link