My entryway is looking a little different now because I gave my credenza a quick makeover. This is a credenza that I built myself about four years ago, and at that time, I gave it a light whitewashed look (using liming wax) and used grasscloth on the drawer fronts.
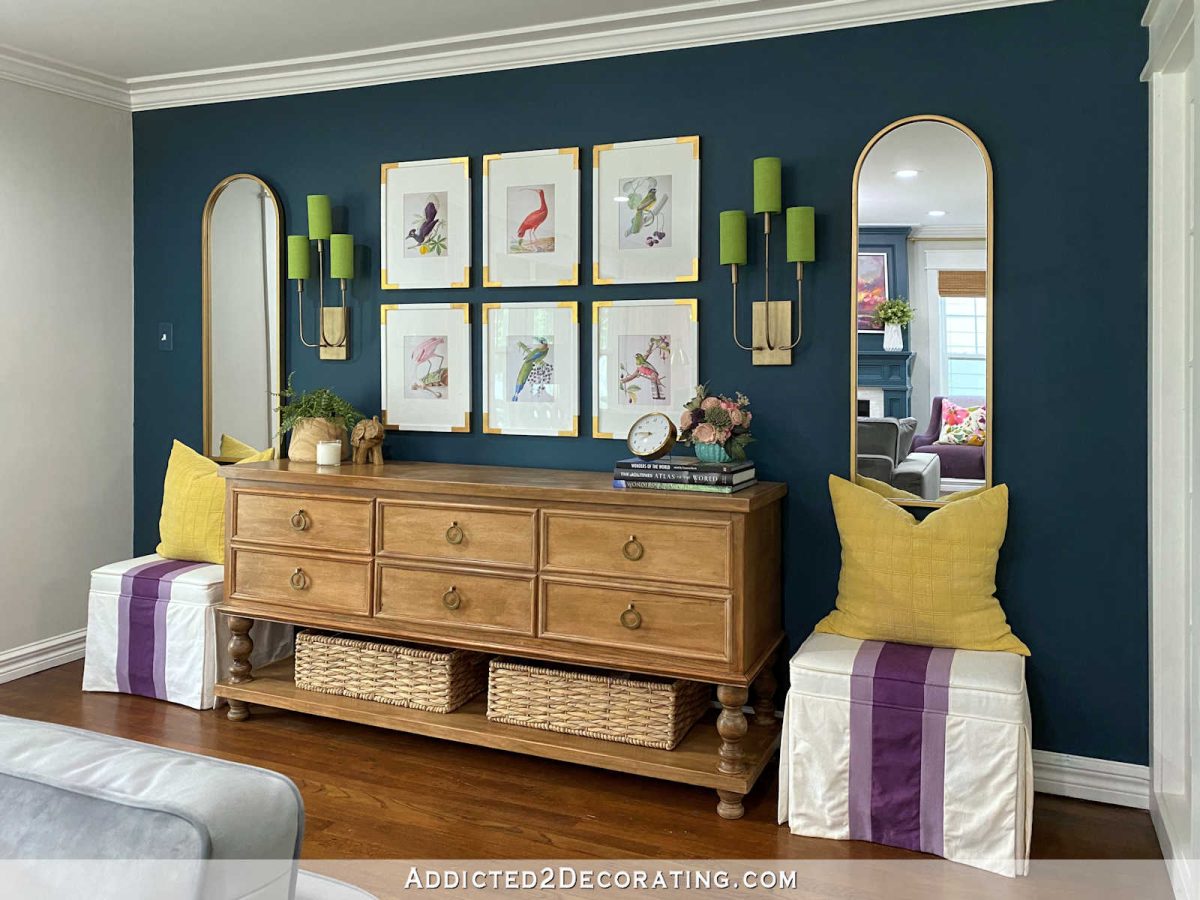
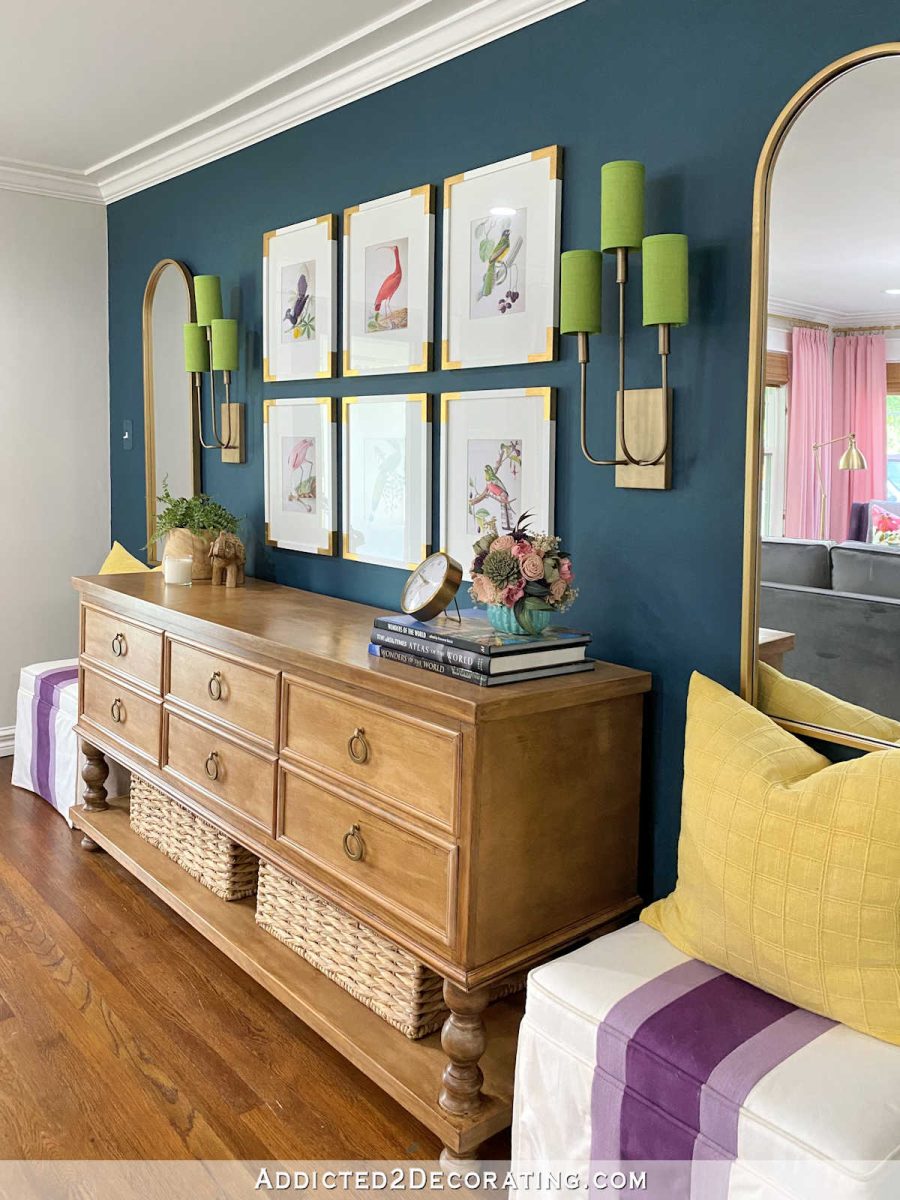
When my new sofa arrived a week ago, the credenza (and specifically those grasscloth drawer fronts) seemed to clash with the blue undertones of the new sofa. So I set out to find a way to make the credenza work. In the end, I went with removing the grasscloth, and then giving the whole credenza a coat of Annie Sloan dark wax. And here’s what it looks like now.
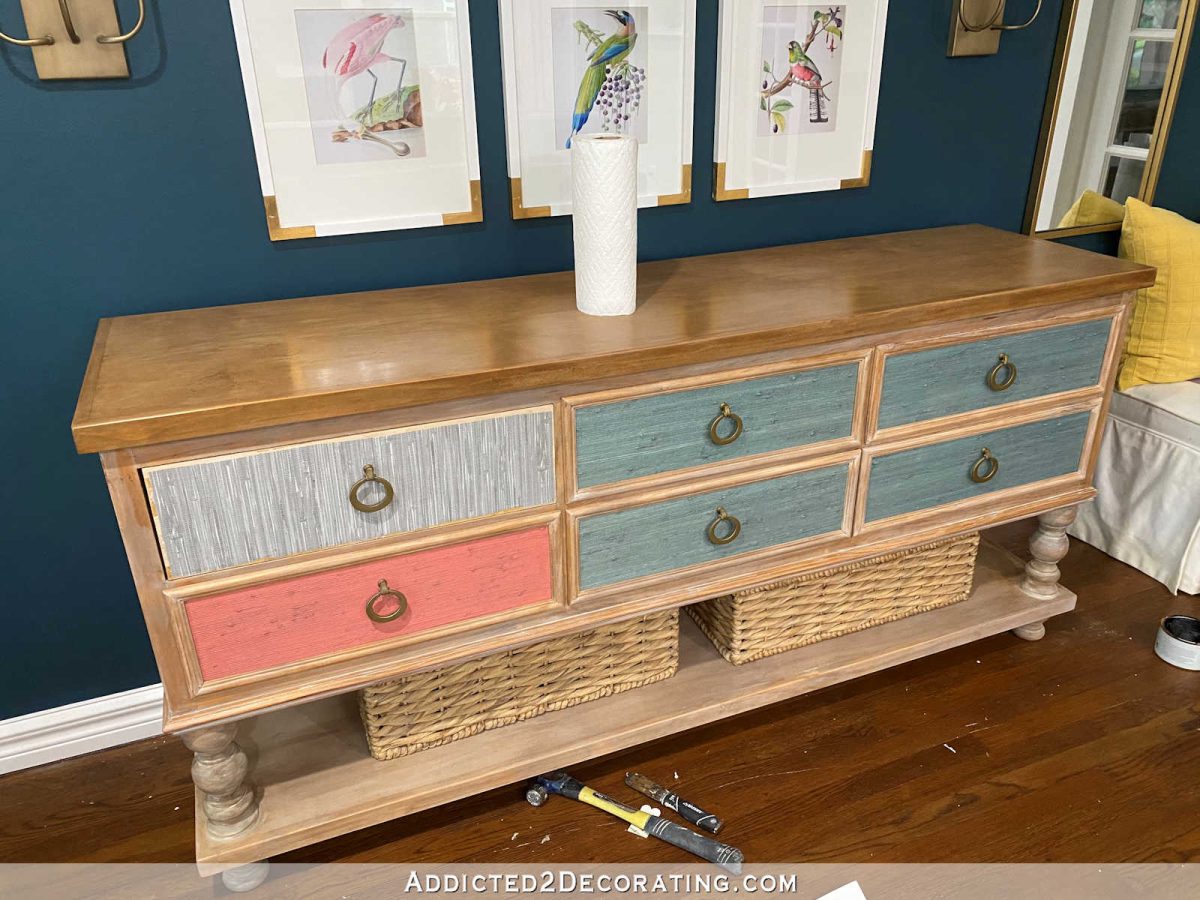
Getting to that final decision was a process. I originally considered painting the drawer fronts, but after trying one drawer, that didn’t look right to me.
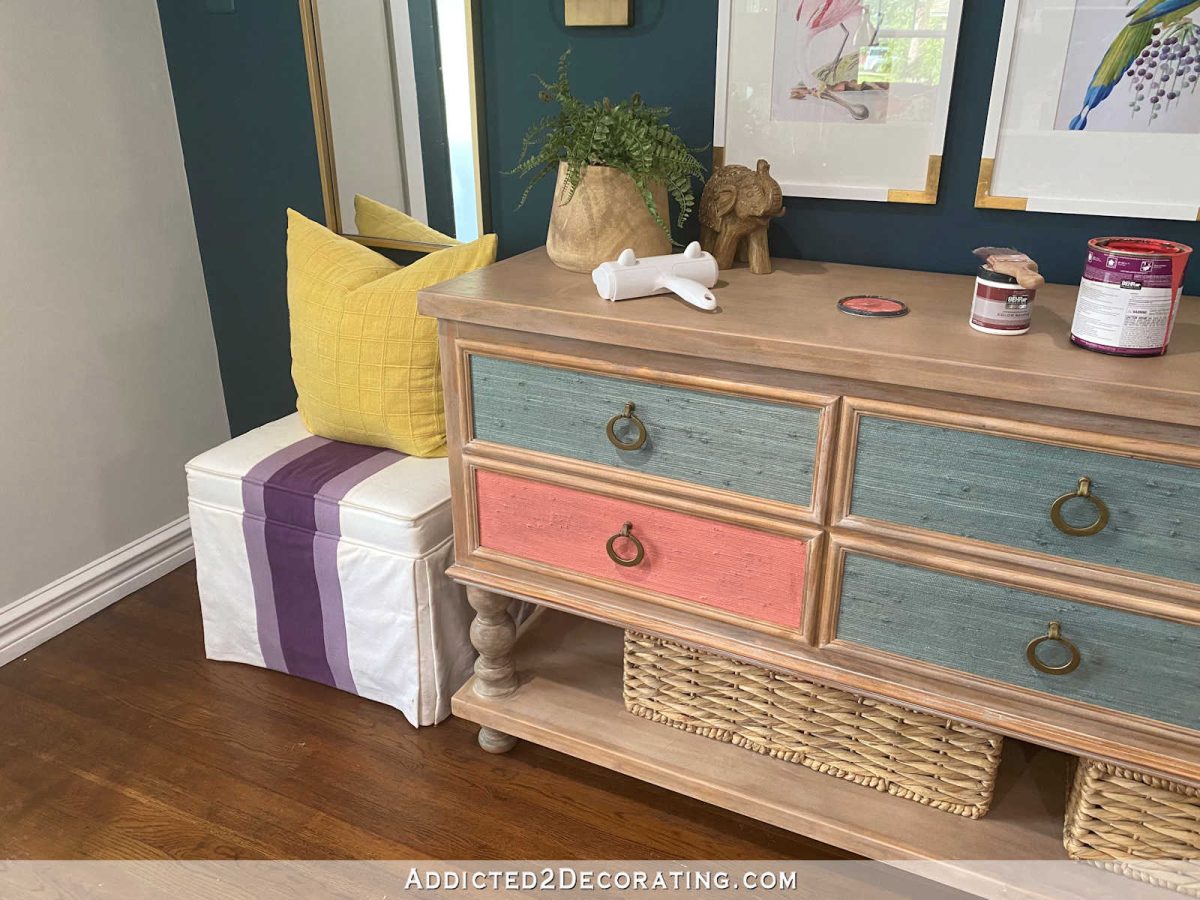
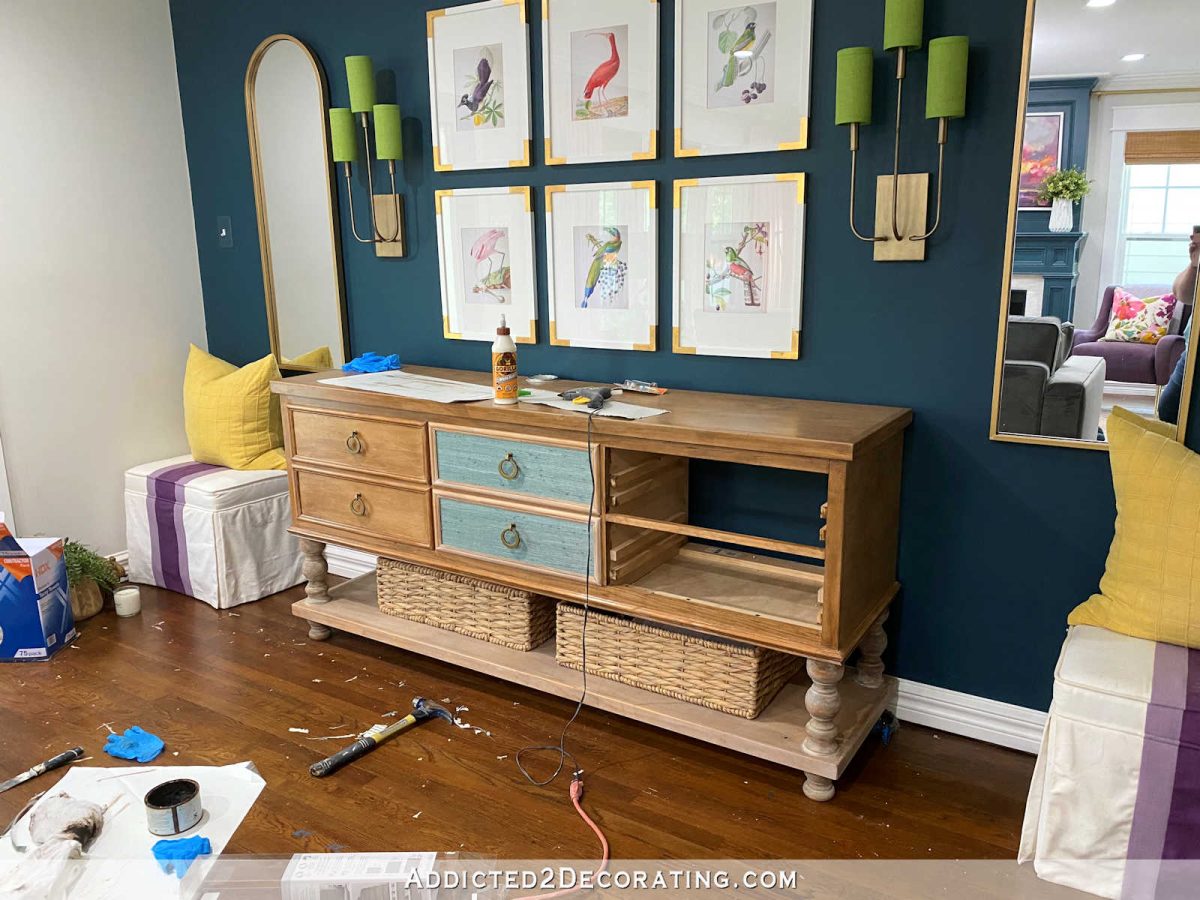
Then I thought I could just remove the frames around the drawers, replace the grasscloth with something else, reattach the frames, and be done with it. But the only thing I could find locally was this vinyl self-adhesive wallpaper from Lowe’s that kind of looks like grasscloth. And since it wasn’t wide enough to be placed horizontally on the drawers, I tried it vertically.

I didn’t like the color with the original washed look of the credenza, so I tried to darken the wood (starting on the top) using some Annie Sloan Dark Wax that I’ve had since the condo days. Applying the wax was as easy as wiping it on with one cloth, and then wiping off the excess and buffing it with another cloth. Quick and easy. I liked the darker wood, but I still didn’t like the new gray faux grasscloth wallpaper on the drawer fronts.
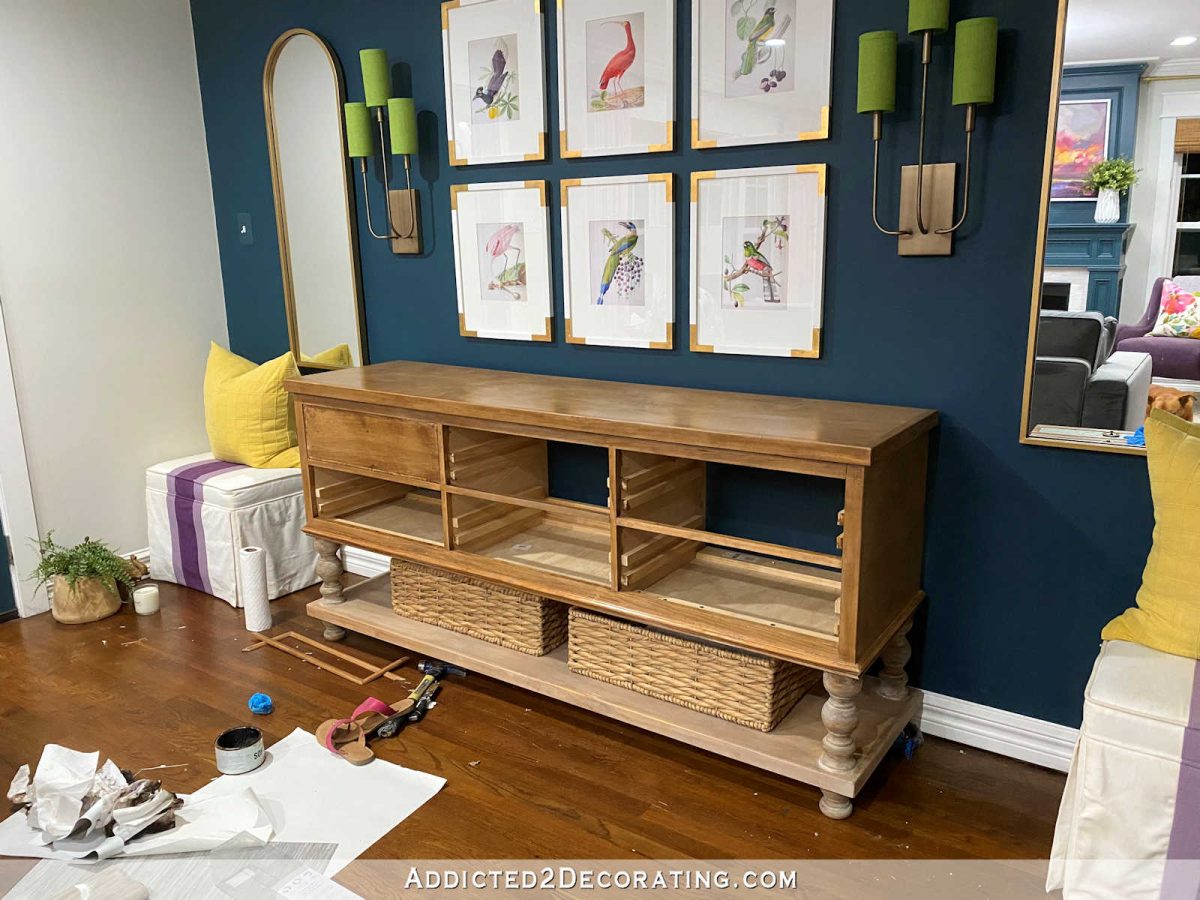
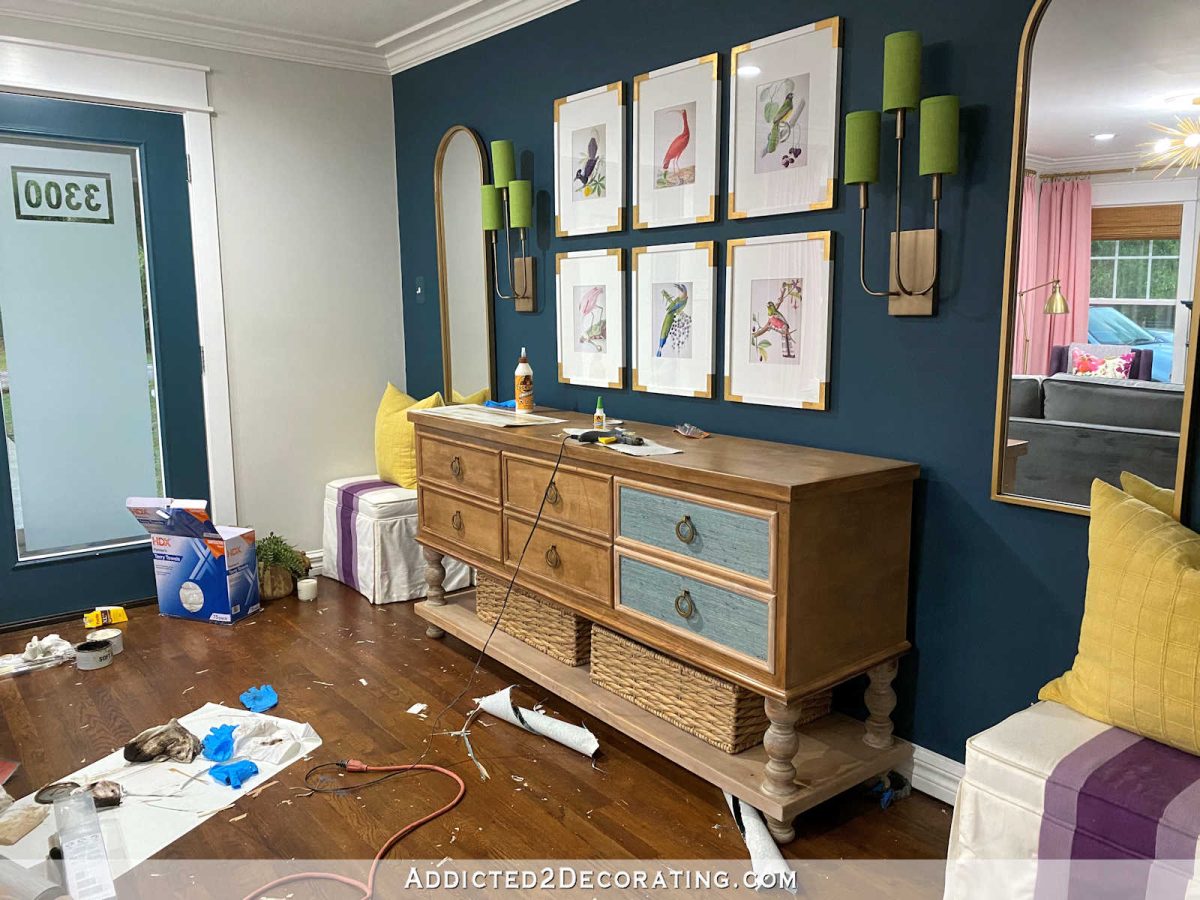
So then I decided to take the grasscloth off, sand the adhesive off of the plywood fronts, and then use the wax on plywood and see if I could get those to match the rest of the credenza that was getting a coat of dark wax. I was doubtful since the body of the credenza had that light washed look of the liming wax, while the drawer fronts were just unfinished plywood. But to my surprise, it looked pretty good!
And more importantly, I liked how it looked sitting behind the new sofa. If I could have chosen the perfect stain color to suit my personal taste, this would not have been it. This has that touch of orange, and I would have preferred something a little more neutral, and perhaps just a little bit darker and richer in color. But this really is fine, and I like it so much more than the light finish/grasscloth combo from this vantage point.
So I continued. Each drawer took about 30 minutes from start to finish — removing the trim frame, removing the grasscloth, sanding off the adhesive, giving the drawer fronts a coat of clear wax, giving the drawer fronts and frames a coat of dark wax, and then reattaching the frames to the drawer fronts.
With each drawer that I finished, I loved it even more. It’s amazing how a couple of small changes can give a piece of furniture (and a whole wall or room) such a different look.
Anyway, after all of that, I now have a solid stained/waxed credenza sitting on that wall behind the sofa. No more teal grasscloth clashing with my gray sofa with the blue undertones. I like this so much better with the sofa.
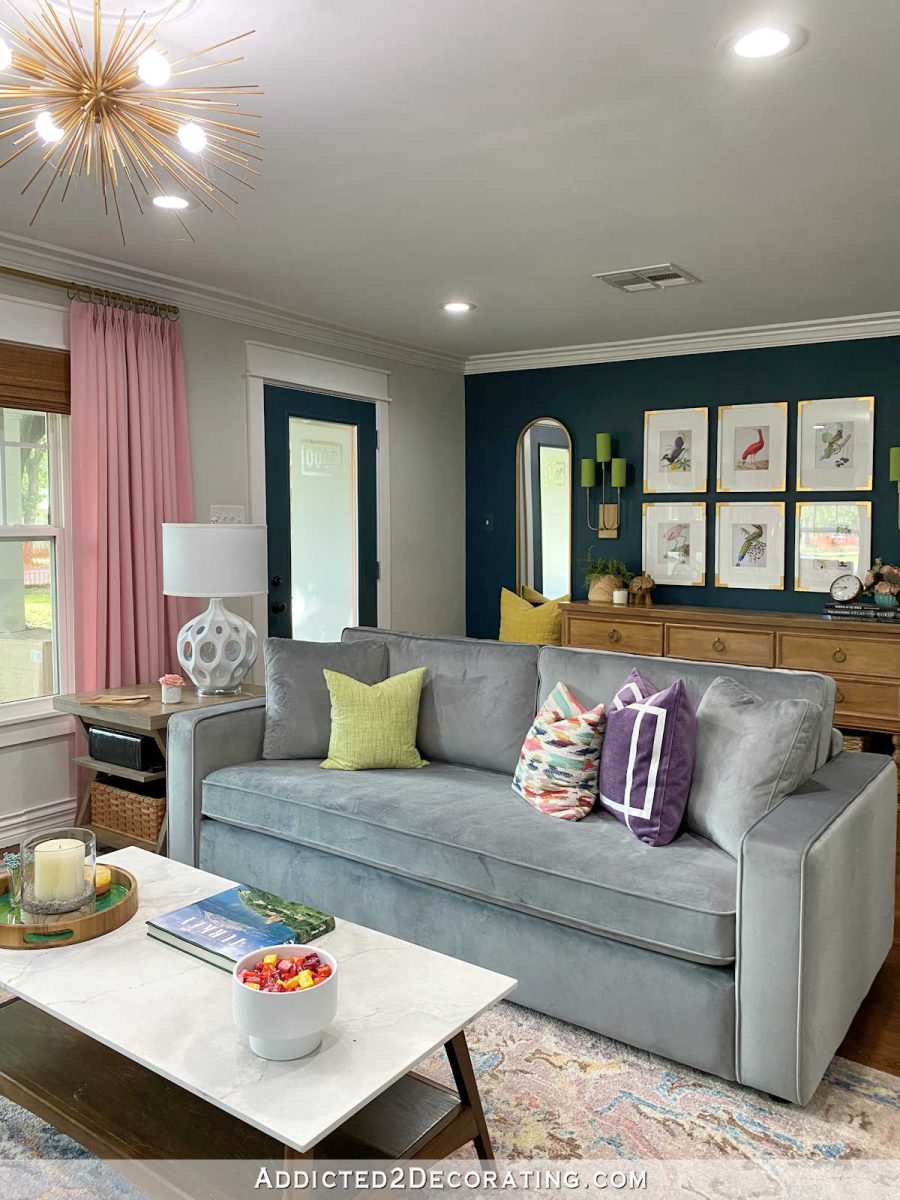
And I like the overall look as well. So many of you encouraged me to keep the wood rather than painting the piece, and I think that was the right decision.
And while the finish isn’t perfect, I do like that the new finish doesn’t have such a rustic look to it that the original finish had.
Anyway, I’m glad that’s done. I wanted to go ahead and take care of that because I didn’t like that I had gone from a completely finished living room and entryway that I loved (other than the sofa that my cat had shredded) to a living room and entryway with a beautiful new sofa, but with a credenza that now made me cringe every time I looked at it behind the sofa. So with a couple of days of work, I’m now back to a finished living room and entryway that I love again. It was worth it.
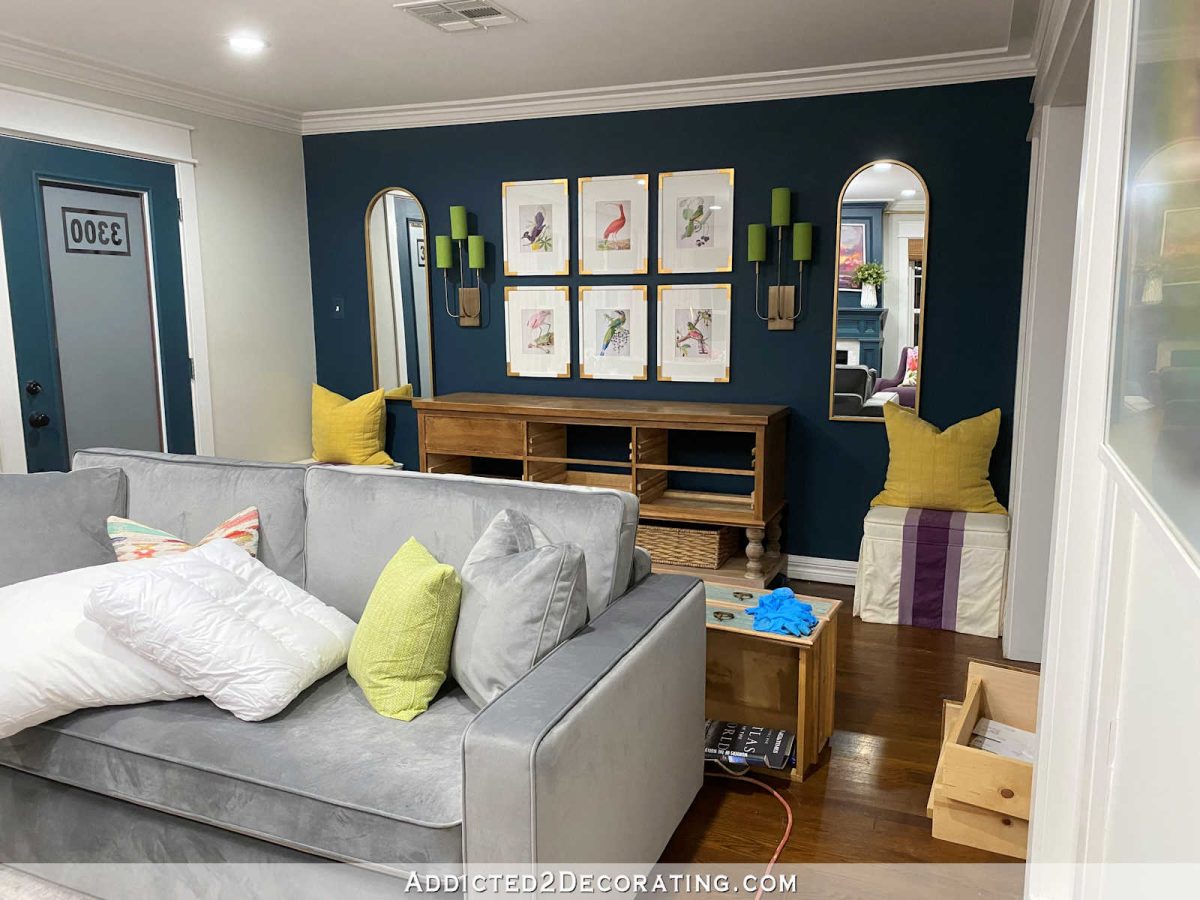
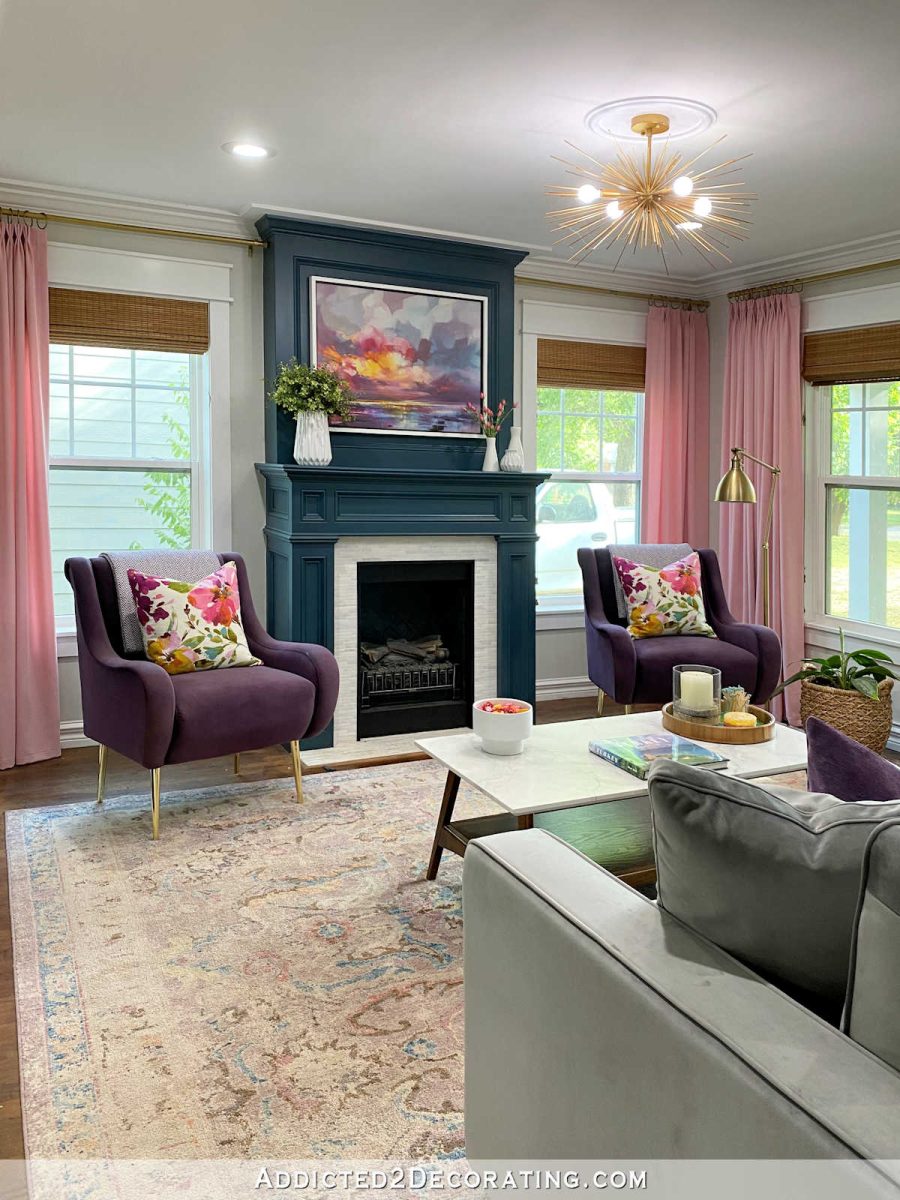
I’ll end this post with an almost-but-not-quite-180-degree view of this whole area.
While standing in the cased opening between the entryway/living room and music room, the living room is to the left. On that wall on the left, you can see the teal fireplace which is flanked by two purple chairs.
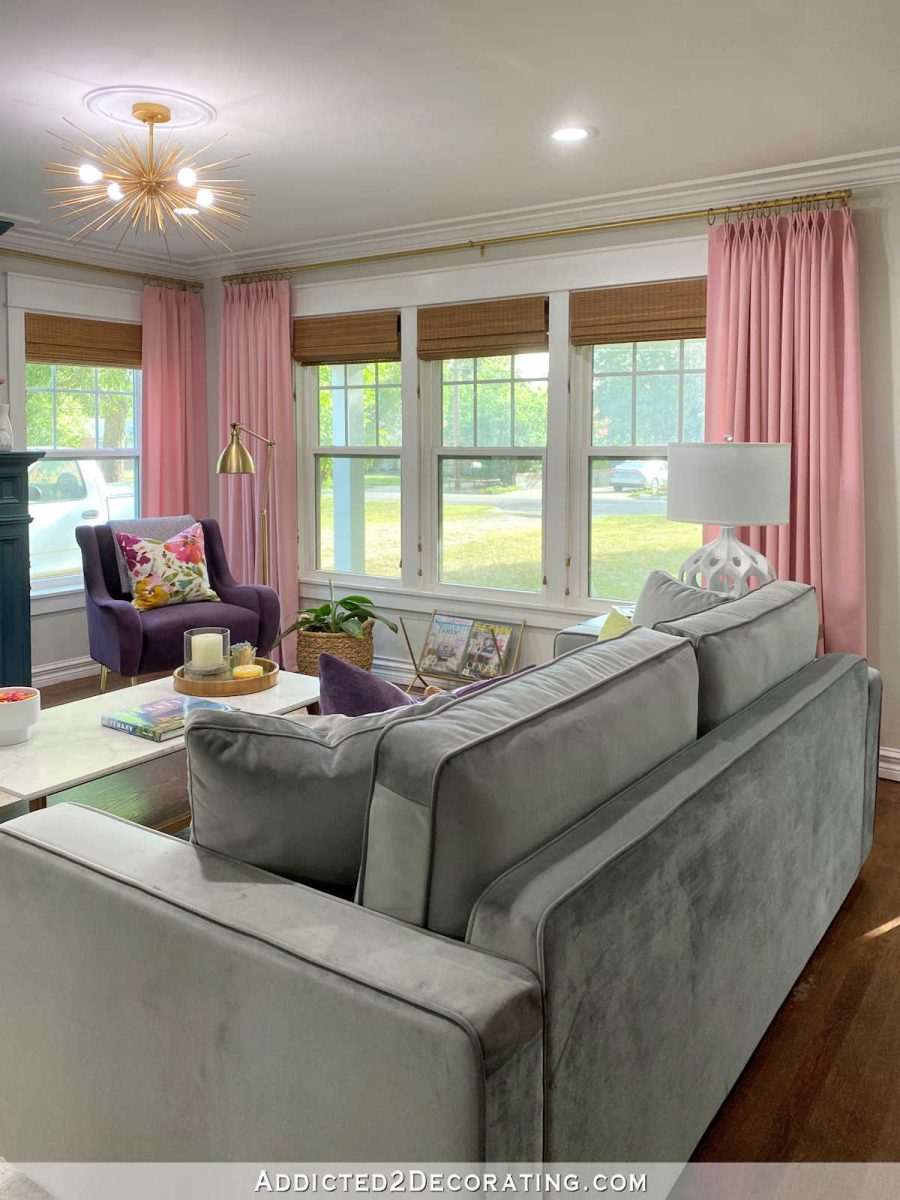
Looking straight ahead, you see the front door and the “entryway” that is created by the placement of the sofa to separate the living room furniture from this “entryway” area.
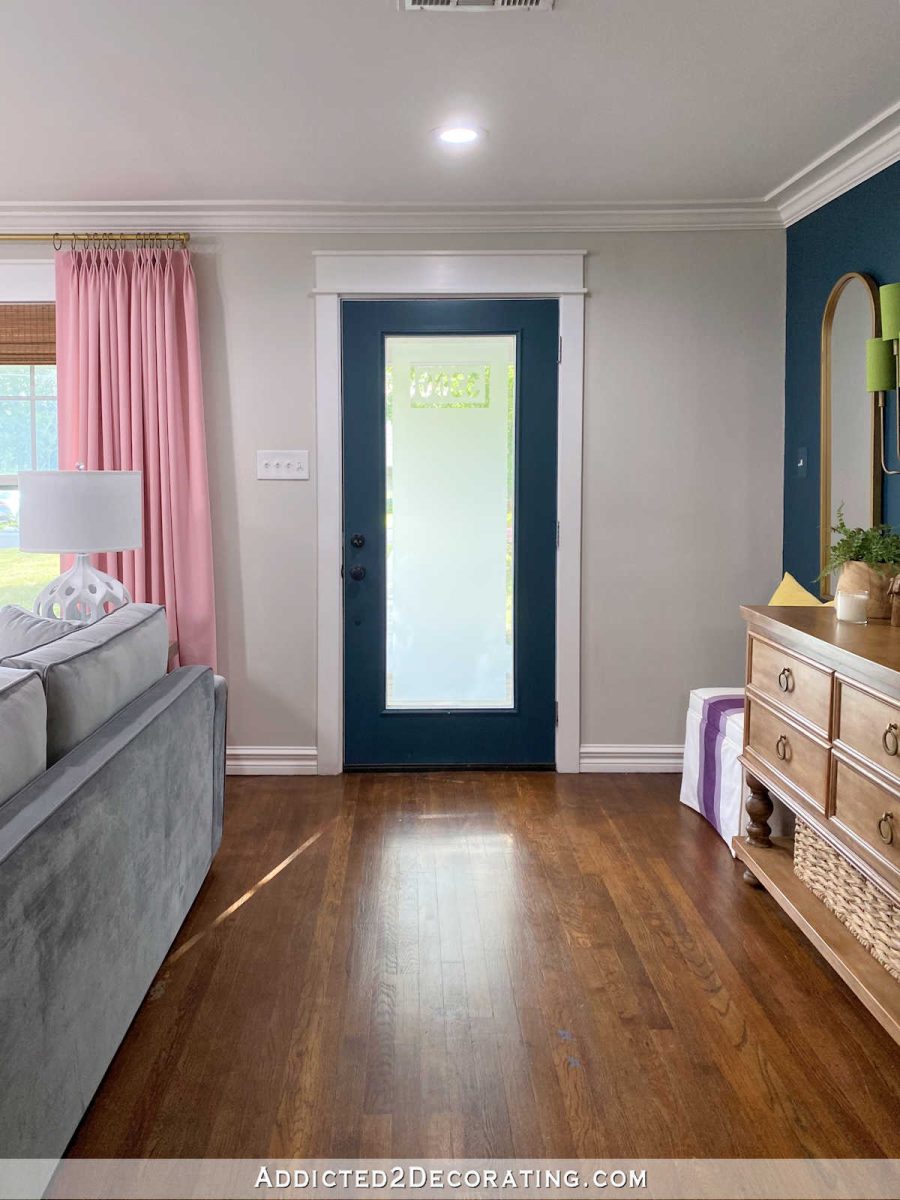
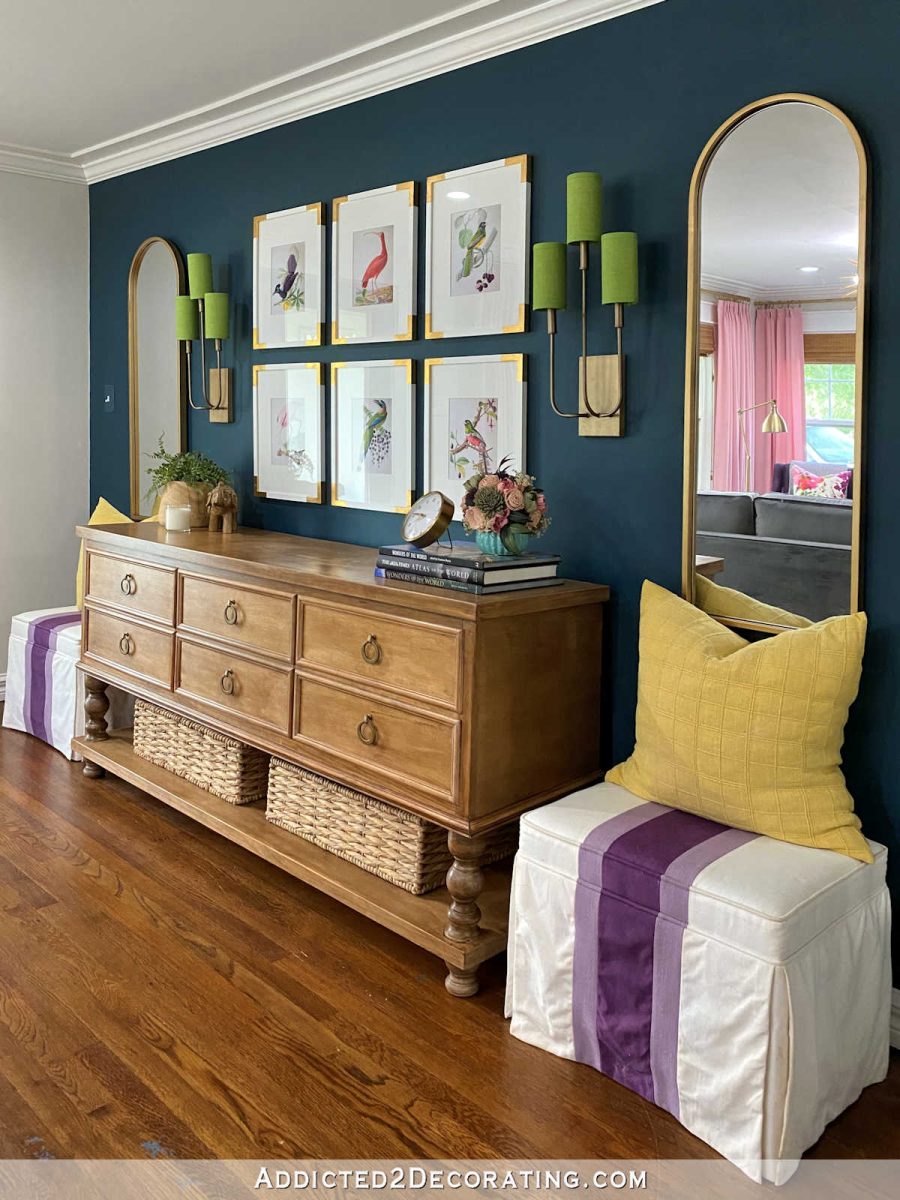
And the on the right, there’s the “entryway” wall.
So on one end of the room, I have a large teal fireplace flanked by purple chairs with floral pillows on a white background. Then on the opposite wall, I have a large teal wall with purple and white ottomans. Get it? 🙂 (That was for those people who regularly tell me that the purple ottomans don’t make sense in this room. When you’re standing in the room, they do, and it was a very intentional decision because of the balance they bring. You’re not required to like them 🙂 , but they’re not random.)
Here’s a wide angle view, and while it’s still not wide enough to get the teal fireplace, you can still see one of the purple chairs and the entryway wall.
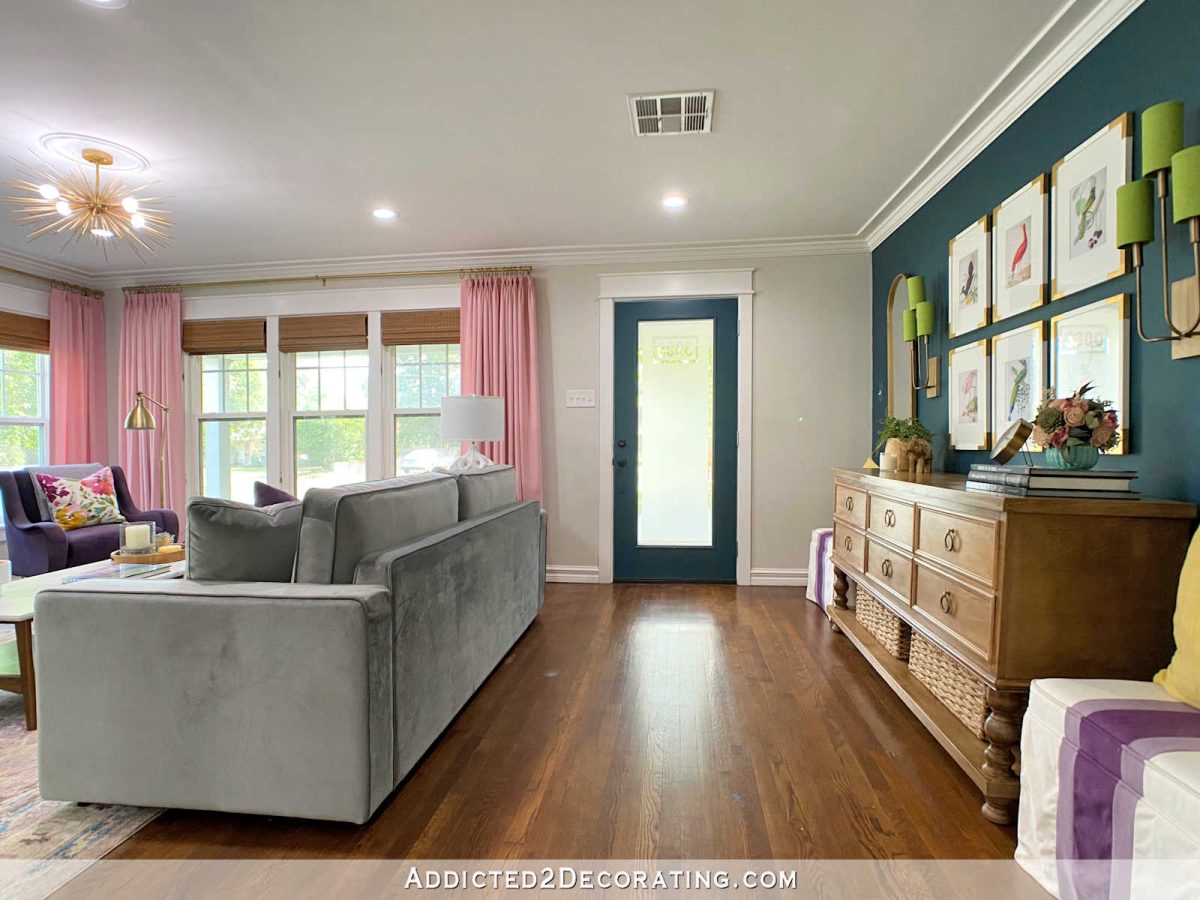
Anyway, that’s done. The thing I like the most about the new credenza finish is that it’s very similar to the color of the woven shades on the windows. So having that color on the entryway wall brings balance. And I like balance. 🙂

Addicted 2 Decorating is where I share my DIY and decorating journey as I remodel and decorate the 1948 fixer upper that my husband, Matt, and I bought in 2013. Matt has M.S. and is unable to do physical work, so I do the majority of the work on the house by myself. You can learn more about me here.
I hope you’ll join me on my DIY and decorating journey! If you want to follow my projects and progress, you can subscribe below and have each new post delivered to your email inbox. That way you’ll never miss a thing!
Source link