I spent yesterday working on the shower in our new master bathroom, and waterproofing it using Semco Liquid Membrane. This product was new to me, but I did have experience using a brush on/roll on liquid membrane. When I waterproofed the bathtub surround in the hallway bathroom, I used a similar product called RedGuard, which is available in local big box home improvement stores.
I had planned to use that same product in this shower, but after doing a bit of research, I decided to go with Semco instead. Their product has been around for decades, and it used to be commercially only. But now it’s available direct to consumers. I liked the track record, the wide range of projects it can be used for (you can use it to waterproof swimming pools, roofs, etc.), and that it comes in a range of colors. That’s not necessarily important for this particular project, since my entire shower will be tiled. But it’s good to keep in mind for future projects. It even comes in clear, and in a pint size for small projects.
Anyway, I don’t mean to sound like a commercial. They have no idea who I am, and are not paying me to promote their product. But now that I have experience using two different liquid waterproofing membrane products, I definitely see many advantages of the Semco product. So let me show you the process…
How to waterproof a shower with Semco Liquid Membrane
I used the chart on their website to calculate how much I would need to waterproof the shower, as well as use the liquid membrane on the joints of the concrete board on the floor of the bathroom. I don’t necessarily need those joints coated for the waterproofing aspect, but this membrane is also a crack prevention membrane. So as the house moves and shifts through the seasons, if the concrete board begins to form little cracks, the liquid membrane will prevent those from transferring to the tile.
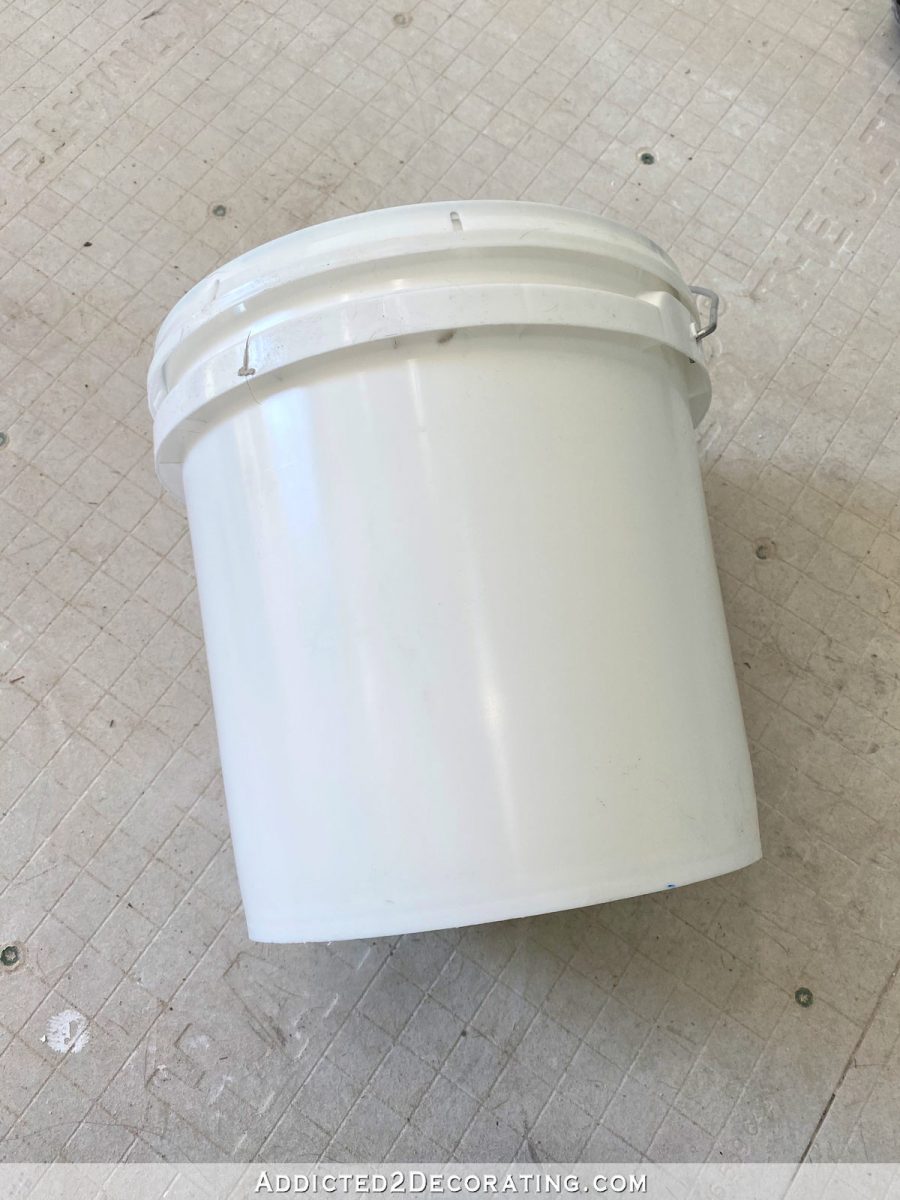
So according to their chart, I needed two gallons. Spoiler alert: It wasn’t enough. 😀 But it came in this two-gallon bucket, and not as two one-gallon containers.
But if I just roll this container over, you’ll notice something. Or the lack of something. There are no instructions. And there are no instructions in the box. So you do have to consult the website for instructions on how to use the product.
Note: If you’re reading this post on a website other than Addicted 2 Decorating, you’re on a website that steals content from bloggers, and is using my content without my permission. I’d love for you to join me on my actual website! You can click here to find this post on Addicted 2 Decorating.
Semco also sells a fabric for cracks and seams. I totally forgot to order the roll of fabric, but I found this at Home Depot, and I’m fairly certain it’s the same thing.
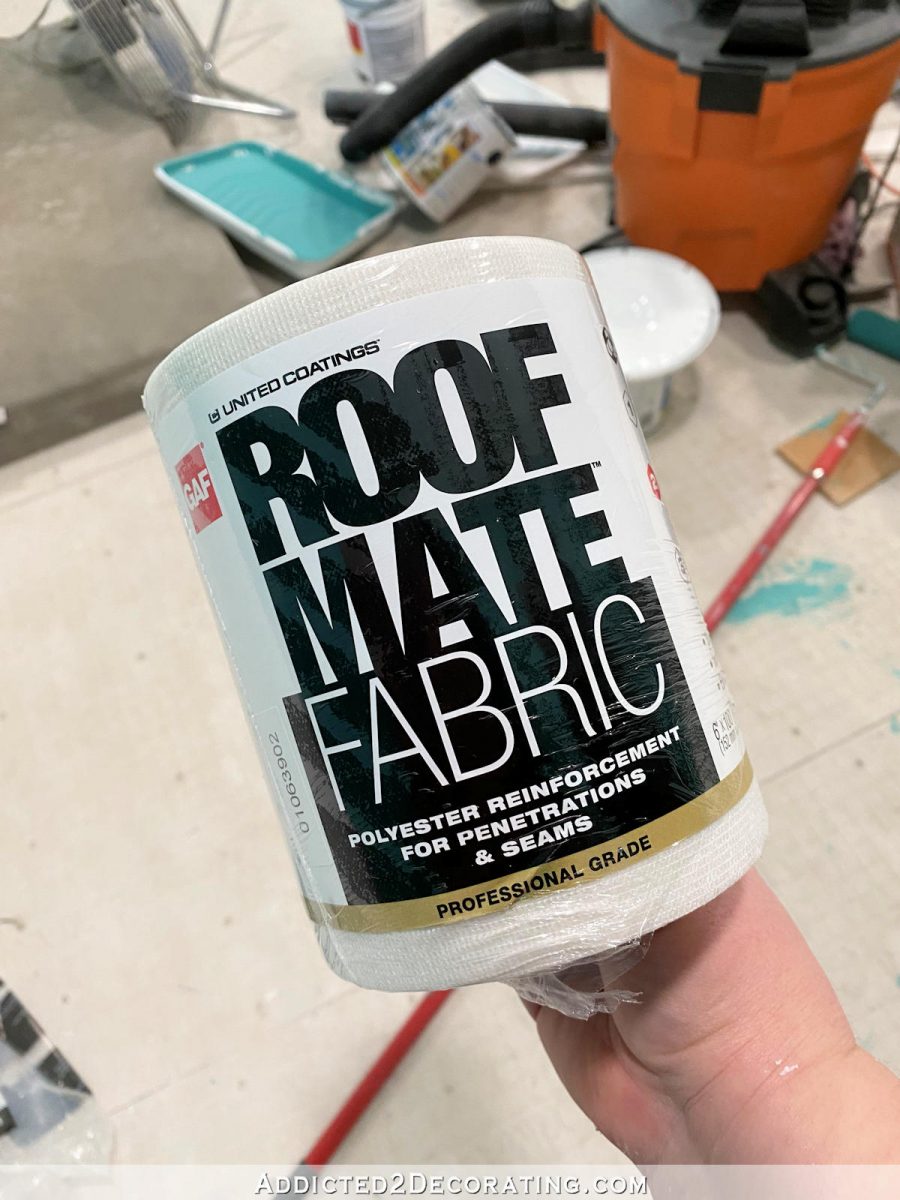
This was in the roofing section (as the name might suggest), and it’s literally just a roll of 100% woven polyester fabric. There’s no stickiness to it or anything. Just fabric. I mean, it would be like going to JoAnn Fabric and buying yards of fabric, and then cutting that into strips. Same thing. This one from Home Depot is quite a bit cheaper, though. The Semco fabric is 6″ x 75′, and it’s $52. The one from Home Depot is 6″ x 100′, and it’s $20.
The fabric is used for any joints in the concrete board, as well as any areas where there’s a change in plane, like where the walls meet the floor, or where one wall meets a perpendicular wall.
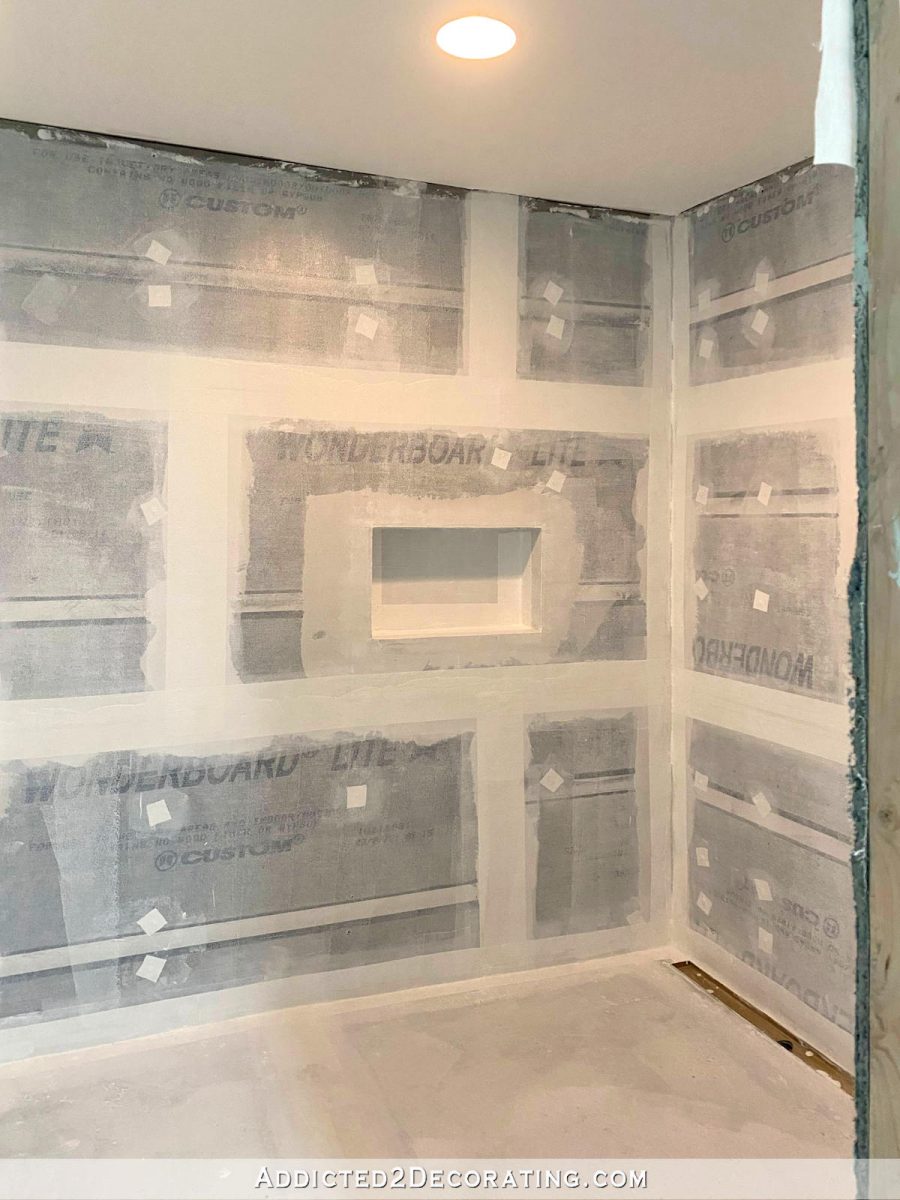
When my contractor’s guys finished up their part on the bathroom, this is what the shower looked like…
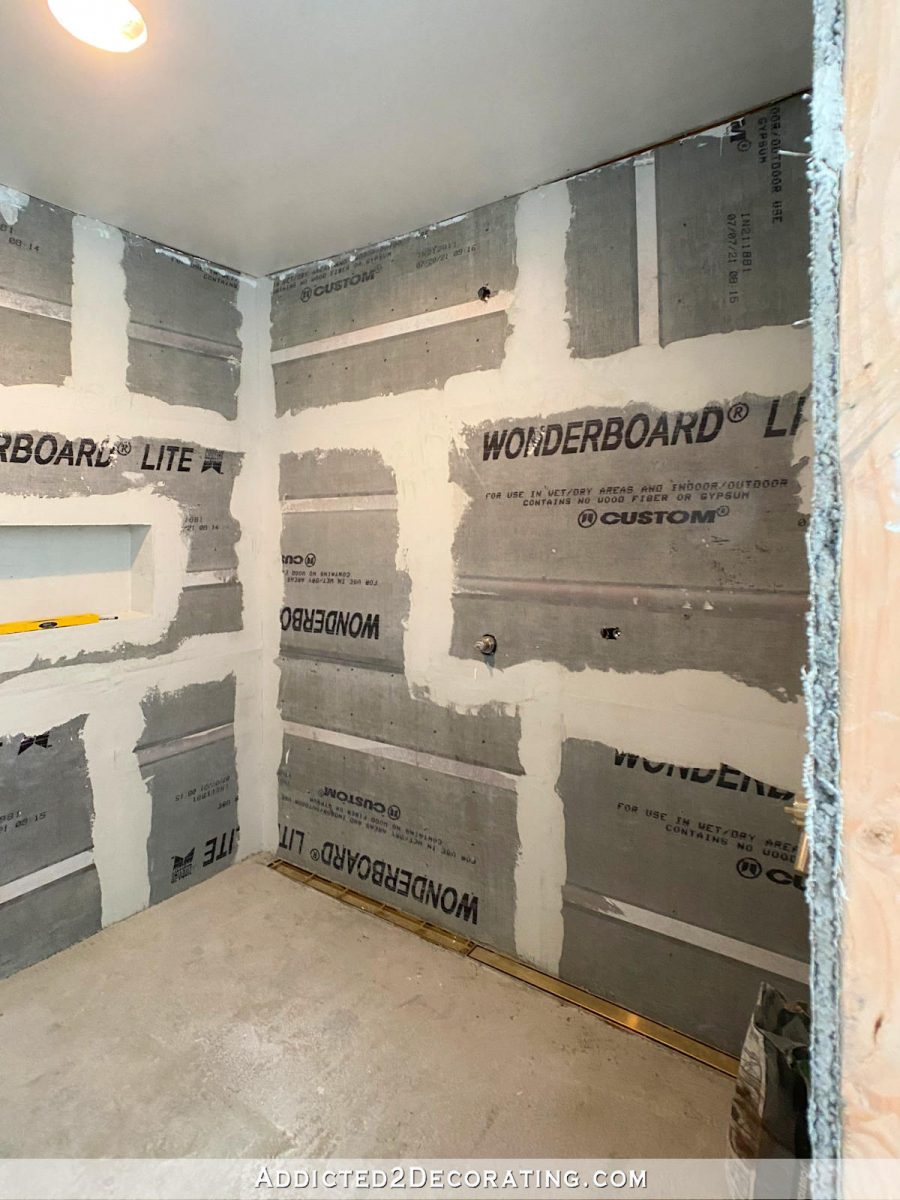
At the time, I was still planning on using the RedGard, so I had them prepare the walls just like I had done in the hallway bathroom. I had them seal the seams with the mesh tape specifically for concrete board, and the same mortar that is used to install tiles.
In hindsight, I wish I would have told them to leave this step off. Now that I’ve seen the polyester fabric and Semco in action, and how it covers seams and joints so nicely, I would have just done that instead.
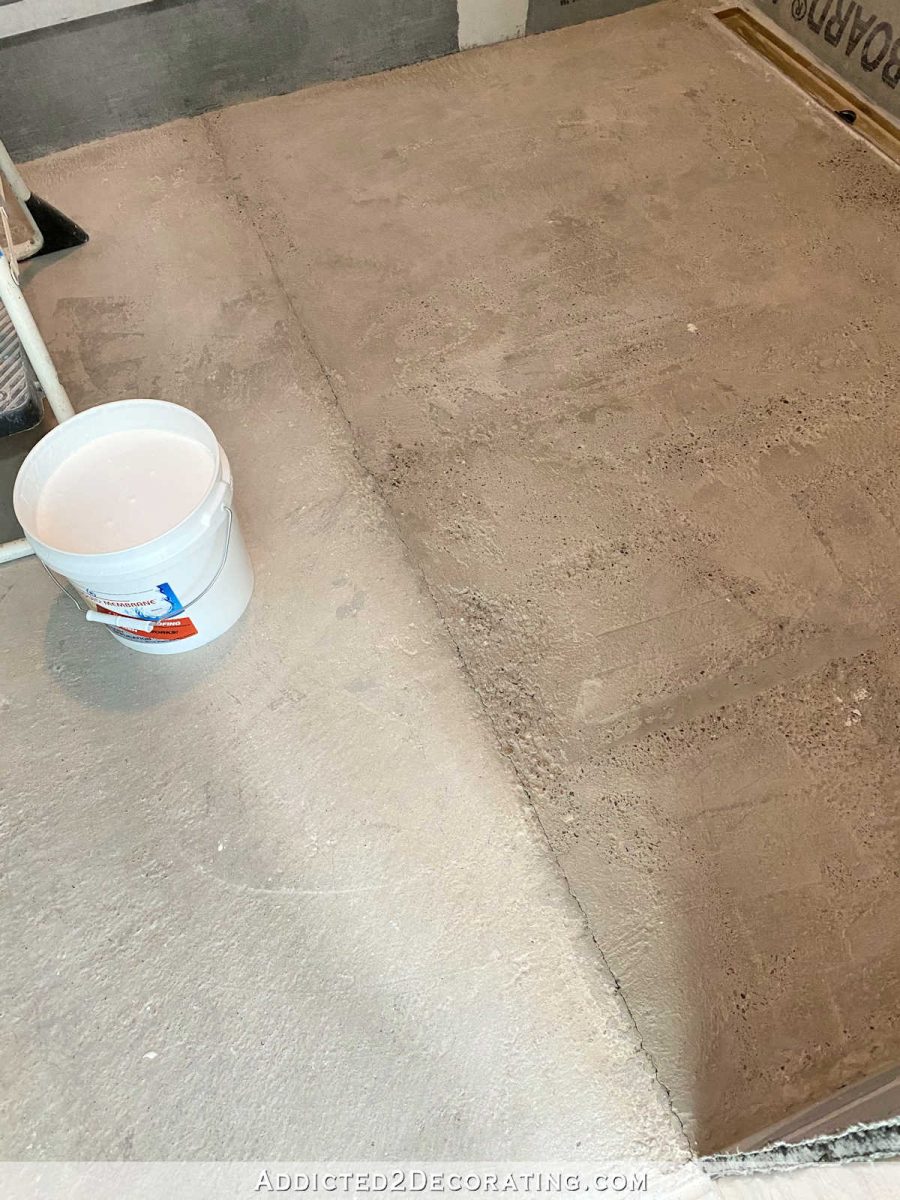
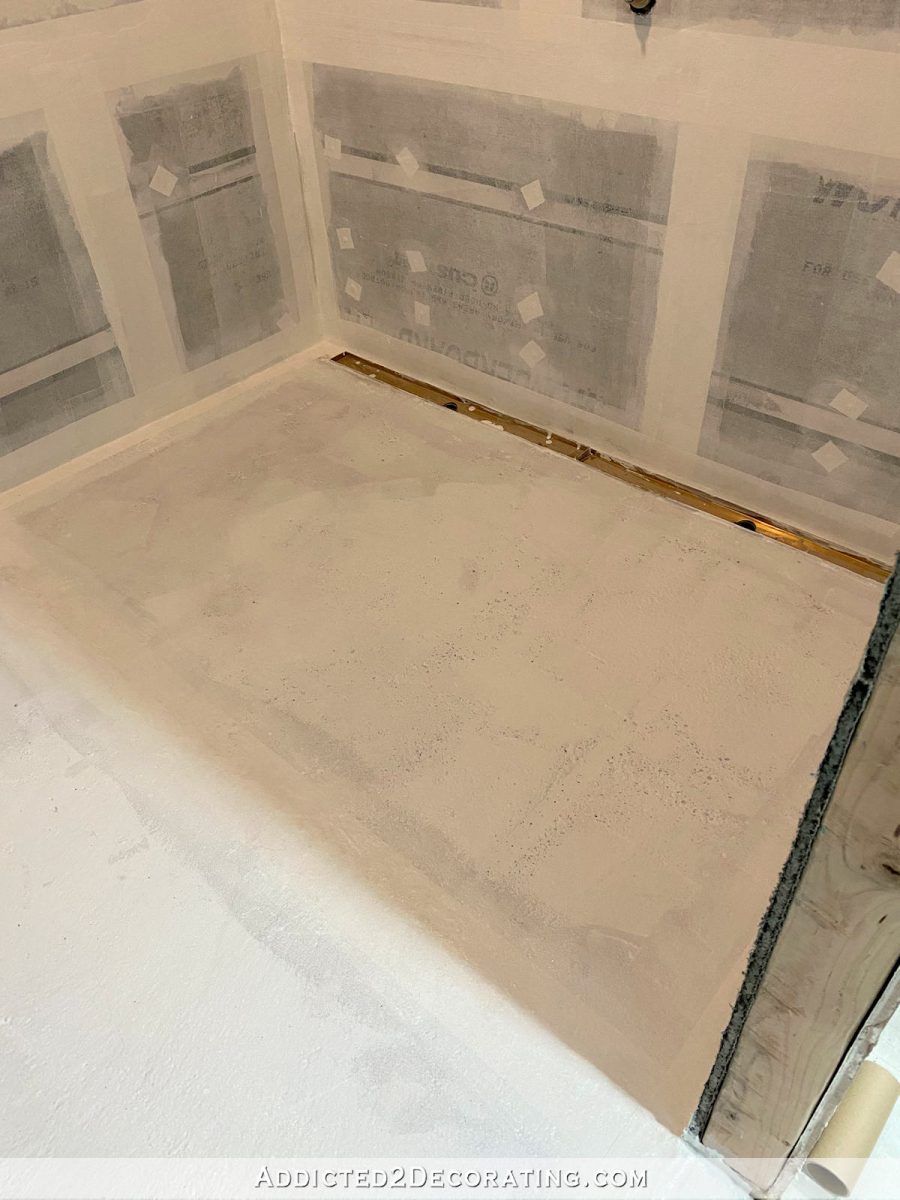
When I started waterproofing the shower, the first thing I did was work on the shower floor where the level part meets the sloped part. Since those were poured in two different sections, a small crack formed between the two slabs as they dried.
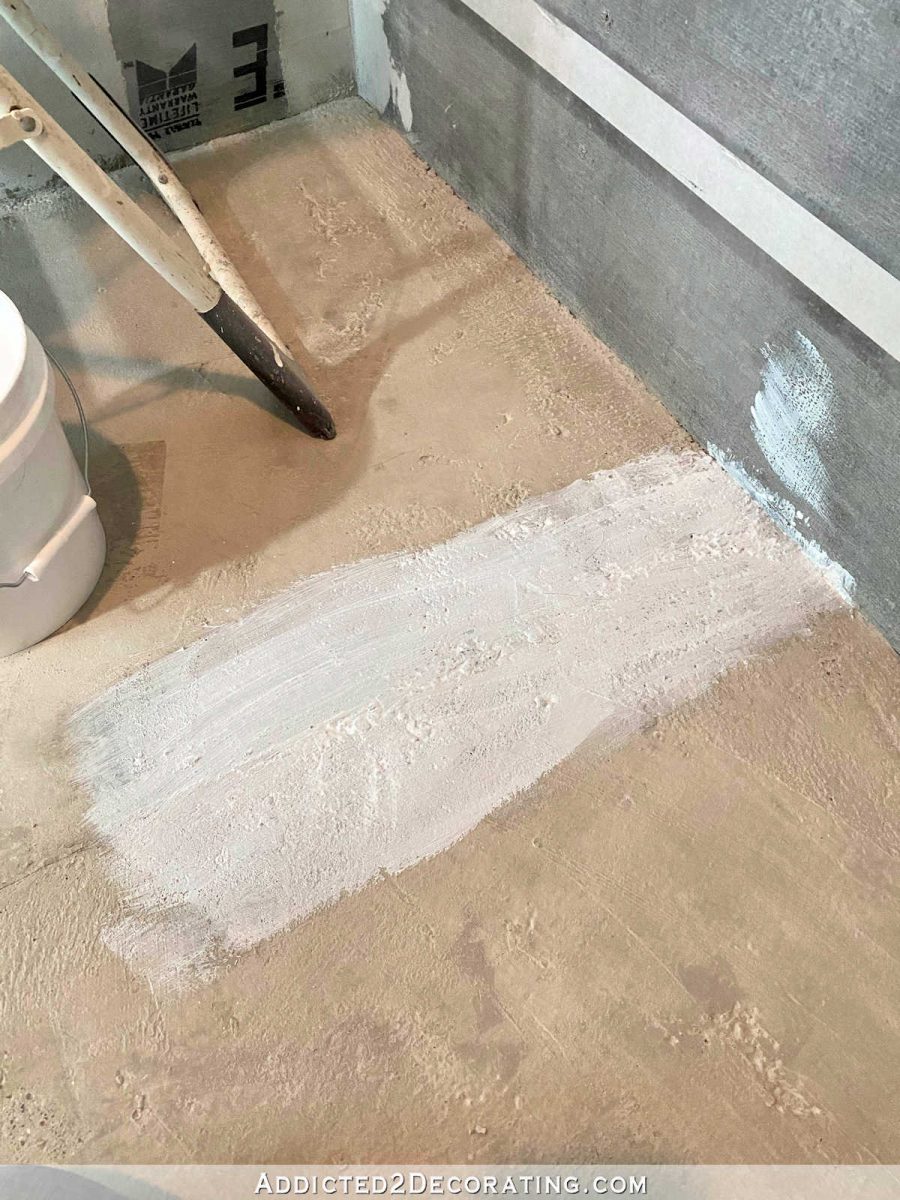
So following the directions, I used a paint brush to apply a generous amount of the liquid membrane to the area…
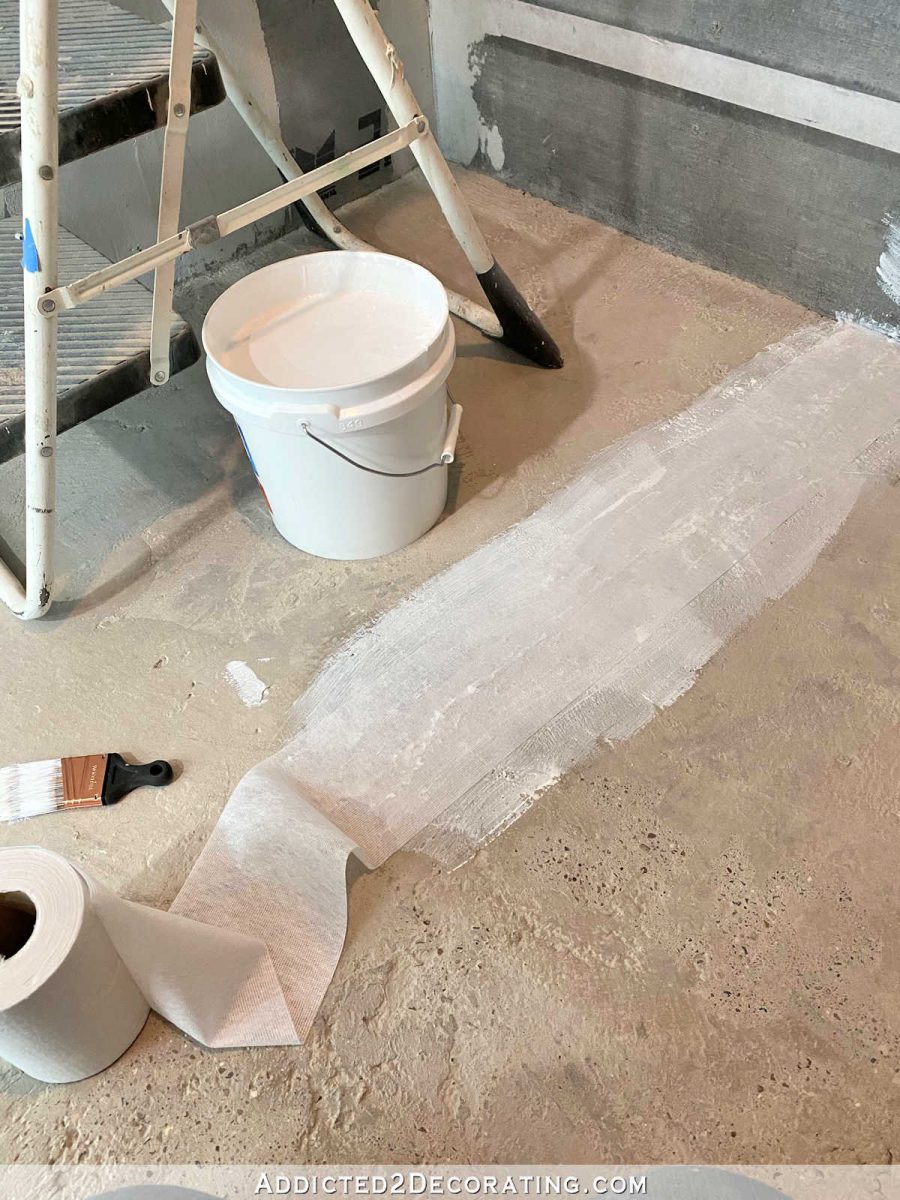
And then I placed the fabric on top, making sure the crack was centered under the fabric, and then pressed the fabric into the wet membrane.
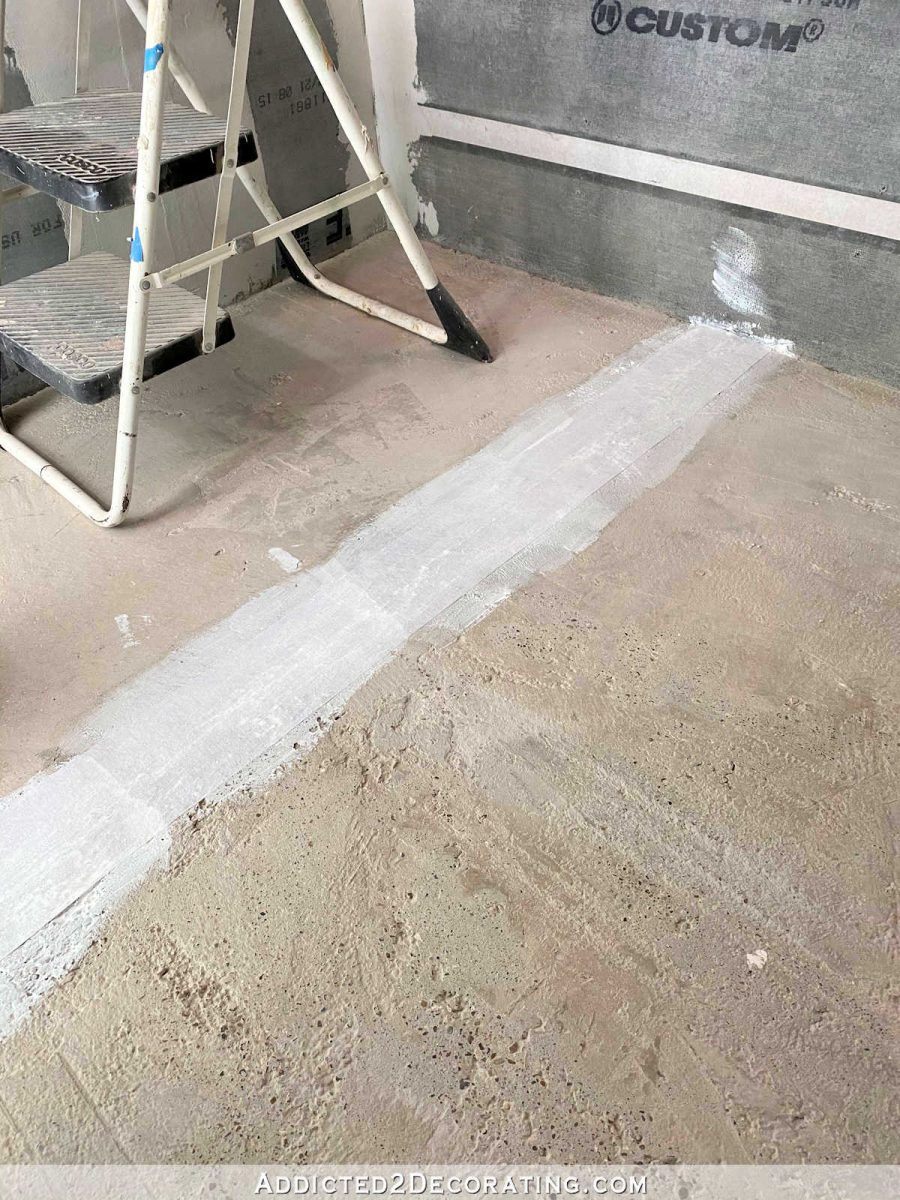
After doing that all the way across, I went back and brushed on a coat of liquid membrane over the fabric.
After doing about two seams on the concrete board on the walls using that same method, I realized that using a four-inch roller to apply the liquid membrane and then apply the coat of membrane on the top of the fabric went a whole lot faster.
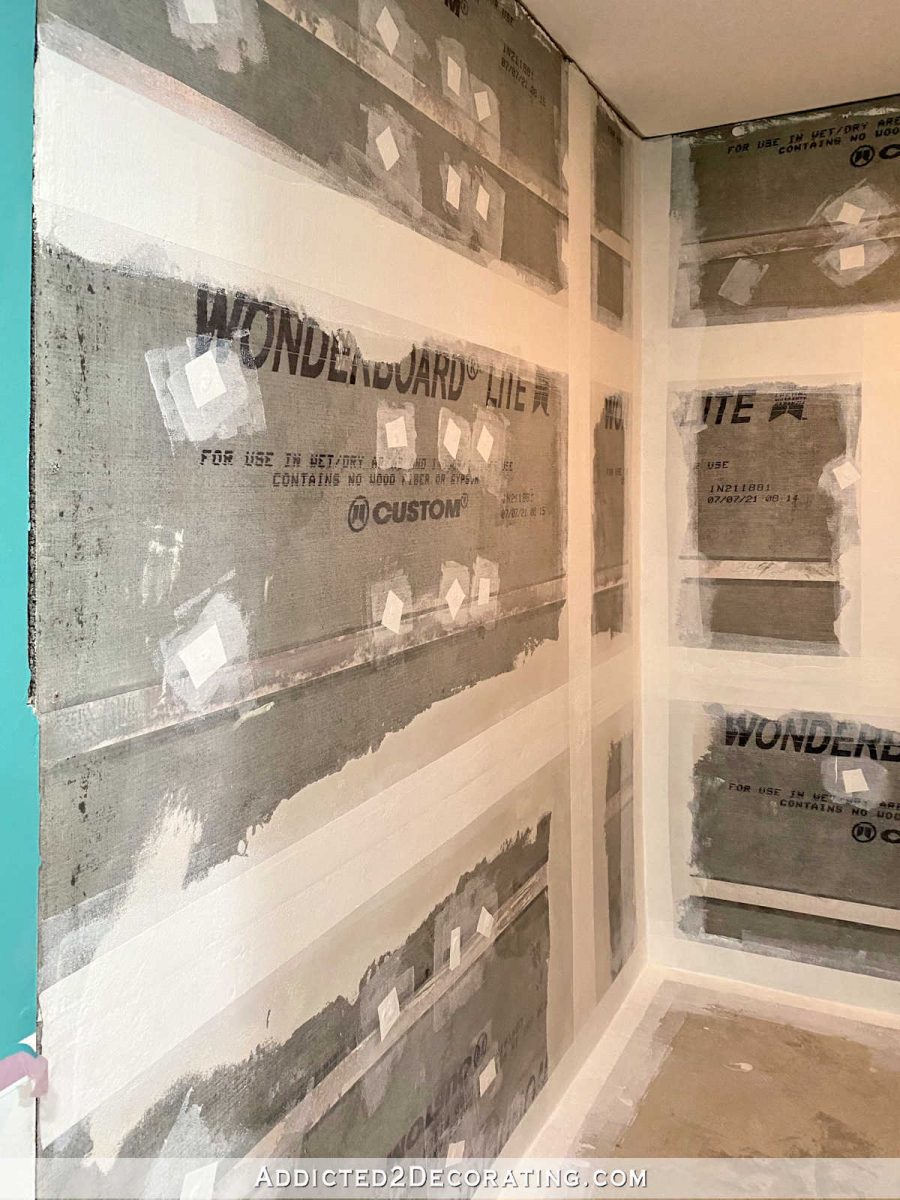
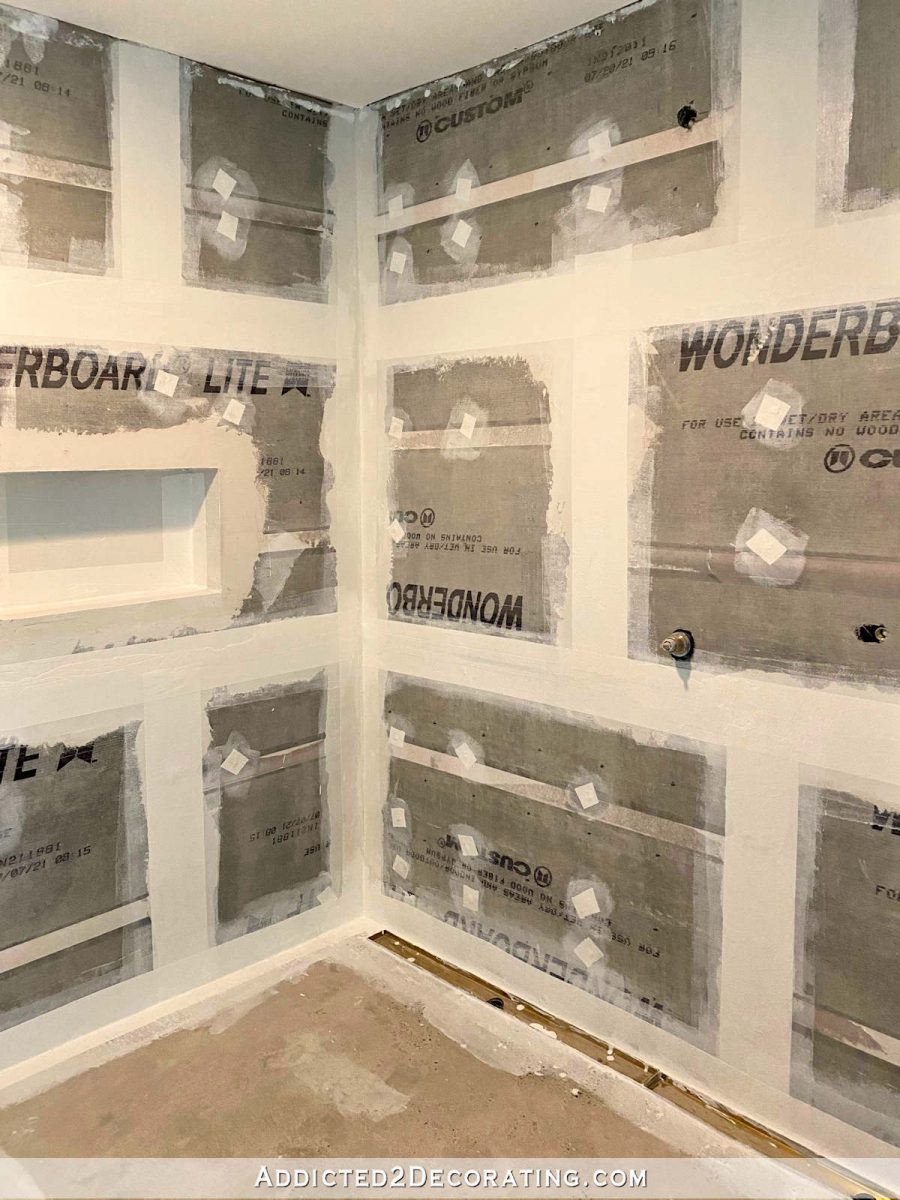
And as you can see, I did go ahead and use the fabric over the seams in the concrete board even though they had already been taped and filled with mortar. Since mortar has no give to it once it’s dry, I could already see little hairline cracks in some areas. So just to be on the safe side, I wanted all of them covered with the fabric as well.
I also used the fabric to cover all of the screw holes. I just rolled on some of the liquid membrane over the screw holes…

And then put a little square of the fabric on top, and rolled more of the liquid membrane over the fabric. That was a very quick and easy way to cover and waterproof screw holes.

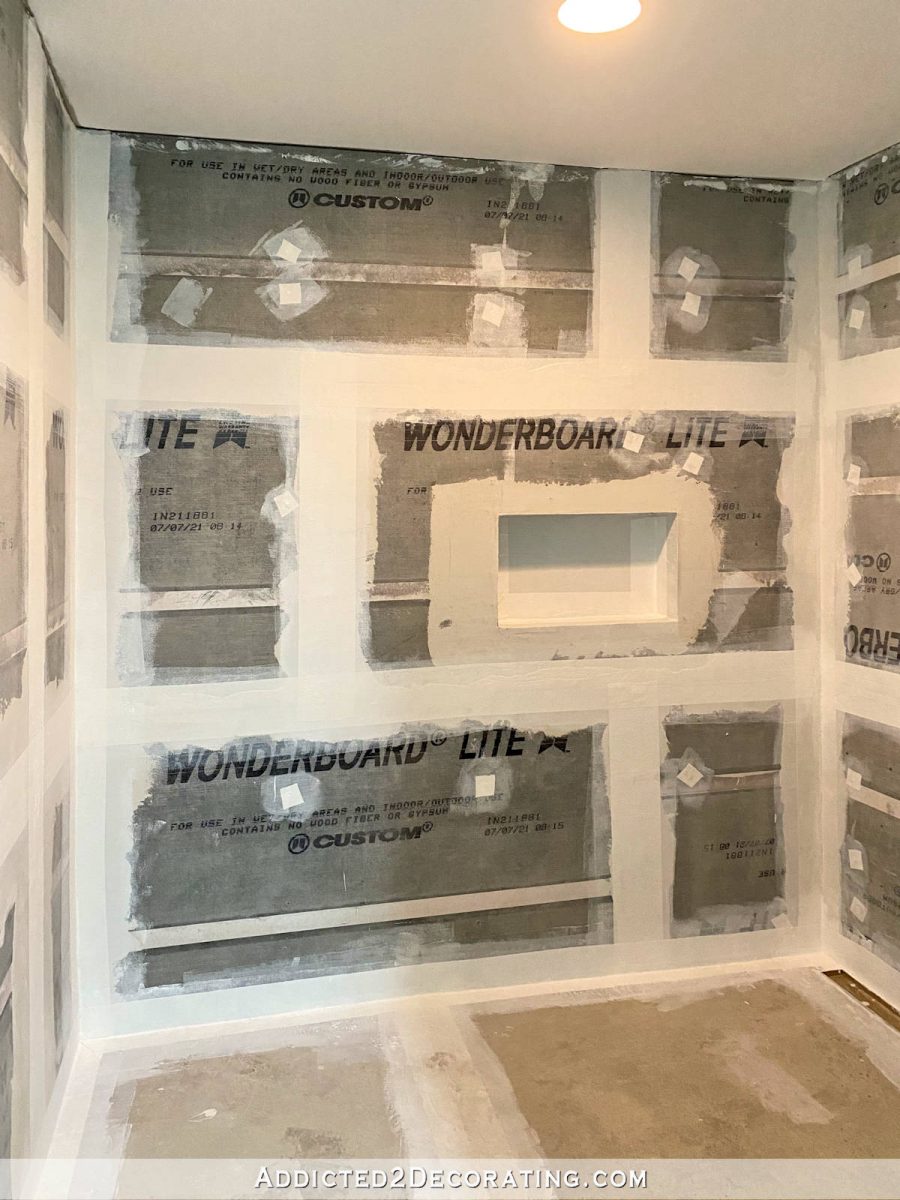
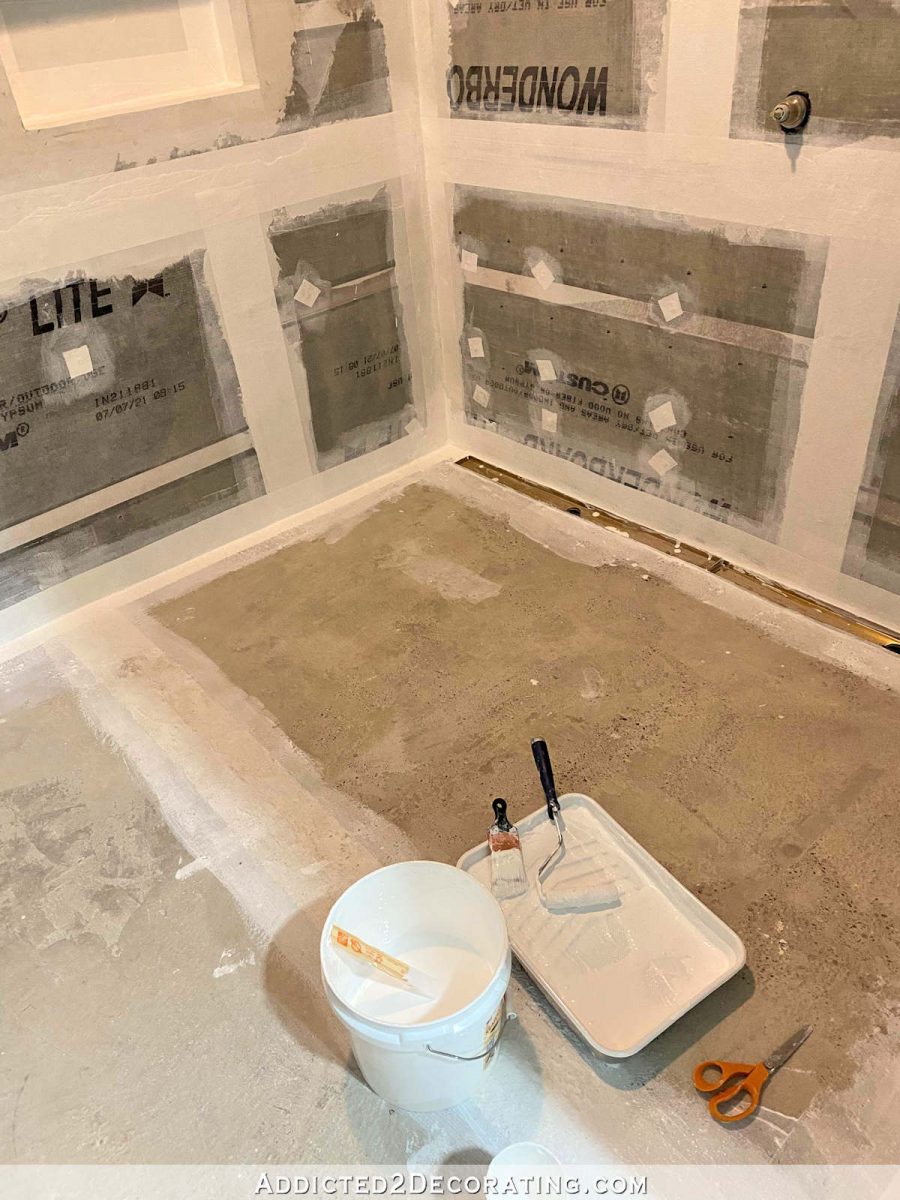
Once I got all of the joints and screw holes covered with the fabric and a coat of the liquid membrane, this is what the shower looked like…
You can see below that I also used the fabric in the back corners of the niche.
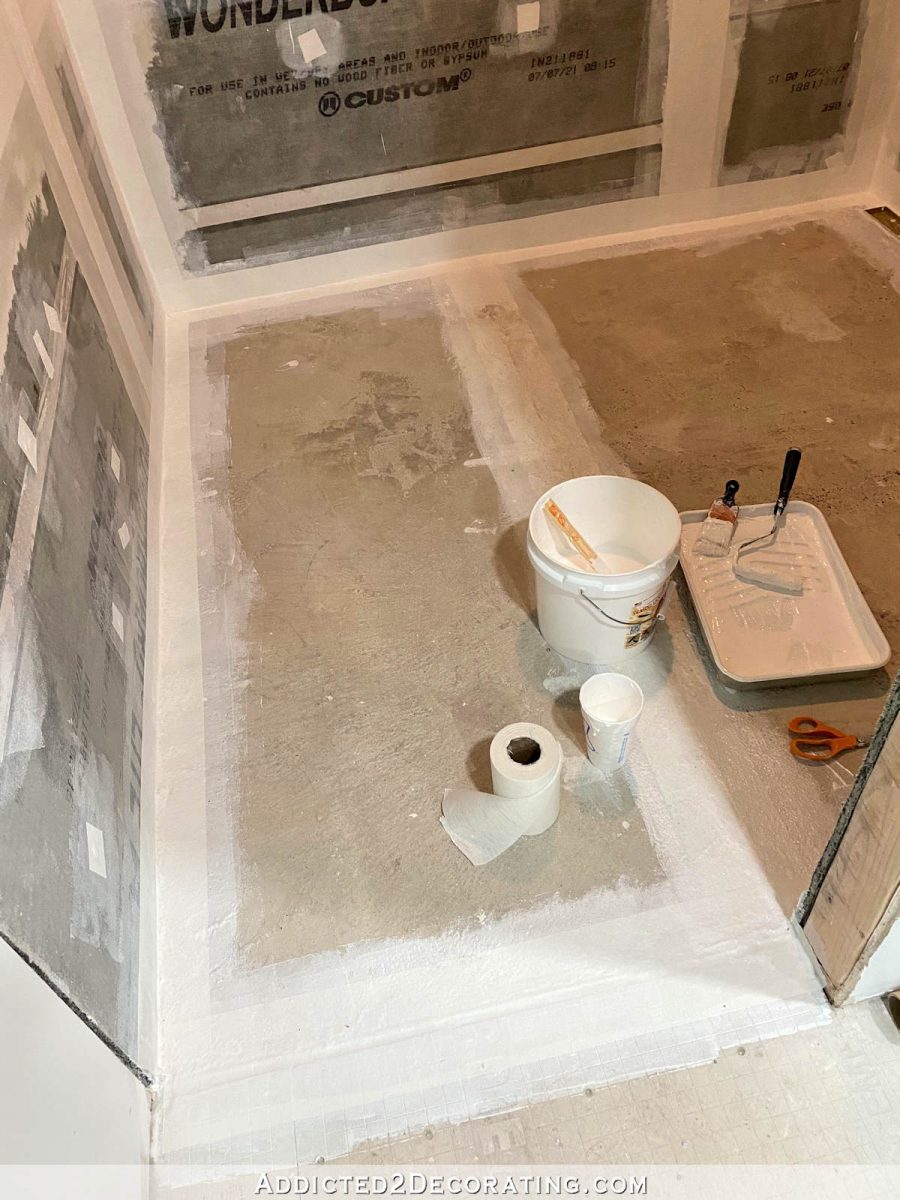
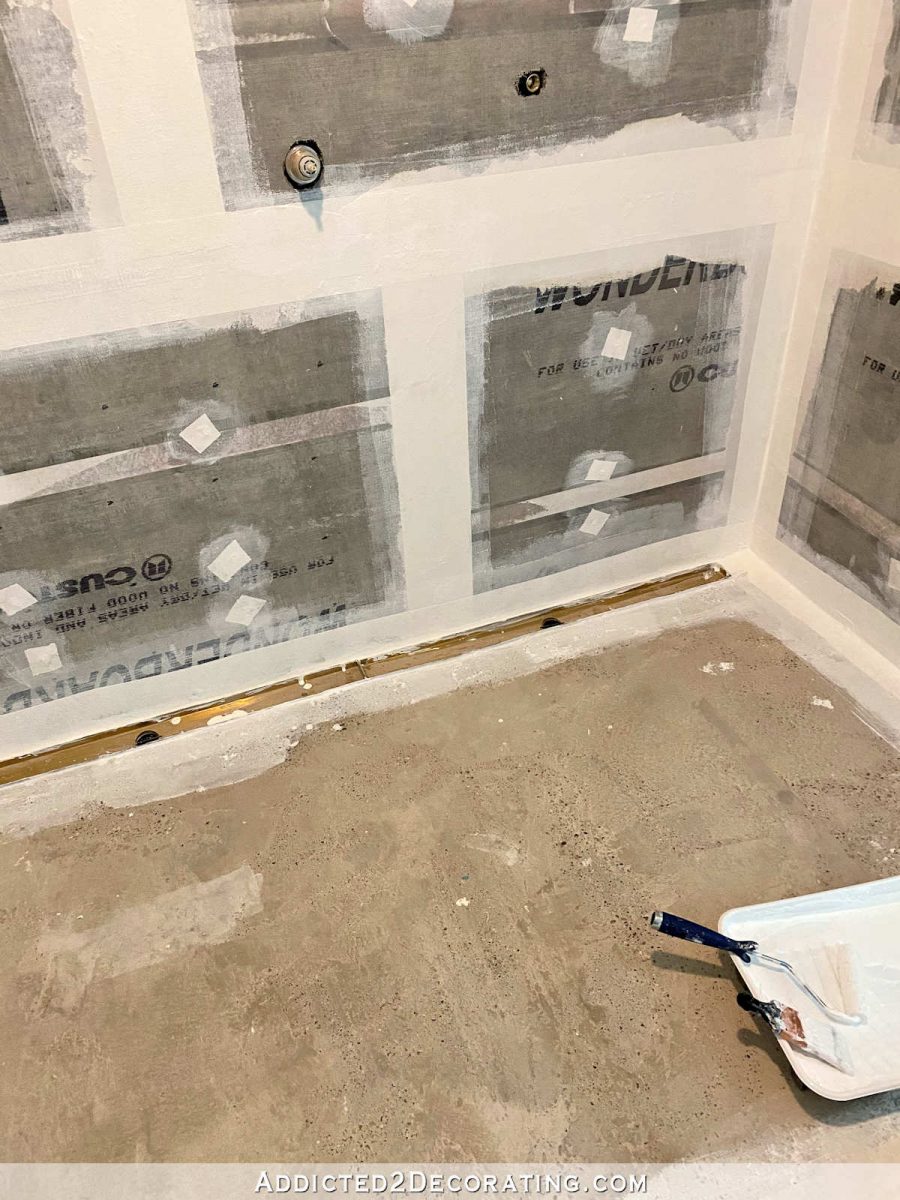
I also covered the joint where the concrete shower floor meets the concrete board in the main part of the bathroom…
Working around the drains as a bit of a challenge. Getting the fabric cut just right to fit in that little space between the drains and the wall wasn’t easy, and you can see that I did get some of the liquid membrane on the drains. The good thing is that it’ll peel off of metal once it’s dry. I found that it’s easier to do it that way instead of trying to wipe it off when it’s wet.
This was a time-consuming process, but obviously, it’s the most important step. If you leave any cracks, seams or joints open, water will always find them. So I wanted to take my time and do a very thorough job on this part.
And I was very pleased with how this membrane filled in around the drains. It seems like a thin product (thinner than I remember RedGard being), but it fills in small cracks and spaces amazingly well. And once it’s there, it’s there to stay. I was really impressed with the product.
But here’s where I ran into a snag. I don’t know if you can tell how much was left in that container when I finished this part of the process, but I had gone through half of the container (one gallon) just on the seams.
So when their chart says that it’ll cover X-amount of square feet, it’s not taking into consideration any of this prep work that you may need to do. It’s simply giving you general coverage. I mean, that makes sense, but since I had never done this before, it didn’t even dawn on me that I needed to take that into consideration.
So this shower is roughly 7′ x 7′ square, with 8′ ceilings, and sealing all of the seams and screw holes with the fabric used up one gallon of the liquid membrane.
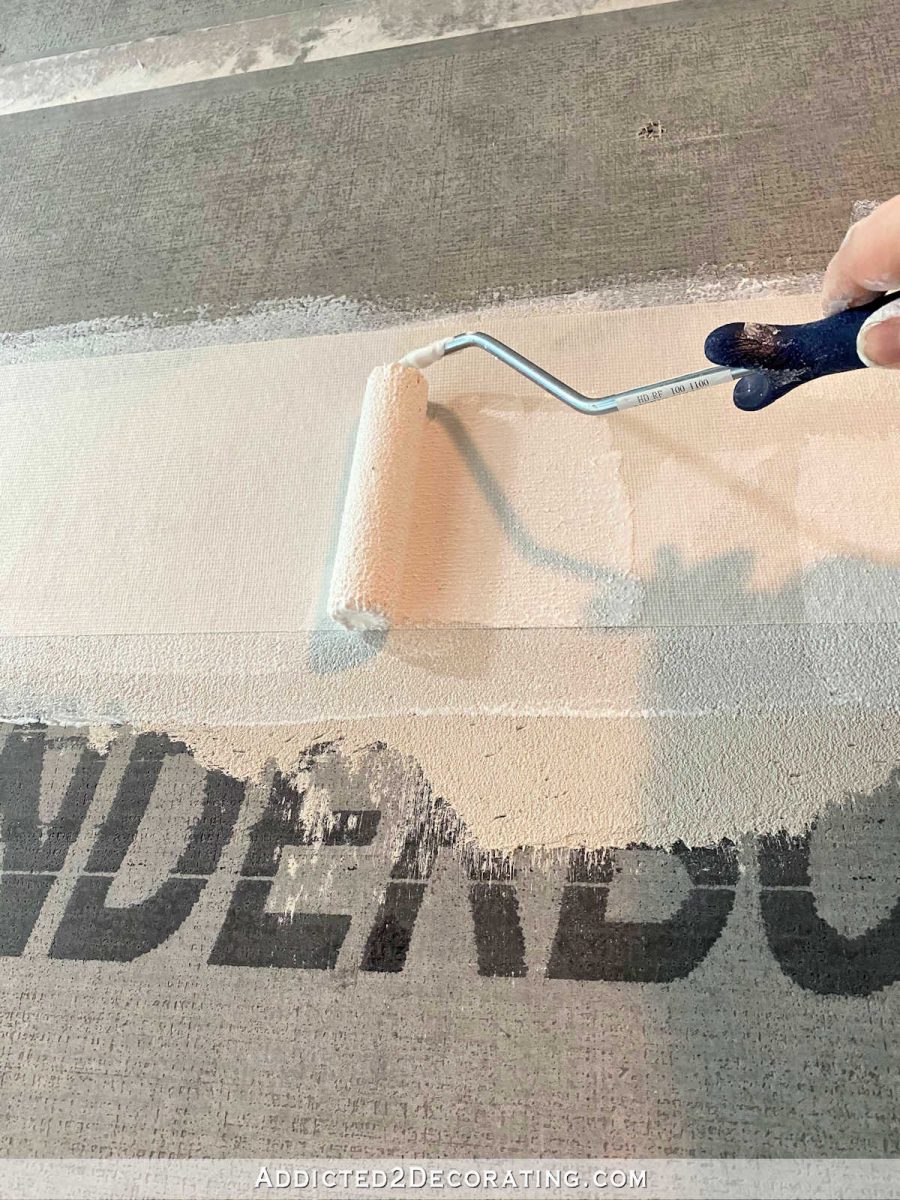
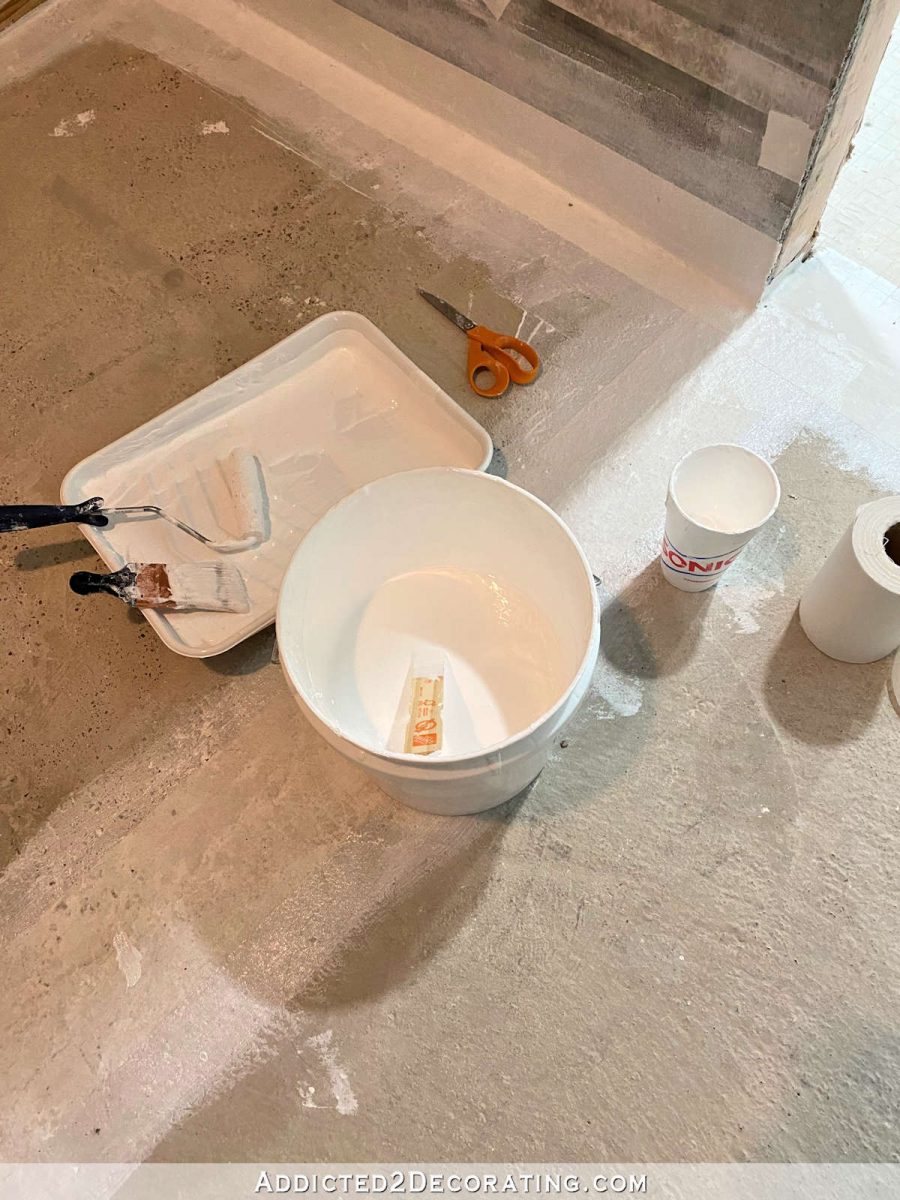
Once all of that was dry to the touch, I used a 1/2-inch nap roller to roll the liquid membrane over the rest of the walls and floor.
I was only able to get one coat done, and it needs a minimum of two coats. I have more Semco liquid membrane on order, and I’ll update this post with more pictures once I have the second coat finished. But I can tell you that I really do love this product. It’s easy to use, and I love the way it easily fills in those little cracks and gaps and pinholes in the floor. I’m 99% sure that this will be my go-to waterproofing product in the future. And I love that it comes in clear. I don’t know how or why I would use that, but it seems like there would be a thousand uses for a clear waterproofing product outside.

Addicted 2 Decorating is where I share my DIY and decorating journey as I remodel and decorate the 1948 fixer upper that my husband, Matt, and I bought in 2013. Matt has M.S. and is unable to do physical work, so I do the majority of the work on the house by myself. You can learn more about me here.
I hope you’ll join me on my DIY and decorating journey! If you want to follow my projects and progress, you can subscribe below and have each new post delivered to your email inbox. That way you’ll never miss a thing!
Source link