This website may contain affiliate links and advertising so that we can provide recipes to you. Read my privacy policy.
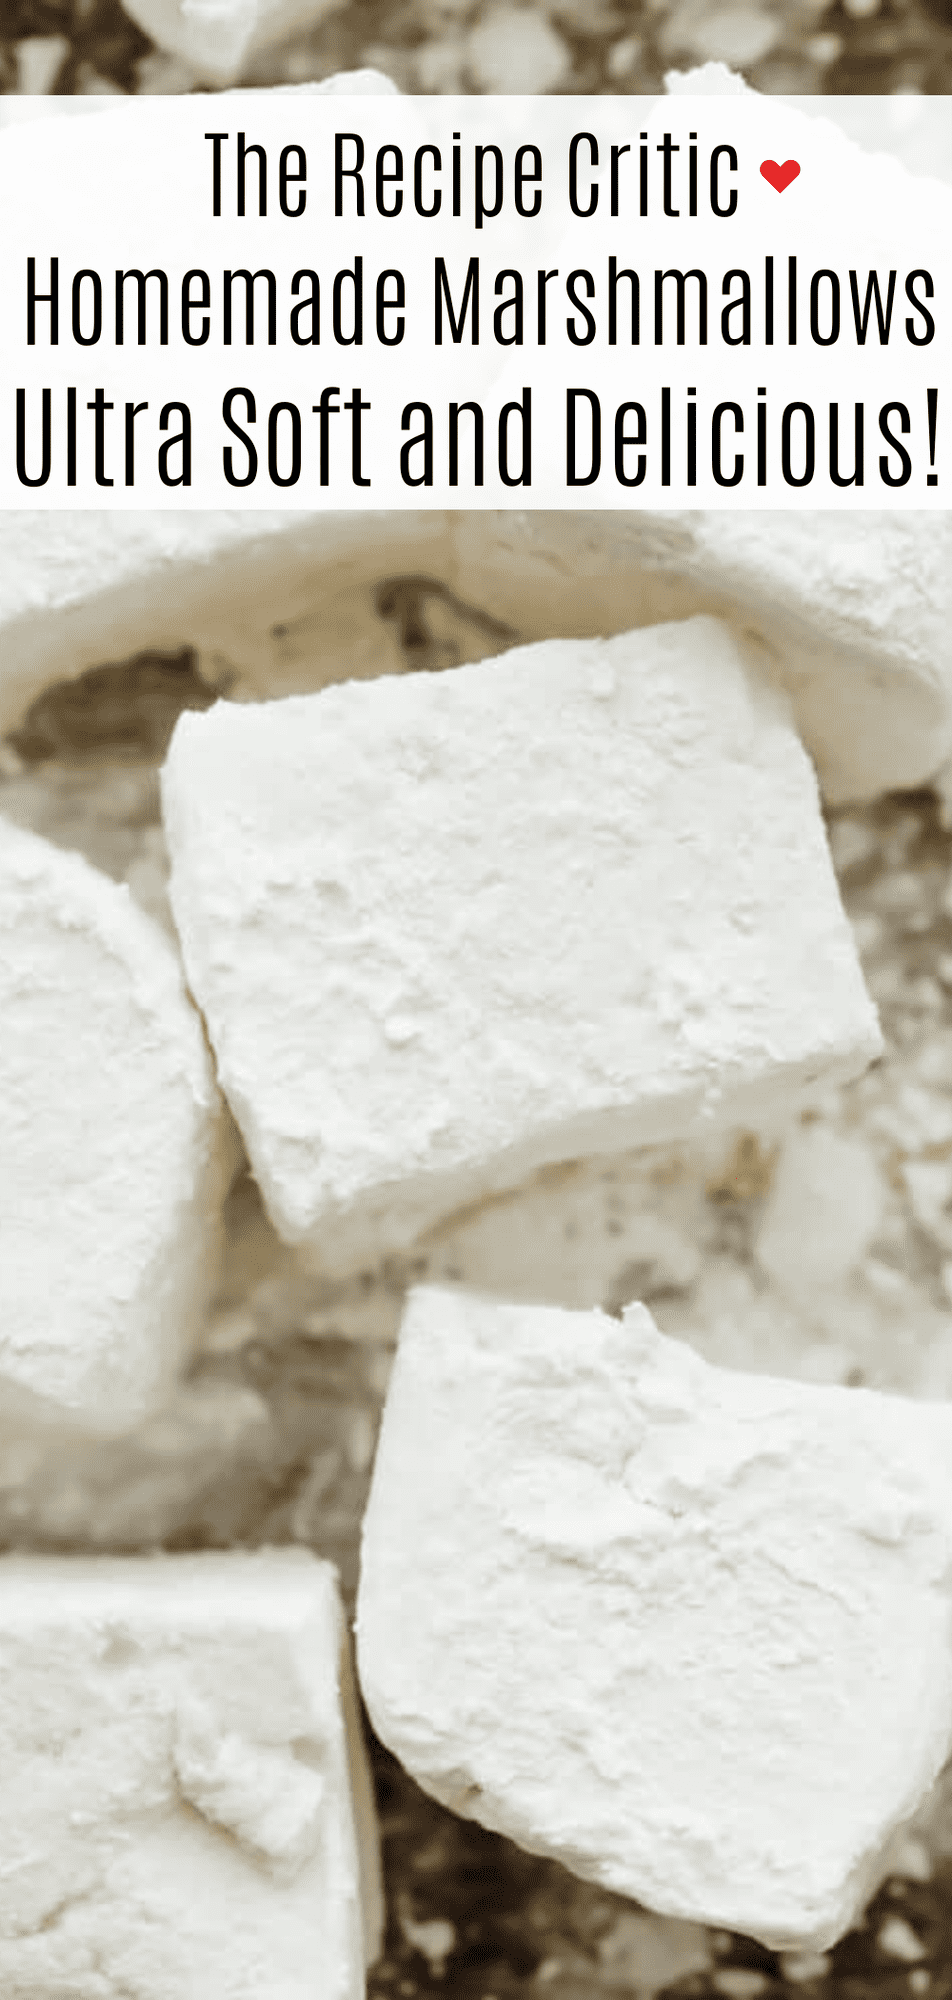
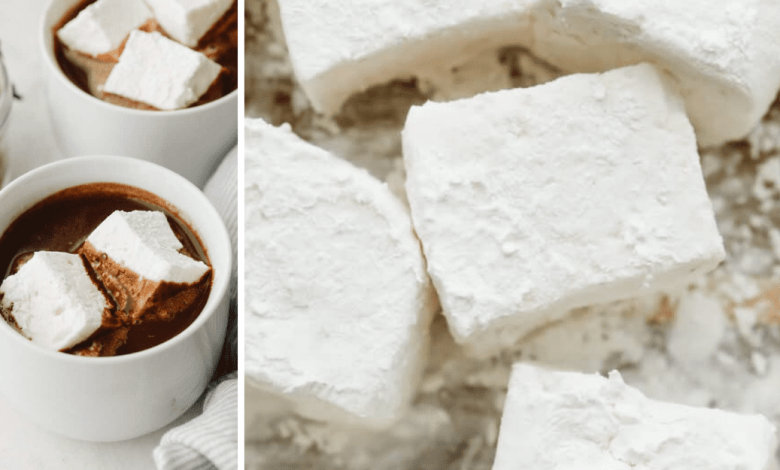
Once you make marshmallows from scratch, you’ll never go back! These homemade marshmallows are ultra-soft and delicious, ready for hot chocolate and s’mores!
Homemade marshmallows are so easy to make and they upgrade so many recipes. Try them in rice krispies, s’mores cookies, and oreo fluff to see the difference for yourself!

Easy Homemade Marshmallow Recipe
You may be thinking, why go through the hassle of making marshmallows when I can just buy them at the store? Trust me, once you’ve made them from scratch, you’ll wonder why you ever questioned yourself. Not only are homemade marshmallows beyond easy, but they have an extra pillowy, melt-in-your-mouth quality to them. Storebought marshmallows just don’t compare. If you’re anything like me, you’ll find yourself munching on them before they ever find their way to a s’more.
My kids love making these with me. It’s so much fun to see it go from marshmallow cream to springy, bite-sized pieces! The other fun thing about making marshmallows at home is that you can make them in any shape you want. Any color you want, too, with just a splash of food coloring! These tasty treats have a long shelf life. Because of this, you’ll be able to make mouthwatering treats like fluff, pie, and cookies for weeks!
Everything You Need for Homemade Marshmallows
Another great thing about making marshmallows at home is that you can use so many different substitutes! Here’s what I used to make my marshmallows, and other ingredients you can use instead! And if you’re looking for measurements, they can all be found in the recipe card below.
- Unflavored Gelatin: This is what gives marshmallows their iconic springy texture. To make this recipe vegan, subsitute gelatin with agar agar.
- Cold Water: Added to activate gelatin.
- Granulated Sugar: I like using granulated sugar because it melts down smoothly and keeps your marshmallows bright white.
- Light Karo Syrup: This syrup prevents the sugar from crystalizing. You can substitute this with maple syrup or even honey.
- Water: Added to the sugar syrup mixture.
- Fine Salt: Adding a little table salt helps to enhance the flavor of the marshmallows.
- Vanilla Extract: Vanilla extract gives your marshmallows an amazing, sweet flavor! Use pure vanilla extract for the best results.
- Powdered Sugar: Used to coat each marshmallow piece and add a little extra sweetness!
- Cornstarch: Keeps the outside of each marshmallow from getting too sticky.
Let’s Make Marshmallows!
Making marshmallows at home is fun! The steps to make them are super straightforward, too, which is great! You’ll love having them around to make desserts with. From butterscotch bars to fudge, it’s amazing how homemade marshmallows enhance the taste!
- Prep Pan: First, line a 9×9-inch baking pan with plastic wrap. Spray lightly with non-stick cooking spray. Set aside.
- Soak Gelatin: In the bowl of a standing electric mixer, pour in the unflavored gelatin. Add the ½ cup cold water, and let it sit and soak for 10 minutes.
- Sugar Syrup Mixture: In a medium saucepan, add the sugar, Karo syrup, and ¼ cup of water. Heat over the stove on medium-high heat, and whisk together until it comes to a rolling boil. Boil for 1 minute.
- Mix Gelatin and Syrup: Pour the boiling syrup over the soaked gelatin. Add the salt. Using the whisk attachment, turn the mixer on high speed. Beat on high for 12 minutes.
- Add Vanilla: Next, add the vanilla extract, and mix until incorporated.
- Transfer to Pan: Using a rubber spatula lightly sprayed with non-stick cooking spray, scrape the marshmallow cream into the prepared pan. Smooth the top evenly.
- Allow to Set: Lightly spray another piece of plastic wrap to gently place over the top of the marshmallow cream. Seal around the pan or marshmallow cream to set for 4 hours or overnight.
- Mix Powdered Sugar and Cornstarch: Add the powdered sugar and cornstarch in a bowl, and stir to combine.
- Cut Into Pieces: Remove the marshmallow from the pan, and cut into desired sizes. Dredge each piece in the powdered sugar/cornstarch mixture and serve!

Homemade Marshmallow Tips and Tricks
Here are a few great tips and variations you can use when making marshmallows at home! This recipe is easily customizable. The great thing about making them from scratch is you have control over everything- flavor, shape, and color! You can make the marshmallows of your dreams!
- Flavorings: Want a little extra flavor to your marshmallows? Add in cocoa powder, cinnamon sugar, lemon curd, citrus zest, pureed fruit, you name it! Just keep in mind, you may need to add in extra gelatin to compensate for your flavor additions so your marshmallows set properly.
- Fondue: For a fun, delicious treat, use these homemade marshmallows for fondue at home! All you need are skewers, chocolate sauce, and caramel!
- Use a Candy Thermometer: Using a candy thermometer is the best way to make sure you’ve cooked your sugar mixture long enough. You’ll want it to be at the soft ball stage, or around 240 degrees Fahrenheit. If your mixture isn’t hot enough, you’ll have runny marshmallows that don’t set.
- Making Marshmallow Cream: Have a recipe that calls for marshmallow cream? You can make it easily by melting some of your homemade marshmallows down with 2 tablespoons of Karo syrup.

Storing Your Marshmallows
The best part of this recipe, easily, is the fact they have such a long shelf life! I absolutely love having them on hand for hot chocolate throughout the winter.
- At Room Temperature: Store either in an airtight container or covered in plastic wrap. Your marshmallows will keep for up to 3 weeks in a cool, dry place away from direct sunlight.

-
Line a 9X9 inch baking pan with plastic wrap. Spray lightly with non-stick cooking spray. Set aside.
-
In the bowl of a standing electric mixer, pour in the unflavored gelatin. Add the ½ cup cold water, and let it sit and soak for 10 minutes.
-
In a medium saucepan, add the sugar, Karo syrup, and ¼ cup of water. Heat over the stove on medium-high heat, and whisk together until it comes to a rolling boil. Boil for 1 minute.
-
Pour the boiling syrup over the soaked gelatin. Add the salt. Using the whisk attachment, turn the mixer on high speed. Beat on high for 12 minutes.
-
Add the vanilla extract, and mix until incorporated.
-
Using a rubber spatula lightly sprayed with non-stick cooking spray, scrape the marshmallow cream into the prepared pan. Smooth the top evenly.
-
Lightly spray another piece of plastic wrap to gently place over the top of the marshmallow cream. Seal around the pan or marshmallow cream to set for 4 hours or overnight.
-
Add the powdered sugar and cornstarch to a bowl, and stir to combine.
-
Remove the marshmallow from the pan, and cut into desired sizes. Dredge each piece in the powdered sugar/cornstarch mixture and serve!
Not sure how to add the setting time : 4 hours or overnight
Serves: 48
Calories54kcal (3%)Carbohydrates14g (5%)Protein1g (2%)Fat1g (2%)Saturated Fat1g (5%)Polyunsaturated Fat1gMonounsaturated Fat1gSodium16mg (1%)Potassium1mgFiber1g (4%)Sugar13g (14%)Calcium1mgIron1mg (6%)
All nutritional information is based on third party calculations and is only an estimate. Each recipe and nutritional value will vary depending on the brands you use, measuring methods and portion sizes per household.