We’re always looking for DIY crafts to share during this cheerful season. From showing you how to make a bow as a present or decoration to how to DIY a Christmas stocking to hide your small (and delicious) treats. This time, you can learn how to make a snowflake in two different ways.
Paper snowflakes make great craft ideas for kids (and unique home decorations if you’re looking for a wintery feel). You can glue them to your windows, hang them on your walls and even turn them into a snowflake wreath for all of your guests to admire. Follow our simple steps for instructions on how to make regular and 3D paper snowflakes. You can also watch our video above for step-by-step visuals.
How to Make a Classic Paper Snowflake
Materials:
Instructions:
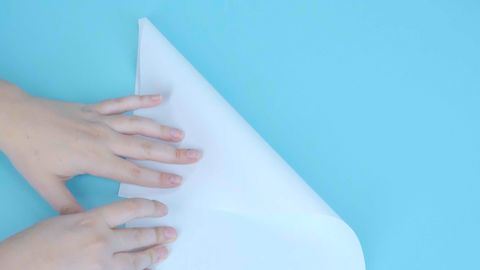
- Get to folding: Fold your paper diagonally.
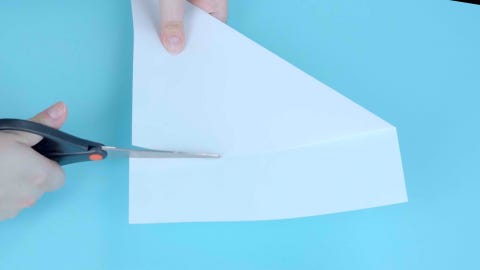
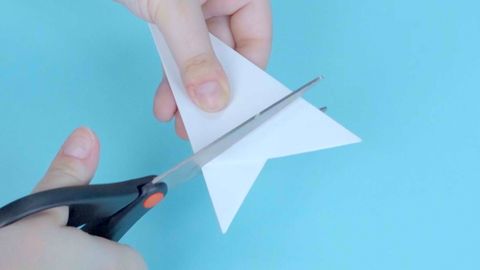
- Snip snip: Cut off the excess paper at the bottom.
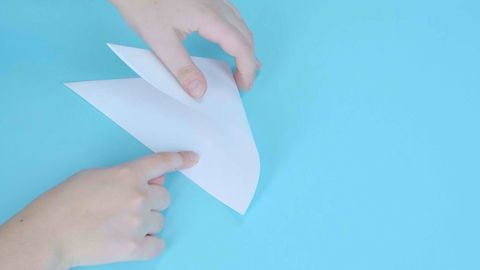
- Fold your paper in half.
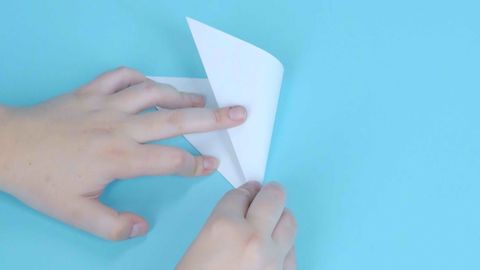
- Fold the paper in thirds.
- Flatten out the top of your paper by cutting off points.
- Get creative: Draw your own pattern for your snowflake.
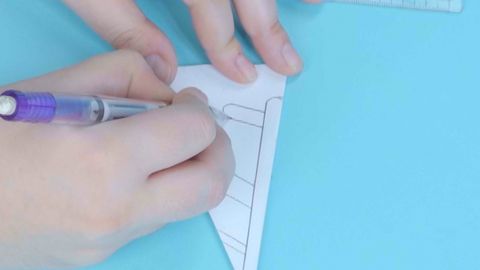
- Mark all of the empty spaces you didn’t draw on with an x.
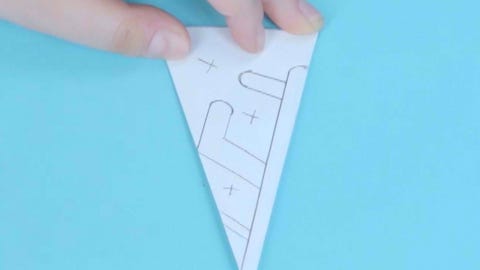
- Reveal your pattern: Cut out the marked sections and unfold to reveal your snowflake.


Tip: Use a low setting to lightly iron your paper snowflakes to smooth out any creases.
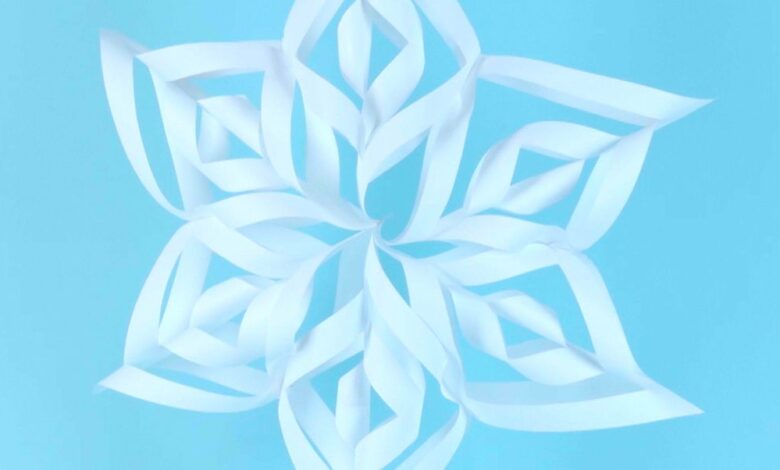
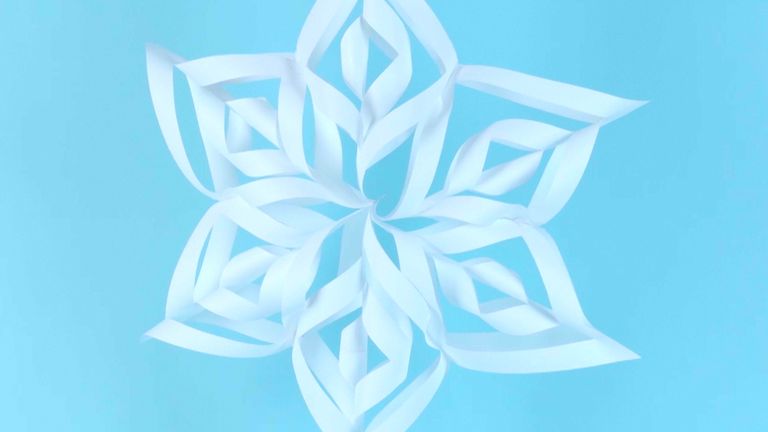
How to Make 3D Paper Snowflakes
Materials:
Instructions:
- Fold your paper diagonally.
- Cut off the excess paper at the bottom.
- Fold the paper in half.
- Cut three diagonal lines along the non-folded edge of your paper.
- Unfold your paper after trimming.
- Tape your center flaps together.
- Flip and tape all of the flaps to the middle of your snowflake.
- Repeat all of the previous steps for the other 5 pieces of paper.
- Combine all six of the papers together at the middle point and use your stapler to hold them in place.
- Staple each section together using your stapler.
This content is created and maintained by a third party, and imported onto this page to help users provide their email addresses. You may be able to find more information about this and similar content at piano.io
Source link