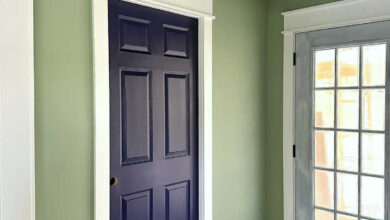
Well, yesterday was certainly interesting. I did make some progress on the home gym trim, and I got the third and final window in the room trimmed, plus I installed the head jamb trim piece on the wide cased opening between the room and the closet area. I’ll get to that in a second, but first, here’s how the window turned out…
If you want to see how I trim out my doors and windows using this very easy, eye-catching method that requires no miter cuts, you can see that here.
They’re not finished, obviously. I still need to wood fill, sand, caulk, and paint the trim. But even in its unfinished state, I absolutely love how the trim looks against the colorful walls!
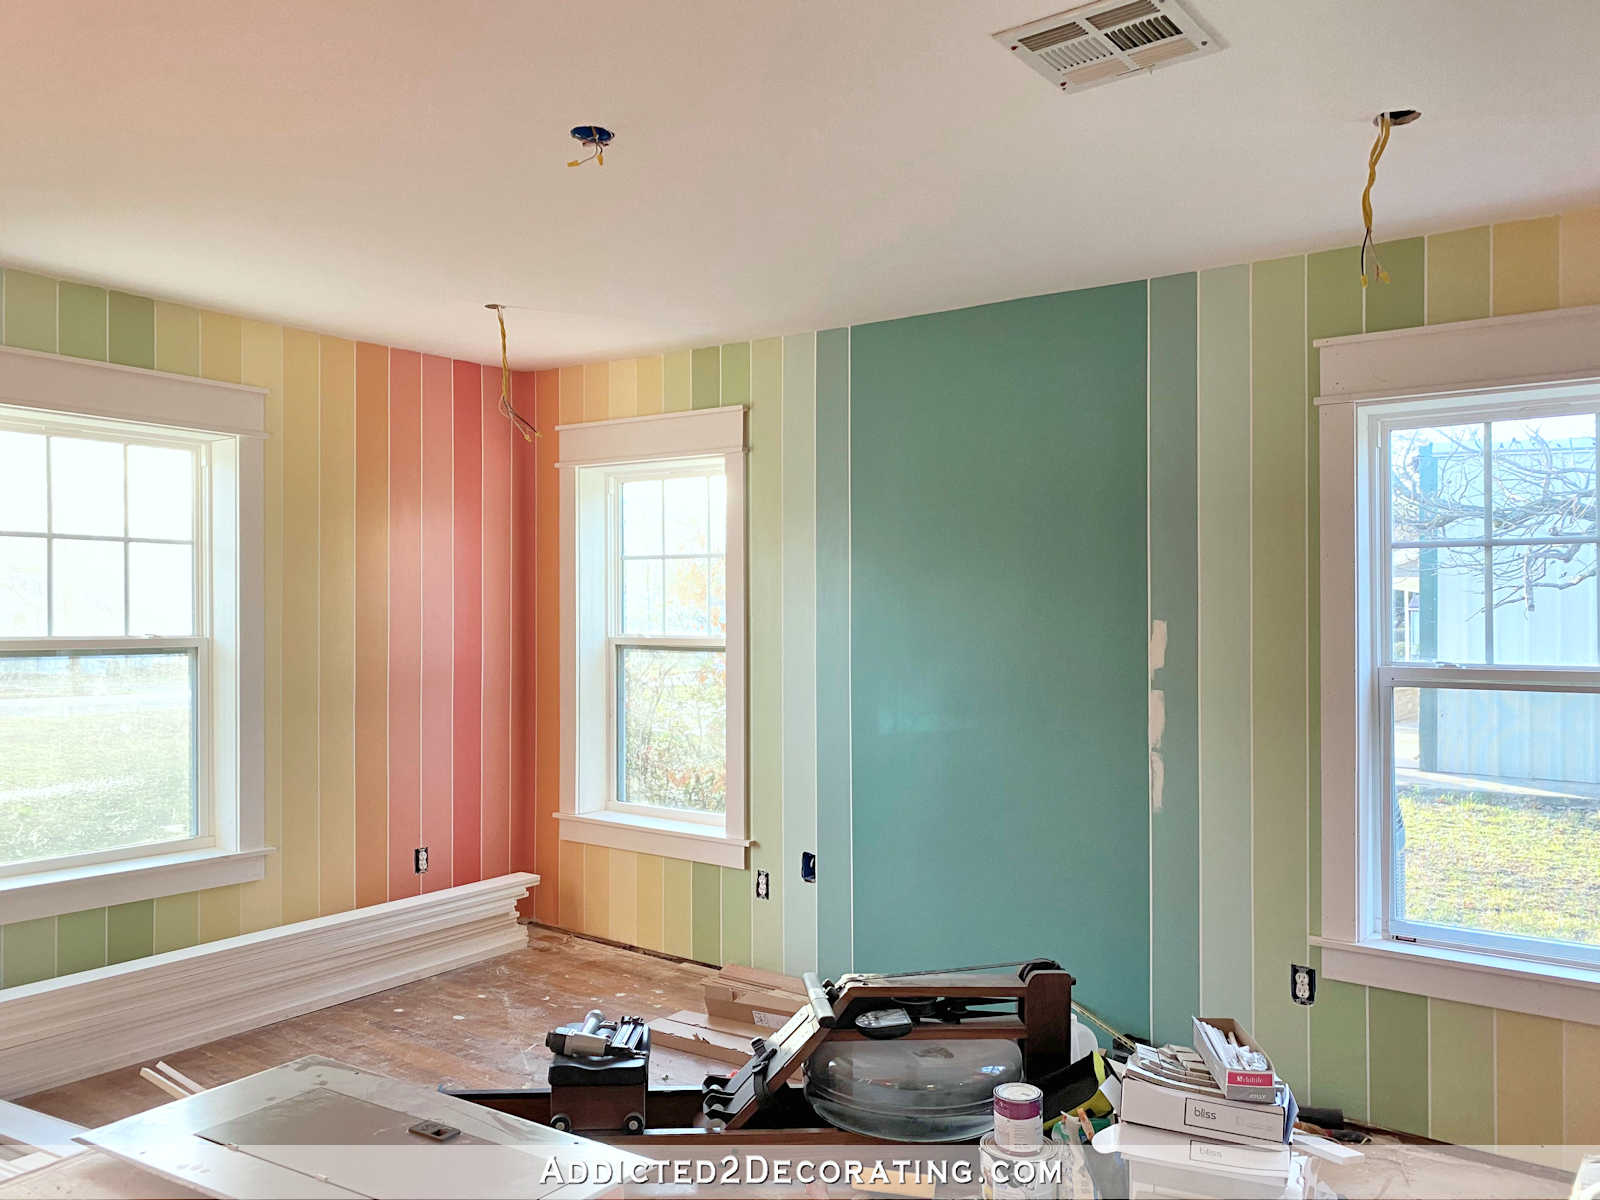
So I got that window done, and then spent some time rearranging and organizing the stuff cluttering this room, and then got the head jamb installed on what will be a cased opening between the room and the closet area.
As I was working on that head jamb, Matt called me and needed me to go help him with some things. So I got to a stopping point, and then went to help him out, which took about 30 minutes or so. But while I was doing that, Matt’s phone alerted that a tornado warning had been issued for our area. A tornado warning means that a tornado has been spotted in the area and you need to seek shelter immediately. So I rounded up Cooper and Felicity (our dog and cat) so that we could all hunker down. And while I was chasing Felicity and trying to grab her, the wind started picking up, the rain started coming down really hard, and then the civil defense sirens (which are just a few blocks away from us) started going off. I was finally able to get everyone rounded up so we could wait out the rest of the storm and the rest of the tornado warning.
We’re all fine, and I think our house is fine (although I haven’t been outside yet today to assess if there’s any damage from the high winds), but needless to say, after all of that excitement, and by the time the tornado warning finally expired, I wasn’t really wanting to start working again.
So that’s all I got done yesterday — one window trimmed and the head jamb installed on the large cased opening. 😀
While I don’t have a ton of progress to share today, I did want to pass on some information that might be helpful to some of you. As y’all know, when I work on projects like this, I’m always working alone. Obviously, Matt can’t help me, and I hate to ask people to come help me with things like trim. (I only like to ask favors with the really big things that I definitely can’t do by myself.) So I’ve had to come up with ways to do projects by myself that would generally take a couple of pairs of hands to accomplish.
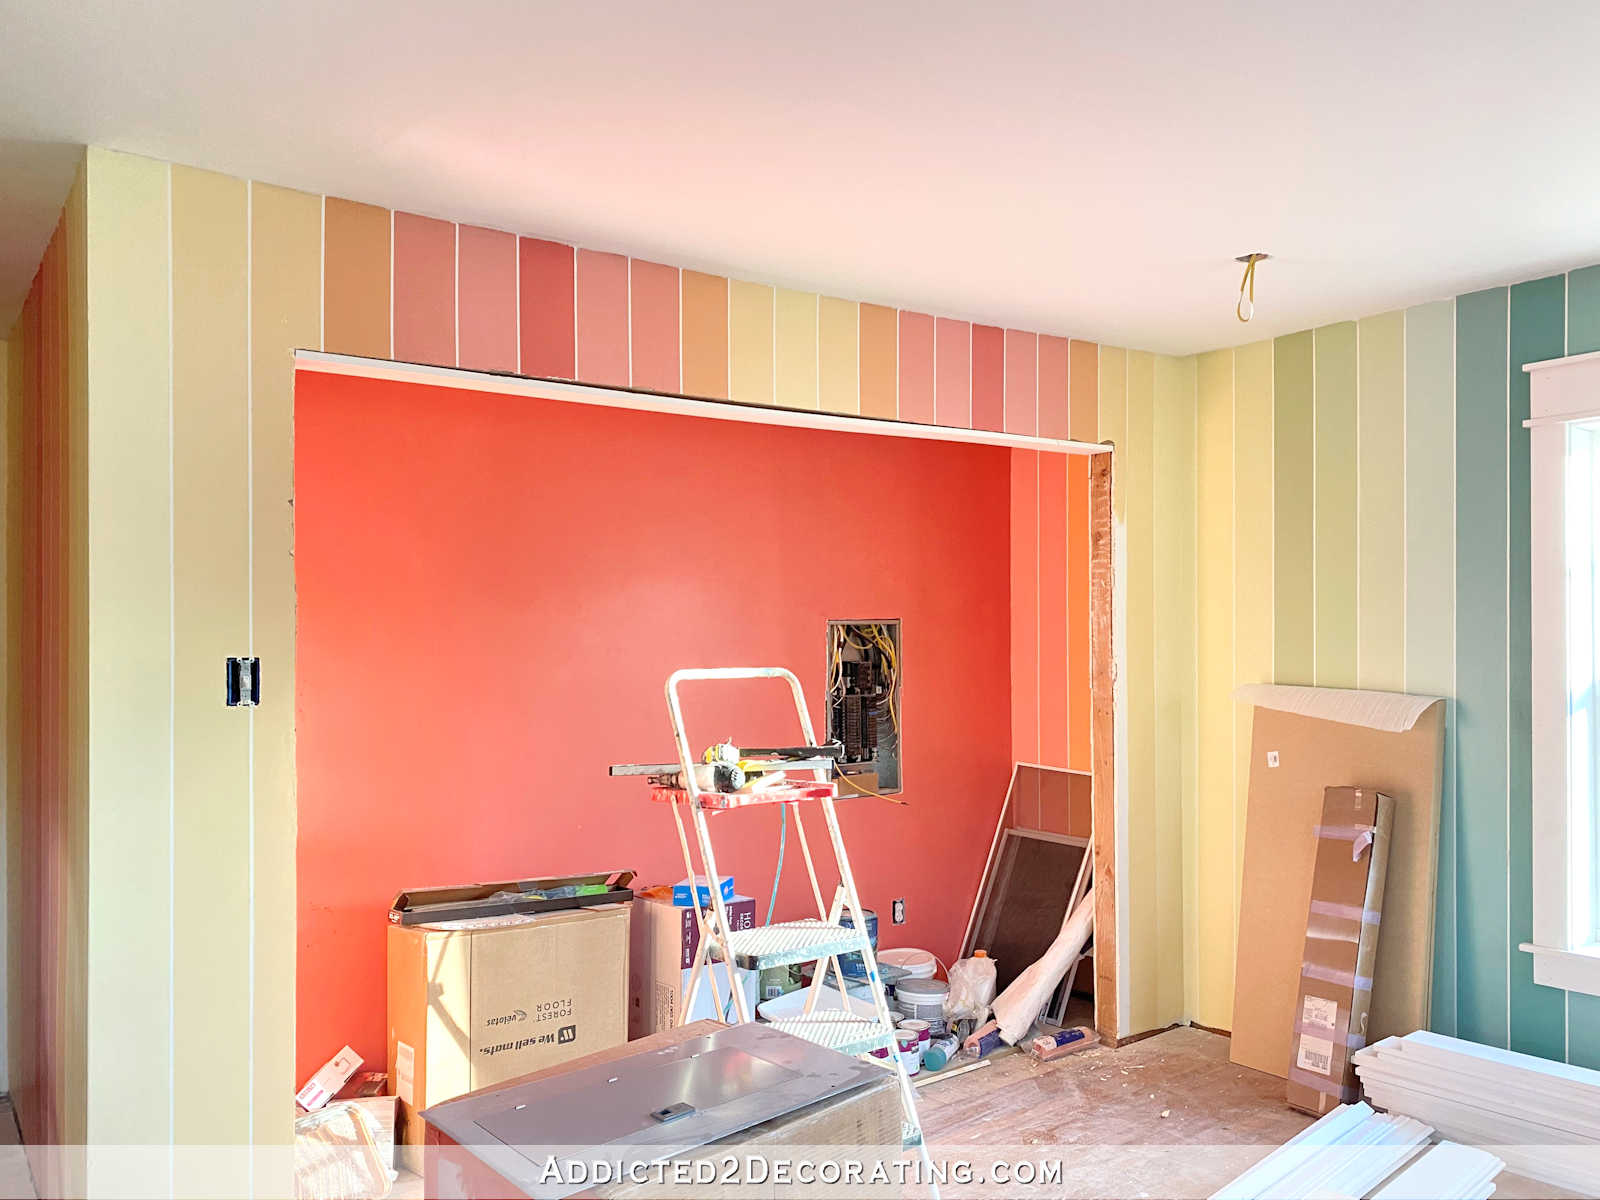
And one of those projects is installing trim (especially the head jamb) on really wide cased openings. We have two other really wide cased openings in our house. There’s the one between the kitchen and the sitting room (breakfast room).
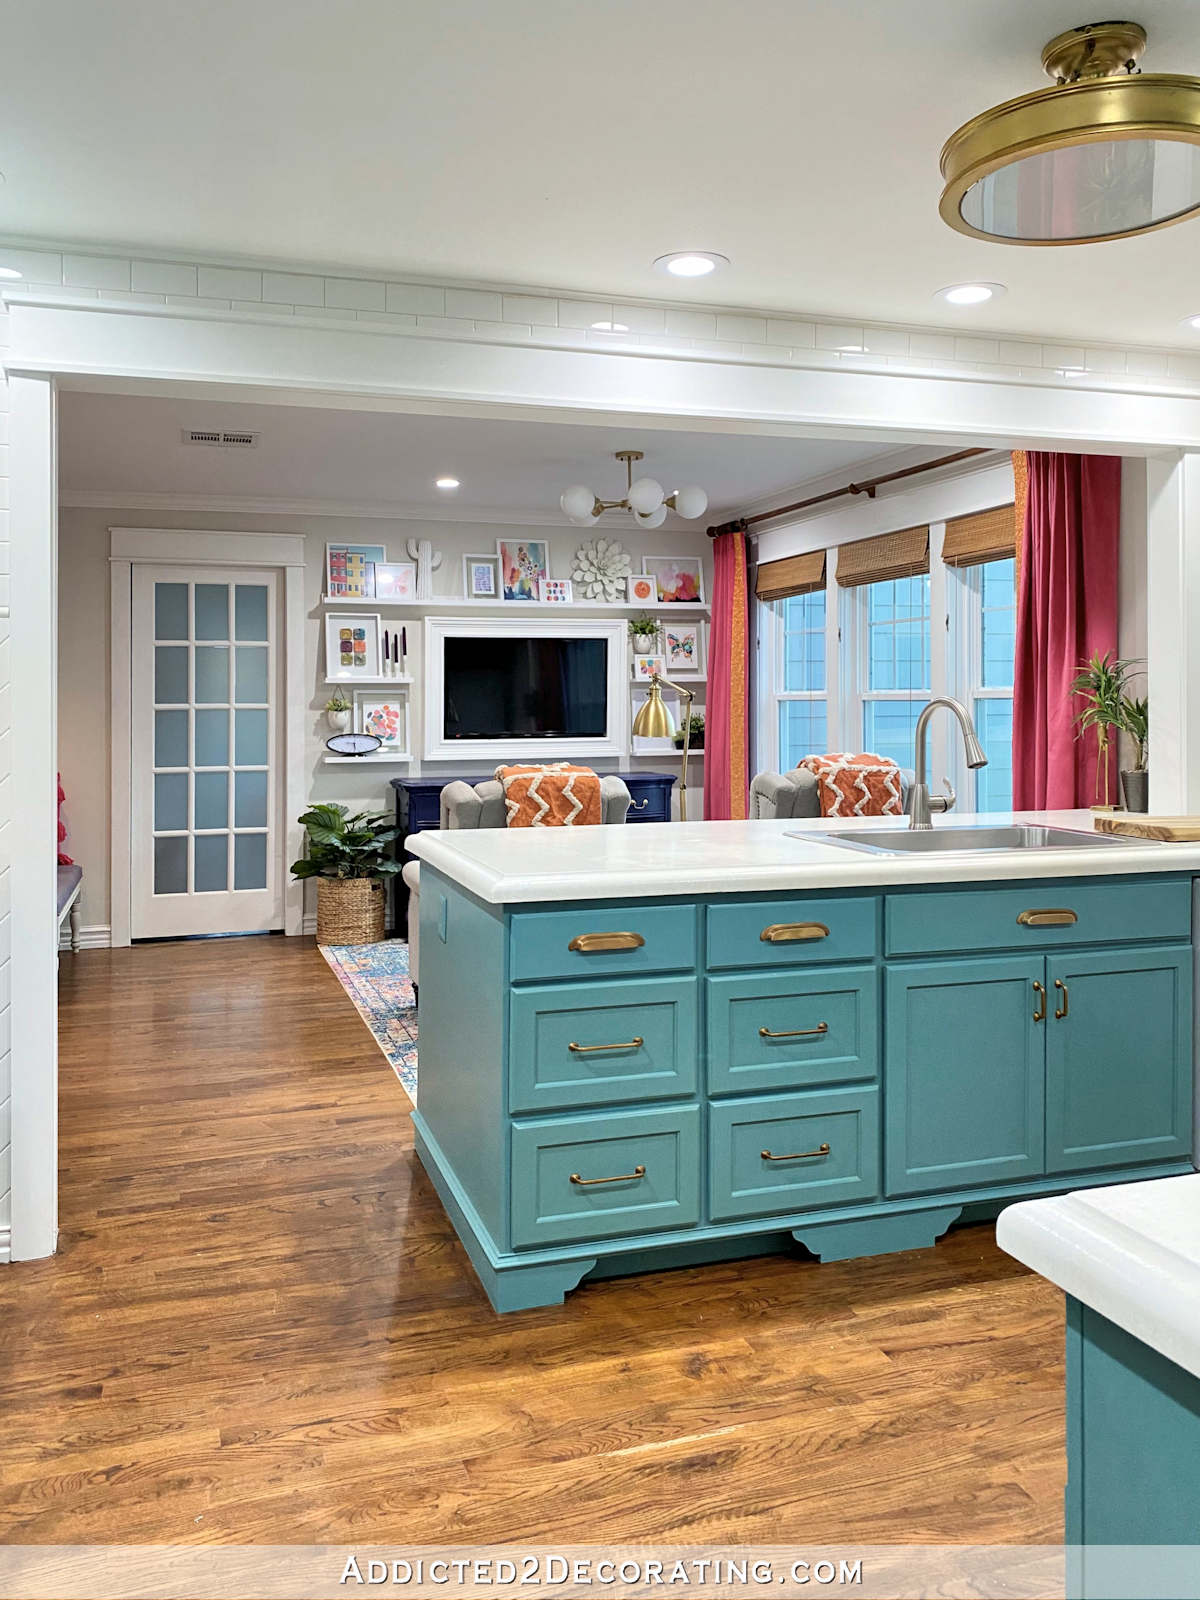
And there’s the one between the living room/entryway and the music room…
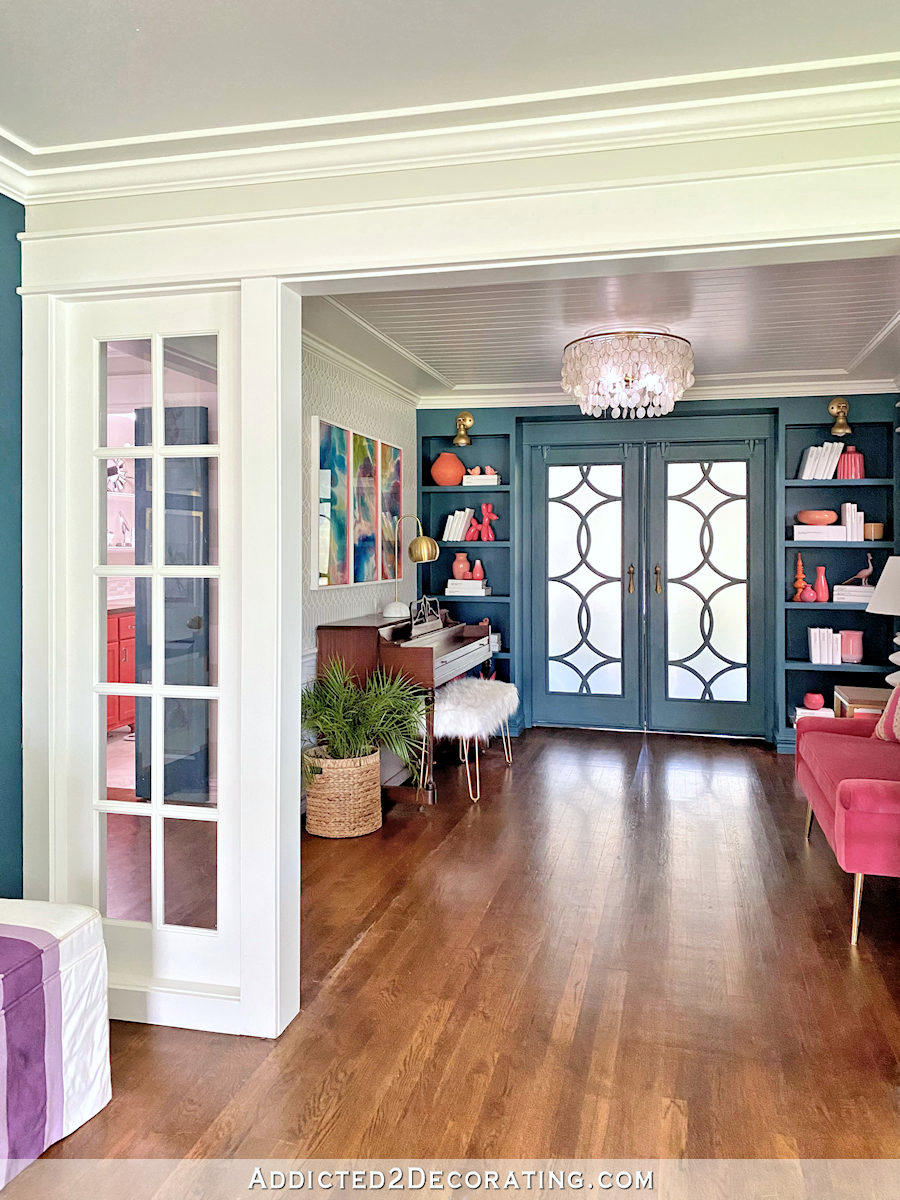
And when I frame out cased openings, the head jamb is the first piece of trim that I install. That can be challenging when you’re trying to install that long board by yourself, working against gravity, trying to nail it in place while getting shims between the trim board and the framing, while also trying to hold a level up there to be sure the shims are in the right place and everything is level before nailing it into place.
Well, I learned that not only is that incredibly difficult to do on my own, but it’s impossible. So I came up with my own way of installing that head jamb that is much easier, and very doable when I’m working by myself.
First, I cut the board to the right length, and then using 2.5-inch 16-gauge nails, and starting somewhere around the middle, I lift it into place and nail it to the framing. I don’t worry at this stage whether it’s level or not, I just use two nails (one front, one back) spaced about 14 inches apart, and get the trim board nailed into place.
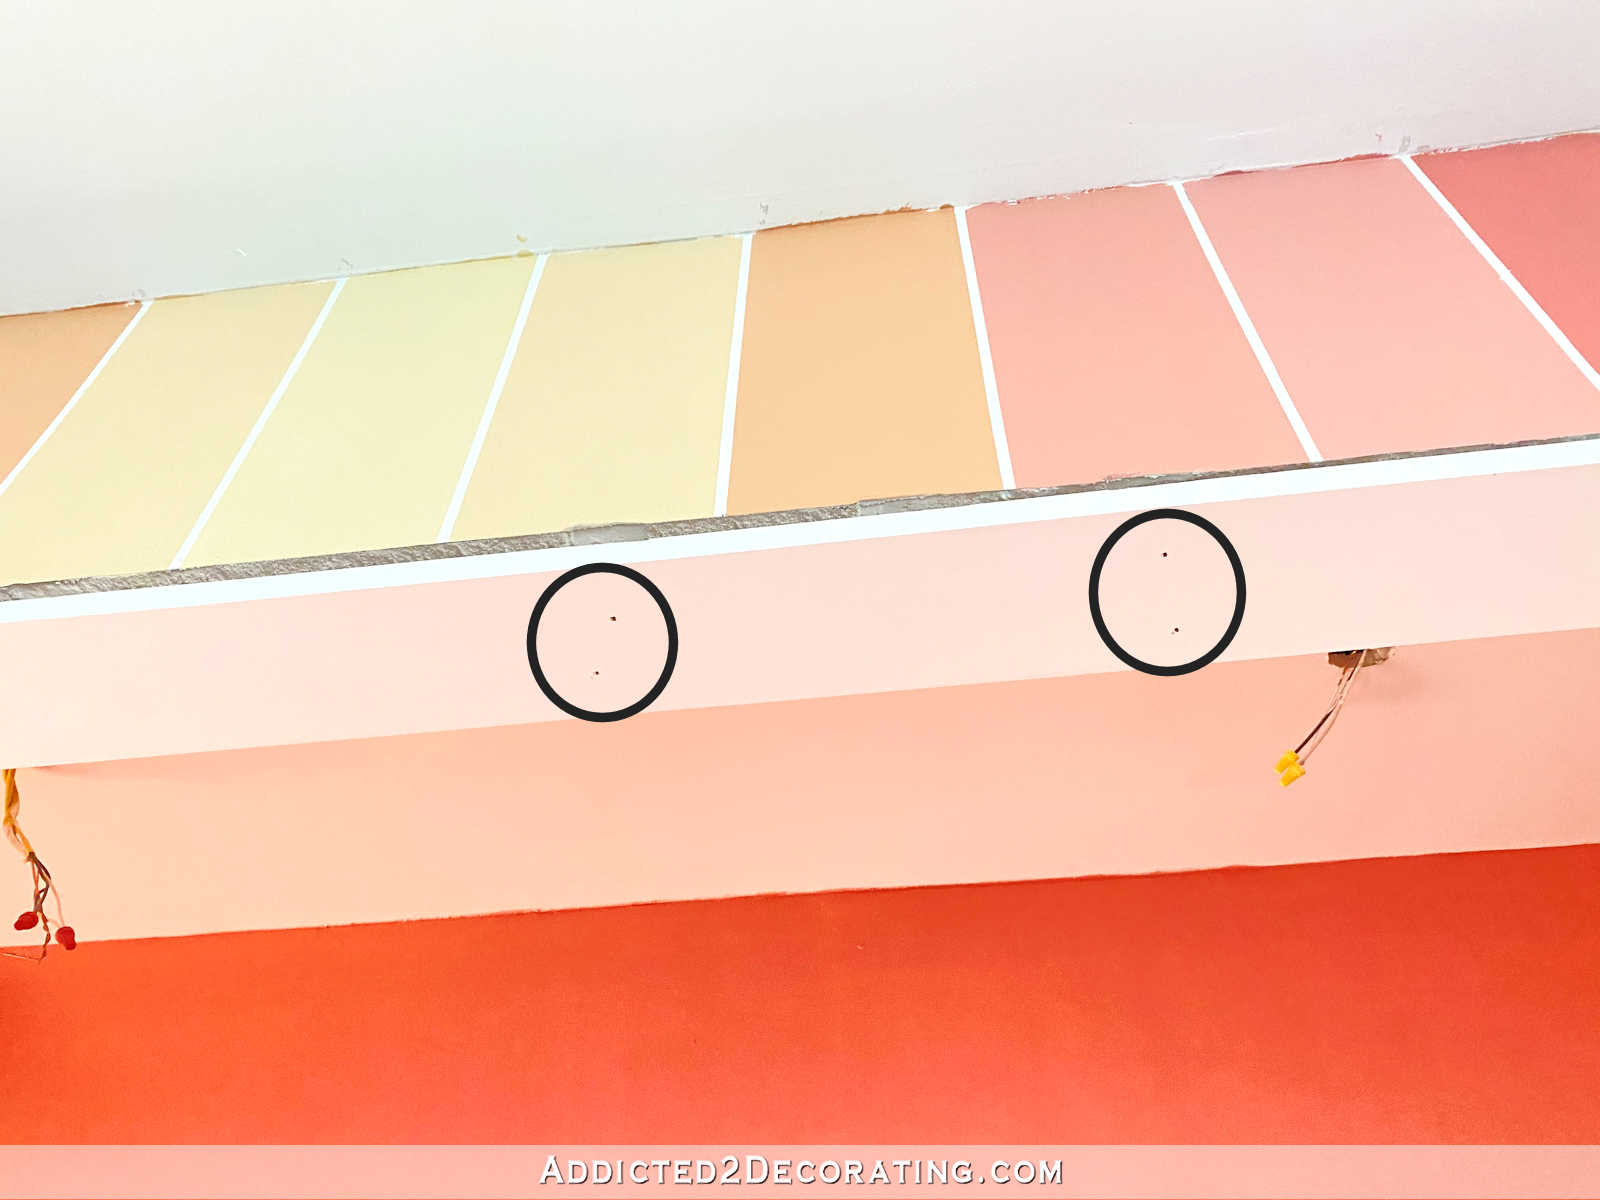
Once the trim board is nailed into place, then I use my level to see if the board is level. The chances of a board being installed like that, right up against the framing, and being perfectly level is pretty slim to none. So then I determine which side is lower, and which side is higher. In this case, the side on the left was lower, and the side on the right was higher. That means that the head jamb board needs to be brought down as it goes to the right side.
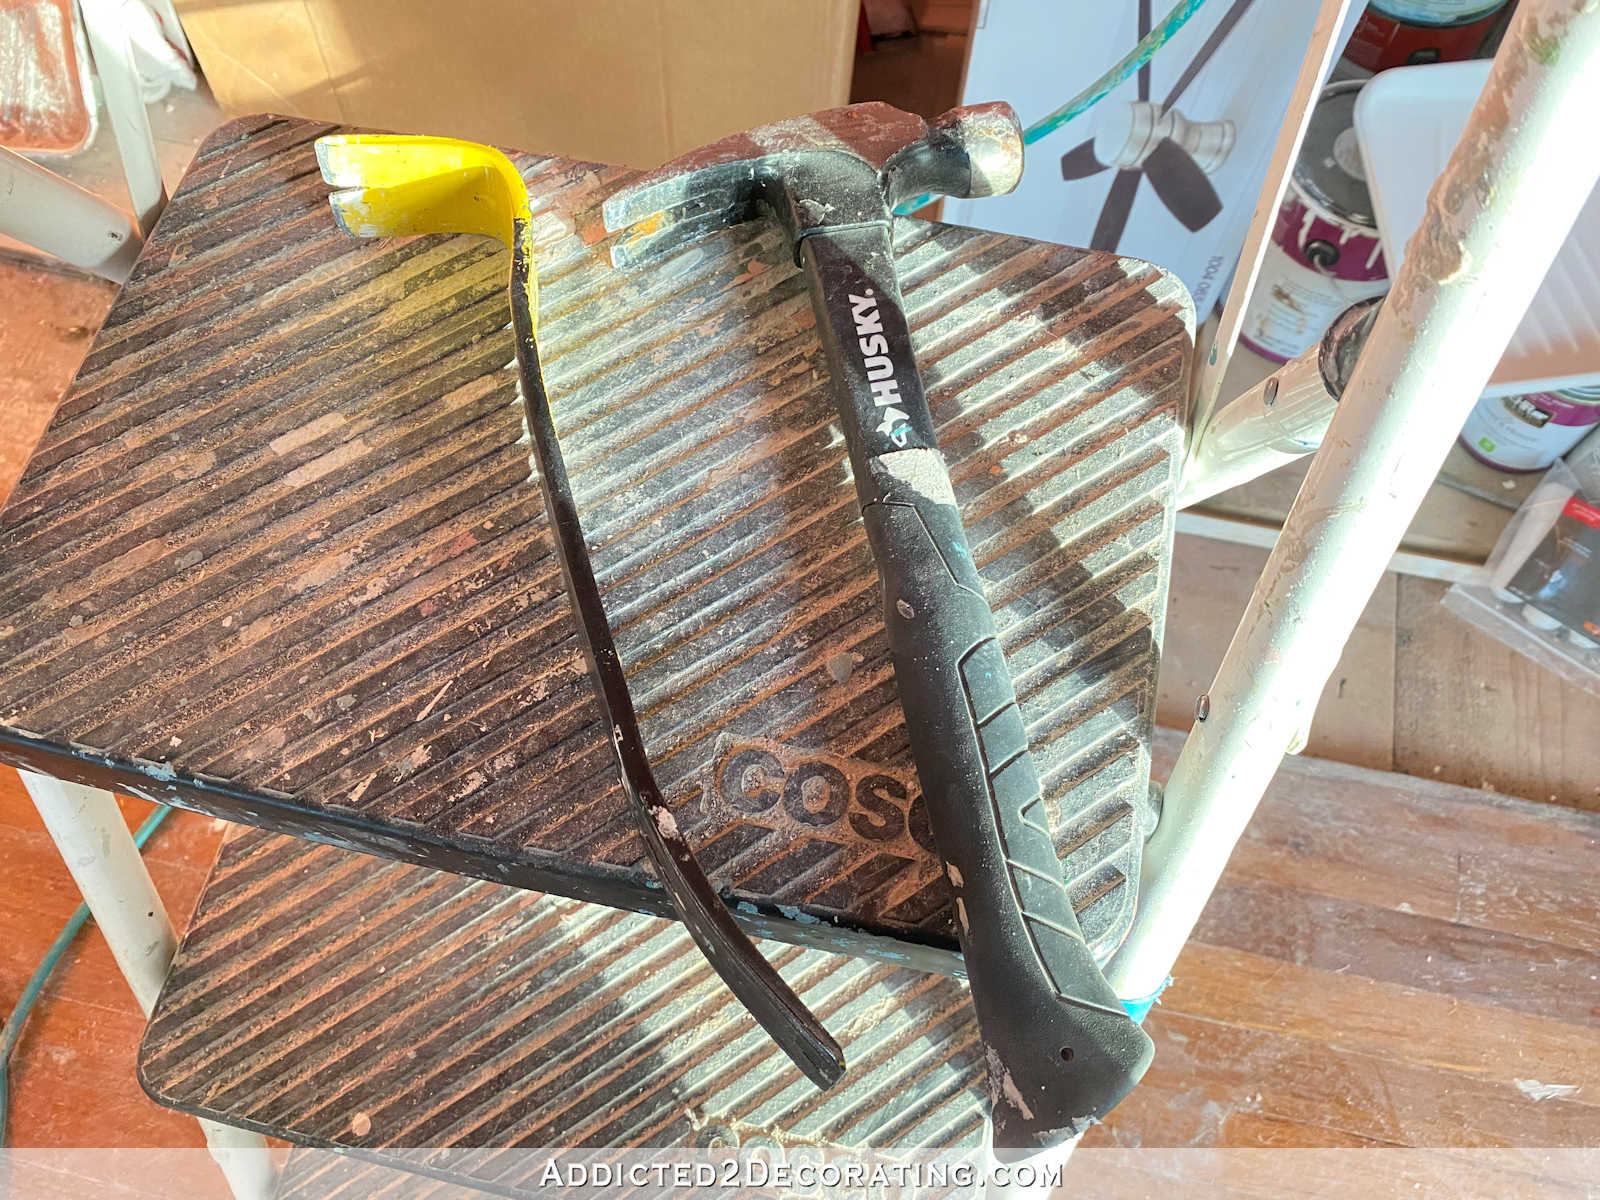
So starting on the left side (i.e., the lower side), and using my pry bar and a hammer, I can then work my way from left to right, using my pry bar to pull the board down where it needs to be lower, and using my level to make sure the board is level as I work my way to the right side.
You can see here what I mean. Since the left side was already the lower side, I didn’t need to pull the board down at that point. But as I worked my way to the right, I used my pry bar to create a space between the trim board and the 2×4 framing.
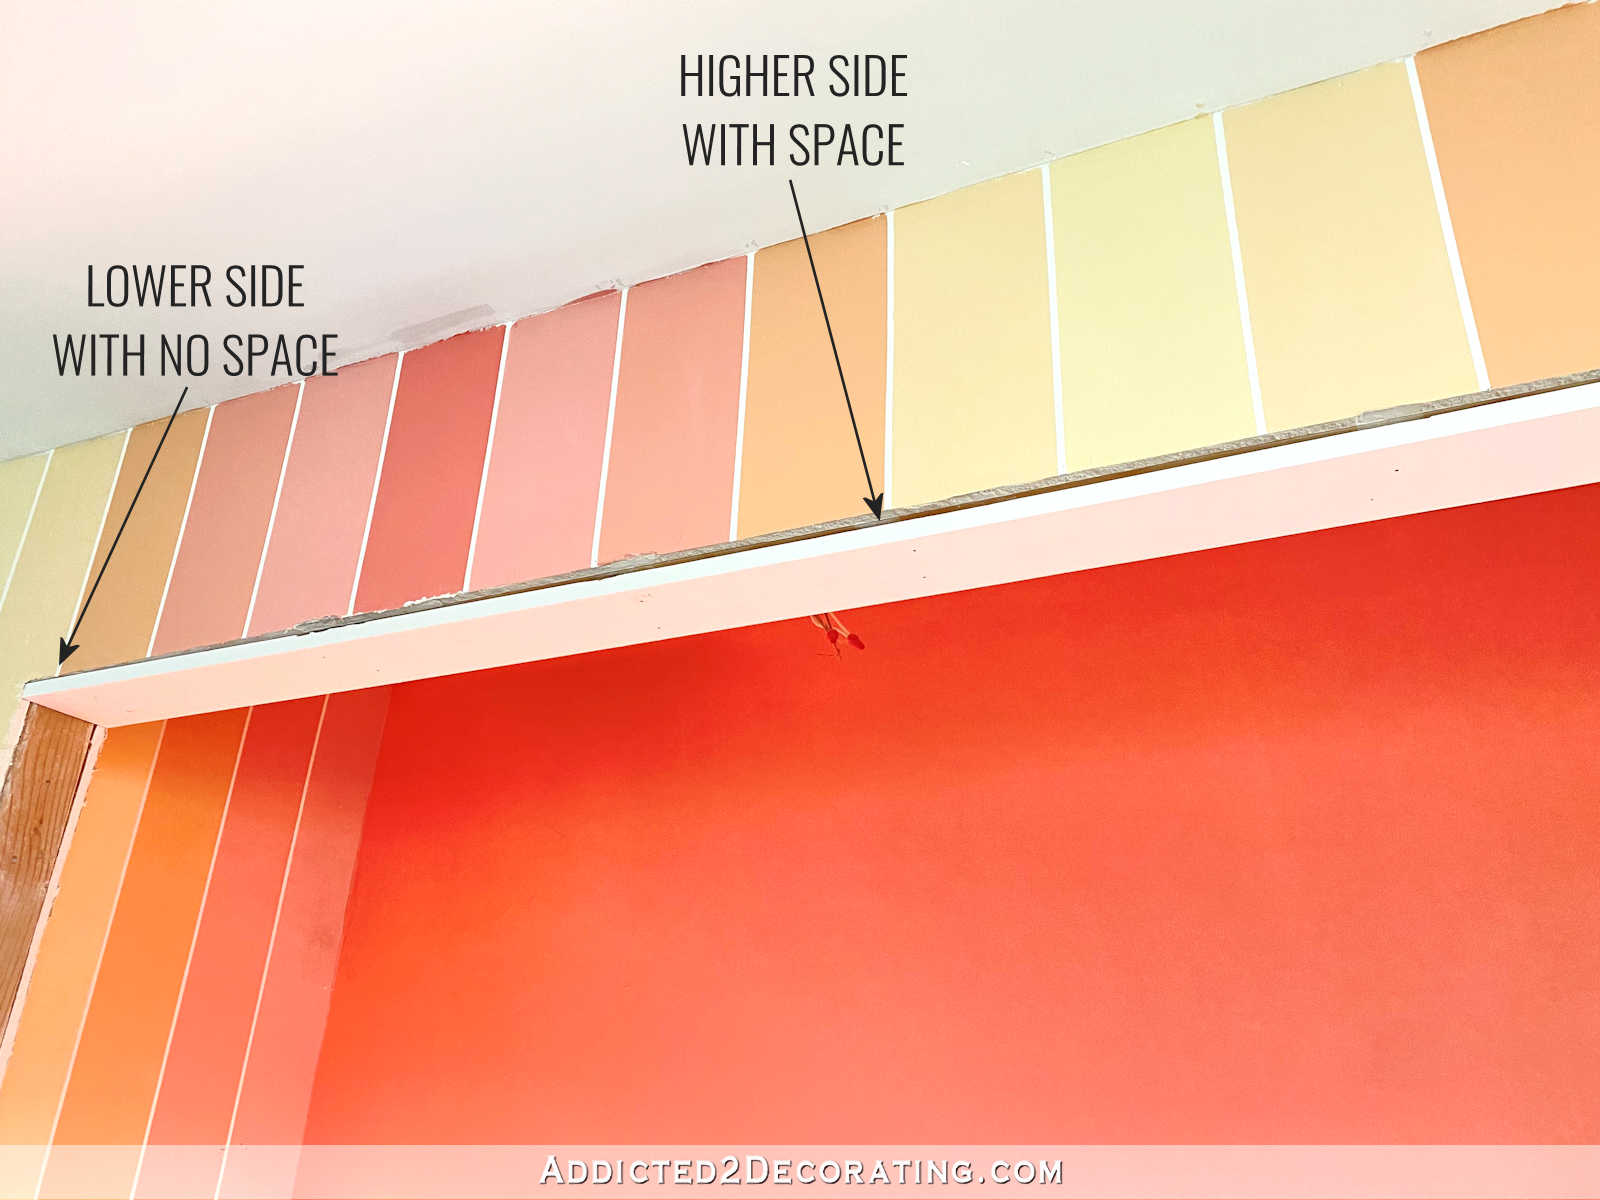
I only got just over halfway done with this process before I had to go help Matt and then we got caught up with the tornado warning. So I still have to work my way all the way across that board to the end on the right.

Once that’s done, I can go back and add shims to fill in that gap, and add some additional nails through the shims to keep everything level.
The key is using those 2.5-inch 16-gauge nails. If you use shorter nails (like 1.5-inch nails), they’ll just pull right out as you’re prying the board away from the 2×4 framing, and the board will probably come lose and land on your head. Ask me how I know. 🙂
Anyway, that’s a little “how to work by yourself” tip that I’ve learned over the years. And I’ll leave you with a sneak peek of the floor that’s going to go in here. I know y’all have seen the floor before, but it was in the entryway. Now you can see with the colorful walls, and we can pretend that that stack of lumber right here is actually the baseboard trim. 😀
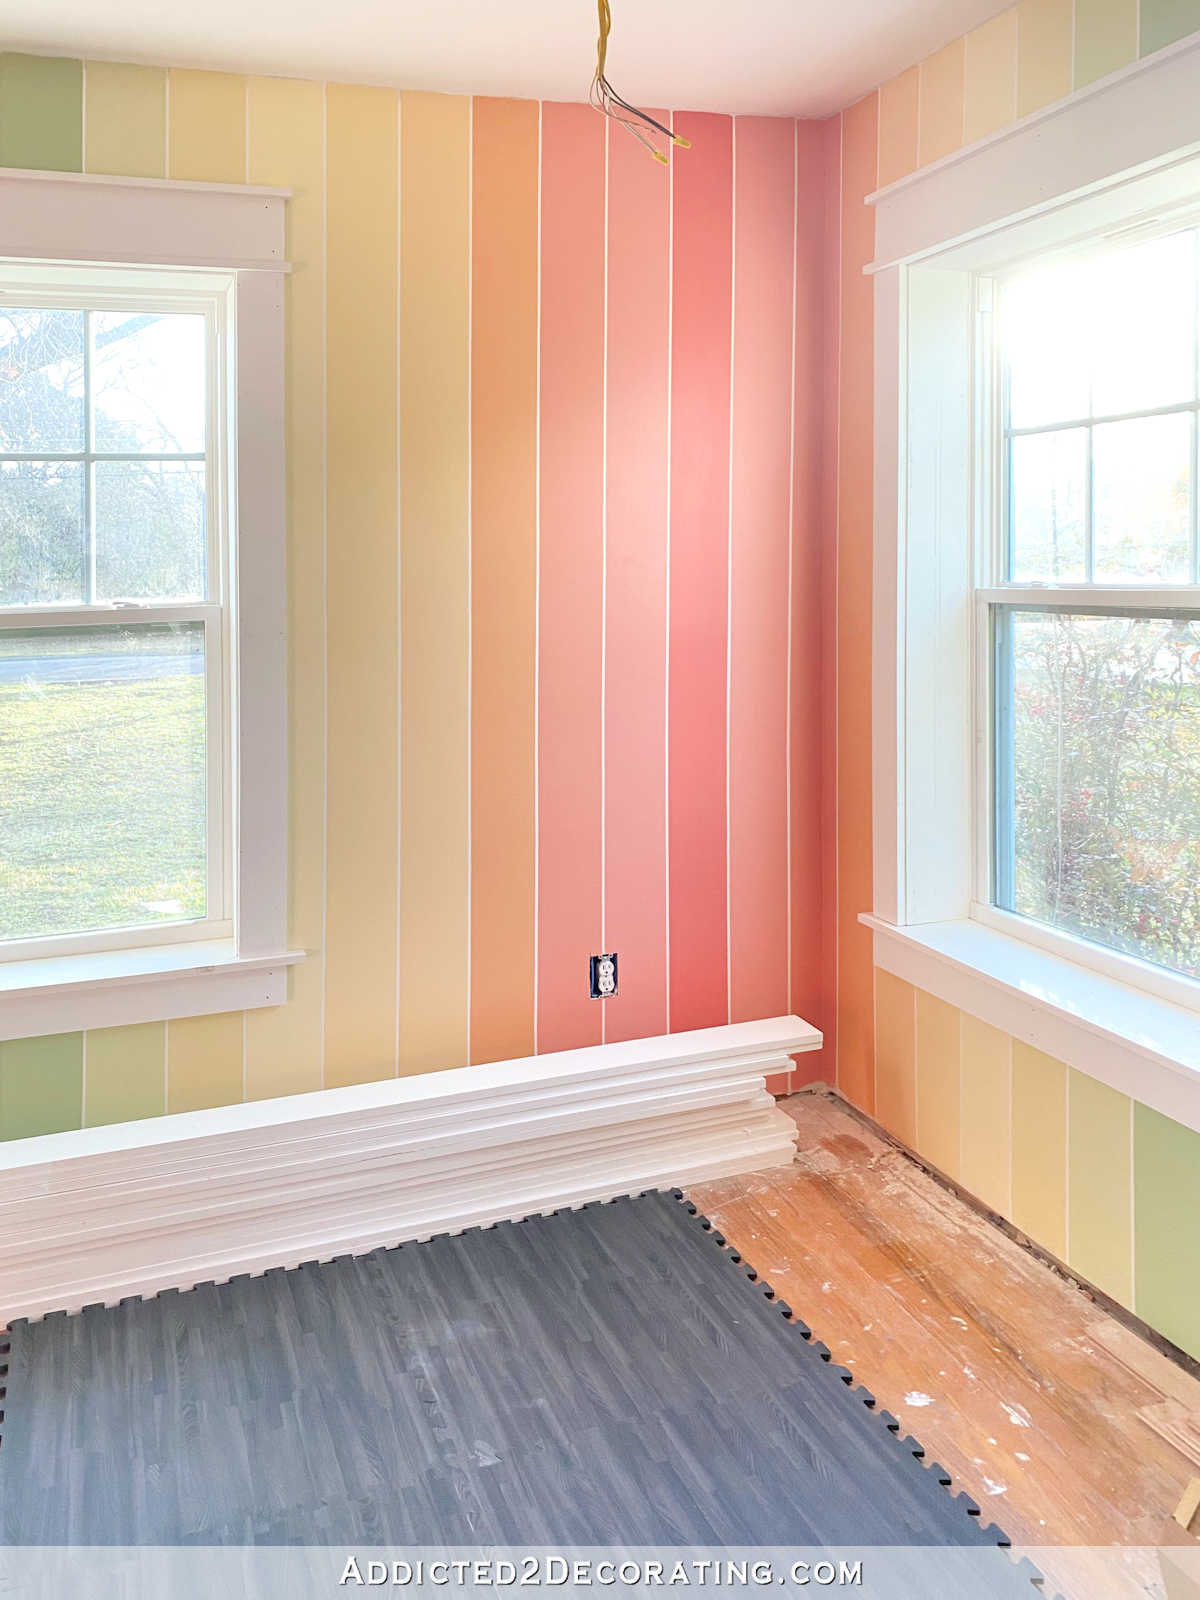
I was so anxious to see what it was going to look like, so I pulled a few pieces of the flooring out of the box just to get a glimpse of what’s to come. I’m so excited to be making progress on this room!

Addicted 2 Decorating is where I share my DIY and decorating journey as I remodel and decorate the 1948 fixer upper that my husband, Matt, and I bought in 2013. Matt has M.S. and is unable to do physical work, so I do the majority of the work on the house by myself. You can learn more about me here.
I hope you’ll join me on my DIY and decorating journey! If you want to follow my projects and progress, you can subscribe below and have each new post delivered to your email inbox. That way you’ll never miss a thing!
Source link