Our home gym finally has lighting! I took some time yesterday to install the four recessed lights in that room, and now I can finally work in there past dark. 😀 I used the same lights in here that I used in my studio and our master bathroom — the 6-inch Halo canless recessed lights (called ultra thin lights).
*This post contains affiliate links.
I love these lights because they really are ultra thin (about 1/2-inch), which is a day and night difference when compared to the traditional style of can lights which have the huge housing that has to go up into the attic and be attached to ceiling joists.
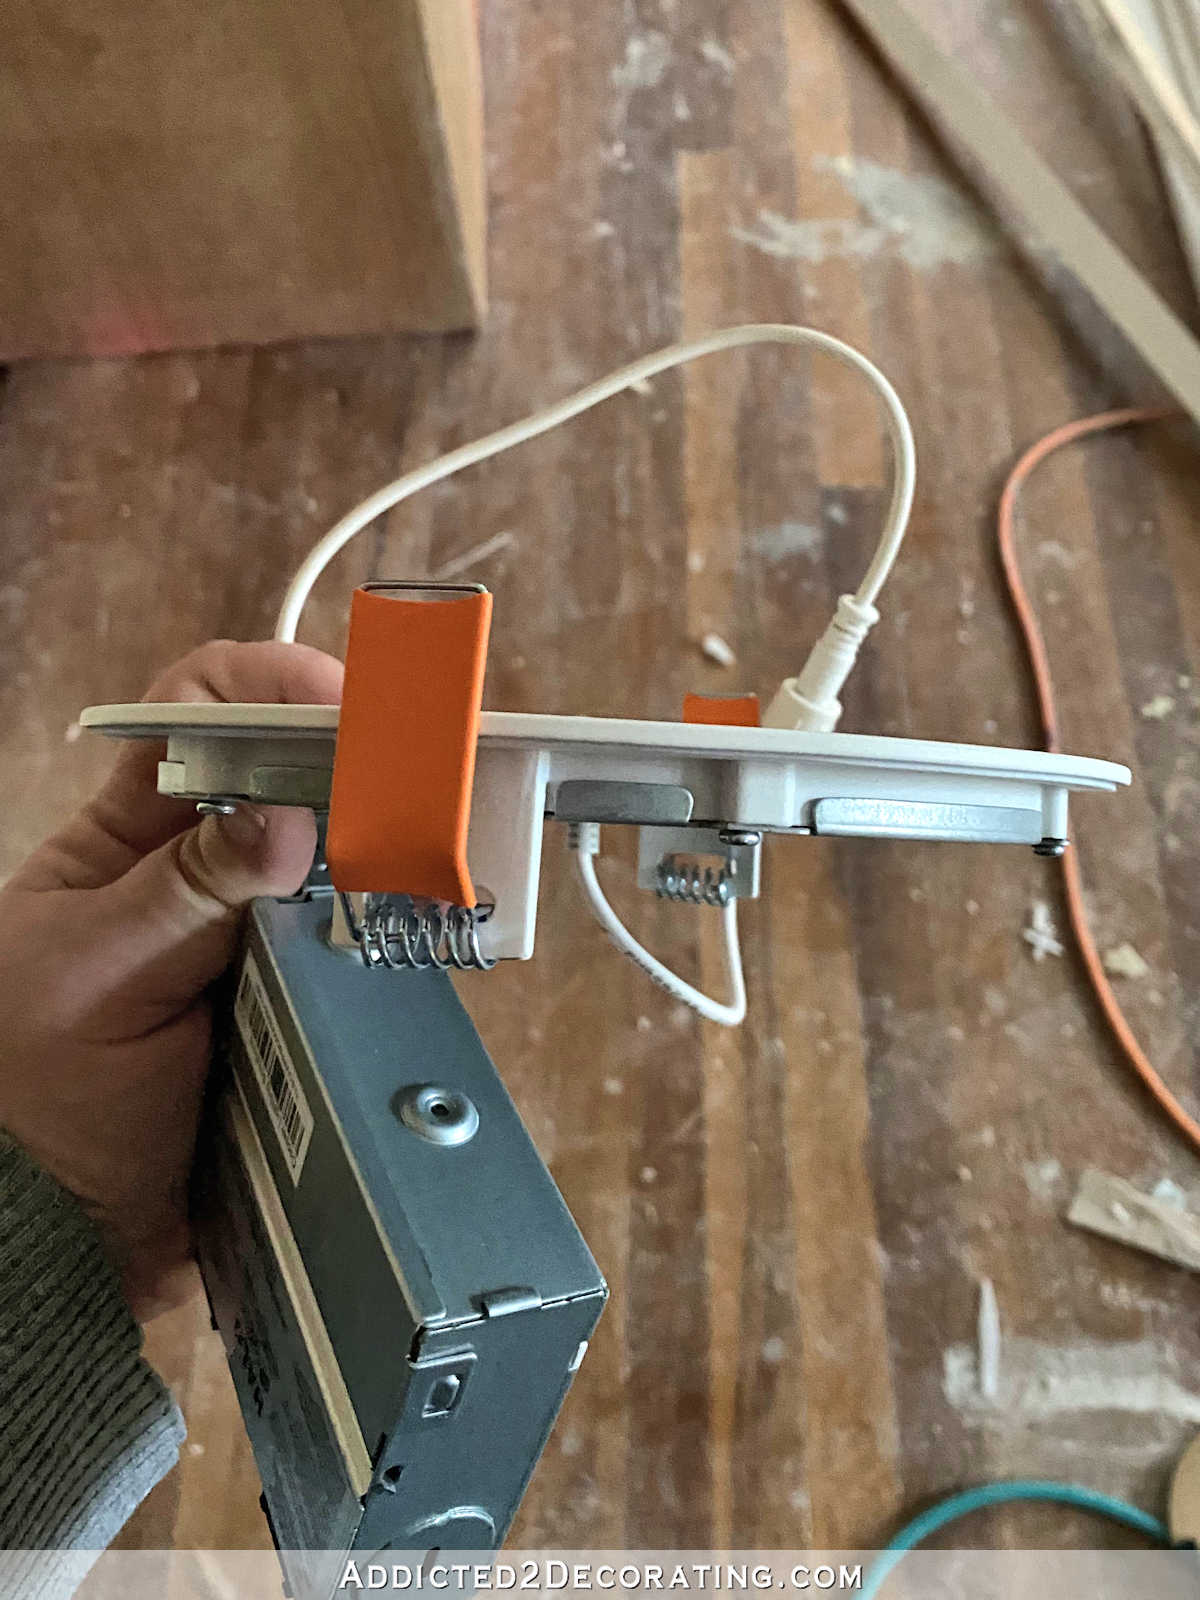
These are so thin that they can be installed virtually anywhere. You can see here that the part that rests against the ceiling is less than 1/4-inch thick. I’d say it’s may 1/8 inch thick or just a hair more than that.
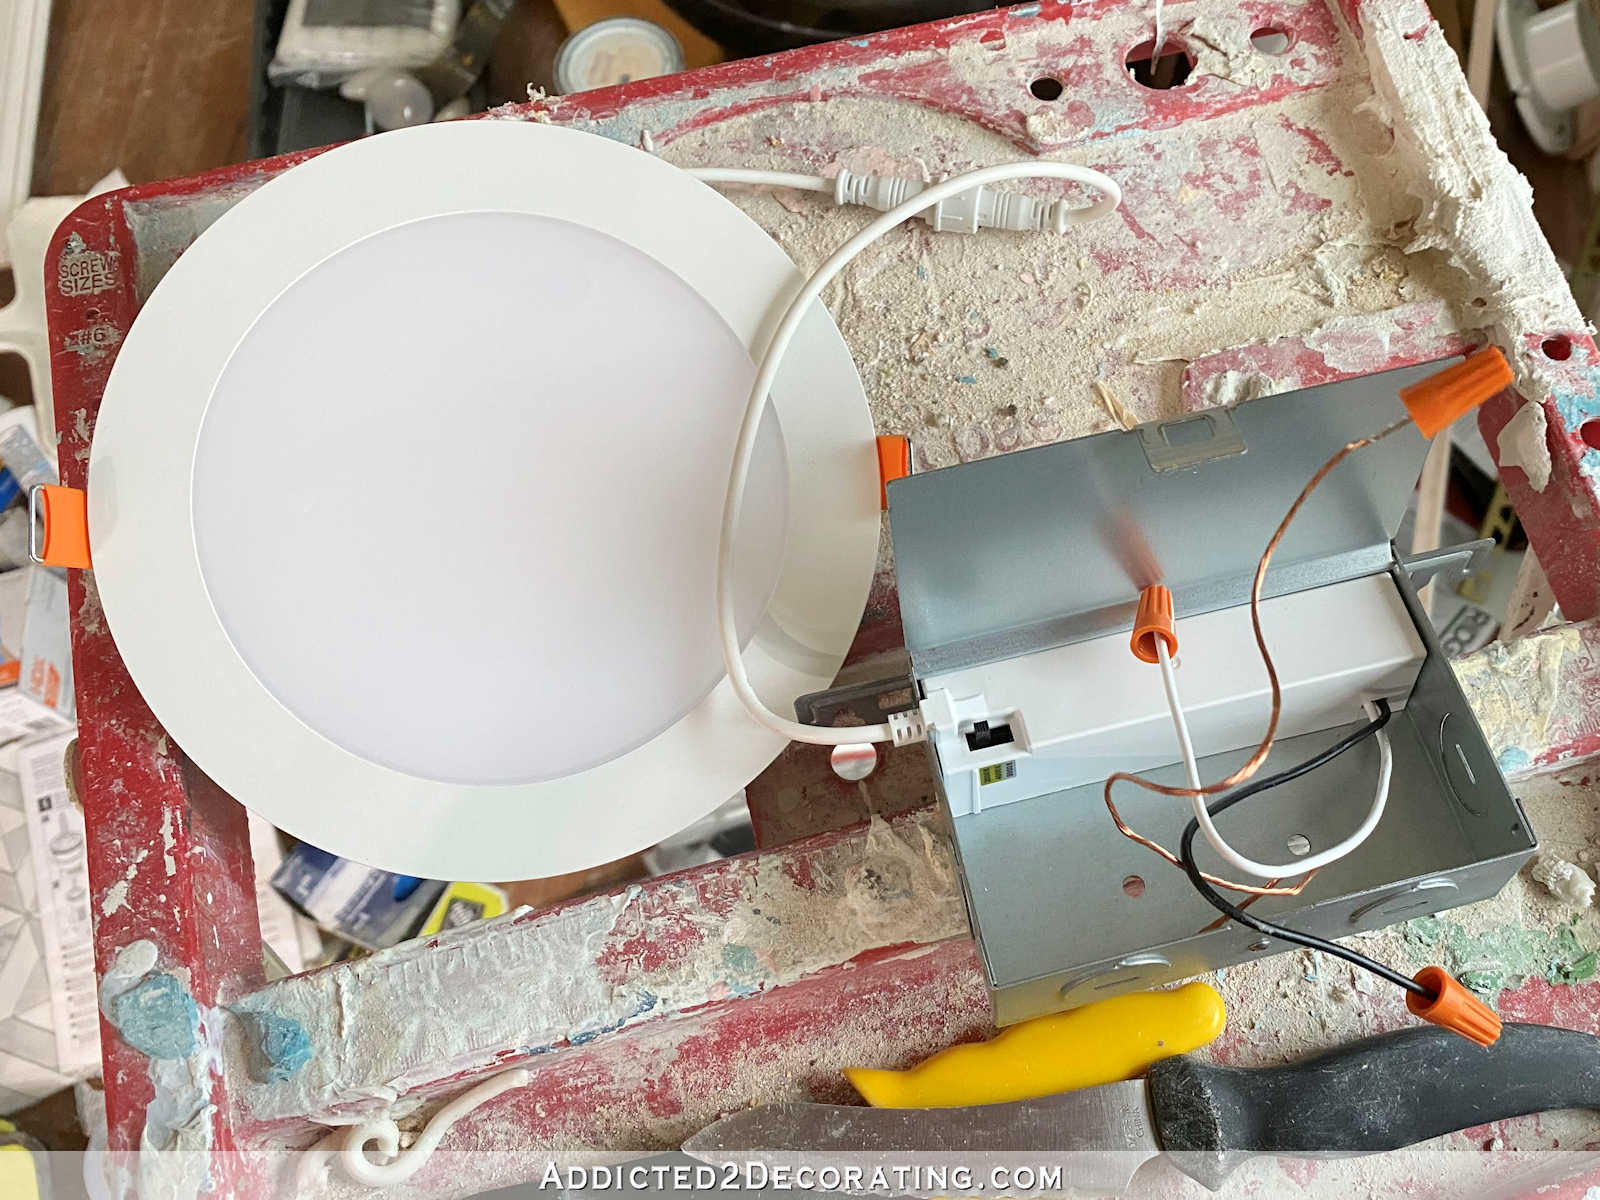
And the HALO canless recessed lights have adjustable lighting. I’ve gotten some that have three settings, and some that have five settings. Here’s the one that has five settings, from 2700K to 5000K.
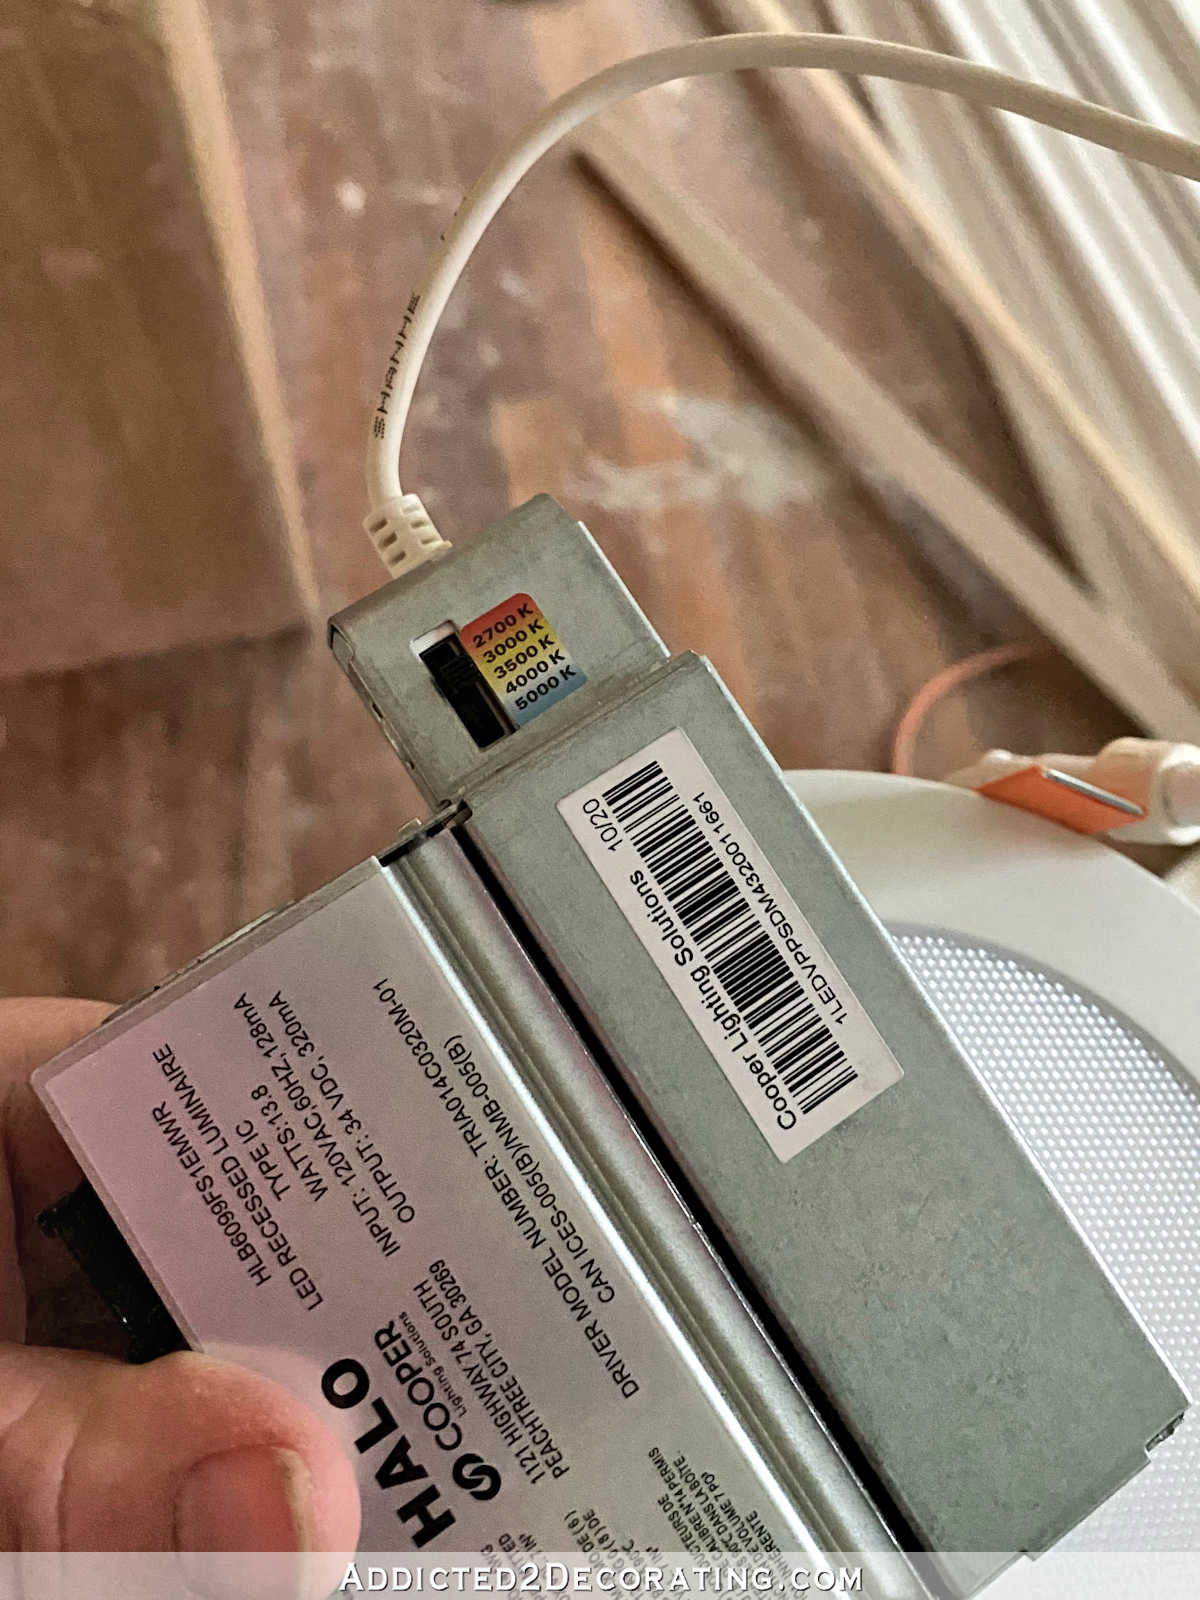
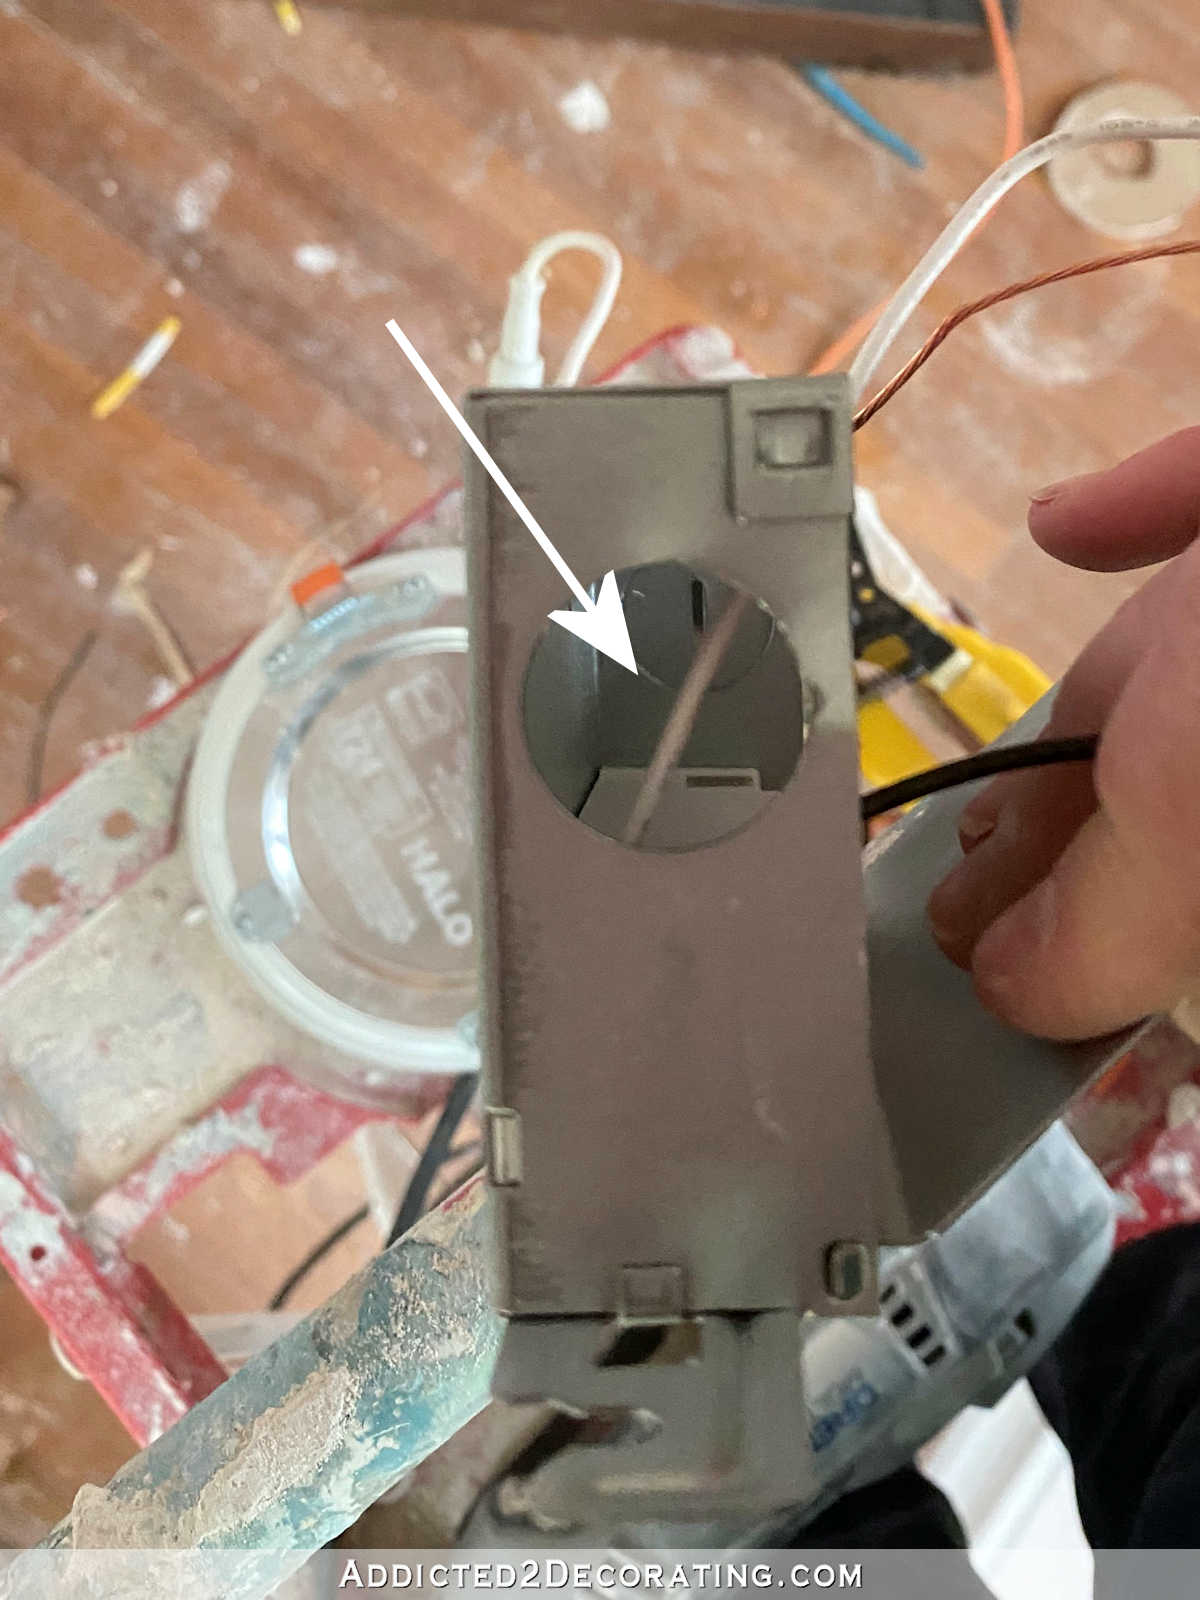
And here’s one that has three settings.
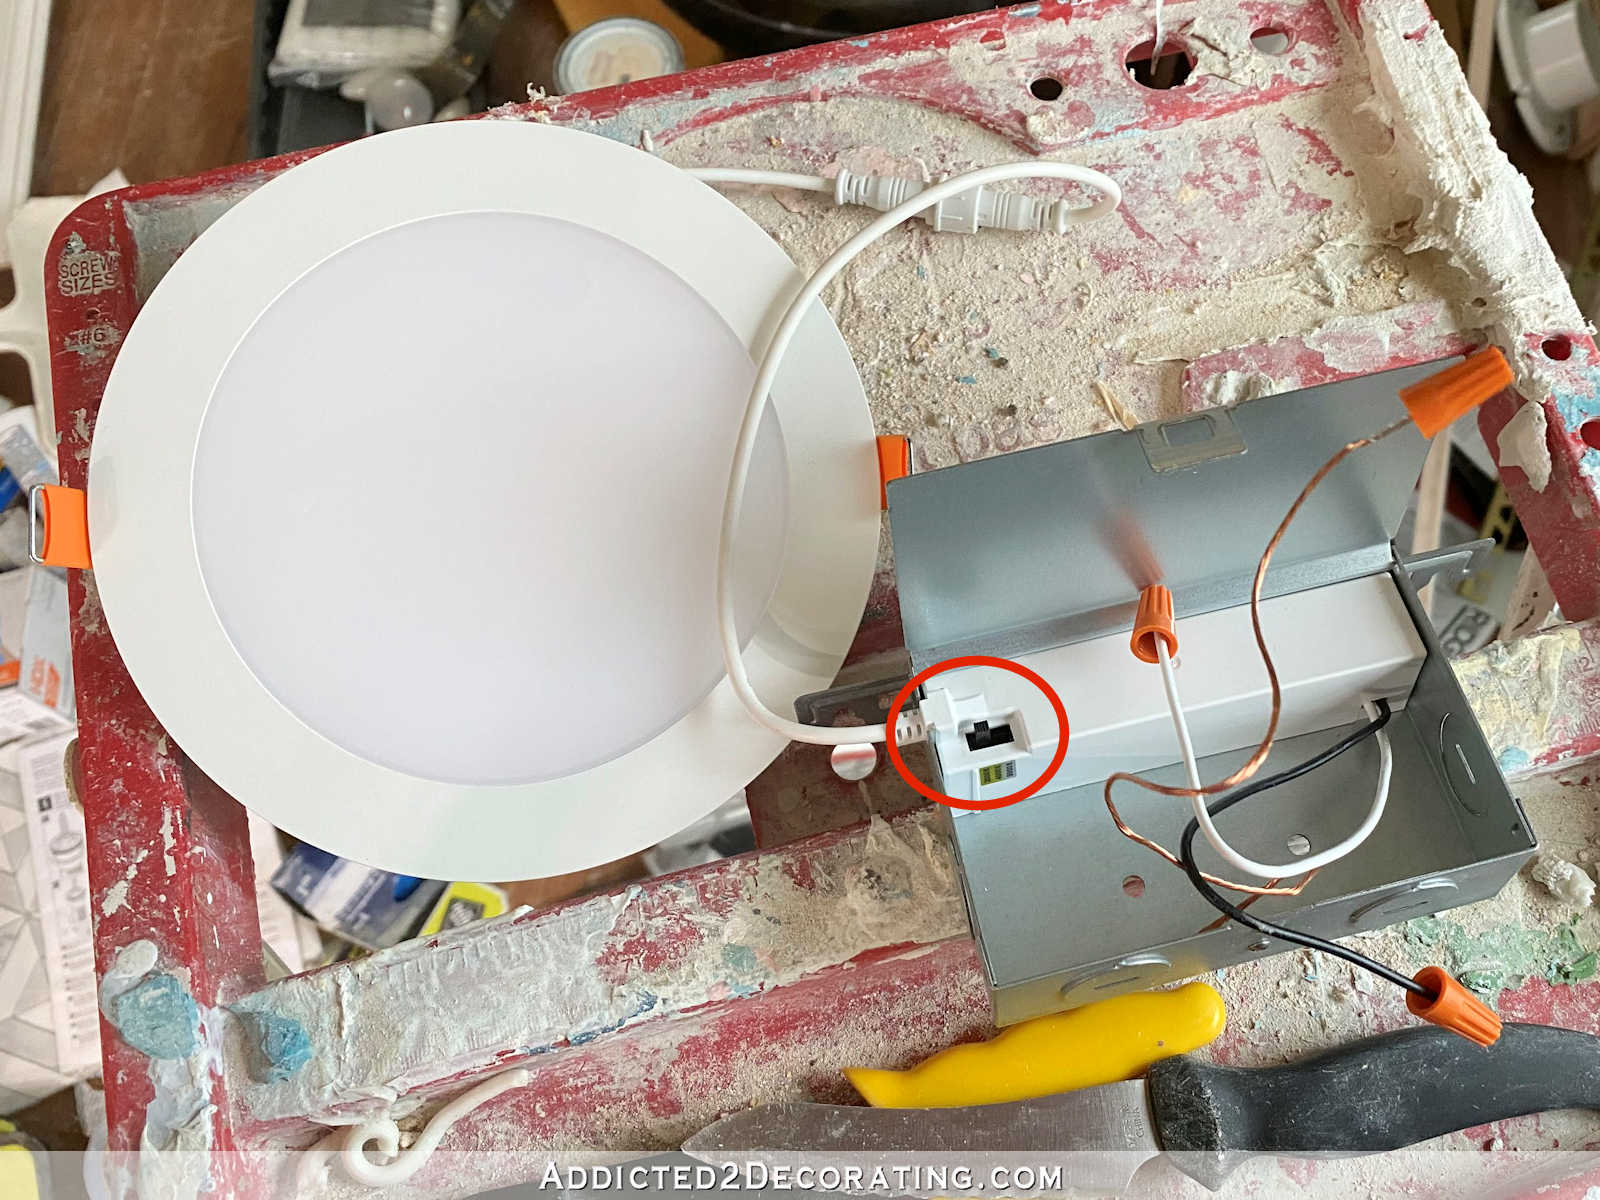
I don’t like that the switch on the three-setting lights is located inside the metal box. I prefer the five-setting lights where the switch is easily accessible on the outside of the box. But for this room, I bought the three-setting light (by accident), and as long as you make sure to put the switch on the setting you want before closing up the box and installing the light, it’s really no big deal. It’s only a hassle if you forget to set the switch to the correct setting and you have to go back and pull the light out, open the box, and change the setting.
So when you open up the box, you can see the wires. The three-setting lights have standard wires with the wire nuts. The five-setting lights have wires with push-in connectors attached. Either way, the installation is very easy.
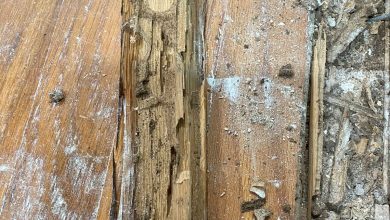
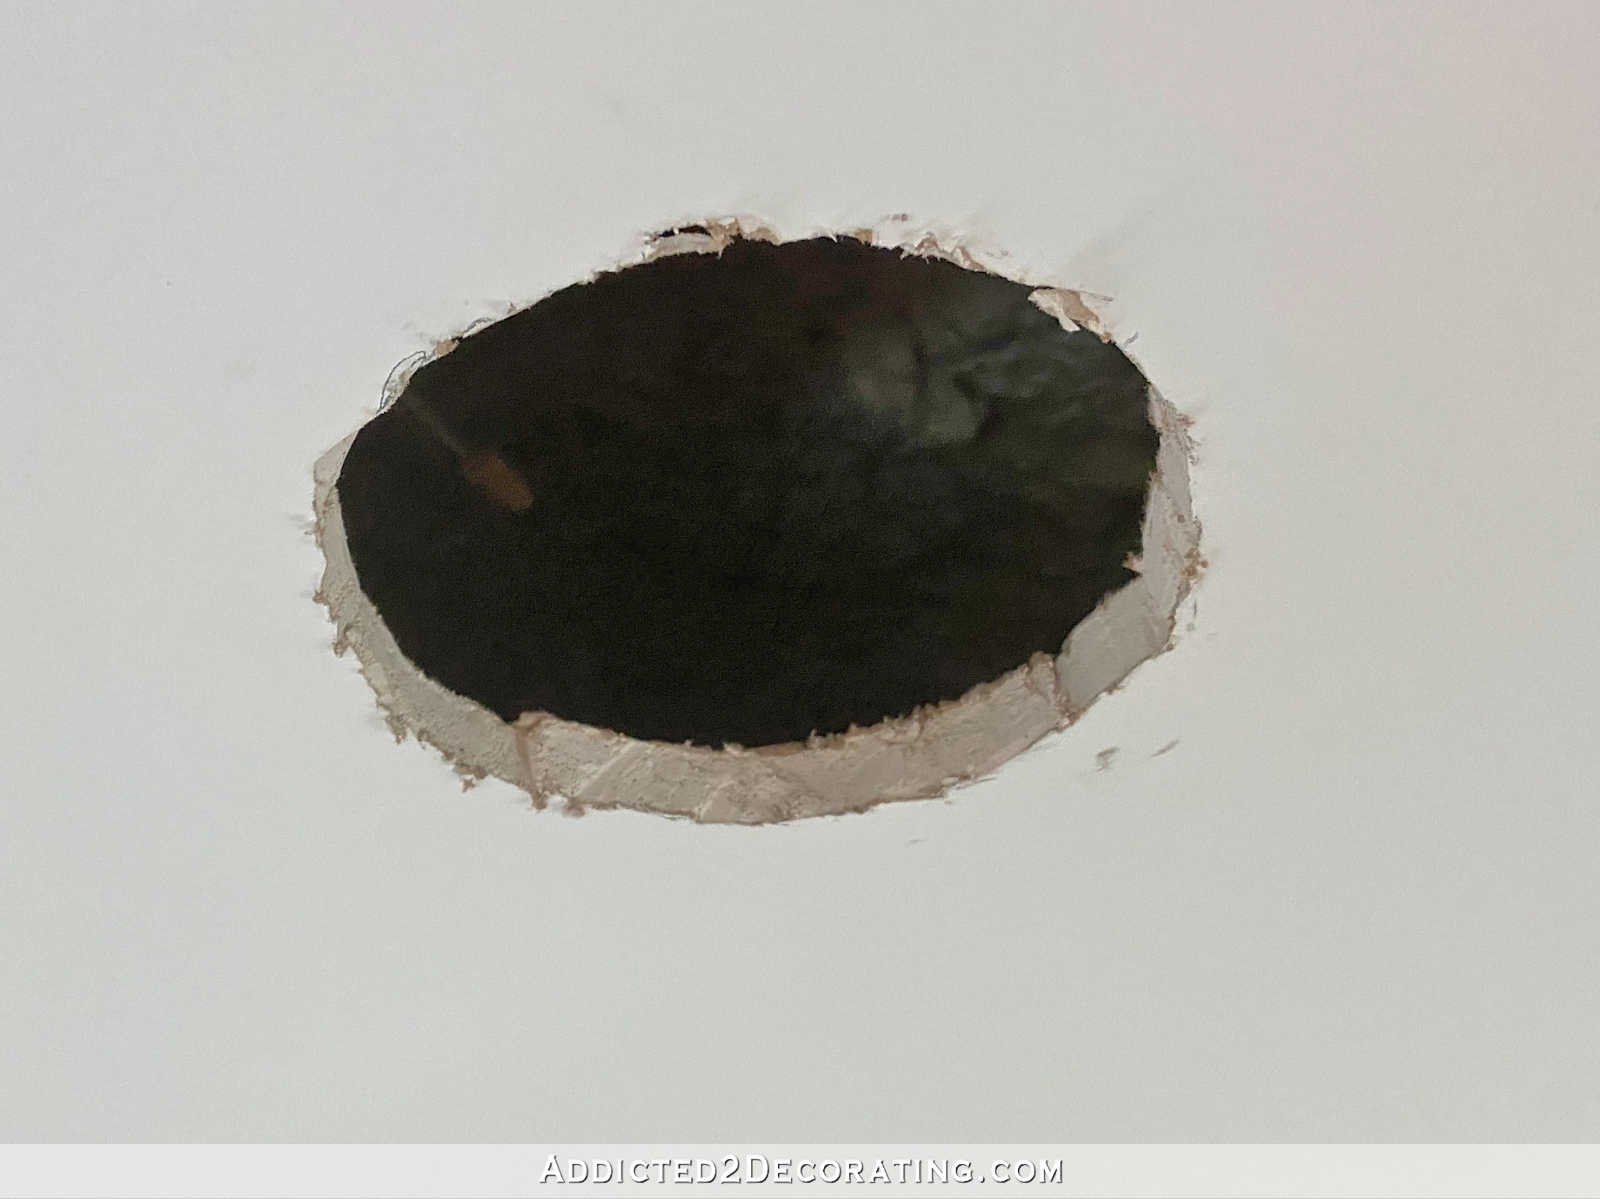
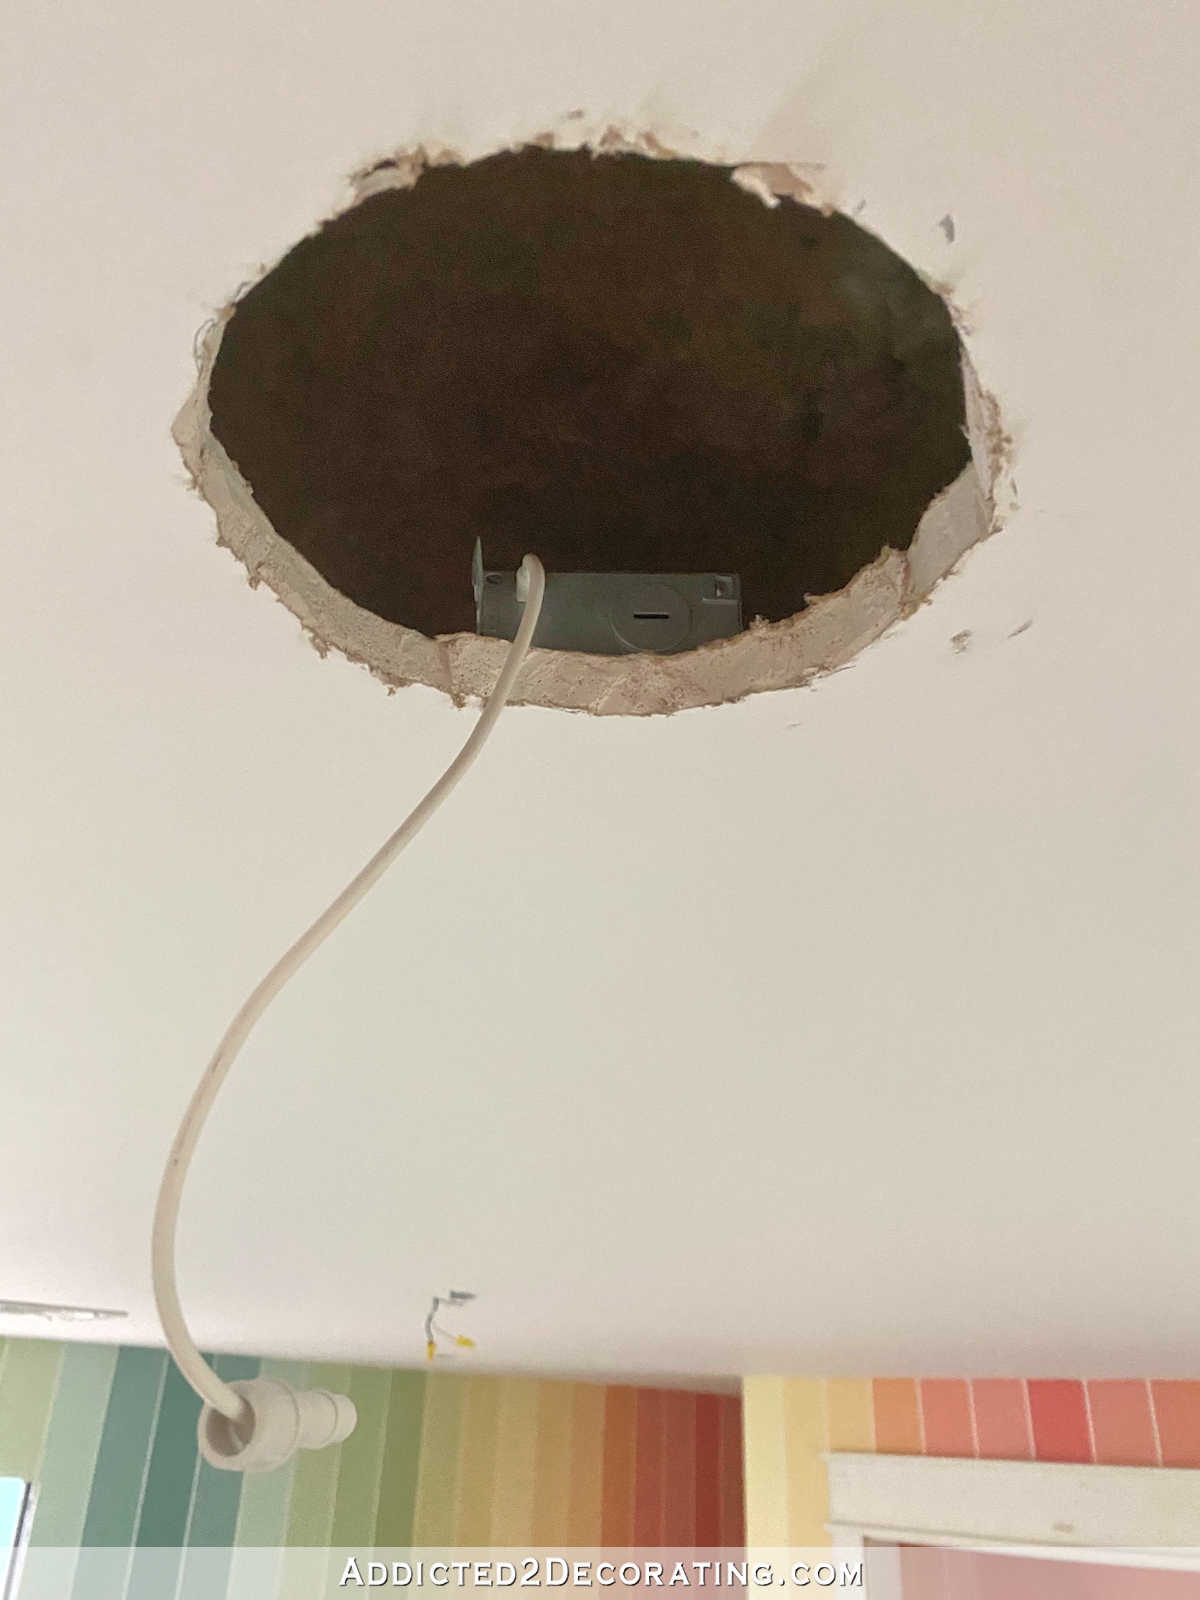
In my ceiling, my contractor’s guys had left me with small holes and wires hanging down. They didn’t cut the holes to size for me because I had forgotten to purchase the lights, so they didn’t know exactly how big to cut them. So this is where I started.
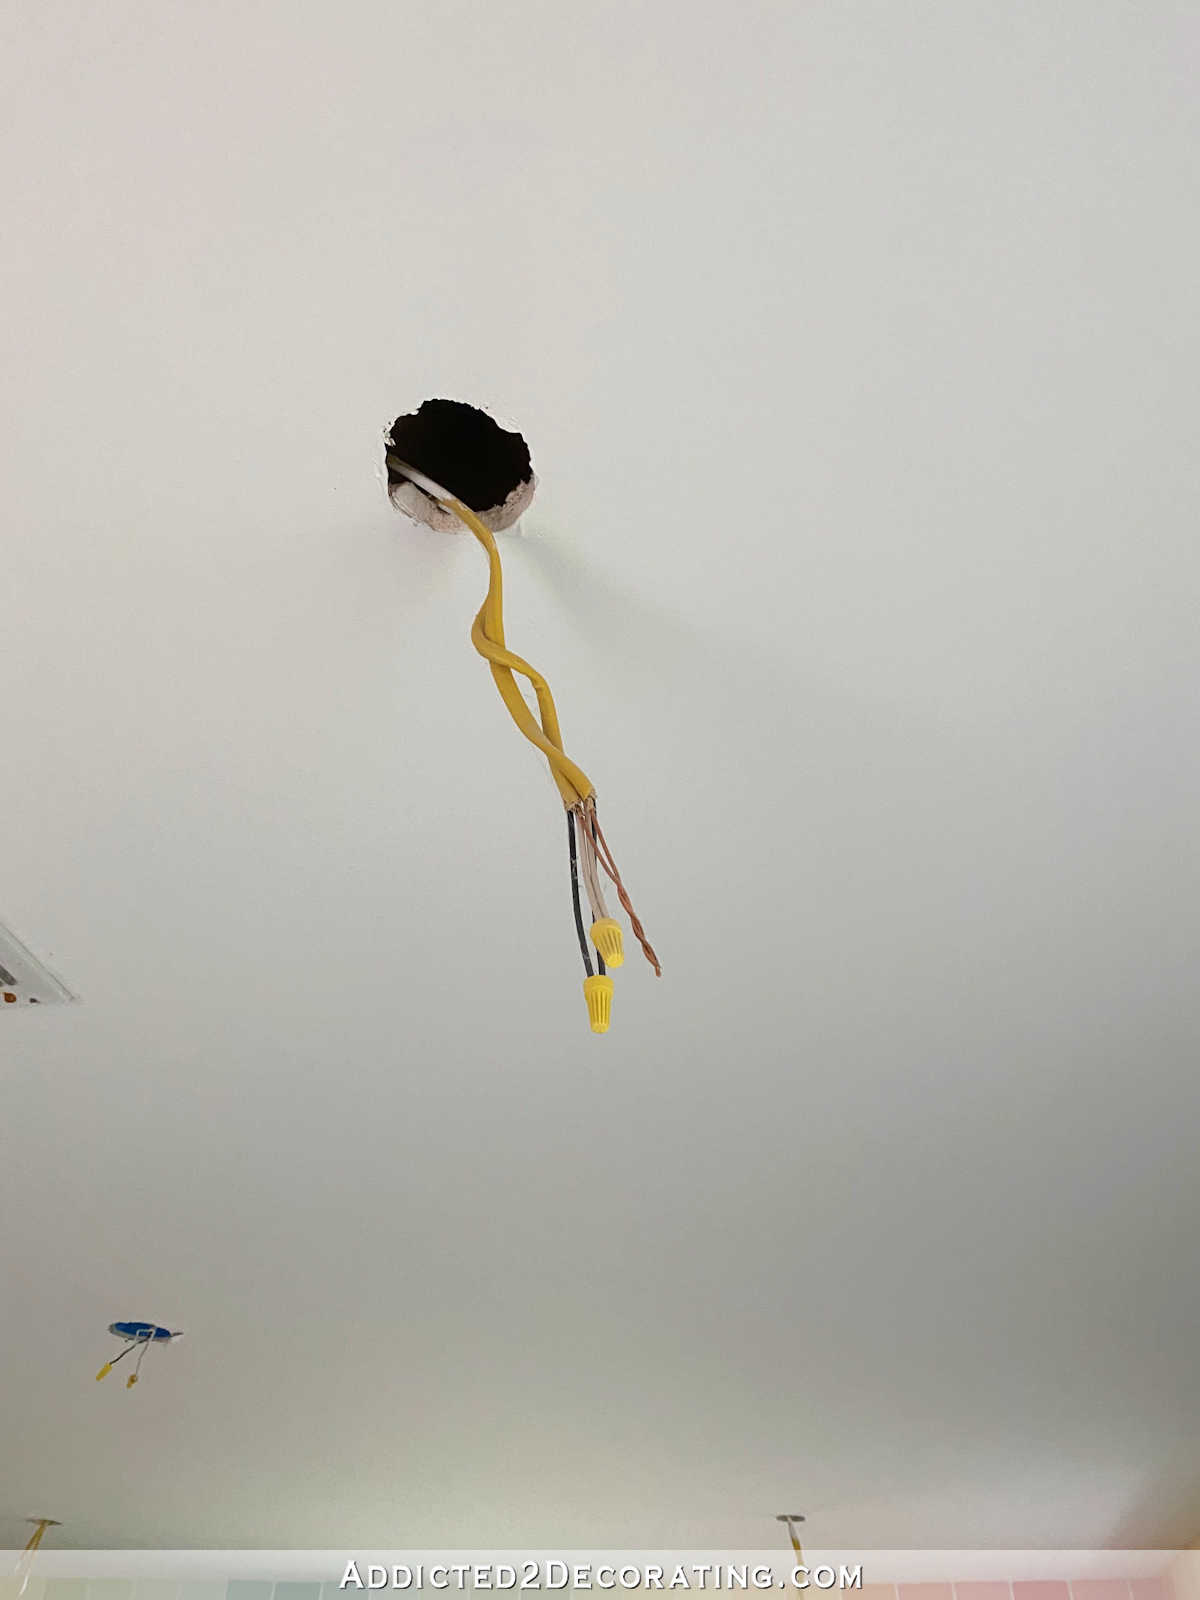
The first step when working with any electrical wires is to turn off power at the breaker box. So after doing that, I was ready to get these lights installed.
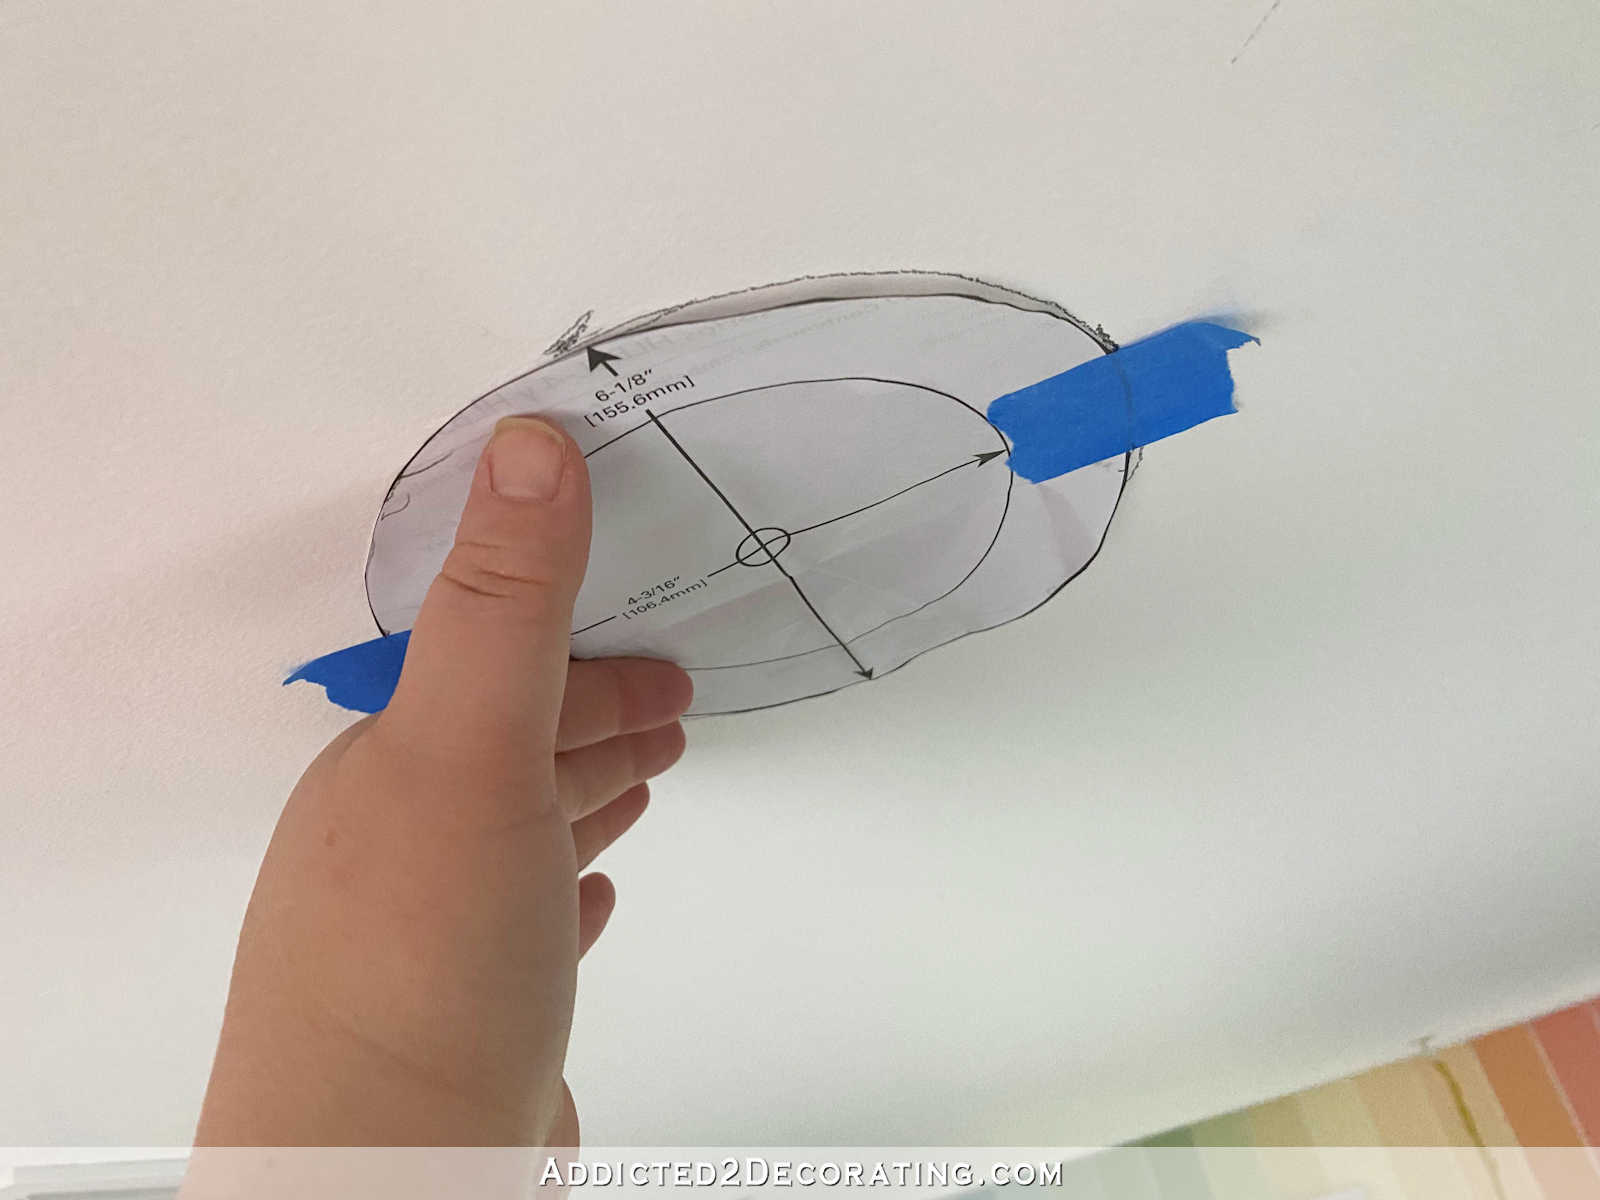
The HALO canless recessed lights come with a template that you can use (either a paper template that you cut out, or a cardboard template that is already cut out) to trace the size onto the ceiling.
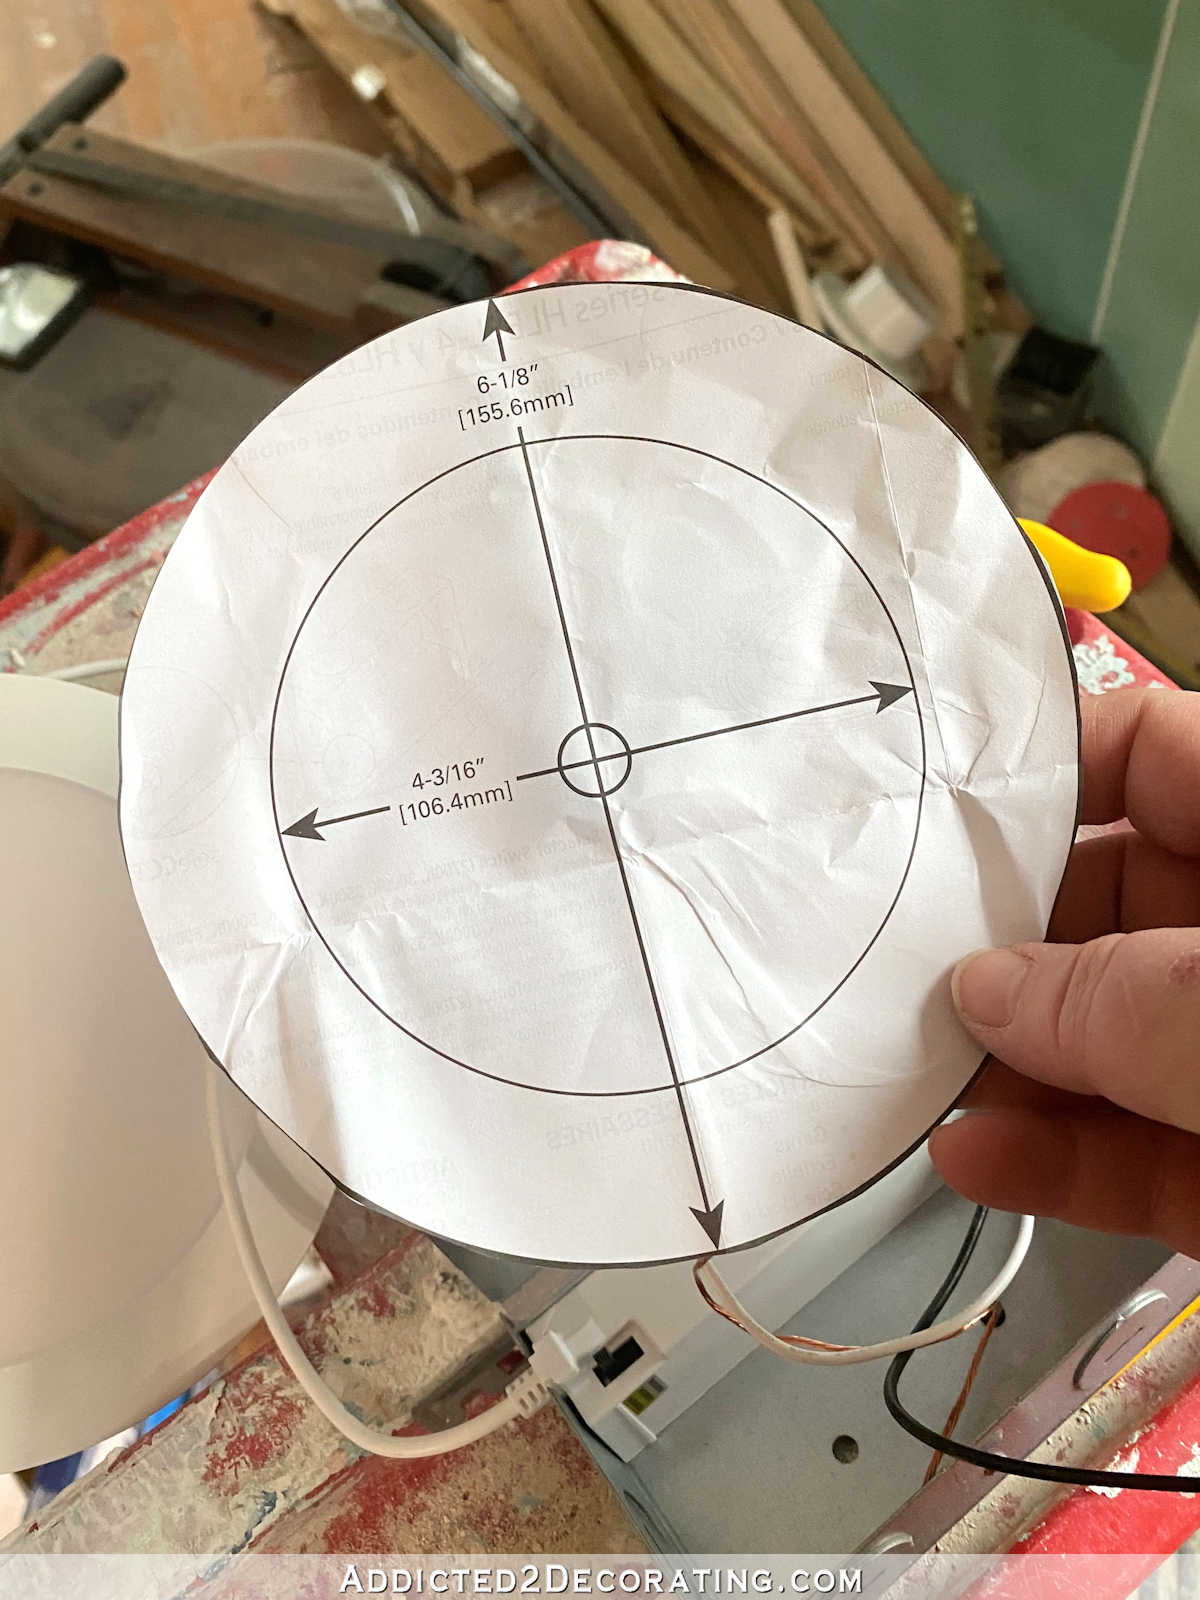
So after pushing the wires back up into the ceiling, and marking exactly where I wanted the light to go, I used the template to trace the circle onto the ceiling.
I don’t do drywall work enough to own one of those handy rotozip cutter tools for drywall, which make really quick work of cutting out things like this. So instead, I had to use my Dremel Multi-Max tool, which doesn’t make the neatest cuts on curves, but it did the job. (This is one of those tools that I bought, and then wondered how in the world I had gone so long as a DIYer without it. I use it all the time!)
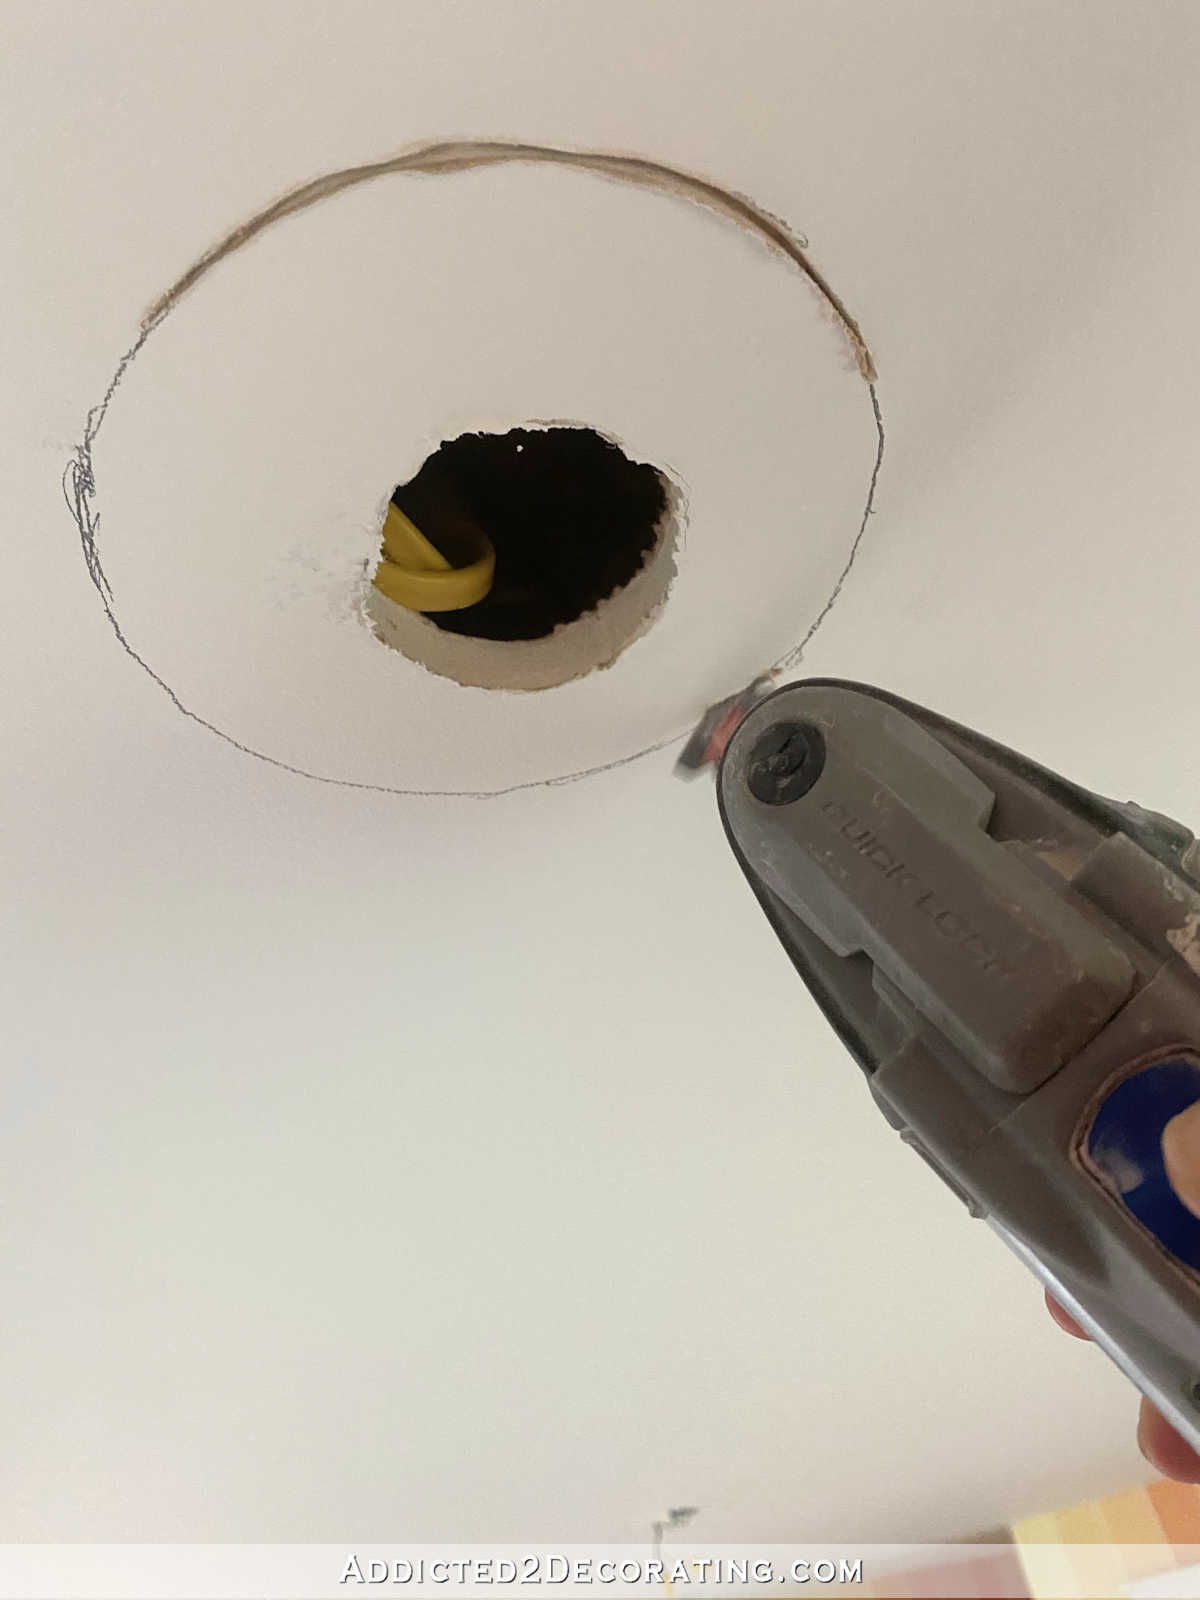
But yeah. The blade I used isn’t exactly meant for cutting drywall. 😀 But it worked.
They do make a drywall blade for the Dremel Multi-Max, but I didn’t want to make a special trip to Home Depot for that when I’d only need it for this one job, and I already had a blade that would do the job, although not quite as neatly as the drywall jab saw blade would have.
With the hole cut (and I also tested the fit with the light), I was ready to install the light. Before attaching the wires from the ceiling to the wires on the light, I had to knock out one of the four round metal discs on the metal housing on the light.
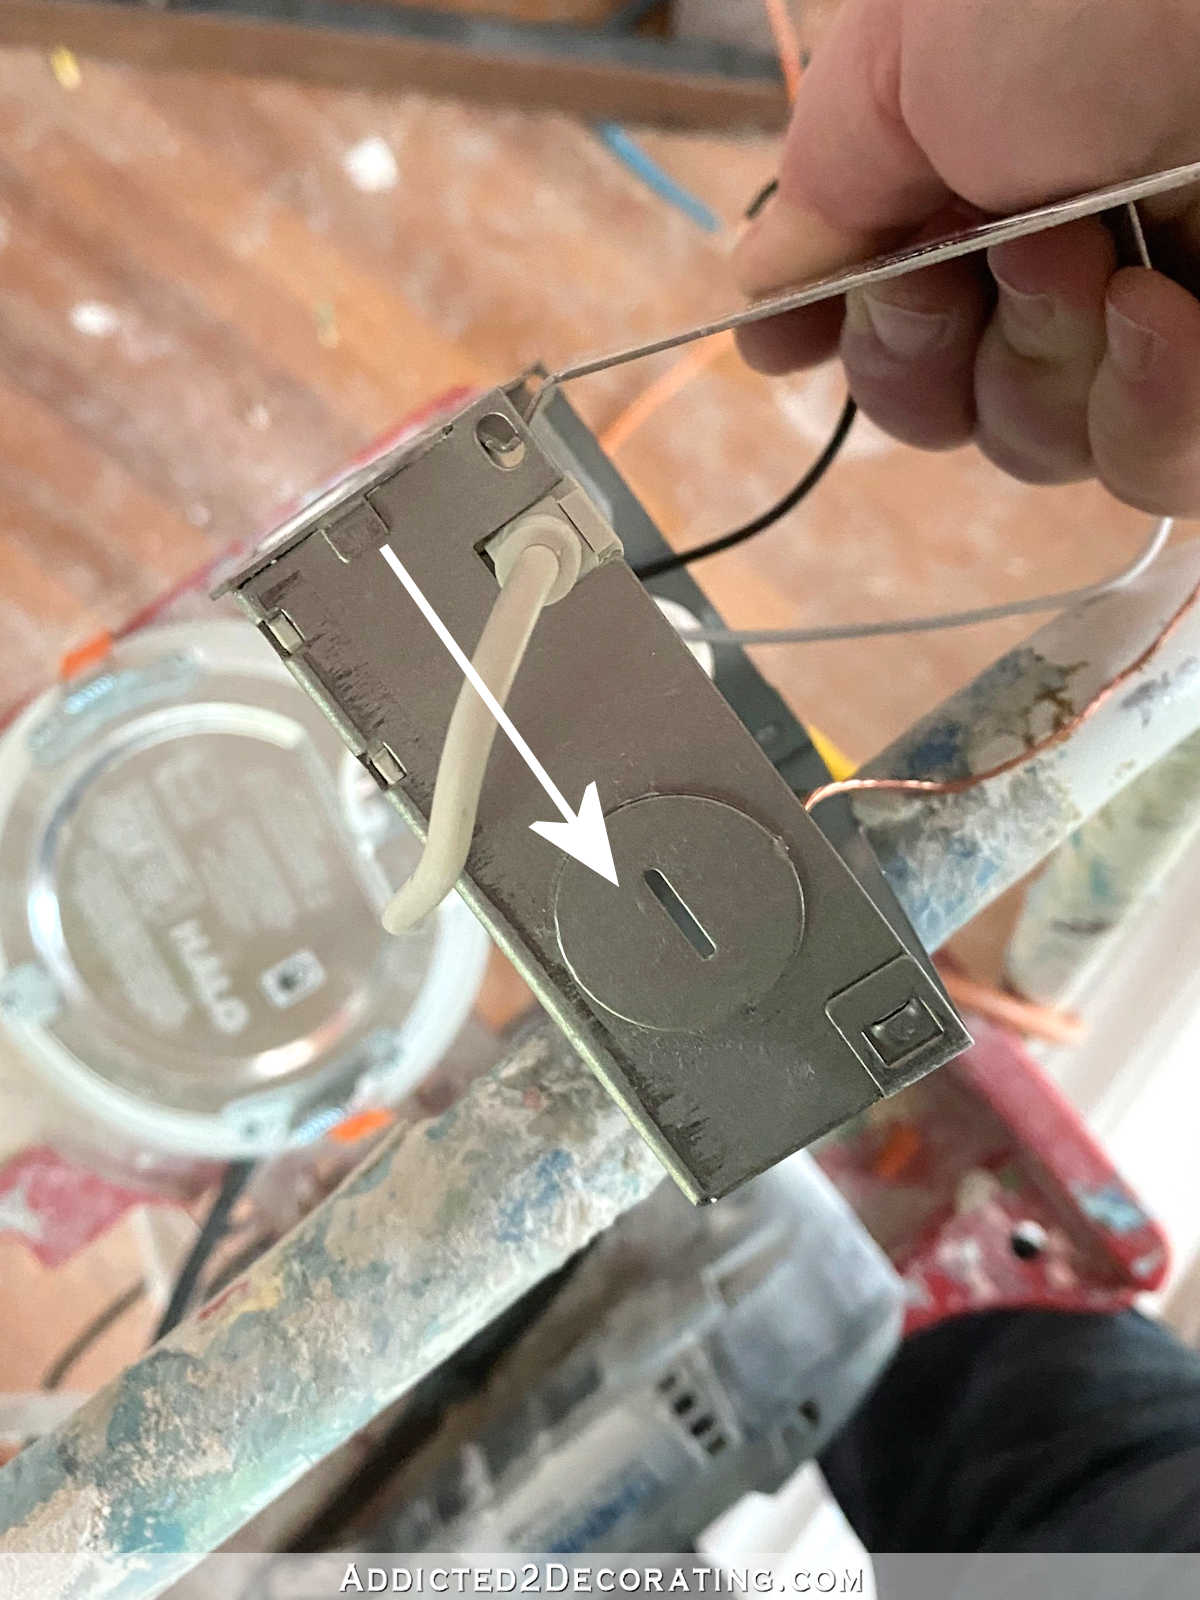
On this particular model of light, there are four of these — one on each end and two on one side. I only knocked out one of them using a flat head screwdriver and a pair of pliers.
Then I put the wires from the ceiling through that hole, and used wire nuts to connect them to the wires on the lights, connecting all of the black wires together, the white wires together, and the bare wires together.
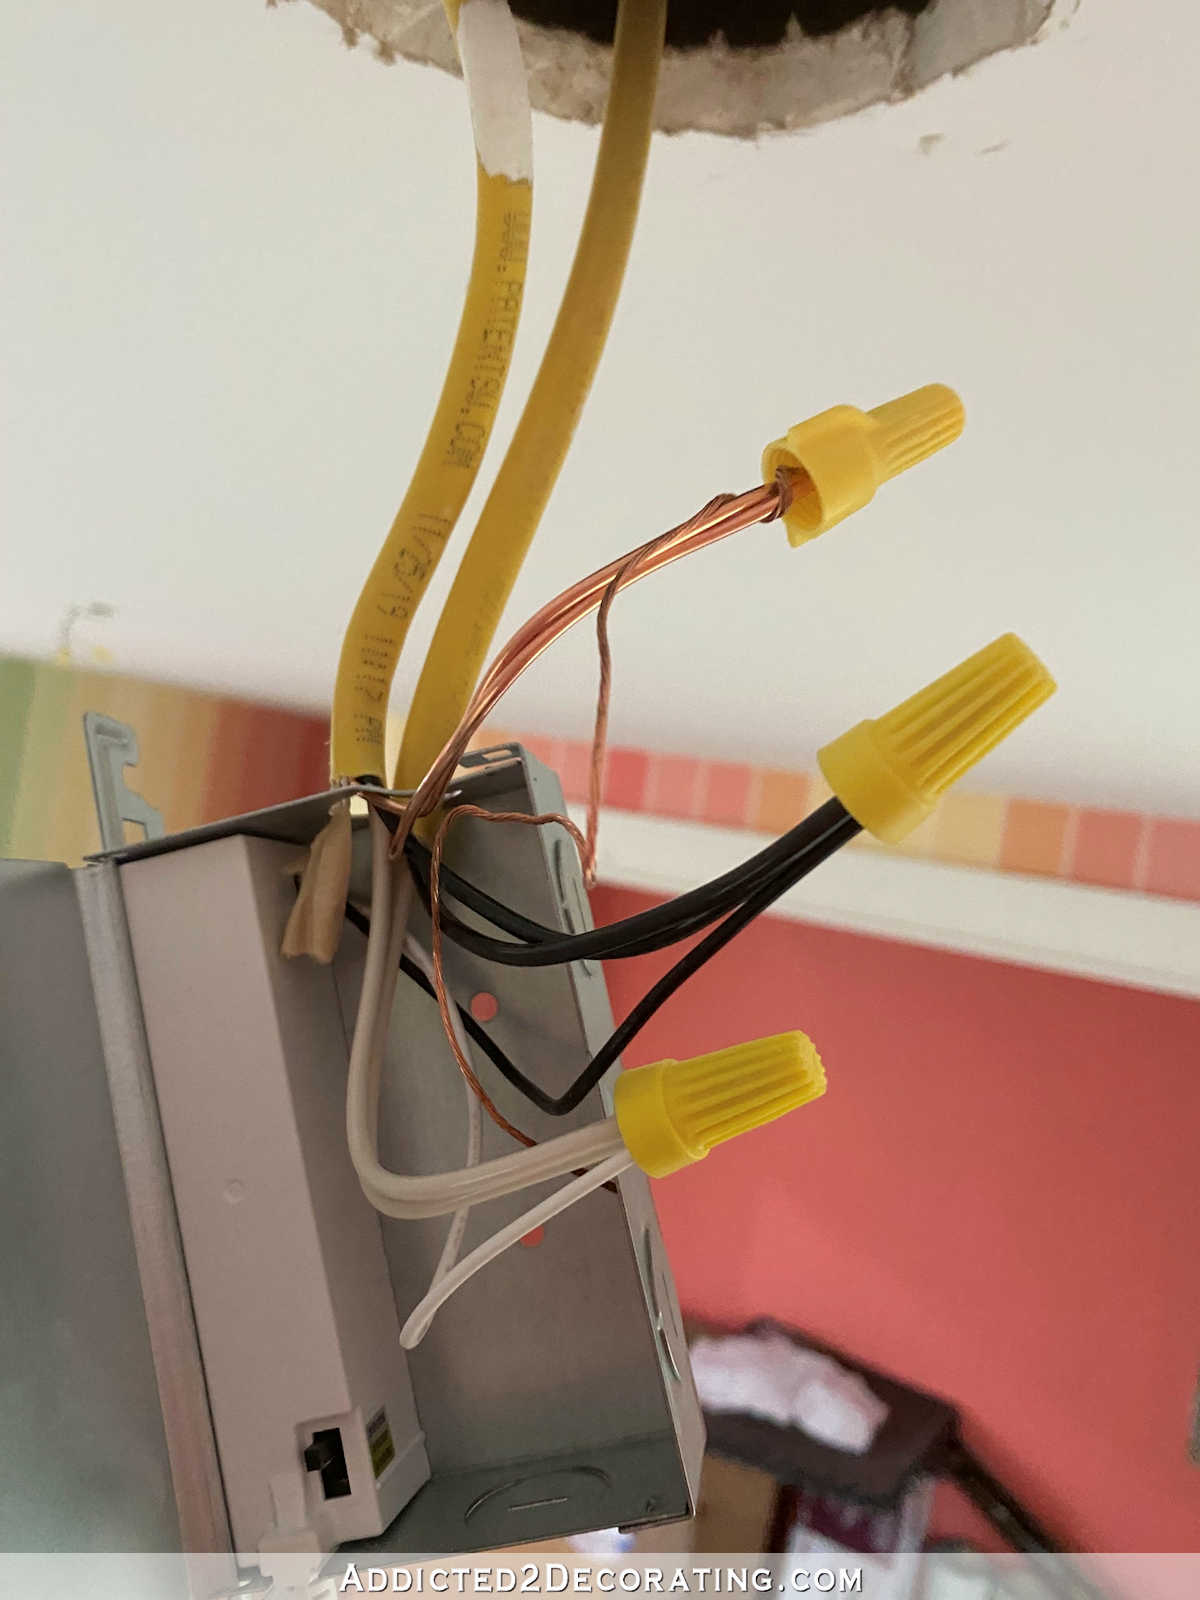
Once they were all connected, I carefully tucked them into the metal box, and closed the lid on the box.
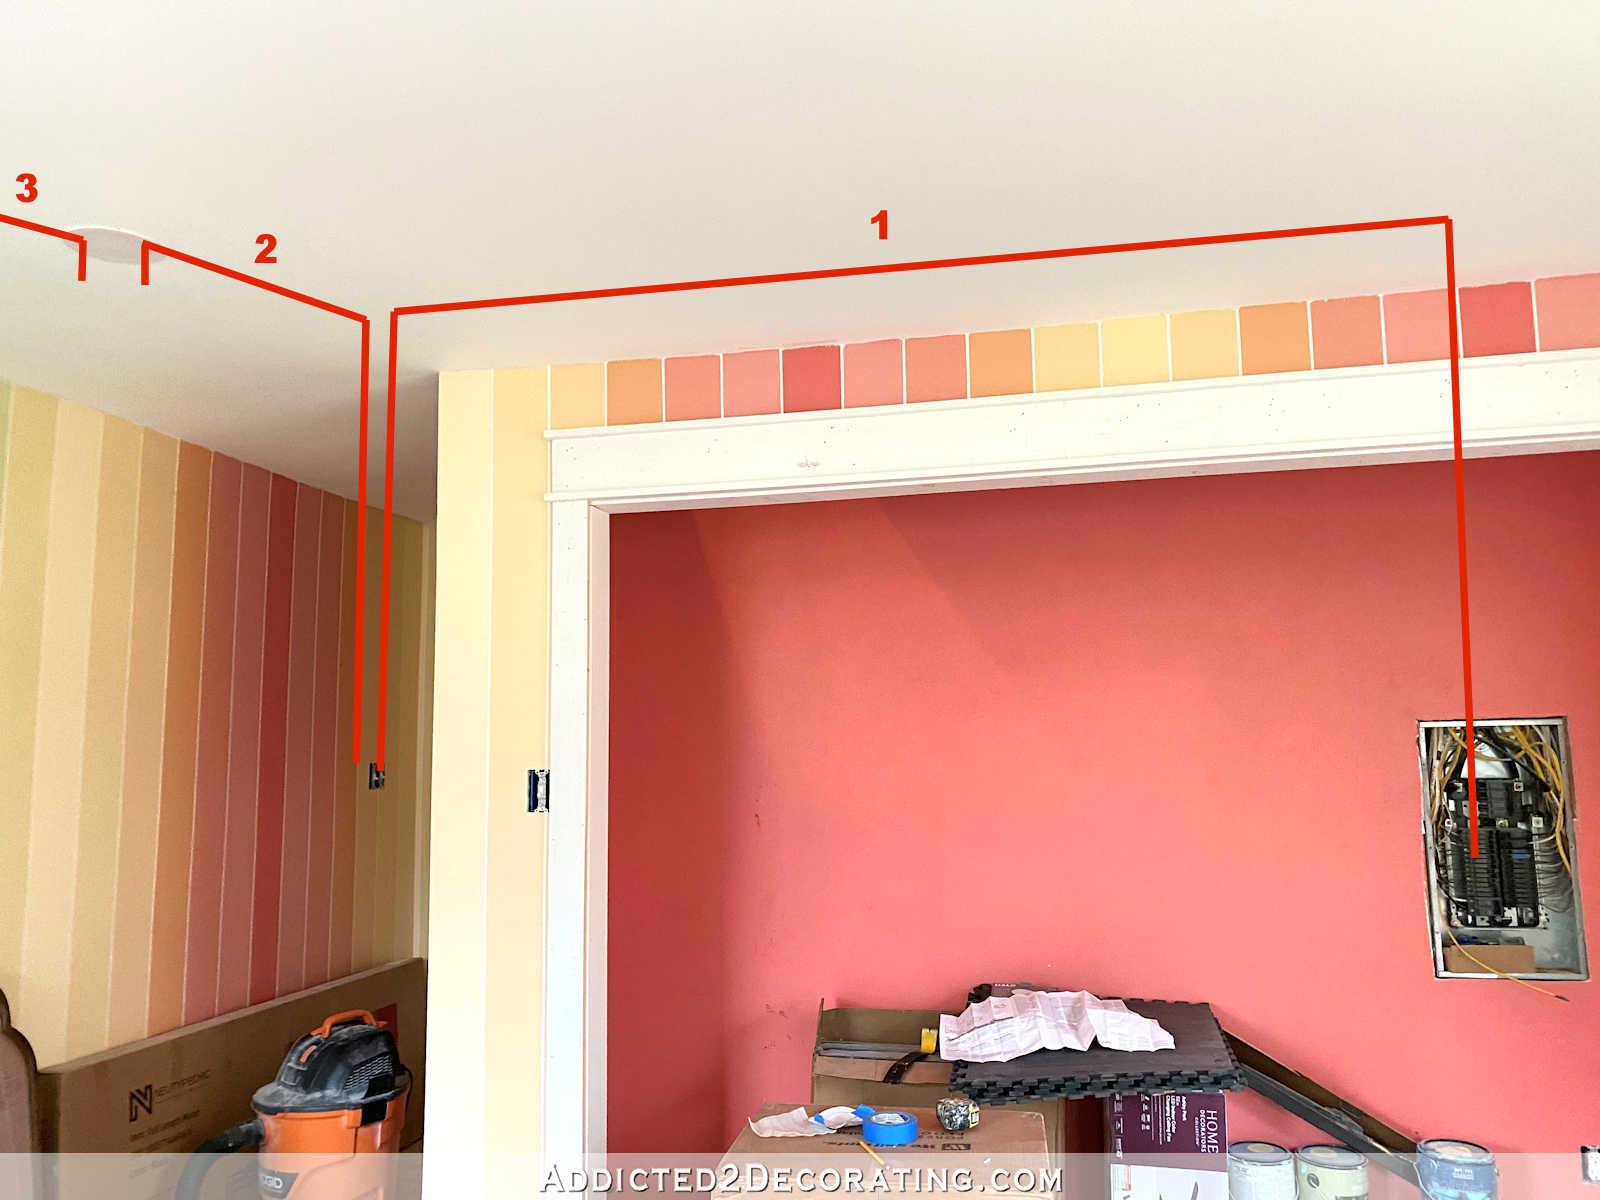
The reason I had two wires coming out of the ceiling instead of just one like you generally see if you’re installing a light fixture is because in this room, I have four of these HALO canless recessed lights daisy chained together so that each light will send power to the next light in the daisy chain.
Here’s how that looks. I have a 12/2 wire going (1) from my breaker box, up into the ceiling, and down to the light switch over by the door. Then I have (2) another wire going from that light switch up in to the ceiling and down to the first light in the chain. And then (3) there’s another wire going from the first light, up into the ceiling, and down to the second light in the chain.
And then (4) another wire going from the second light, up into the ceiling, and down to the third light in the chain. And finally (5) another wire going from the third light, up into the ceiling, and down to the fourth and final light in the chain.
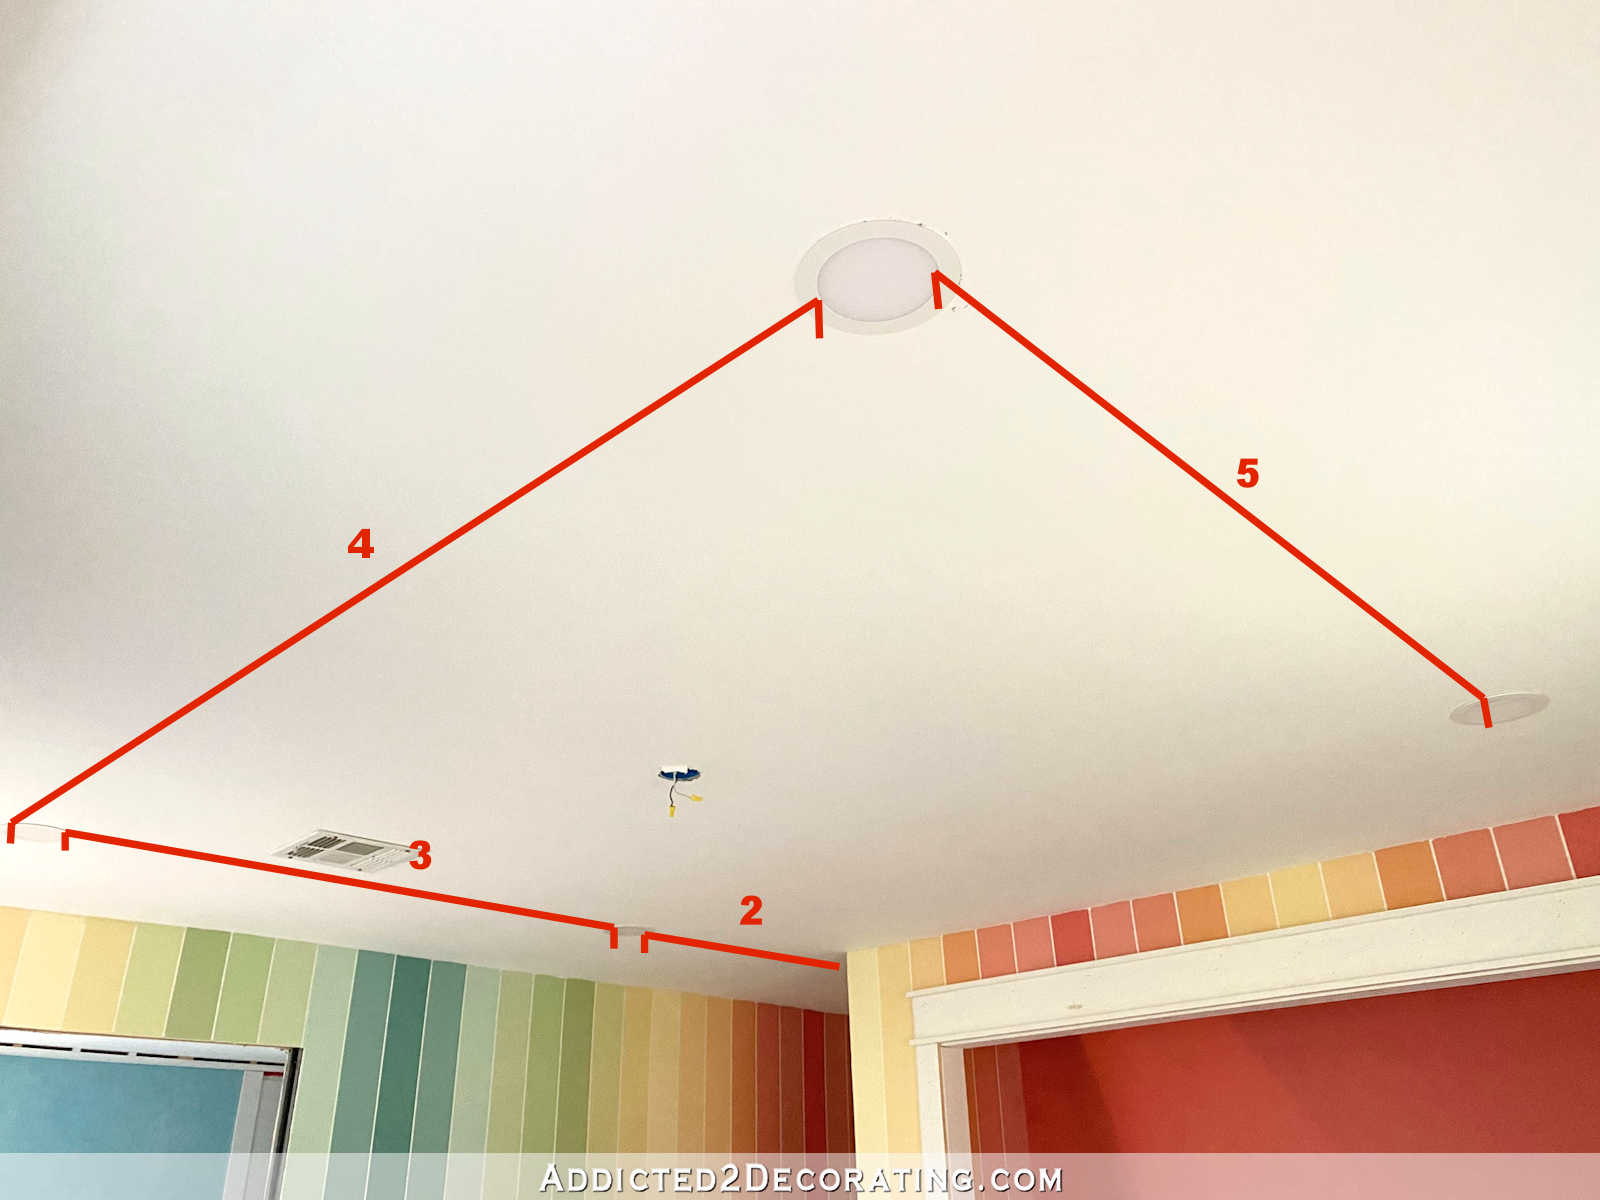
So three of those lights will have two wires coming down from the ceiling that have to connect to the light — one coming from power, and one sending power to the next light. Only the fourth and final light in the daisy chain will have only one wire coming out of the ceiling because it only needs to receive power. Since it’s the last light in the chain, there’s nowhere else to send power.
After connecting the wires, tucking them into the metal box, and then closing the box and making sure it was going to stay closed (if it’s not closed well it can pop open), I placed the box just inside the hole sitting on the ceiling drywall.
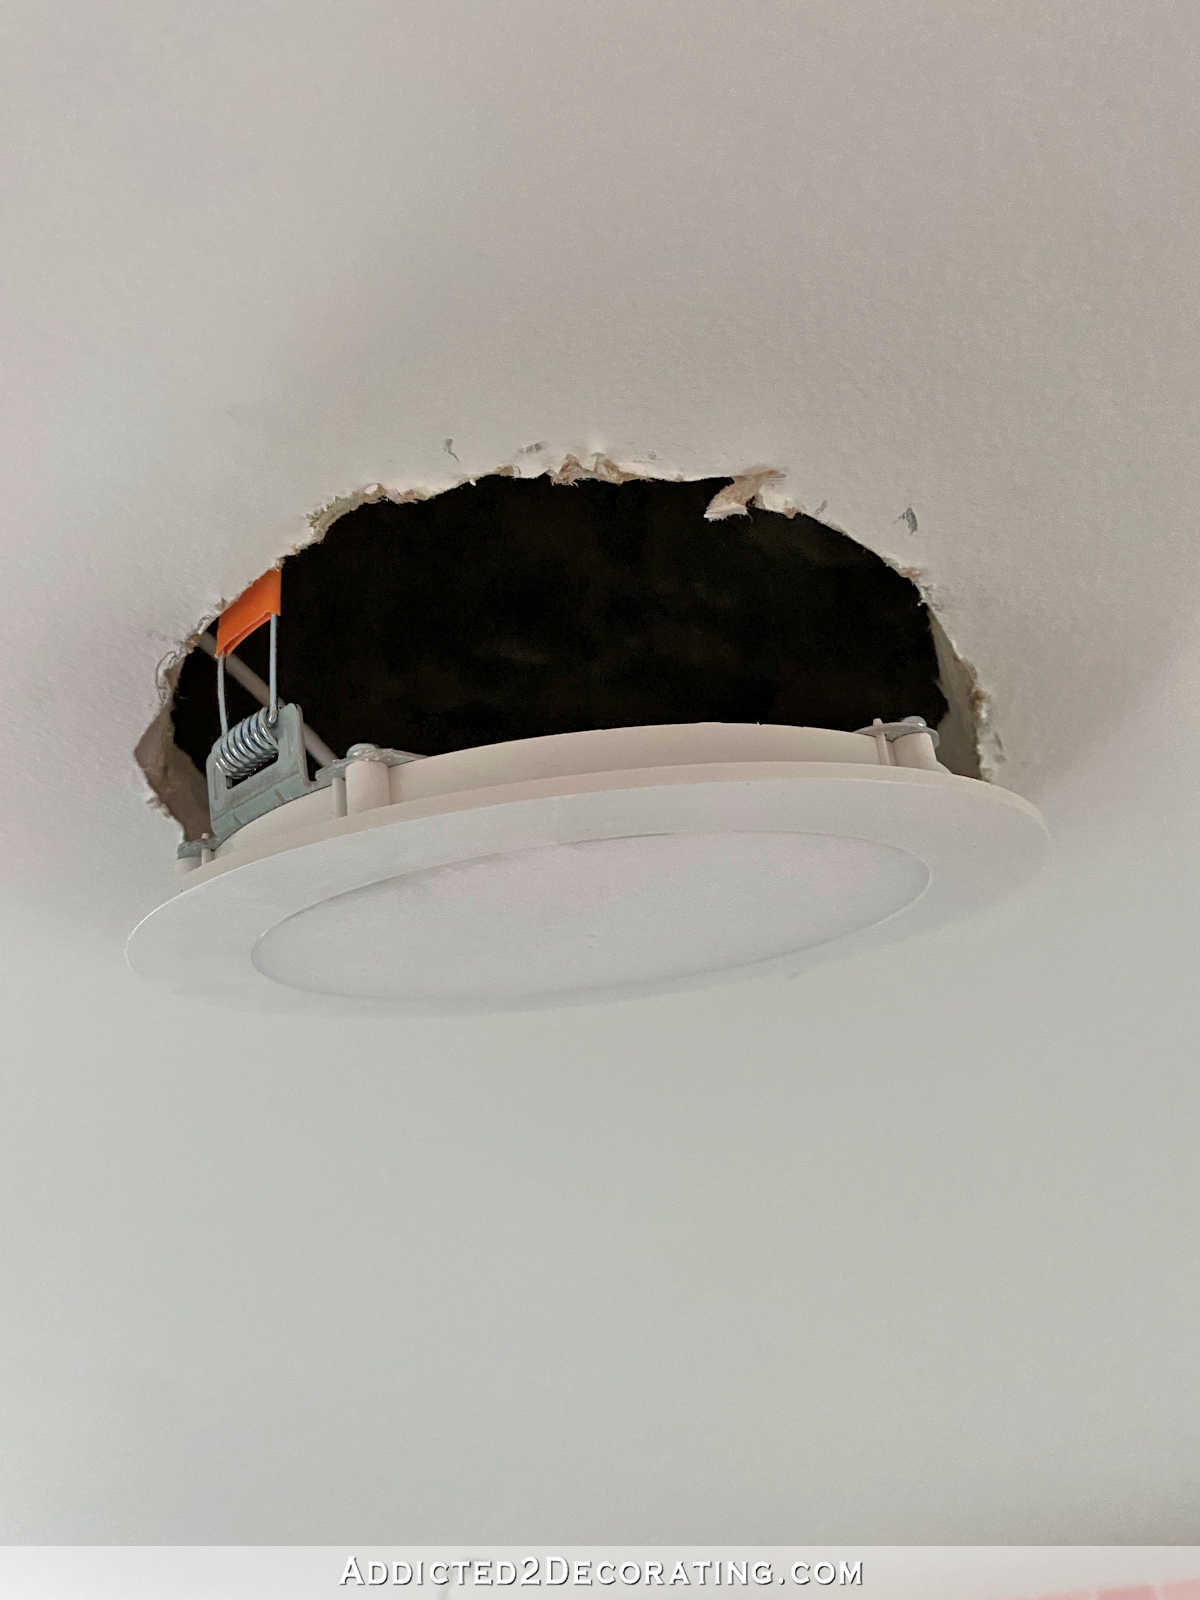
Then I reattached the light…
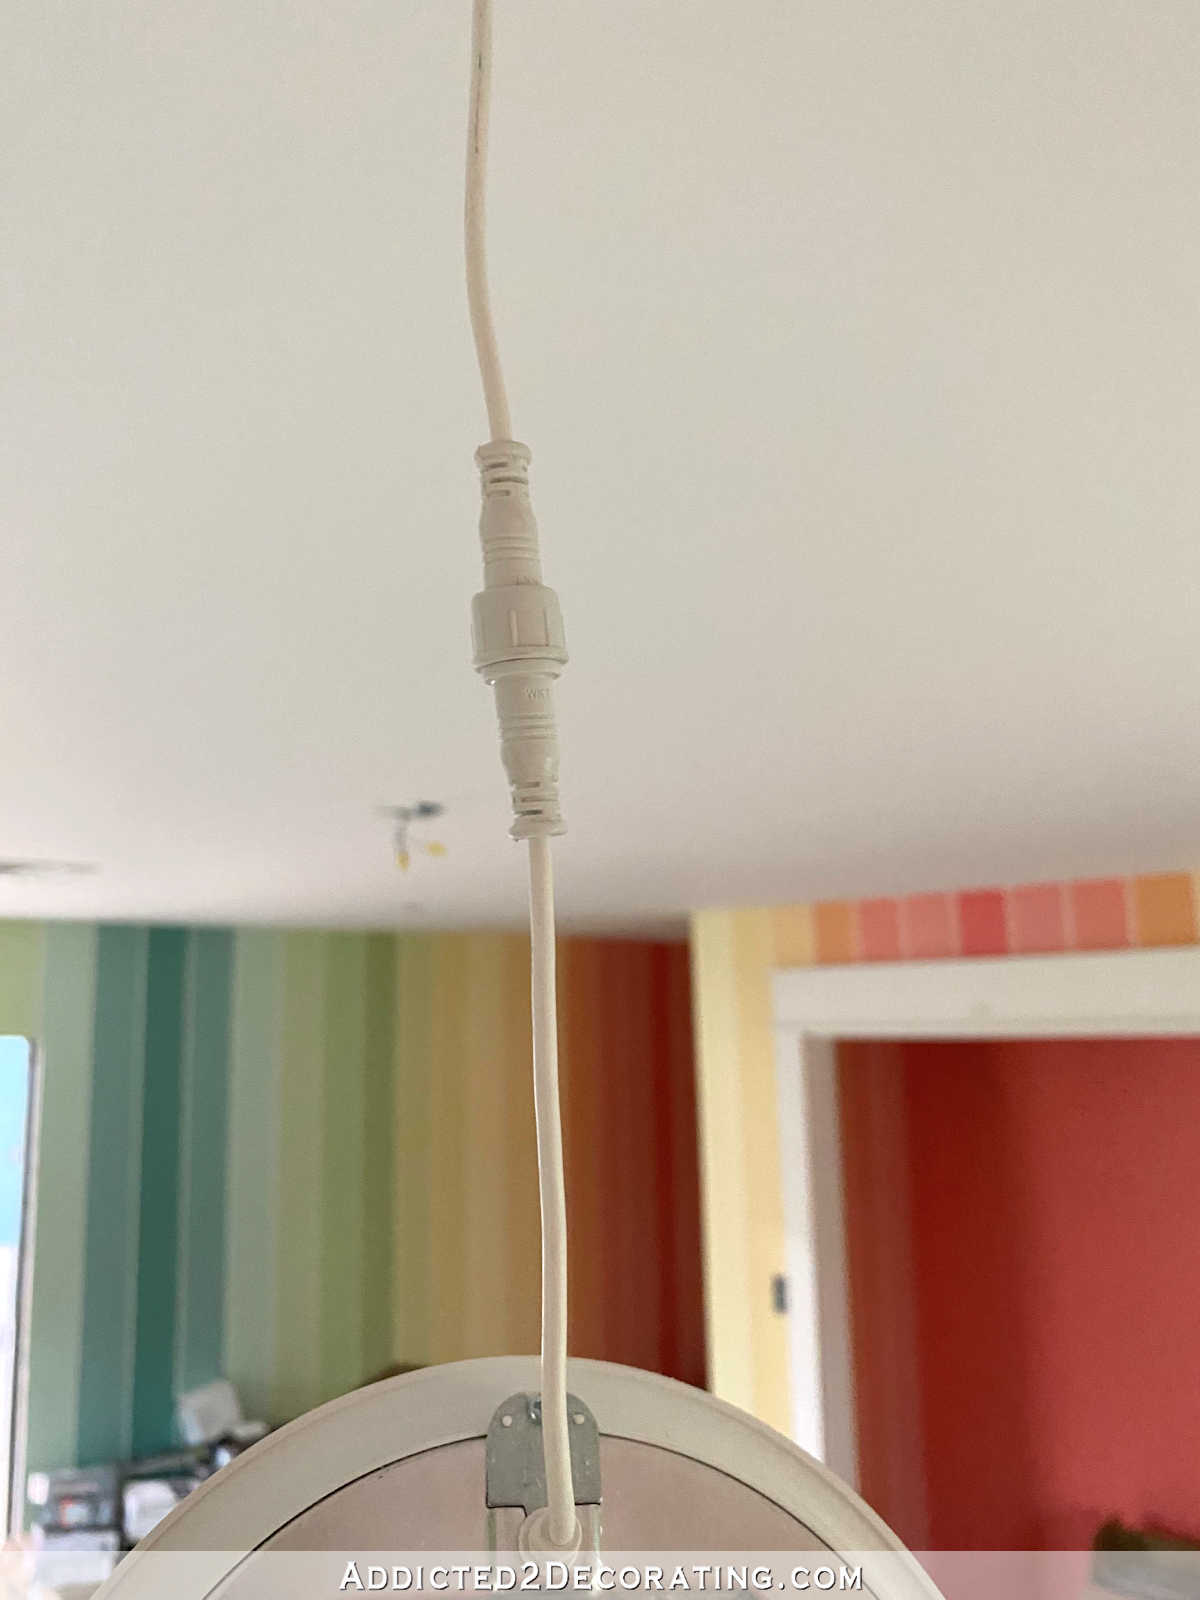
And finally, the light fits inside the hole with these two spring tabs that get pushed into the hole, and then they flatten out and pull the light snug to the ceiling.
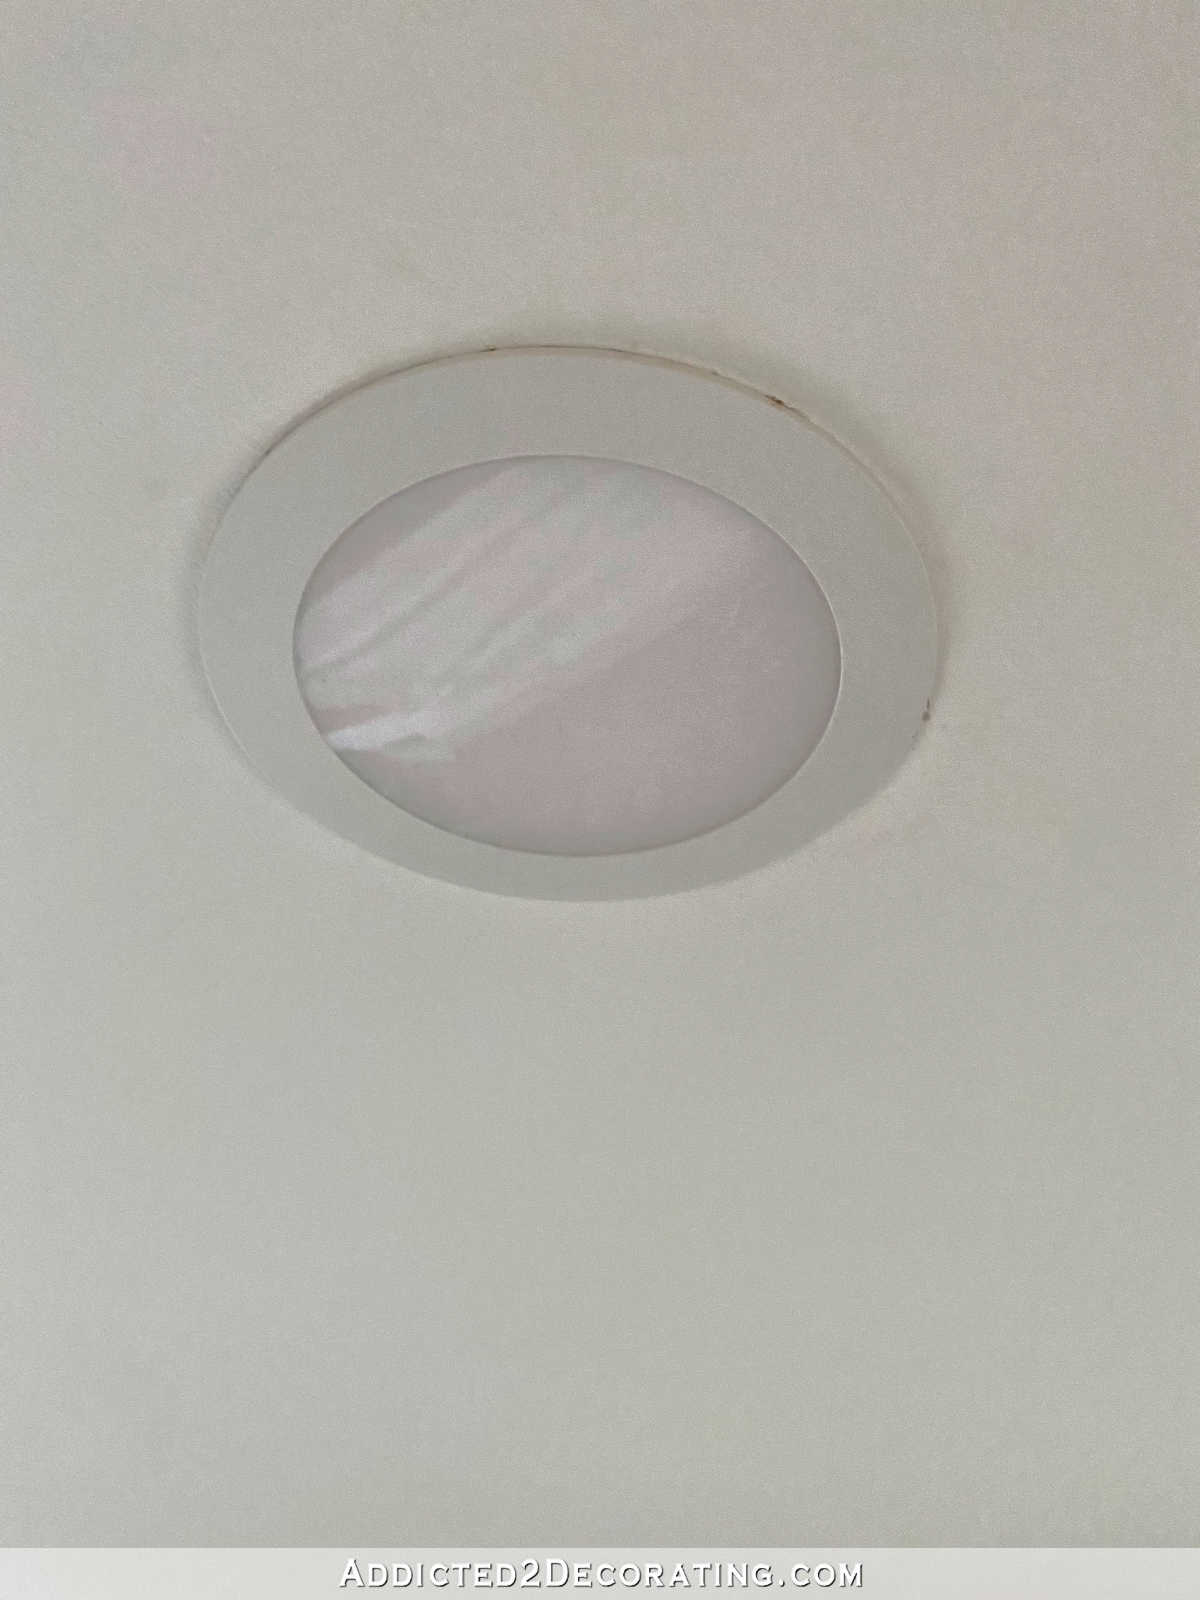
And that’s it! It’s so simple! And to be honest, I’d rather install these any day over a regular ceiling fixture. I find these way easier to install, and if you can install a regular ceiling fixture, then you can certainly install these.
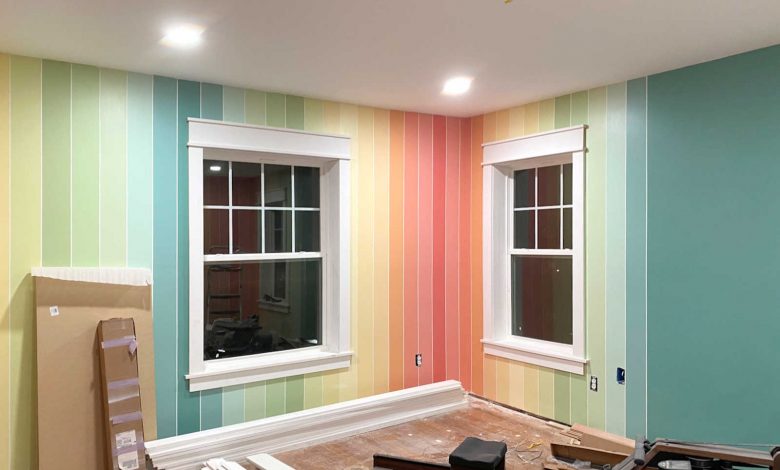
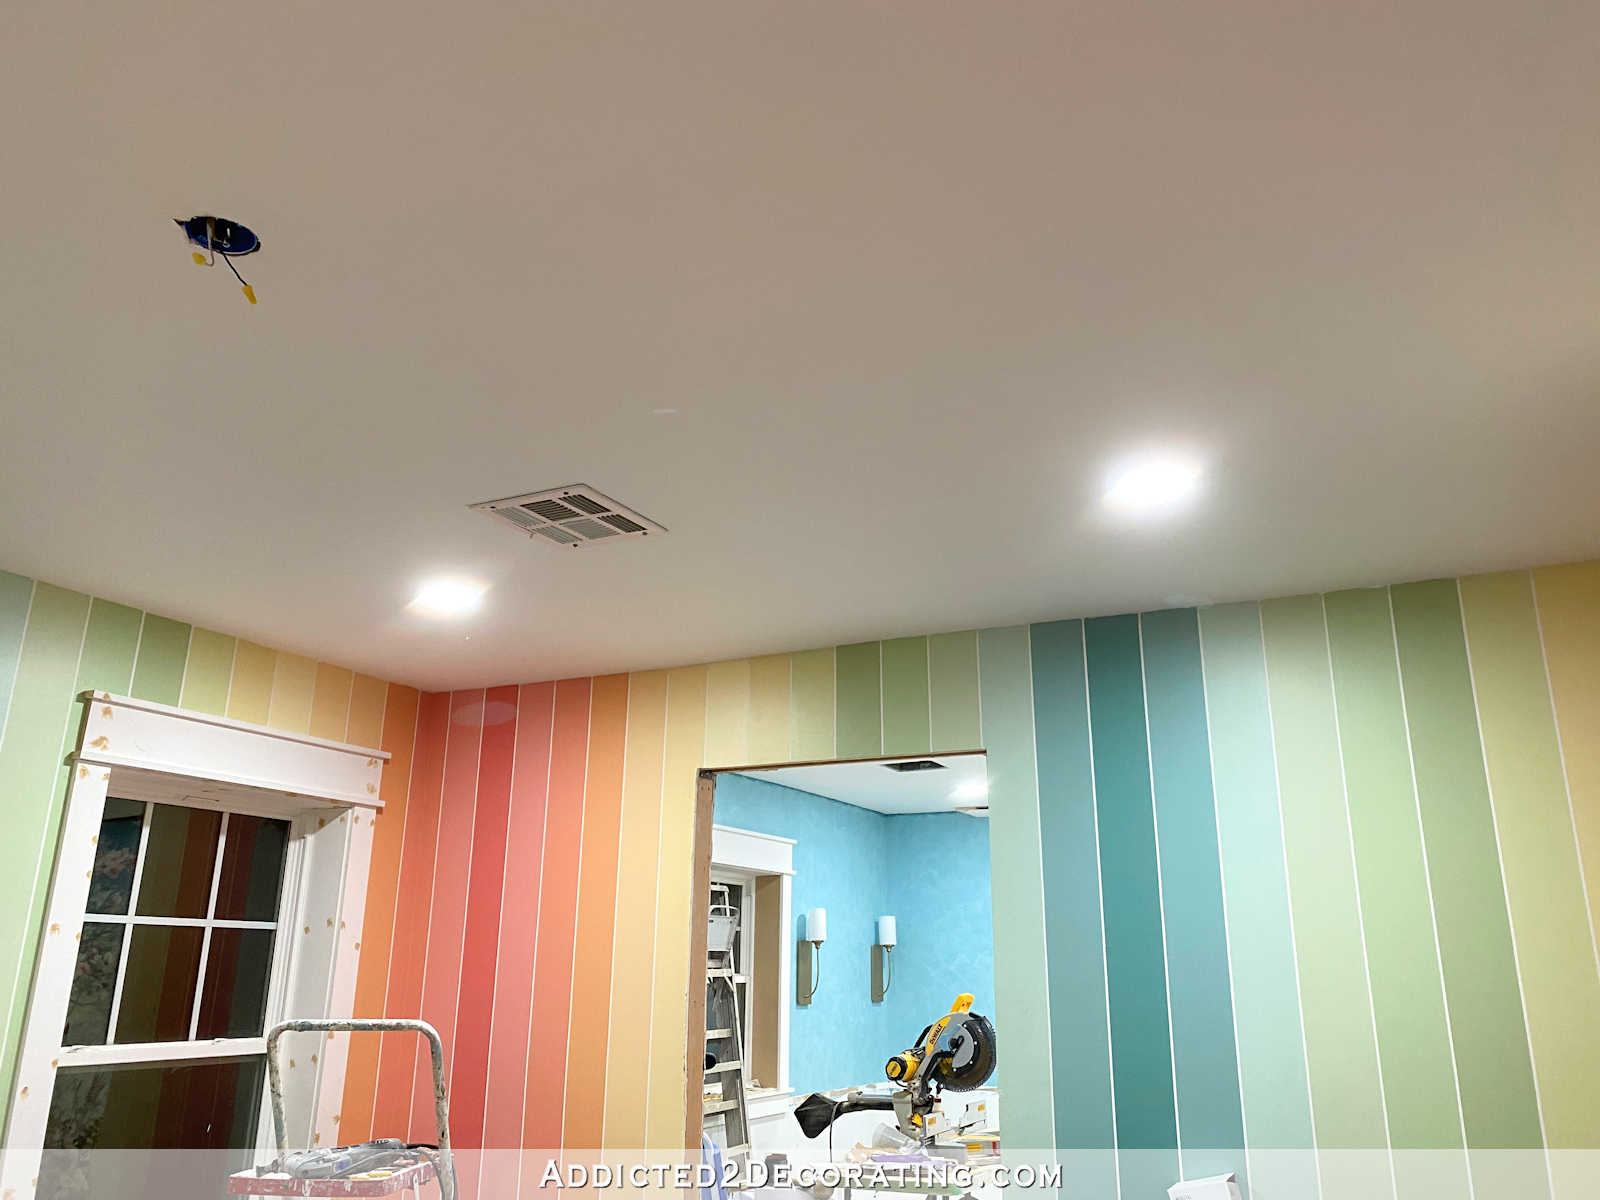
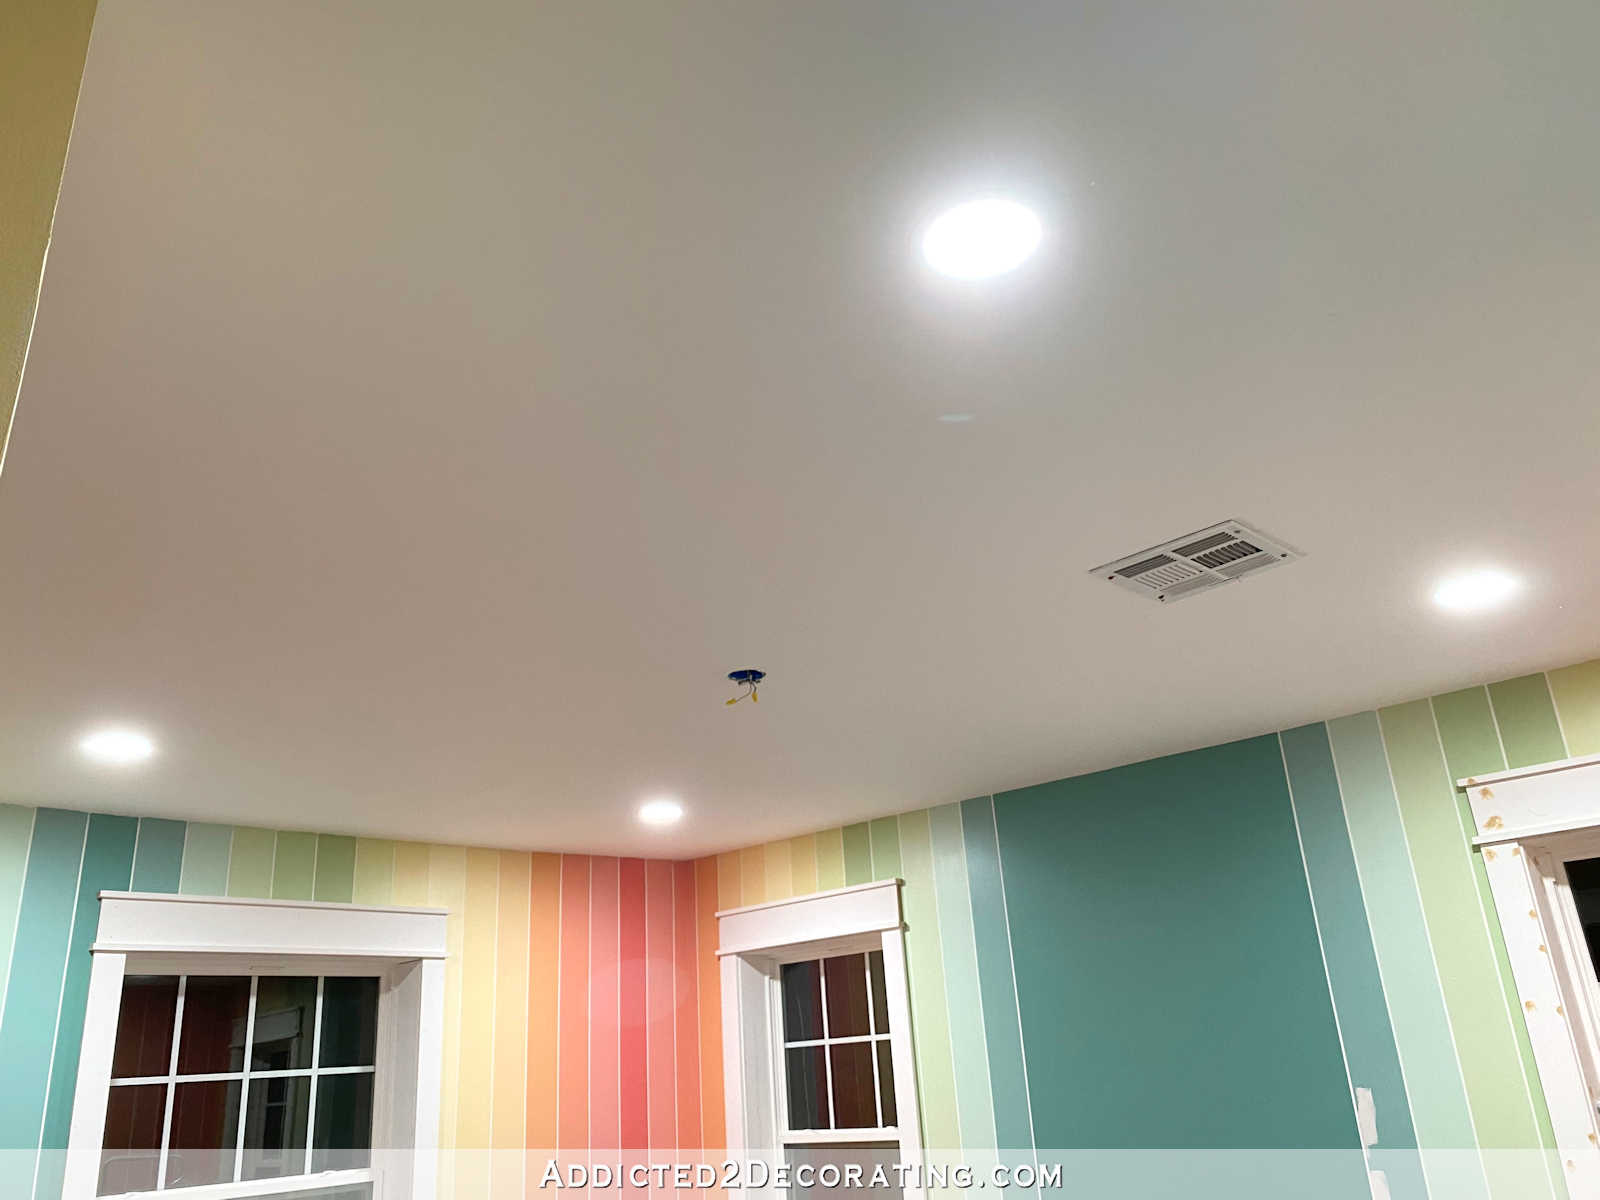
It was after dark when I finally got the last one installed (I was working by the light of the master bathroom when installing the last light 😀 ), but here’s the room at night with the new lights on!

I absolutely love these HALO canless recessed lights, and I can’t imagine going back to regular can lights with the big housing that has to fit up in the attic. I would actually love to go back and replace my standard can lights (like the ones in the kitchen, breakfast room, and living room) with these. It would make it a little easier to maneuver around in the attic on those occasions I need to get up there.
But that’s a project for a much later date. As of now, I have these ultra thin recessed lights in my studio, the pantry, the master bathroom, and this home gym.
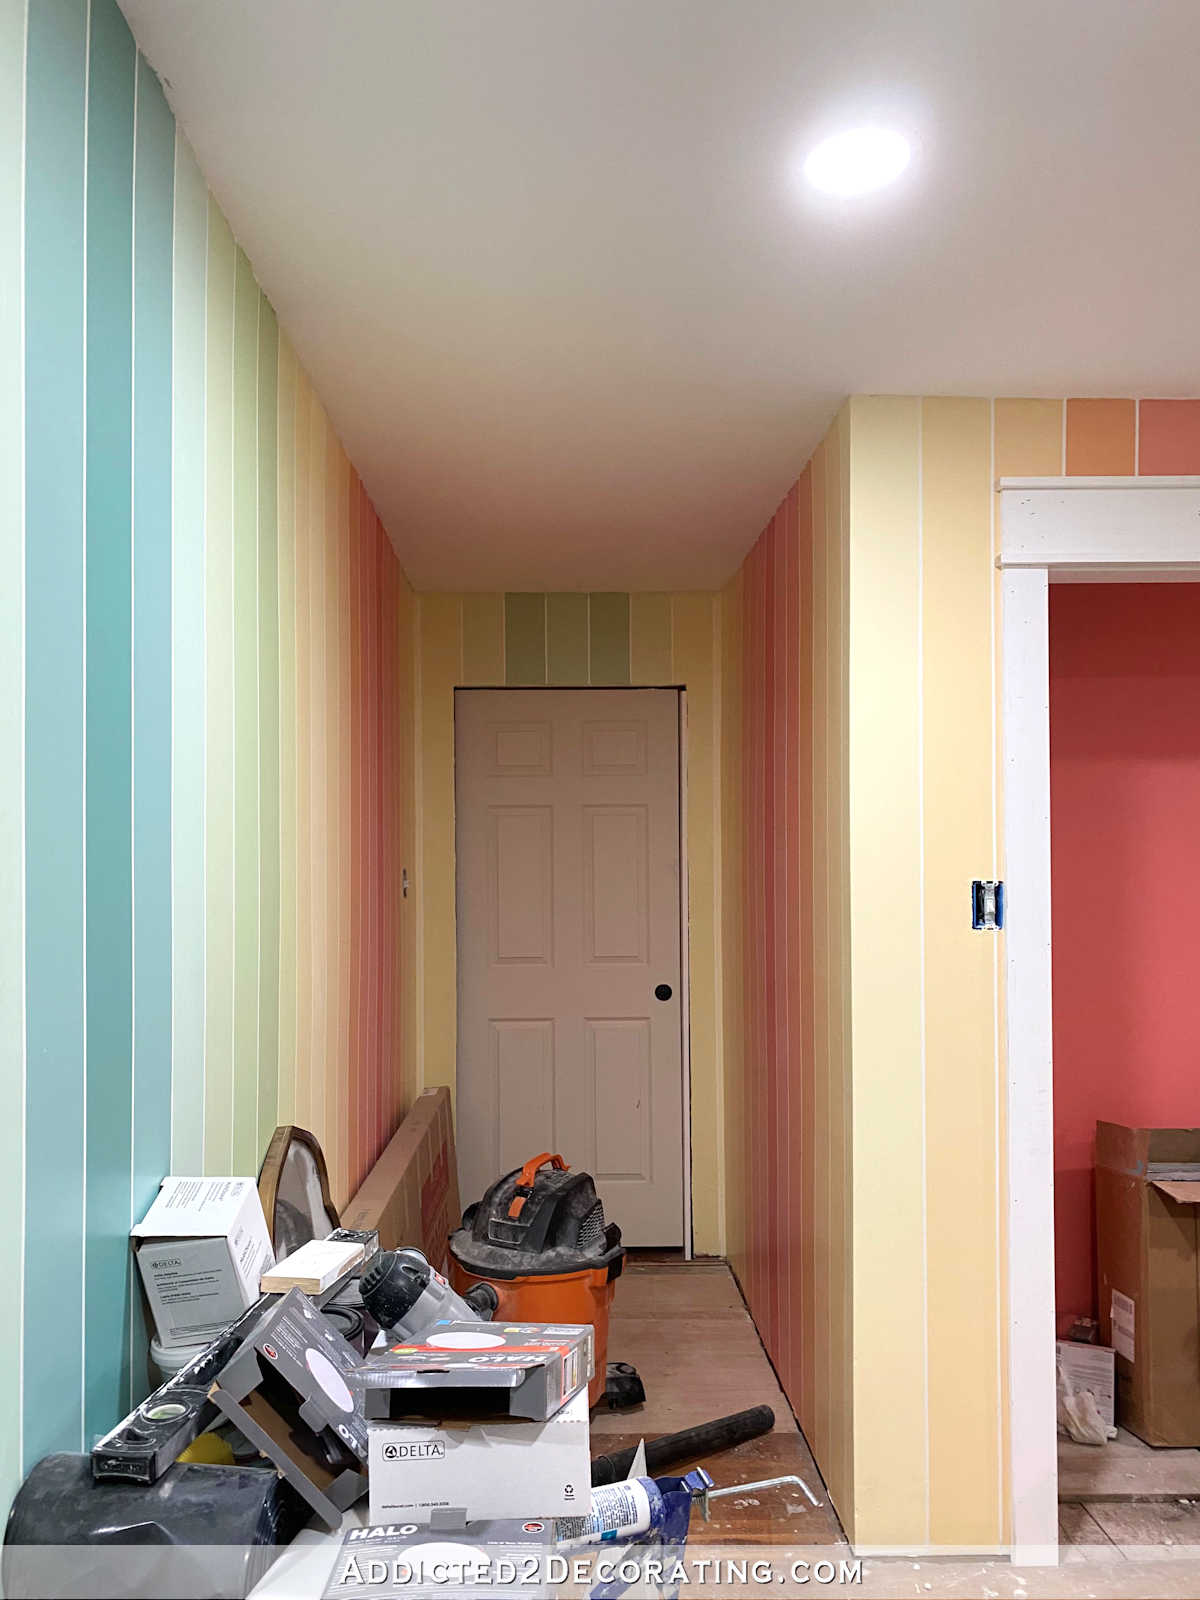
When I finished installing them last night, I regretted not putting one in the long entrance to this room. It’s a long and relatively dark area of the room, so I might actually go back and install another one there.
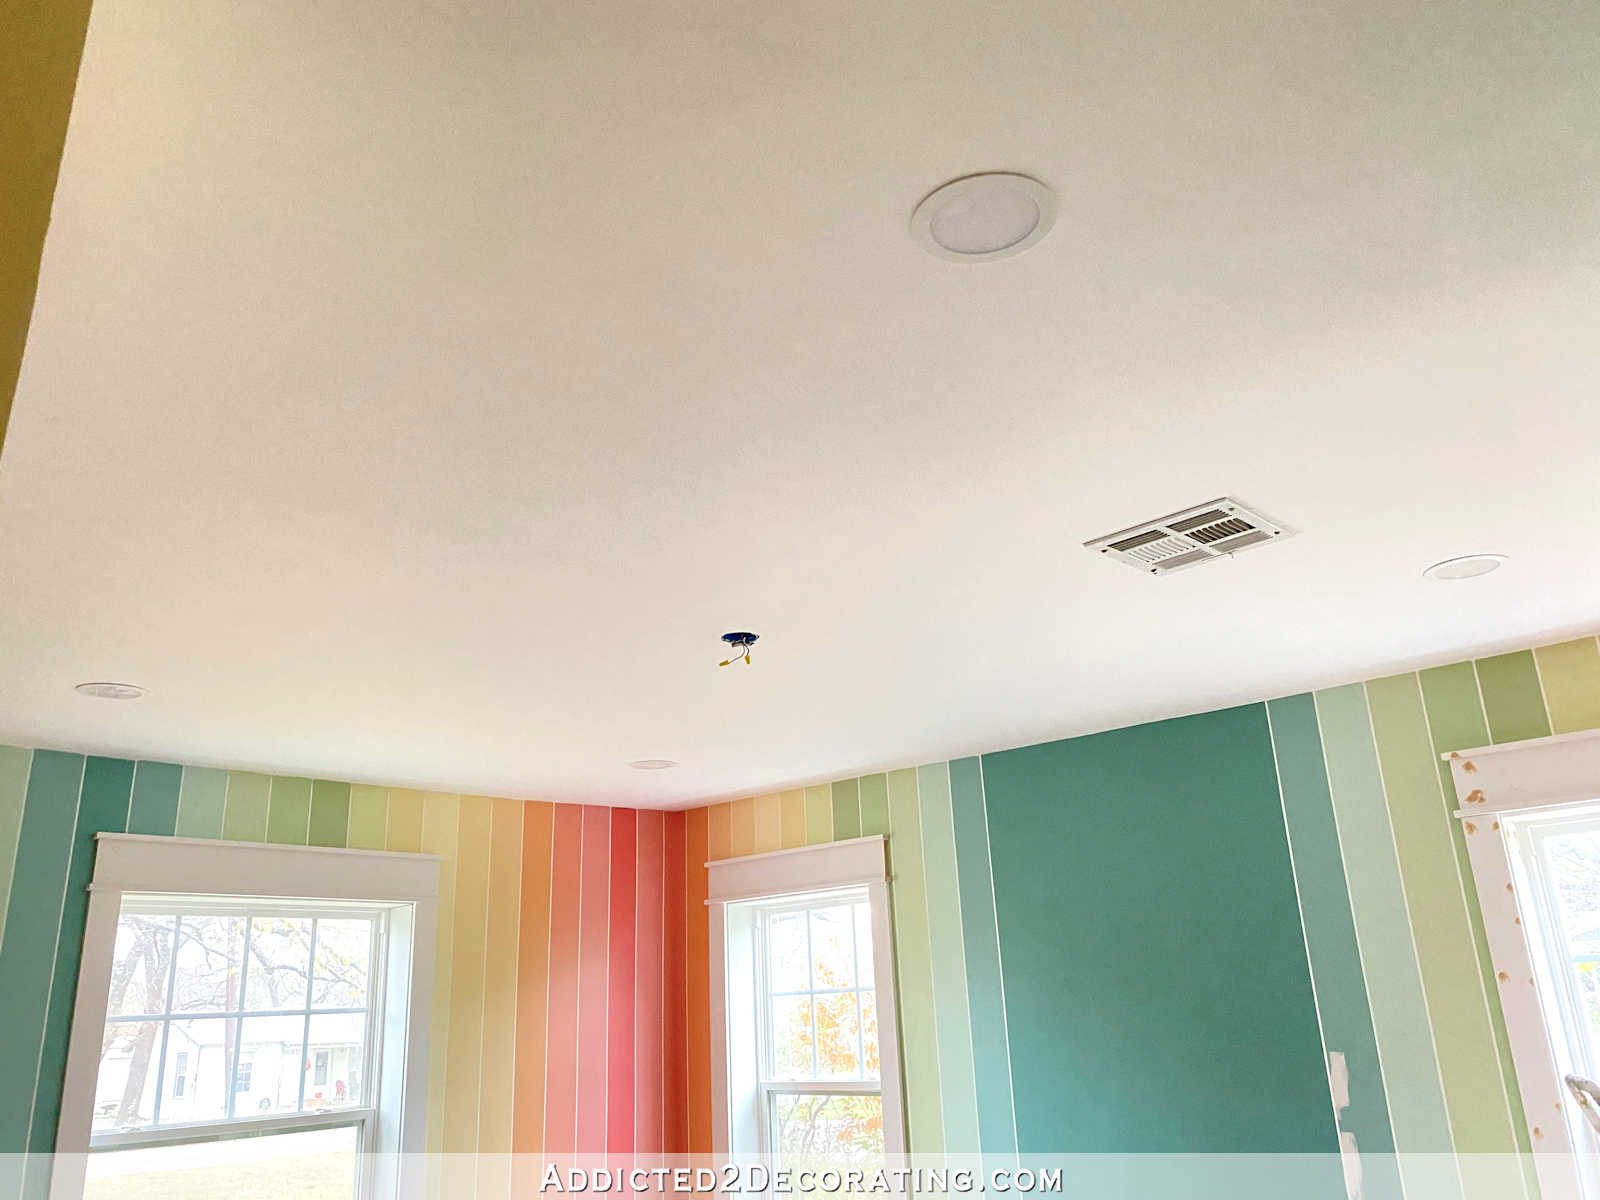
And here’s one final look at them from this morning. With the lights turned off, you can actually see the lights, and see just how thin the exposed part is. It’s such a great design!
So now that I finally have light in this room, I guess I have no excuse for not working past dark. 😀

Addicted 2 Decorating is where I share my DIY and decorating journey as I remodel and decorate the 1948 fixer upper that my husband, Matt, and I bought in 2013. Matt has M.S. and is unable to do physical work, so I do the majority of the work on the house by myself. You can learn more about me here.
I hope you’ll join me on my DIY and decorating journey! If you want to follow my projects and progress, you can subscribe below and have each new post delivered to your email inbox. That way you’ll never miss a thing!
Source link