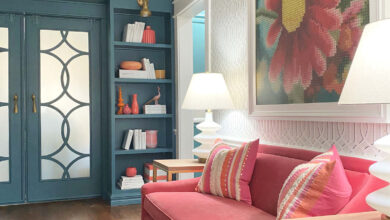
About four weeks ago, I showed y’all the state of my back wall of cabinets in our kitchen. These cabinets had no organization to them whatsoever. I had planned to give myself two weeks to get these cabinets organized, but then I came down with a cold and didn’t feel well for a few days, so that got me off schedule. But the project is now finished! I now have actual kitchen cabinet organization. I know what each cabinet holds, and I can find things easily. No more rummaging through cabinets to find that one particular thing I’m looking for.
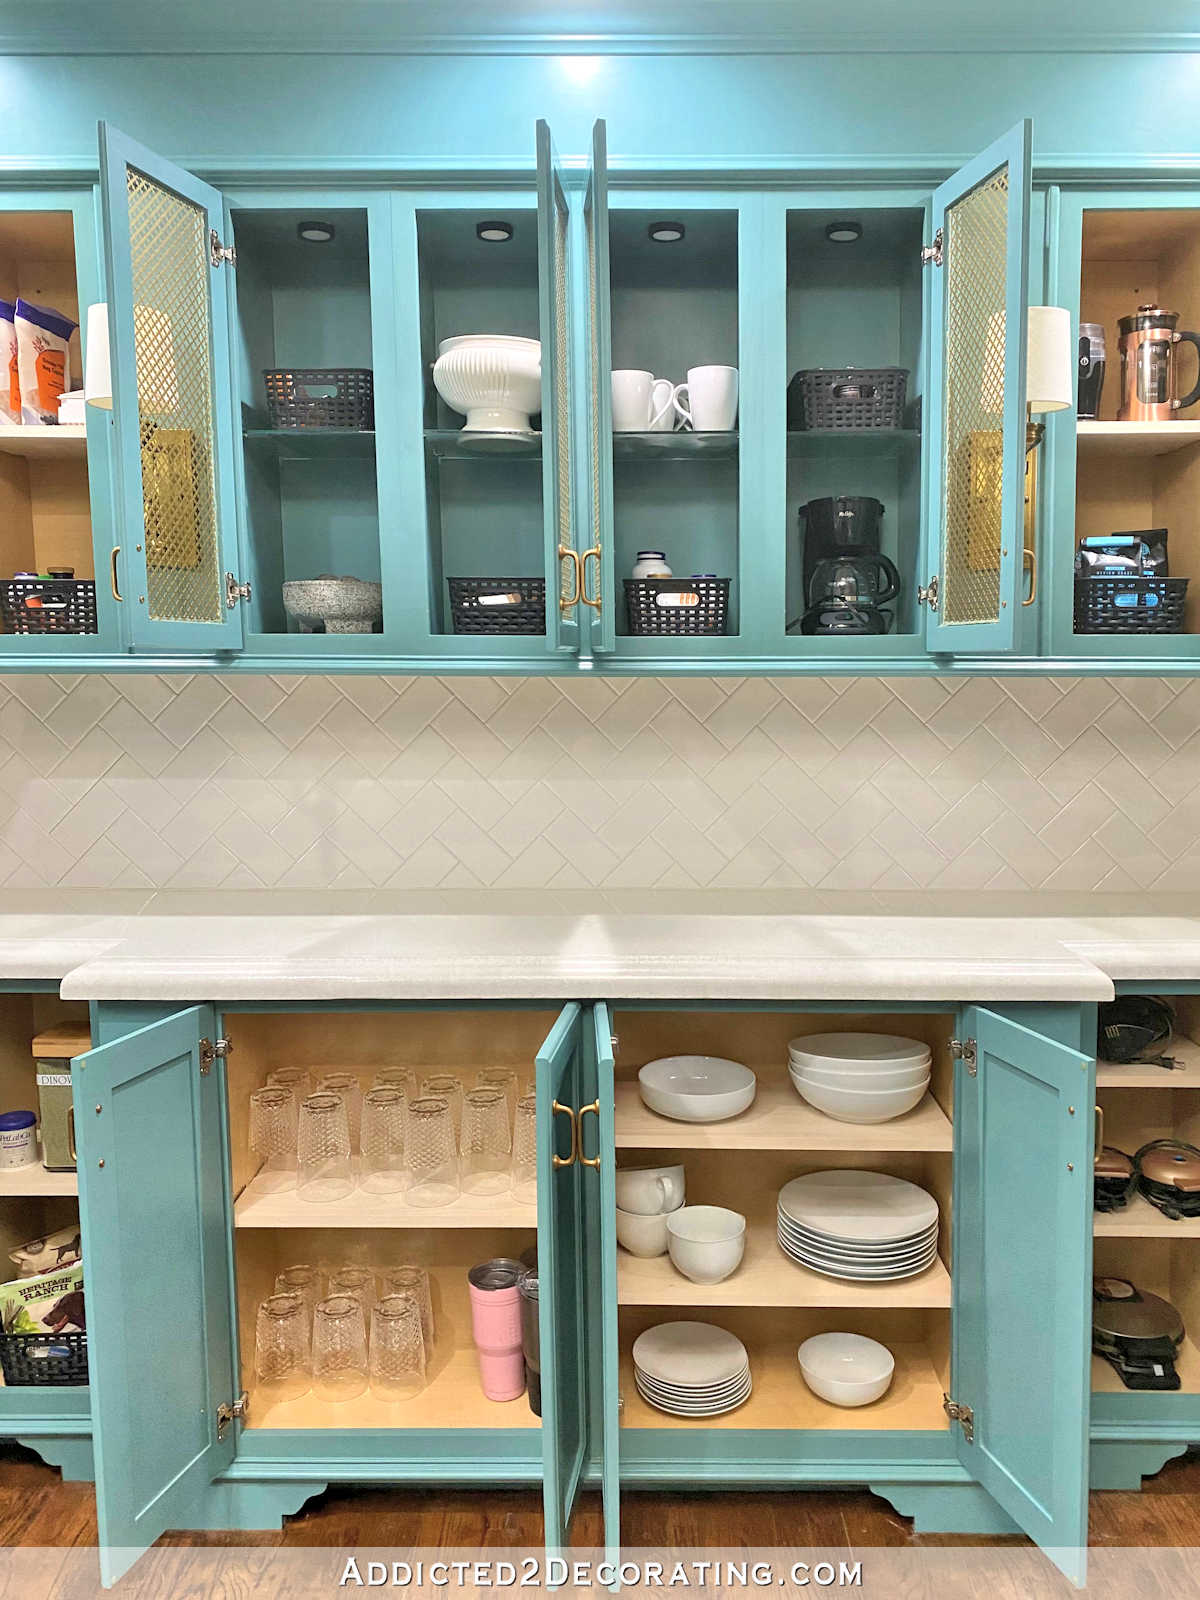
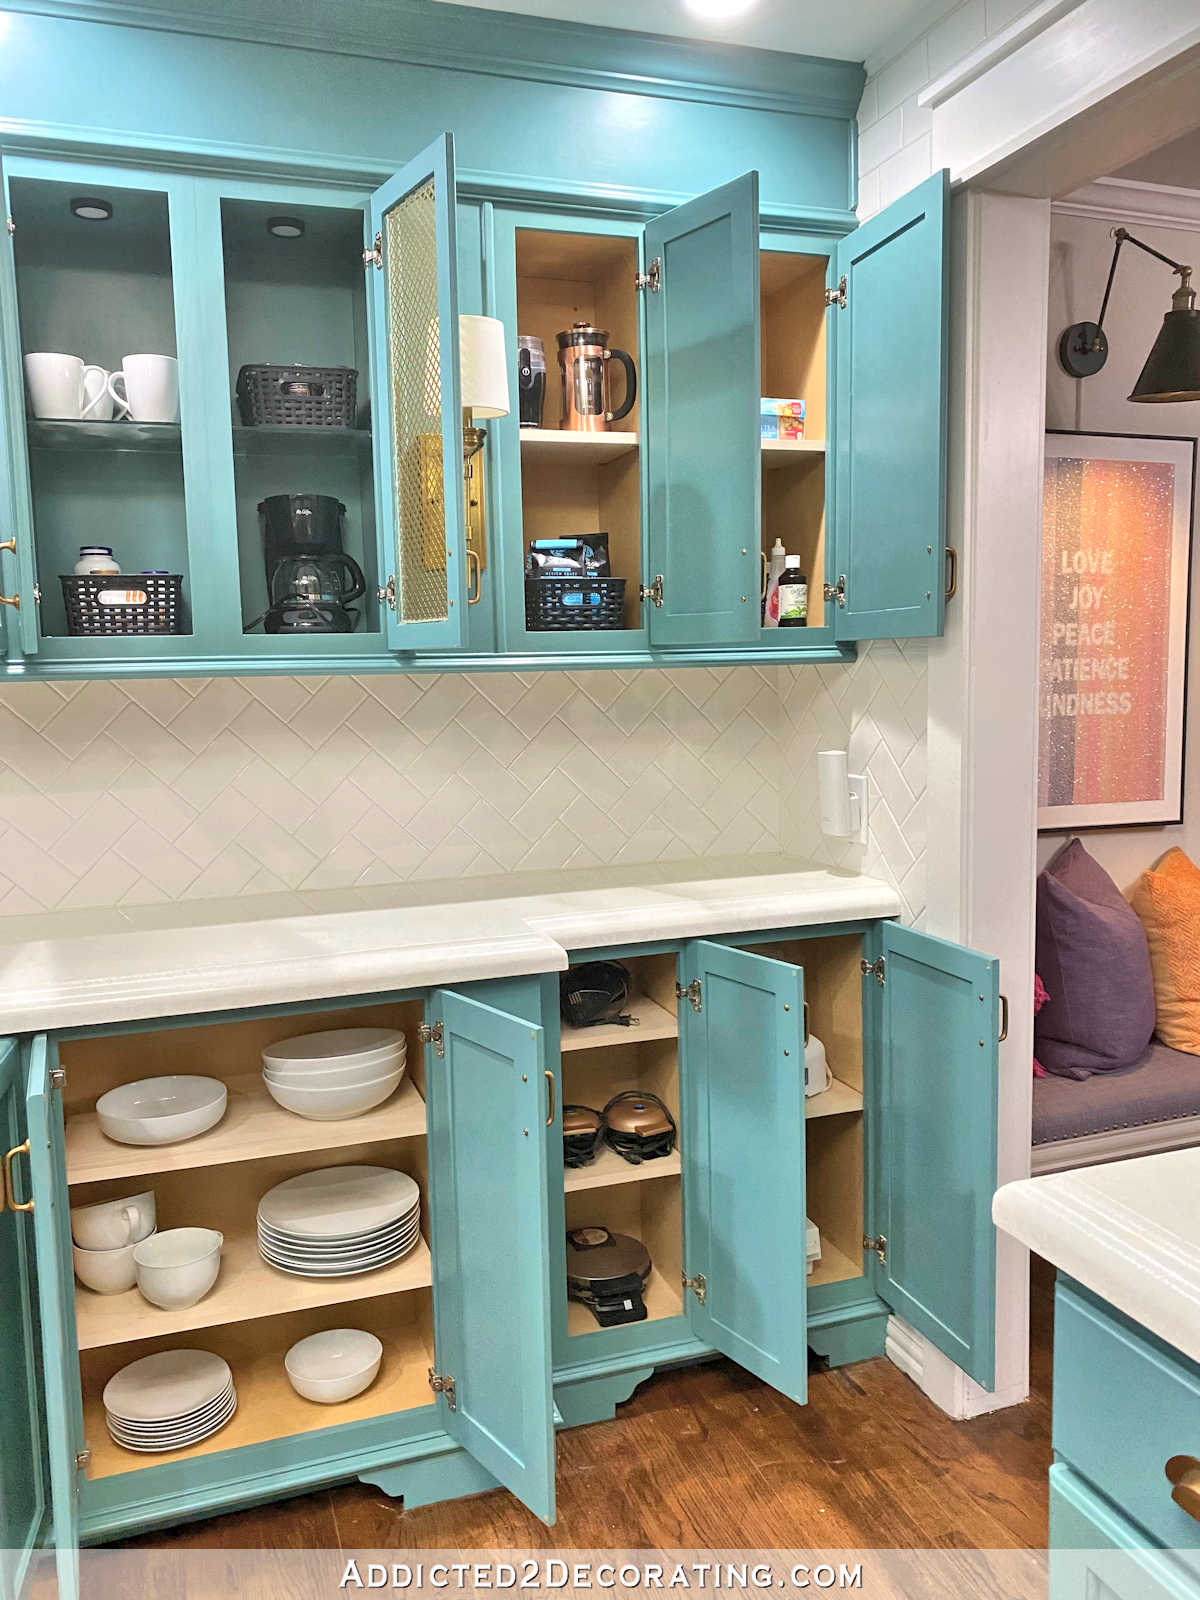
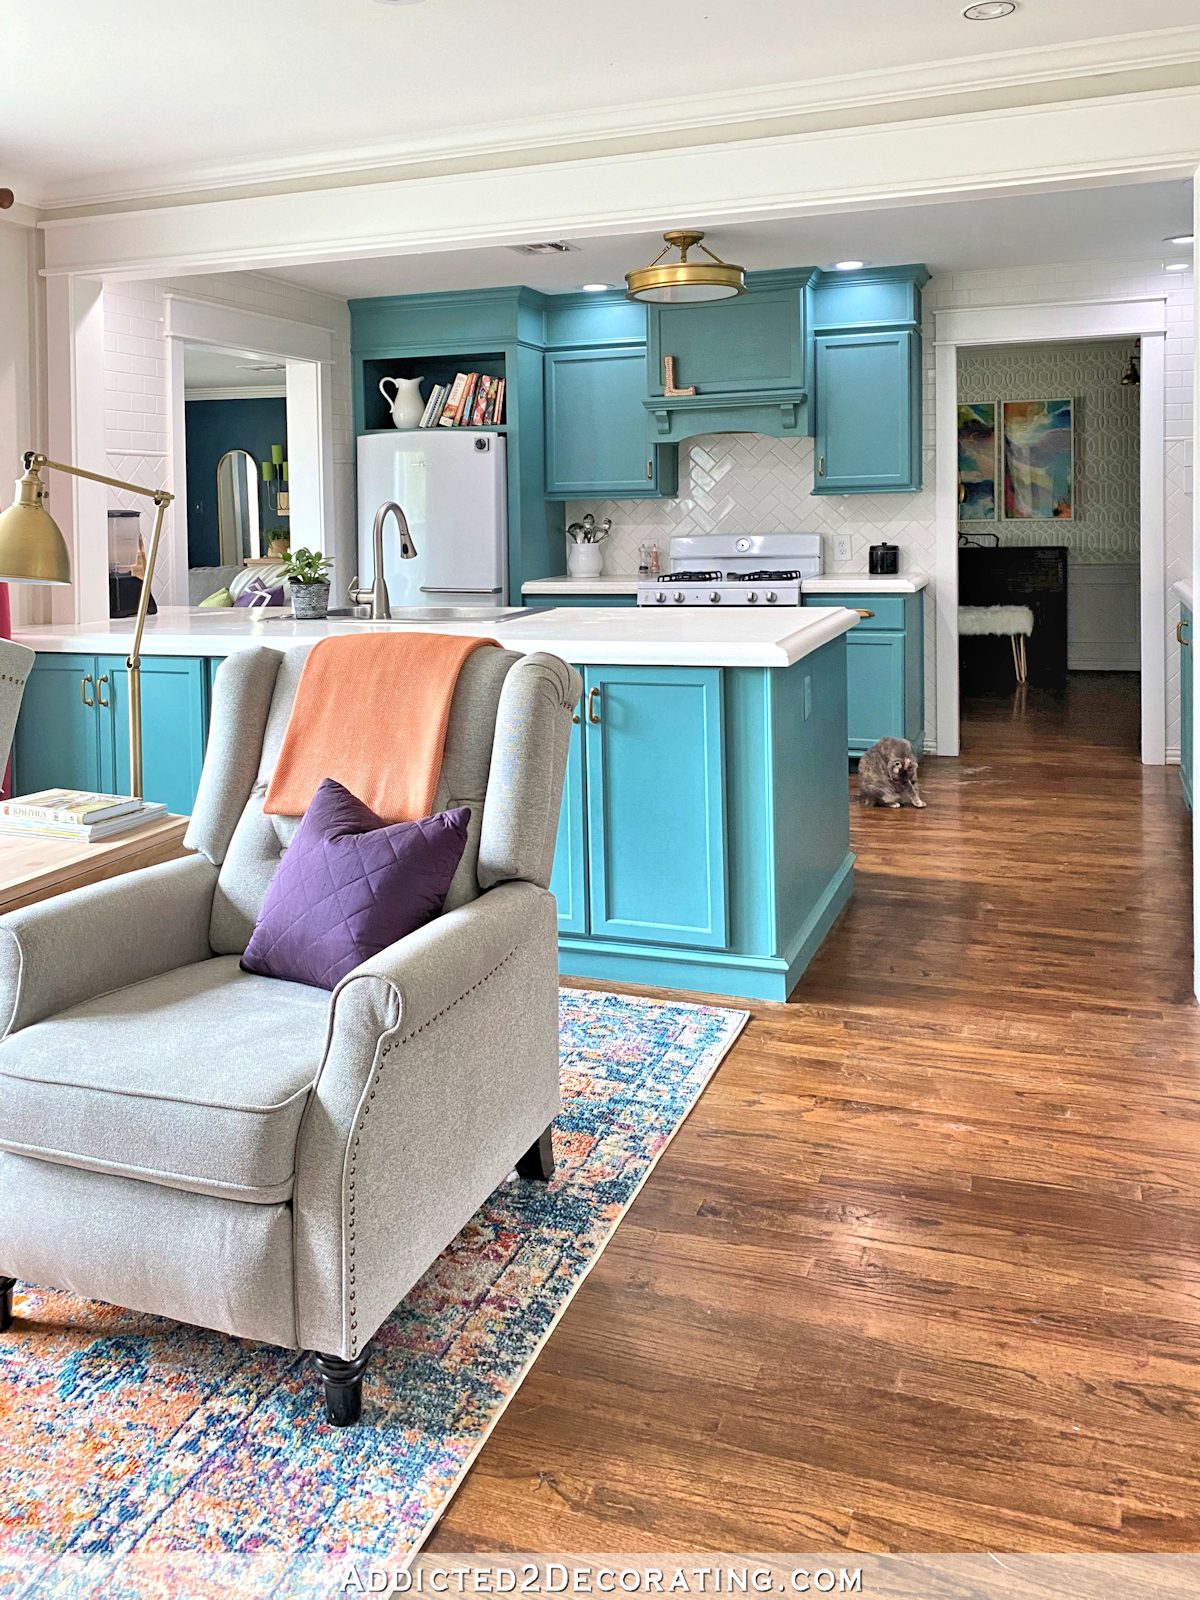
Here’s a quick view of my kitchen cabinet organization on the back wall of the kitchen…
Since so many of the shelves were missing (I explained why here), I decided to go ahead and make all new shelves, even replacing the few shelves that I still had. I used 3/4-inch birch plywood and cut them to size to fit into the cabinets, and then tested to be sure they would fit.

*This post contains affiliate links.
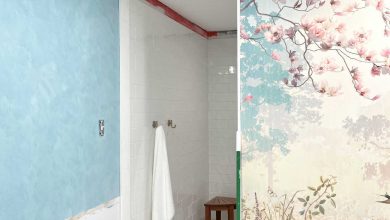
And then I finished off the front edge of each shelf with iron-on birch edge banding. You can see the huge difference that makes on the shelves in the photo below where the top shelf has edge banding, and the bottom two don’t…
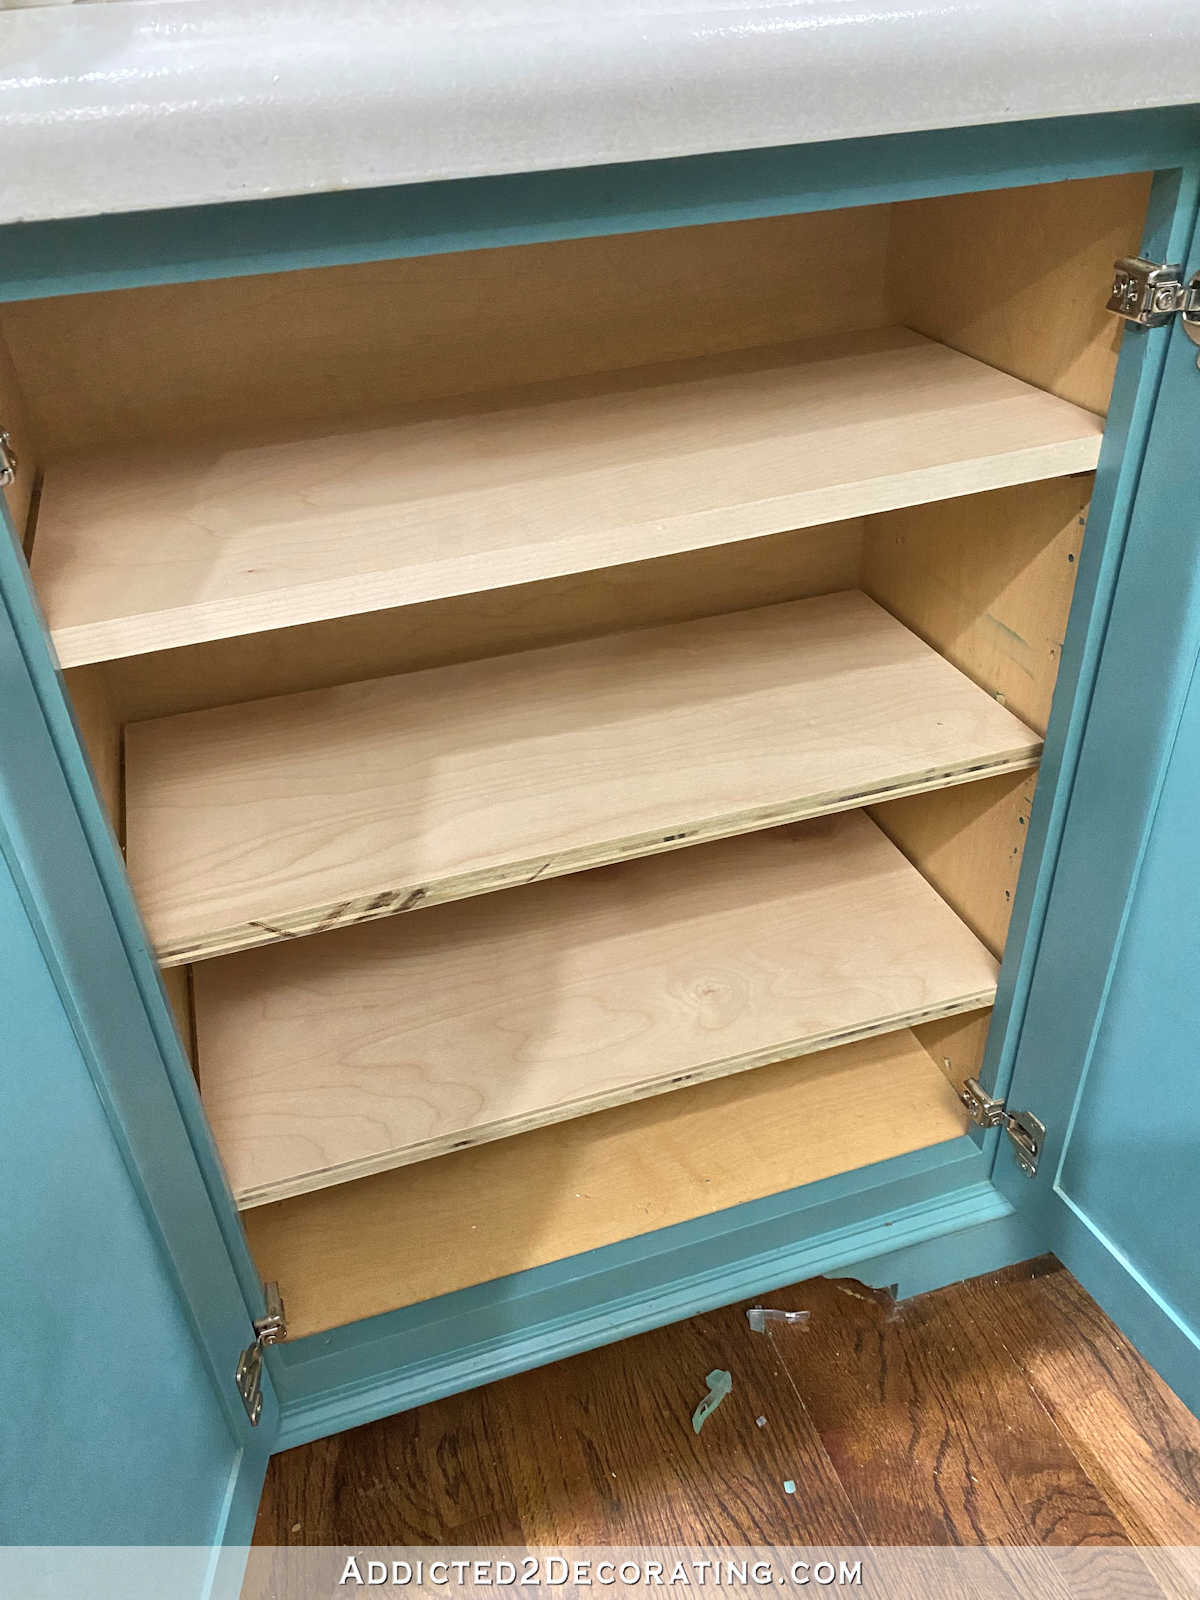
I ended up only using two shelves in that cabinet, but here they both are with the edge banding…

Doesn’t that look nice? And it’s very quick and easy! I found the 3/4-inch birch edge banding at Lowe’s (I think they had oak and birch in stock), and you just iron it on with your regular iron on the “cotton” setting. It’s very simple! And you can trim it with scissors.
So let me show you in more detail my newly organized cabinets.
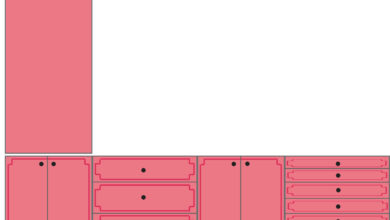
This cabinets on the bottom left started out like this…

The left cabinet had been used to hold all of my plastic storage containers, but they were all so old and stained that I recently got rid of them. So this cabinet was empty. The next one was missing a shelf and just had stuff (mostly cans and bags of cashews and almonds) piled at the bottom.
Now the left cabinet is specifically for Felicity’s food — dry food on the top shelf, wet food on the bottom shelf. And I also keep the tiny food processor in here that I use to puree her wet food. If I don’t puree her wet food, she just licks the liquid out of the bowl and leaves behind the shreds of chicken/fish/turkey. So I have to puree it each time so that she’ll eat all of it. 😀
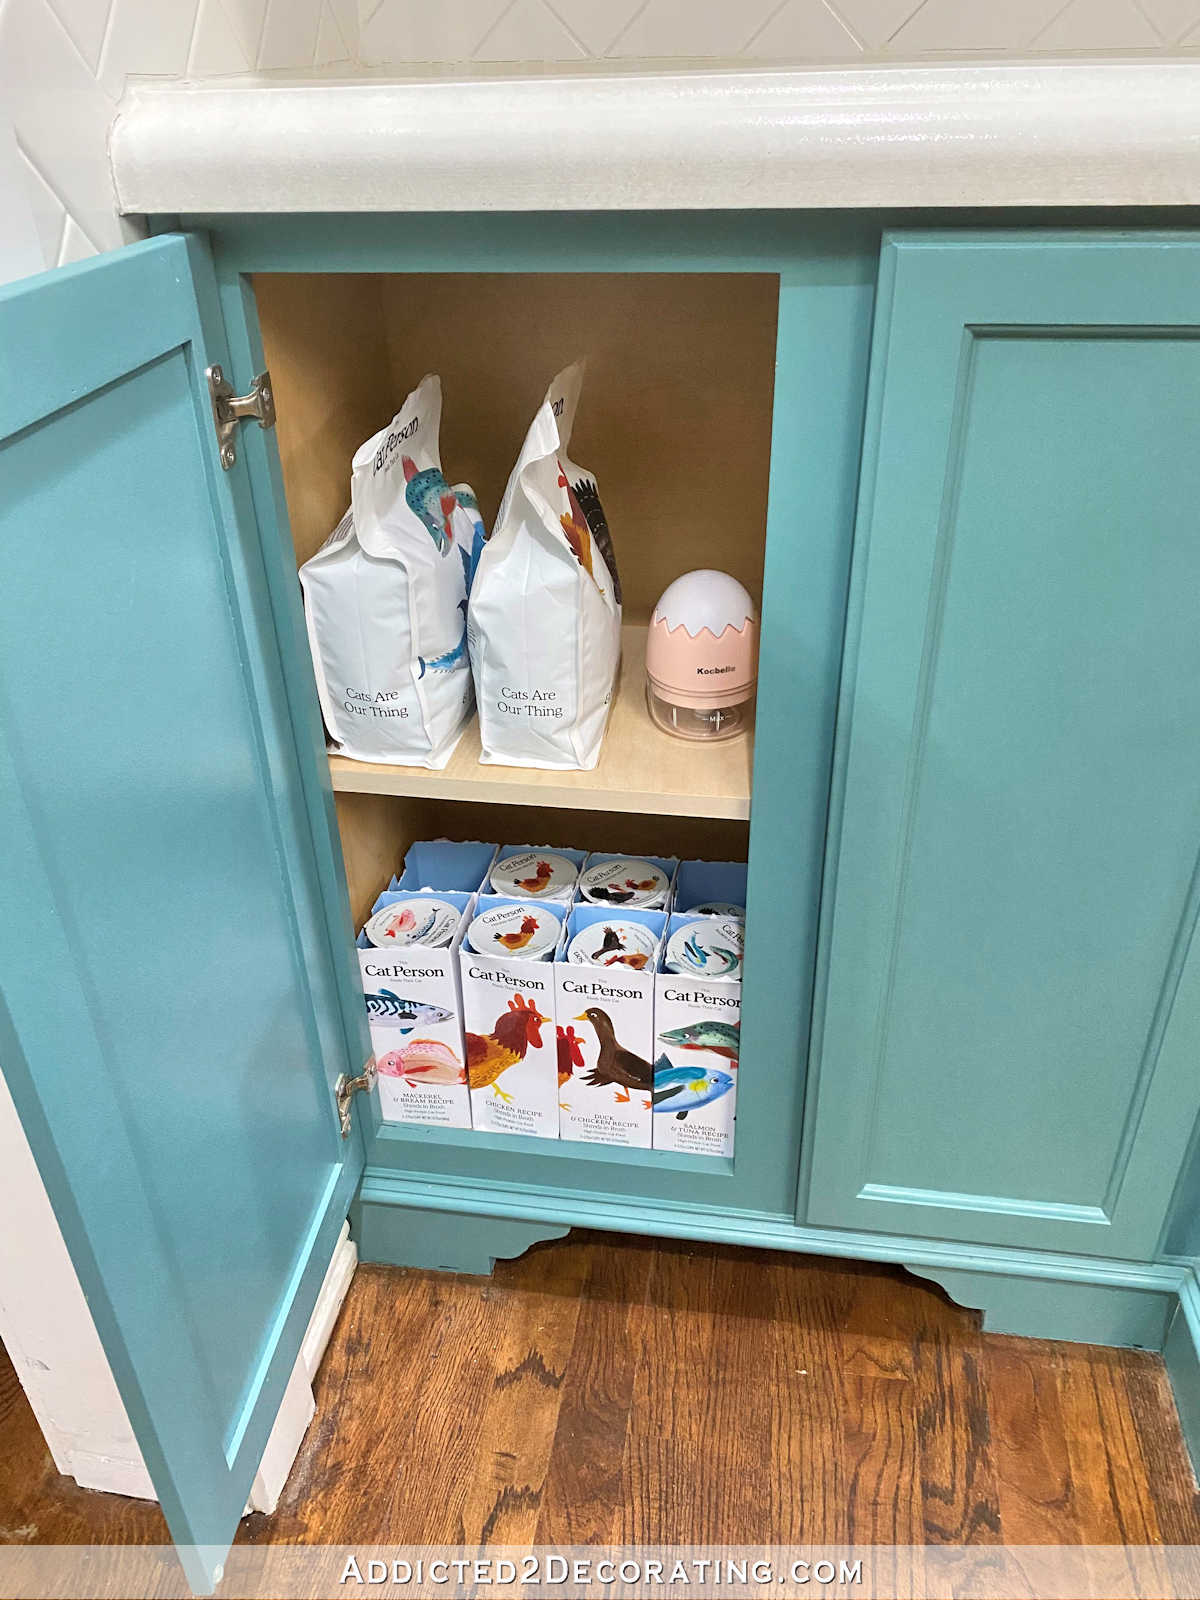
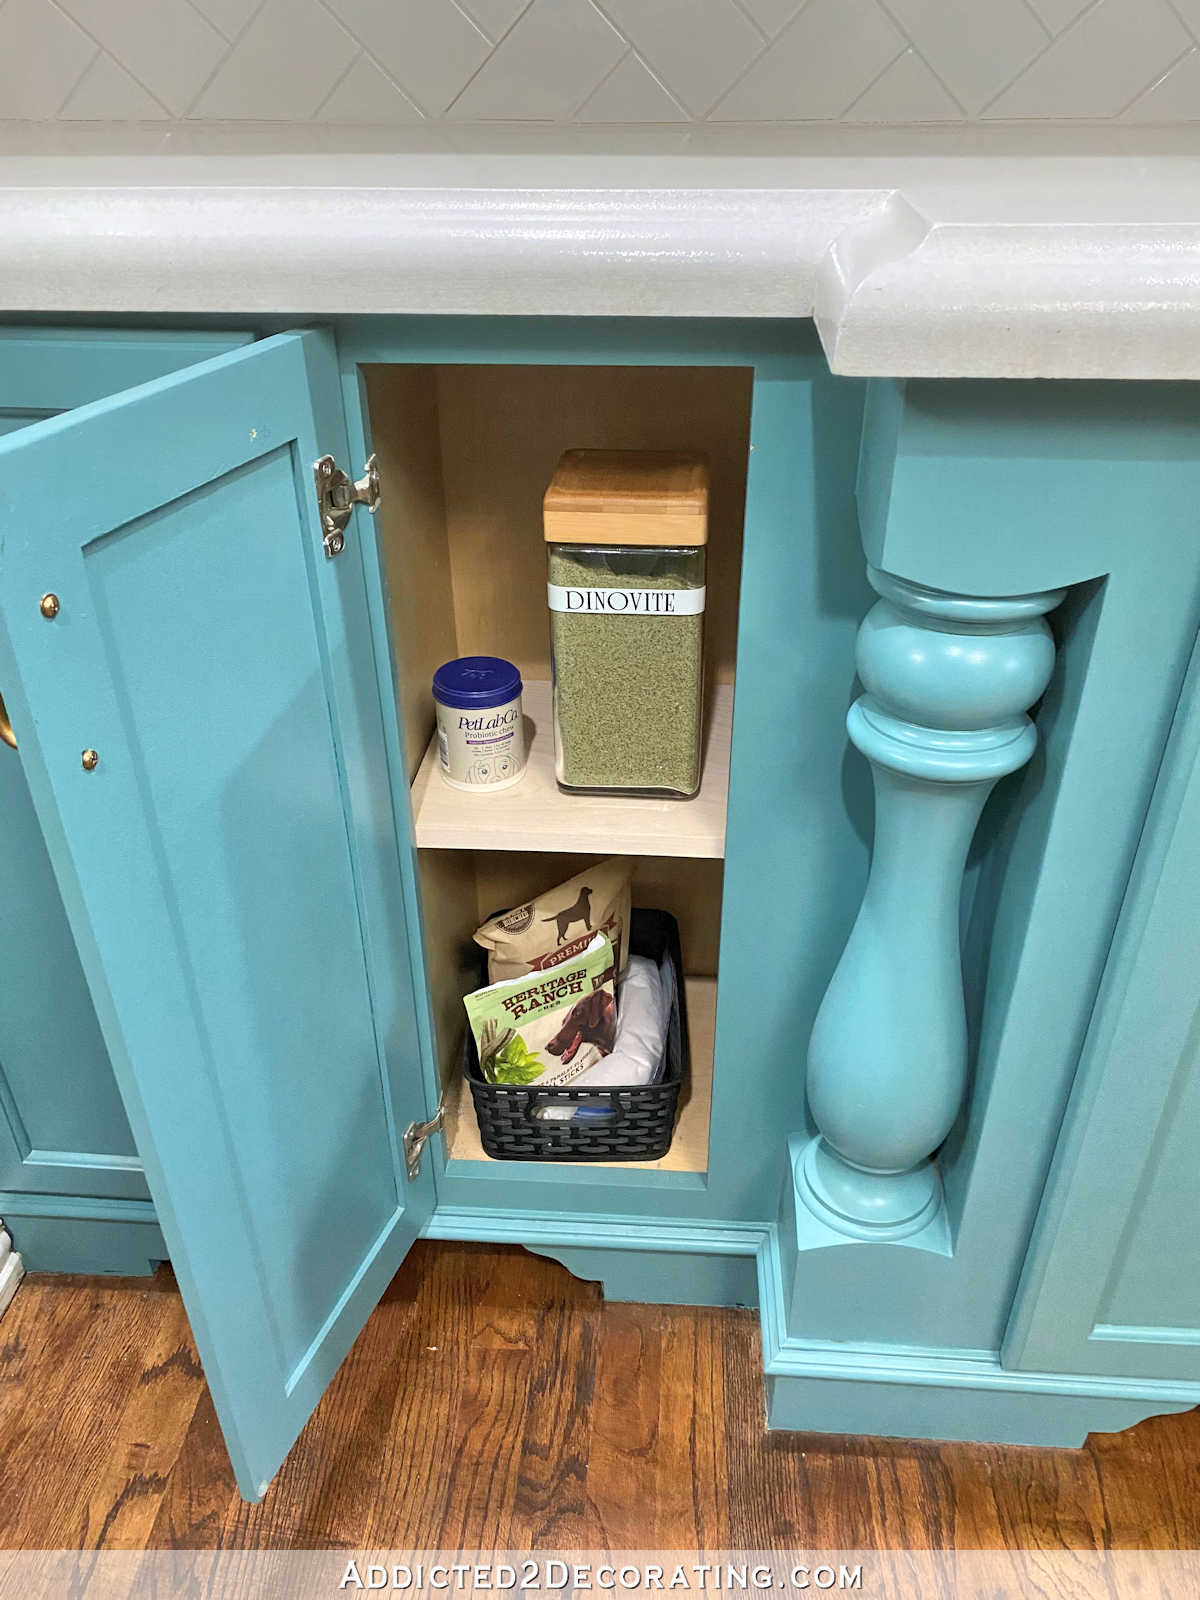
And the next cabinet is now Cooper’s cabinet where I keep some of his treats, his probiotic chews, and Dinovite, which I add to his food each day. Most of what Cooper eats is stored in the refrigerator, so he doesn’t need as much cabinet space as Felicity.
The next cabinet used to look like this…
And now it is used to store our plastic tumblers (no glass glasses in our house because they get broken too easily), and the few metal tumblers that we have (minus the two that we use pretty much all day every day).

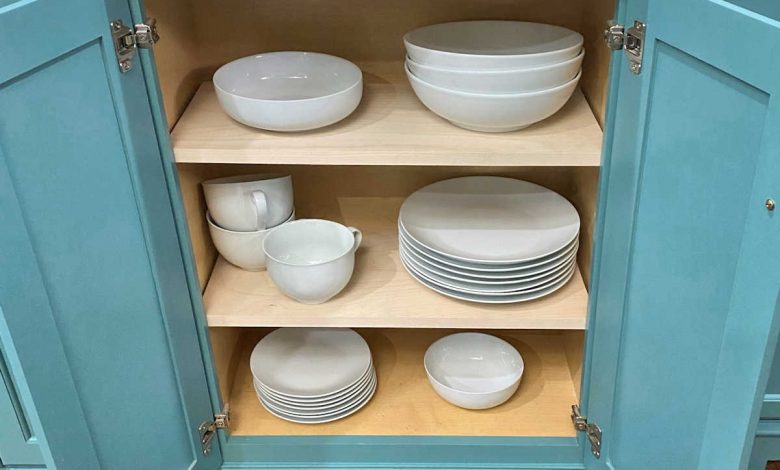
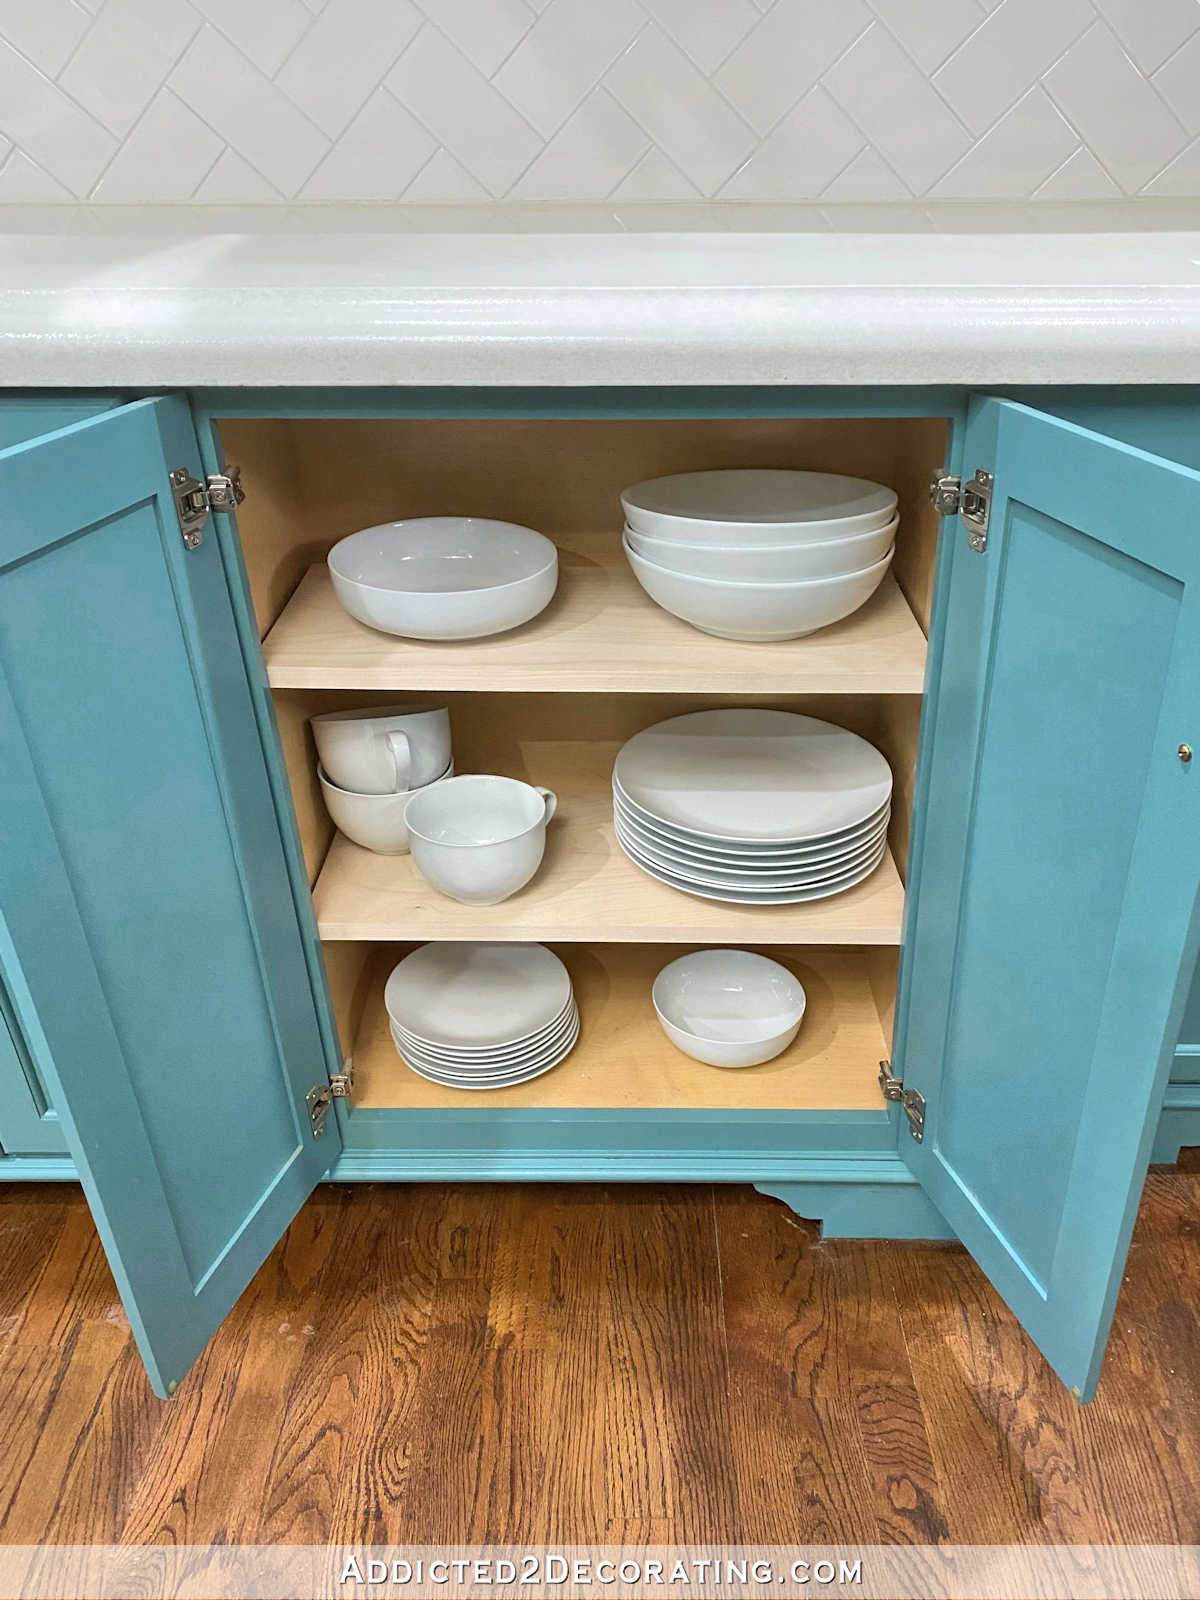
The next cabinet over is where we store the dishes, but I had two wire shelves in here, and there was a mishap where one of the wire shelves (which barely fit on the shelf anyway) moved forward just a tad as I was getting a plate, and the whole shelf fell and a lot of the dishes wound up in a pile of broken pieces on the floor.
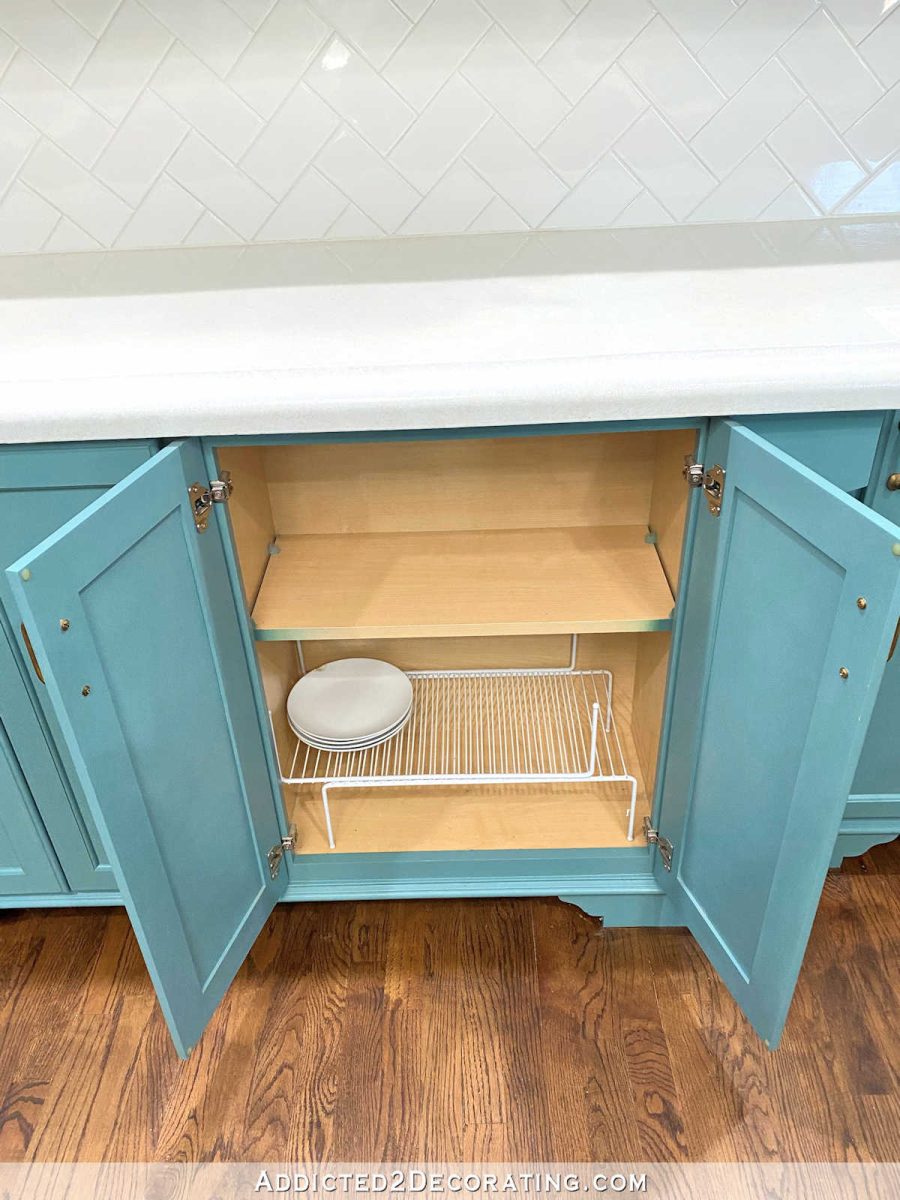
So I got rid of those wire shelves and replaced them with new plywood shelves, and my dishes have a home again. I still haven’t replaced the ones that were broken. I was left with one pasta bowl, one cereal bowl, and quite a few chipped dinner and salad plates. Now that I have sturdy shelves, I can replace the ones that were broken and damaged.
And to finish up the bottom cabinets, here’s what the two bottom right looked like before…
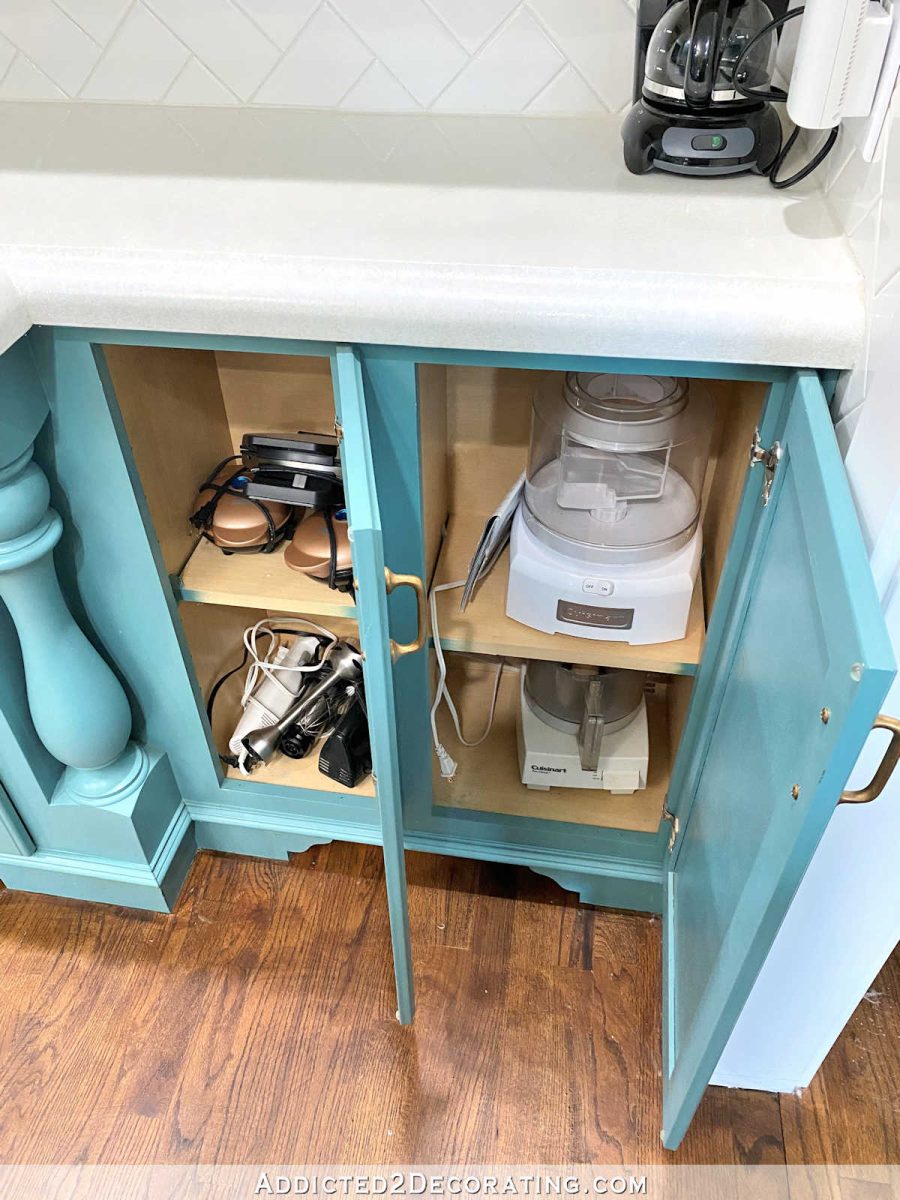
In the left cabinet, I kept the hand mixer, the two mini waffle makers, and the larger waffle maker, which are now organized on the two new shelves. The other two items (an immersion mixer and electric knife) found a home elsewhere in the kitchen.

The right cabinet didn’t change much. It still holds my ice cream maker and food processor, but it did get a new shelf.

And now for the upper cabinets. The two cabinets on the far right were a big jumbled mess. Both were missing shelves, and both were victims of my “open and toss” method of storage.
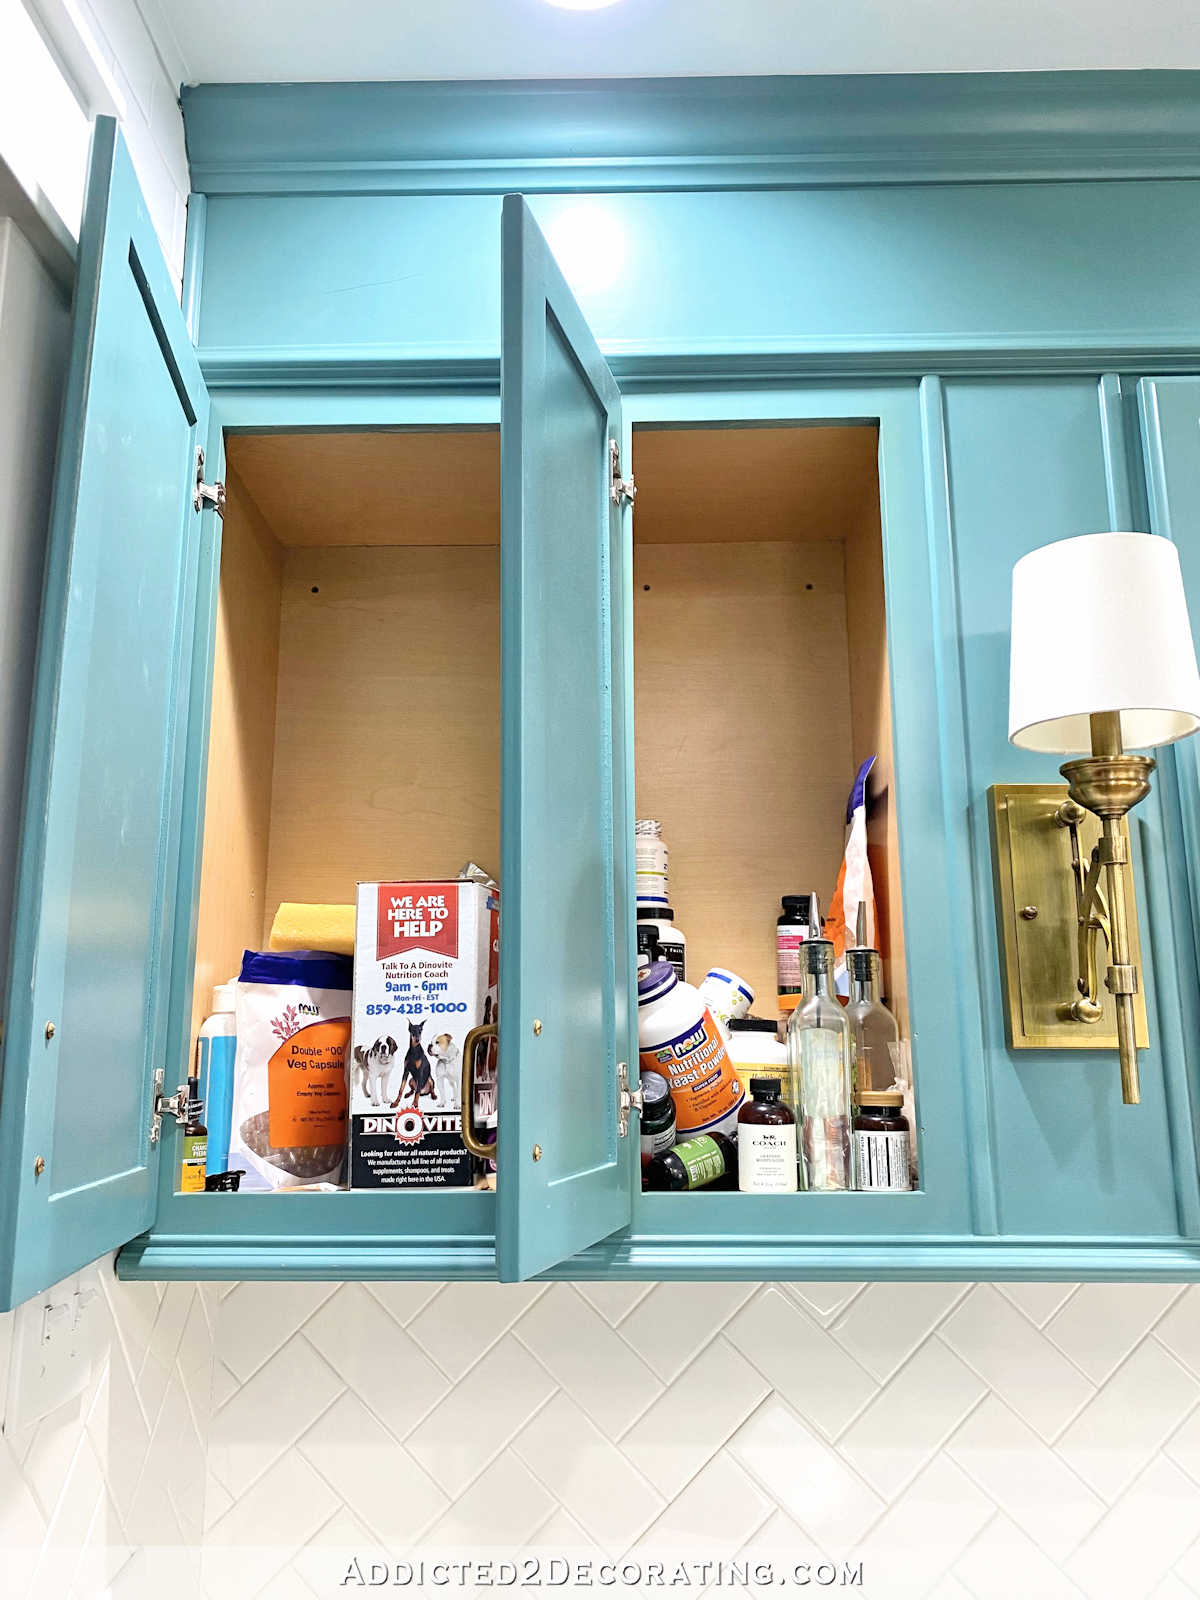
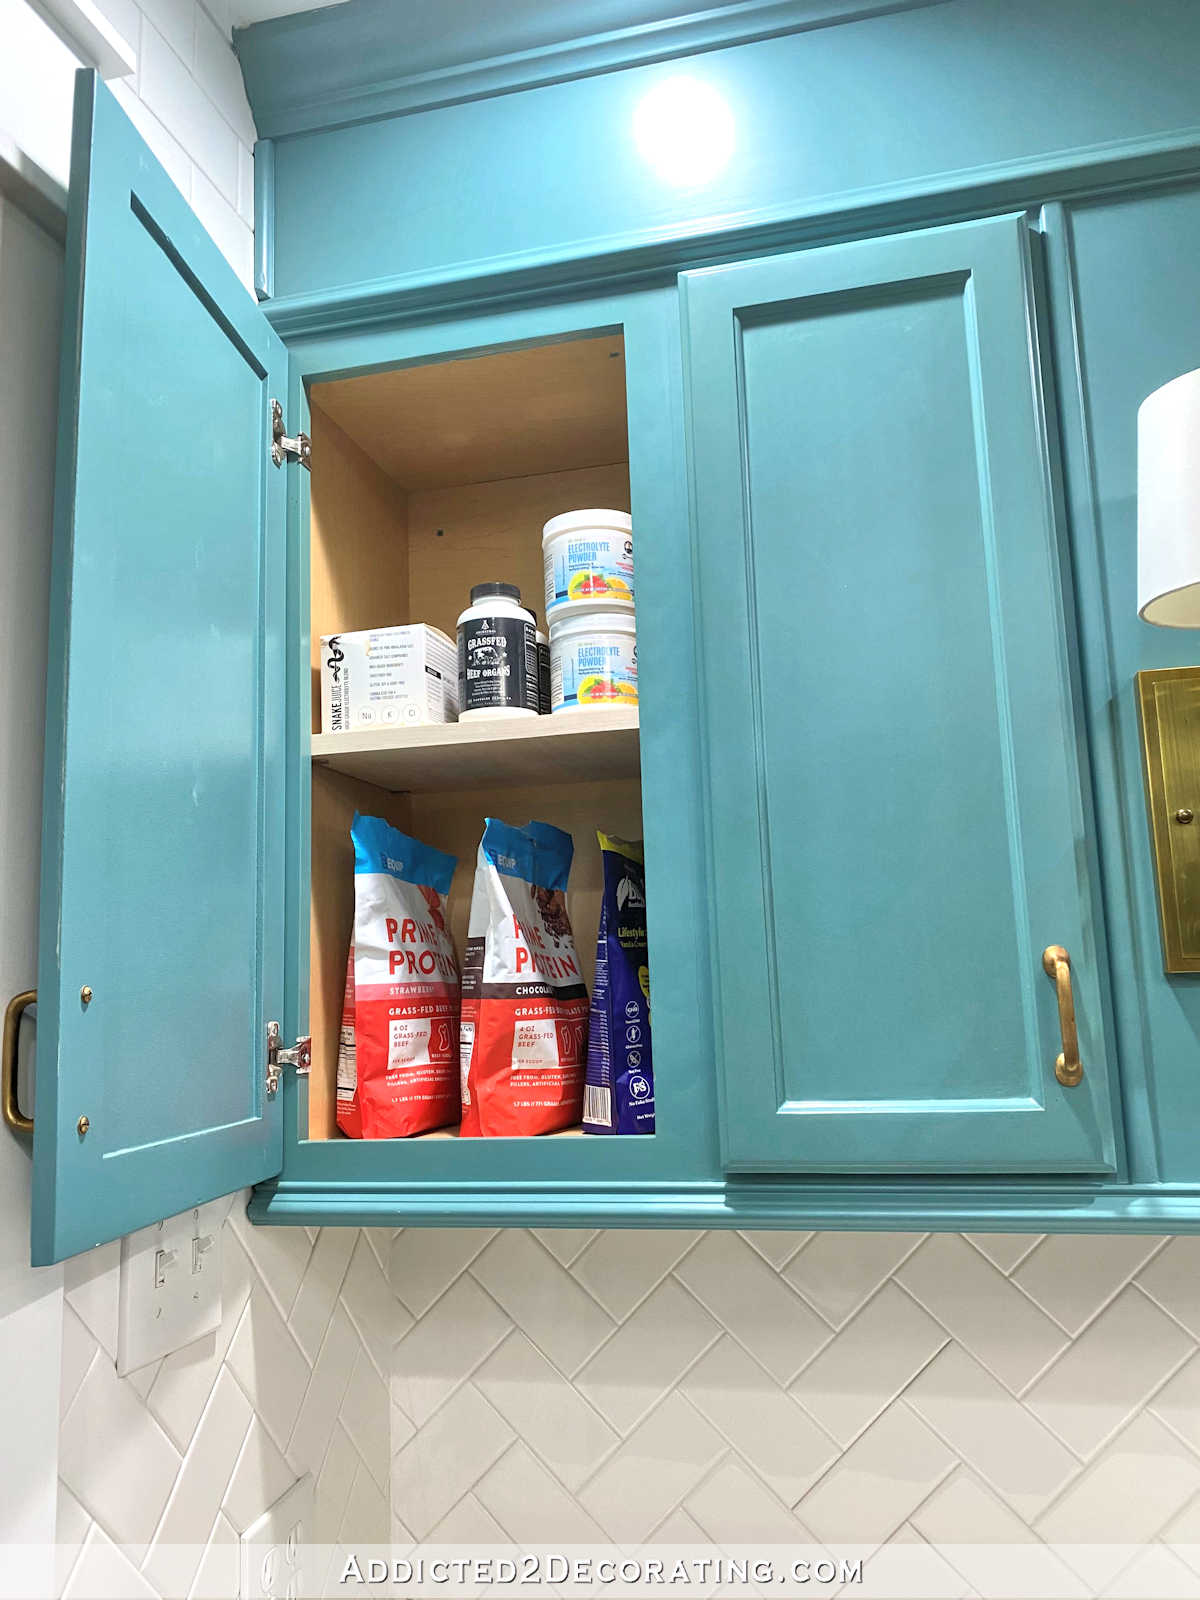
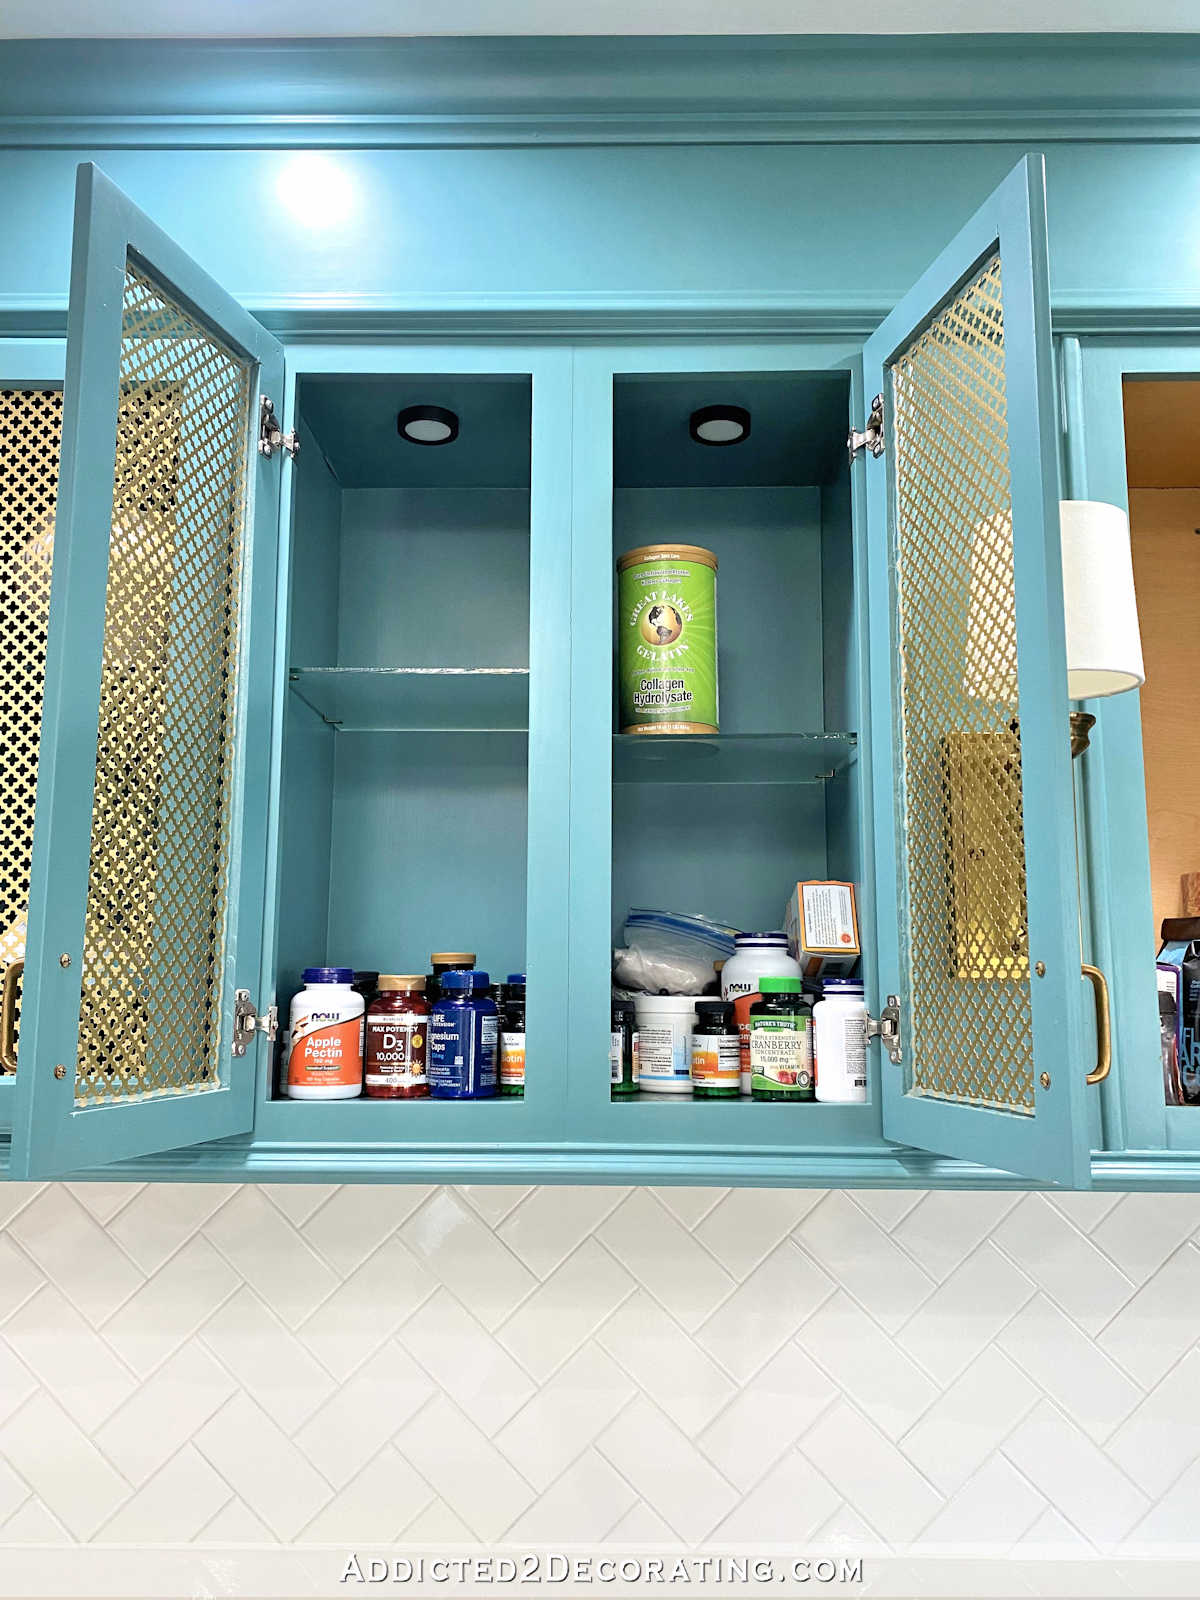
I emptied those out completely, added new shelves, and now the cabinet on the far left holds our protein powders, electrolyte mixes, etc.
The one next to it holds our empty gel caps and gel cap maker (i.e., the tool you use to fill empty gel caps with whatever you want in them). And the bottom shelf holds a basket (I bought two sets of these little baskets that are the perfect size for my narrow cabinets) that holds vitamins and supplements that are specifically mine.

The next cabinets over used to be a mishmash of human supplements, dog probiotics, dog ear drops, Keto Mojo testing stuff (It tests ketones and blood sugar), and other random items.
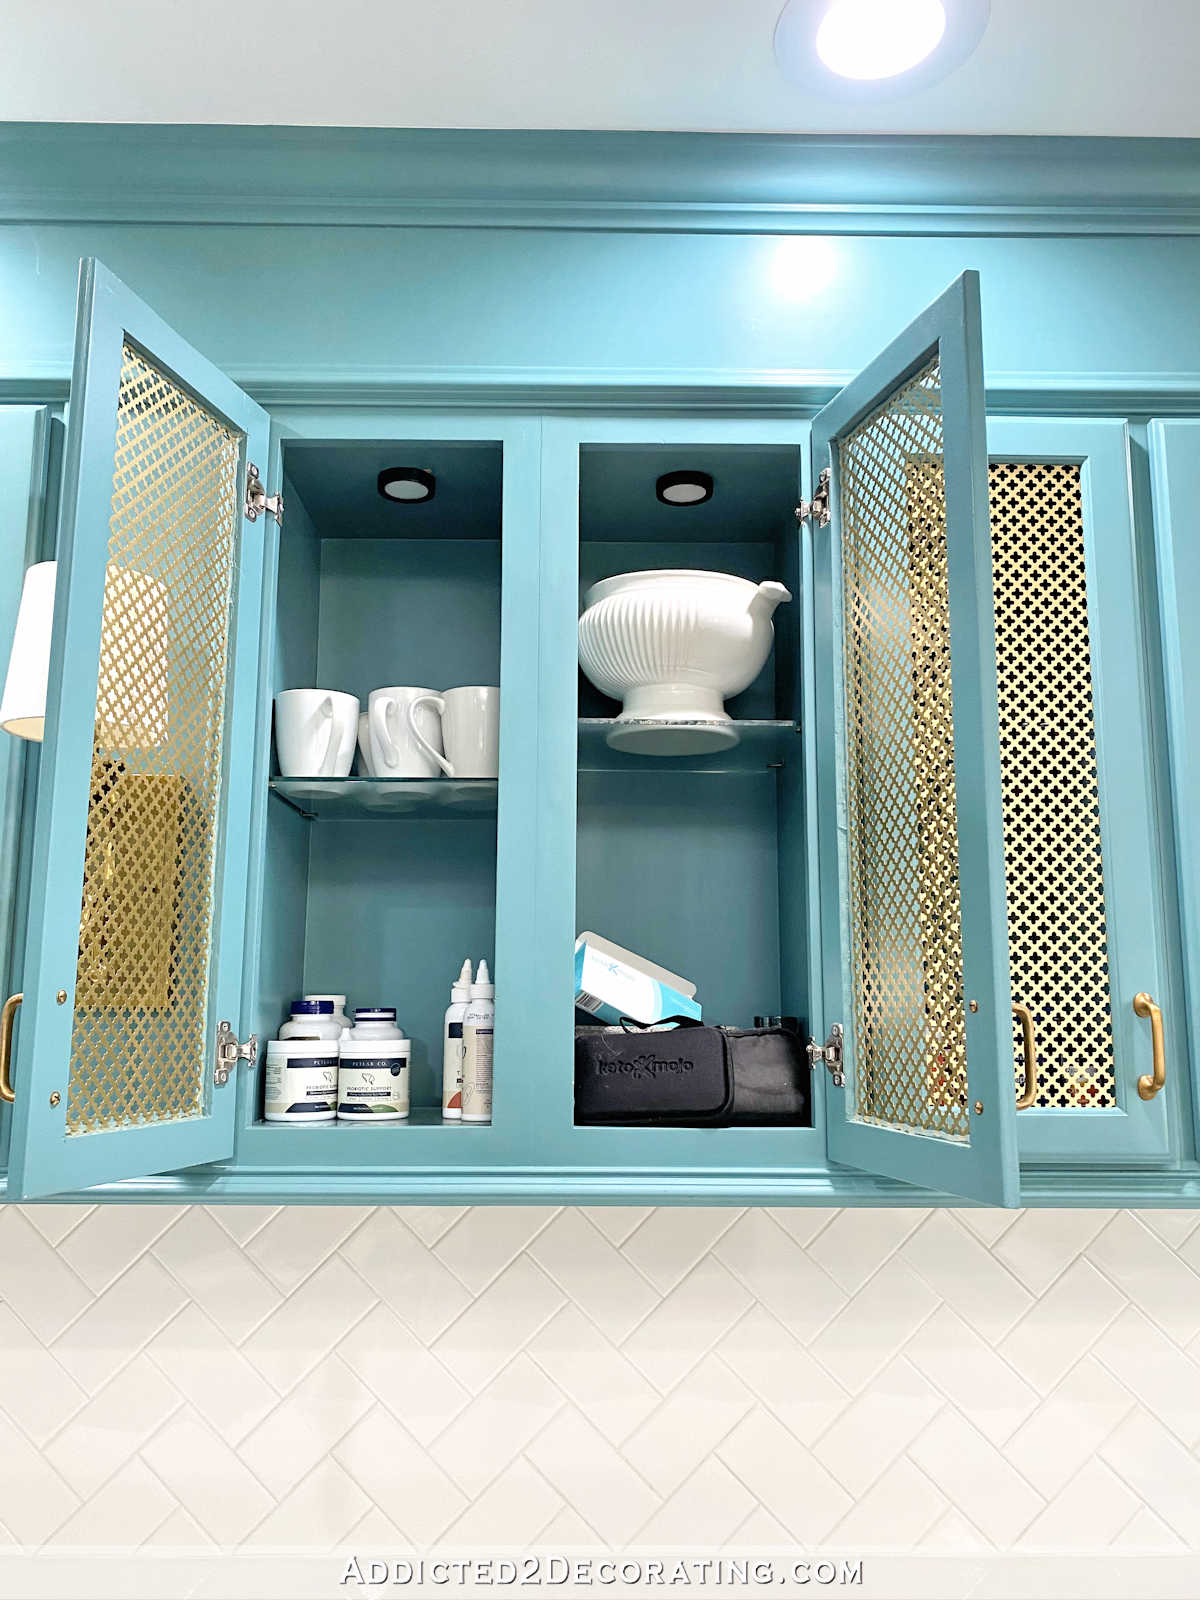
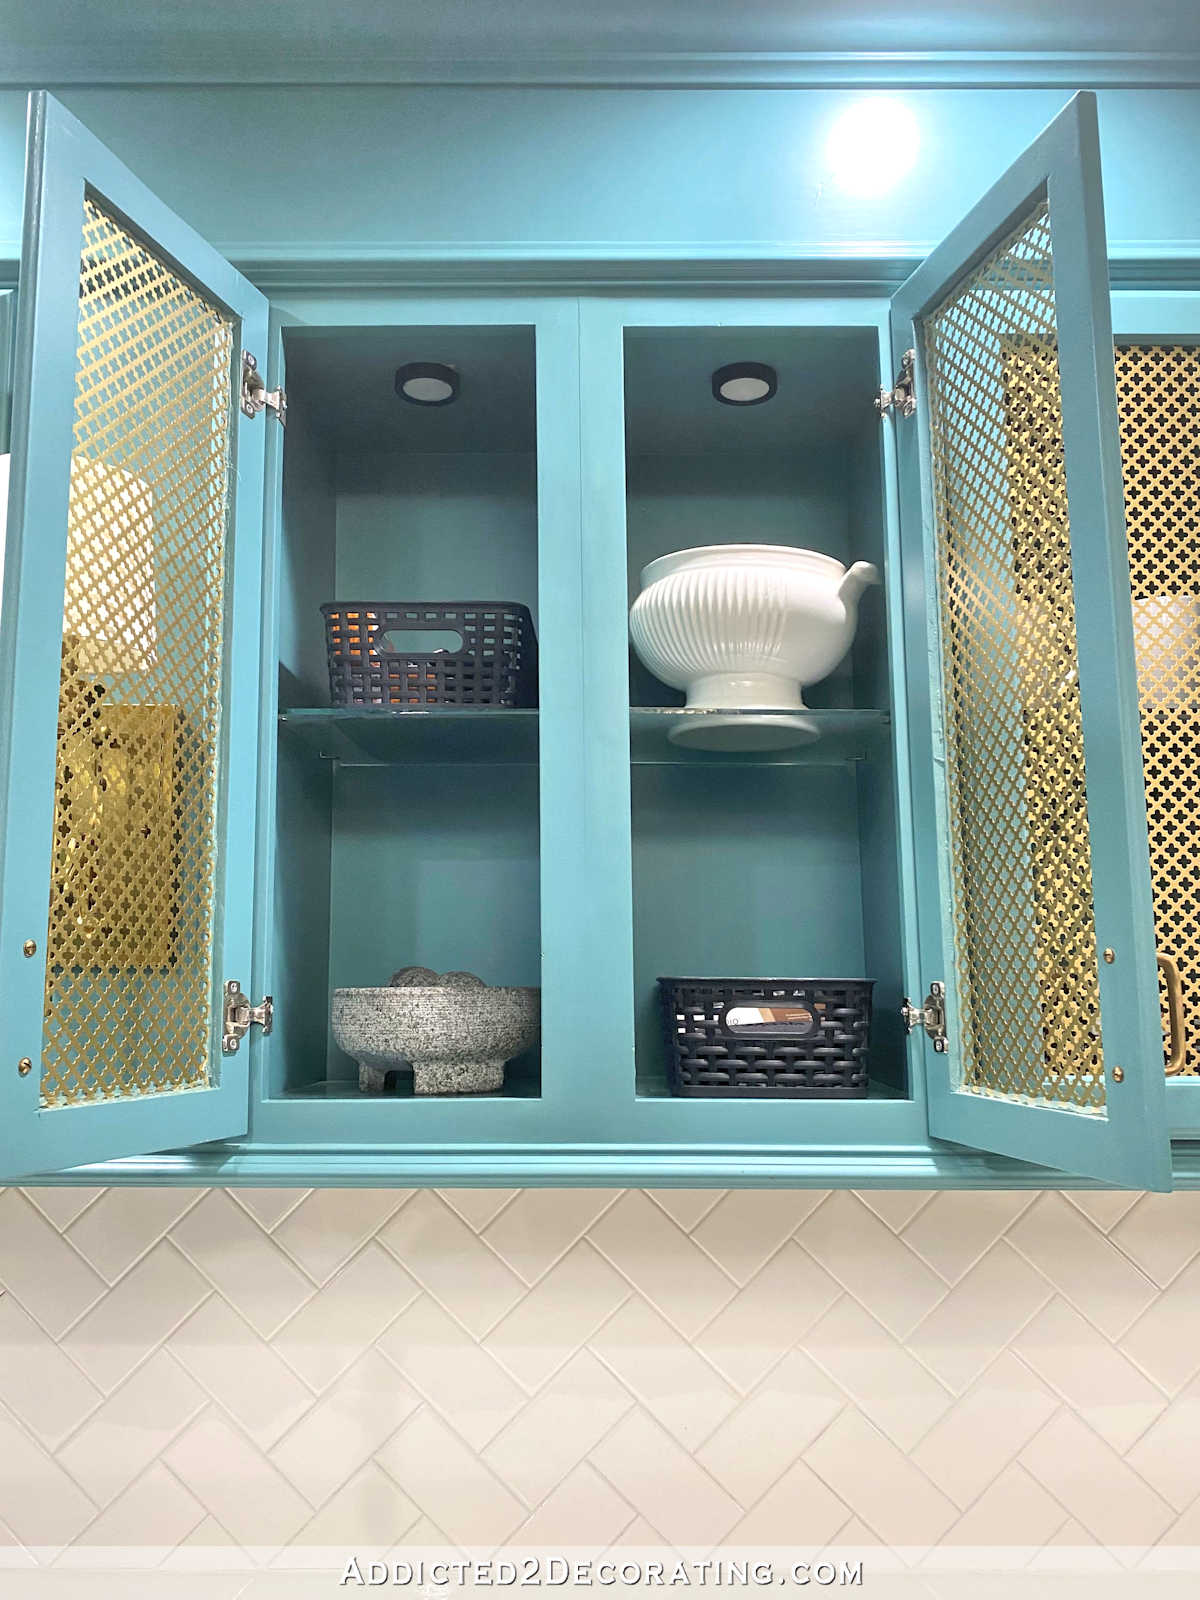
Now these cabinets hold a basket of plastic utensils (top left), a soup tureen (which could go in the pantry if I ever need to store something more useful on that shelf), my mortar and pestle on the bottom left, and a basket that now holds the Keto Mojo and all of the associated testing strips and lancets.
The next cabinet over was another jumbled mess of vitamins and supplements. (As I said before, Matt gets a little overly zealous with the purchasing of vitamins and supplements, so we end up with quite a stockpile. 😀 )
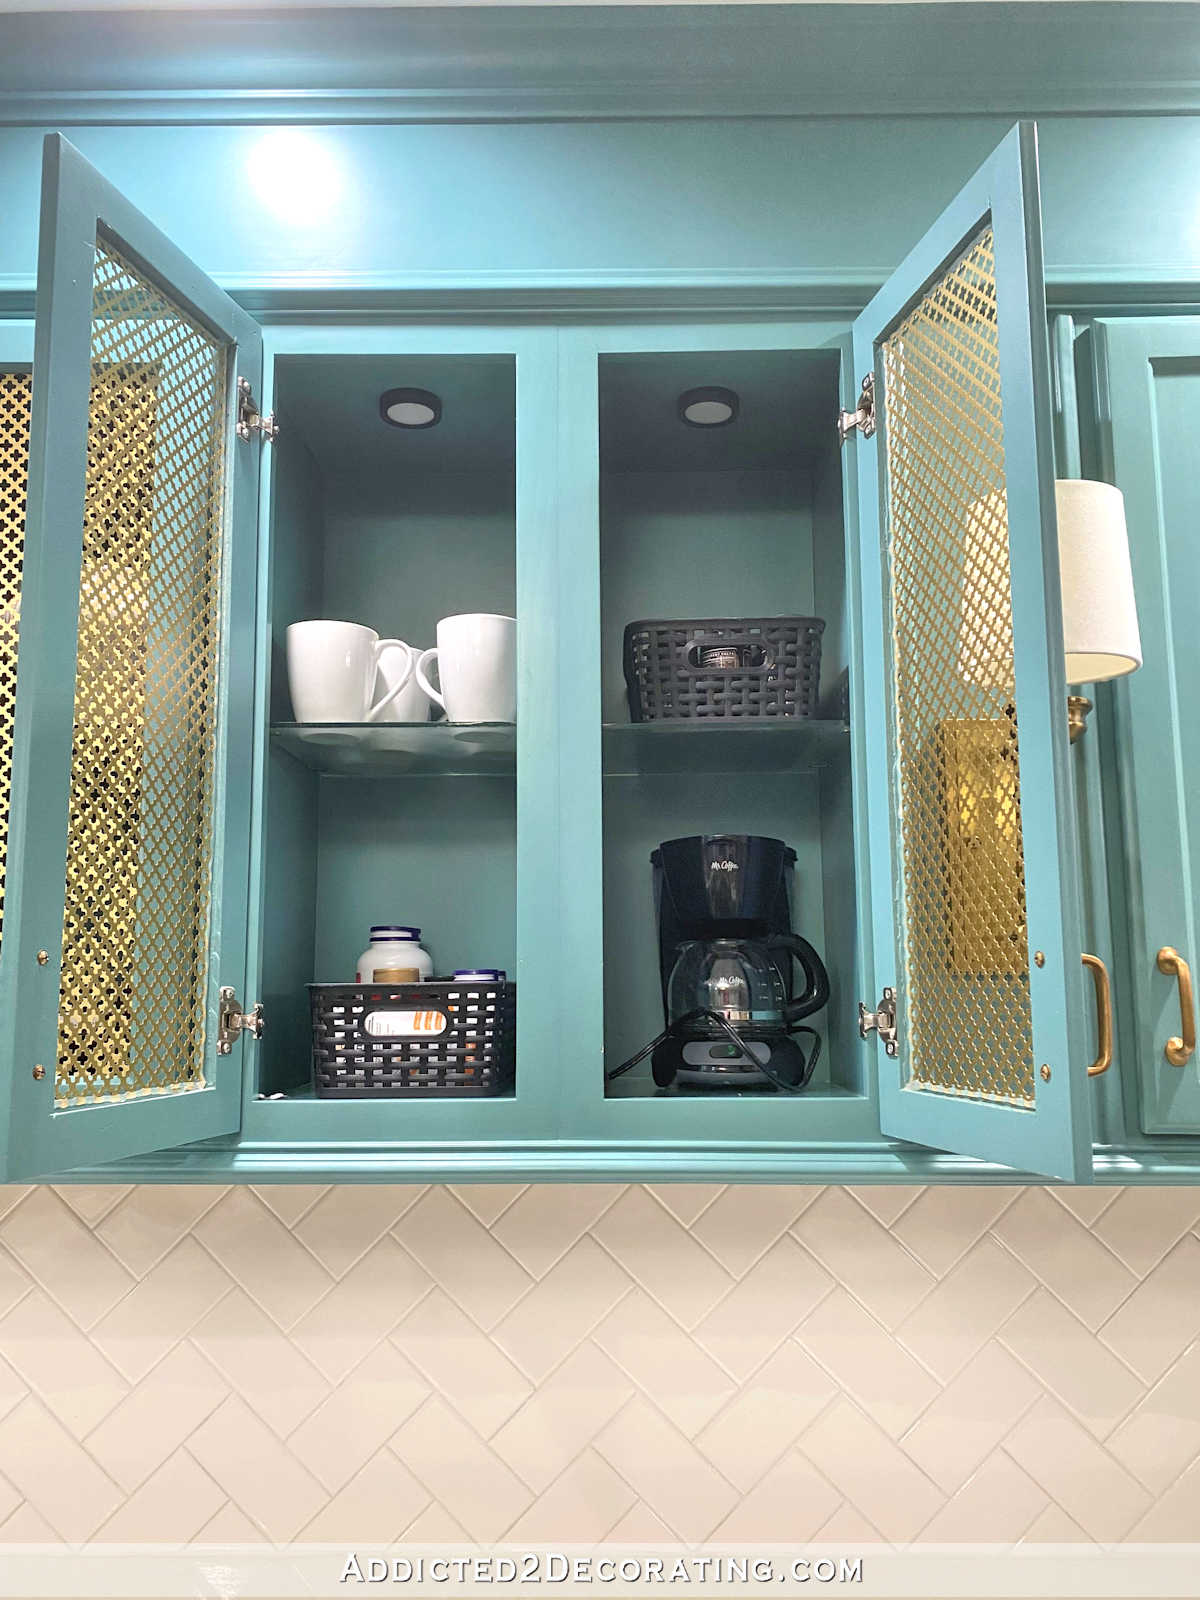
These two cabinets now look like this — coffee cups on the top left, a basket filled with some “overstock” vitamins and supplements on the top right, Matt’s daily vitamins and supplements in a basket on the bottom left, and my little electric coffee maker on the bottom right.
And finally, the last two upper cabinets on the far right used to look like this…

It was yet another jumbled mess of coffees, teas, sweeteners, and plastic utensils.
Now the cabinet on the left holds my coffee grinder and French press on the top shelf, and a basket with my coffees on the bottom.
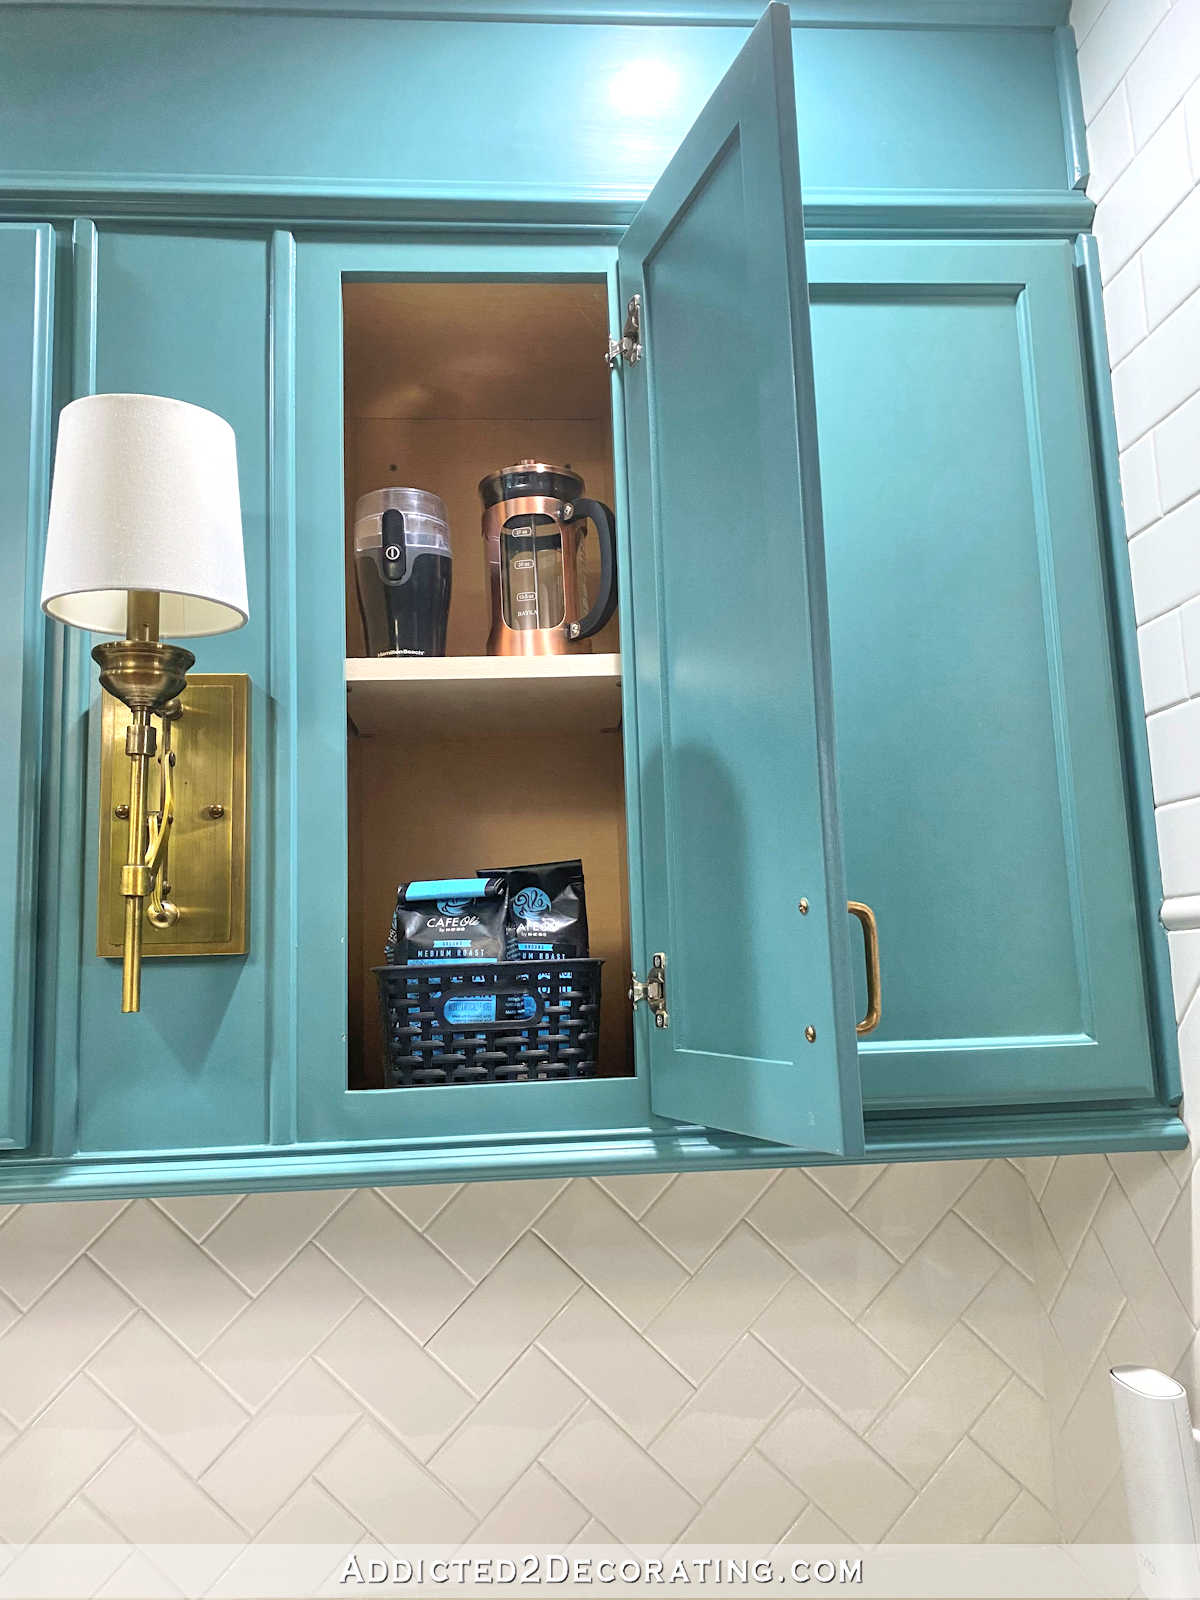
I should probably switch the items on this top shelf with the electric coffee maker in the cabinet to the left because 7 times out of 10 when I drink coffee, I use a French press instead of an electric coffee maker. So that French press needs to be on a lower shelf where I can reach it easier.
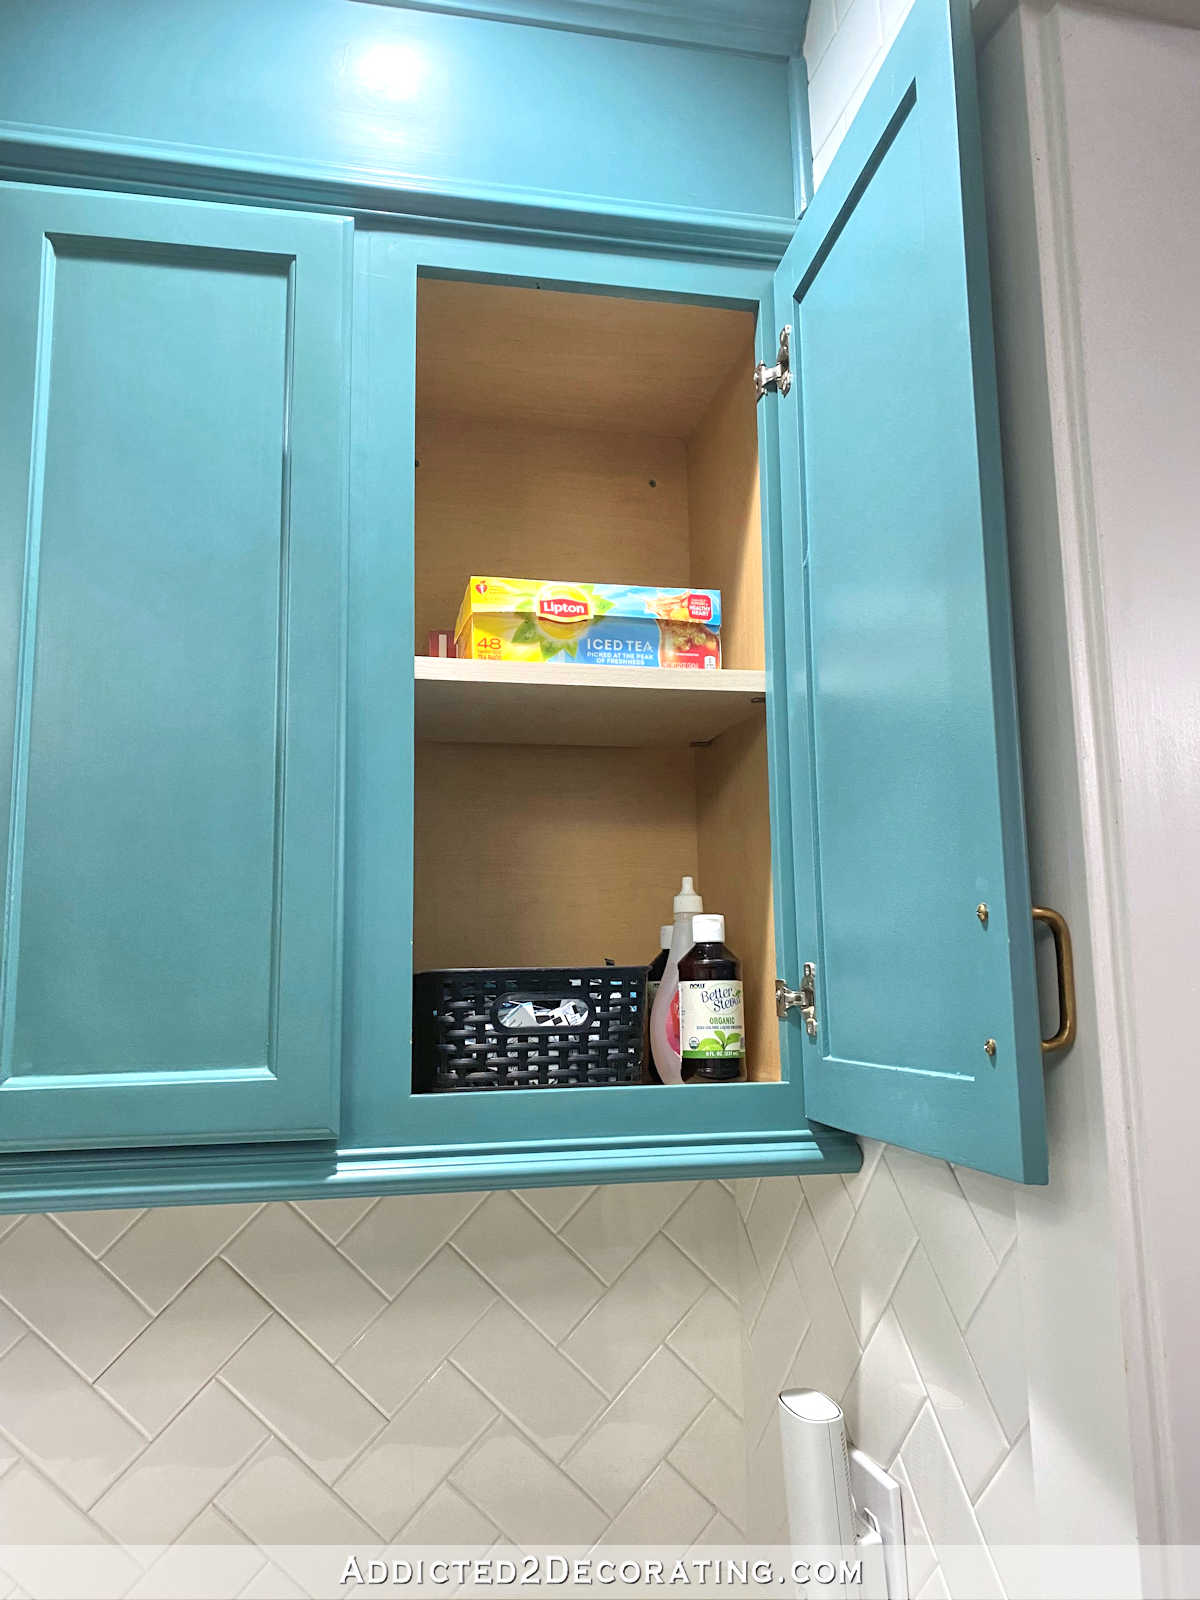
And then the cabinet on the far right now holds my stevia packets in the basket, stevia liquid and Sweet N Low on the bottom shelf (and yes, I use all three 😀 ), and then my tea on the top shelf.
So it took me two weeks longer than I had planned for my kitchen cabinet organization on this back wall of cabinets, but it finally got done! And now that this is done, and with the skillet storage that I showed you yesterday, that just leaves me with two cabinets (the two upper cabinets on either side of the stove) that could use some organization (and cleaning, and purging), and that will leave me with a 100% organized kitchen.
I know some of you are probably asking, “But what about the food that you took out of the cabinet. Where did that go?”
Well, don’t forget that we have an entire bank of cabinets on the other side of the peninsula…
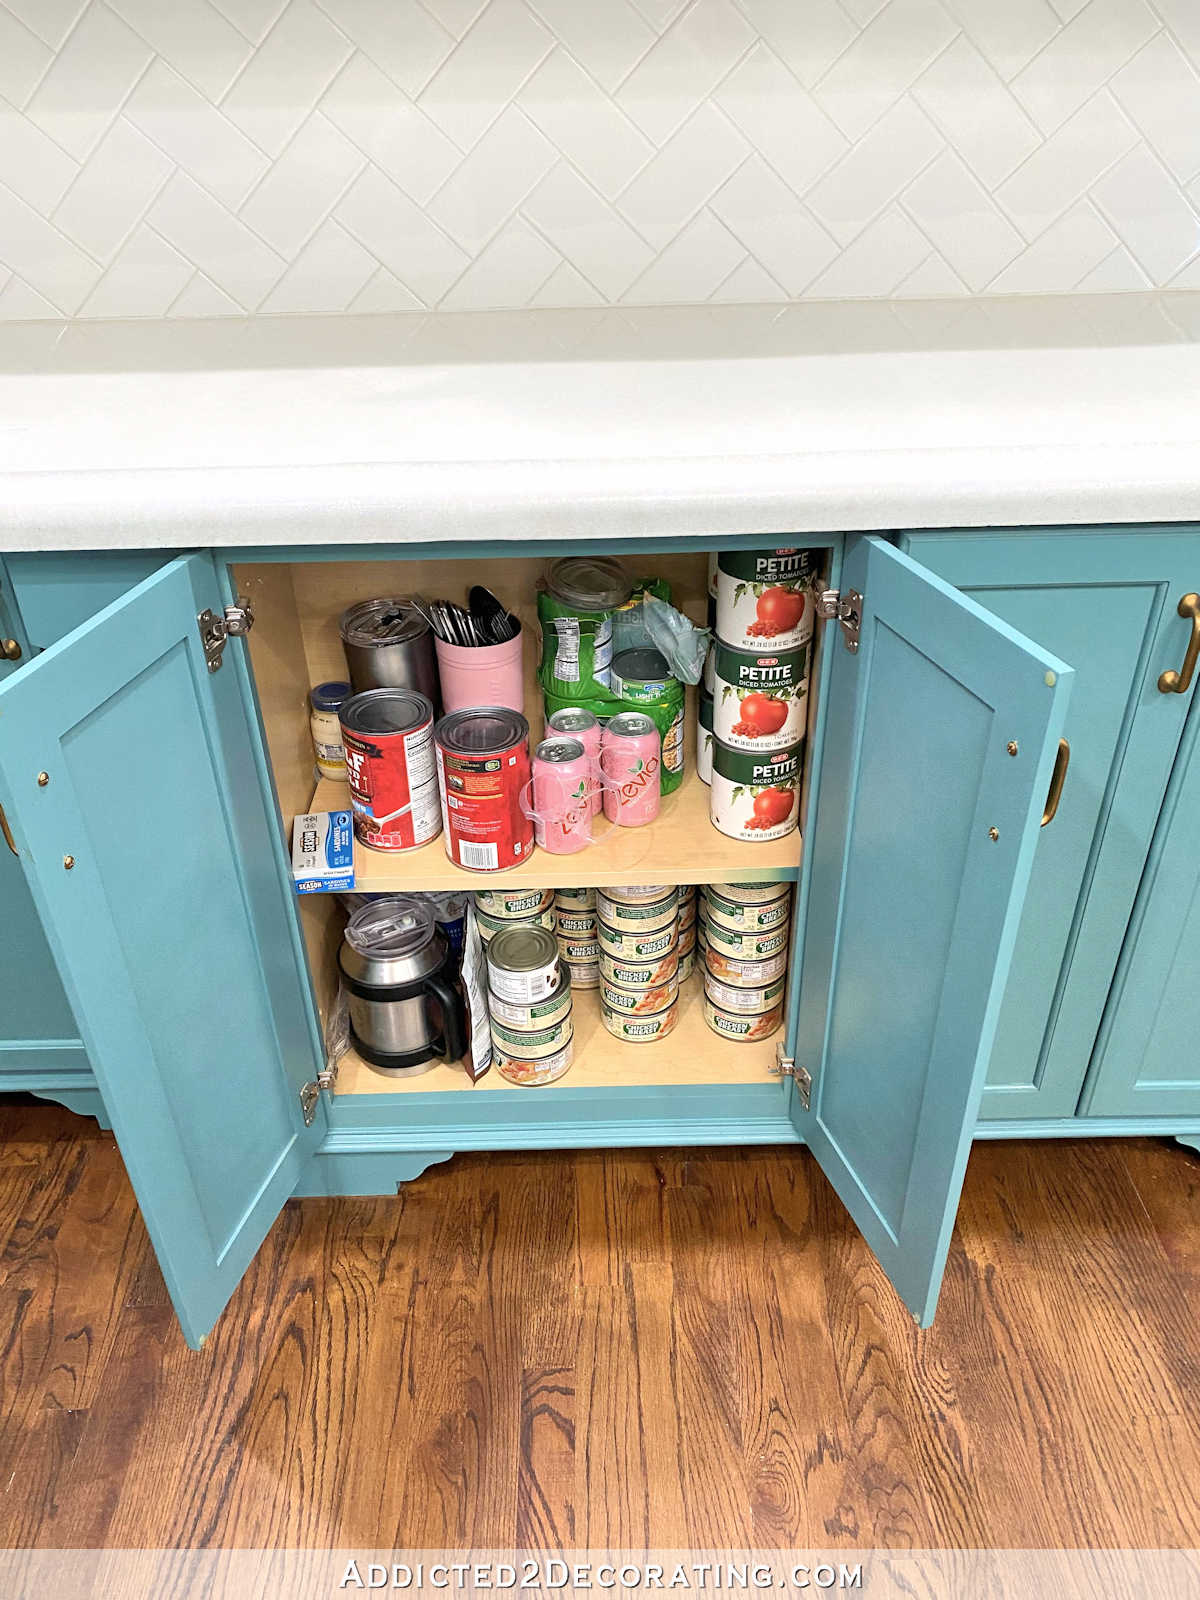
That’s where we store food items like items for baking (flours, sugar, etc.), canned good, broths, etc. Those cabinets on the back wall of the kitchen were never meant to store pantry items, but during that period of time when Matt and I turned our breakfast room into a bedroom while the actual bedroom was being remodeled, I got into the habit of putting canned foods into that one cabinet on the back wall of cabinets, as well as one large drawer in the walk-in pantry, so that I could access them easily. And then I just never broke the habit after the bedroom was ready for us to move into it. But now that I have actual organization systems in place in that back wall of cabinets, I’m going back the original plan of using the peninsula cabinets as our food pantry.

Addicted 2 Decorating is where I share my DIY and decorating journey as I remodel and decorate the 1948 fixer upper that my husband, Matt, and I bought in 2013. Matt has M.S. and is unable to do physical work, so I do the majority of the work on the house by myself. You can learn more about me here.
I hope you’ll join me on my DIY and decorating journey! If you want to follow my projects and progress, you can subscribe below and have each new post delivered to your email inbox. That way you’ll never miss a thing!
Source link