I’ve been working steadily on the bathroom over the last couple of days, but unfortunately, most of the progress so far is not exciting at all. It’s necessary, but not exciting.
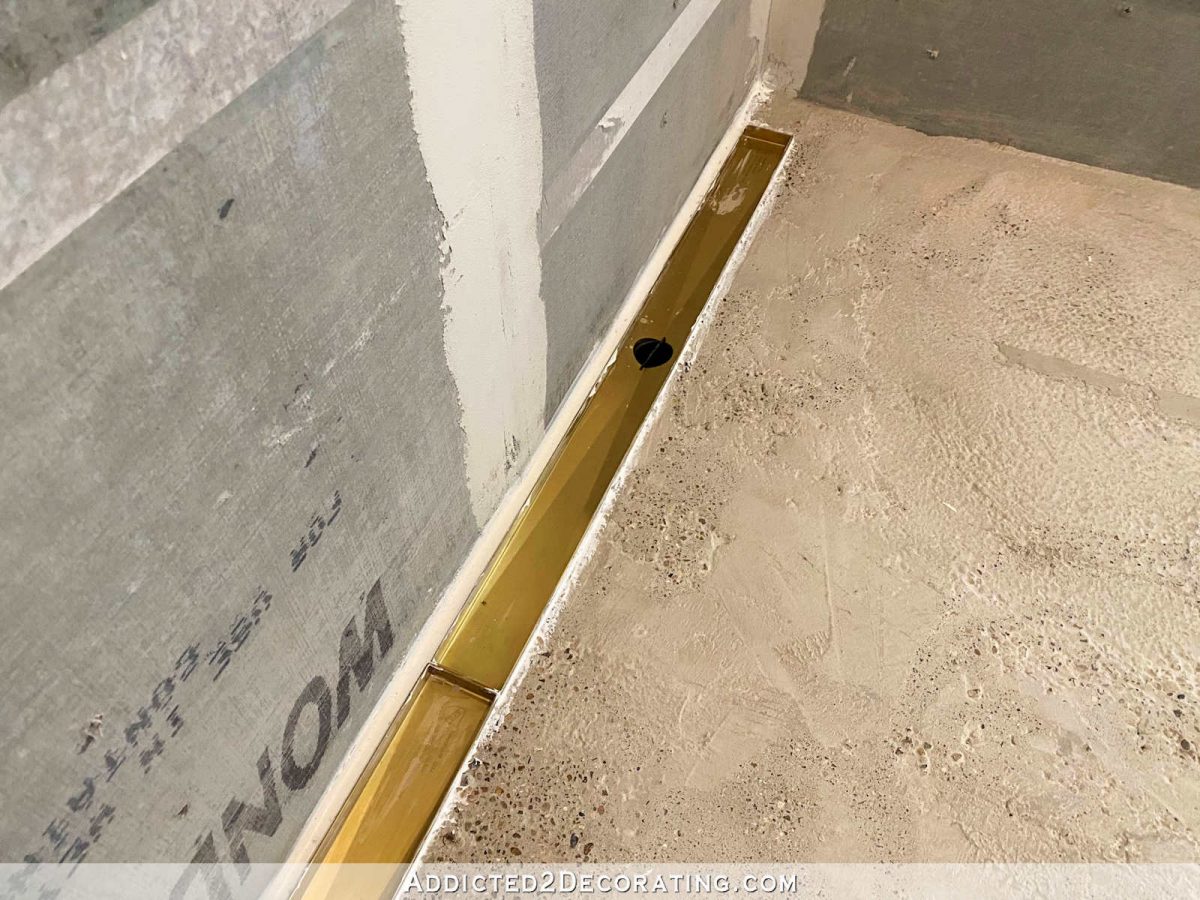
I spent quite a bit of time yesterday getting the shower ready for waterproofing, which I hope to do this evening. But that including things like fixing this gap between the shower floor and the main bathroom floor. The guys who worked on the bathroom had filled this 1/2-inch gap with concrete, but that didn’t really hold well, and was already starting to chip out. So I removed it, and filled the gap with Big Stretch caulk.
I also worked on this area between the drains and the wall. When I originally talked about this area with the guys, we decided that the whole thing should be filled with grout because by the time I leave enough room for a grout line between any tile and the edge of the drain, and then a space between the tile and the wall, I’d be left with a tiny sliver of tile.
Well, I forgot about that, and as I was prepping the floor (I got out my grinder to remove rogue pieces of aggregate that were sticking up too high for the tile to lie flat), I set about making this area ready for tile as well. After about 30 minutes of chipping away at concrete in this little sliver of space, I finally remembered the original plan, and filled in this area with a smooth strip of Big Stretch.
That won’t be the only thing I rely on for waterproofing. I’ll actually be waterproofing the entire shower with Semco Liquid Membrane, which is very similar to products like RedGuard that you find at Home Depot and Lowes, but Semco is a product that was only available commercially for decades until they recently started selling direct to consumers. It has decades of great reviews, so that’s why I decided to go with it instead. But now I have to wait for this caulk to dry before I can proceed with the waterproofing. I’m used to using a caulk that dries in 30 minutes, so waiting hours and hours (up to 24 hours) to dry has me antsy. 😀 But obviously, there’s nothing I can do to rush the process.
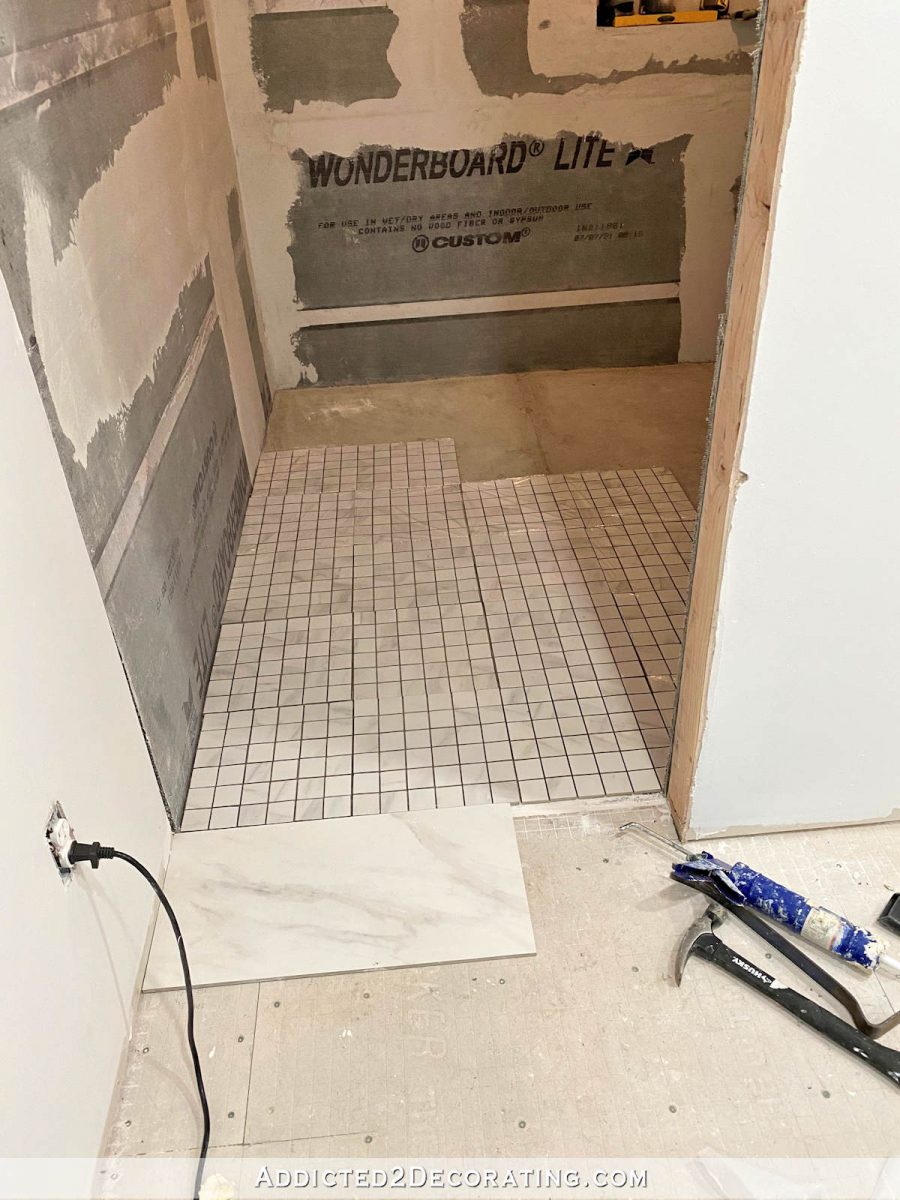
I was anxious to see how the shower floor would look with the tile, so I placed 18 of the mosaic tiles sheets in the shower. I think once it’s grouted, it’s going to look very nice!
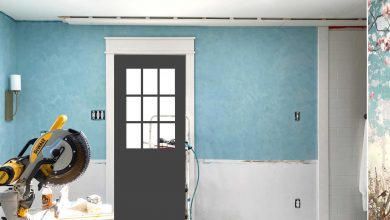
So after all of that, and realizing that I’d have to wait hour and hours before I could proceed with the waterproofing, I decided to paint the walls. I know this is out of order, but keep in mind that this is just a base coat for the Venetian plaster that will go on this part of the walls. So if this base coat gets a little dusty during all of the tiling and grouting, it’ll be fine. A little dust might even add a little character to the Venetian plaster. 😀

But I was so anxious to get a sneak peek at what the color was going to look like in the room. This color is Behr Aqua Rapids. It’s a beautiful color all on its own.
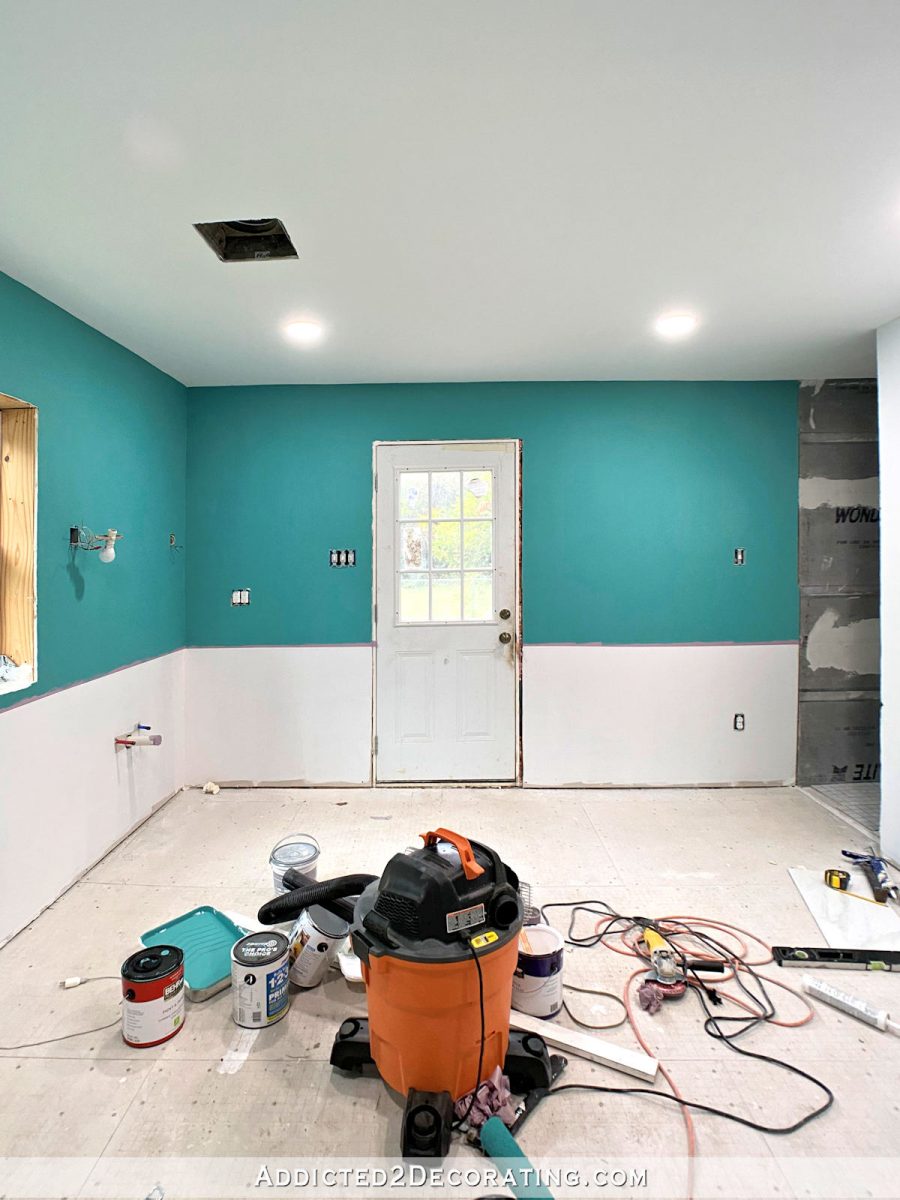
The Venetian plaster color is a little deeper, and a little bluer than this base coat, though.

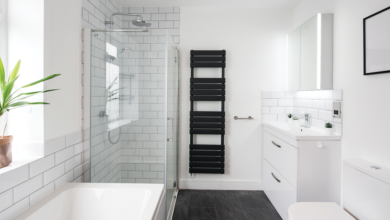
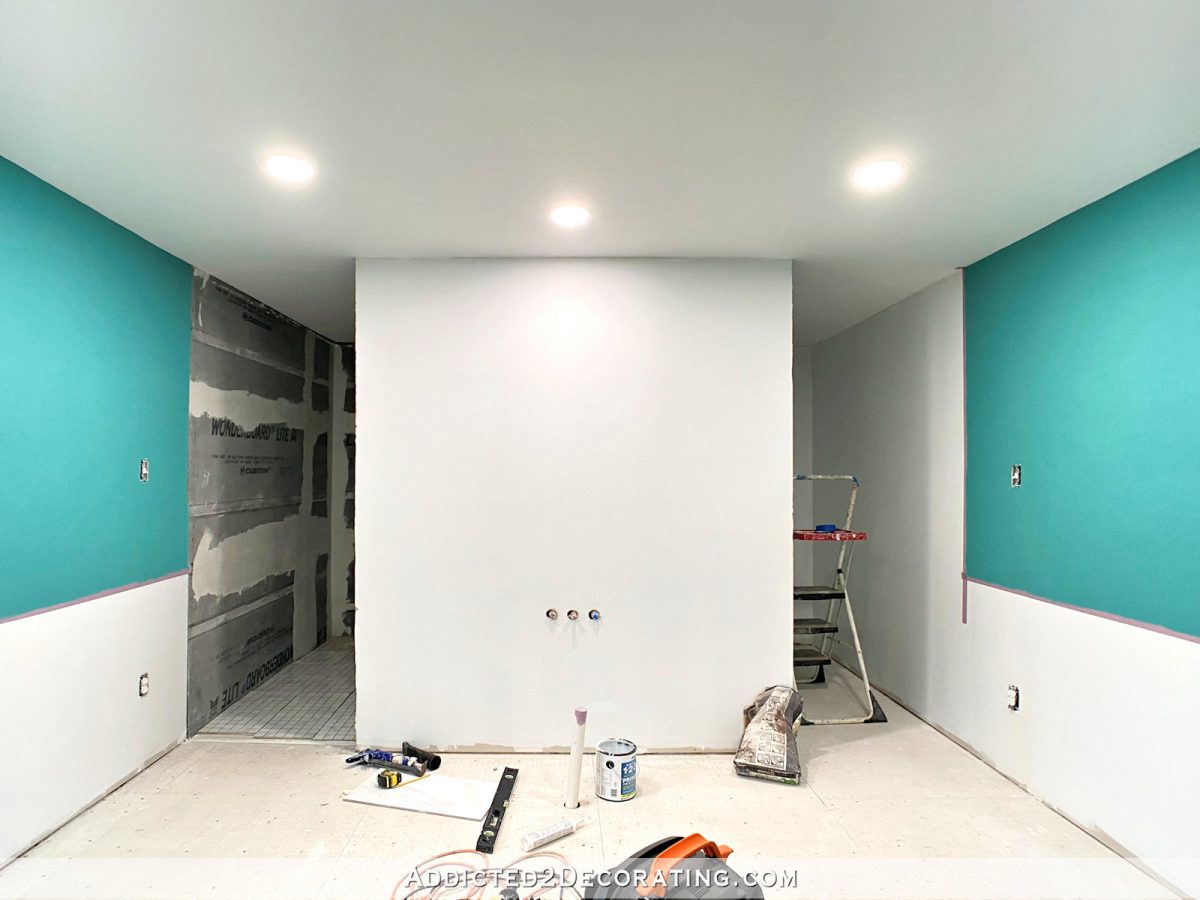
And since I have a need for symmetry, I’ll be doing the walls in the shower and the walls in the toilet area the same. So when those areas are finished, they’ll both have bright white tiled walls.
I’m so anxious to get that wallpaper mural up!! I already have the wallpaper paste and tools, so I’m ready to go. But I’m trying exert some self-control and not rush the process. I think the tile really needs to be installed before I put up the wallpaper. But I do want it to go up before I do the Venetian plaster walls, because I need to make sure the color of the plaster is right. I’d hate to get those walls finished only to be surprised when the wallpaper goes up and realize it’s not quite the right color. That would be so disappointing!

Addicted 2 Decorating is where I share my DIY and decorating journey as I remodel and decorate the 1948 fixer upper that my husband, Matt, and I bought in 2013. Matt has M.S. and is unable to do physical work, so I do the majority of the work on the house by myself. You can learn more about me here.
I hope you’ll join me on my DIY and decorating journey! If you want to follow my projects and progress, you can subscribe below and have each new post delivered to your email inbox. That way you’ll never miss a thing!
Source link