My progress on the master bathroom is moving right along, and while I did get quite a bit done this weekend, I didn’t get nearly as much done as I could have because I ran into a problem that I’ve never had in all of my years of DIYing.
On Friday, I went to Home Depot to purchase more 1/2-inch plywood to build the drawer boxes for the storage cabinet. (You can click here to read more about how I built the storage cabinet/chest of drawers.) There were only a few sheets left in stock, so I grabbed one that looked nice, had them cut it in half for me, and took it home to cut the pieces I need on my table saw.
But the more I cut into the plywood, the more I noticed that the layers were actually coming apart. I was able to use about half of that sheet, but the other half wasn’t salvageable at all, so I took it back. They gave me a whole new sheet of plywood at a very steep discount (which basically amounted to 1/2 sheet to replace what I returned, and 1/2 sheet at 50% off). I got it home and started cutting into it, and the very same thing happened!!
I wasn’t about to waste time returning this sheet, because chances are that the next sheet I got would do the same thing. So instead, I spent time literally gluing plywood back together, and then had to let those sit overnight last night so that I could use them today.
This is what the plywood was doing…
I’ve been DIYing for 30 years now, and I’ve never had this happen unless I left plywood out in the rain or something like that. But I’ve never had plywood straight from the store do this.

And some parts were so bad that as I cut off the pieces I needed, the remaining pieces would come apart completely. As in, there wasn’t anything at all holding the layers together.
So that was frustrating having to spend time returning plywood, literally gluing plywood together, and waiting for the glue to dry.
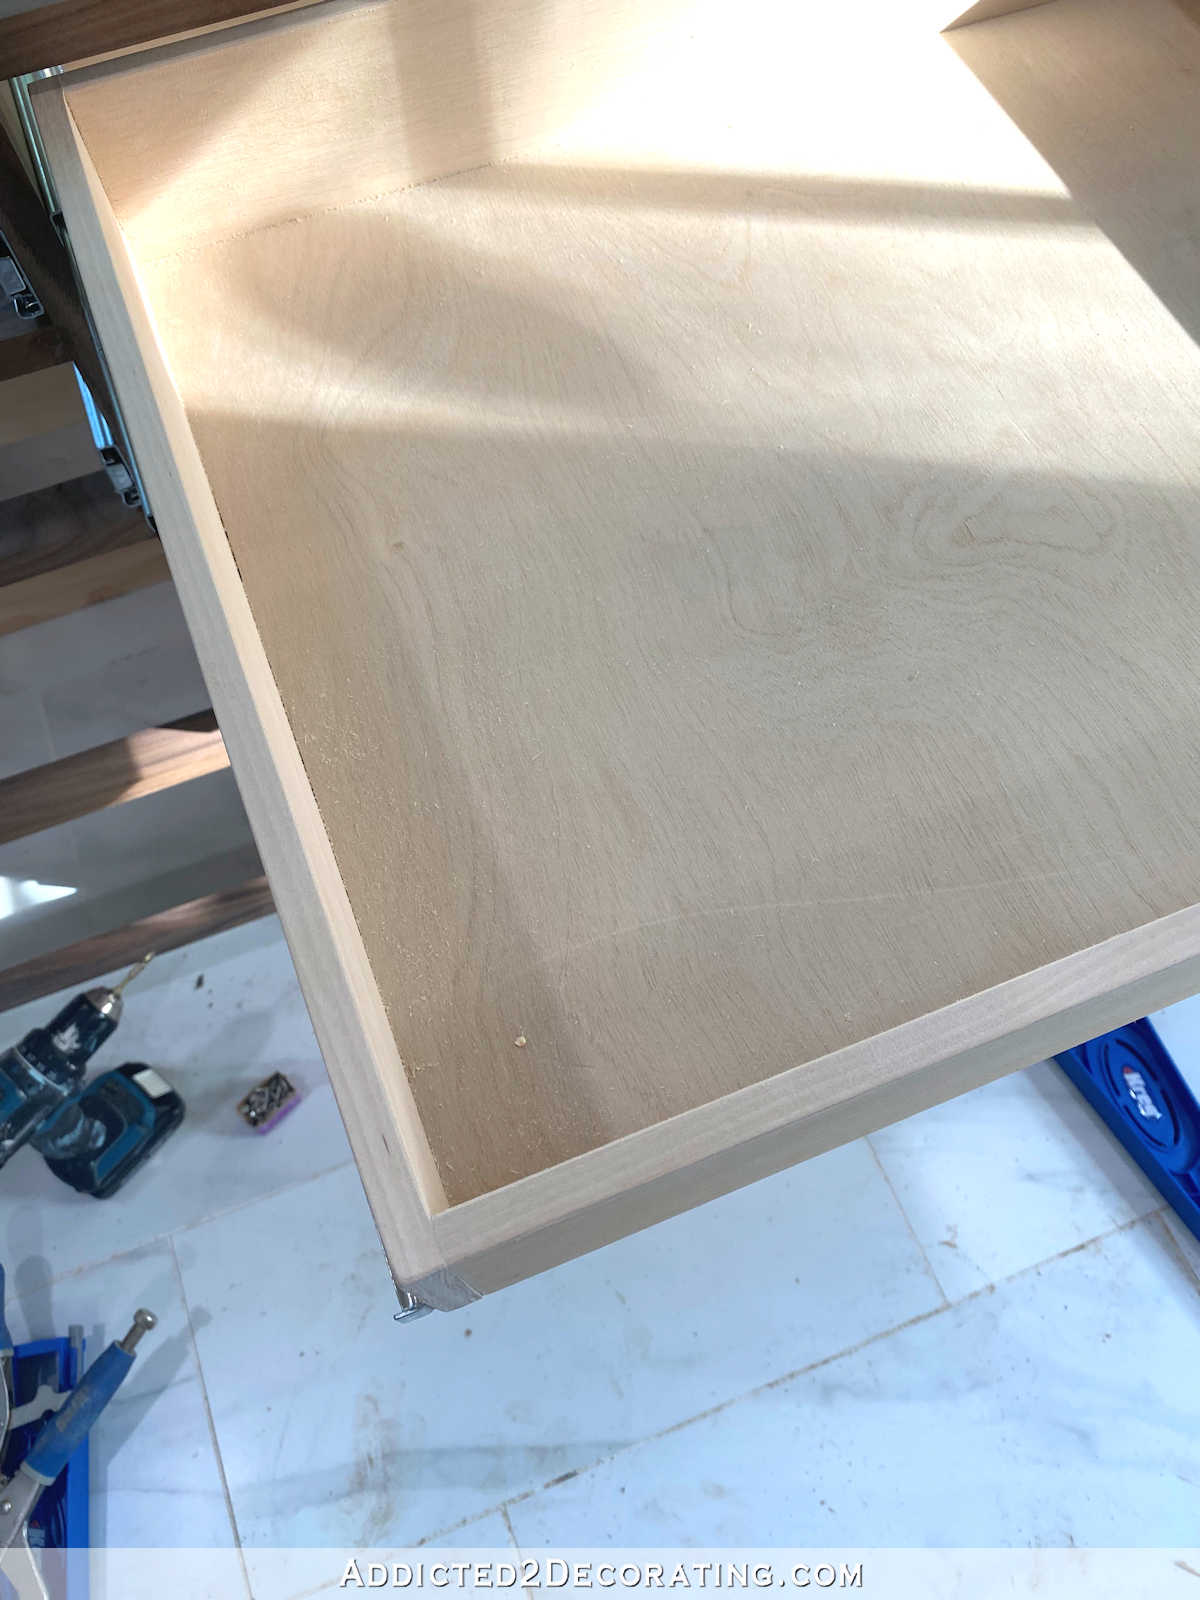
DIY Drawer Box Upgrade — Wood Veneer Edge Banding Applied To Plywood Edges
I was able to make a little bit of progress on drawer boxes, and I also took the suggestion that many of you gave me and I bought some wood veneer edge banding to finish off the top edges of the plywood drawer boxes.

I’m so glad I took the time to do this! It’s amazing what a difference that edge banding makes. And it’s so simple to use. You simply use an iron on the hottest setting (at least that’s what I do, so be sure to check the directions to make sure that’s right 😀 ) to adhere the pre-glued veneer to the edge. And then once the glue had cooled, use an X-Acto knife (preferably with a new blade) to cut off the excess. Finish by sanding the edges by hand (as in, no electric sander). I started with 120-grit sandpaper to remove the rough cut edges quickly, and then finished with 220-grit sandpaper.
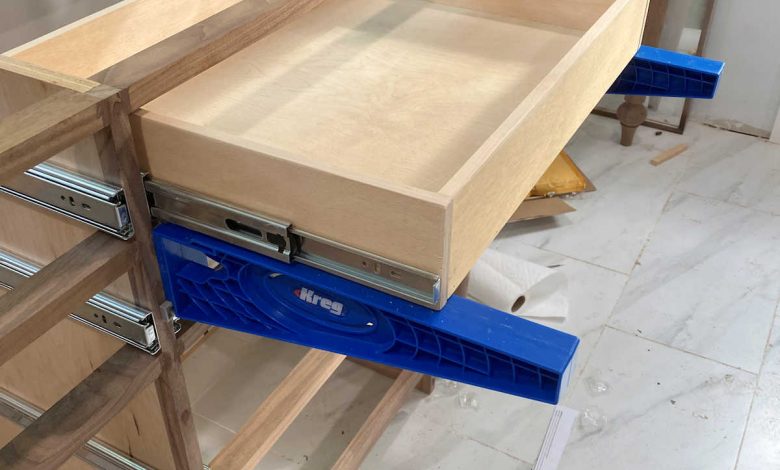
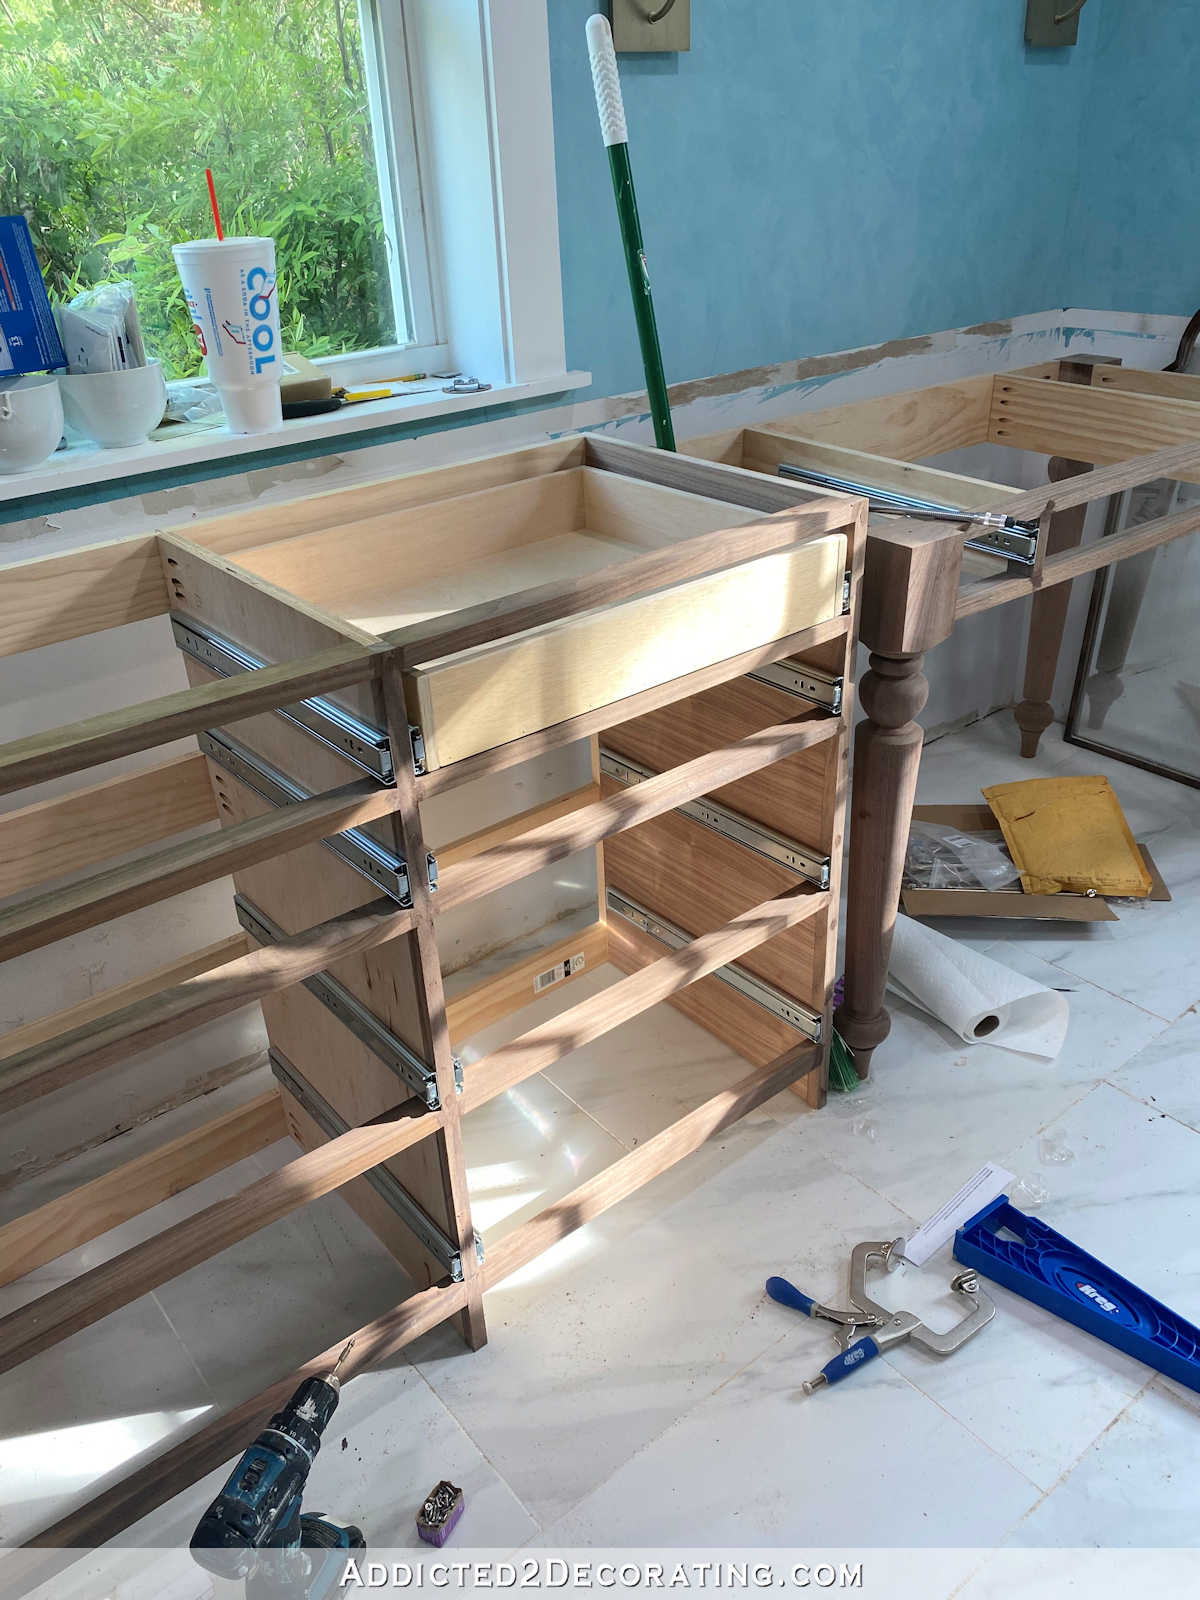
How To Install Drawer Slides And Drawer Boxes
To install the drawer slides and drawer boxes, I used my Kreg Drawer Slide Jig. These make installing drawer slides and drawer boxes so incredibly easy!!
To install the drawer slides, you simply clamp the jig to the rail so that the jig is inside the cabinet. Then set the drawer slide on top, and screw it into place.
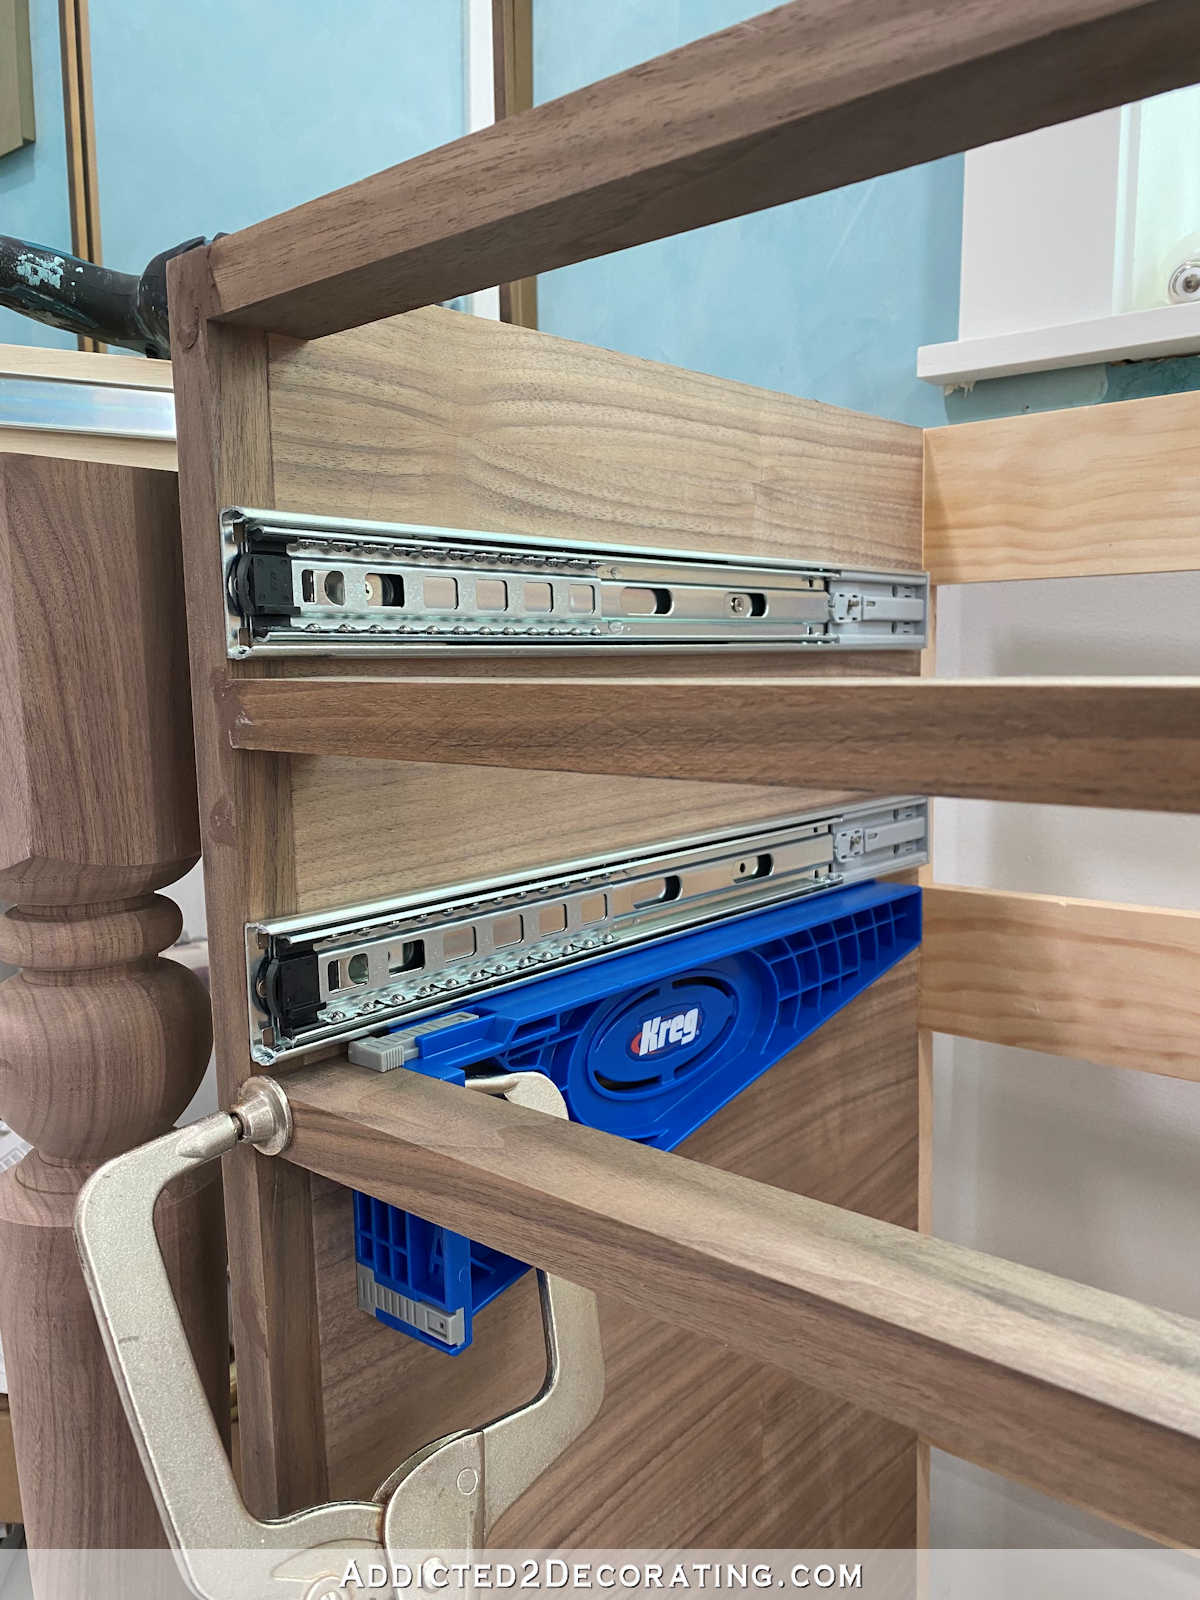
Once the drawer slides are attached, then flip the jigs so that they’re clamped to the rails on the outside of the cabinet…
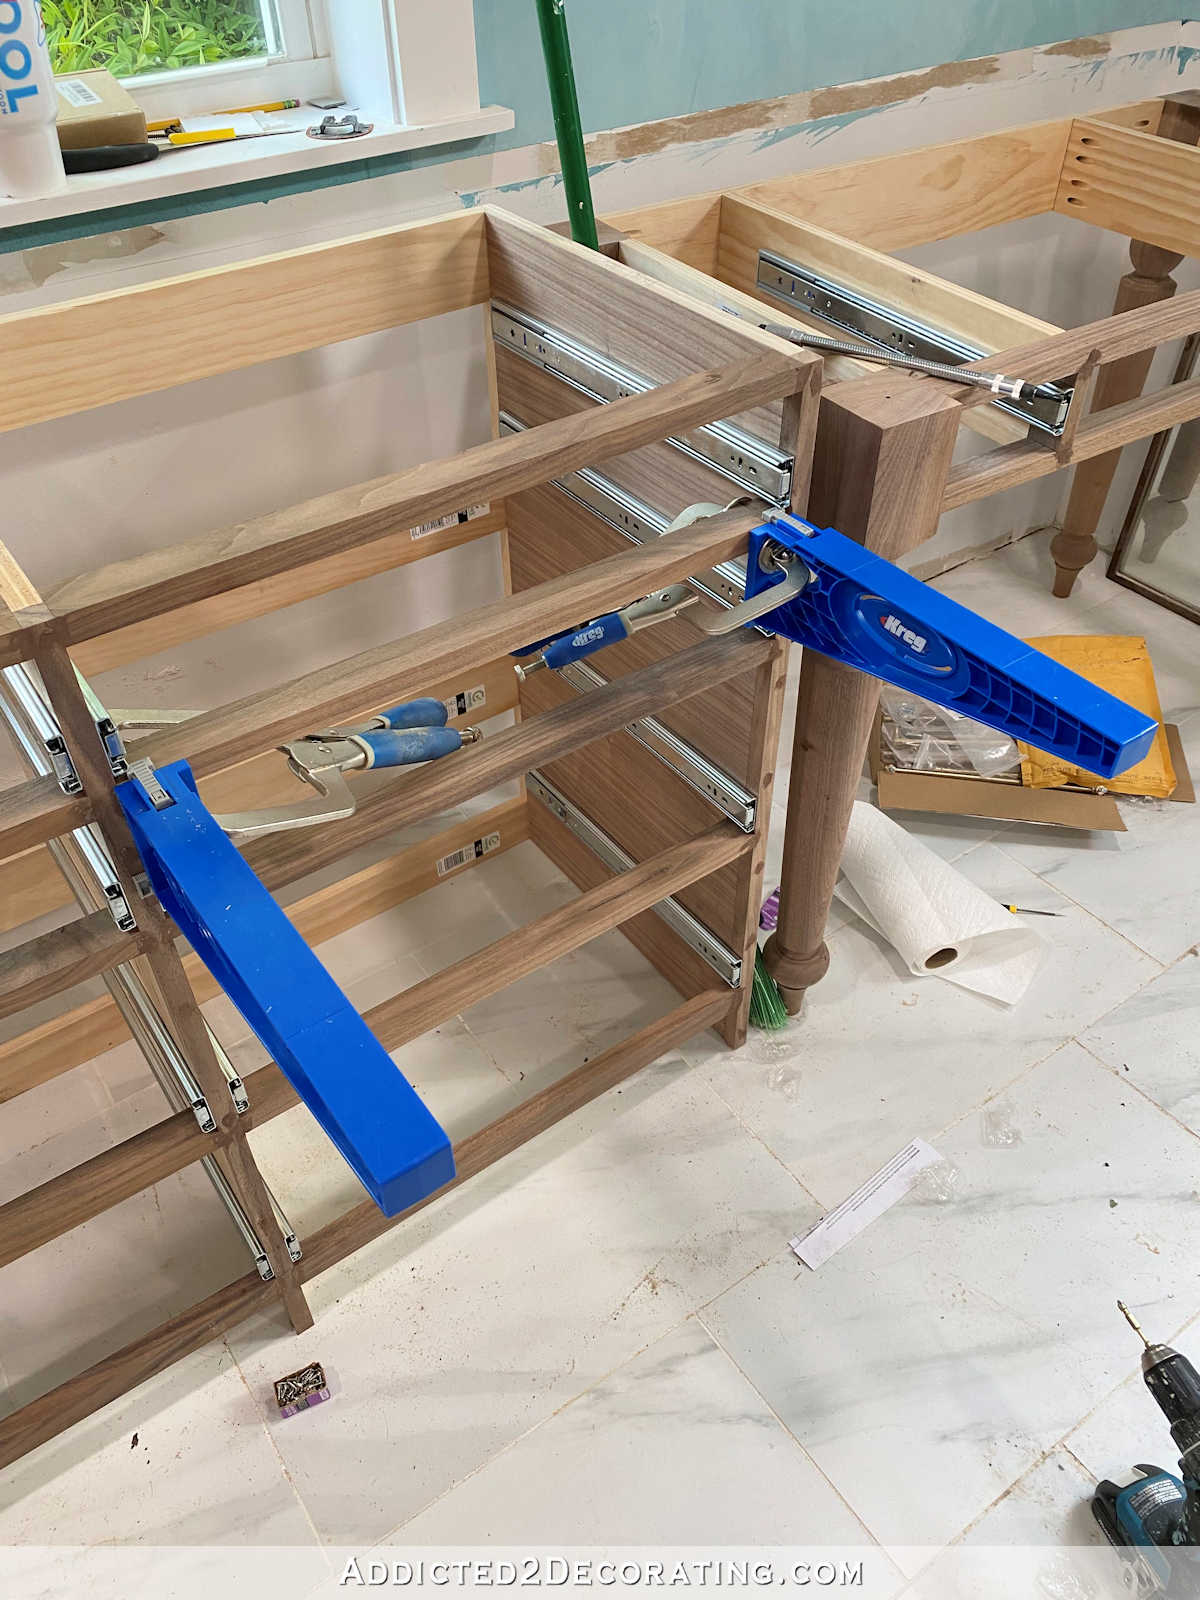
You can see in the closeup below that each jig has two plastic tabs. One keeps it aligned with the rail, and one keeps it aligned with the side stile.

With those clamped into place, you can then place the drawer box right on top.
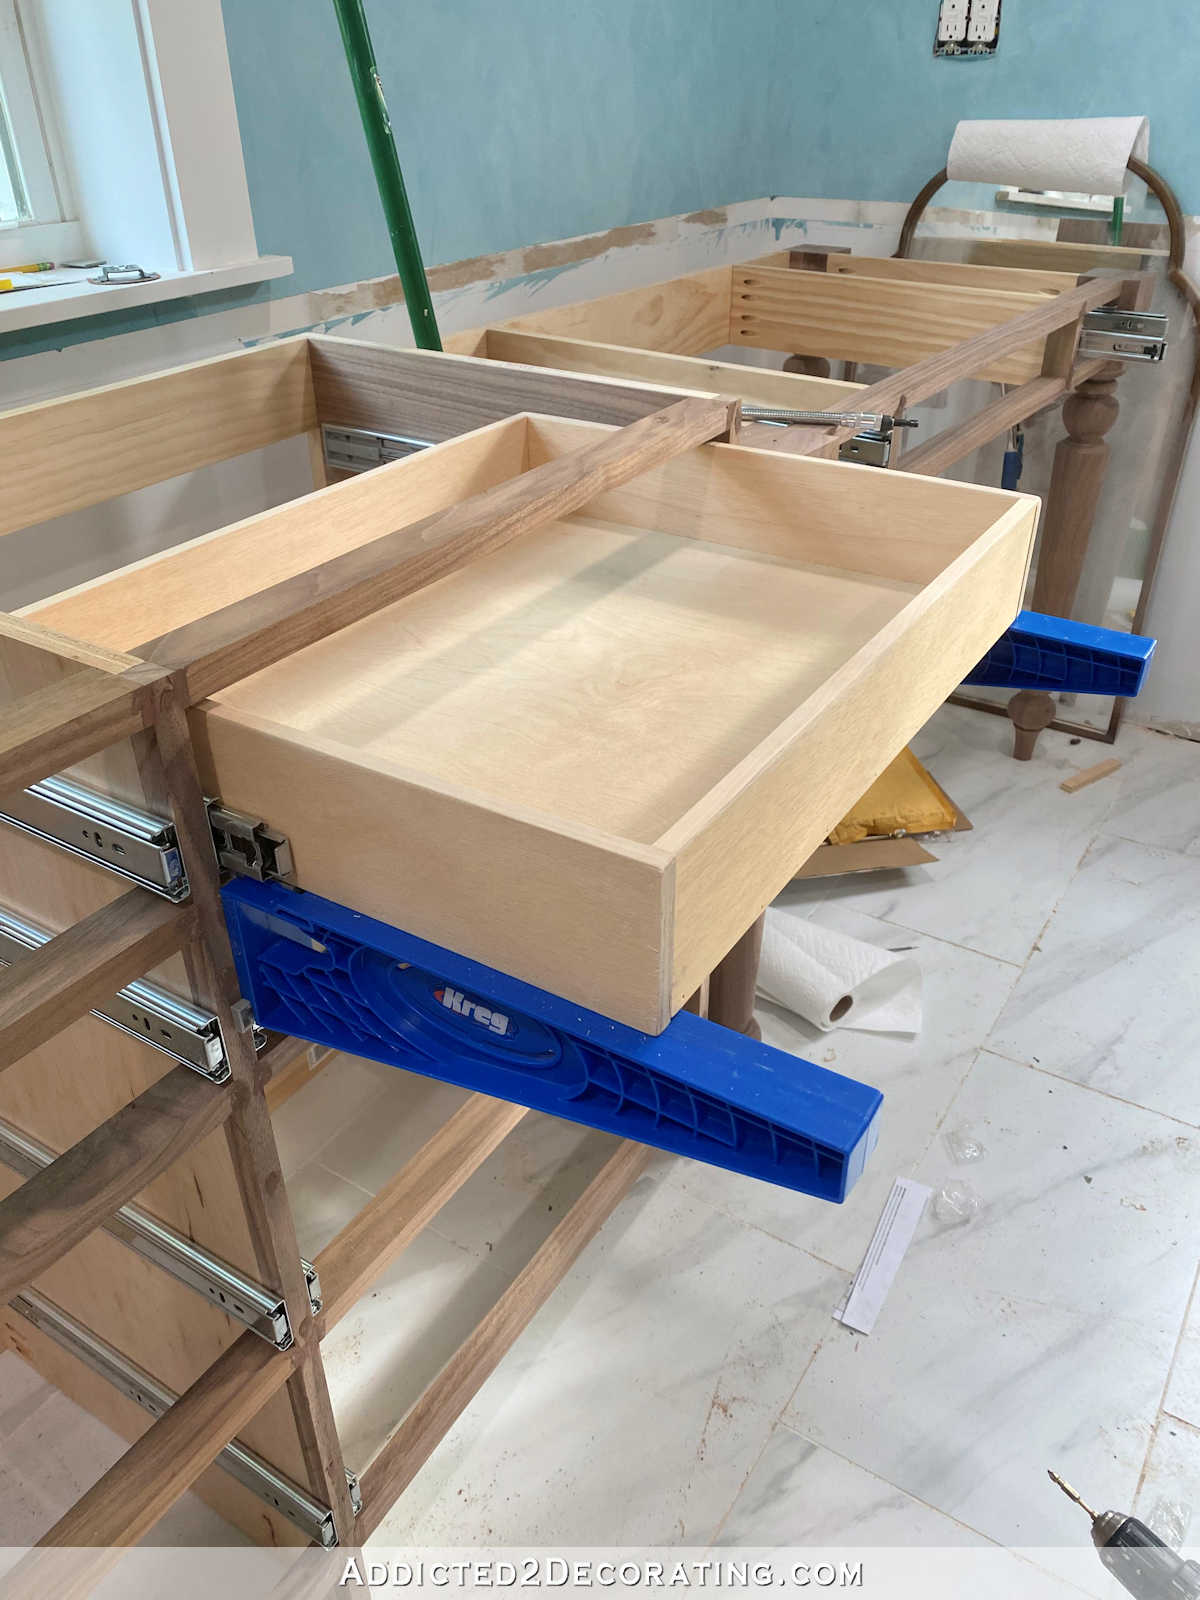
And then extend the drawer slide to the front edge of the drawer box, and screw it into place.
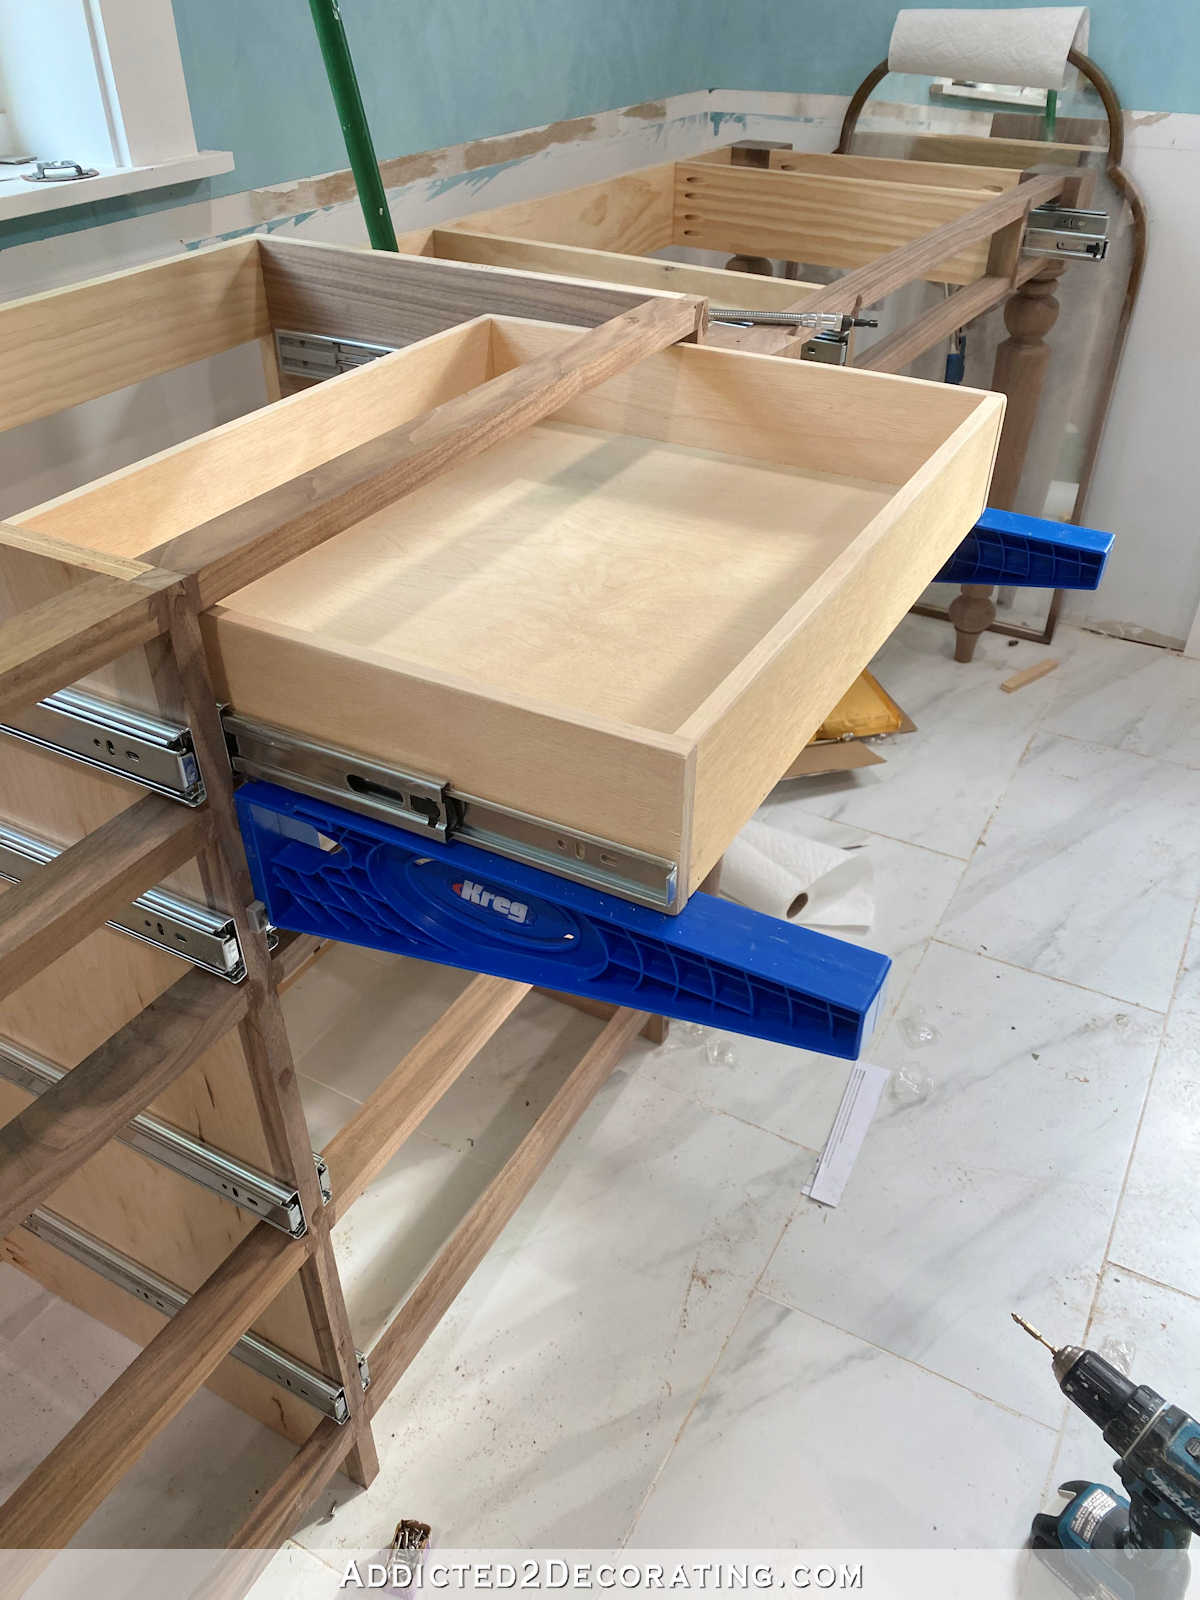
With the drawer slides screwed to the drawer box on both sides, you can remove the jigs, and you have a fully functional drawer.
And just take a look at this pretty drawer box with the pretty veneered edge.
I’m going to have to go back and edge band the two drawers that I already finished for the first vanity.

Now that I’ve seen what a huge difference the edge banding makes, I’ll never be satisfied with seeing the edges of the plywood on those two drawers.
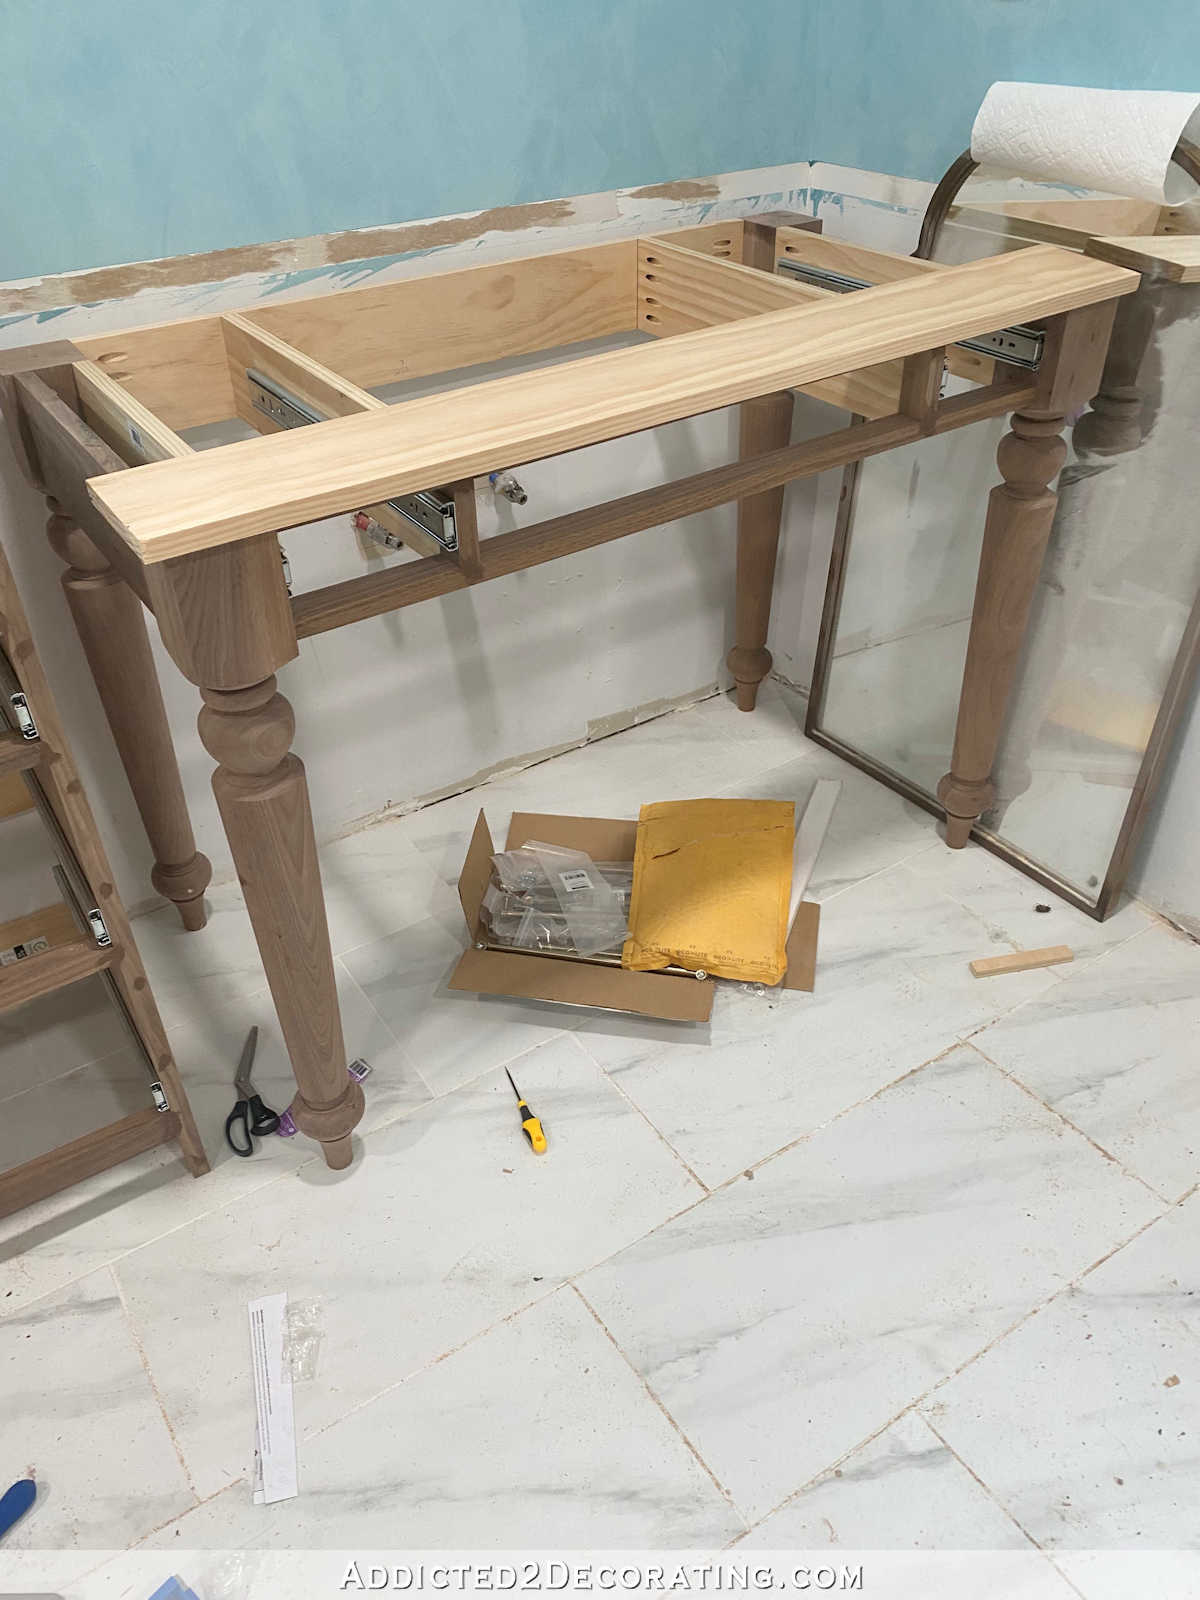
A Small (But Necessary) Vanity Design Change
My biggest accomplishment this weekend was getting the second vanity built. And I made a slight change to the second vanity, so now I have to go back and make an adjustment to the first vanity. But I think you’ll understand why this change was necessary.
When I built the first vanity (you can see that process here), I lined up the front walnut 1″ x 2″ pieces with the inside edge of the top block on the legs…
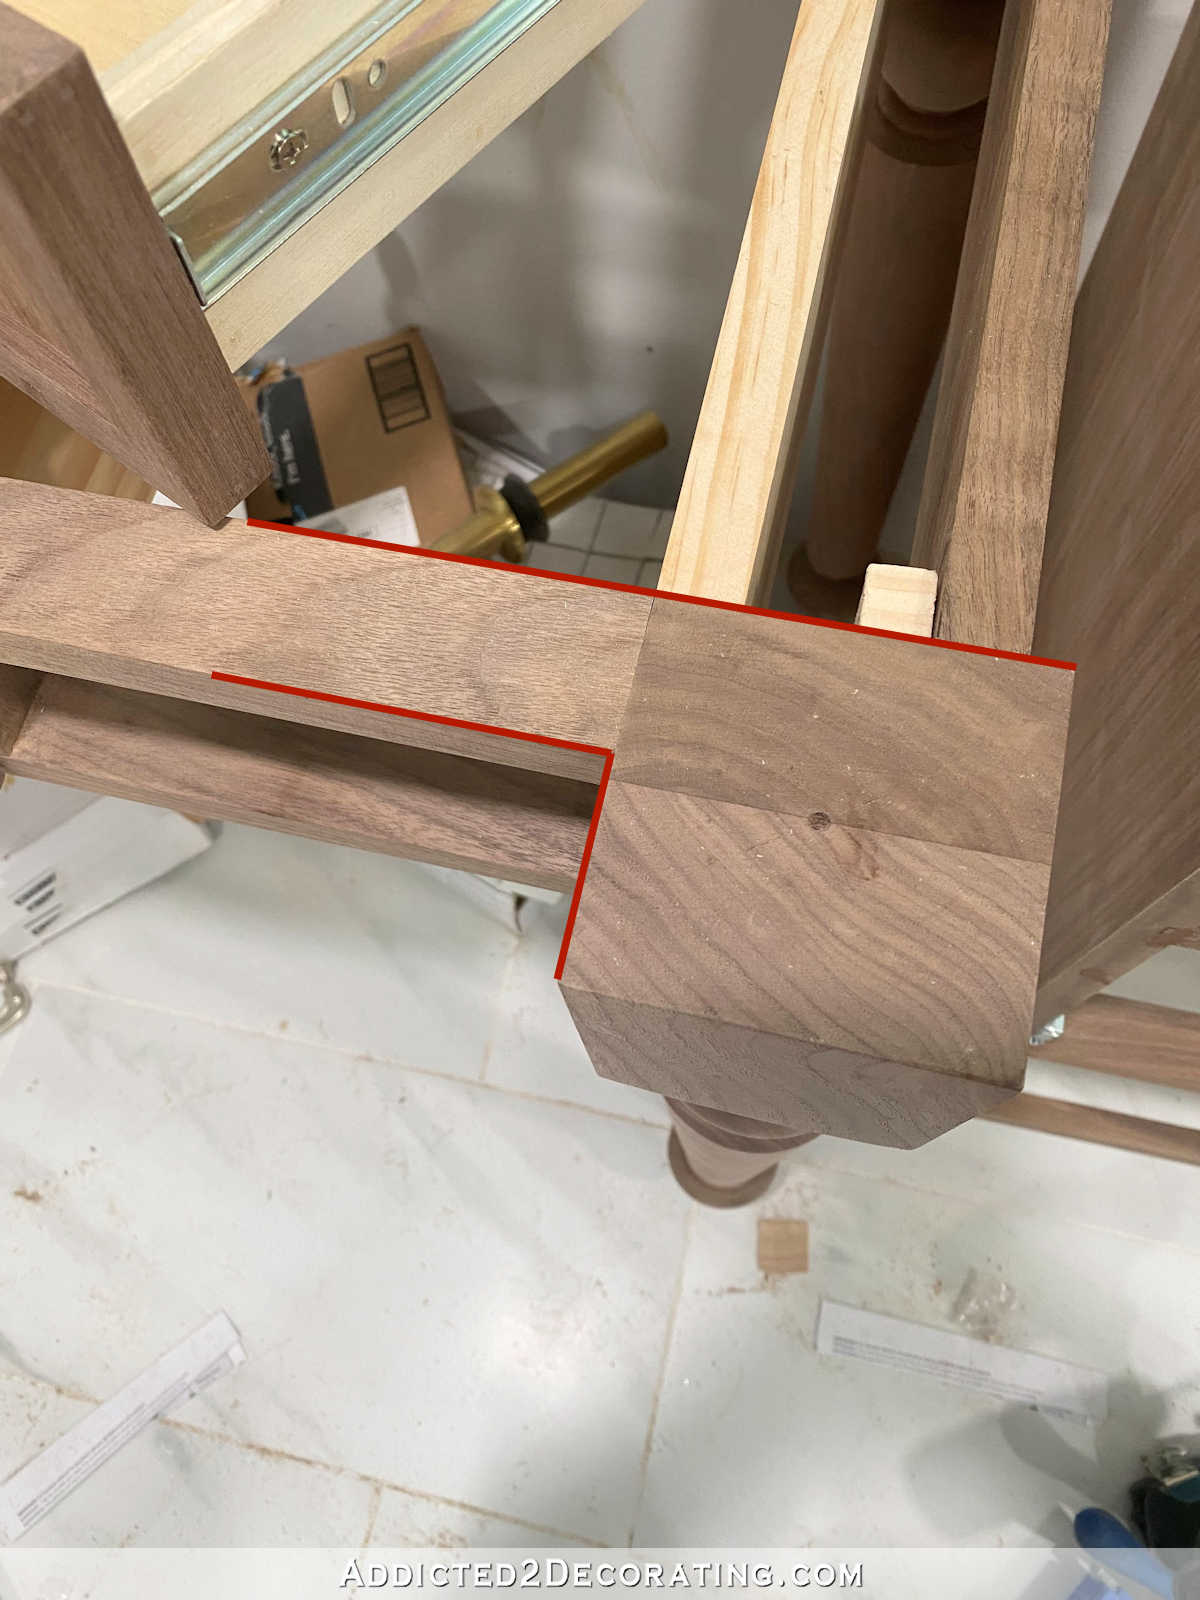
So when the drawers were installed, the drawer fronts were still sitting an inch back from the front edge of the top block on the legs, which you can see here…
That looked fine as long as the vanity didn’t have a top on it. But I got to thinking that when the quartz countertops are installed, they’ll extend at least 3/4-inch past the top blocks on the legs. That puts those drawers back way too far, in my opinion.
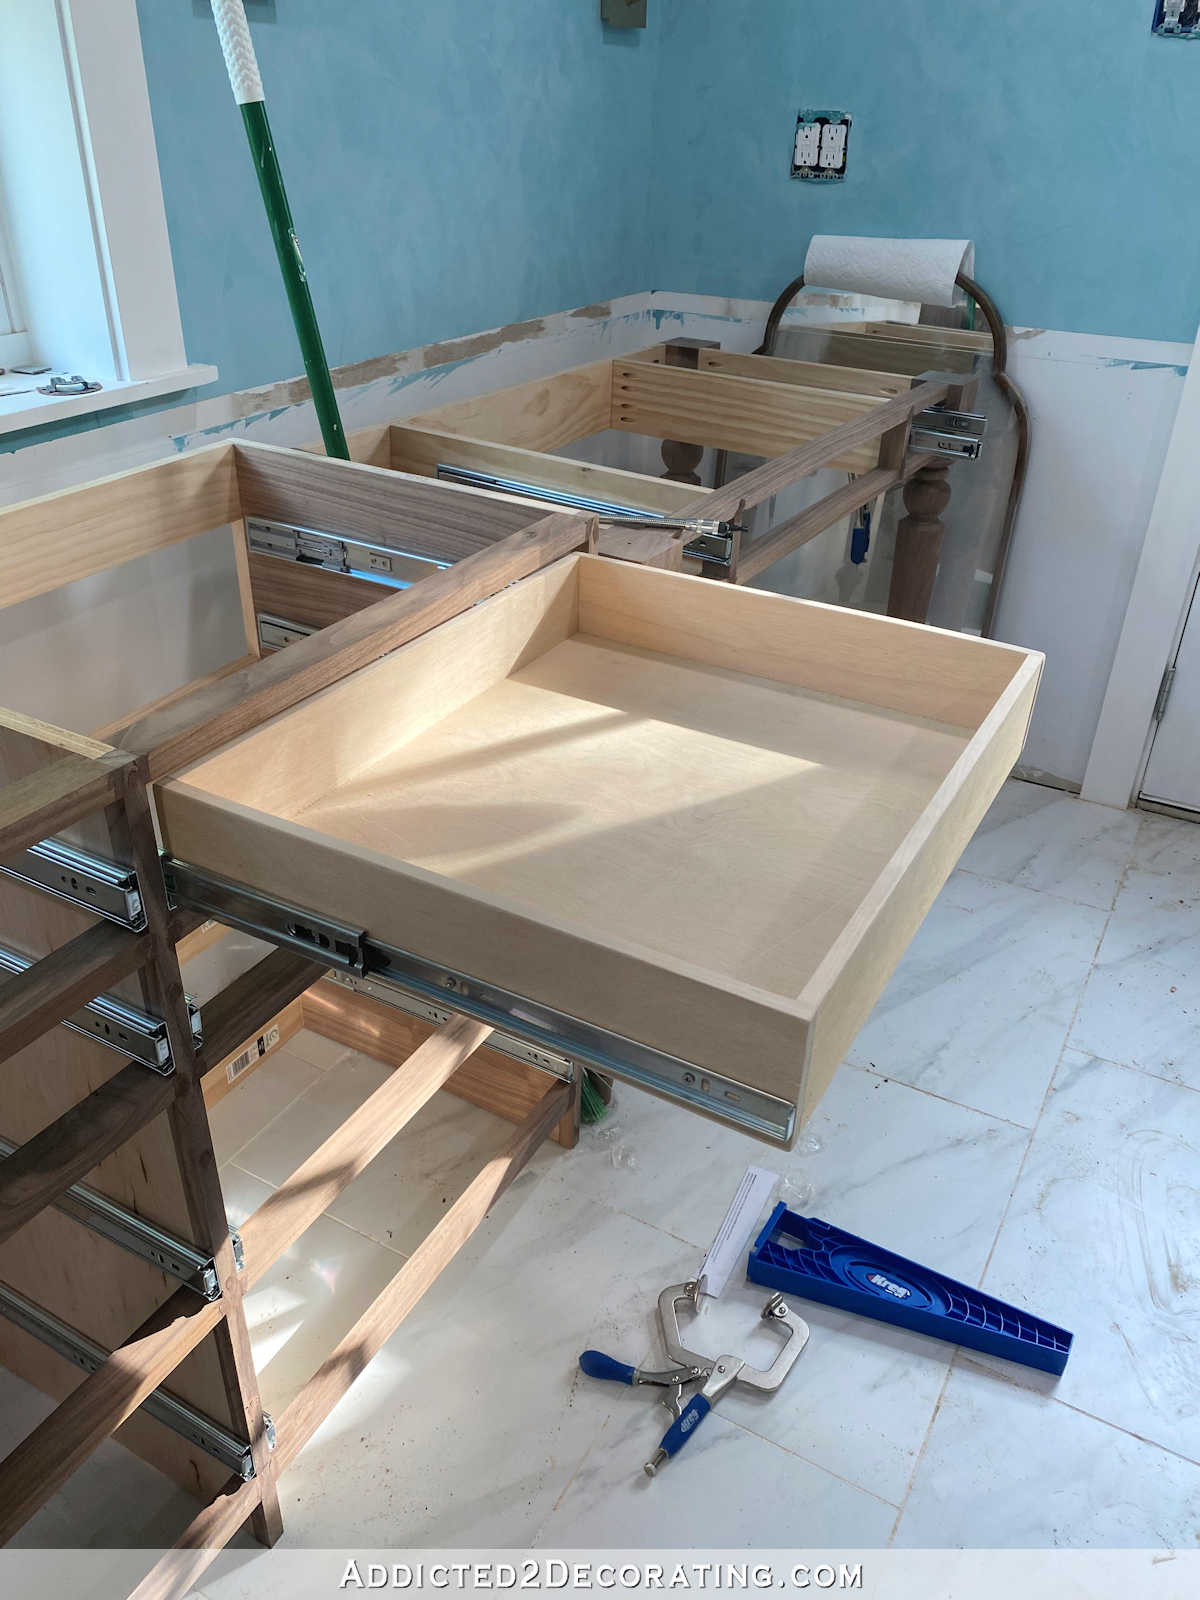
So when I made the second one, I brought those walnut 1″ x 2″ pieces forward on the leg block enough so that when the drawer fronts are attached to the drawer boxes, the front of the drawers will be flush with the front of the leg blocks.
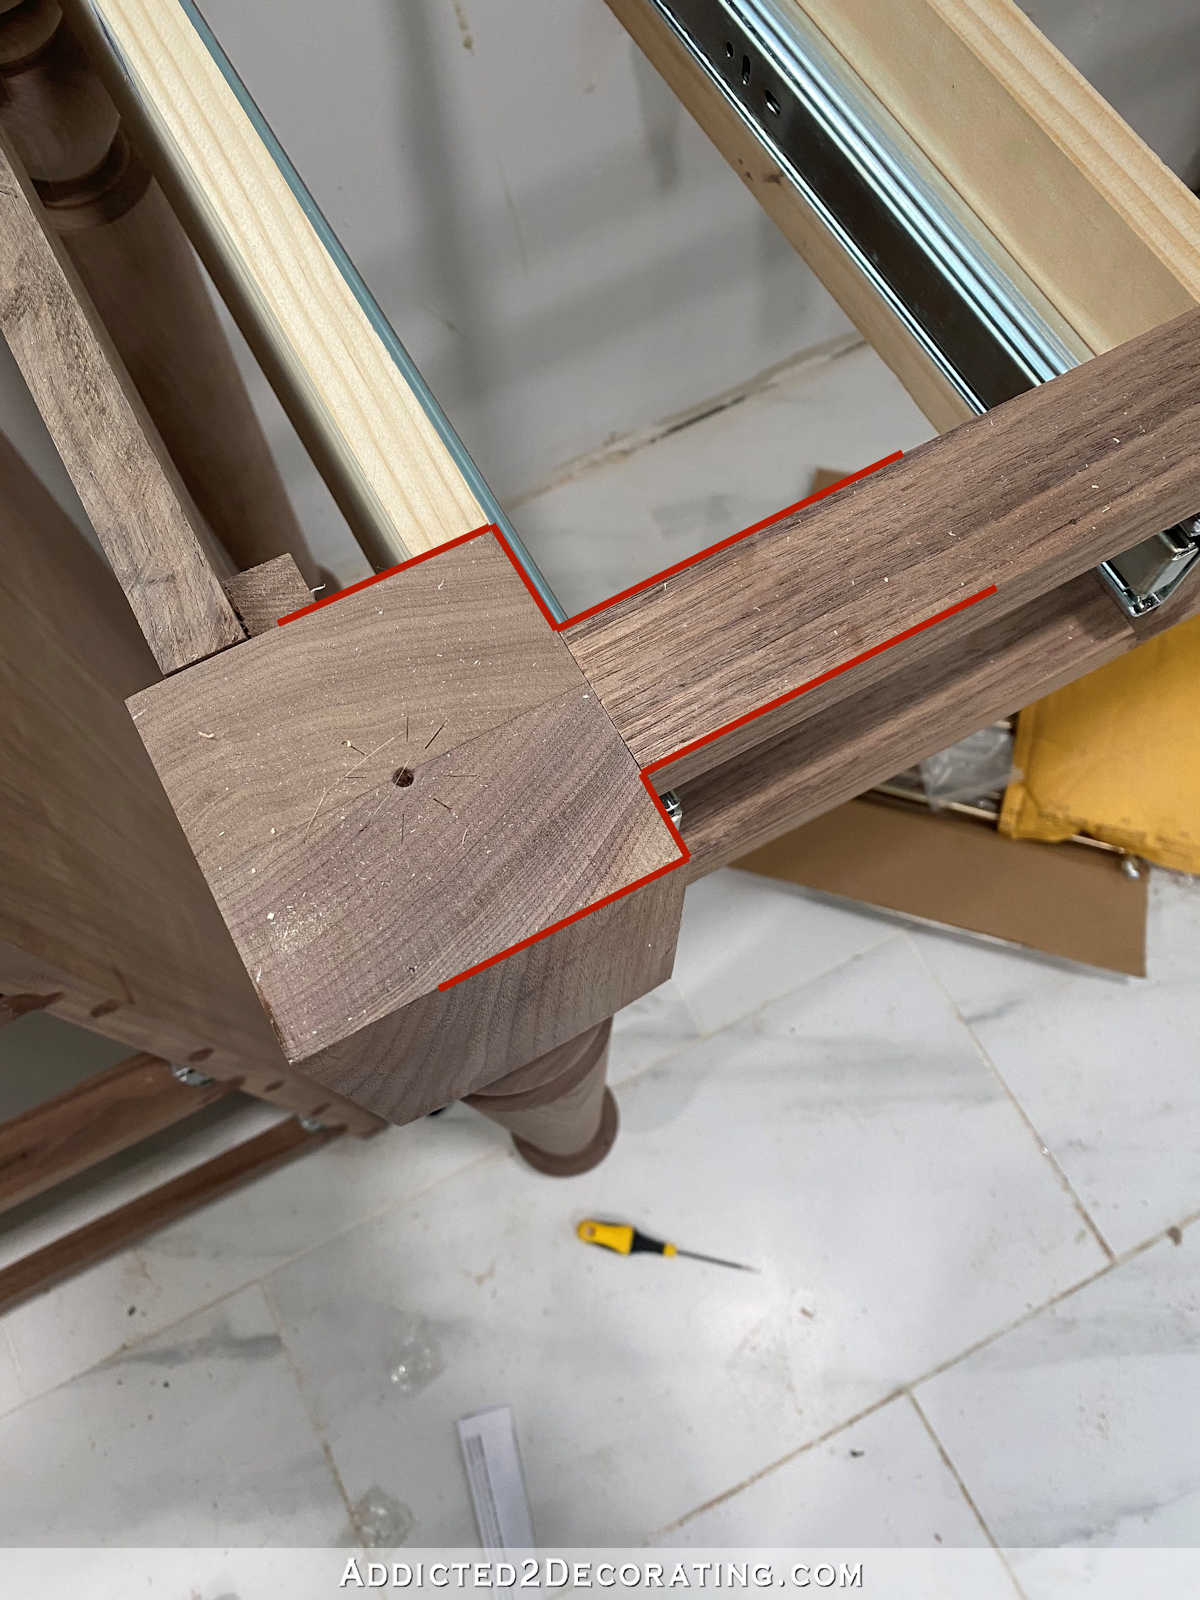
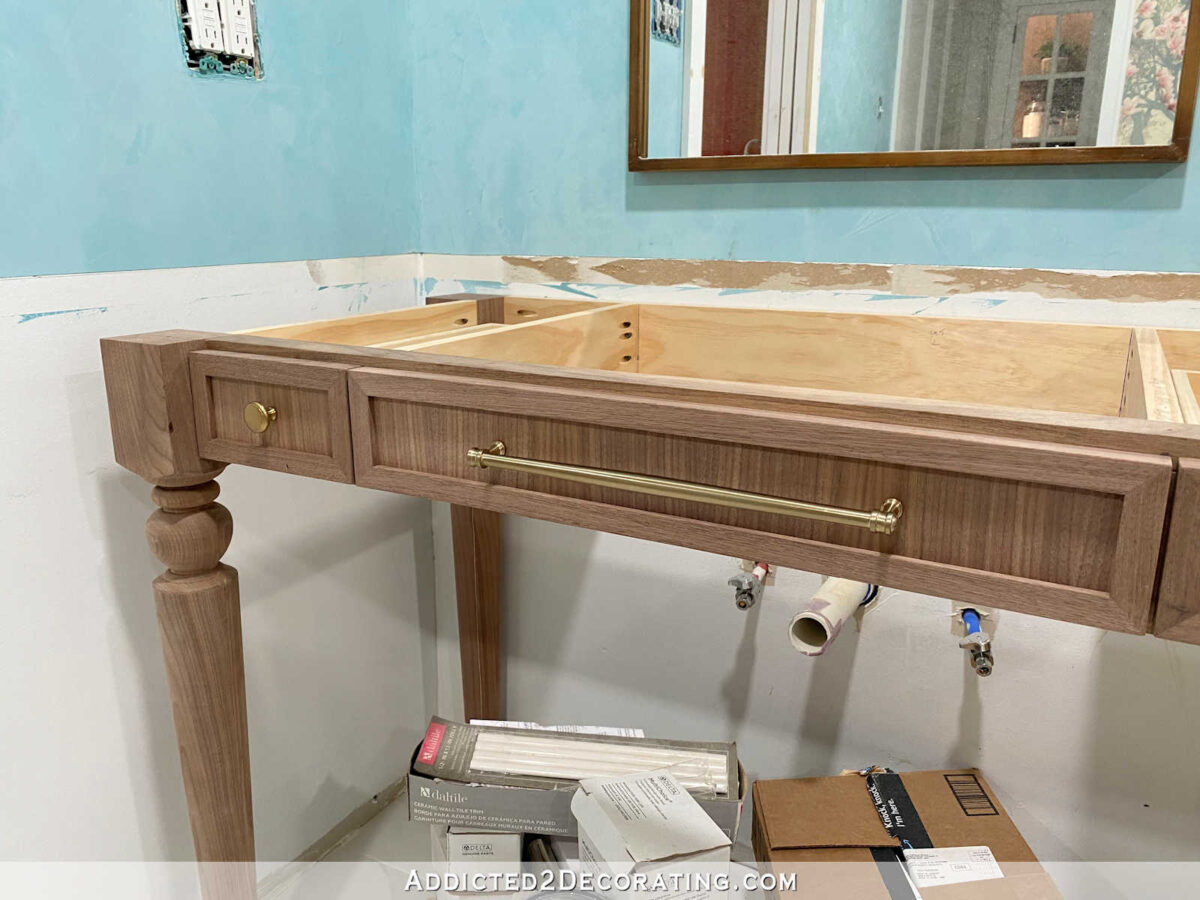
This next picture kind of demonstrates what I’m saying, although it’s not a great picture. I was having to hold the drawer box in place while trying to take a picture. But you can kind of see how the front of the drawers will be lined up with the front of the legs blocks now instead of being set back an inch, which will make a big difference when the countertops are installed.

Anyway, it’s a little detail, but I think it’s one of those very important details that will make a big difference once everything is finished. It’s one of those little details that’s important enough to me that I’m willing to take the time to undo and redo a big part of the first vanity.
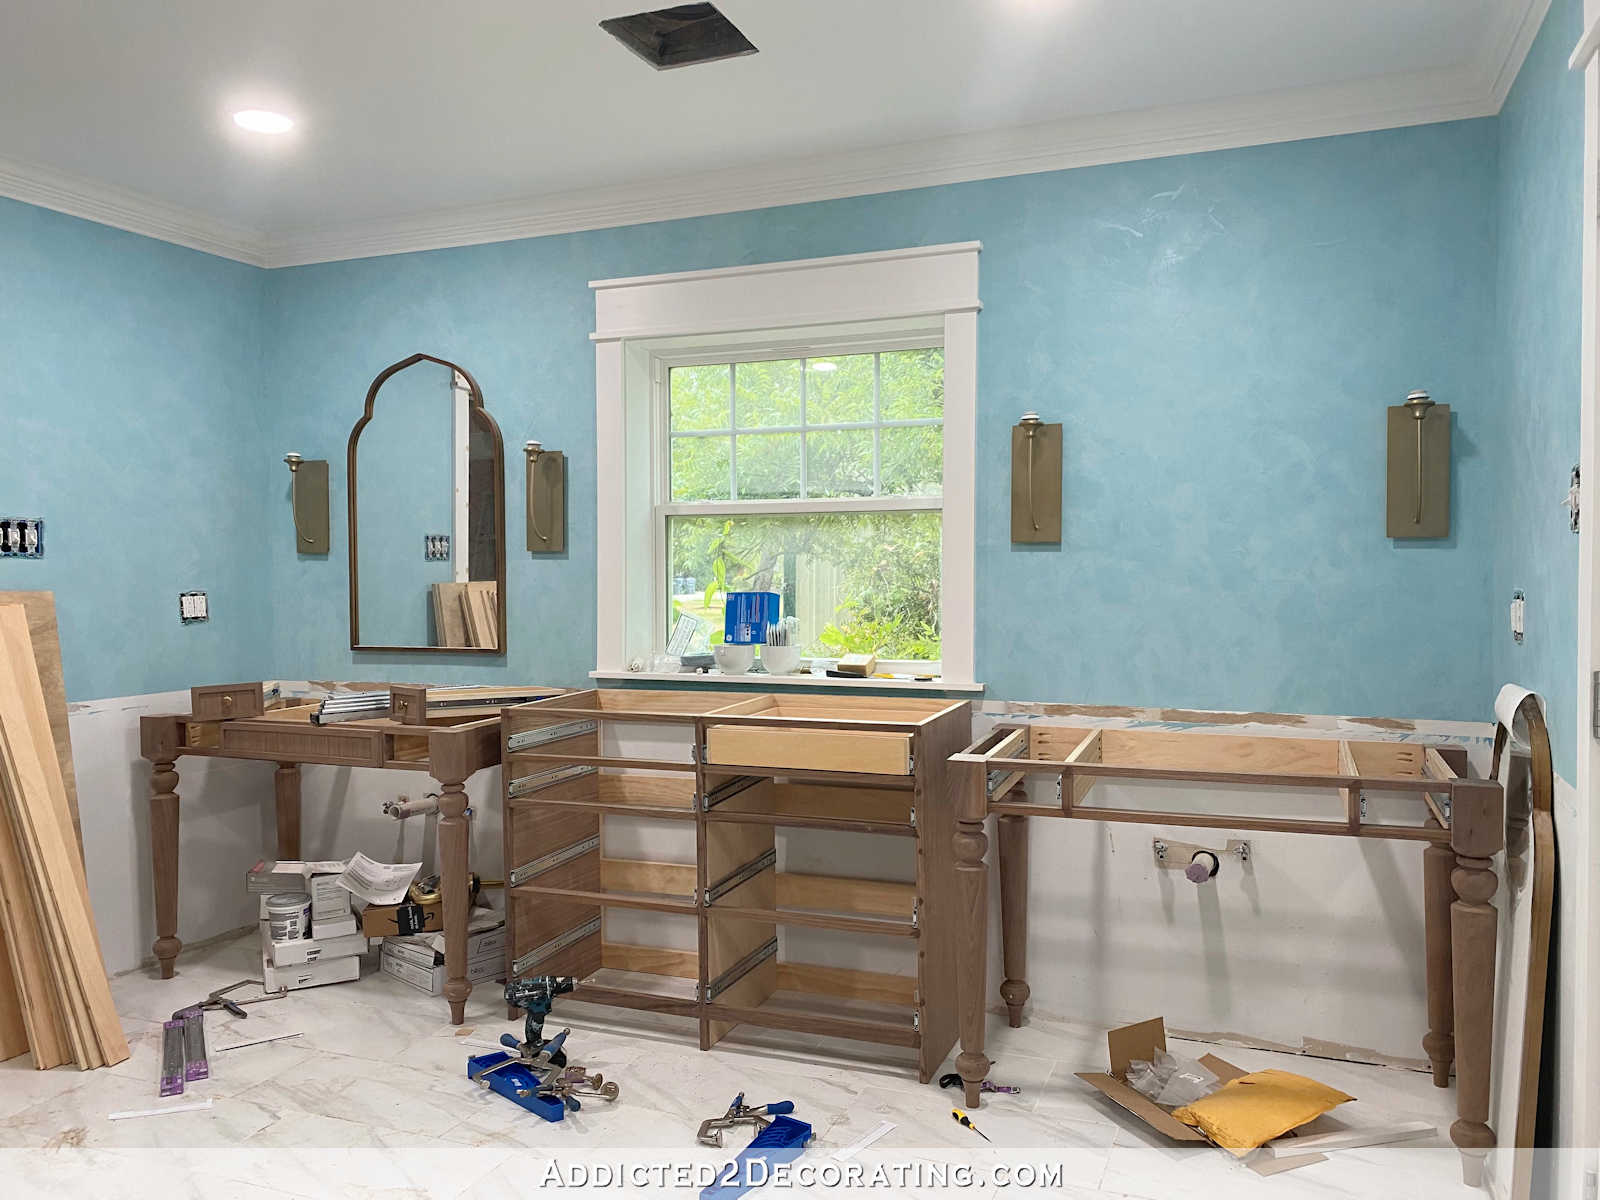
So it’s getting there! All of these drawers and drawer fronts are are quite a big job, and they take an extra long time when I have to actually glue plywood together before I can make them. 😀 But at least I’m making progress.

Addicted 2 Decorating is where I share my DIY and decorating journey as I remodel and decorate the 1948 fixer upper that my husband, Matt, and I bought in 2013. Matt has M.S. and is unable to do physical work, so I do the majority of the work on the house by myself. You can learn more about me here.
I hope you’ll join me on my DIY and decorating journey! If you want to follow my projects and progress, you can subscribe below and have each new post delivered to your email inbox. That way you’ll never miss a thing!
Source link