*This post contains affiliate links.
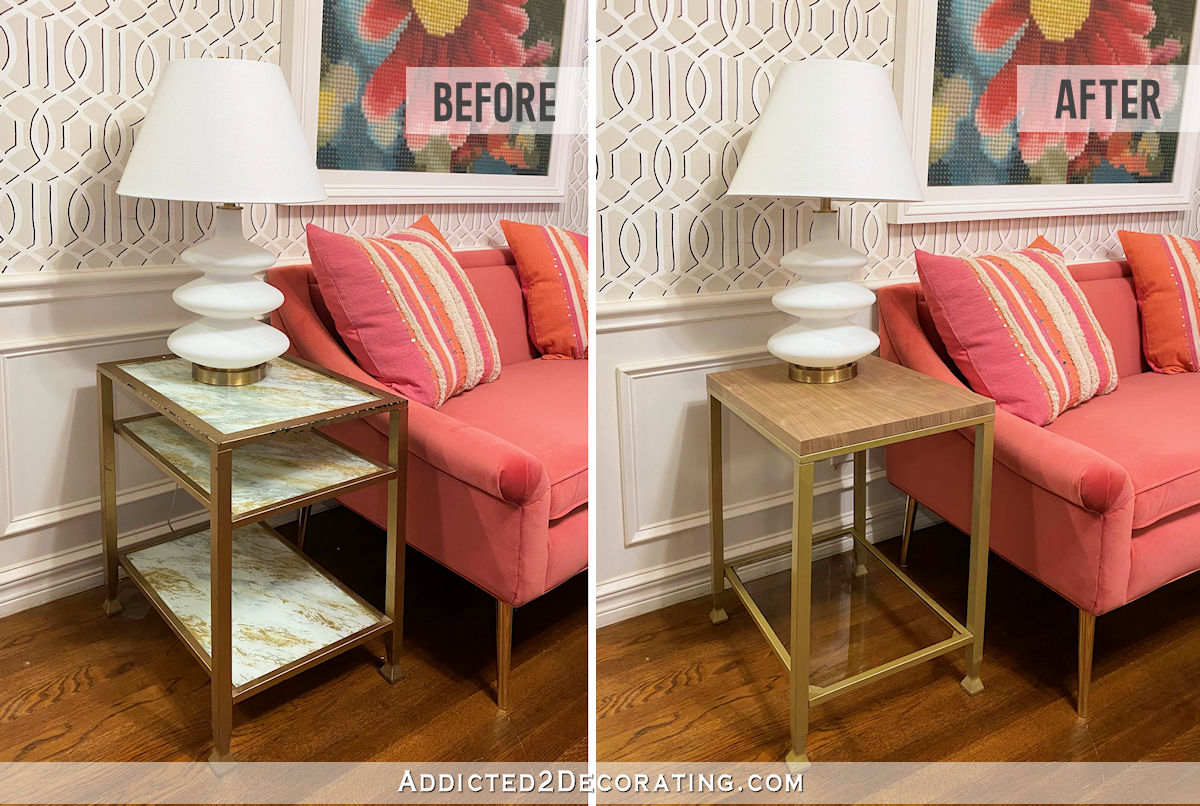
My cute little settee for the music room arrived a few days ago, so I took some time to get this area of the room all set up and finished. Well, it’s finished for the most part. The pillows you see on the settee probably aren’t going to stay there. Probably. Maybe. Heck, I don’t know.
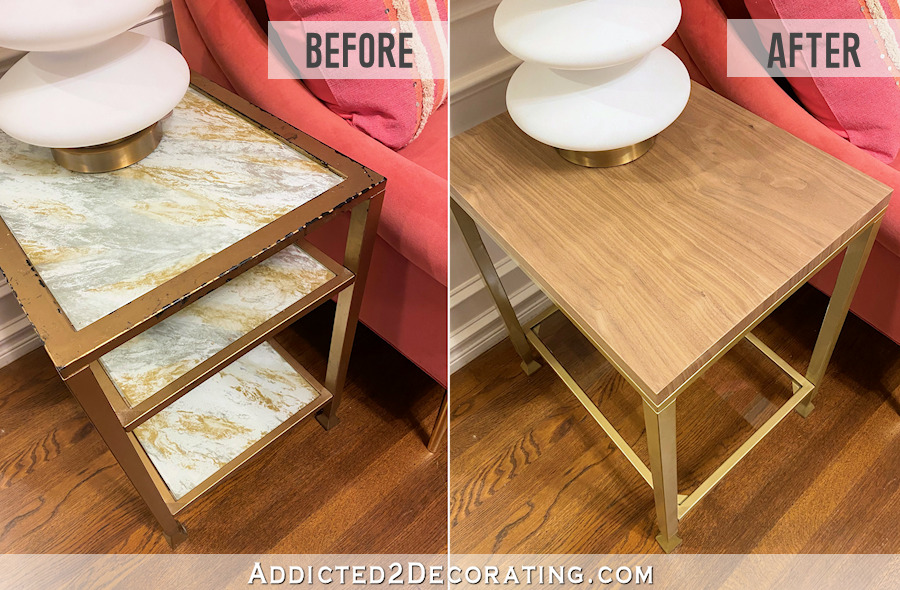
Anyway, part of getting this area finished included a side table makeover. Here’s how my little side table turned out…
If you’ve been around here for a while, you may recognize that table. I got a pair of those tables free from Overstock soon after we moved into this house. They were originally black metal and glass tables that looked like this…
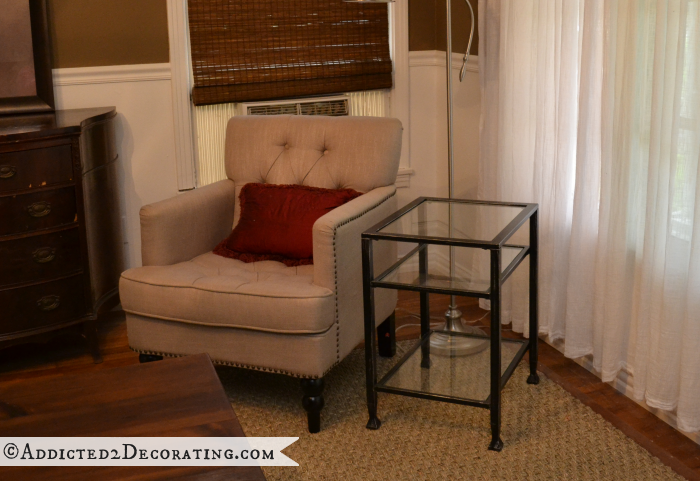
I ended up painting the metal on the tables with gold spray paint, and I used them in the living room for a while. Then during the original kitchen remodel, I did a little back-painted glass experimentation on the tables (because I was considering back–painted glass as a backsplash in the kitchen), and then I never used the tables again. They’ve been sitting in the sunroom (i.e., my storage room).
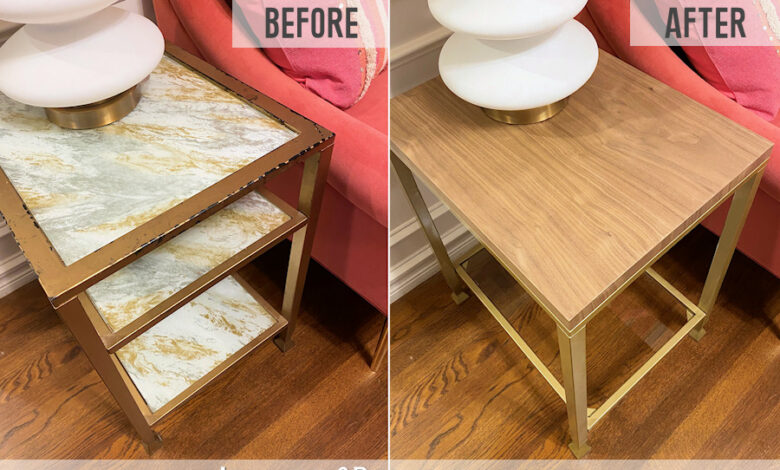
So when I pulled them out to consider using them in the music room, they looked pretty awful.
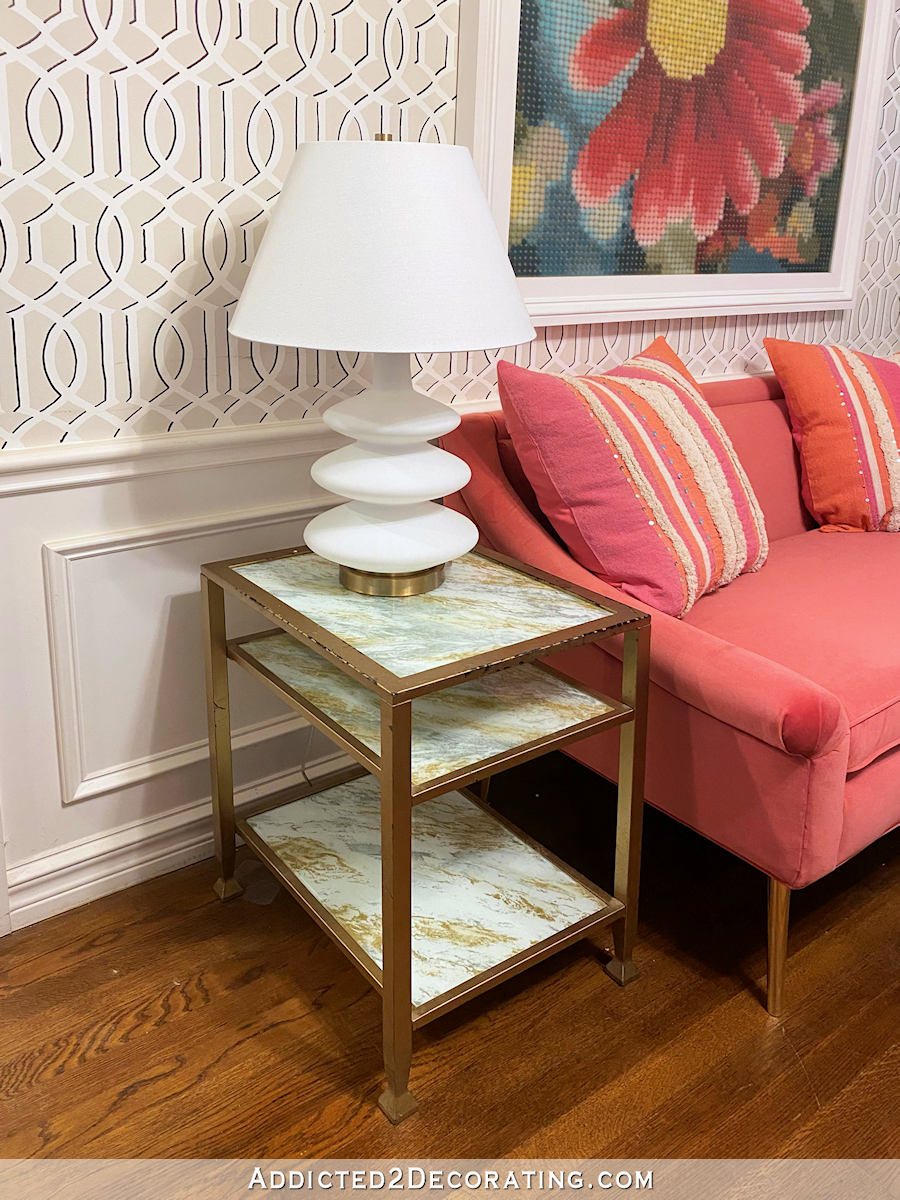
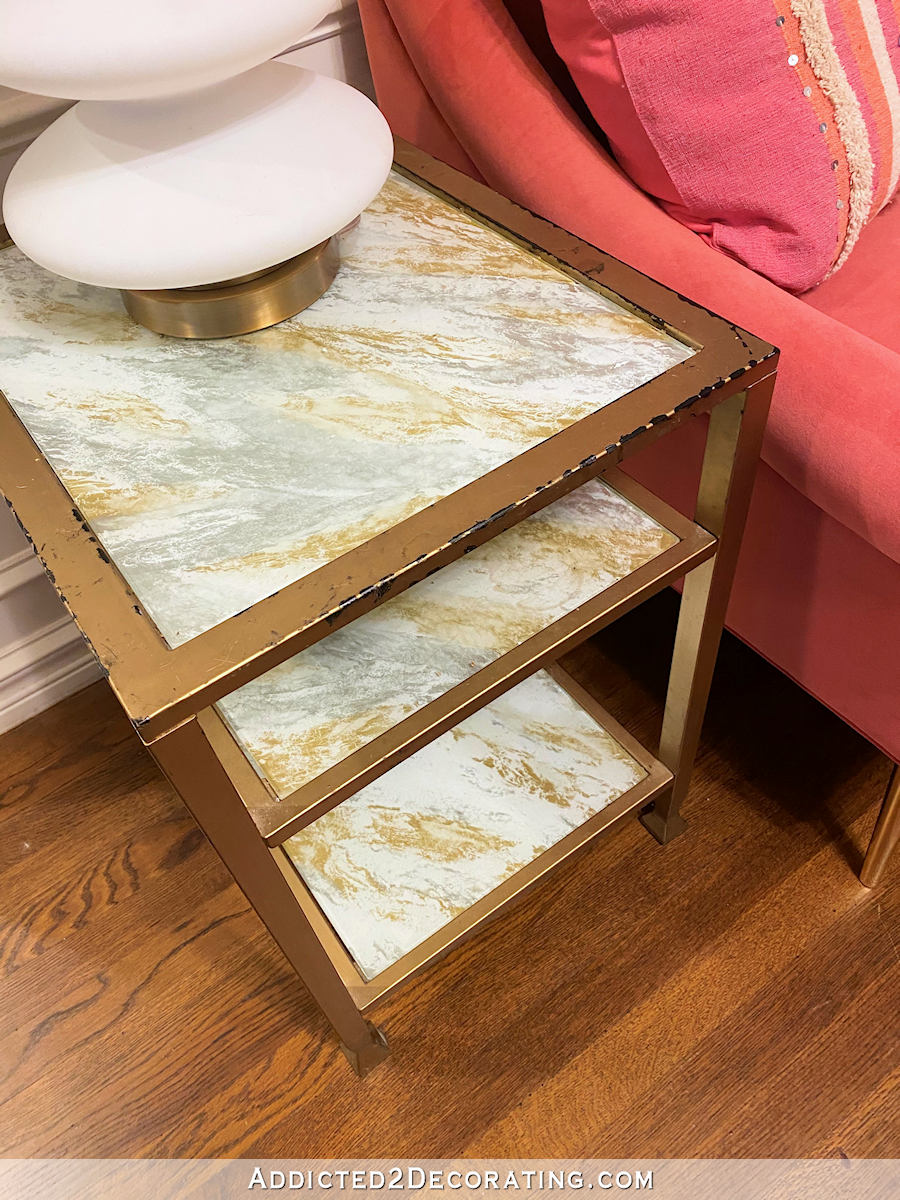
But I was determined that I could fix them up and use them in the room.
I considered just scraping the paint off of the glass and giving the metal a new coat of gold spray paint, but I don’t know. Something about that little glam velvet settee next to gold and glass side tables just seemed a little too predictable to me. I wanted some wood to warm things up. I also didn’t like that the tables had three surfaces. That looked very busy to me.
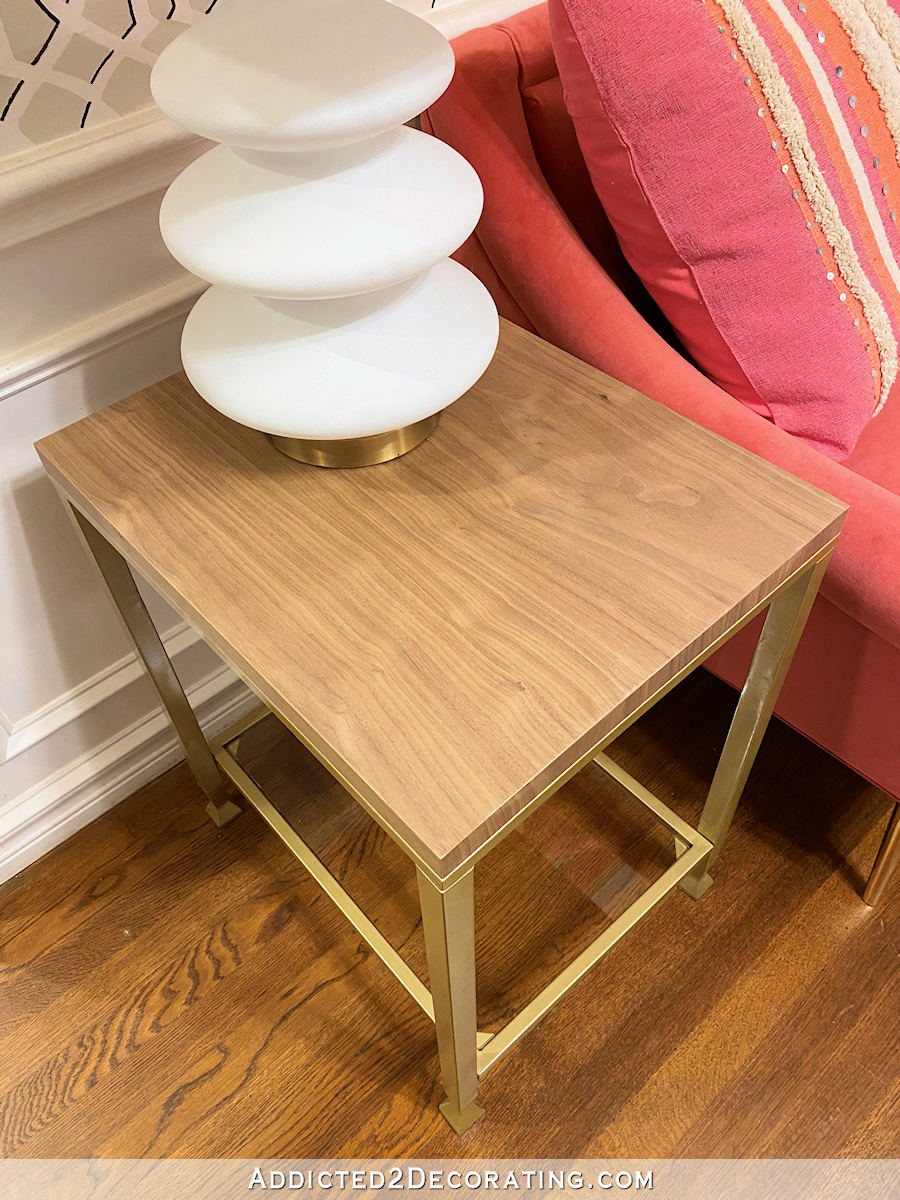
So I removed the middle shelf and made a wood top for the table to bring some warmth to this side of the room, while keeping the bottom glass shelf to keep the look light and airy.
So I’ll show you how I did it!
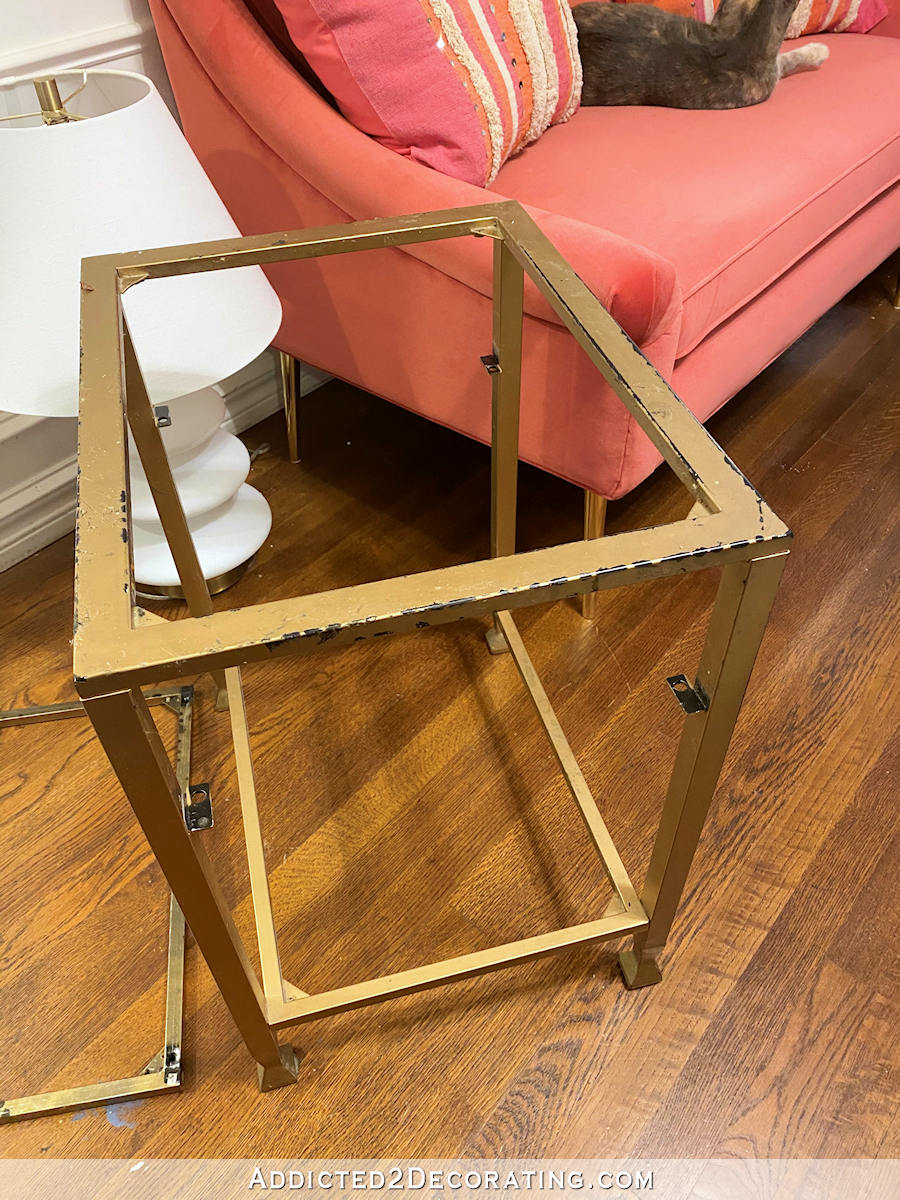
I started by removing all three pieces of glass, which were just sitting down inside the metal frames.

And then to remove the middle shelf, I used a hex wrench to remove the screws and lock washers.
It already looked better to me without that middle shelf…
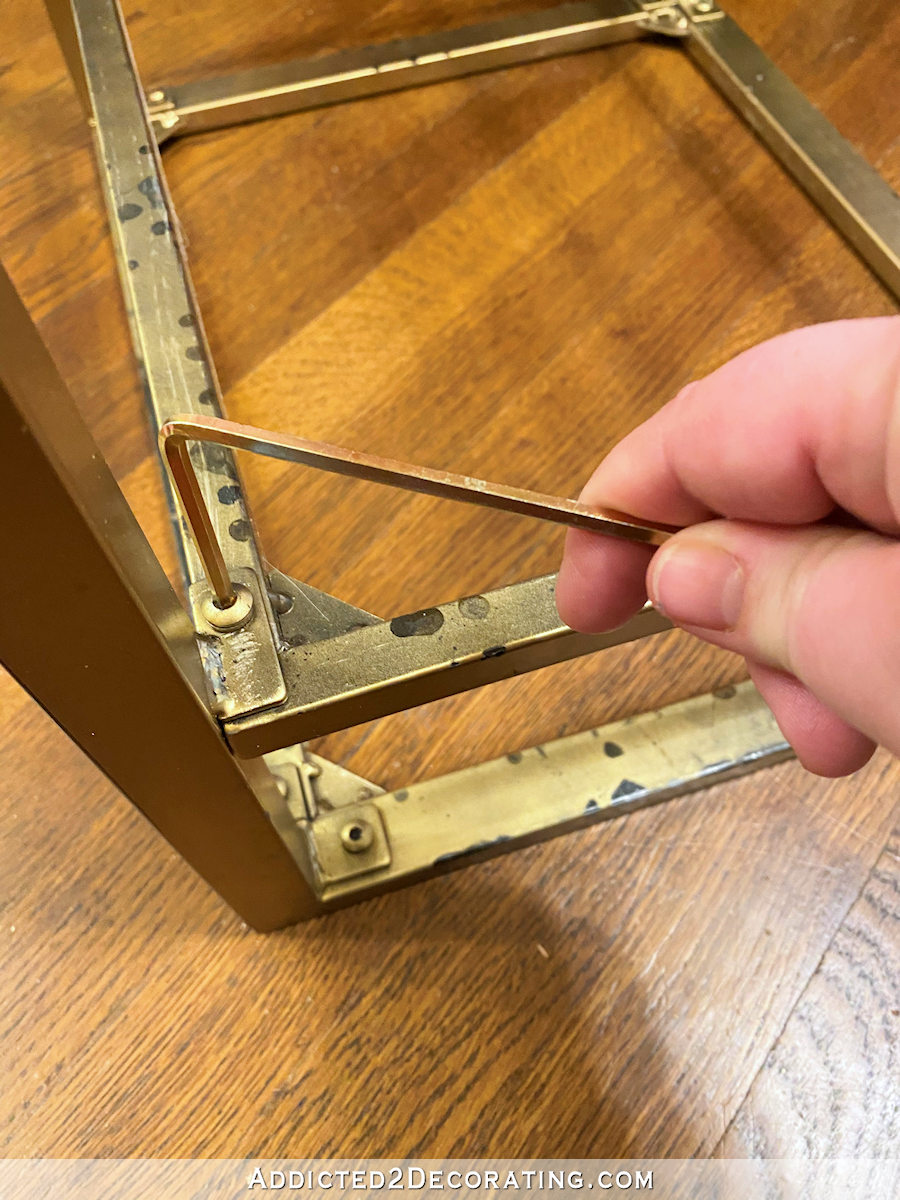
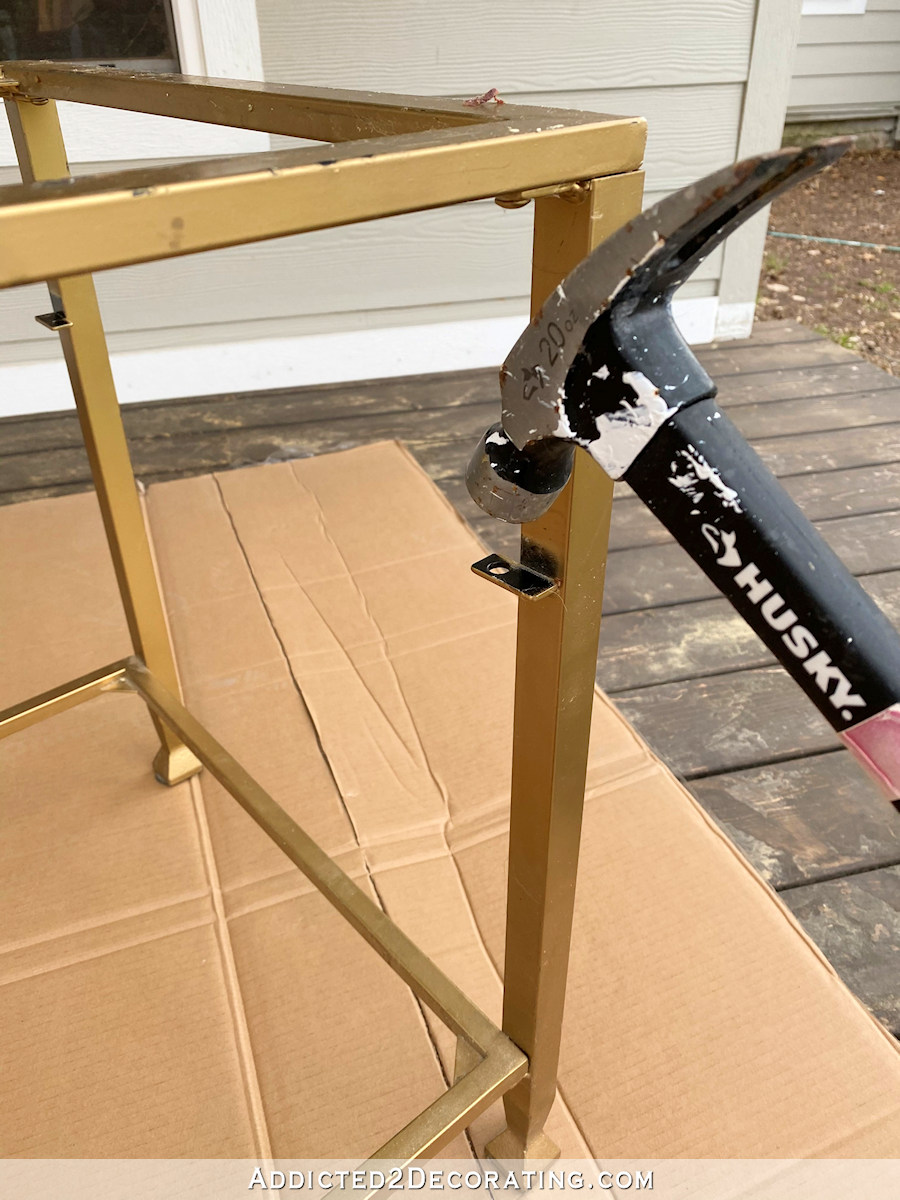
But then I was left with these little brackets that were soldered onto the legs.
So I took the table outside, along with my hammer, and whacked on those brackets until the soldered joint gave way.
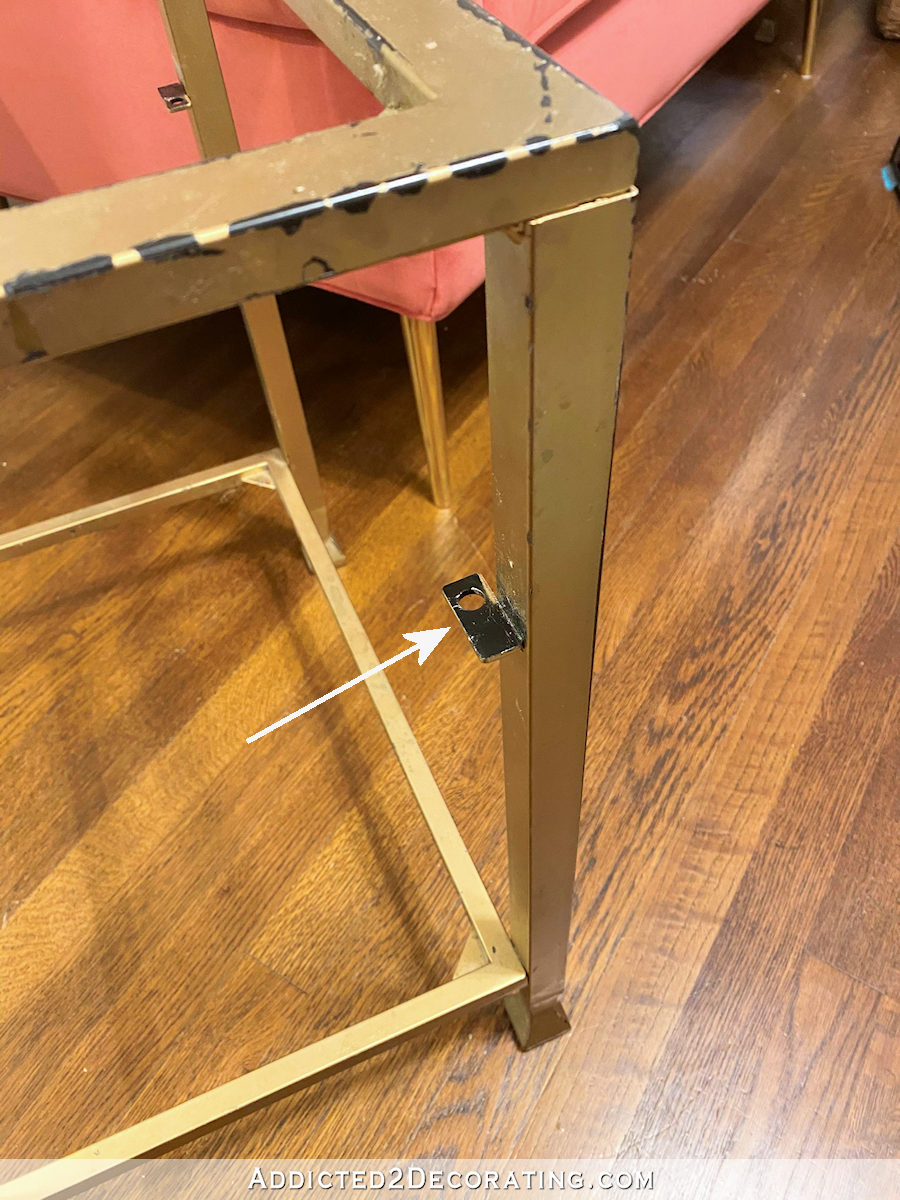
Each removed bracket left a little hole in the metal legs that looked like this…

So I got out my Bondo and mixed up a small batch…

And used that to fill in the holes.

When using Bondo, keep in mind that it dries pretty quickly. If you’re new to using Bondo, I’d suggest mixing up multiple small batches as you go rather than one large batch for the whole project at once.
While the Bondo was drying, I used my table saw to cut two pieces of MDF for the wood top. I wanted the top to be one inch thick, so I cut two pieces of 1/2-inch MDF for each table top. Then I used a generous amount of wood glue on the first piece…
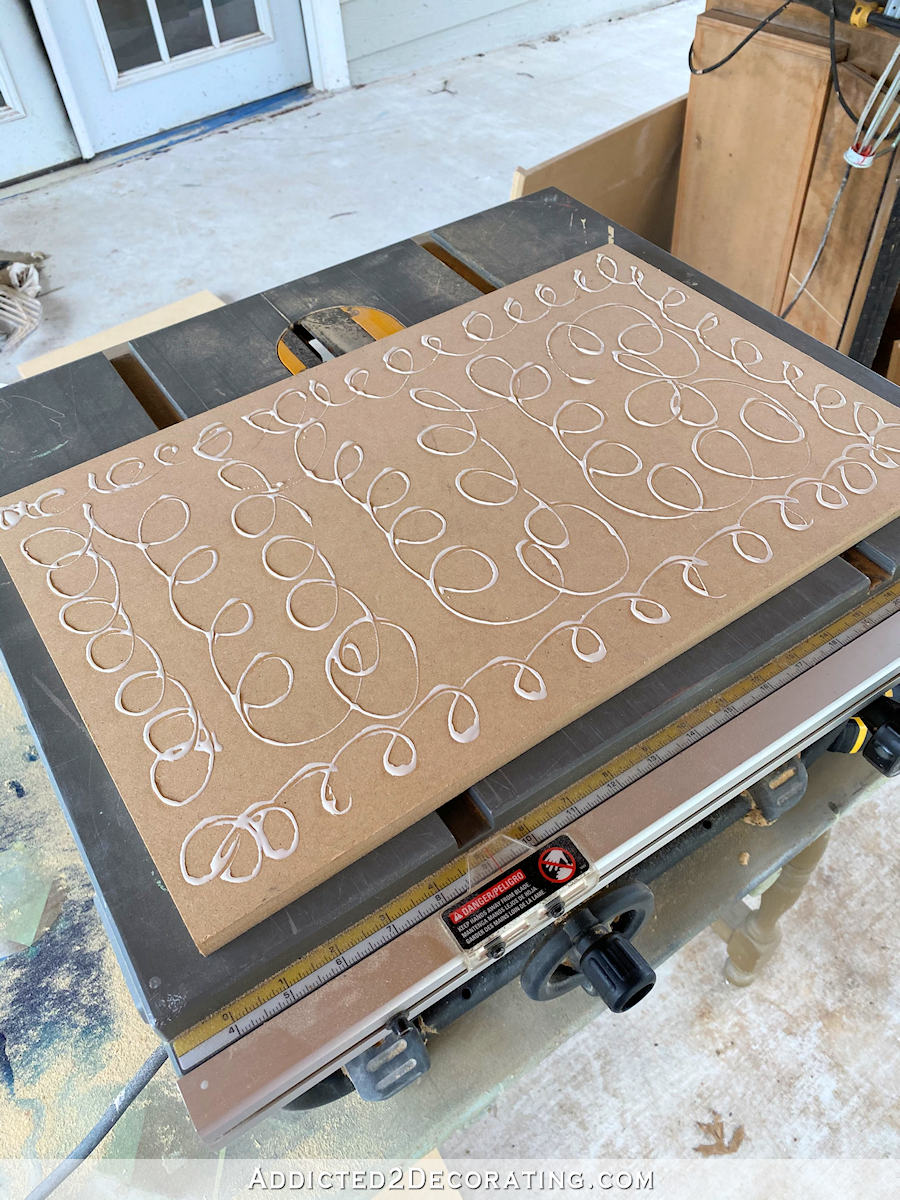
…and then stacked and lined up the second piece on top, pressing it firmly into place. Then I set it aside to let it dry.

By the time the table tops were cut and glued, the Bondo was dry. I used my rotary sander with 150-grit sandpaper to sand the Bondo smooth, and then gave the table two or three coats of Rust-Oleum Pure Gold spray paint.
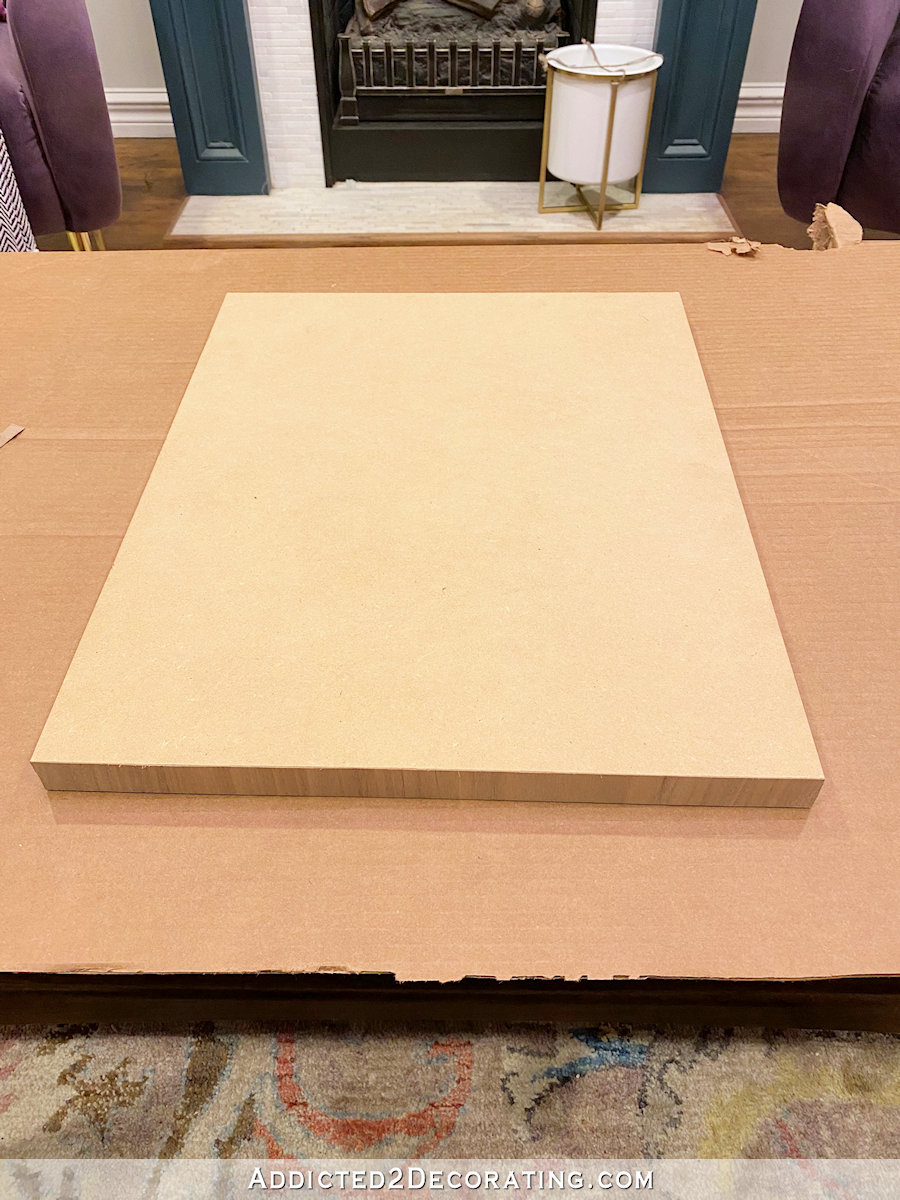
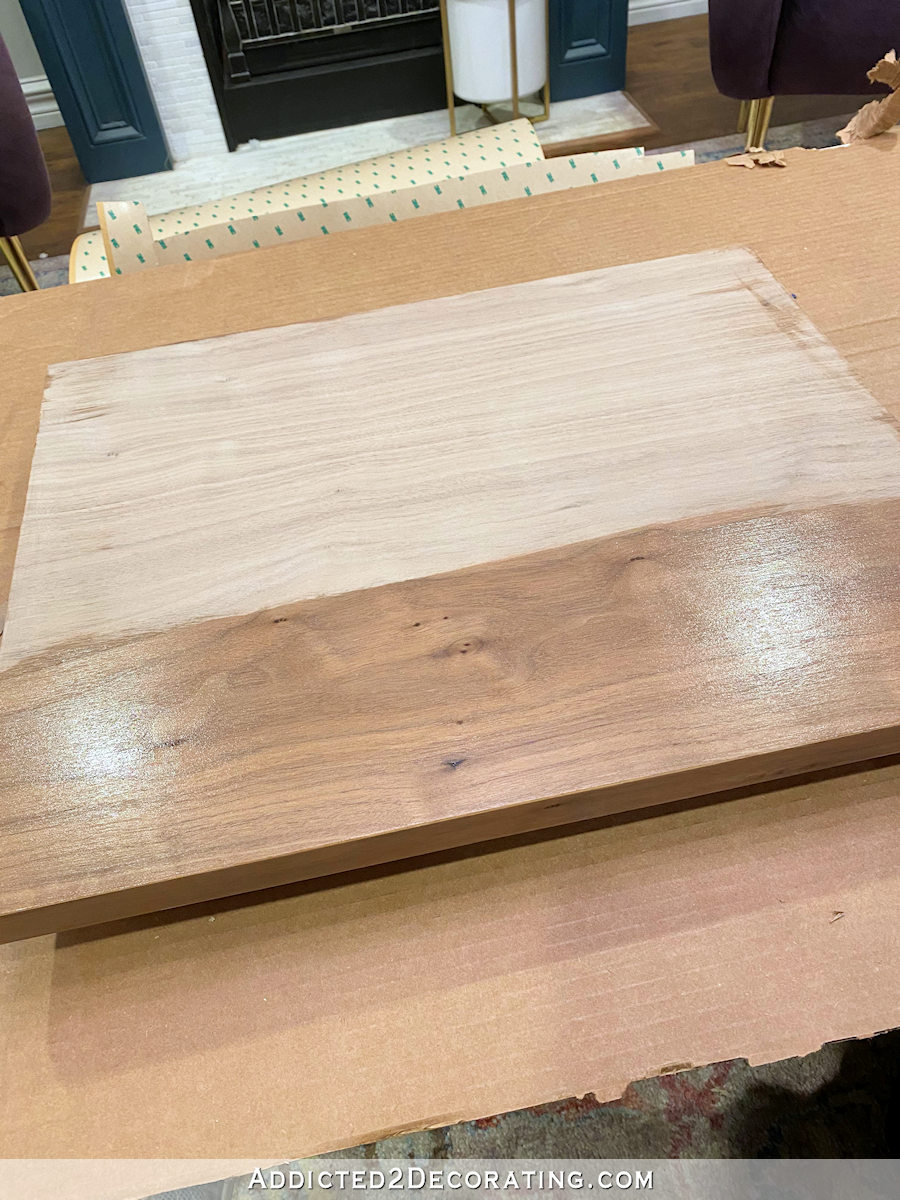
When the table was dry, I tested the MDF table top for fit.
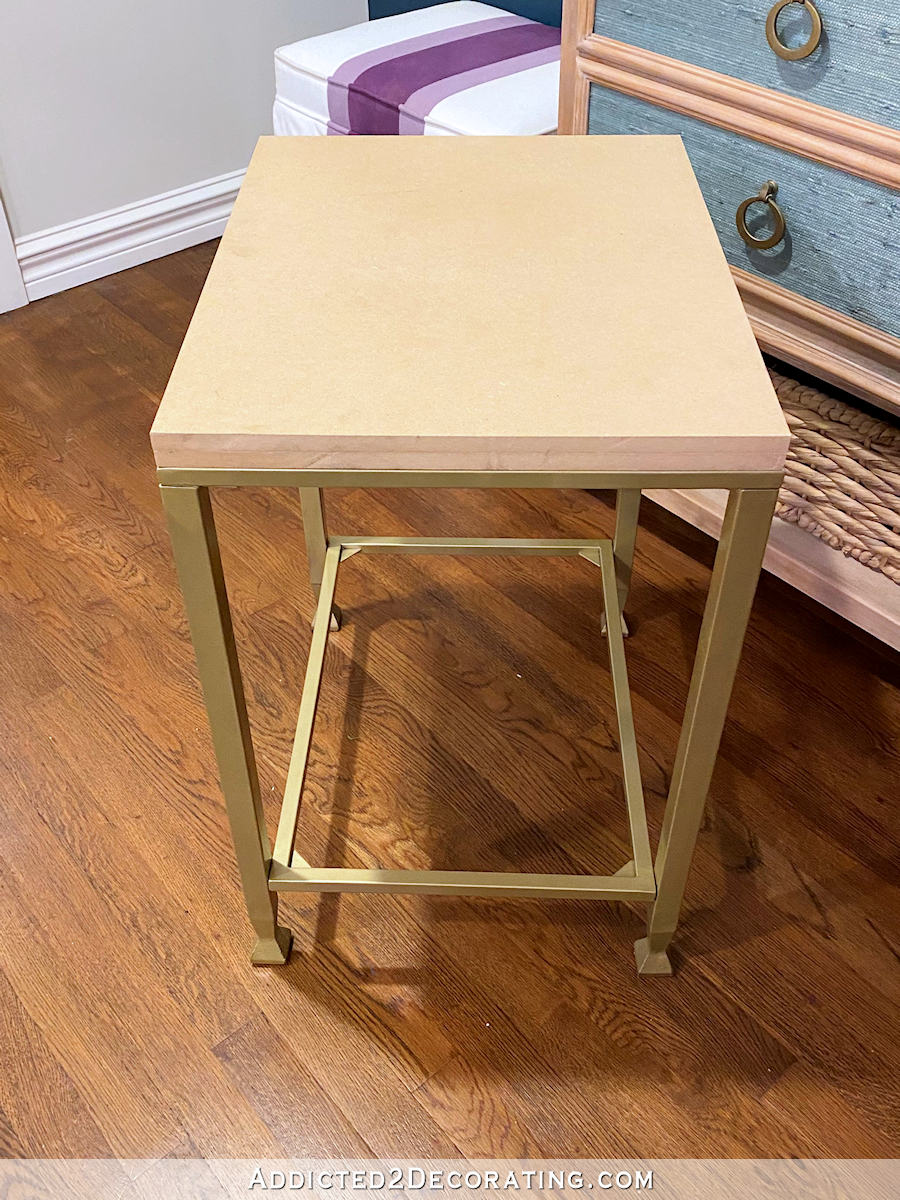
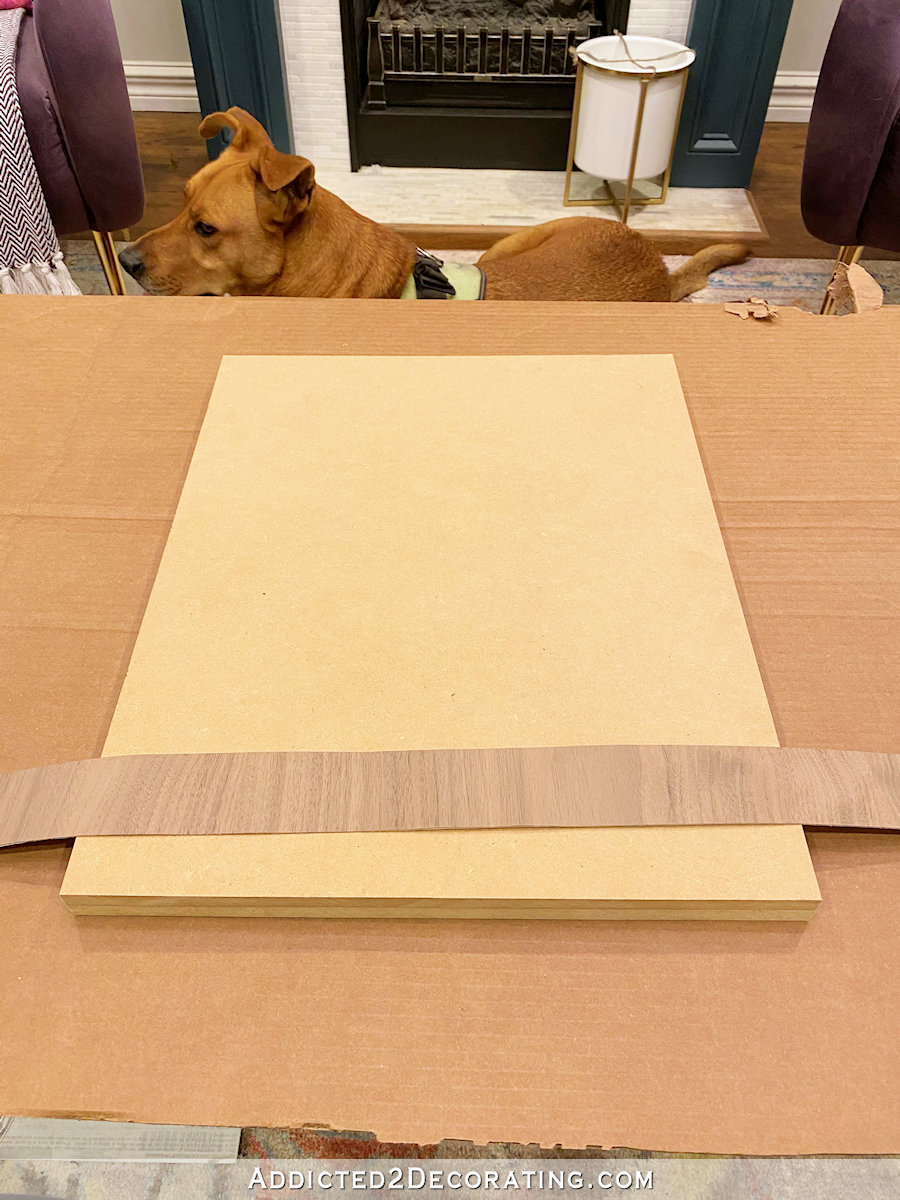
It was a pretty perfect fit, so I was ready to cover the MDF with wood veneer. I used this peel and stick walnut wood veneer with the PSA backing which made the job very quick and easy. When working with wood veneer, I suggest always getting the PSA backing if it’s available in the wood species and size you need for your project. It’s so much easier and faster than having to roll on contact cement.
I started with the front and back edges, and for those edges I used pieces with the grain going up and down.
I simply peeled the back off, pressed the veneer to the edge, and then trimmed the excess using this veneer trimmer.
There are many cheaper veneer trimmers available, but that one is, by far, the best I’ve ever used. If you foresee yourself doing several wood veneer projects, I highly recommend splurging on that one.
After repeating that process on the back edge, I moved on to the side edges. For these edges, I cut pieces of veneer with the grain going from side to side…

And I repeated the same process — peel the backing, press the veneer into place, and trim with the veneer trimmer.
Then I was ready for the final piece, which was the top. For this piece, I made sure the direction of the grain was going the same direction as the long side pieces. And then I peeled, pressed, and trimmed.

You may not be able to see this in pictures, but after trimming wood veneer, it has pretty harsh edges that are somewhat rough.
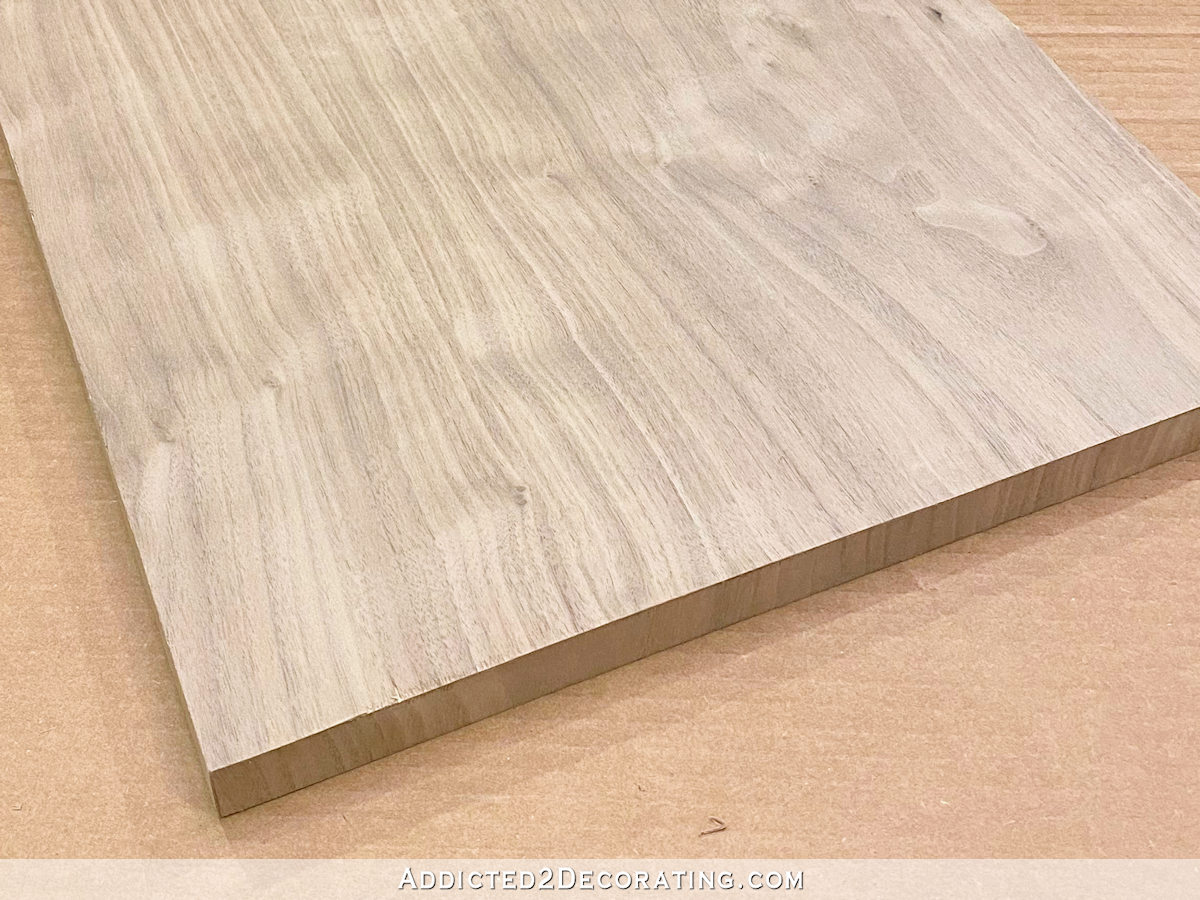
So I sanded those edges and corners very carefully with 150-grit sandpaper, and followed up with 220-grit to get things very smooth. Hopefully you can tell in the picture below how sanding those edges softens the appearance of the edges.

And finally, the top was ready for a clear coat. I used my absolute favorite — General Finishes High Performance Topcoat in a flat finish.
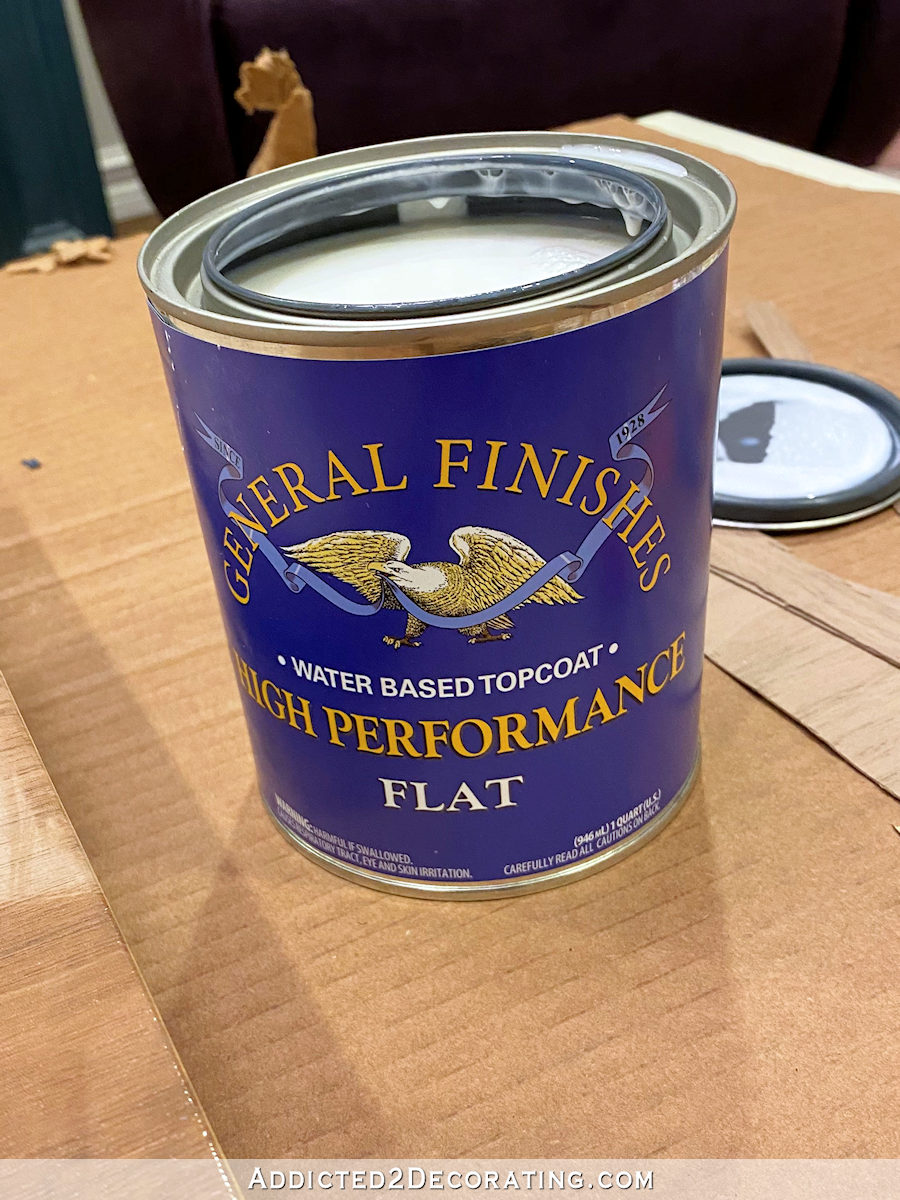
I just brushed on the first coat with a regular paint brush, let it dry, and then sanded the entire thing with 220-grit sandpaper. Then I did a second coat, and when that was completely dry, it was finished. I attached it to the top of the table with a little dot of Gorilla gel super glue.
For the bottom piece of glass, I simply used a straight edge razor blade scraper to get the paint off and gave it a final cleaning with some glass cleaner.
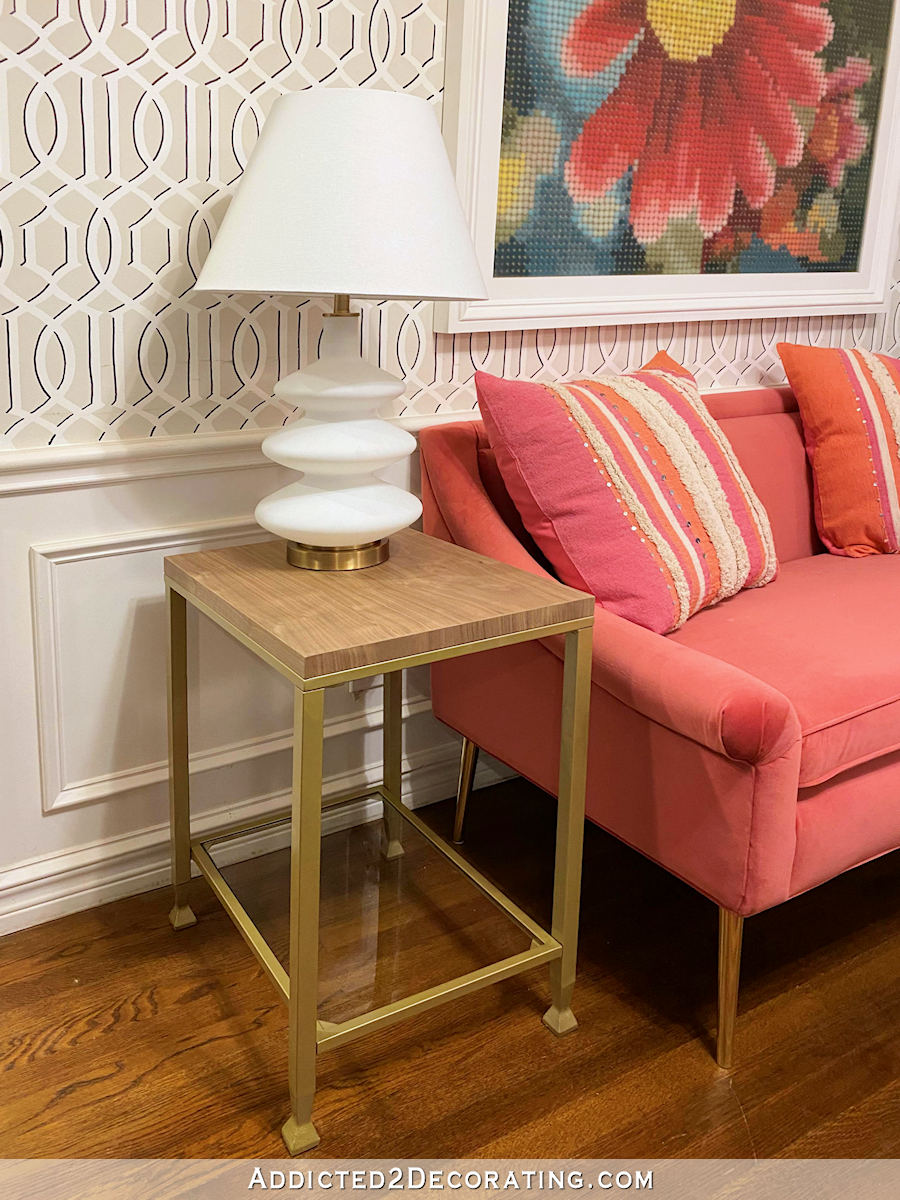
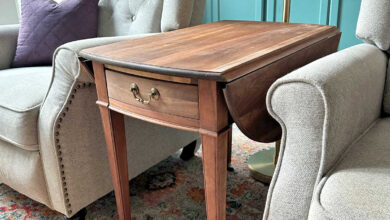
This looks so much better to me. I love the warmth that the walnut wood adds to the table and to this side of the room. I like the look of the white lamps sitting on wood so much better than sitting on shiny glass, whether back-painted or clear.
So that was a fun and relatively fast project that got me one step closer to having a finished music room. As far as I can tell, the only things left in this room are to do some paint touchups on the walls, and then figure out what I want to use as a piano bench. It’s so close to being finished!!
Source link