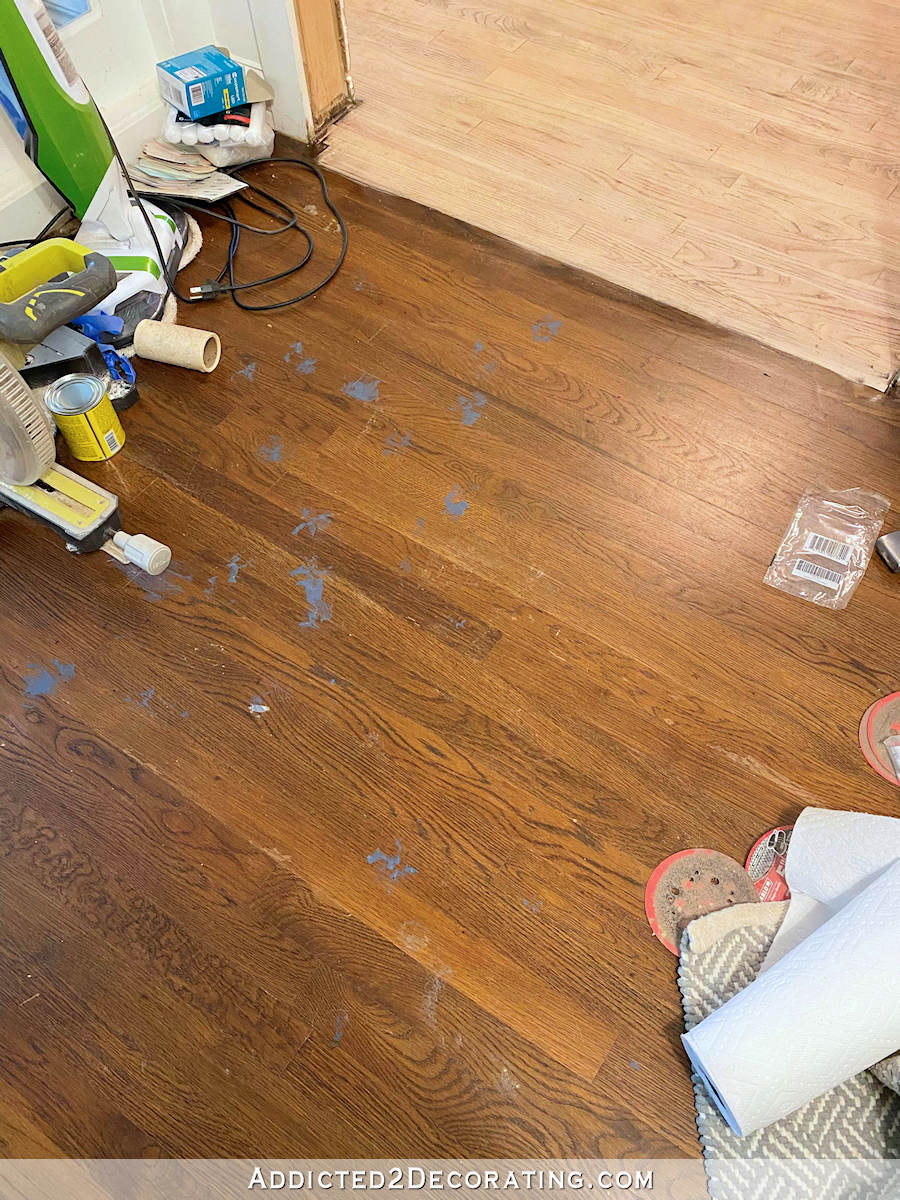
As you know, my attempt last week to finish the hardwood flooring in the hallways was a disastrous fail. It didn’t dawn on me that the hardwood flooring in my house may have changed color just a bit over the years, so instead of color matching the new floor to the old floor, I just ploughed forward through the project using the exact same process, products, and colors that I used when I refinished the floor a few years ago. That resulted in this catastrophe.
If you want to read more about my stubbornness and determination to push forward even though my eyes could see that things weren’t working out with every new step, you can read that here…
Hallway Flooring Progress (And Disaster)
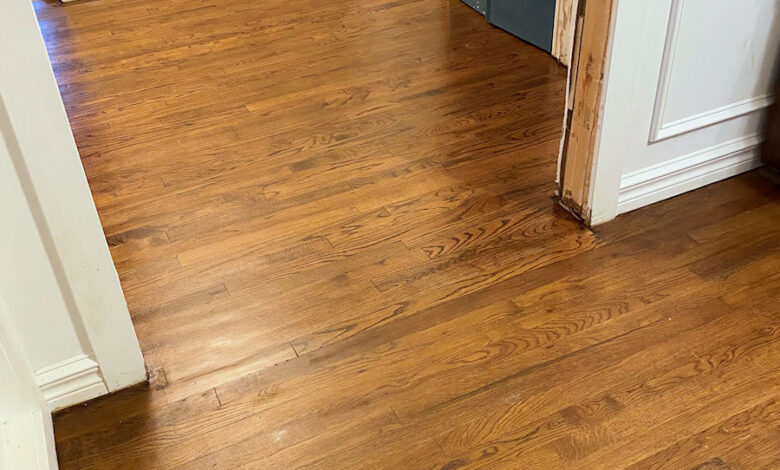
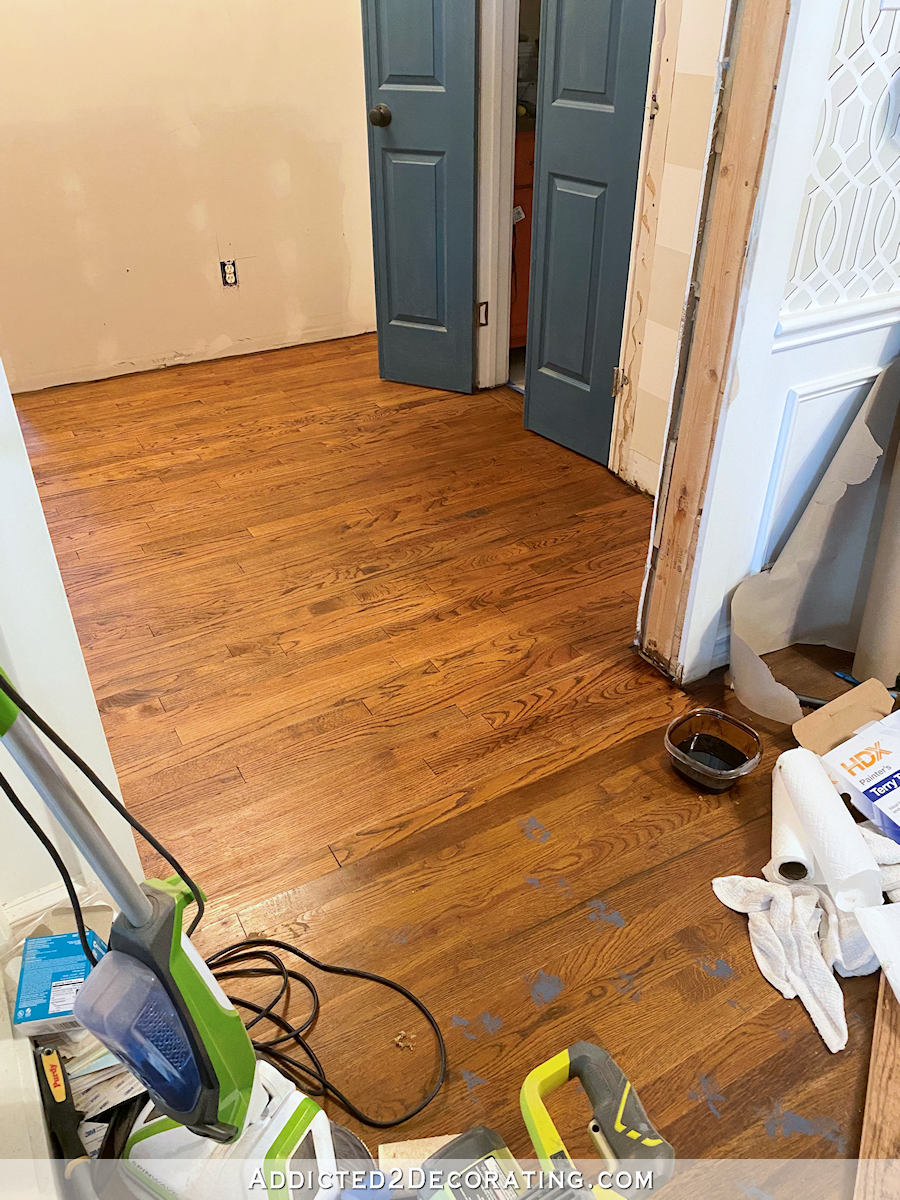
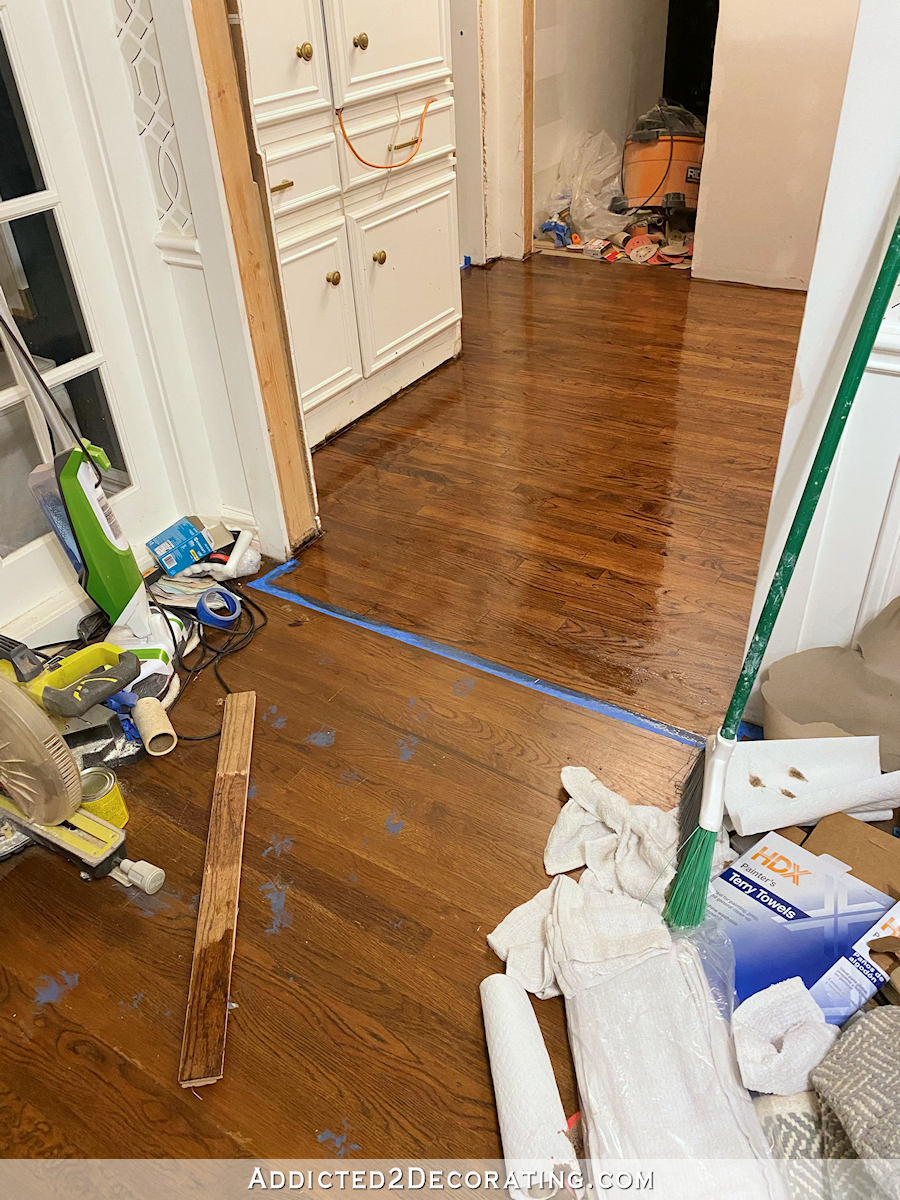
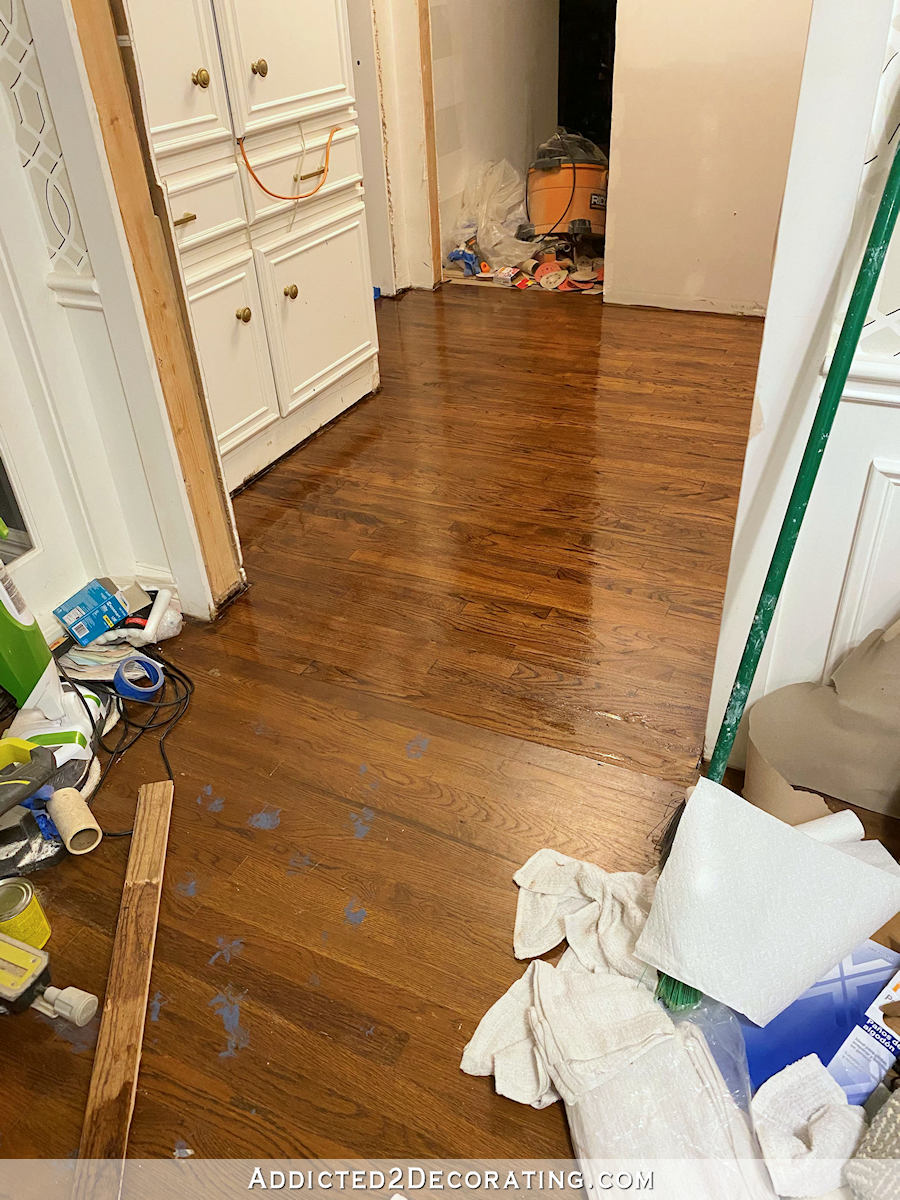
So this past weekend, I had to correct that awful mess. It took hours of sanding (more on that in a minute) and some careful color matching, but it worked out great this time. Here’s the floor as it looks this morning…

Isn’t that so much better?! It’s not perfect (it was never going to be perfect with a brand new finish next to a years-old finish), but I’m pretty thrilled with the results.
(Note: If you’re reading this post on any website other than Addicted 2 Decorating, that means you’re reading on a site that is stealing my blog content. I hope you’ll consider joining me on my actual blog by clicking here.)
So here’s how I went about this project the second time around…
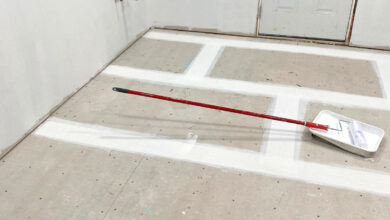
Obviously, I had to get that awful finish off of the floor. I got out my five-inch rotary sander, and using some 60-grit sanding discs, I started sanding off that finish around the walls. My intention had been to use the rotary sander around the edges, and then use my hand held belt sander on the main areas of the floor.
But as I sanded, I realized just how scratched up the floor was. It had scratches all over it even though I had sanded with the belt sander up to 120-grit the last time. The fact of the matter is that I’m not very good at using the belt sander. It’s incredibly powerful, and I have a hard time controlling it, and that’s how I wound up with all of those scratches everywhere.
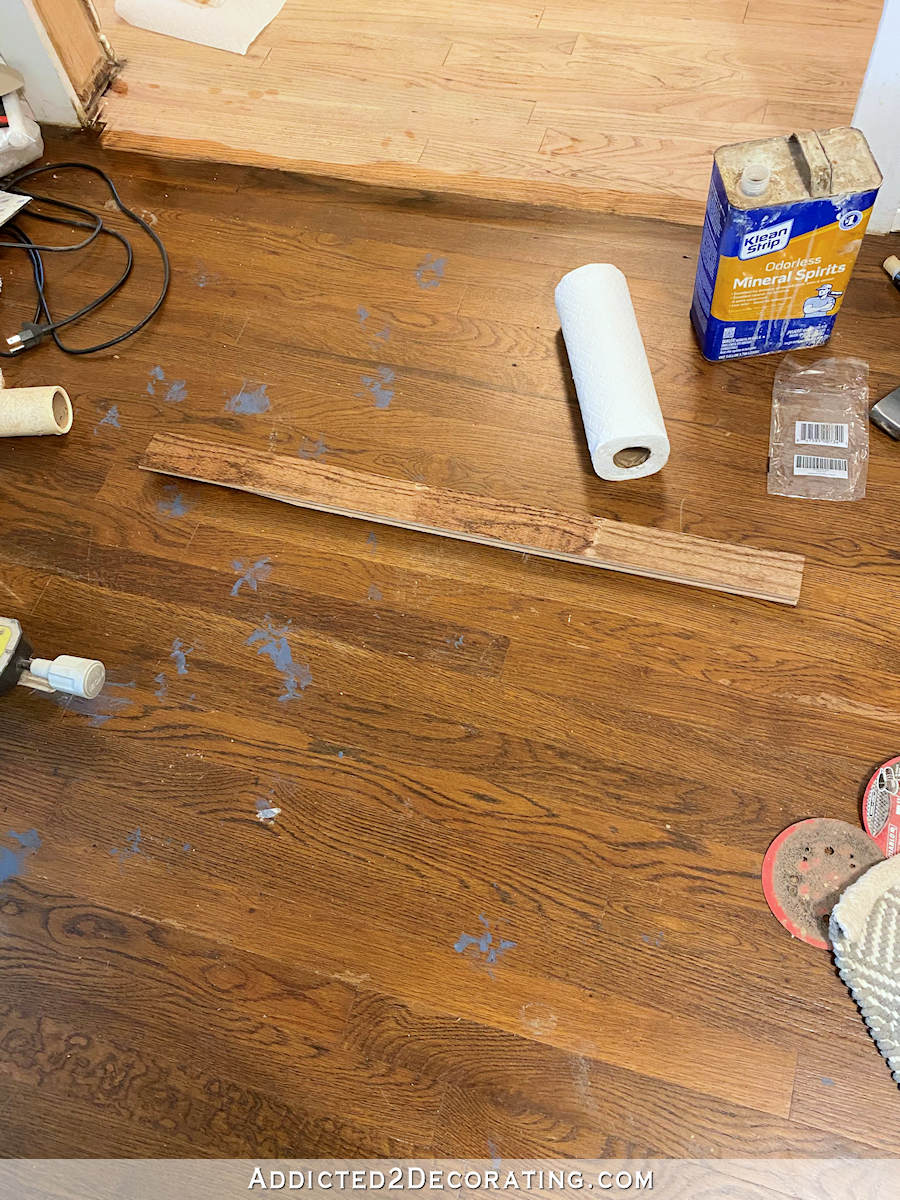
Not wanting to make any mistakes at all this time around, I decided to forgo the belt sander and sand the entire floor with my five-inch disc sander. That way I could concentrate on getting all of those scratches out of the floor and end up with a much smoother floor this time around. It took forever (six straight hours of sanding), but it was worth it!
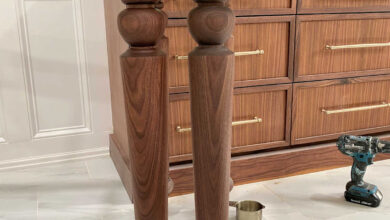
I also sanded just a bit past the new floor. There was one original floor board just inside the music room that was naturally darker than the rest. I thought that would make a good transition board. Since it’s naturally darker, it would be less noticeable if the color meeting that board on the hallway side was just slight off in color. So I removed the finish right up to that board using a hand scraper.
This go ’round, I actually took some time to do some stain samples. A novel idea, right? 😀
From left to right, these four samples (all using Minwax penetrating stain) are: (1) 50% Honey and 50% Special Walnut, (2) 20% Honey and 80% Special Walnut, (3) 100% Honey, (4) 100% Special Walnut.
At first, I thought the honey would be the winner, but as I looked more, I saw that it had quite a bit more red in it than the original floor. So I ended up going with the 50% honey and 50% special walnut mixture. Here’s how that looked on the floor…
It was still looking quite a bit redder than the original floor, but I figured I could do any final color corrections with the stain color that I mix with the first coat of polyurethane.
Since I needed to cut the red, I decided to test out my original polyurethane mix (polyurethane and stain mixed 8:1, using a stain mixture that is 50% dark walnut and 50% special walnut). After testing that on the sample board, it looked like the perfect combo
I applied that first coat of the polyurethane/stain mix with a regular paint brush so that I could totally control how dark it looked. I would rather do a thin coat and have it too light and have to follow up with a second coat than go too thick and dark on the first coat.
One coat seemed to be just right. Unfortunately, I forgot to take a picture of what it looked like after the first coat of polyurethane/stain mixture. But here’s how it looked after I applied the second coat of plain polyurethane. Naturally, it was very shiny when it was wet, and I just hoped and prayed that the satin finish polyurethane would be a pretty close match to the original floor when it dried.
So I was very pleasantly surprised (no, scratch that, I was ECSTATIC) when I got up this morning and it looked like this…
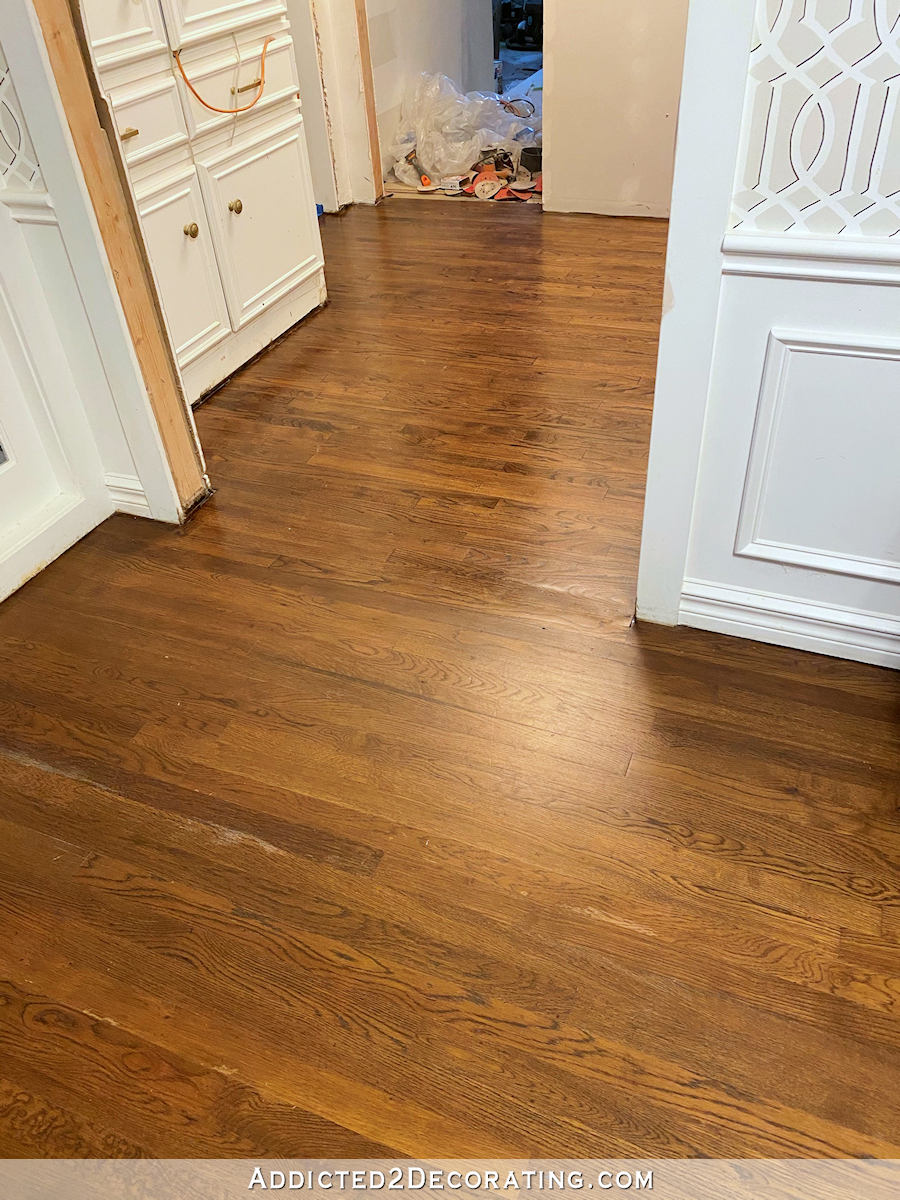
There is a slight difference in sheen, but I think the sheen will dull fairly quickly, so I’m not too concerned about it.
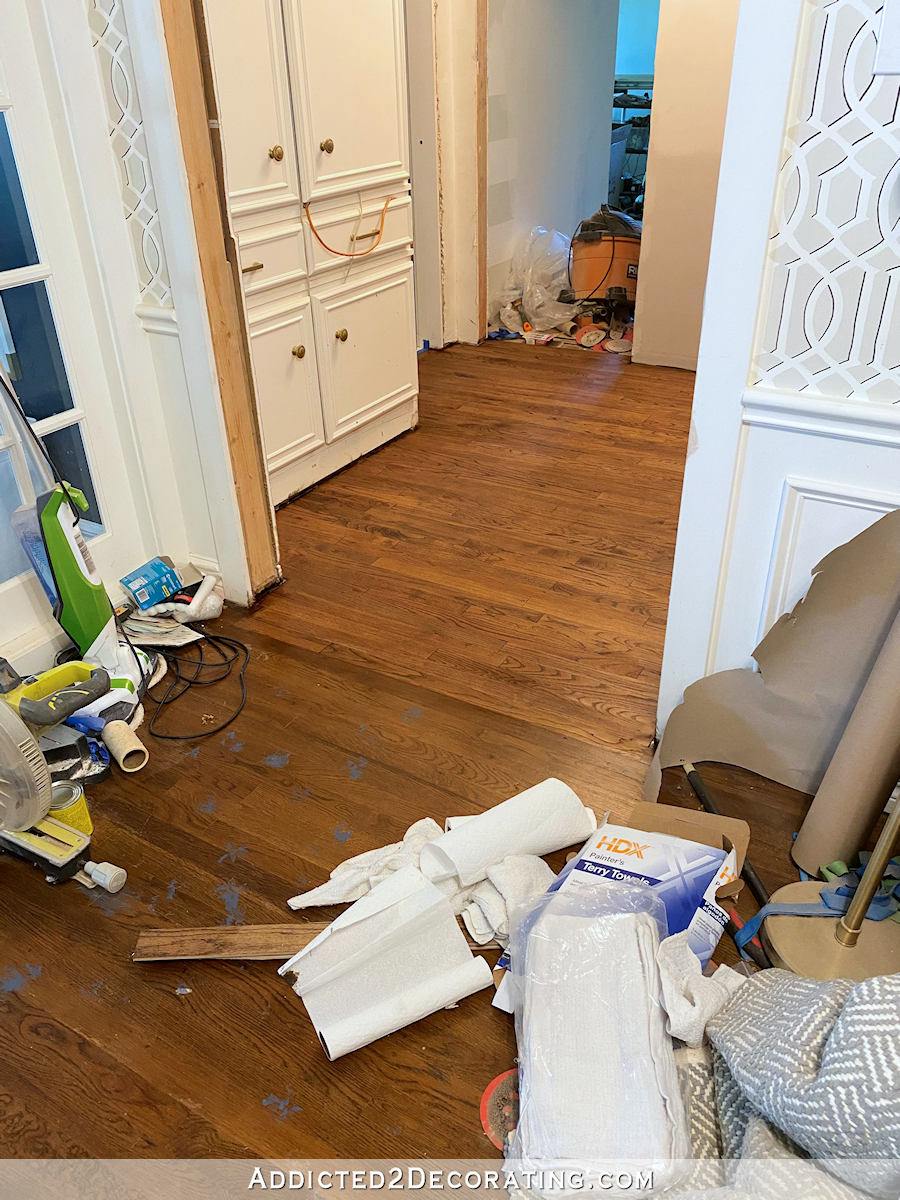
I’m so relieved to have this finished! Now it just needs to cure for a while (72 hours, I think) before it can handle lots of traffic. So I’ll entertain myself with other projects around the house, and then I’ll get back in here and finish up the hallway. I need to install a door, install trim (door casing, baseboards, and crown), prime and paint the walls, and touch up the paint on the cabinets.
This hallway has been in this unfinished state for over a year, so I’m very excited about having a pretty hallway again, especially now that the guest bedroom is finished.
If you want more details on how I finished the floor, you can find al of that info on my original posts that I wrote as I was refinishing all of the floors several years ago. You can find those here:
Part 1: Refinishing My Hardwood Floors – Sanding Progress
Part 2: Adventures In Staining My Red Oak Hardwood Floors (Products & Process)
Part 3: The Hardwood Floor Refinishing Adventure Continues – Tip For Getting A Gorgeous Finish
Part 4: My Newly Refinished Red Oak Hardwood Floors
Source link