*This post contains affiliate links.
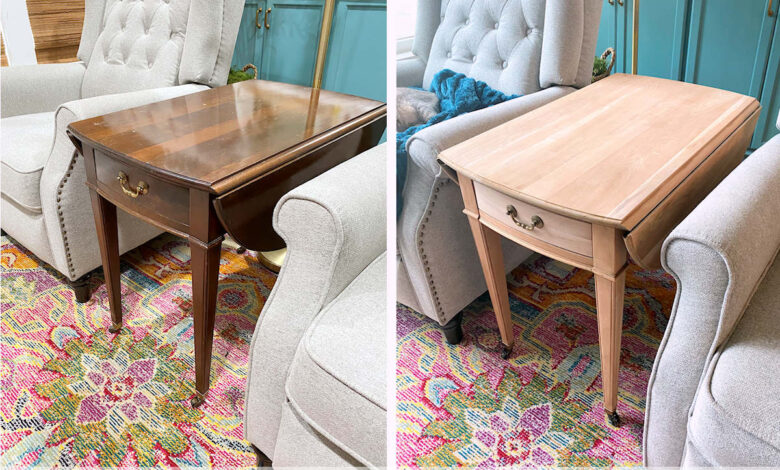
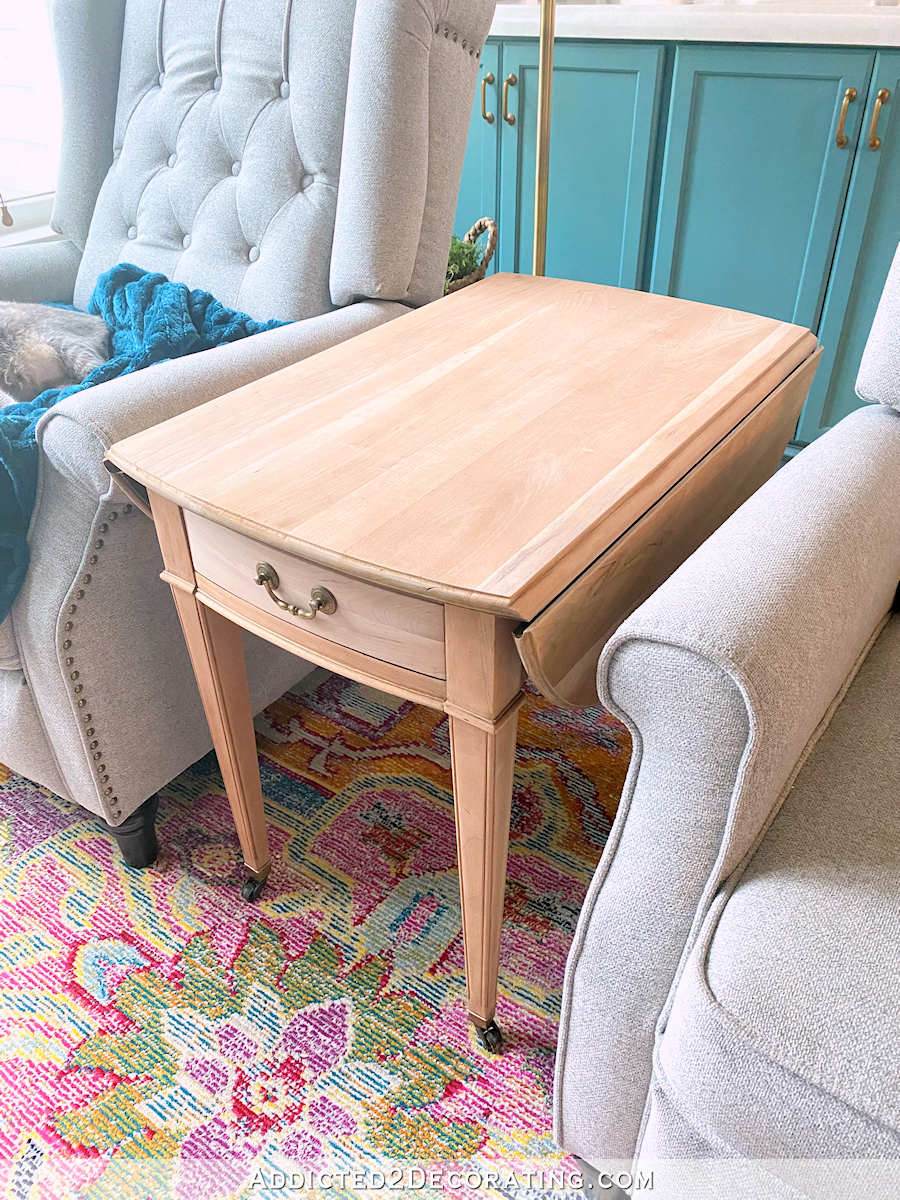
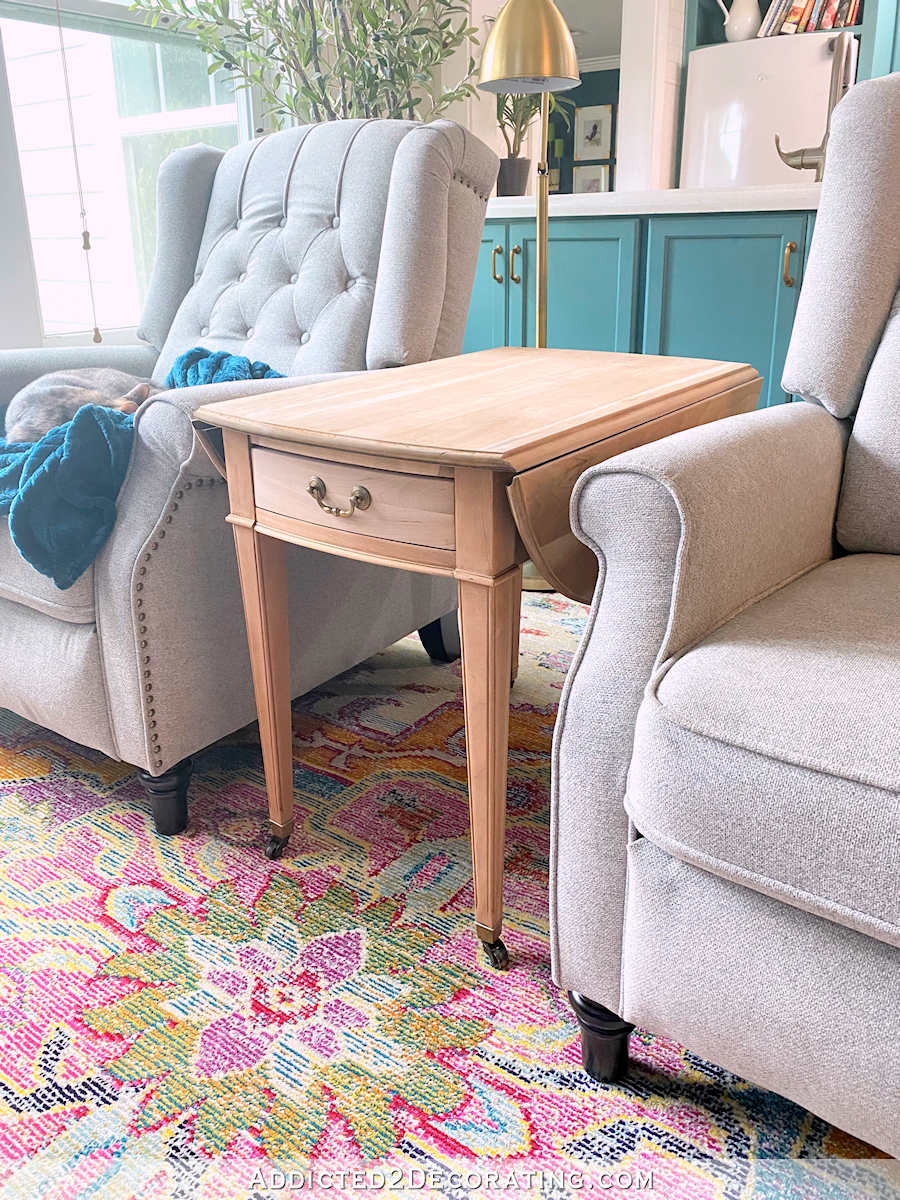
Yesterday, I took some time to refinish the side table in our sitting room. After looking and looking for a side table to go between the chairs in this room, and having absolutely no success, my mom gave me this table that she was no longer using.
It’s an Ethan Allen table that had a very thick and dark factory finish on it. And those old, dark factory finishes are just not my thing. I had thought about painting it, but this room already has lots of painted wood, and it doesn’t have any natural wood other than the window shades.

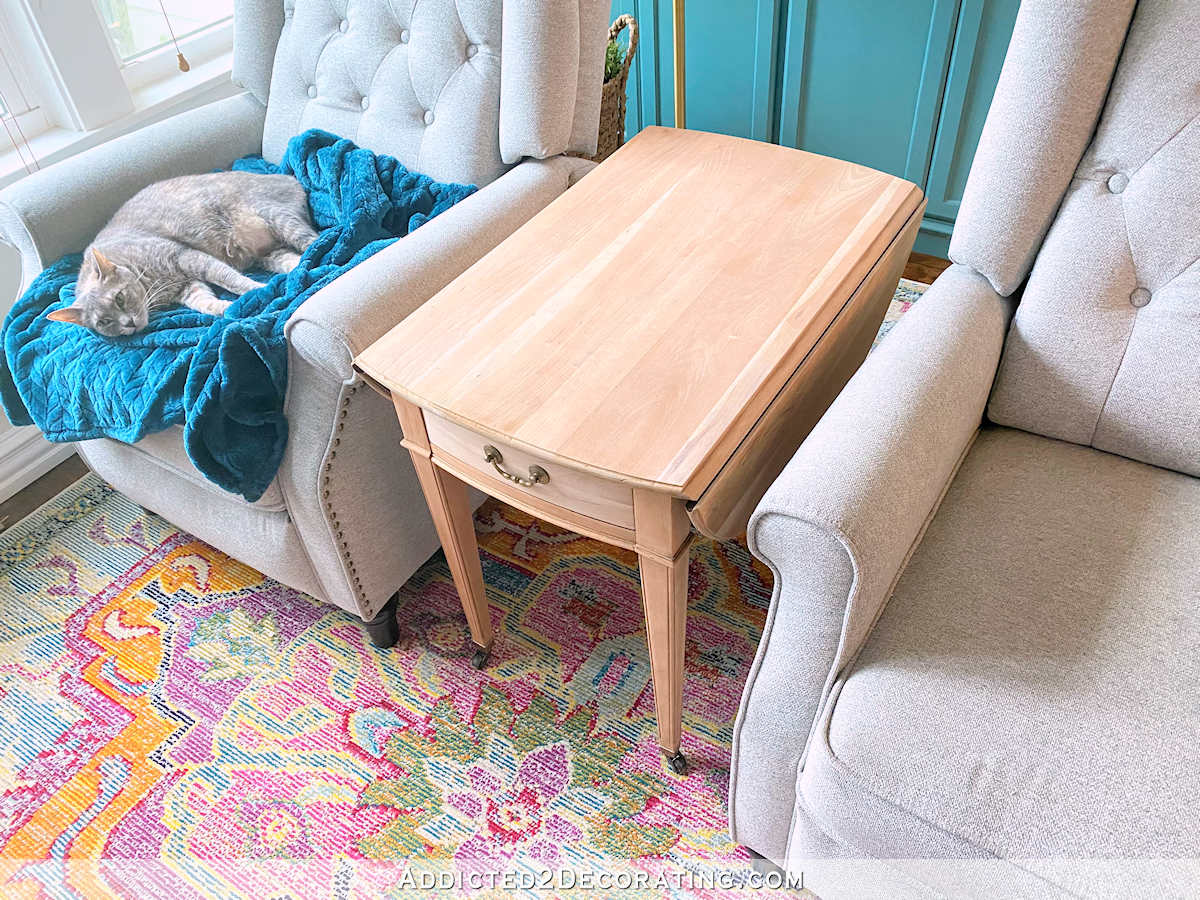
So I decided to refinish the table instead of painting it. Actually, all I did was strip off all of the old finish and leave the wood natural. The wood underneath all of that heavy, dark finish was actually quite pretty on its own.
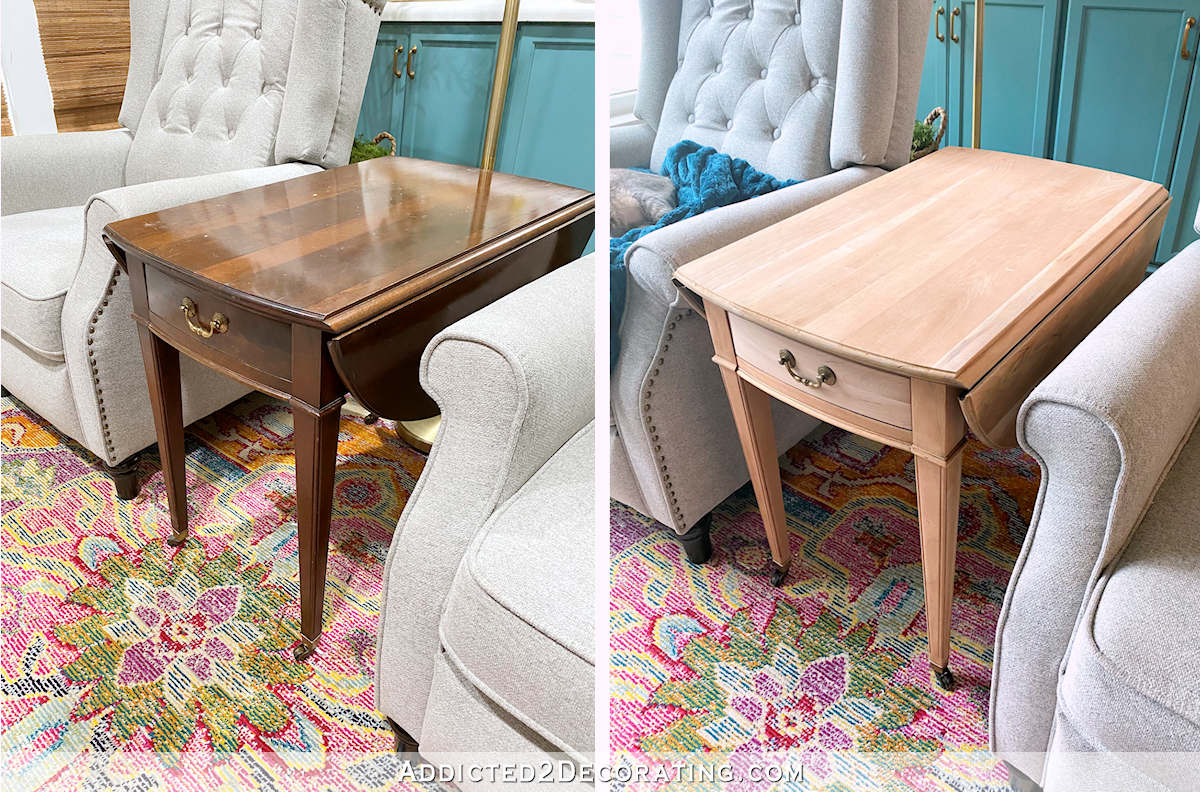
It doesn’t actually have any kind of finish on it right now. It’s just bare wood. My plan right now is to use my favorite water-based clear coat — General Finishes High Performance Topcoat in a flat finish.
But I’m going to wait for the new rug to arrive before I make any definite decisions. In my mind’s eye, I think this table will look great on the new rug, but I want to see it with my actual eyes before I decide for sure.
Stripping this table was harder than I expected. Yesterday was an incredibly humid day, and much to my surprise, the stripper would dry almost as fast as I could brush it onto the table. I’ve never had that experience before, and I was using the exact same stripper I always use (Klean Strip Premium Stripper). So I think it must have been the weather. I would have expected humidity to keep it wet and workable longer, but the very opposite happened.
(Note: If you’re reading this post on any website other than Addicted 2 Decorating, that means you’re reading on a site that is stealing my blog content. I hope you’ll consider joining me on my actual blog by clicking here.)
So in the amount of time it usually takes for the stripper to eat through the finish, it had dried to a crispy finish that wasn’t so easy to scrape off.
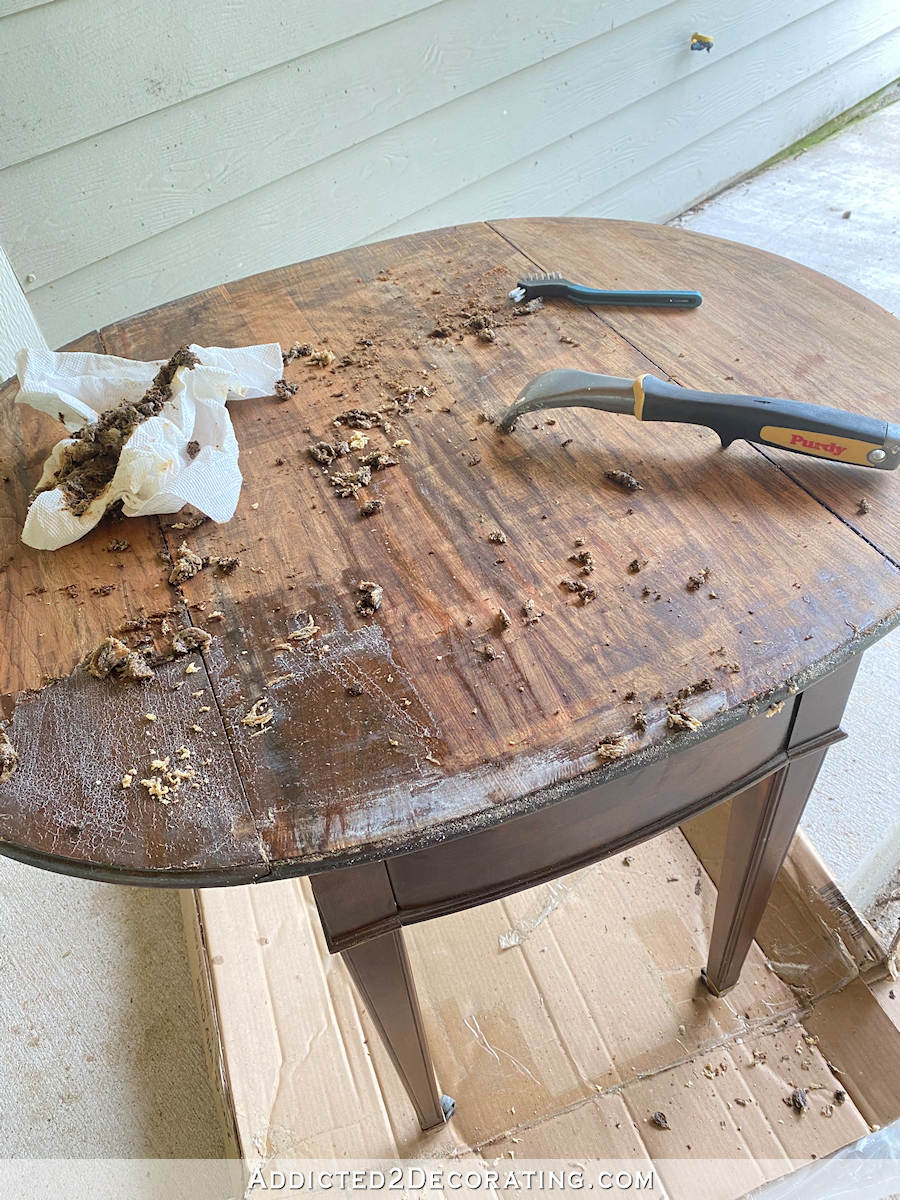
So I eventually gave up on that and decided to go straight to the sander. I had tried to avoid that because I wasn’t sure if this table had veneer, and it’s so easy to sand through veneer when dealing with these thick factory finishes. But I had to take that chance, because the stripper option just wasn’t going to work at all.
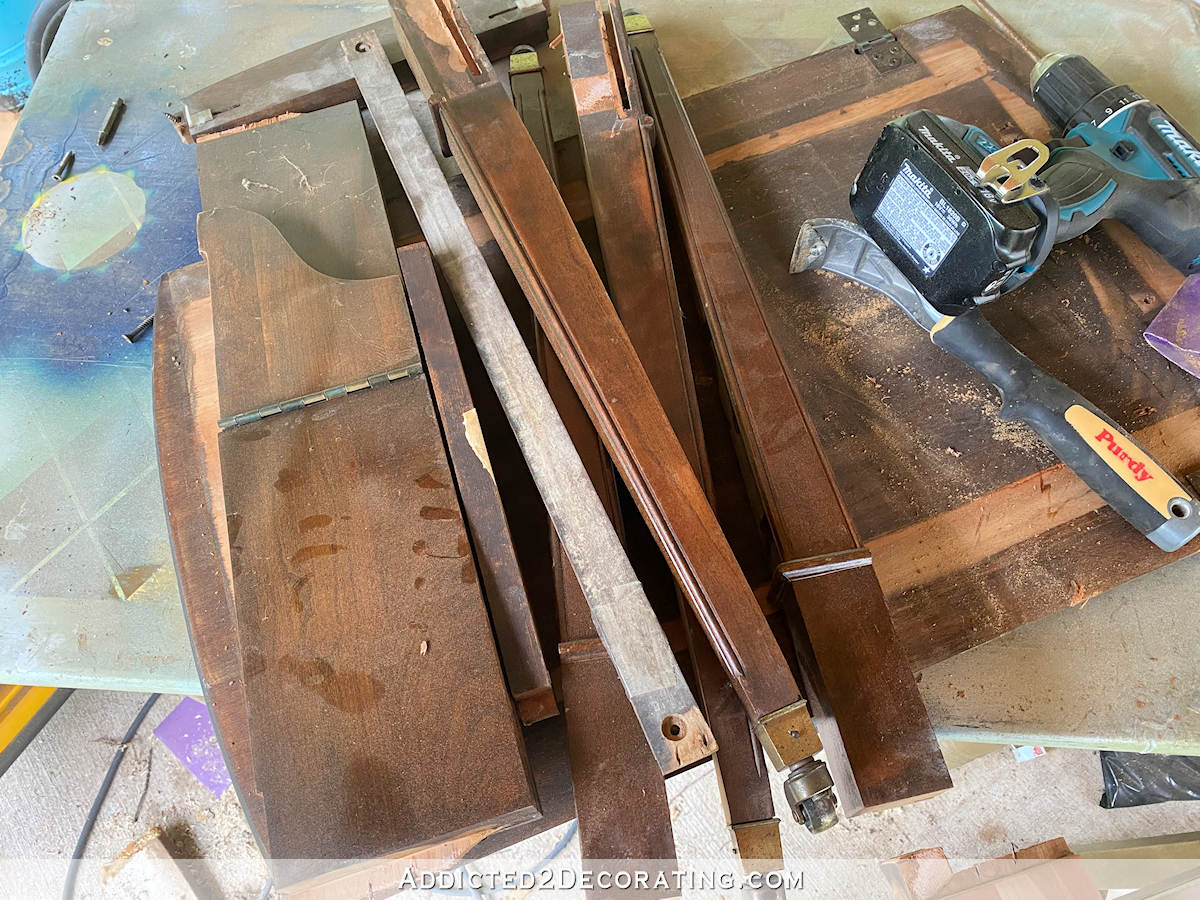
Since the table is pretty small, and there’s no way my 5-inch sander would get into all of the areas I needed to sand, I ended up taking it apart. Fortunately, the table was so old that all of the wood glue had given way by now, and the table was just being held together with about 15 screws. But having all of the pieces separated made the sanding process very quick and easy.
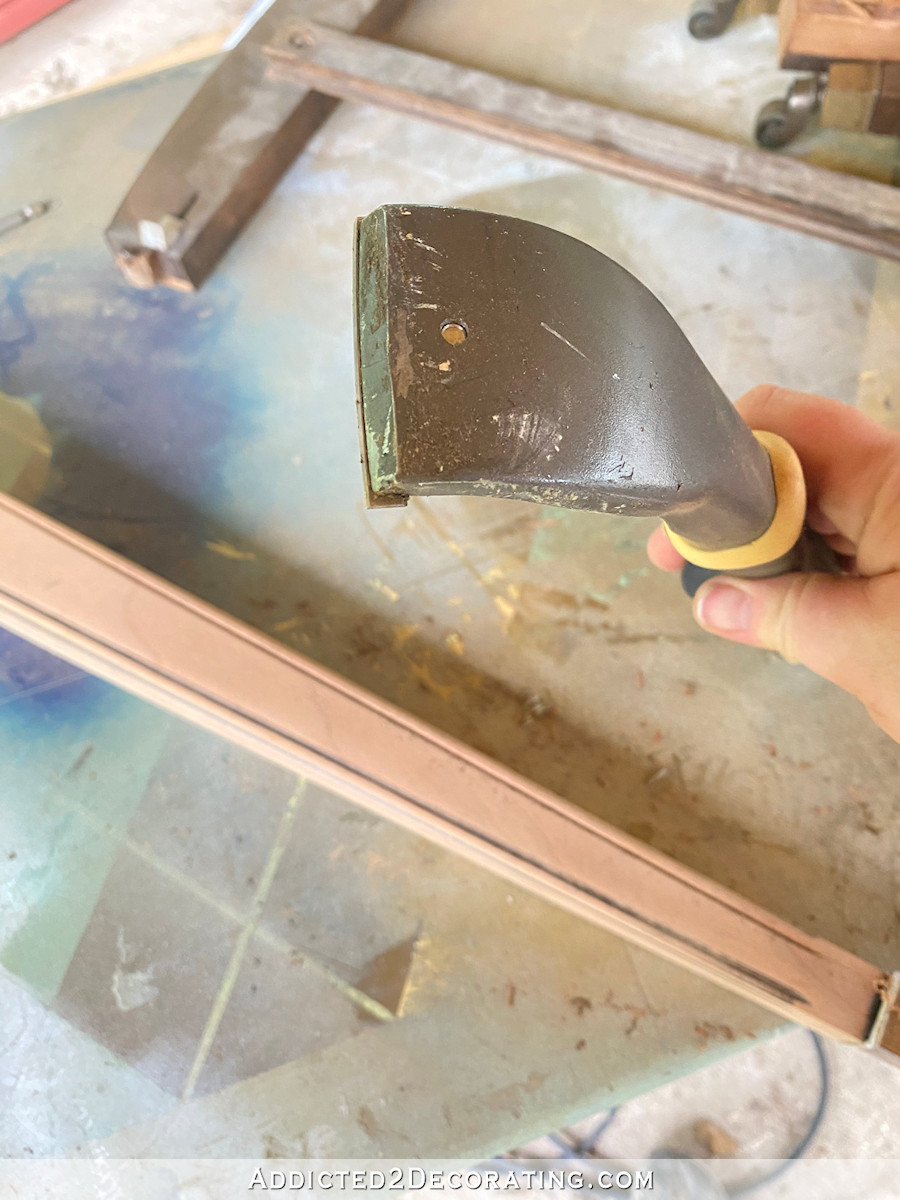
To get the finish out of the little fluted areas on the legs, I used this scraper. This tool is a must if you’re refinishing hardwood floors (to get the finish out of the corners), but I had never used it on furniture before.
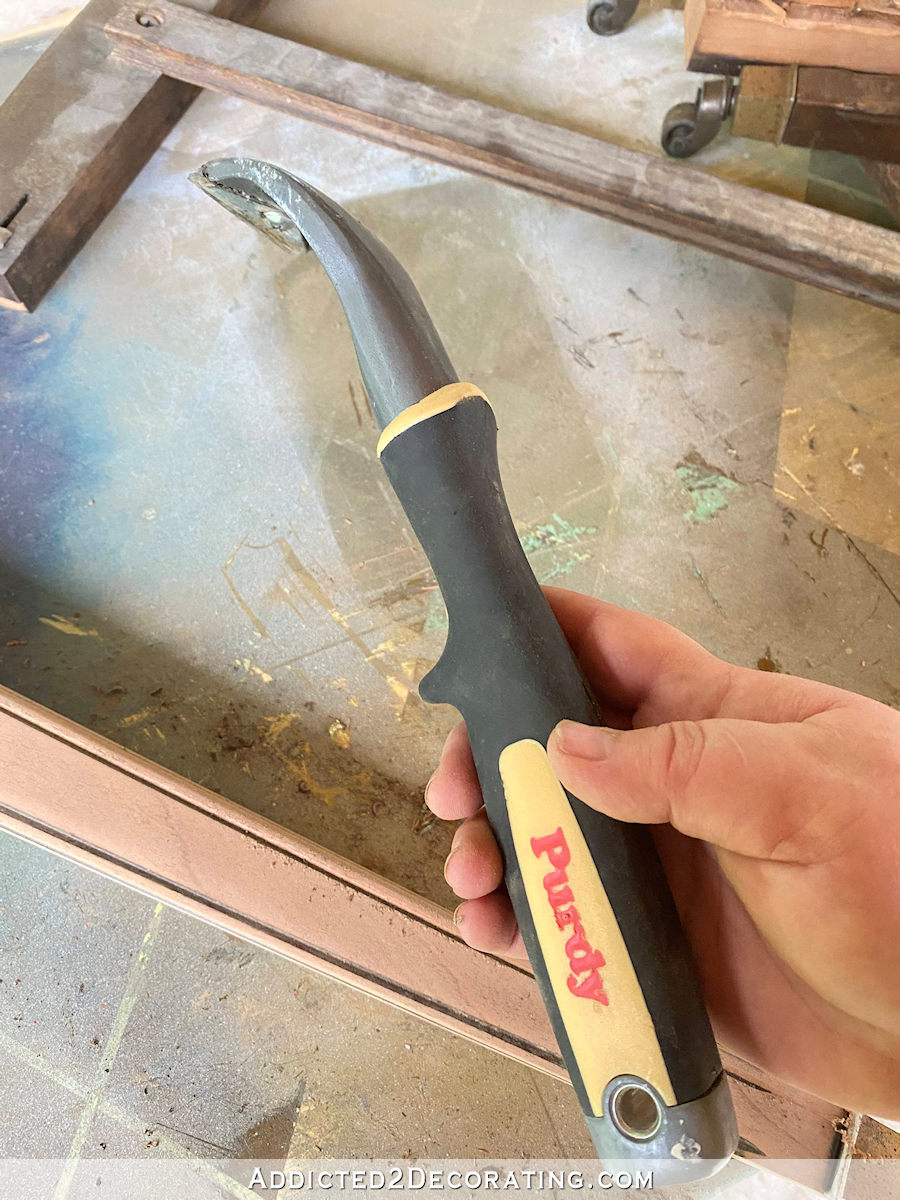
But it has these sharp corners on it that make it easy to get down into the fluted details.
So I put the corner down into the groove, and scraped about three times in slightly different angles.
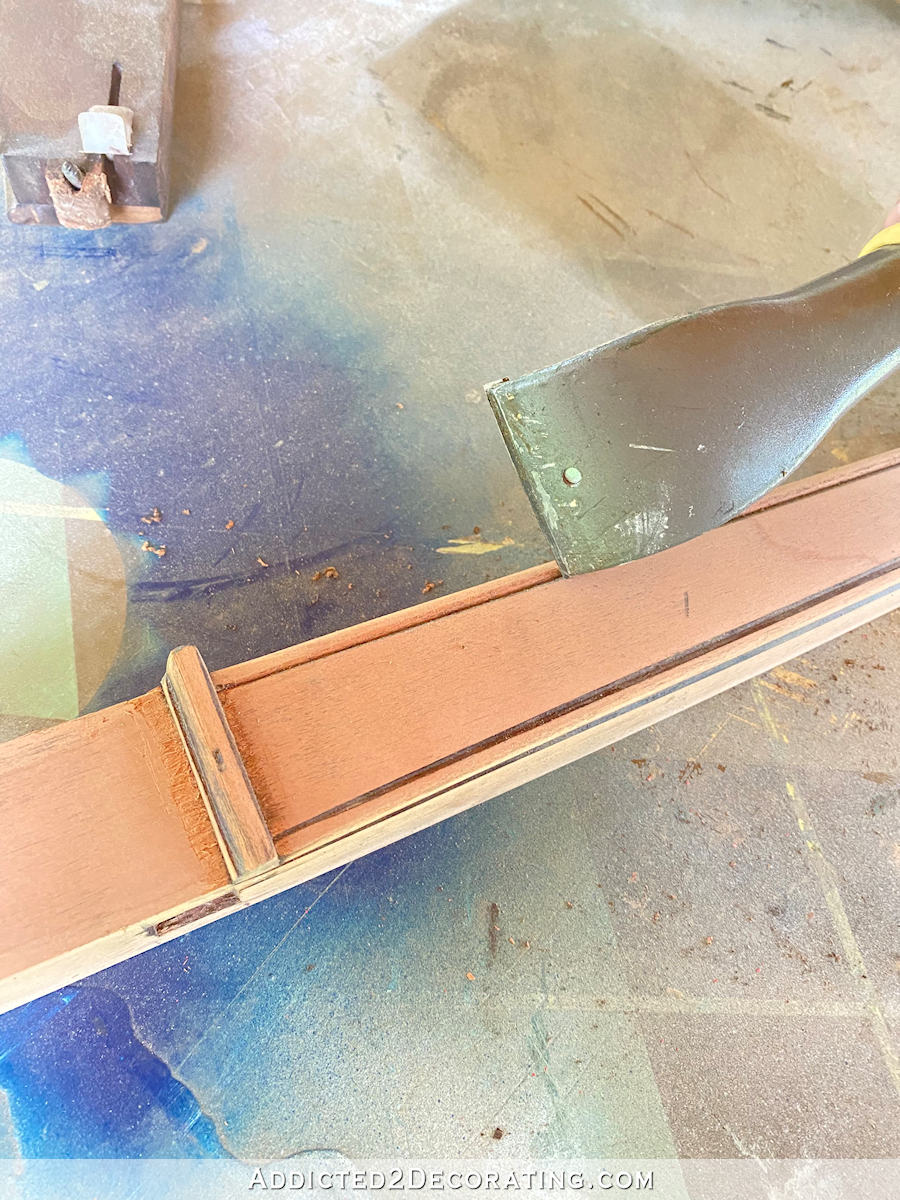
And then I switched to the other side and repeated that process. I was quite surprised at how quickly this went. It was a much easier and cleaner process than trying to use paint stripper in these fluted details.
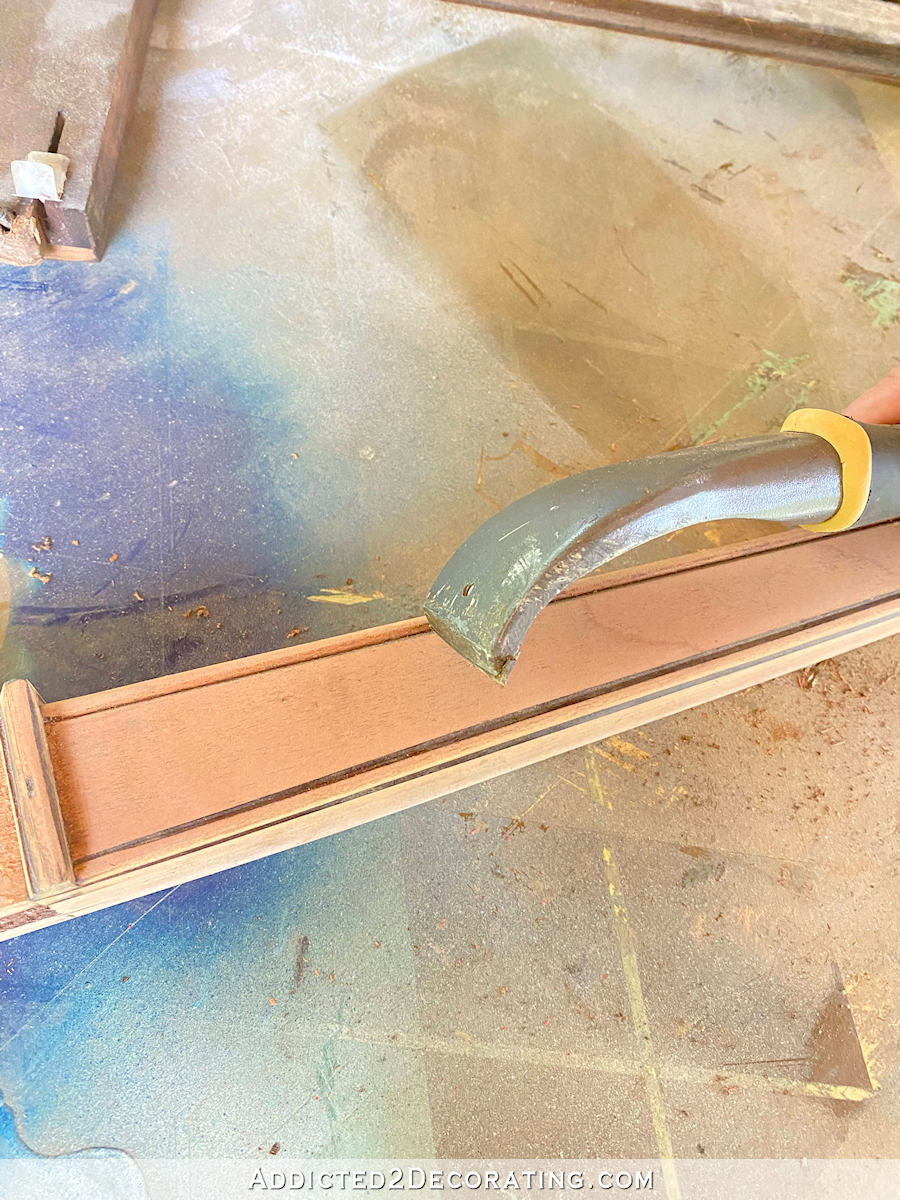
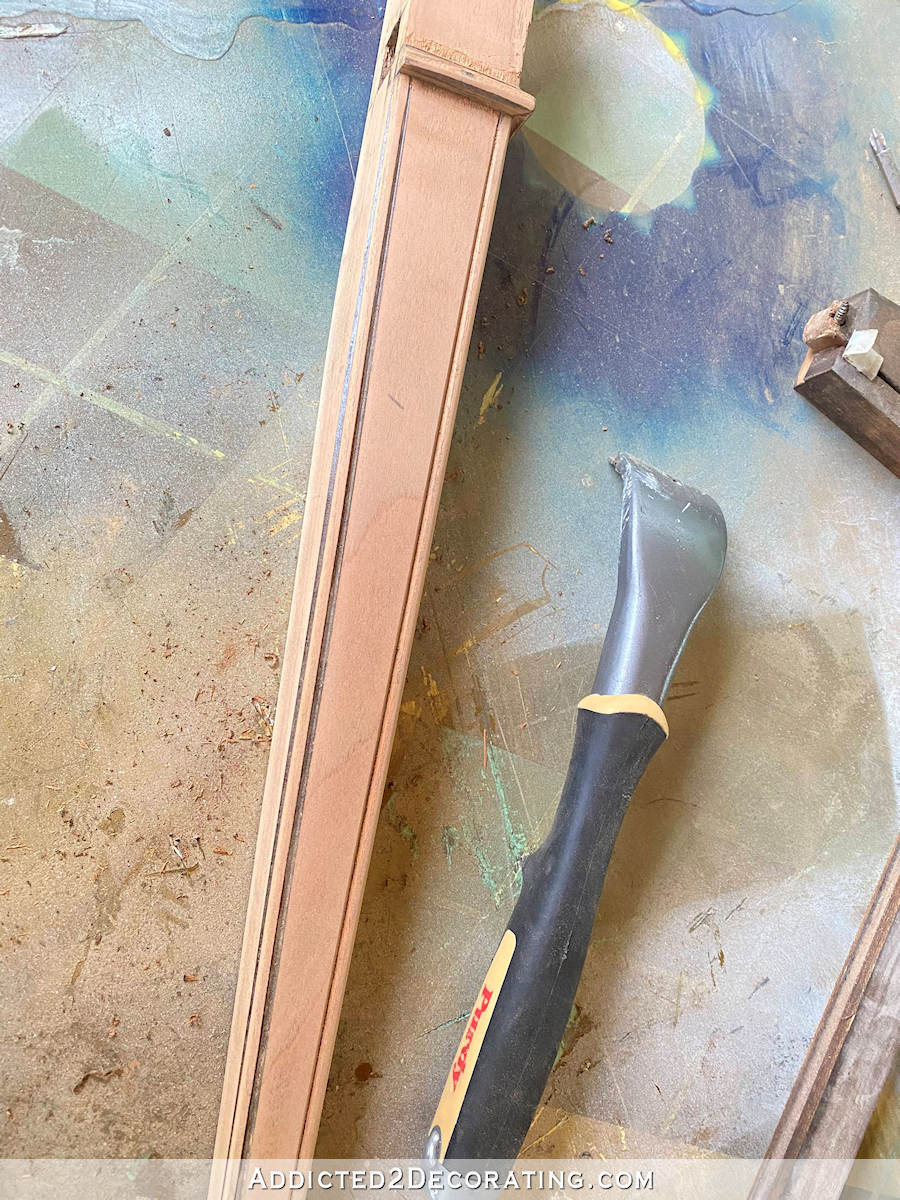
You can see here how well it worked. The groove on the right took about two minutes to clean the original finish out. You can see how great it looks compared to the one on the left that still needs to be scraped.
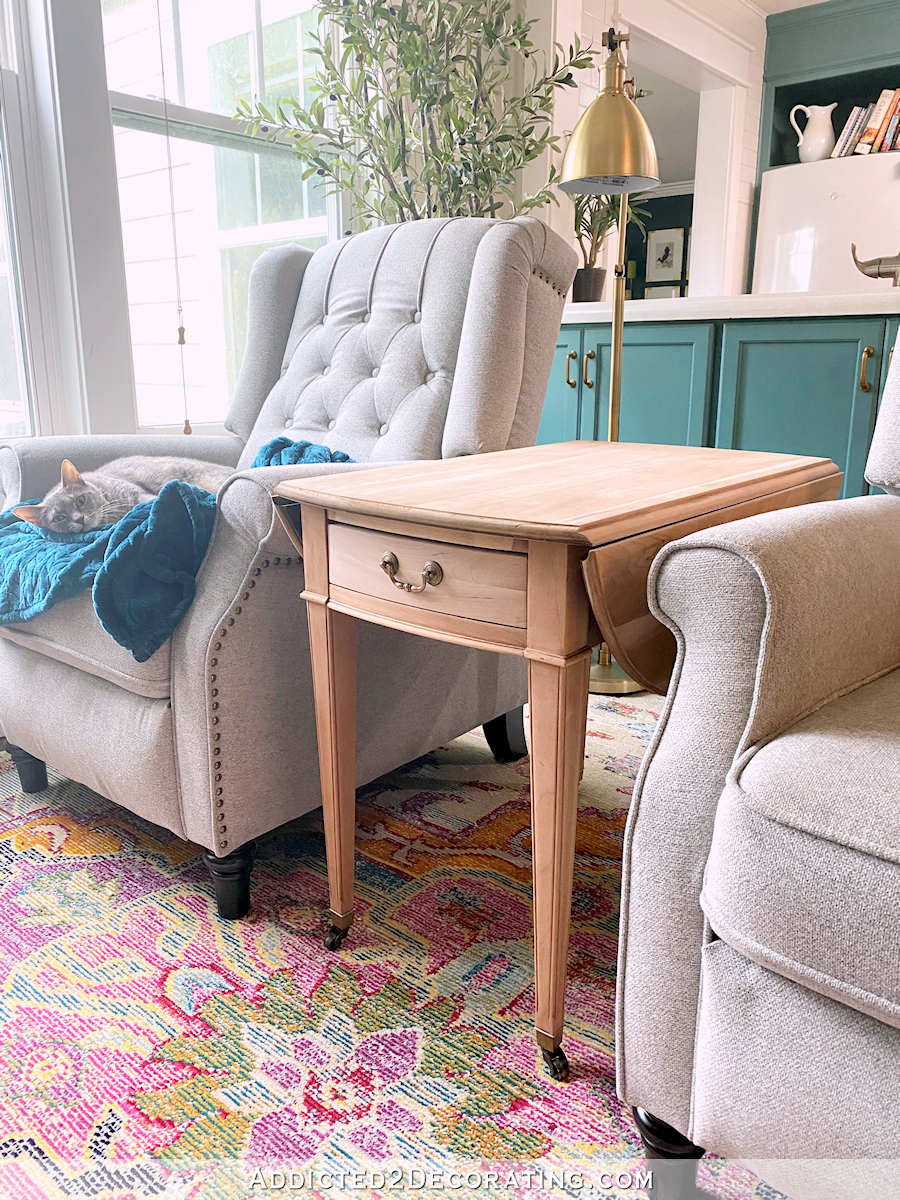
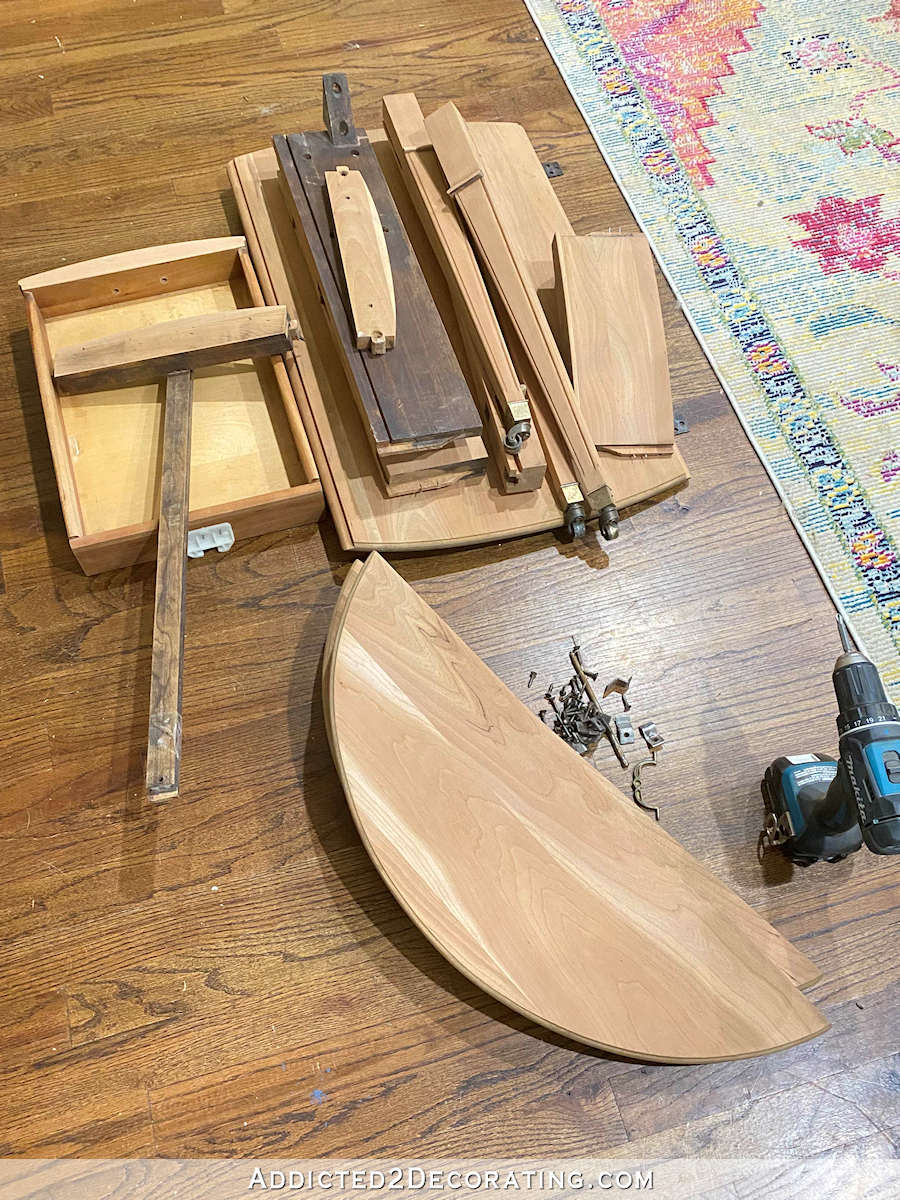
So after some sanding, scraping, and then finish sanding by hand with 220-grit sandpaper (that process goes pretty quickly and is not labor intensive at all), I was left with this pile of parts and a little mound of screws that needed to be turned back into a side table. This time I used wood glue to put it back together, so it’s much sturdier now than it was before.
I really love it just as it is, so I’m hoping it’ll work perfectly with the new rug. If it does, it’ll just need about two coats of the topcoat, with a quick sanding using 220-grit sandpaper between coats. Easy peasy.
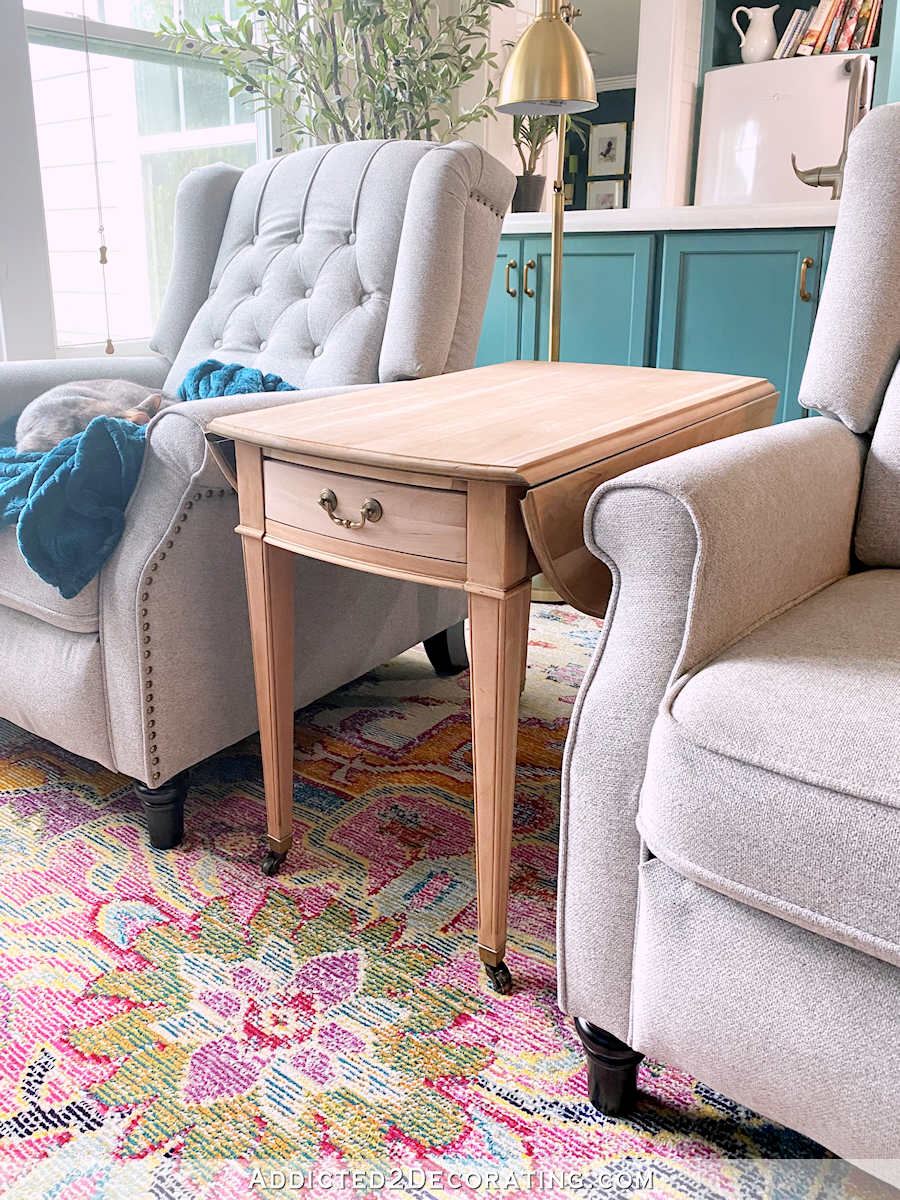
I’m not one of those people who can recognize different wood species, so I have no idea what this is. All I know for sure is that it’s NOT oak, pine, or walnut. Those are really the only three I know. 😀
It’s quite red, and I could swear that it’s a soft wood, but I could be wrong about that. And it’s an Ethan Allen table that’s probably several decades old, if that gives any hints. What do you think? Cherry? Although I’m pretty sure cherry is a hard wood. Well, whatever it is, I think it’s very pretty now that it’s been freed from that old, thick, dark finish.
Source link