Yesterday, I did a quick and easy project that I’ve been wanting to do for a while now. I made a simple removable DIY teak shelf to go in the shower niche in our new master bathroom shower.
This is one of those “because I wanted to” projects. It doesn’t serve some great purpose. I just wanted to add a bit of warmth with some wood in our big white shower. I had already purchased this teak corner shower bench, and I loved the warmth that it added. But I wanted to add just a bit more of that warmth to the sterile white shower niche as well.
I wanted to be sure that the teak shelf matched the teak bench, so I purchased this teak serving tray made by the same company.
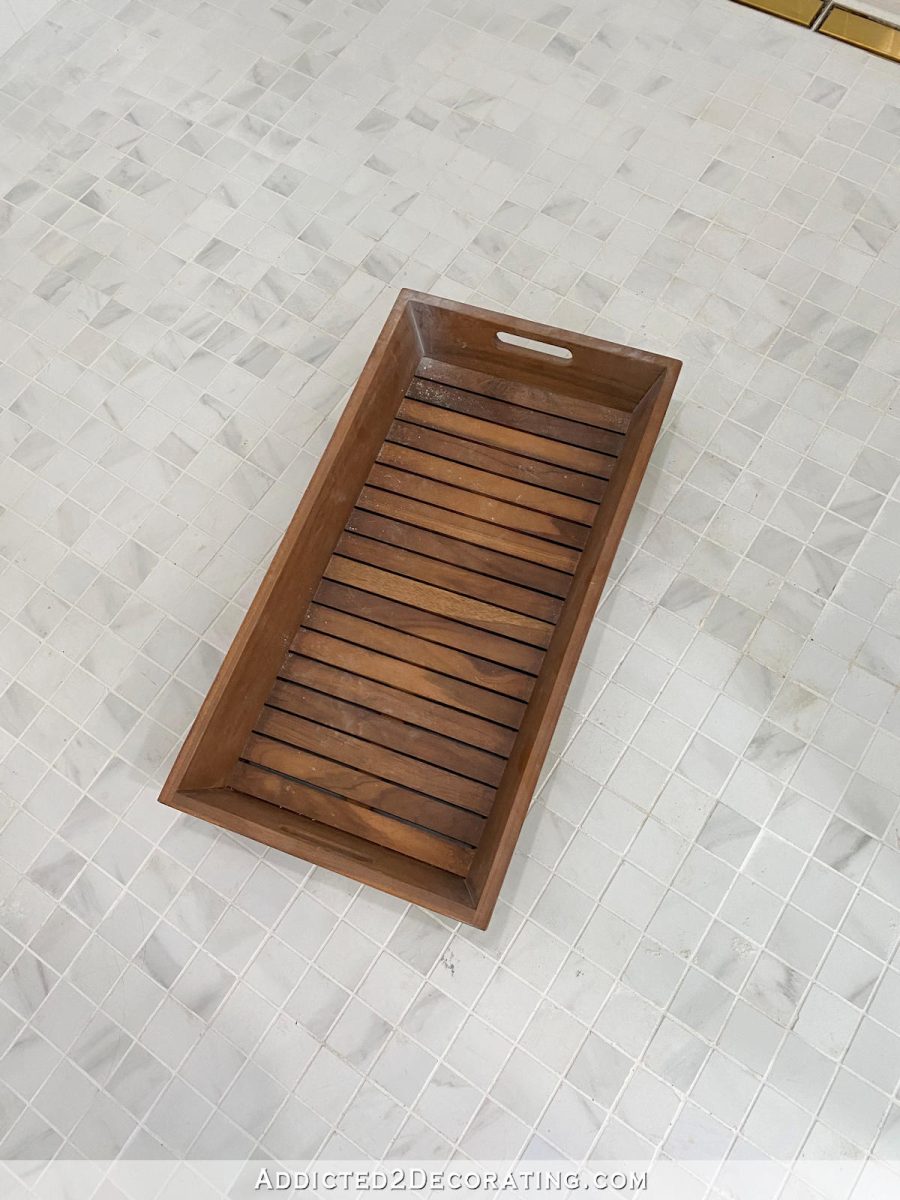
The tray was pretty big, as you can see compared to my 100-pound dog. 😀

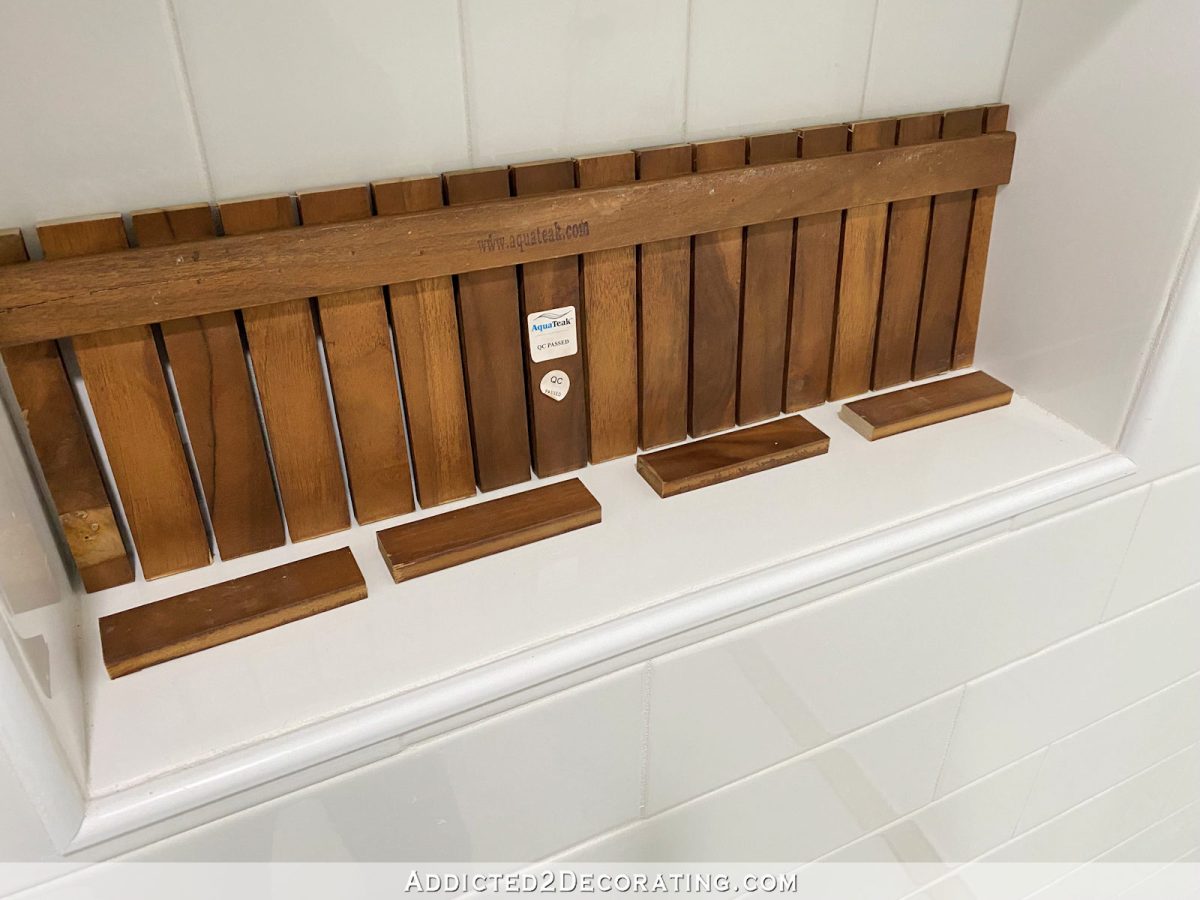
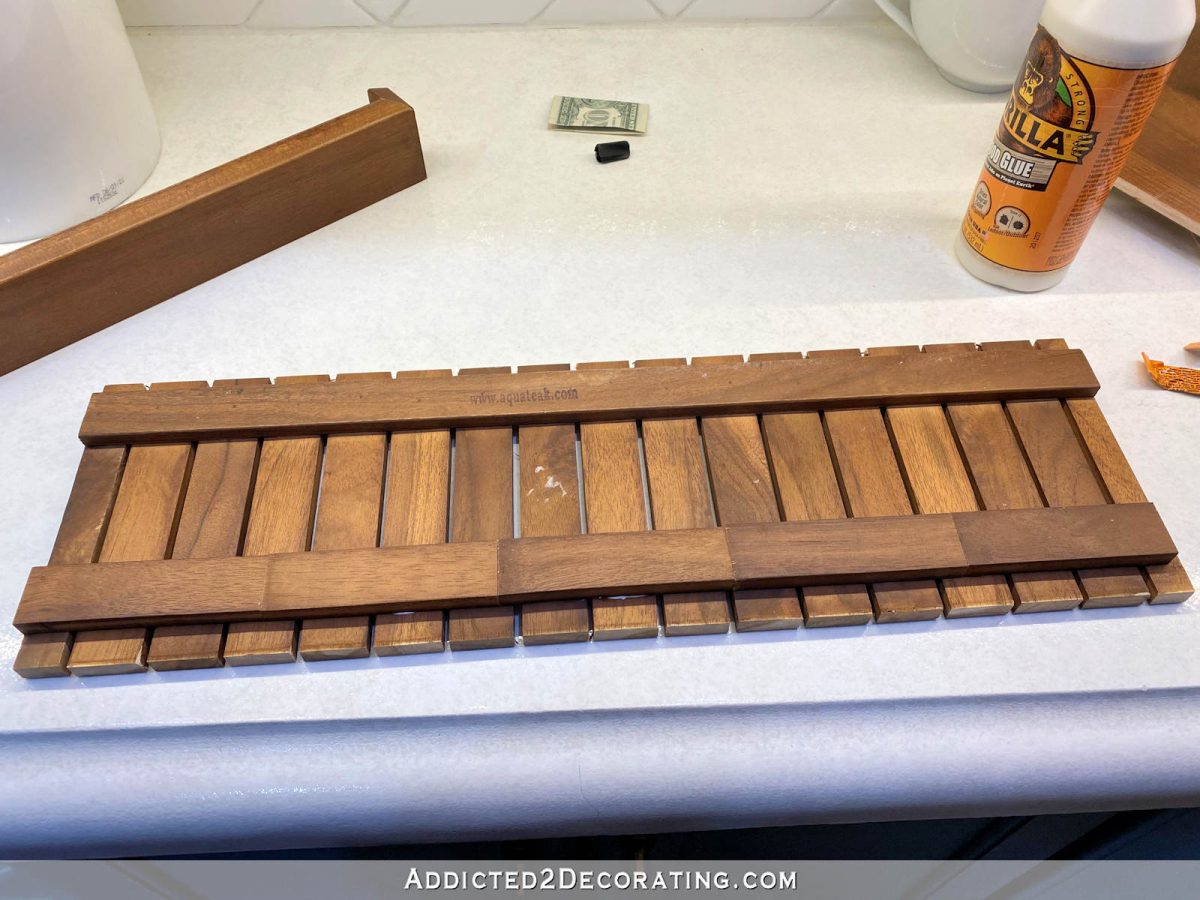
After carefully removing the sides of the tray with a rubber mallet (the sides were glued and nailed), I was left with the assembled bottom slat section. It came off as one piece because those bottoms slats were glued and nailed to one long piece of wood on the bottom.
So I took that assembled piece to my table saw and cut it to the width of the shower niche, and the depth plus about 1/2 inch.
This is what the bottom looked like. You can see the one long piece of wood that those slats were glued and nailed to. I needed to attach more on the back side so that this section would sit level, so I used some of the portions of the slats that I had just cut off to attach along the back.
This is what the bottom of the slat section looked like after I attached the new pieces so that it would sit flat. I assembled this whole shelf using super glue (for immediate hold) and wood glue (for long-term strong adhesion).
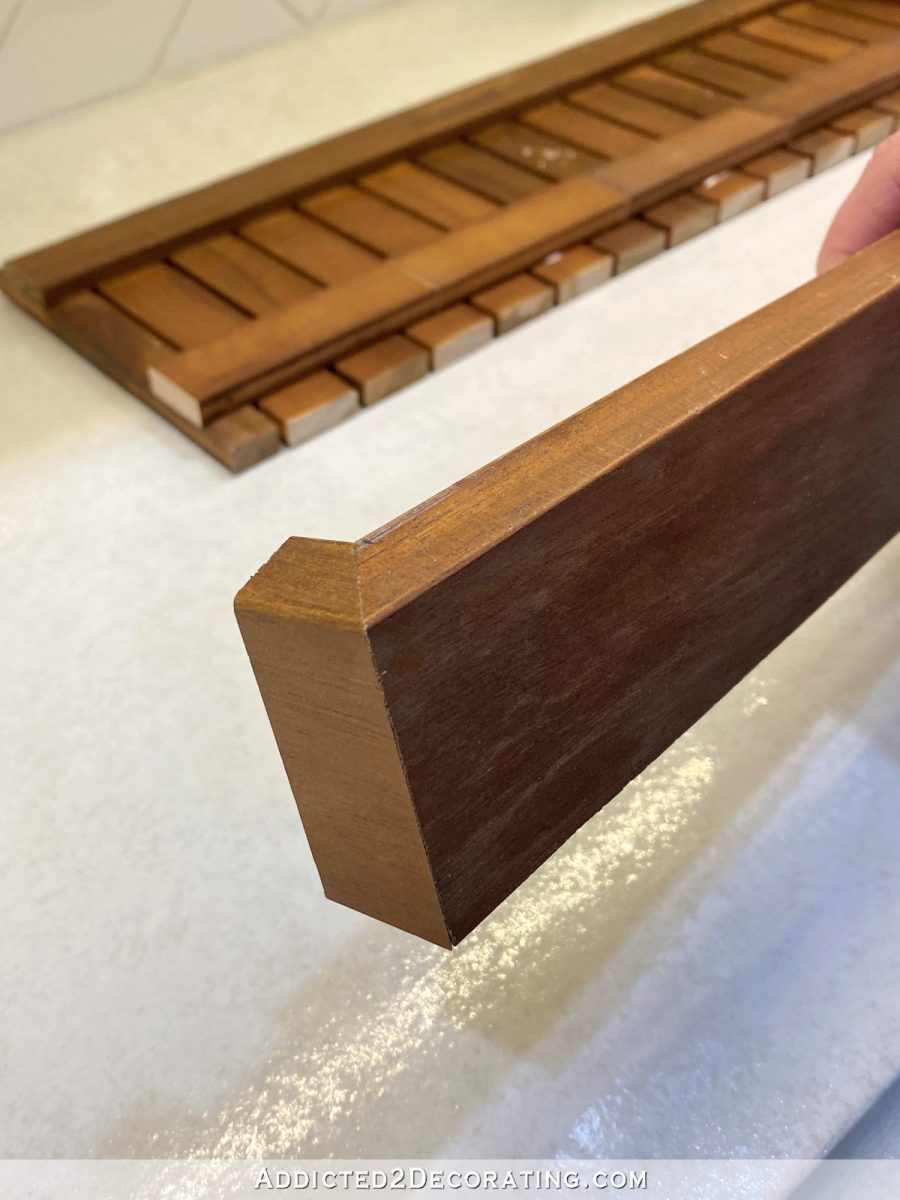
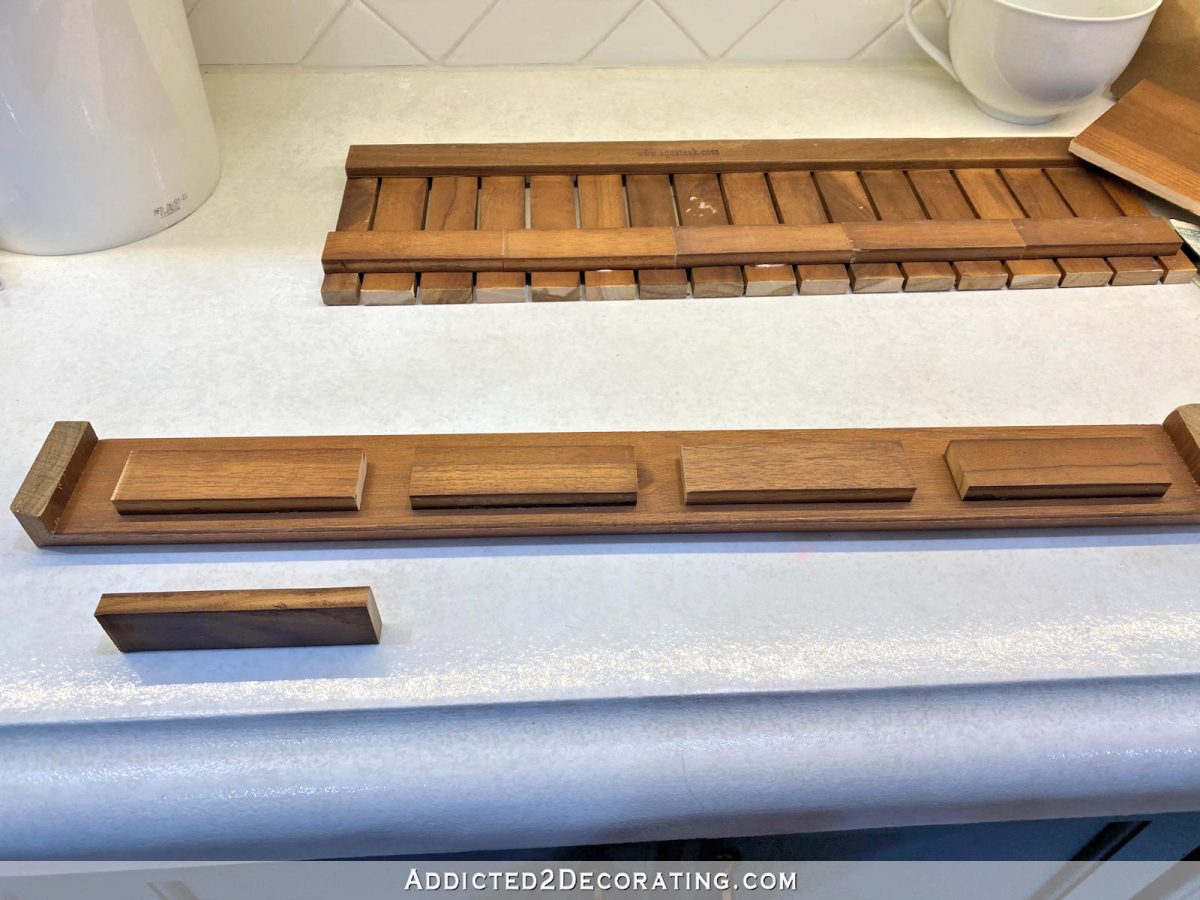
While I set that aside to dry a bit (although that wasn’t really needed since I used super glue as well), I used the solid side pieces of the serving tray to form the front edge of the shelf. Using my table saw, I cut one of the long pieces and one of the shorter side pieces so that they were about 2-2.5 inches tall, keeping the top tapered edge of the original pieces. Then I cut the long side piece to the correct width to fit the front of the shelf, mitering the corners. And then from the shorter side piece of the tray, I cut little 1/2-inch returns with mitered corners. I assembled these using the same super glue/wood glue method. Just two dots of super glue on either end, with wood glue in the middle, is enough to get an immediate bond that will hold while the wood glue dries.
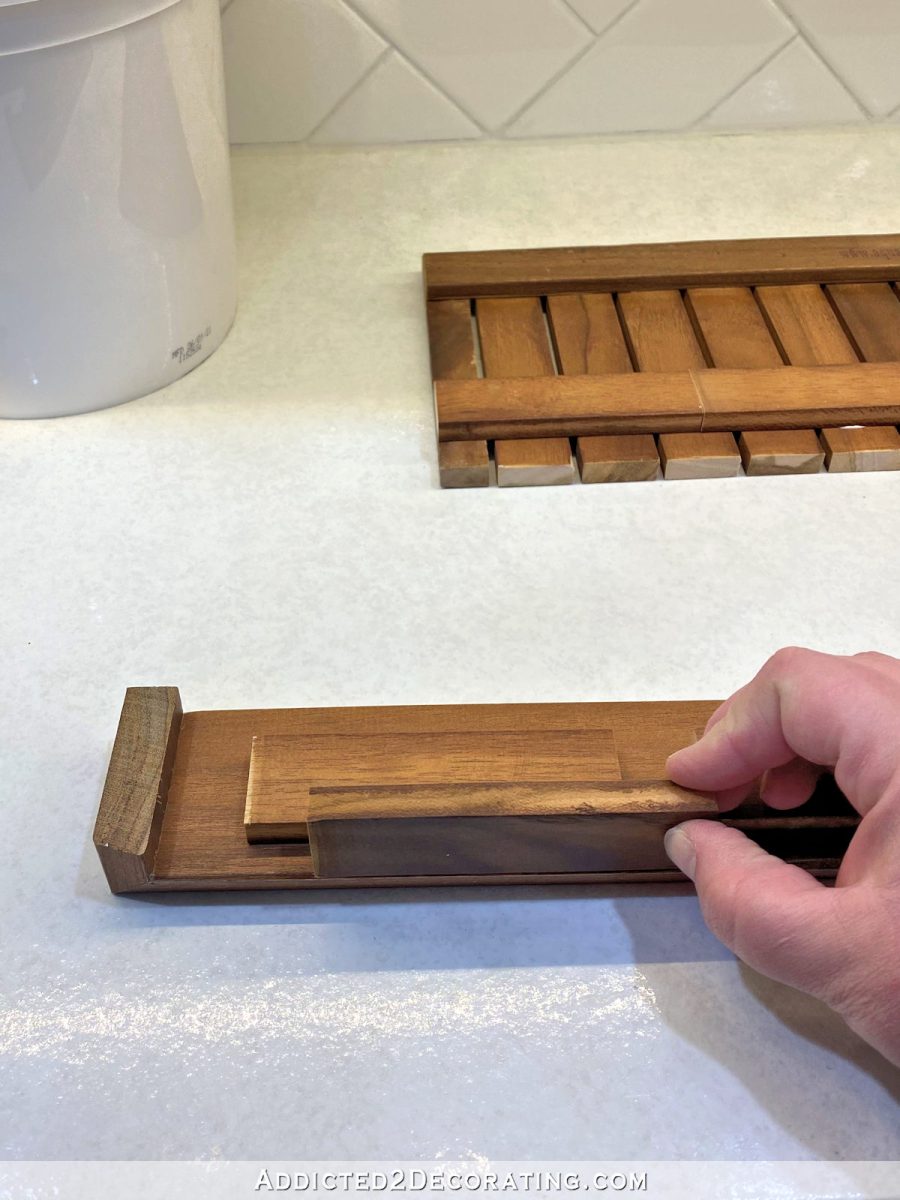
Next, I needed to attach pieces to the back of that solid piece that would attach to the front of the slatted shelf piece. The purpose of these pieces is to give the slatted shelf piece something to attach to. I was afraid that if I just tried to glue the front solid piece to the edge of the slatted piece, it wouldn’t be strong enough.
So using an extra wood slat piece as a spacer to gauge where these support pieces needed to be placed, I glued the support pieces in place.
I glued those on all the way across the back of the solid board.
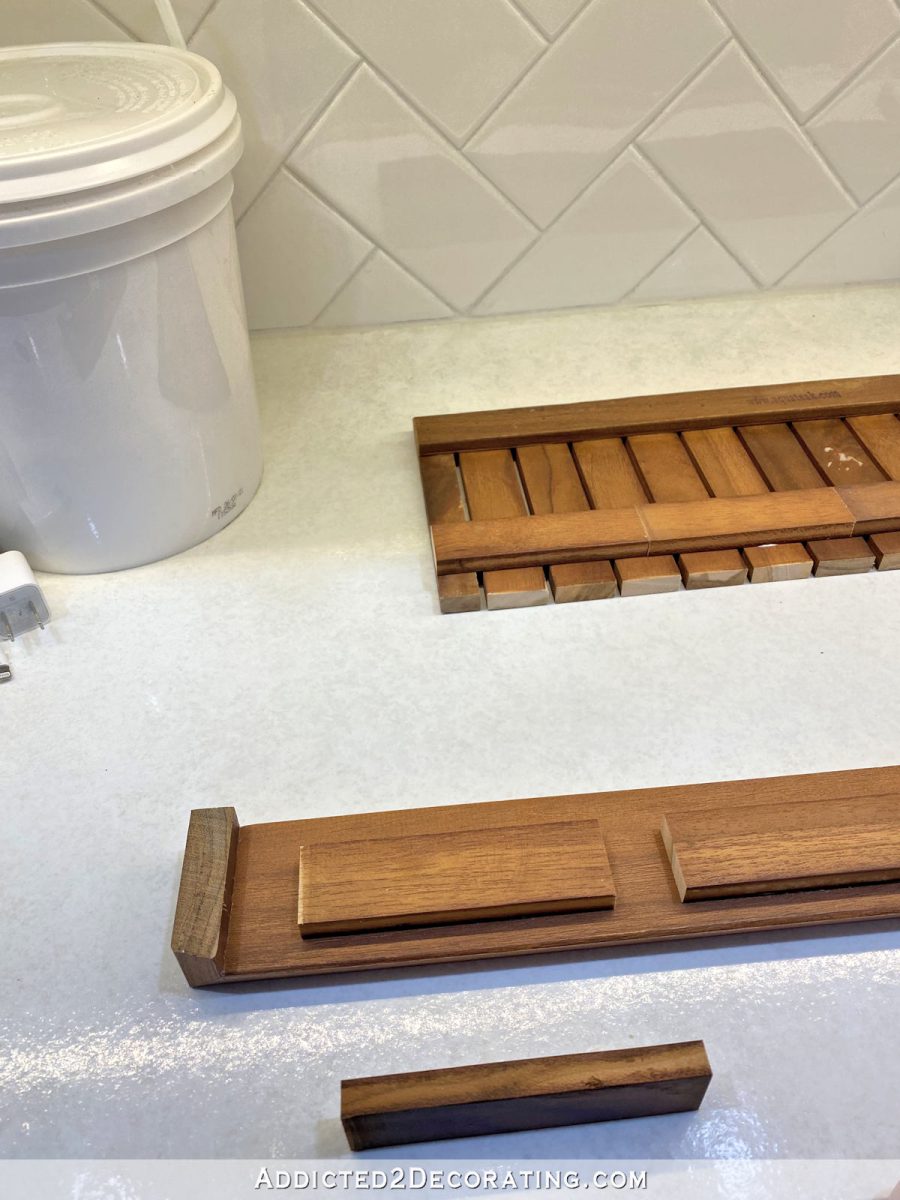
After those pieces were assembled, I had the slatted shelf (turned upside down in the photo below), and the solid piece with the 1/2-inch returns (lying on its face with the backside turned up in the photo below) that would be attached to the front edge of the slatted shelf. At this point, all I needed to do was attach the bottom front edge of the slatted shelf to the support pieces on the solid front piece.
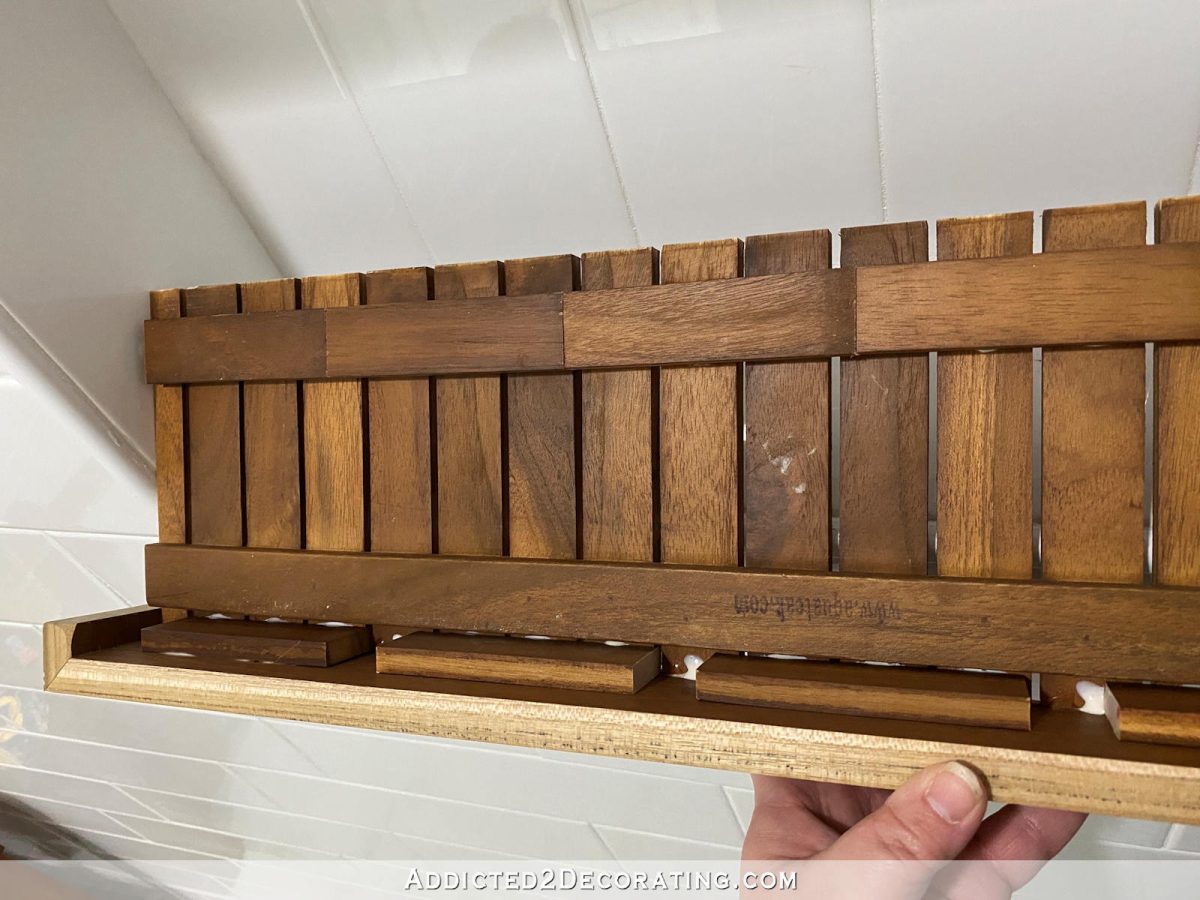
I’m not sure if you can make heads or tails of this picture, but this is what the bottom of the shelf looked like once it was assembled. Hopefully you can see that the front edge of the slatted shelf is resting on, and adhered to, the support pieces on that solid front piece.
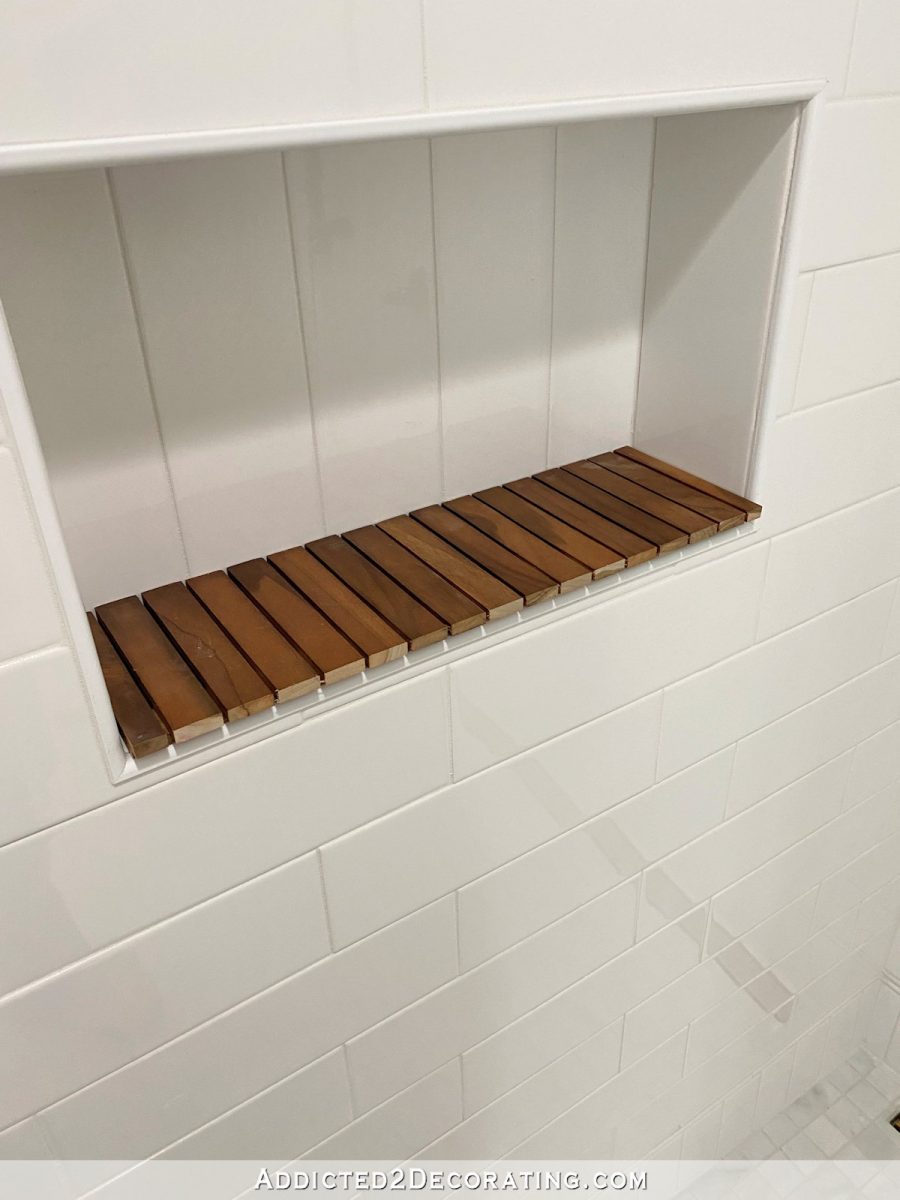
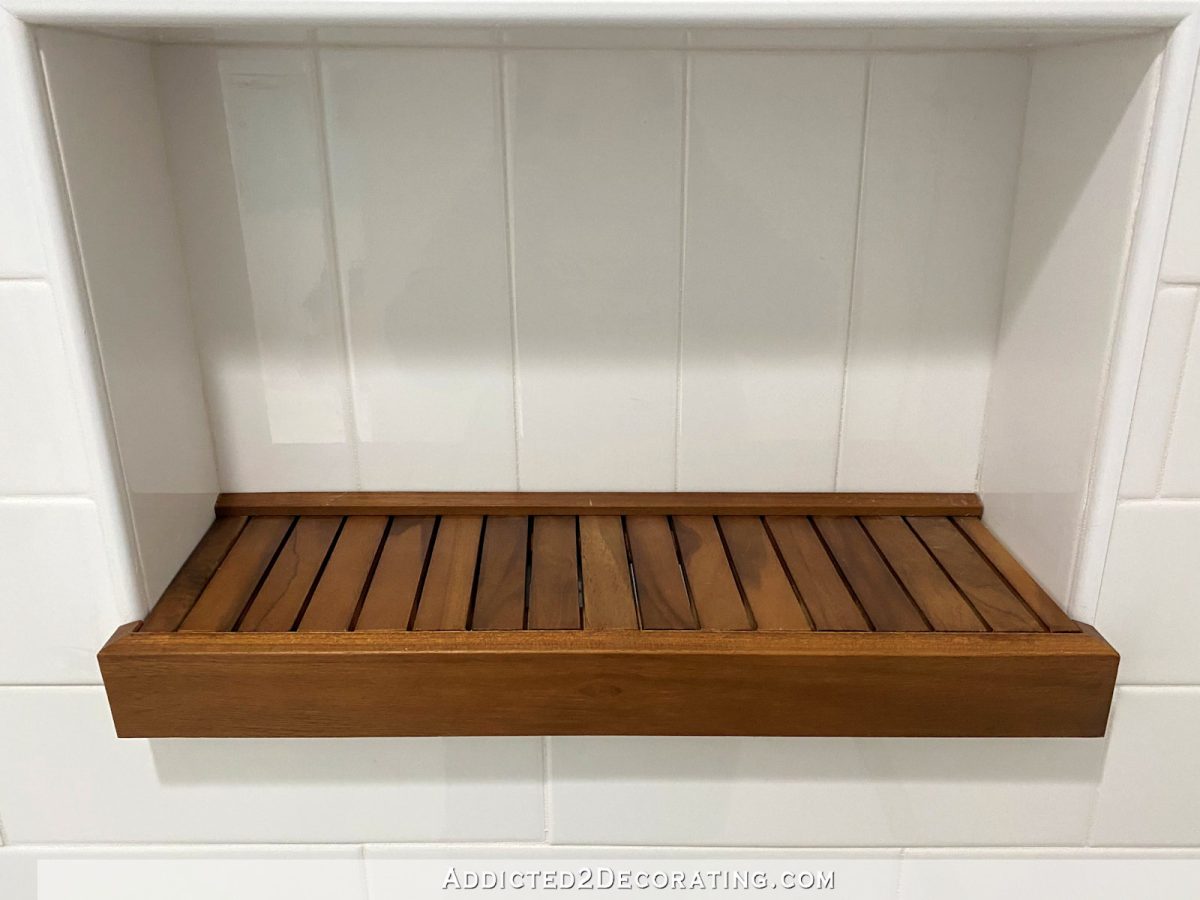
And here it is turned right side up and in place in the shower niche.
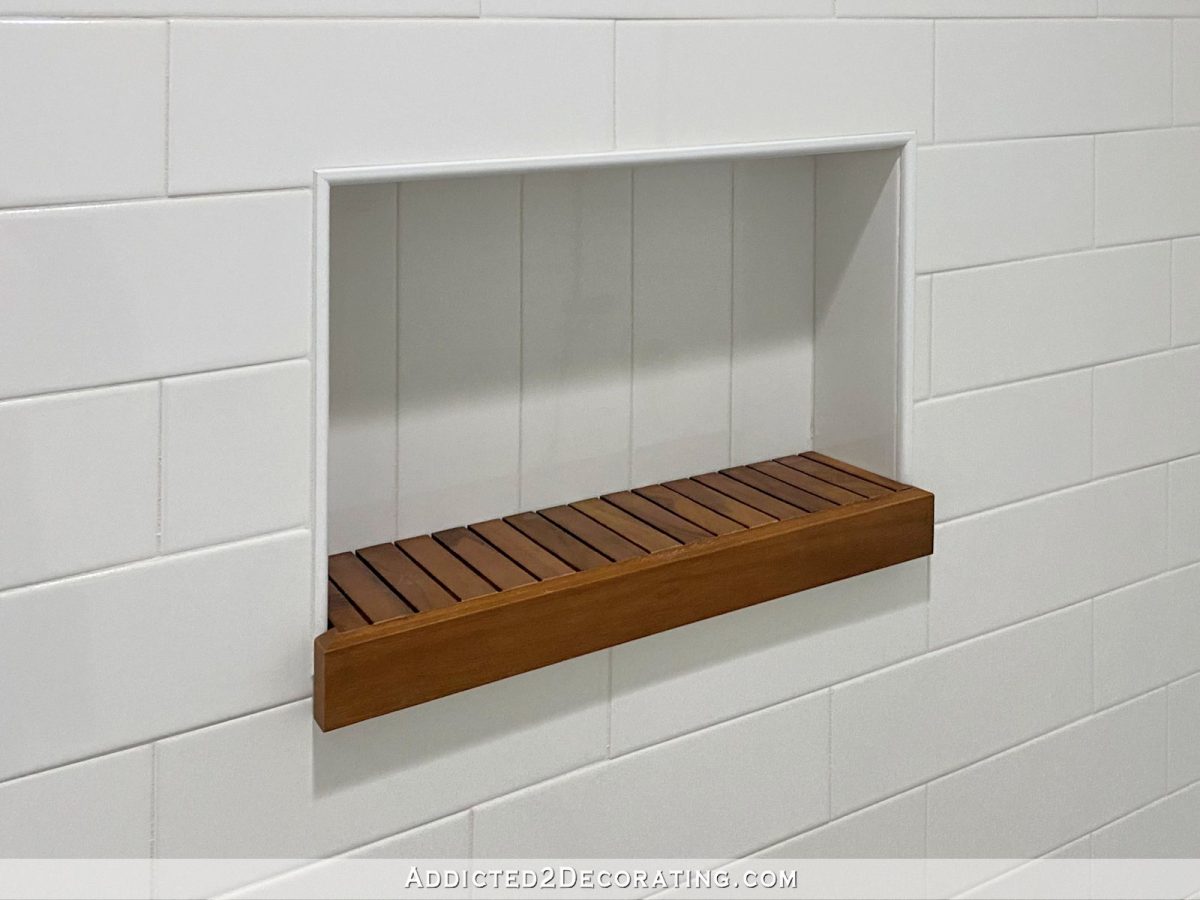
At this point, I wasn’t sure if it was finished, or if it needed something else. So I texted two pictures to my family. I sent this picture with what I had assembled so far…

And then I sent this picture where I had taken the other long, solid piece of the serving tray and cut it to fit in the back of the niche.
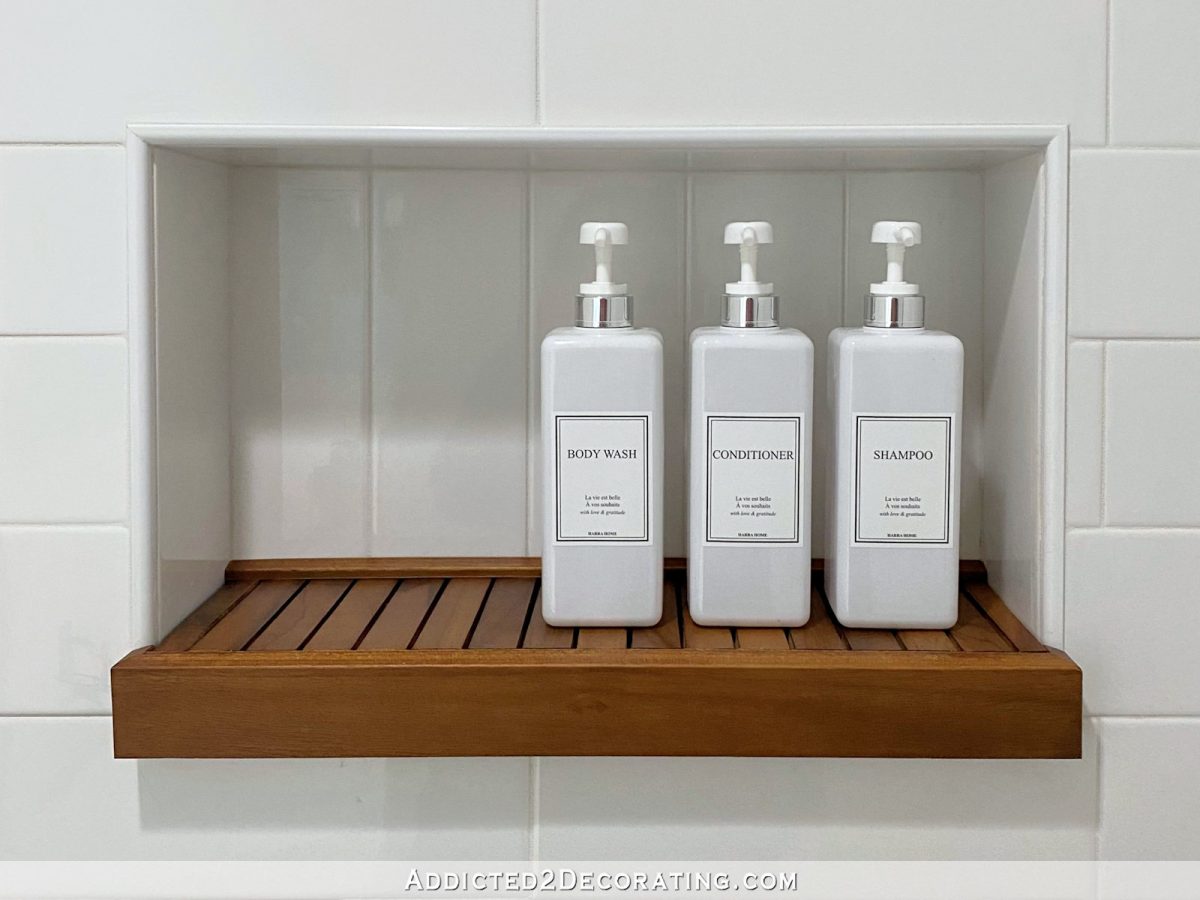
They voted for the first one, but I didn’t like how the raw cut edges of the slats just dead ended into the tile. It looked unfinished to me. So I took that back solid piece, and using my table saw, I just sliced off a thin piece of the top edge to adhere to the back so that the cut ends of the slats weren’t visible. I thought this gave it a more finished look.
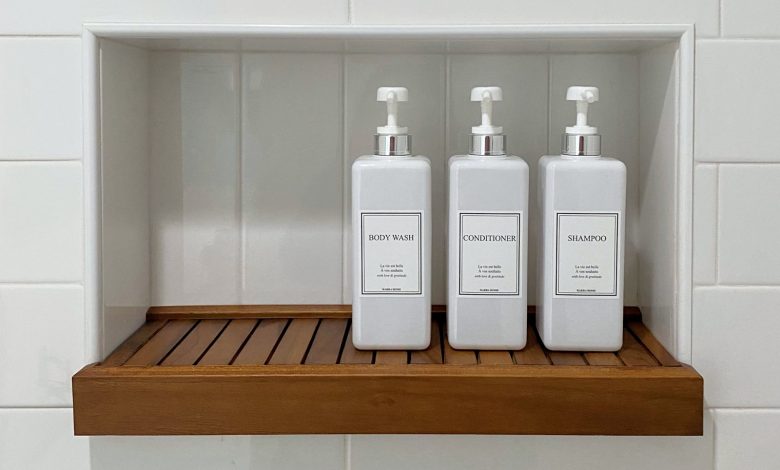
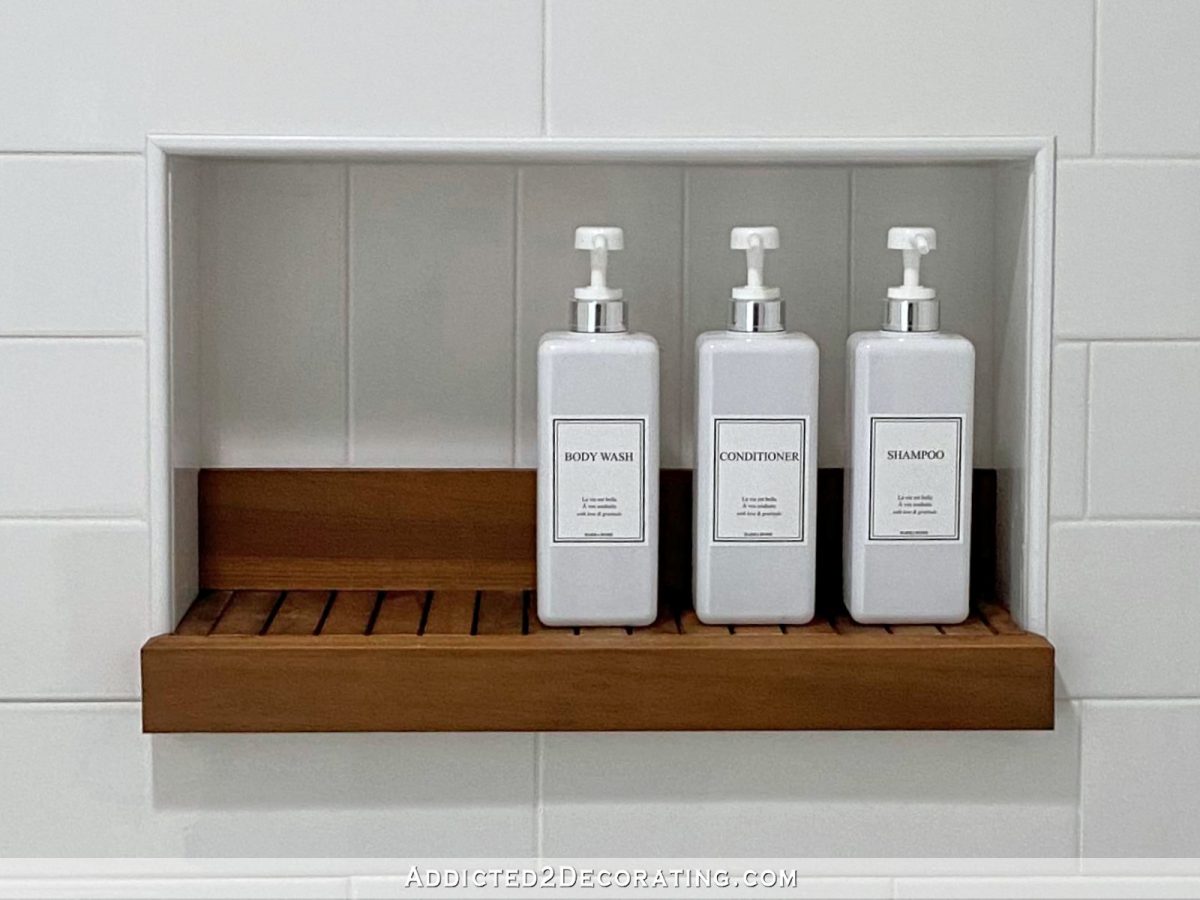
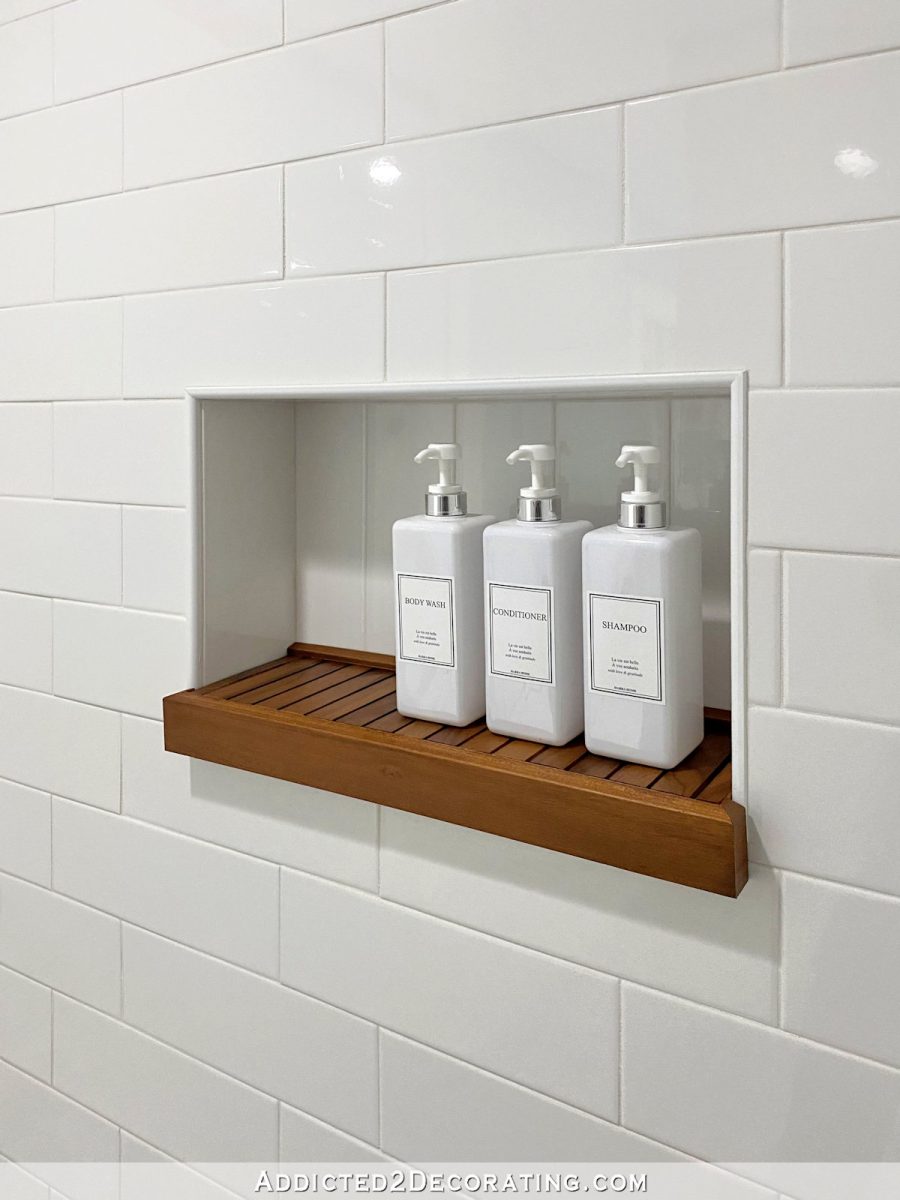
So here’s the finished shelf. It was a quick, easy, and fun project with same-day gratification. (Sometimes we need those one-day projects that can be started and finished the same day to keep us going with the big stuff.) And I do love that touch of warmth that it adds to an otherwise very white and sterile-looking shower.
I found the bottles with the labels on Amazon as well. You can find them here.
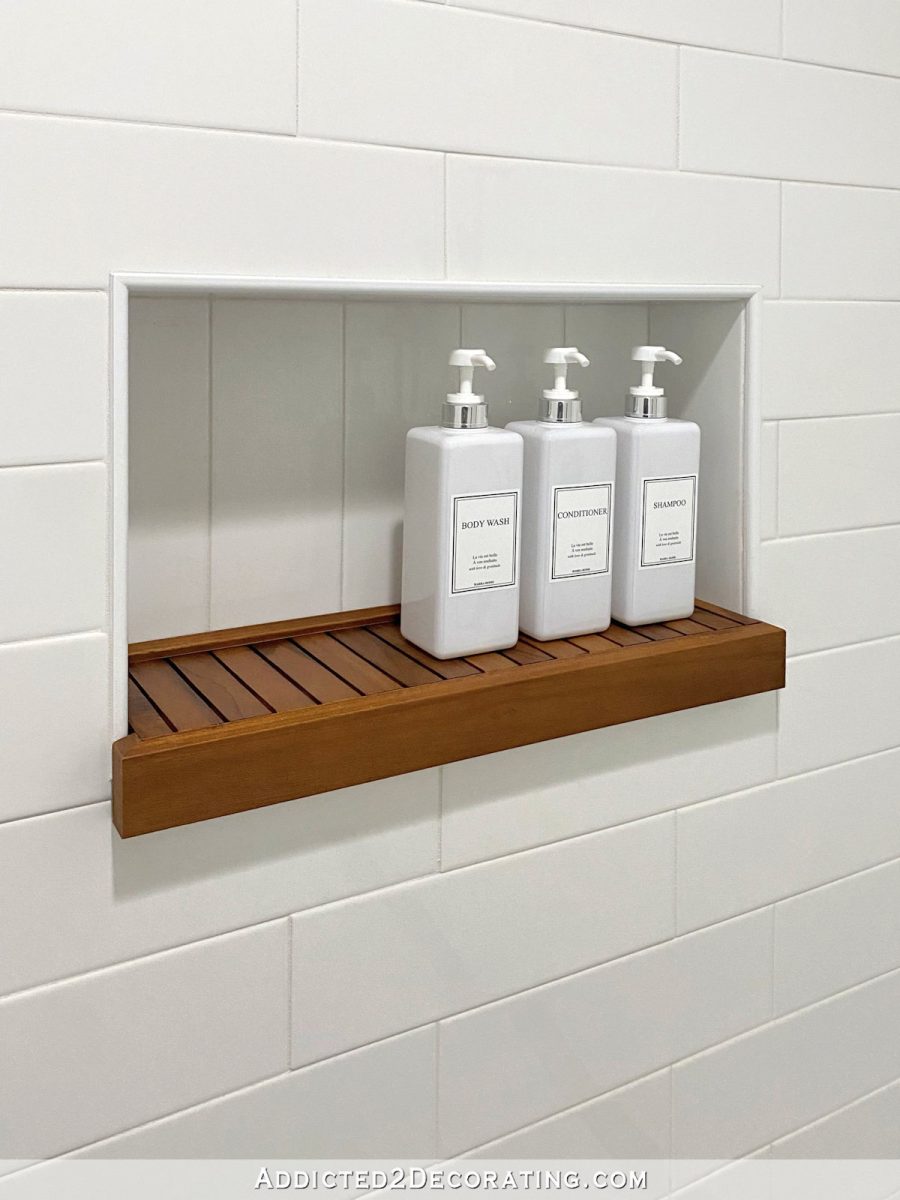
It’s the little details that make a home feel special. 🙂 And they don’t have to be elaborate details. Sometimes they can be as simple as a wood shelf in a shower niche. 😀

I think it adds the perfect touch of warmth to that wall of the shower. It doesn’t really serve any purpose other than to look pretty and make me happy. And that it does.

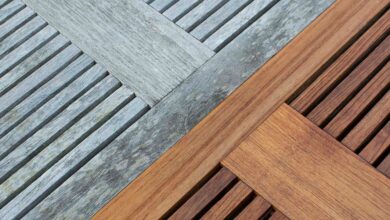
This project reminded me of one that I did in one of the condo bathrooms. If you’ve been around since the condo days, you may remember that I built a slatted cedar shower mat to go in the small shower. I loved how the wood added such beautiful warmth to that solid white shower. You see how I made that cedar shower mat here.
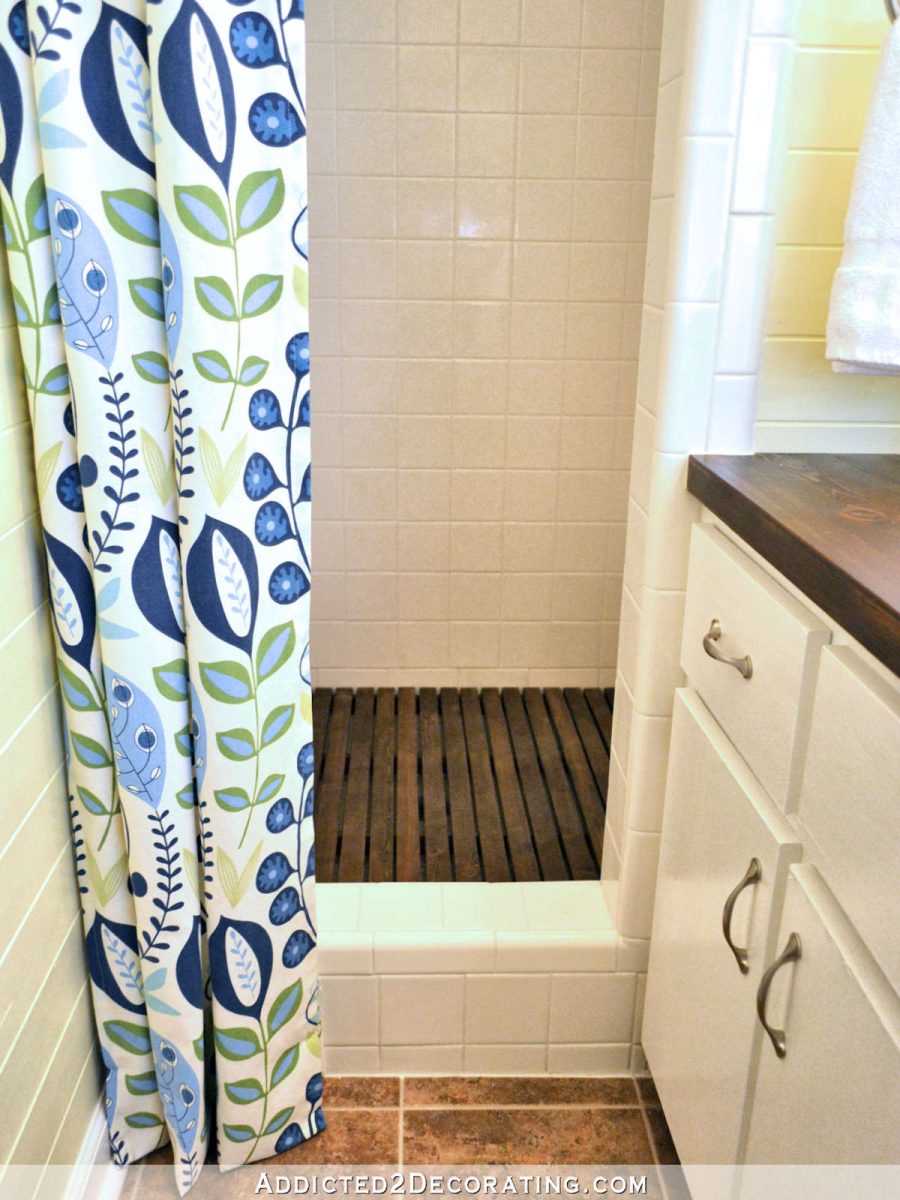
So this was a very similar idea, but I like the teak much better. While both woods are known to be water-resistant and durable in wet areas (and in weather, which is why they’re both great for patio furniture), I personally think teak is prettier. And while I wasn’t in need of a shower mat in this current shower, I’m happy that I could add this touch of warmth with a teak shower niche shelf.

Addicted 2 Decorating is where I share my DIY and decorating journey as I remodel and decorate the 1948 fixer upper that my husband, Matt, and I bought in 2013. Matt has M.S. and is unable to do physical work, so I do the majority of the work on the house by myself. You can learn more about me here.
I hope you’ll join me on my DIY and decorating journey! If you want to follow my projects and progress, you can subscribe below and have each new post delivered to your email inbox. That way you’ll never miss a thing!
Source link