Yesterday, I shared three ideas that I had for creating an extra-long countertop to span my 19.5-foot wall in the studio, and y’all had some super creative ideas for me! My mind has been reeling with all of the different ideas, and in the end, I’ve decided to use hardwood flooring to create the countertop.
There were a few reasons that I decided to go with this option. First, I’ve done it before, so I know it will work. I used 3/4-inch red oak hardwood flooring to make the countertop in our walk-in pantry.
So there will be no guesswork or trial and error with this. I’ve already done it, and it turned out great, and I have my old blog posts to refer back to so that I can refresh my memory on the process. You can see how I made these countertops here.
The second reason I decided to go with hardwood flooring as a countertop is because the result is a durable solid wood surface at a fraction of the cost of butcherblock. I’ll probably go with unfinished maple for the studio countertops, and that runs about $6.30/square foot. That’s about $283.50 for the long 19.5-foot countertop, and then I’ll need to buy plywood for the substrate. But even with that, I’m still looking at less than $500 for a 19.5-foot wood countertop.
The third reason is obvious — no straight seams or joints. This was my main concern with using butcherblock or sheet laminate. Whether I have one seam or joint in the middle, or two offset seams or joints, they would bother me either way. I just wanted something to appear as a solid, uninterrupted surface.
And the final reason is that it can be built in place. There are several countertop options that require being built elsewhere and then being put into place. And example would be the butcherblock-style countertop that I made for our hallway bathroom.
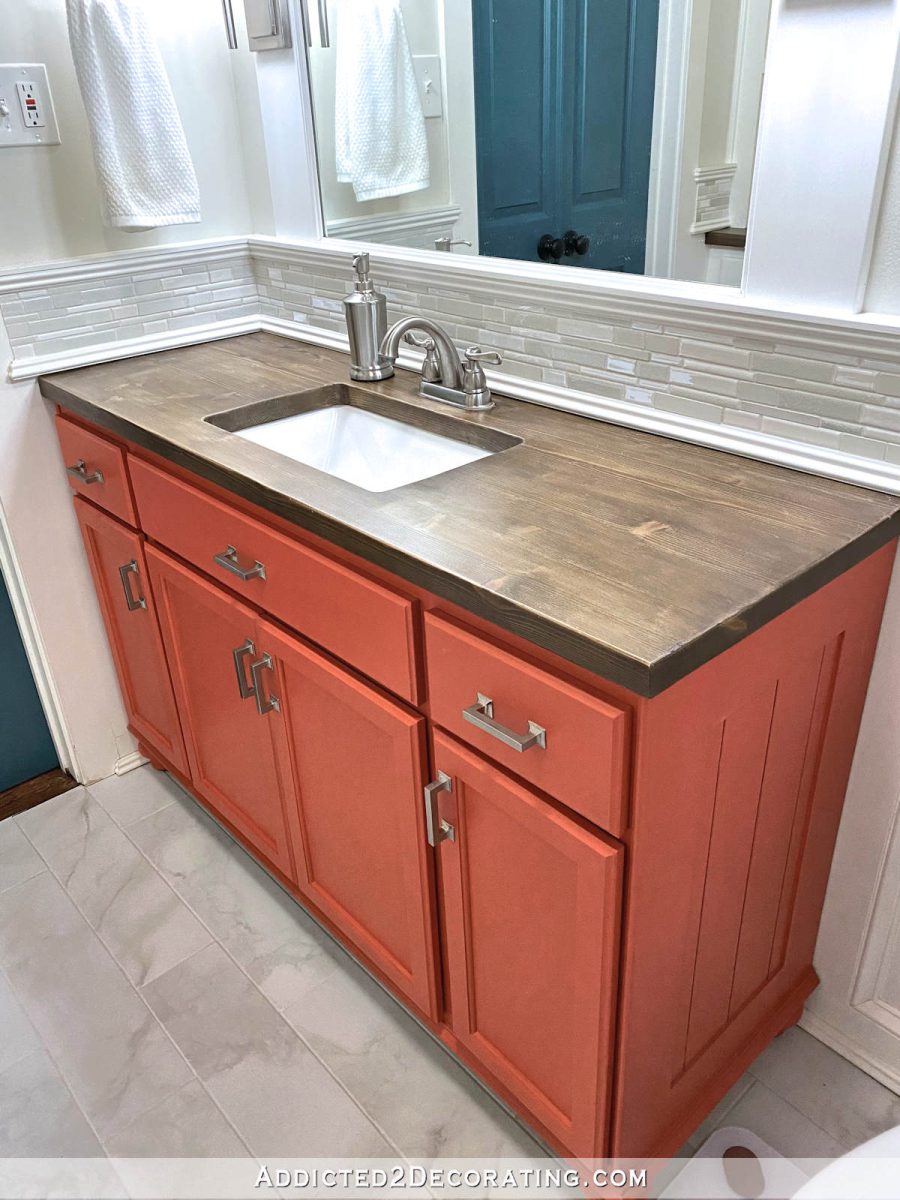
That countertop is made of solid pine 2 x 3’s glued and screwed to each other, and then cut down to size. I had to build it upside down (using my front porch as a work bench), and then once it was assembled, I turned it over, cut it to size, and then brought it inside and set it in place.
Now imagine doing that with a 20-foot-long countertop. 😀 Yeah, that would be impossible.
So DIYing my own butcherblock countertop using this method was never an option for the studio. I needed something that could be built in place, and never needed to be picked up and carried and set in place.
The winning idea, and the one I felt the most confident and peaceful about, is building a countertop using hardwood flooring over a plywood substrate. And now that I’ve decided on it, I’m actually quite excited about it. I just need to decide on the specific wood species that I want to use. I know for sure that I don’t want to use red oak. I’ve had my fill of red oak since that’s what our hardwood flooring is throughout the house, and that’s what I used on the pantry countertop. In order to get that countertop the color it is, I had to bleach the wood to remove the red/pink undertones. I’d like to be able to skip that step by selecting a wood that doesn’t have that red/pink undertone. I think I’ve narrowed it down to white oak and maple.
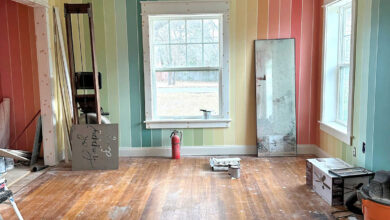
In other news, I’m finally going to start painting the checkerboard design on the floor today. I’ve got everything prepped, taped, and ready to go. So by Monday, I should actually have this portion of the floor finished and ready to show you!
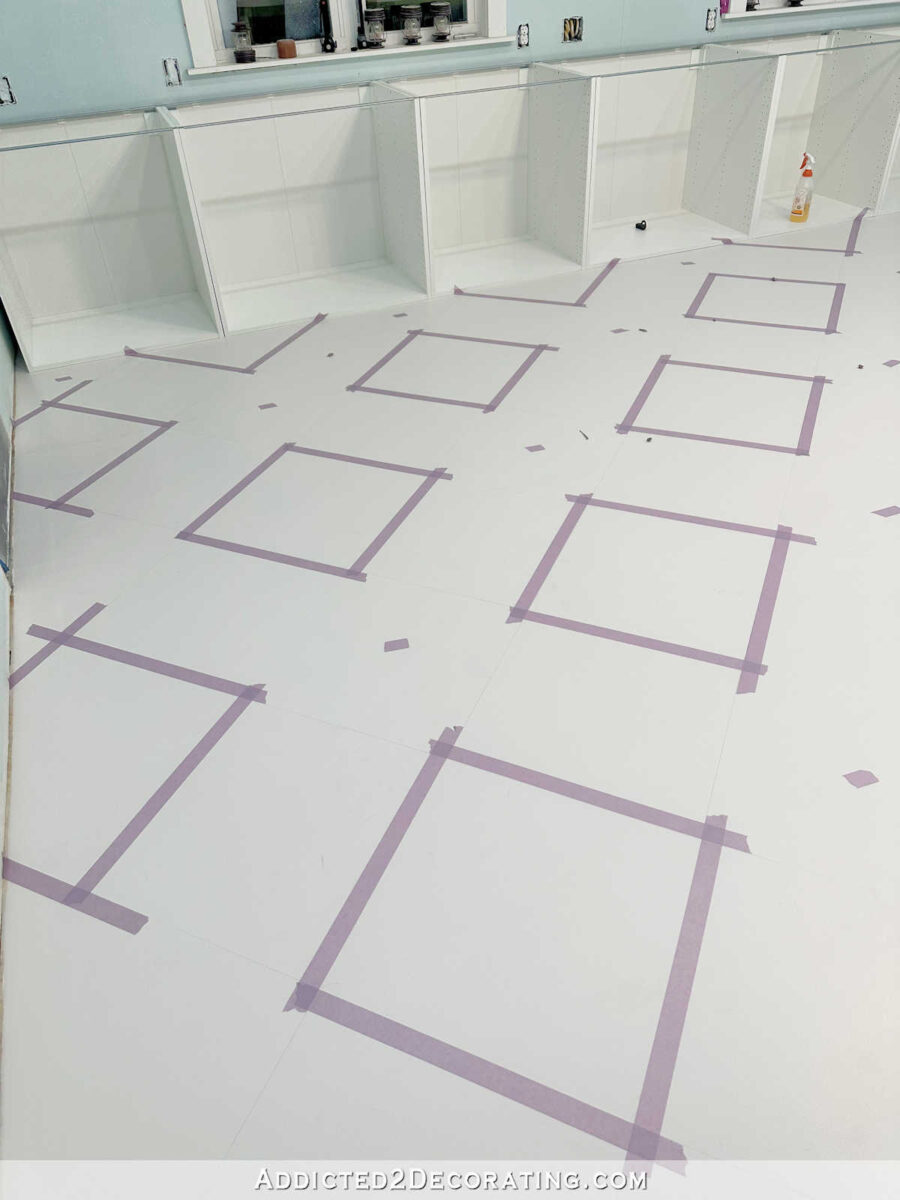
I’m so excited to see actual progress in this room! It’s been a long time coming, and it’s so fun to finally see my vision come to life.

Addicted 2 Decorating is where I share my DIY and decorating journey as I remodel and decorate the 1948 fixer upper that my husband, Matt, and I bought in 2013. Matt has M.S. and is unable to do physical work, so I do the majority of the work on the house by myself. You can learn more about me here.
I hope you’ll join me on my DIY and decorating journey! If you want to follow my projects and progress, you can subscribe below and have each new post delivered to your email inbox. That way you’ll never miss a thing!
Source link