The bathroom vanity plumbing situation has been resolved, and it’s the best $125 I’ve spent in a very long time! When the plumber originally installed the rough-in plumbing under the vanity, that was back when I was still planning on having regular enclose vanities, so none of the plumbing was going to show.
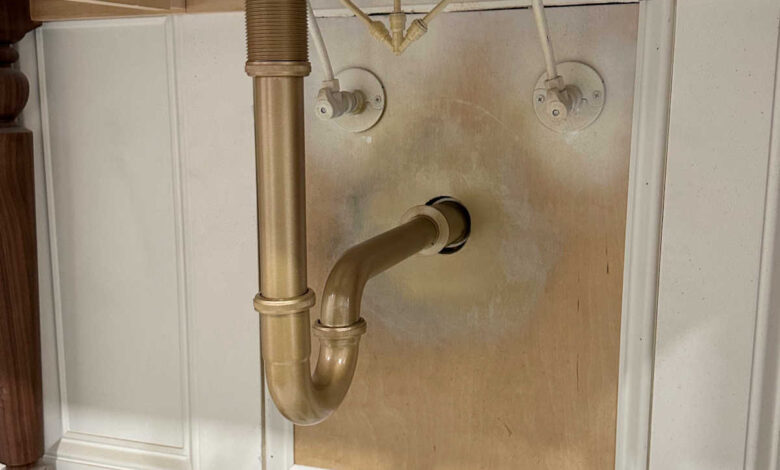
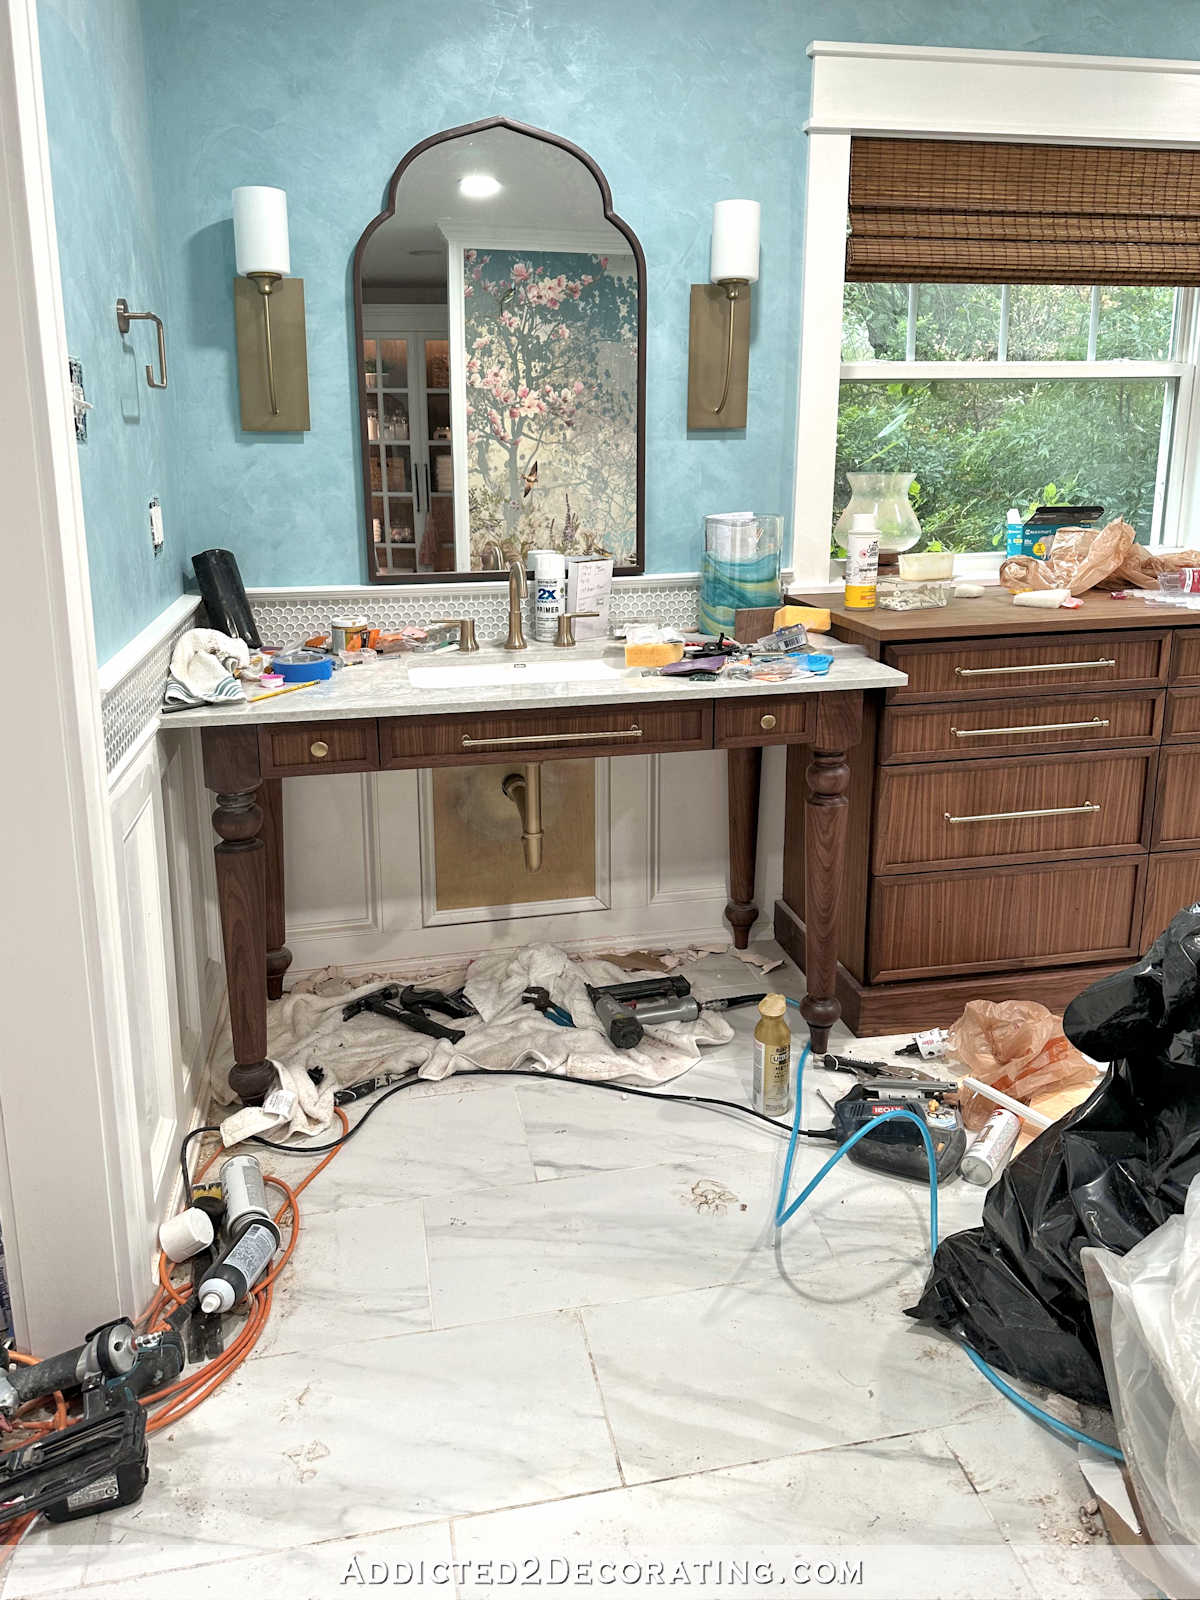
Then along the way, I changed the design and built the table-style vanities for the bathroom, which meant that the plumbing under the vanities would be visible. I tried to make it work, but it was just a huge mess…
And yes, all of this could be seen from just about every direction in the bathroom. I tried to convince myself that it wasn’t that big of a deal. I could paint it. It would be fine.
But it wasn’t fine. It was discouraging to put so much work into a bathroom, and then have something like this gnawing at my mind every time I walked into the bathroom (or really, every time I just thought about the bathroom).
So I finally called the plumber and asked him how much he’d charge to move those valves up and out of sight.
$125. One hundred twenty five dollars. That seemed like a really low price to pay for fixing this issue that was bothering me so much.
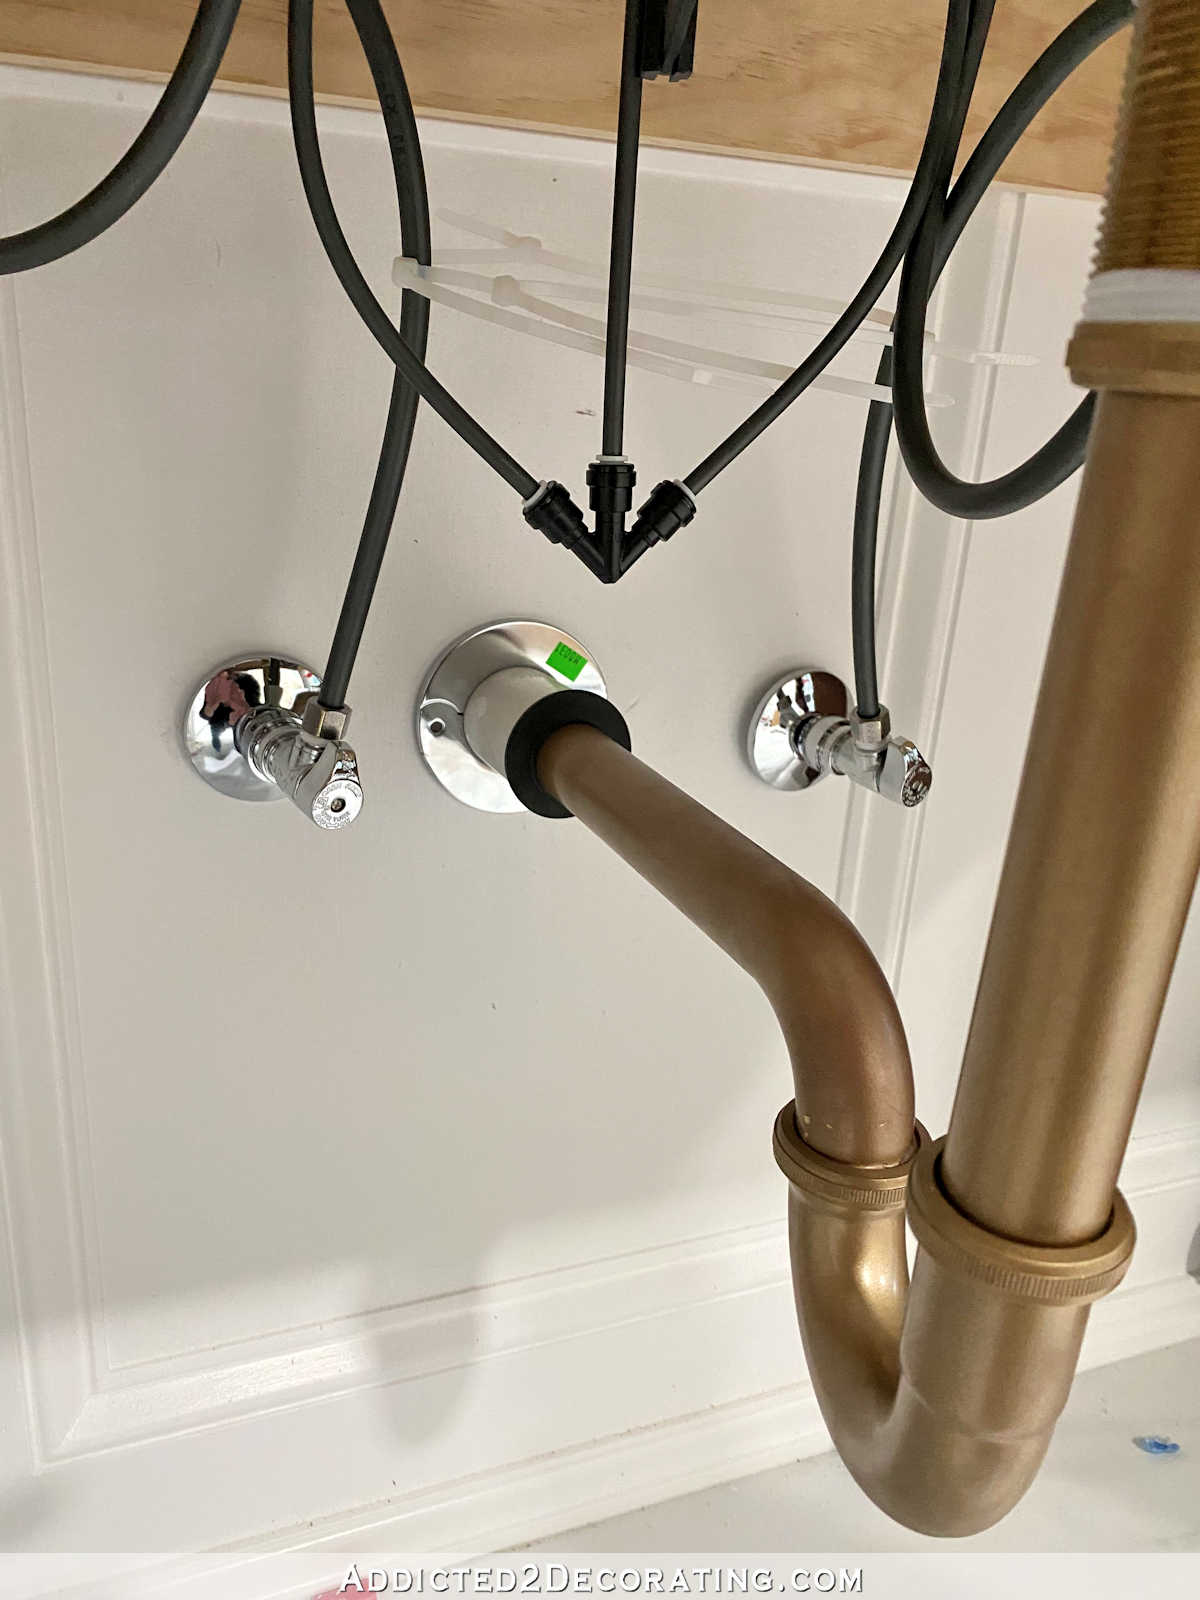
When he got here, I had already removed the base cap trim and drywall from that panel. He extended the PEX and the valves, and then I did the repair on the wall. I ended up cutting a panel out of 1/2-inch plywood instead of using drywall. This way, if I ever need to get to the plumbing behind the wall, I can just remove the panel, access the plumbing, and then reuse the panel. It will be a lot easier than having to replace drywall again.
It’s not quite done. I still need to do some caulking, priming, and painting, but here’s how the plumbing looks now.
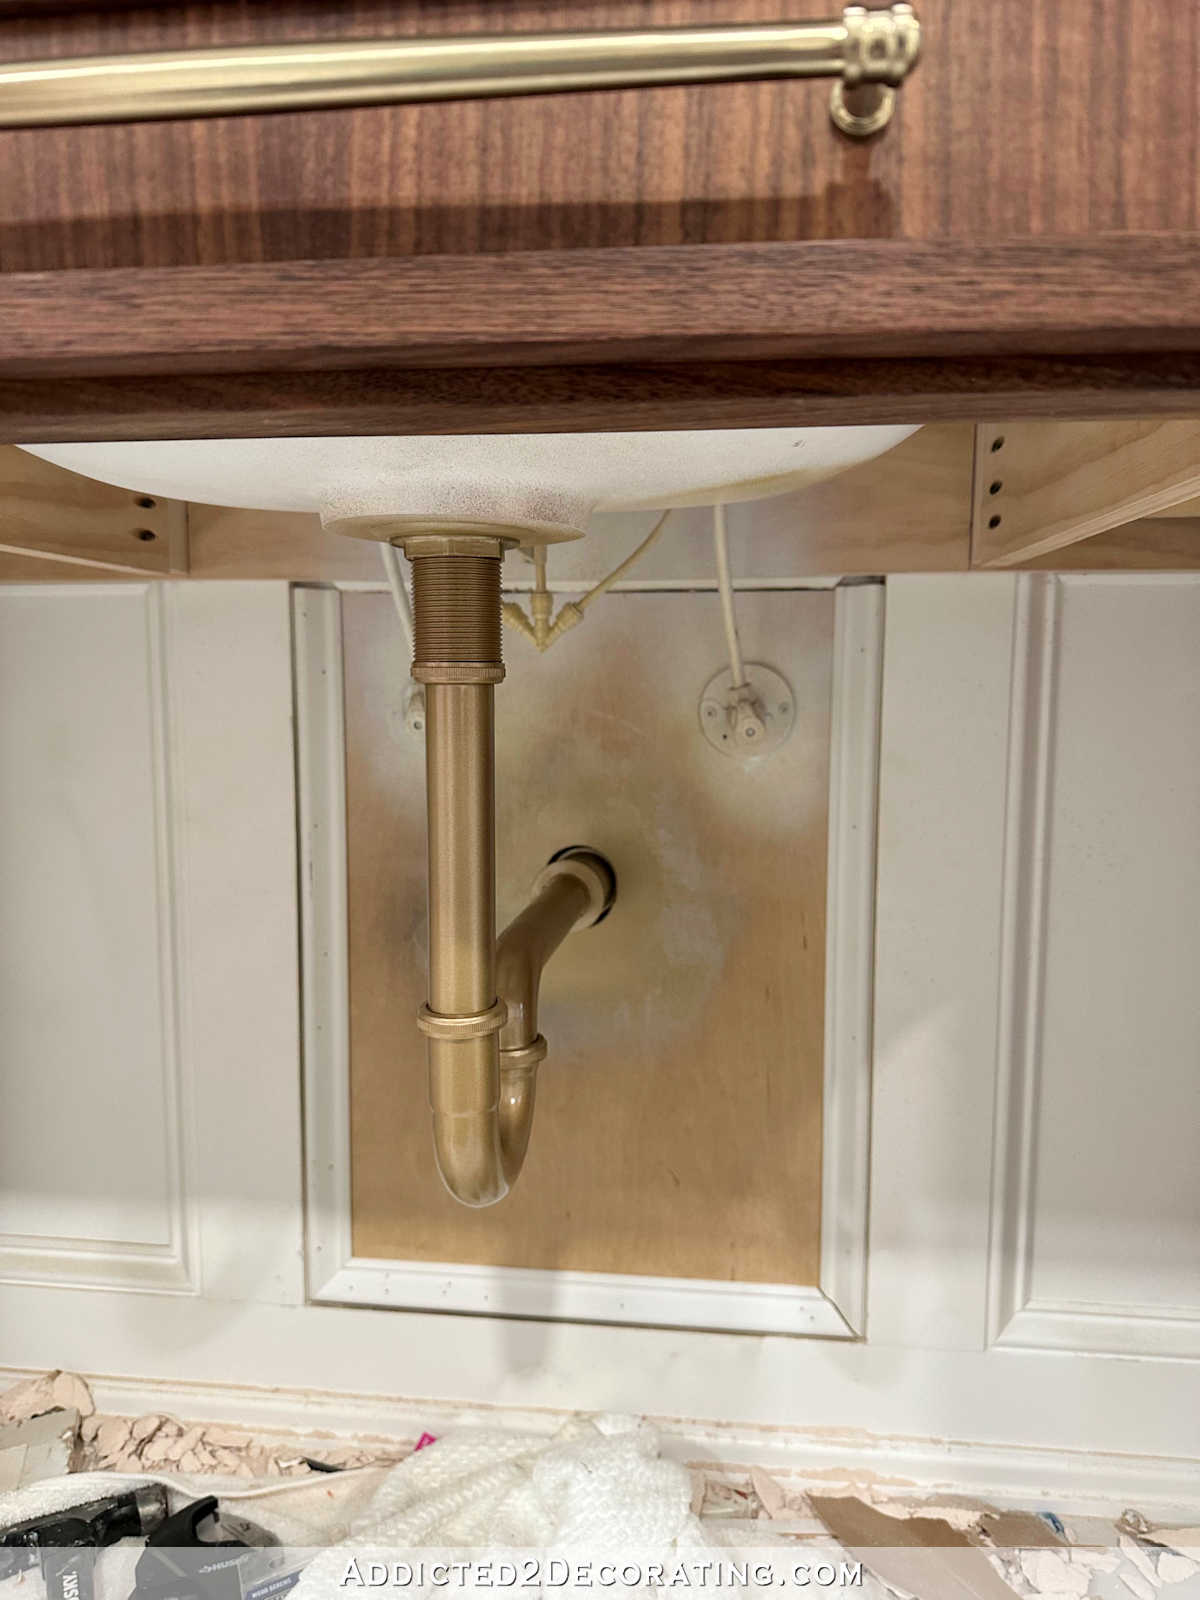
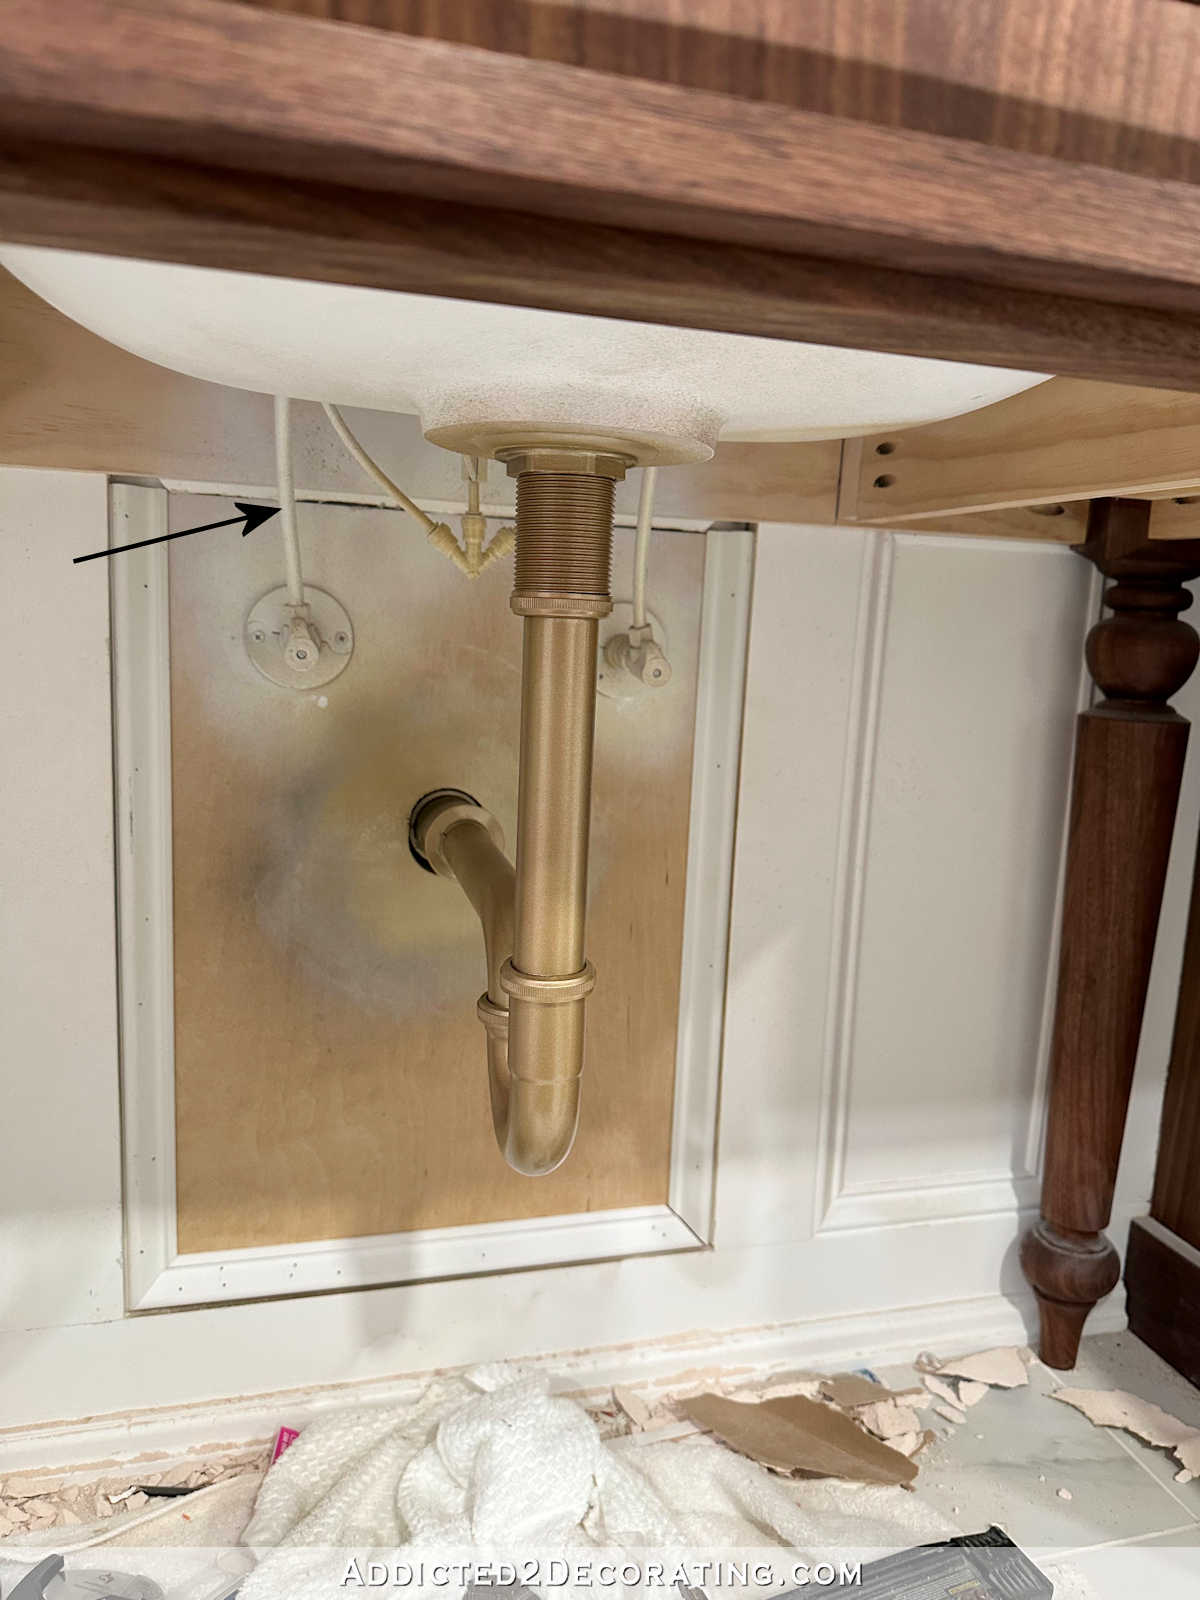
I do have a plate that will go on the wall around the drain pipe (it’s hinged, so I don’t need to undo any plumbing to put the plate on), but I won’t put that on until the wall has been painted. But even with it unfinished, you can see how much cleaner everything looks under there!
I could have put the valves a little higher, but these tubes that are permanently connected to the faucet are pretty rigid, and the shorter they get, the more rigid they get. I was afraid to go any shorter than this…
And that interesting connection where the tubes from the faucet handles connect to the tube from the faucet spout used to be quite a bit lower and very visible…
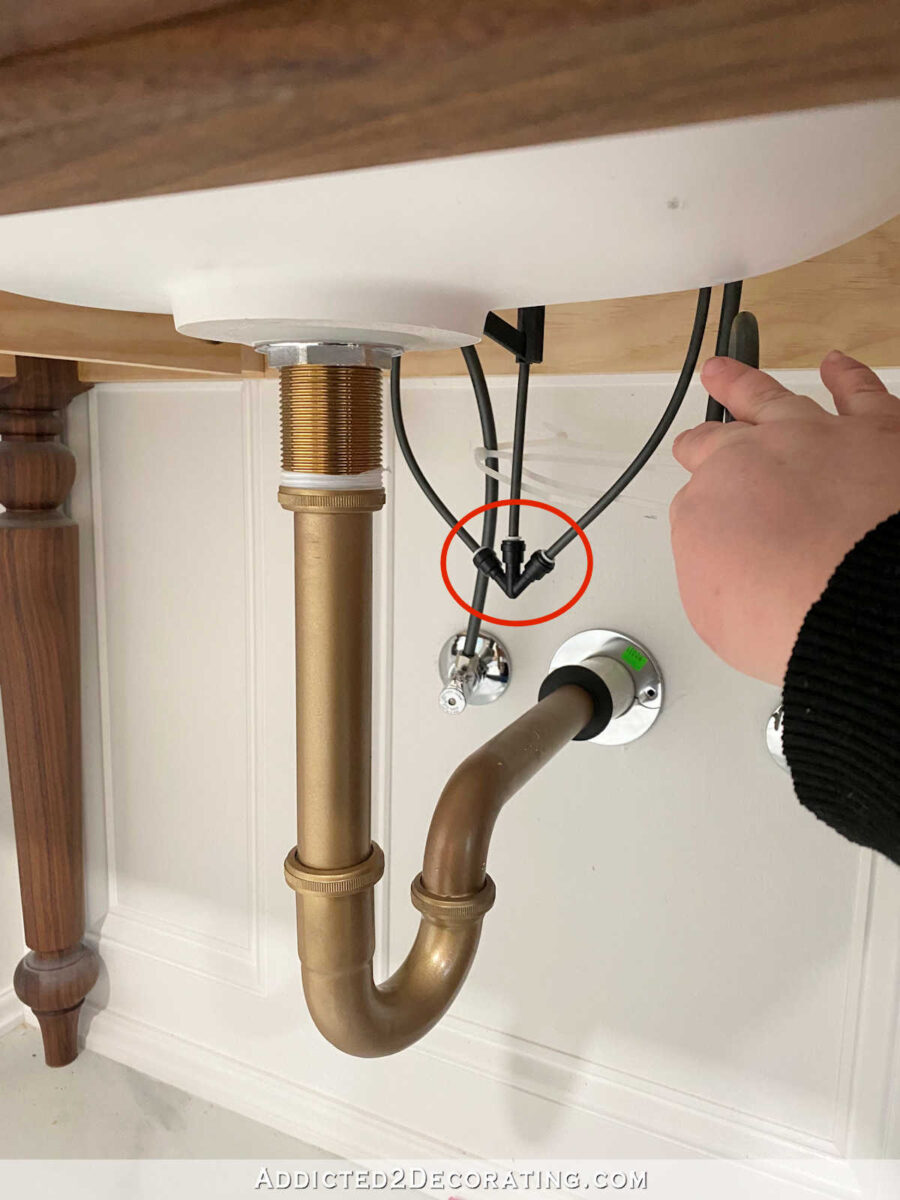
I removed that connection and cut those tubes about four inches shorter, and then reconnected it.

And as you can tell, I decided to go ahead and spray paint those things white. After I sprayed them with white primer, I decided to give the drain pipe a quick touchup, so I got some gold overspray on to the white parts, but I’ll go back and respray the white, and then they’ll disappear against the white wall.

I am so incredibly pleased with how this turned out (or rather, how it will turn out when it’s finished). Those valves are now hidden from pretty much every angle in the room. This is what it looks like when I stand even with the side of the bathtub. No visible valves!
Now when I sit on the toilet 😀 and look around the corner, I can see the valves barely peeking out. But once they’re painted white, and sitting against a white wall, that’s not going to bother me in the least.
So the lesson here is that sometimes it’s just better to call in the pros to fix something that’s reeeaaaaalllly bothering you, and it may surprise you how affordable is. It can save you lots of worry, frustration, lost sleep, etc. That’s definitely a lesson that I need to remind myself of in the future.

Addicted 2 Decorating is where I share my DIY and decorating journey as I remodel and decorate the 1948 fixer upper that my husband, Matt, and I bought in 2013. Matt has M.S. and is unable to do physical work, so I do the majority of the work on the house by myself. You can learn more about me here.
I hope you’ll join me on my DIY and decorating journey! If you want to follow my projects and progress, you can subscribe below and have each new post delivered to your email inbox. That way you’ll never miss a thing!
Source link