I have finally started working on the floor in the hallway and home gym. Since I decided to use foam mat flooring in the home gym and forgo the refinishing process on the hardwood flooring in that room, that meant that I really didn’t need to waste time and money renting the big drum sander since I only needed to sand the small hallway. That’s a job that I can do with my hand held belt sander.
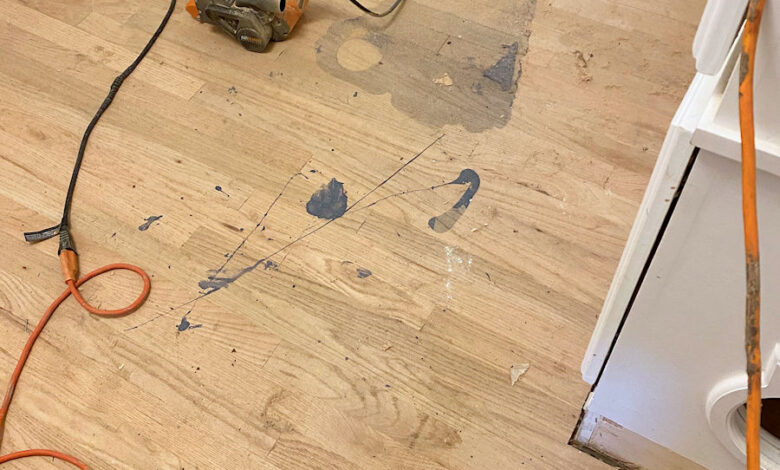
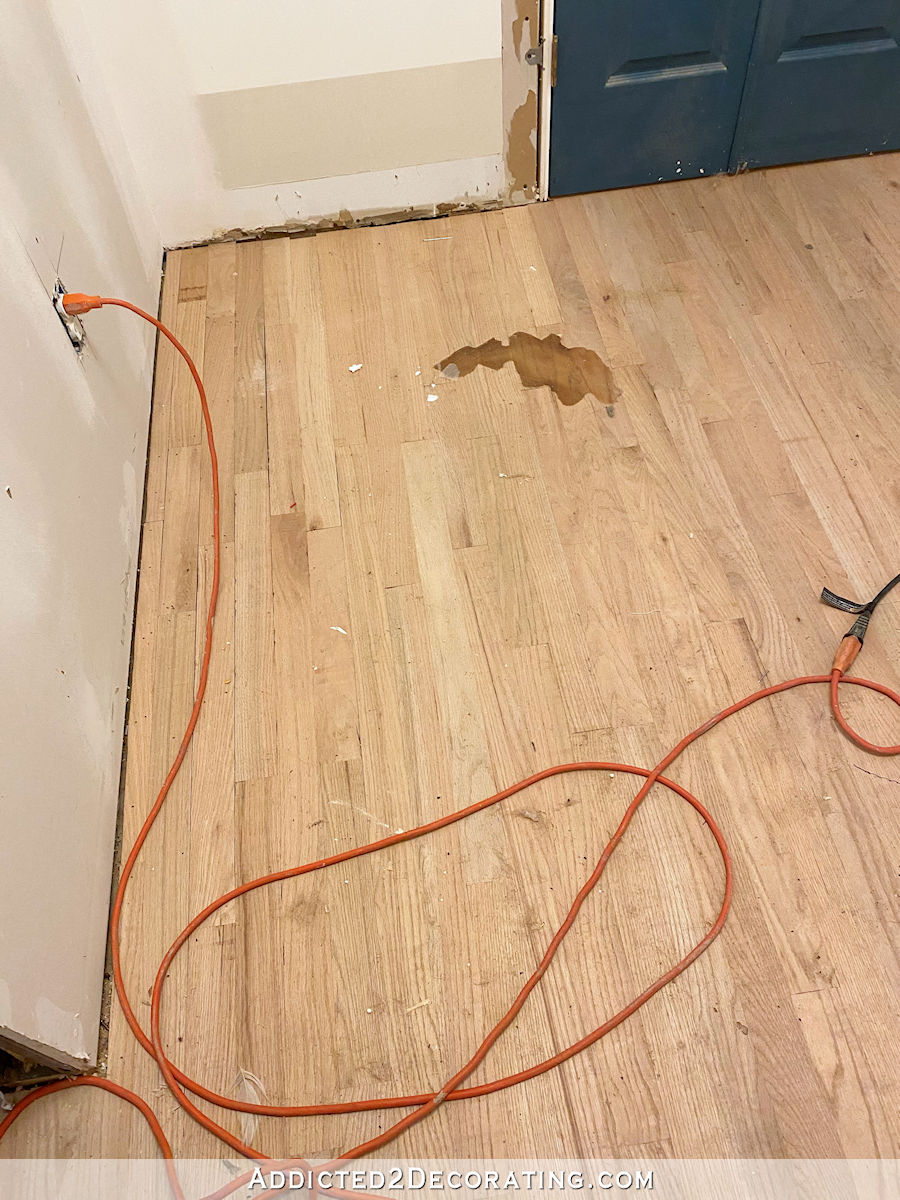
Because this flooring has been sitting here unfinished for over a year, I had two spots that needed some extra attention. One was where Cooper knocked over a quart of blue paint that I was using in the guest bedroom, and the other was where I had knocked over a quart of polyurethane.
On both areas, I thought the best way to handle it was to let the paint and polyurethane dry completely, and then see if I could get it off of the floor. I figured if I tried to clean it up when it was wet, I’d just smear it more and make an even bigger mess.
That actually worked well for the majority of the paint. Once it was completely dry, the bulk of it peeled up very easily in one big layer. But then it left the flooring below stained blue.
(Note: If you’re reading this post on any website other than Addicted 2 Decorating, that means you’re reading on a site that is stealing my content. I hope you’ll consider joining me on my actual blog by clicking here.)
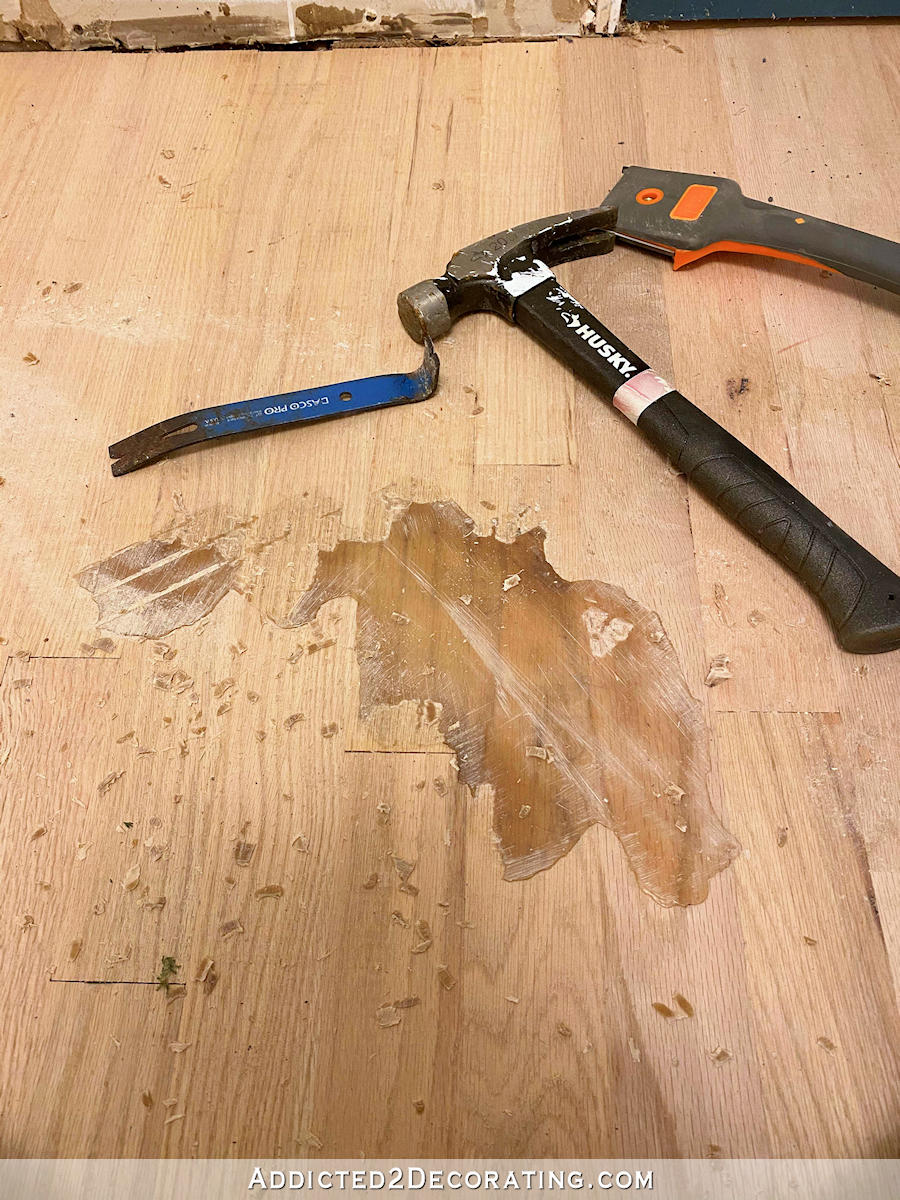
I thought that the polyurethane spill would be easy to get up with the 36-grit sandpaper that I had on my belt sander.
I could not have been more wrong. That 36-grit sandpaper barely scratched it, much less sanded any of it off. So I tried two different floor scrapers. Those didn’t work either. I finally had to use a little pry bar and a hammer and chip off the polyurethane one small bit at a time.
So lesson learned. It’s a really bad idea to leave hardwood flooring sitting unfinished for over a year, especially in a high traffic area, and when it’s right outside of a room that is under construction and is constantly being used to store tools, paint, etc. 😀 (Yes, I knew that, and I did it anyway.)
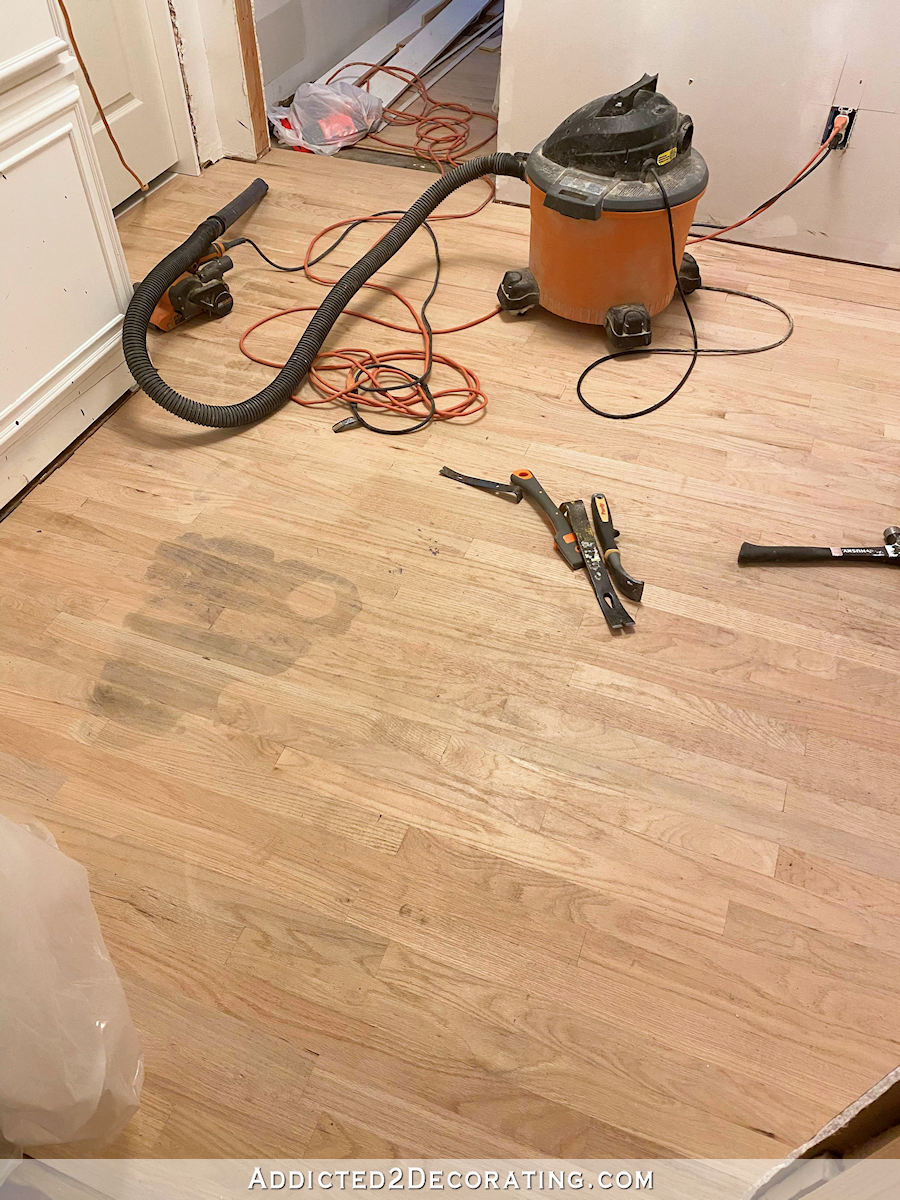
I managed to get all of the polyurethane up, and it looked just fine after sanding.
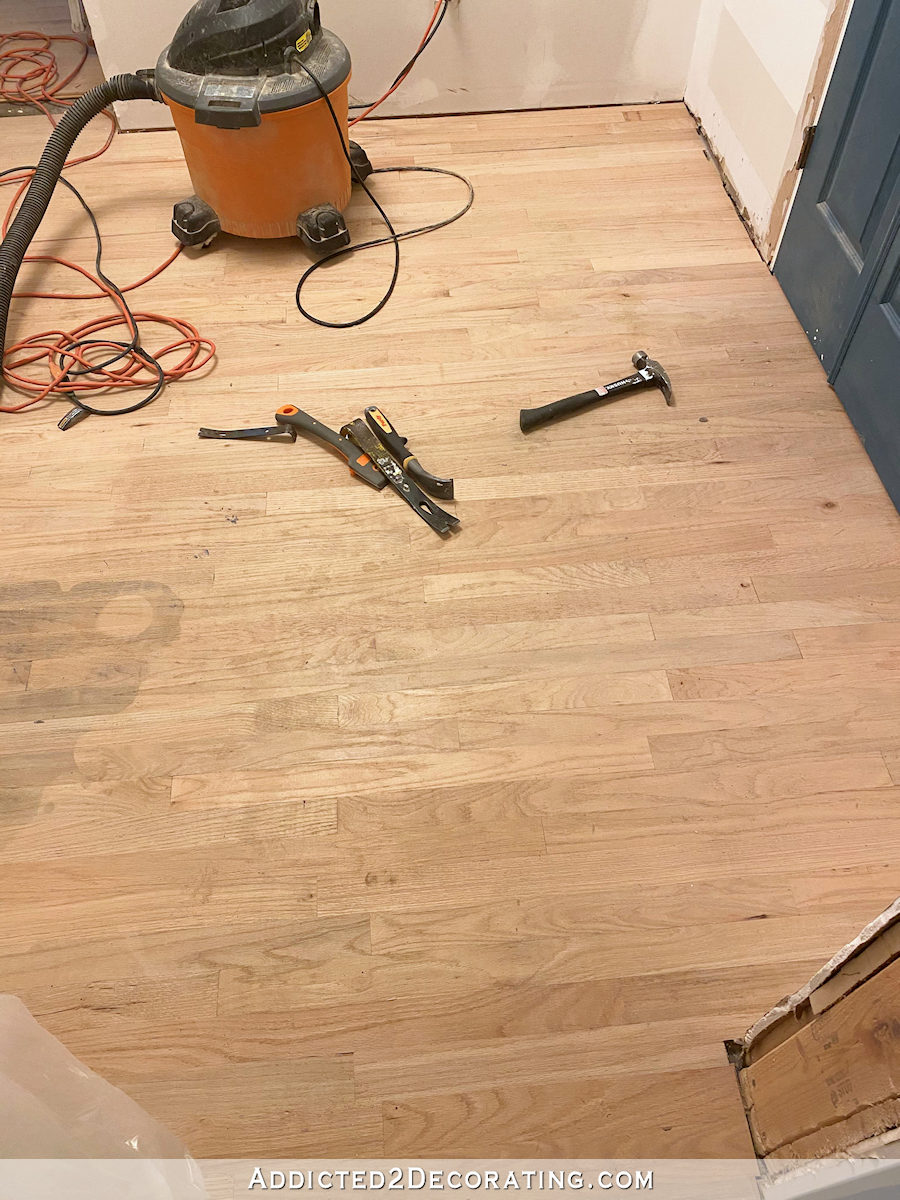
The area where the paint was spilled is a different story, though. So I could use any input you may have with this. So far, I’ve only sanded it with the 36-grit sandpaper. I still have 60, 80, and 100 to go. It’s very possible that after all of the sanding, it will be gone, or mostly gone. But that’s a gamble, and there are certainly no guarantees.
So if there’s any way to get it up now, before I do the rest of the sanding, I’d rather do that. I don’t like the idea of having to sand this one area more than the rest of the flooring.
In other flooring news, the foam mat flooring for the home gym arrived! I got out a few pieces and put them together just to see what they look like, and I absolutely love it. And evidently Felicity does, too.

In reading through your comments about foam flooring, one of the issues that several of you warned about was the floor tiles separating under heavy use, especially with Matt’s wheelchair rolling across the flooring. (Side note: Matt has a power wheelchair that easily travels over grass, dirt, and gravel, so a thin foam floor won’t make it more difficult for him, but his wheelchair may be hard on the foam floor.)
So I got to thinking. Carpet installers use tape on the back of carpet to mend seams, and once it’s done, you can’t see the seam, and the seam stays together perfectly. Couldn’t I do something similar with these?
I’m thinking that I could use something like duct tape, one-sided carpet tape (if there’s such a thing), or any other wide and super sticky one-sided tape to mend the seams of the tiles. As I put one tile in place, I can slip a strip of tape under the edge, sticky side up, and then press the next tile into the tape to mend the seam.
Right? Is there a reason that wouldn’t work? I’ve never in my life had foam tile flooring, but I know many of you have. So you can tell me if there’s a reason that wouldn’t work. It’s very possible I’m missing something, but it seems to me that that would work perfectly.
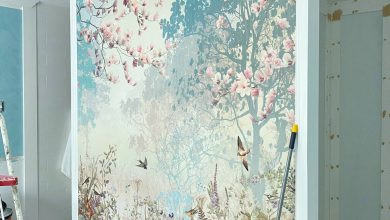
And finally, can we talk about the “floor” of my front porch for a minute? When I finished the porch in September 2018, it looked like this…

See how dark and beautiful the color is on the cedar boards? I used Thompson’s Penetrating Timber Oil in a semi-transparent mahogany color.
Well, now that looks like this…
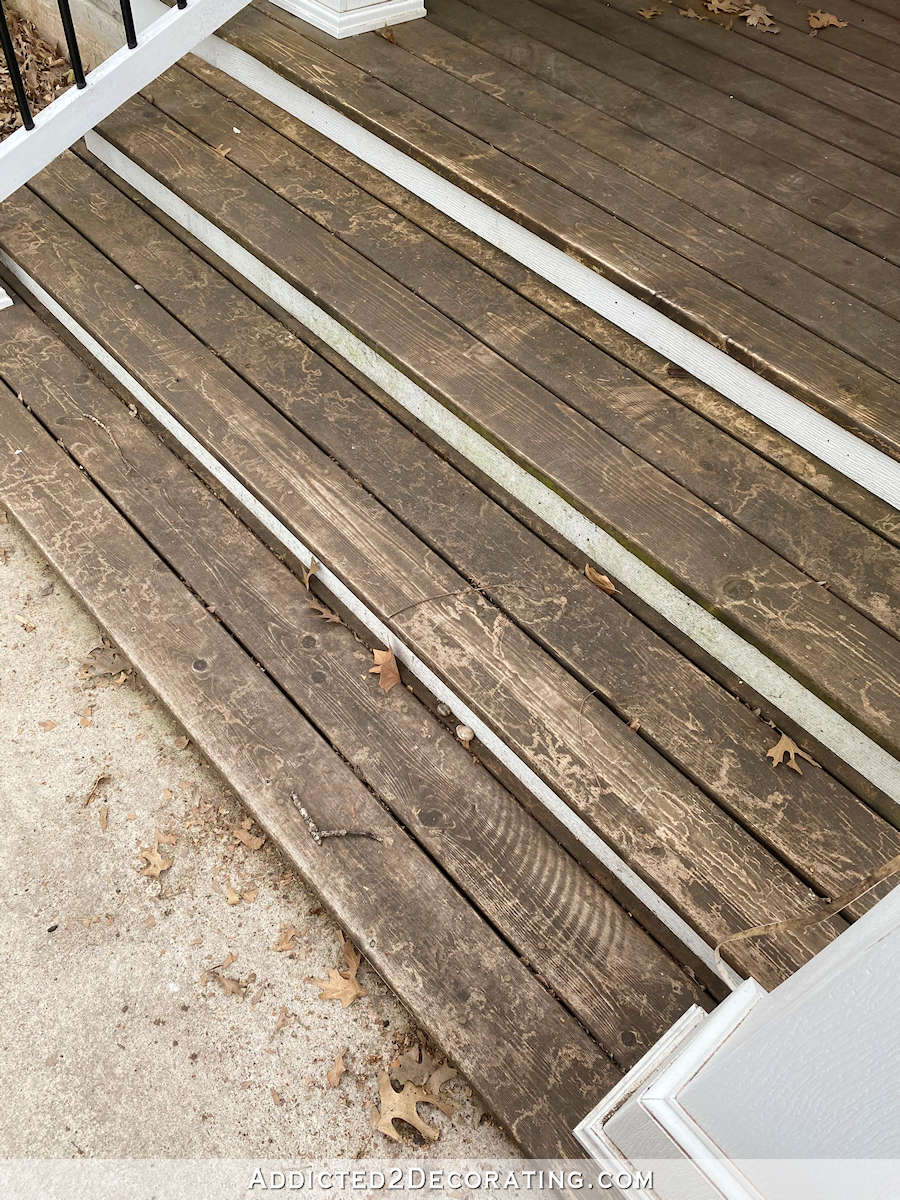
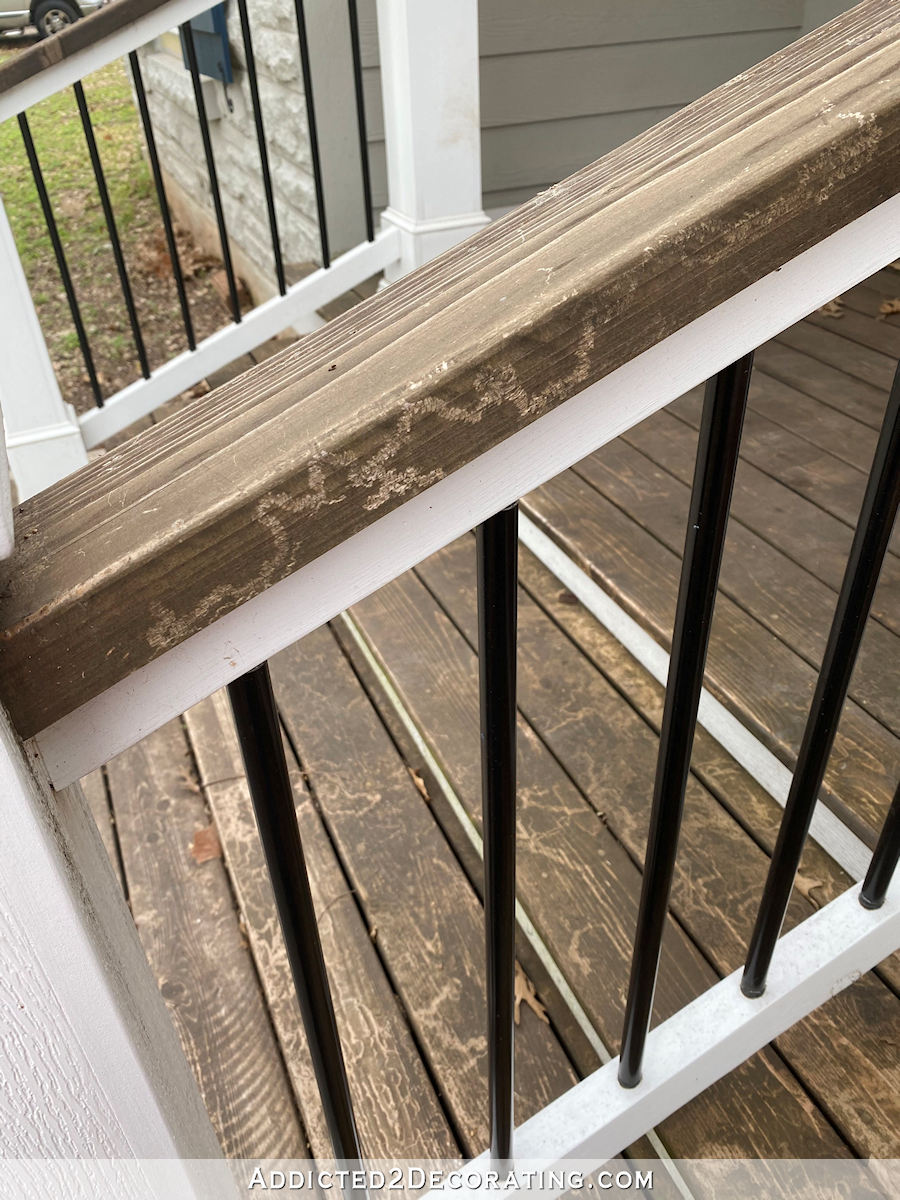
I’m not so naive that I thought a finish on an outdoor wood porch would last forever. But what I didn’t expect was that something so ubiquitous as snails and slugs would cause such a problem with the finish I had chosen. See all of the squiggle lines all over the place?
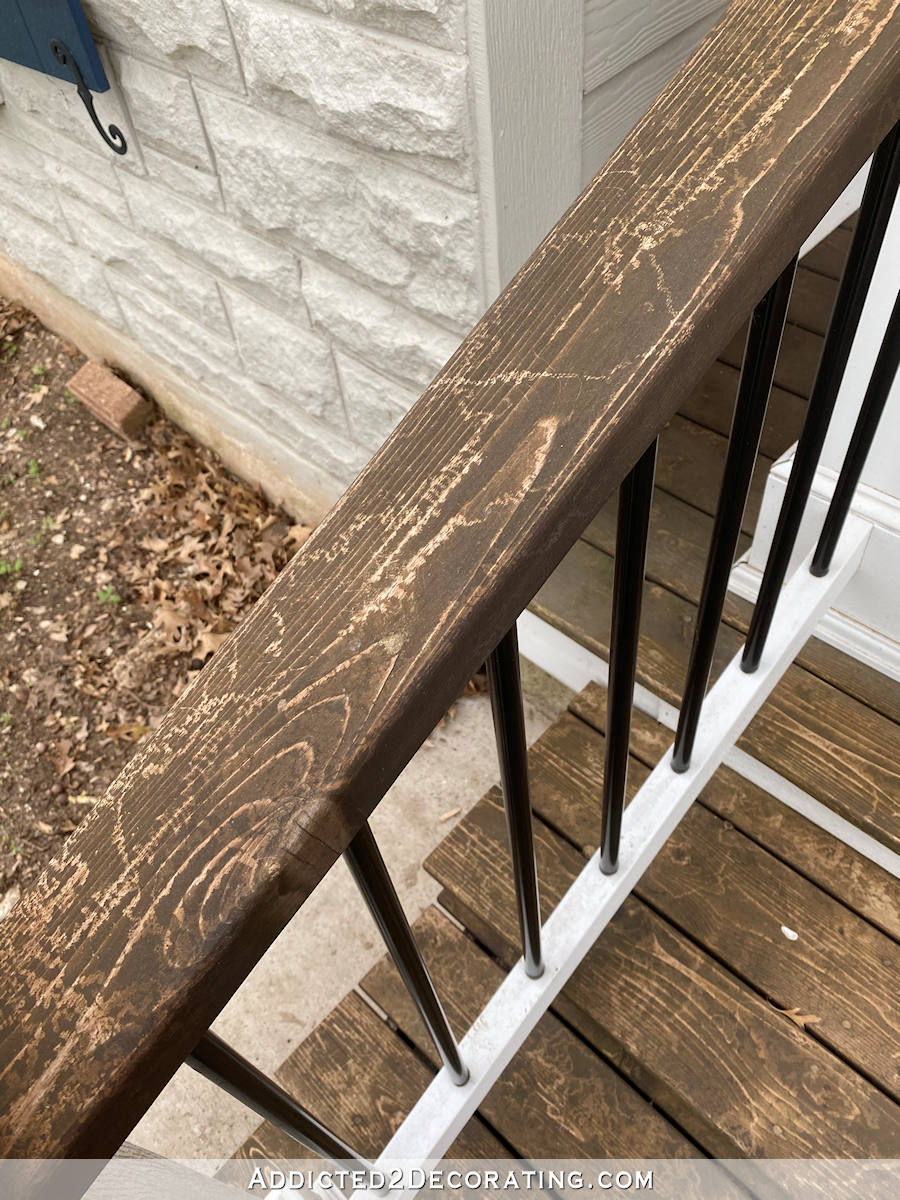
Those are literally from snails and slugs crawling across the porch and hand rails.
I mean, that’s crazy, right? I get that a finish might dull or have natural wear and tear after two-and-a-half years of Texas sun, rain, a random snow storm, etc. But snails and slugs?
So obviously I need to refinish/reseal my porch this year, but I don’t think I’ll be using the Thompson’s Penetrating Timber Oil again. If you’ve used a product on your porch or deck that you’ve had success with, and that has stood up to the harsh abuse doled out by snails and slugs crawling across it, please let me know!
Source link