Please note: This post contains affiliate links.
Just like every single project I take on, my hallway is taking longer than I had expected. I thought I would be done with it last week, but as much even with as much trim installation, wood filling, sanding, caulking, and priming as I’ve done in my two decades of DIYing, I always seem to be surprised about just how long all of that stuff takes with each new project.
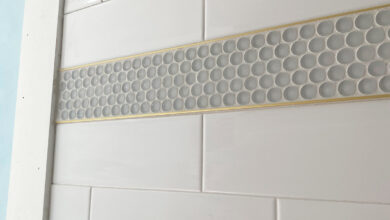
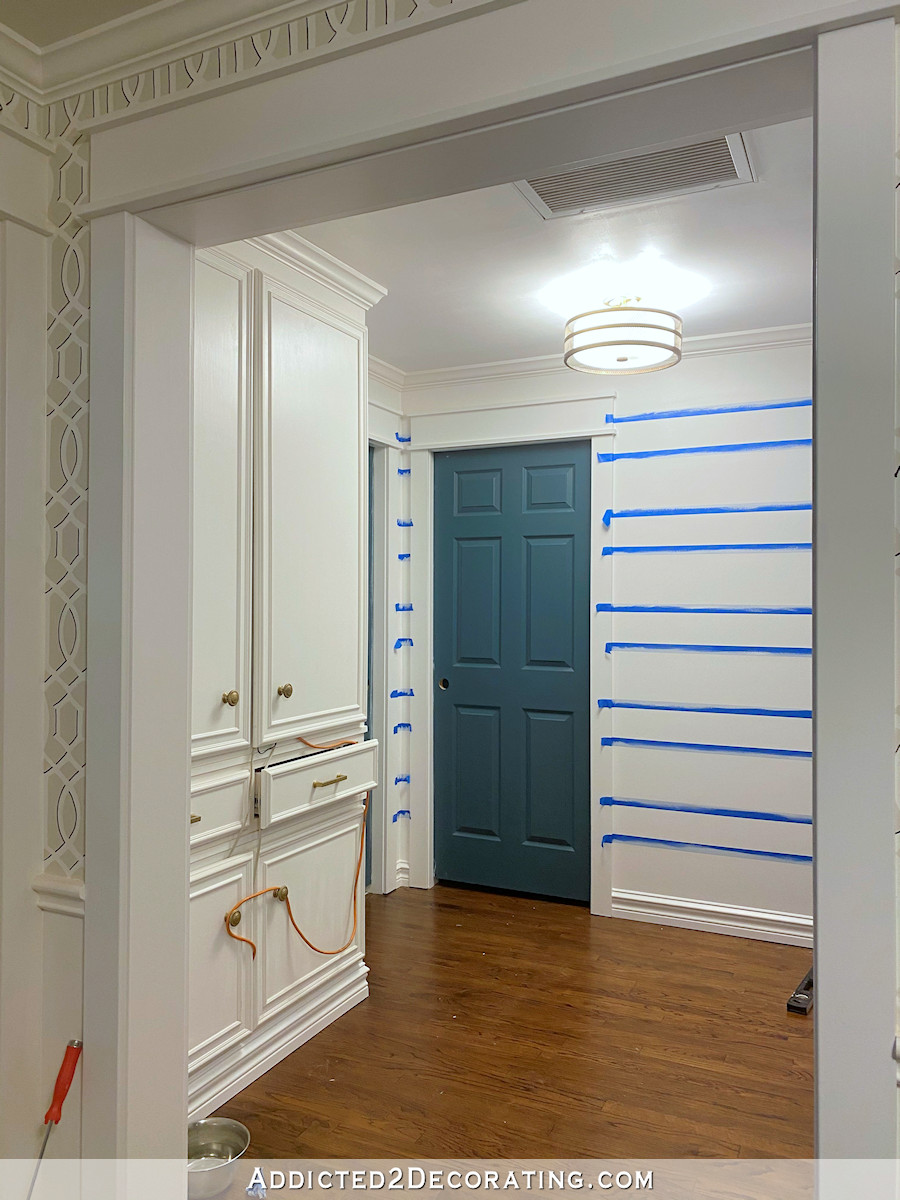
But I’m finally past the slow part. All of the trim is installed, wood filled, sanded, caulked, primed, and painted. The last big thing I need to do is to paint the light gray stripes on the wall, and then I’ll be ready to bring in the new console table and the decorative touches.
By the way, if you missed the new DIY console table, you can click here to see it. I made it by repurposing the edge grain plywood herringbone coffee table top that I made in 2019.
Anyway, I’m anxious to see the new console table in the “new” (much smaller) hallway. But before I can count the hallway as finished, I’ll also need to do some paint touchups on the doors, install door hardware on the doors (door knobs on the bathroom doors and door pulls for the pocket doors).

(Note: If you’re reading this post on any website other than Addicted 2 Decorating, that means you’re reading on a site that is stealing my blog content. I hope you’ll consider joining me on my actual blog by clicking here.)
And finally, I need to do a small project on the cabinets. Our router/modem sits on the top right shelf of the hallway cabinet now, and the outlet is in the bottom left cabinet. For over a year now, I’ve had this really fancy and stylish orange extension cord, winding its way out of the top cabinet, across the front of the drawers, and into the bottom cabinet where it plus in.
All I need to do is drill a hole (maybe two) inside the cabinet to get the cord through the inside from top to bottom inside the cabinet. Evidently that’s an extremely complicated project because I’ve been putting it off since the fall of 2019. 😀 But it’s time to tackle it. It might even take me all of five minutes.
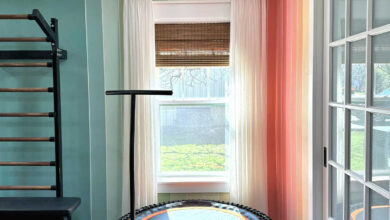
In other news, I shared a few days ago about how we’ve turned our breakfast room into a sitting room for the time being. After making that change, the chandelier in the breakfast room seemed out of place, so I decided to purchase a new light for the room. I decided on this sputnik light.

I love light fixtures that make a statement, and this one fits the bill. But as I was putting it together (yes, you have to screw in every single one of those metal spikes one by one), I decided that this light might be a better fit for the living room. It’s definitely more of a statement than the one that’s currently in there, which looks like this.
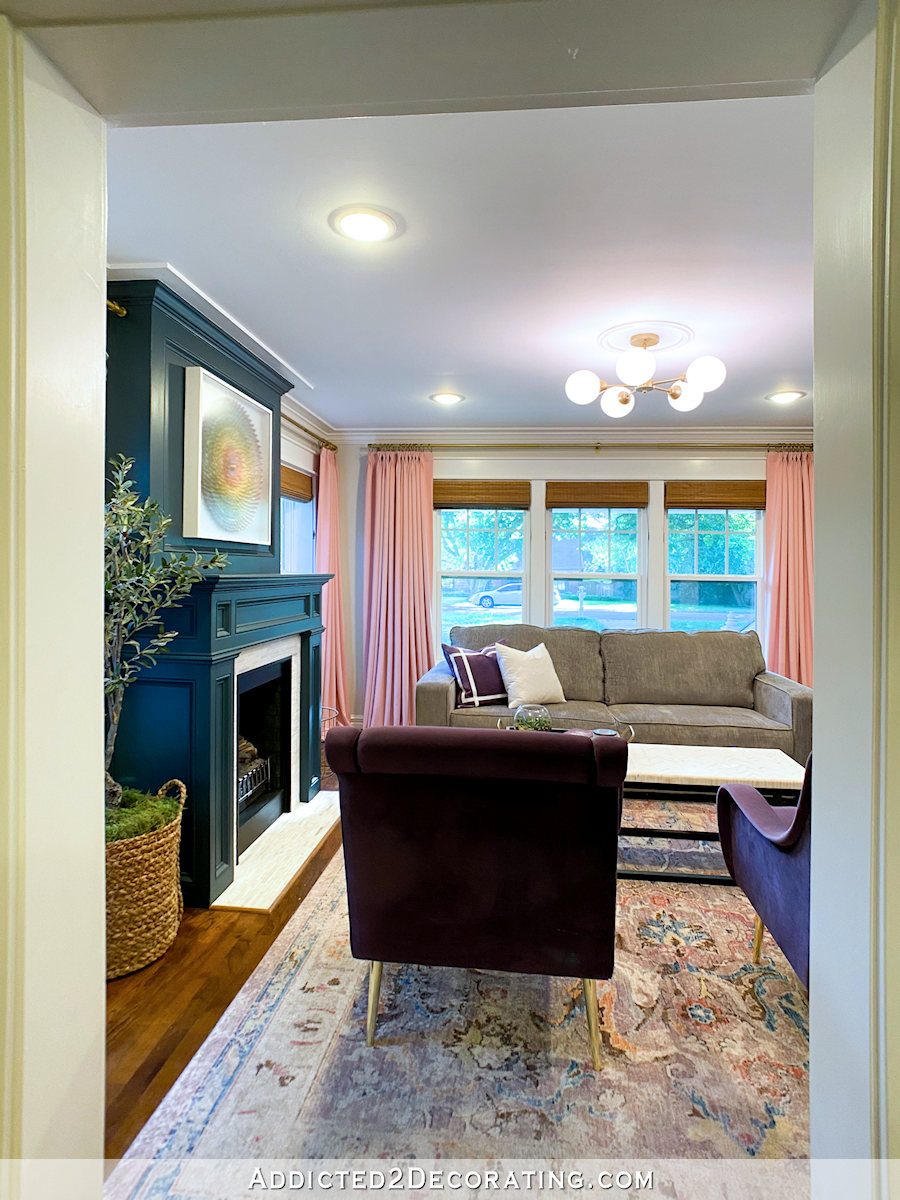
So I think I’ll do a little light fixture swap and put that light in the breakfast room, and then put the new light in the living room. After all, if one of those rooms should get a statement light, it should be the room you see when you walk in the front door.
Now if only I can get the thing put together. I only have half of it so far.

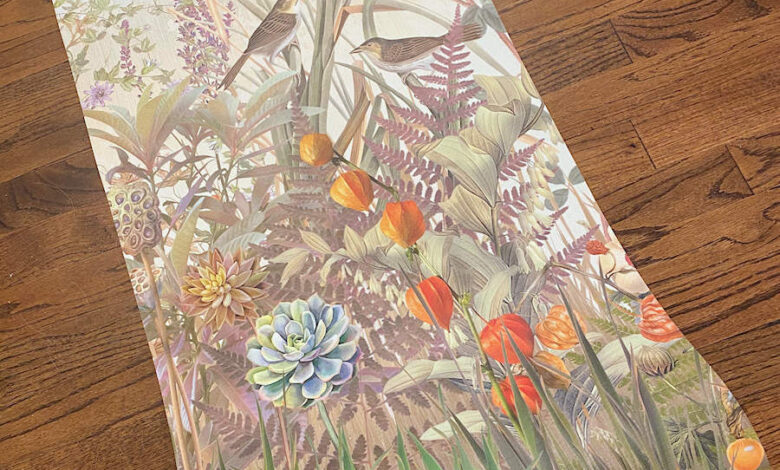
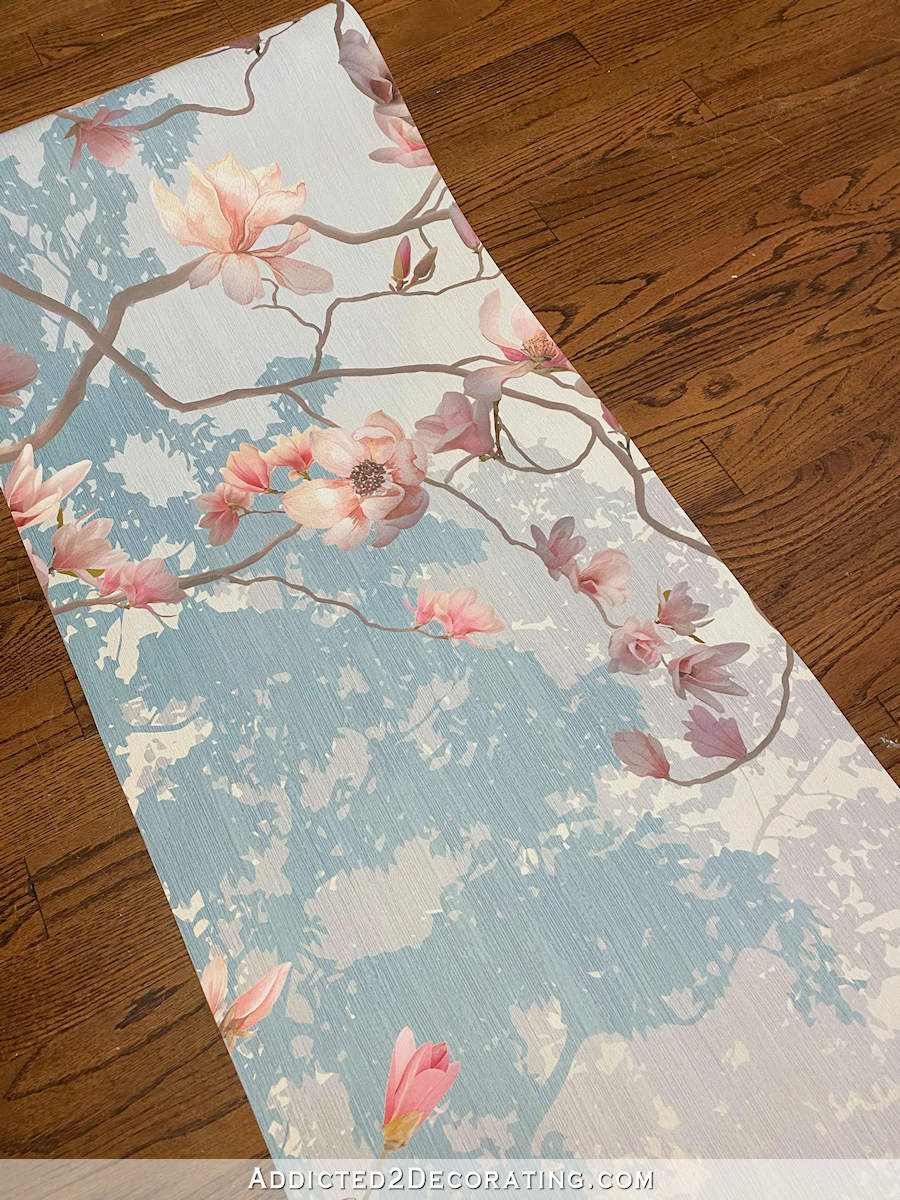
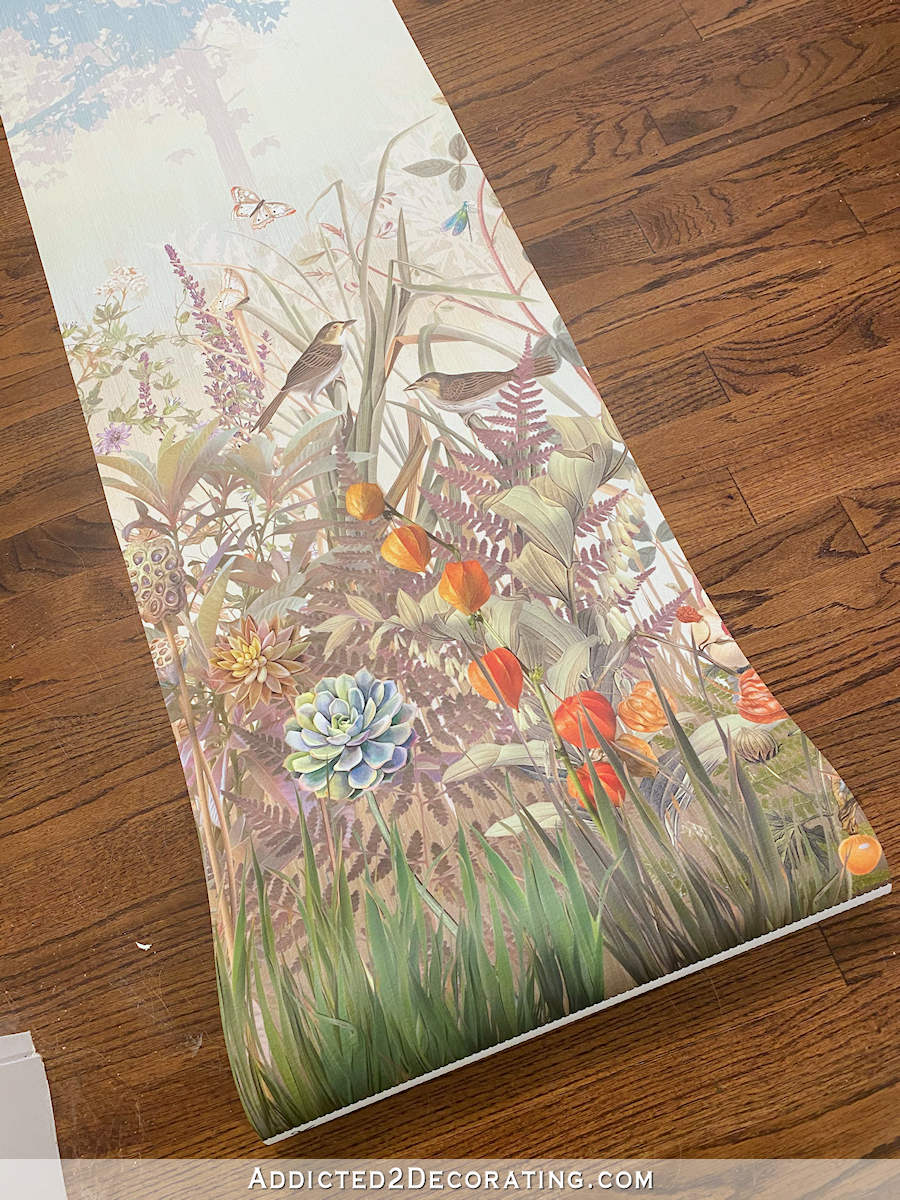
And finally, I received the wall mural for the master bathroom! This is the one I ordered…

I haven’t unrolled the whole thing yet (I’m afraid I’ll damage it), but from what I’ve seen, it’s spectacular.
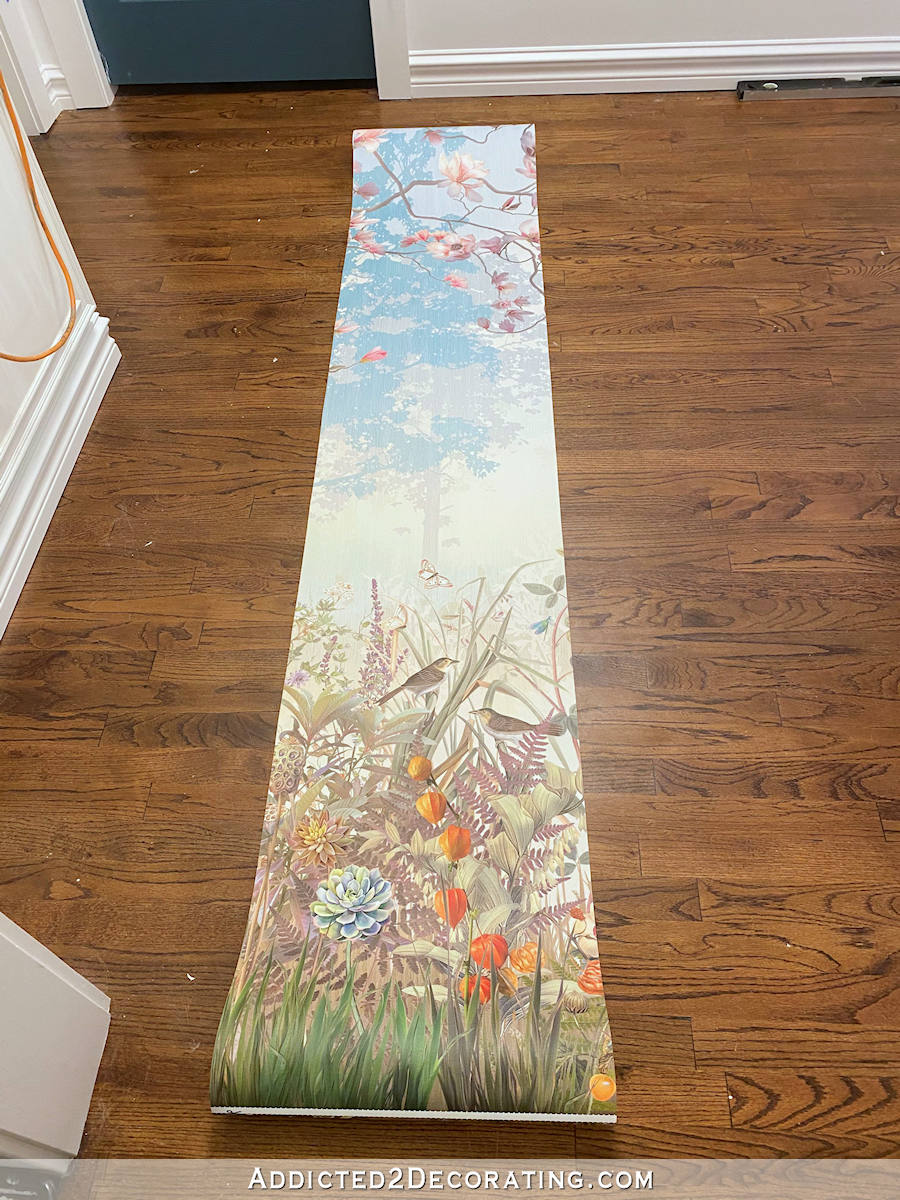
I ordered the deluxe paper, and it’s a vinyl paper which should hold up well in the bathroom. And just look at all of these gorgeous colors!
All of the panels come on one long, continuous roll with lines showing where to cut.
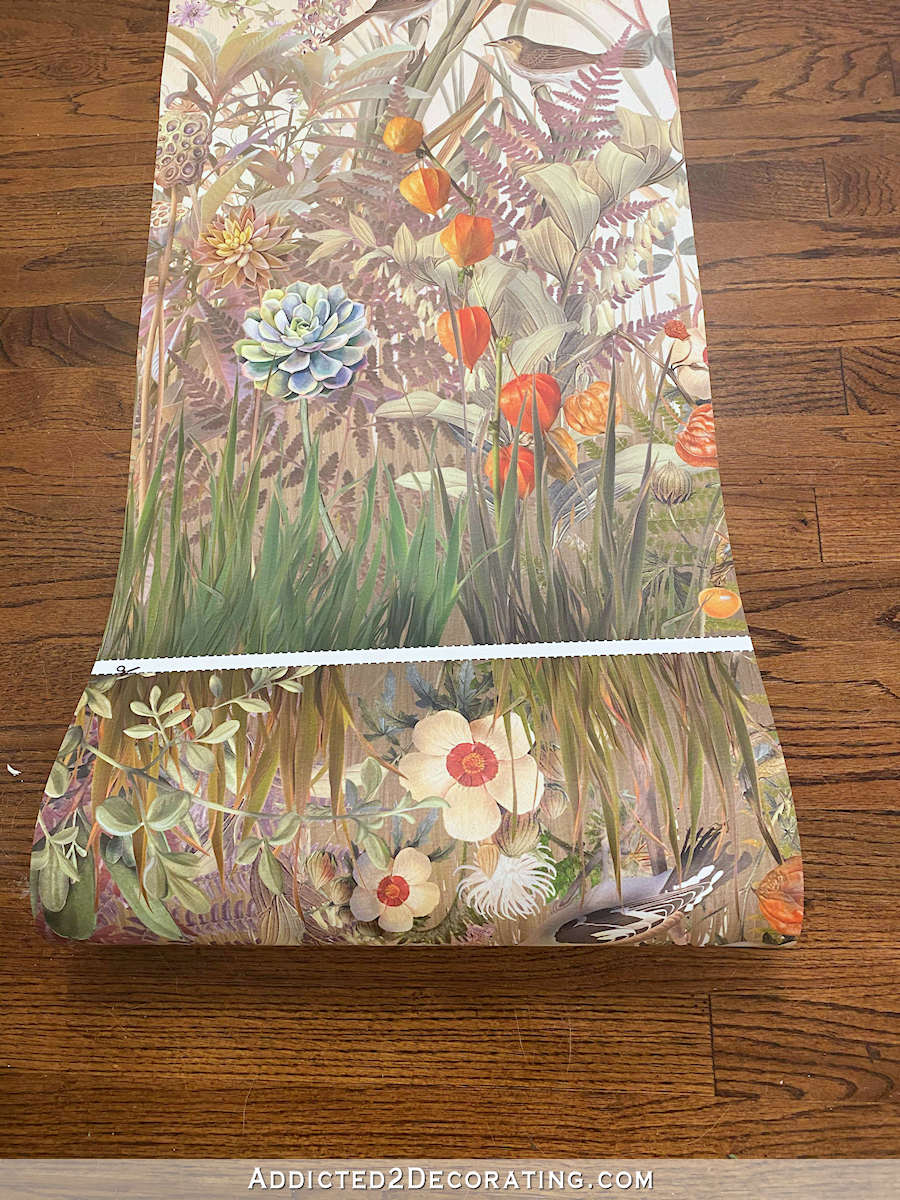
PhotoWall is located in Sweden, so I expected it to take a couple of weeks (at least) to get here since they custom size, crop and print each mural according to your specifications. But it got here in a matter of days. I think it took a total of five days from when I ordered it. That’s pretty amazing! And now that I have the actual mural in hand, I can make the rest of my selections for tile, paint colors, etc.
So things are moving right along! I’m finally getting to a point where I actually feel like my old DIY-loving self. All of last year, I just felt so unmotivated. And then it’s been really hard to get back into the swing of things this year. DIY is like a muscle (at least for me), and if I don’t work it out regularly, it gets weak. So this year has felt really challenging for me. But just in the last couple of weeks, I’ve started really enjoying working on my house again.
And I’m very excited that I’ll soon be able to show y’all the finished hallway, the finished music room, and the finished living room!! I’ve put off showing y’all the music room and living room because the unfinished hallway showed in pictures of those two room. And after taking so long to finish the music room and living room, there’s no way I wanted an unfinished hallway mucking up the pictures of those other two rooms. So I’m about to be able to show y’all a whole lot of newly finished areas in our house!
Source link