There was a time when the thought of building my own furniture (or cabinets) intimidated the heck out of me. I thought you had to have a big workshop filled with all kinds of fancy, specialized and high-priced tools in order to build furniture.
But that was many years ago. Since then, I’ve learned that just about anyone can build furniture, and it doesn’t take a large workshop filled with specialty tools, either. If you have just a few basic power tools, you can build furniture.
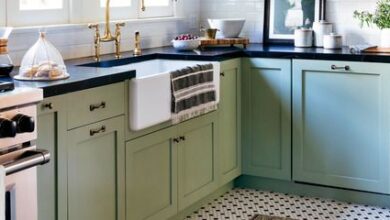
So why would you want to build your own furniture? Well, just last week, I showed y’all a cabinet that I built for our bathroom. That cabinet is pretty big (about 43 inches wide, 88.5 inches tall, and 15.5 inches deep). I painted it white on the outside, and stained the inside a dark walnut color.
*This post contains affiliate links.
Of course, I could have just purchased a cabinet for this room. How much would that have cost for a similar cabinet in a similar size? Here are three that I found online:
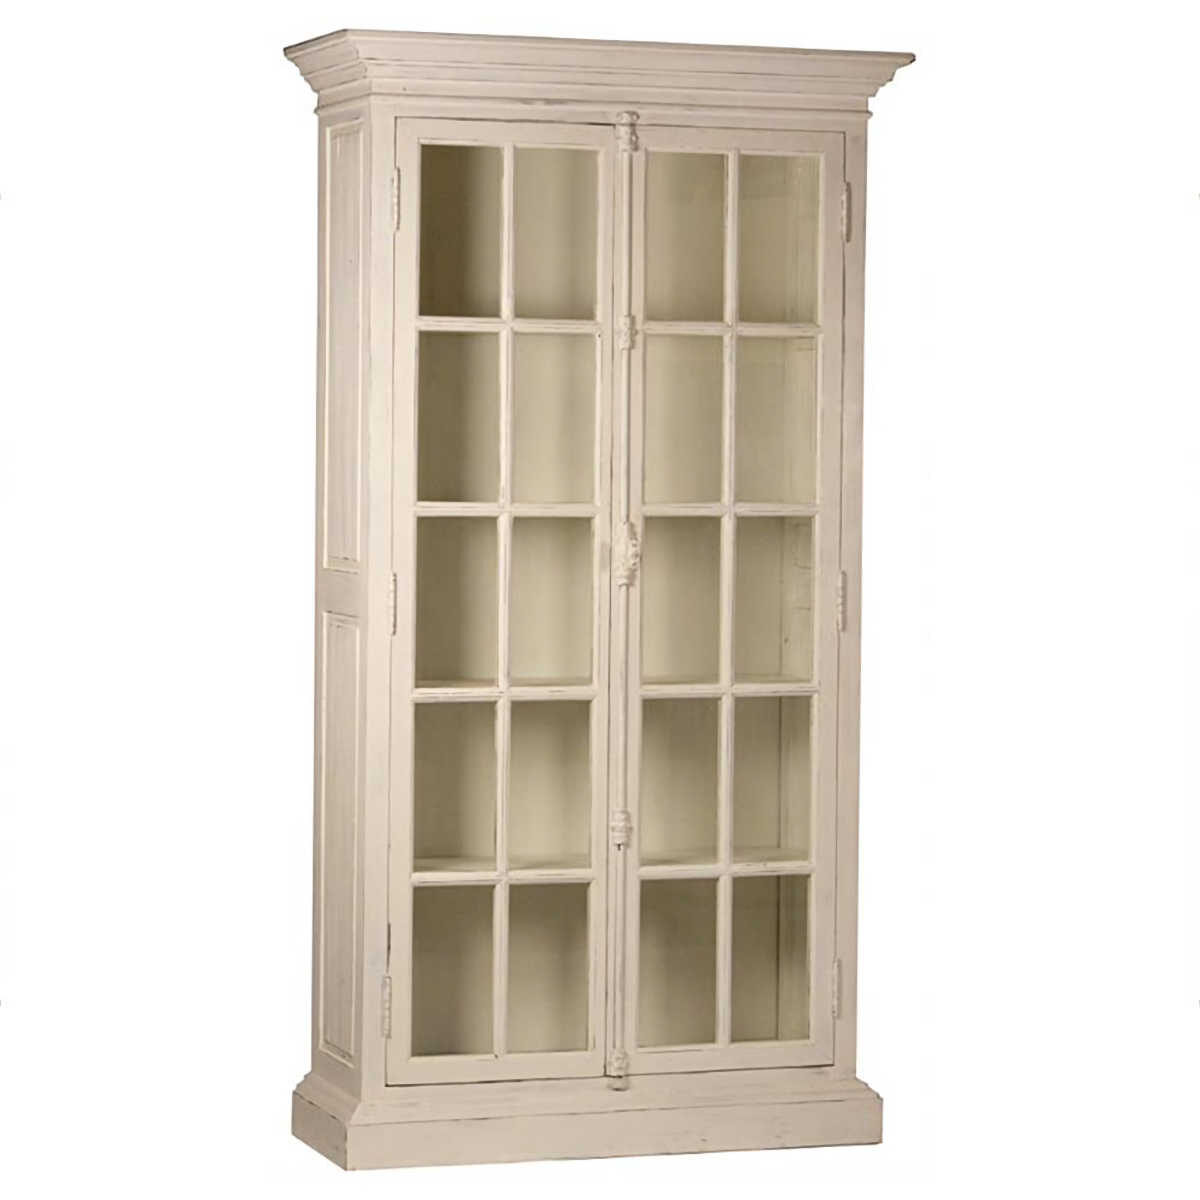
This first one is the Yael French Country China Cabinet from Kathy Kuo Home. It’s a little bigger than mine, measuring 91 inches high x 49 inches wide x 19 inches deep. The price for this one is $2713 with free shipping.
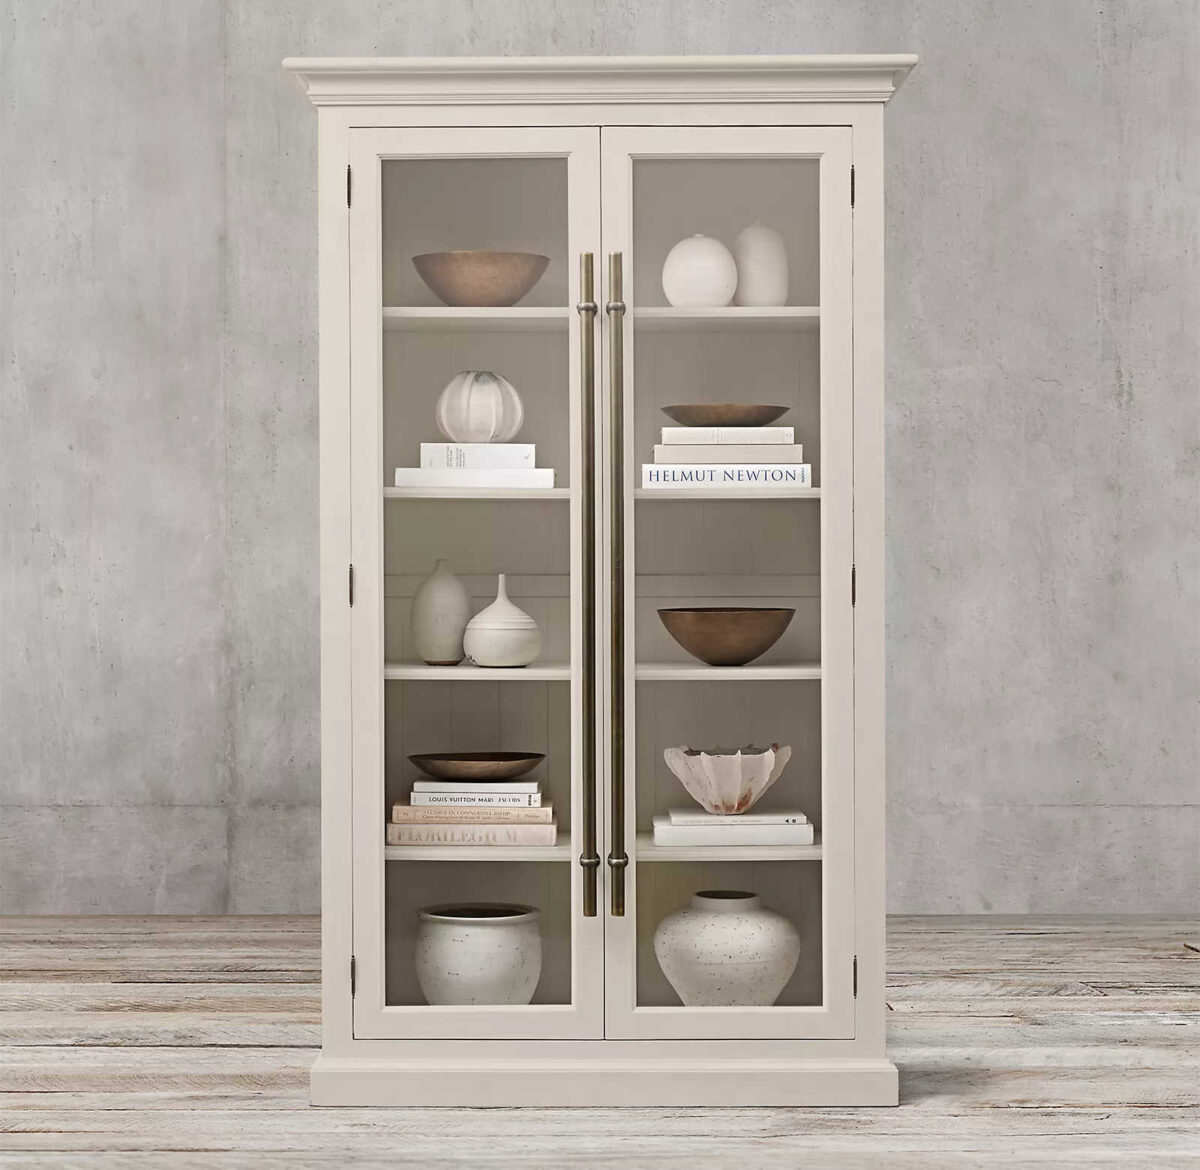
Another similar cabinet is this 20th Century English Brass Bar Pull Glass Double Door Cabinet from Restoration Hardware. This one measures 44¾ inches wide x 24 inches deep x 91 inches high. This one costs $5010 for non-members or $3757 for members, plus about $400 for shipping.
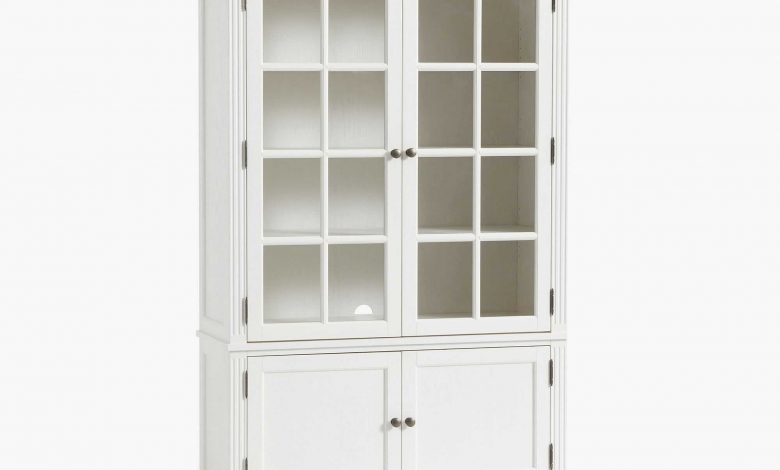
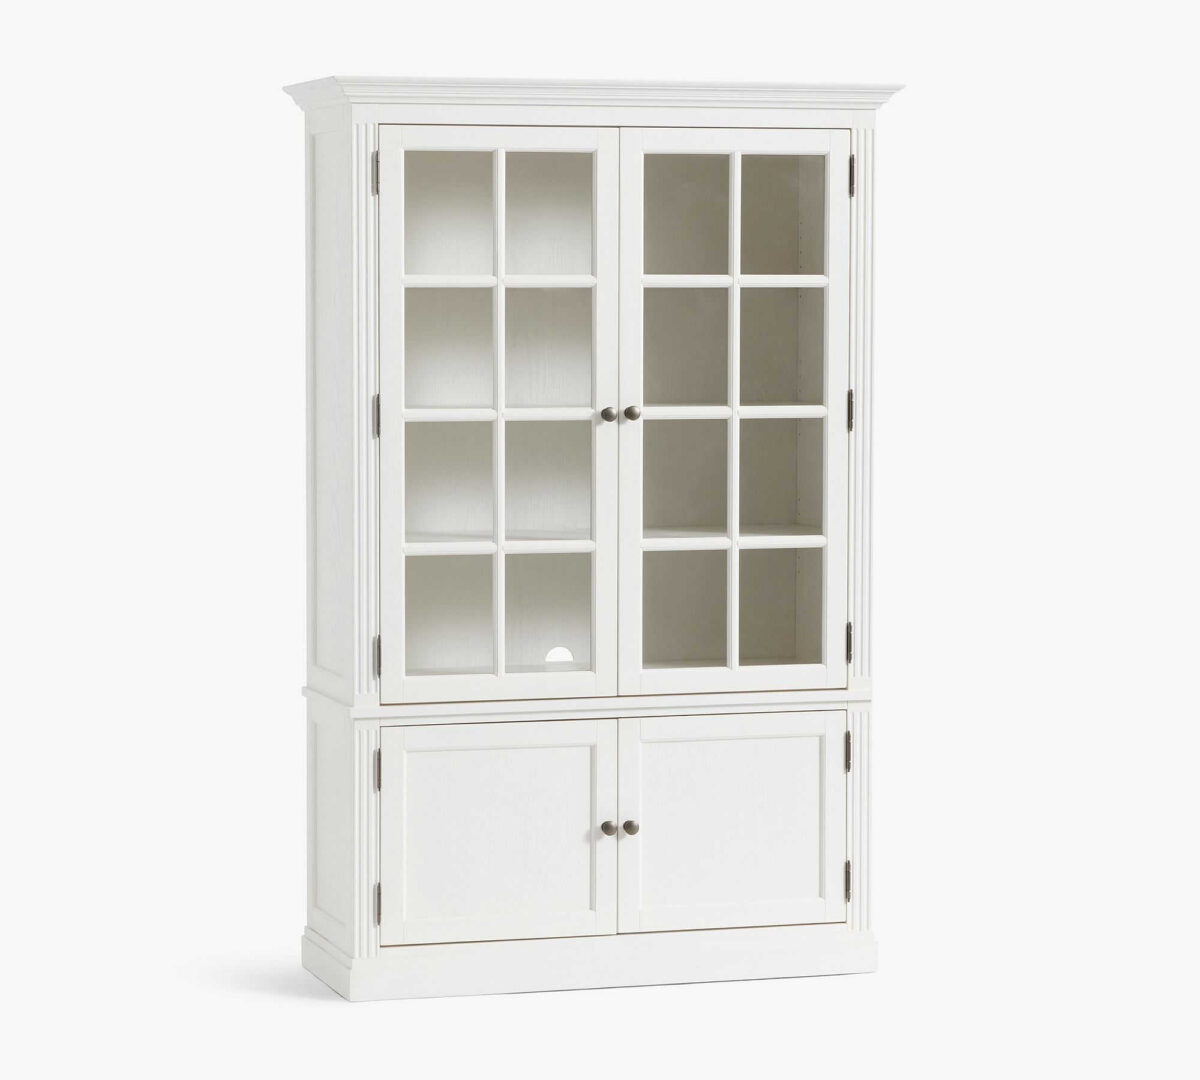
And finally, Pottery Barn has this Livingston Glass Cabinet that is very similar, although the bottom section has solid doors, and it’s considerably shorter than mine. This one measures 48.5 inches wide x 18 inches deep x 73.5 inches high. The cost is $2399 plus shipping.
So what what the cost of mine?
- 1 sheet of plywood — $65
- MDF — on hand (leftover from previous projects)
- Crown molding — on hand (left over from bathroom remodel)
- Trim & square dowels — $80
- Furniture feet — $68
- Wood for shelves — $96
- Stain — $13
- General Finishes clear topcoat — on hand
- Glass doors — on hand (from the pantry)
- Nails, wood glue, etc. — on hand
- TOTAL: $322
Granted, if you had to purchase everything and didn’t have anything on hand (like the doors or the second piece of MDF or plywood), that cost would be more. But even at that, you’d still save an incredible amount of money over purchasing something similar that is ready made (or ready to assemble).
It’s just so worth it to learn to build your own furniture! And it’s really not that difficult. Once you figure out that just about every credenza, buffet, cabinet (both freestanding and built-in), bookshelf, bookcase, etc., all start with building a simple box that’s open on one side, and then fancying it up with facings, trim, feet, legs, and other details, it becomes really simple.
Not only will you save yourself a fortune that can be put towards other things you really want to splurge on (or things you really can’t do yourself), but finishing these pieces will give you such a sense of accomplishment and confidence to take on gradually bigger and more complicated projects.
There are really just a few things a new DIYer needs to get started building their own furniture.
Air Compressor & Nail Guns
An air compressor and nail guns are essential. I have the Porter Cable pancake air compressor that comes with three nailers. I use my 16-gauge and 18-gauge nail guns constantly. I can’t imagine trying to do the projects I do without those.
The 16-gauge nail gun is great for assembling thing, while the 18-gauge is useful for attaching trim. So on my bathroom cabinet, I used the 16-gauge nail gun to assemble the main box and attach the face frames, and then I used the 18-gauge nail gun to attach all of the small trim and the crown molding around the top.
Using the smaller nail gun on the trim reduced the chances of the nails splitting the wood trim, and also gave me smaller holes to have to fill and sand smooth.
Miter Saw
A miter saw is a must for any DIYer. I love my Dewalt 12-inch compound miter saw, but you can do just about anything you need with a 10-inch saw, which will generally cost less.
You’d be surprised at just how much you can do with an air compressor, a nail gun, and a miter saw. Those are the absolute most essential tools that any aspiring DIYer should start off with.
Kreg Pocket Hole Jig
A Kreg Pocket Hole Jig is a must-have tool specifically for furniture and cabinet building for those of us who don’t have the big workshops filled with the fancy woodworking tools that the professional furniture builders have. Kreg Pocket Hole Jigs make it easy for us non-professionals to build sturdy, quality pieces of furniture.
Drill and Drill Bits/Screwdriver Bits
The final tool that you need is a drill, and with it you’ll need a set of drill bits as well as screwdriver bits. I have this corded Ryobi drill, and I love it. I prefer corded tools because they’re more powerful and reliable, but that’s just a personal preference. I do also have this cordless combo, and I do like these and use them often.
Optional — Table Saw
So what about a table saw? Well, I DIYed for years and years before I ever owned my own table saw. Fortunately, both Lowe’s and Home Depot will cut your MDF and plywood for you to any sizes you need. And while they say that they charge per cut, I’ve never once had them charge me for cuts.
Before I owned my own table saw, I would just figure the measurements I needed, and always draw them out on a diagram so that I would know what cuts needed to come from each sheet of plywood (never leave it to them to figure that out for you), and then I’d leave the store with all of my pieces already perfectly cut to the sizes I needed.
But if you prefer to have your own table saw without spending a fortune, I highly recommend the Dewalt Portable Jobsite Table Saw. It’s the one I currently have, and while it’s not super light (which is a good thing because a saw that’s too light will move around as you’re pushing plywood or MDF through it), it’s also fairly easy for me to move around if I need to move it from one location to another. Just be aware that you’re not going to be able to push whole 4′ x 8′ sheets of material through this saw. For that, you really do need a big workshop with the big saws, which is why a lot of times, it’s still just easier for me to let Home Depot or Lowe’s cut the material for me.
Anyway, it’s so worth it to buy a few tools and learn how to build. You can save a fortune, and have fun while you’re at it! And just think of the sense of accomplishment you’ll get when you get to tell visitors, “Oh that? Well, I built that myself.” 😀

Addicted 2 Decorating is where I share my DIY and decorating journey as I remodel and decorate the 1948 fixer upper that my husband, Matt, and I bought in 2013. Matt has M.S. and is unable to do physical work, so I do the majority of the work on the house by myself. You can learn more about me here.
I hope you’ll join me on my DIY and decorating journey! If you want to follow my projects and progress, you can subscribe below and have each new post delivered to your email inbox. That way you’ll never miss a thing!
Source link