Master Bathroom Trim Progress (And Why My Idea Won’t Work)
[ad_1]
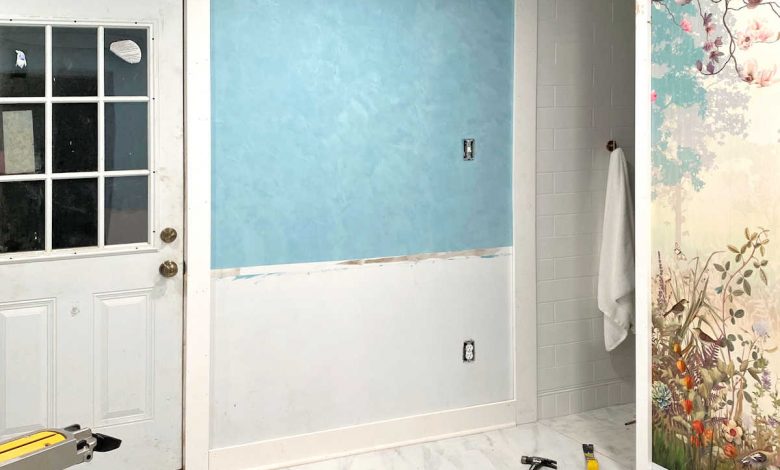
This weekend, I started installing the trim in our master bathroom. And unfortunately, I realized pretty quickly that my plan for the trim around the ceiling wasn’t going to work.
I had planned to do something very similar to what I did in the music room, where I added wide pieces of MDF around the perimeter before adding crown molding along the wall and base cap molding along the inside edge of the MDF.
But to accommodate for an uneven ceiling in the shower, I was needing to add spacers before attaching the boards along the perimeter. So I cut spacers out of a scrap piece of 1″ x 8″ primed lumber.

Most of the spacers were about 1.5 inches wide…
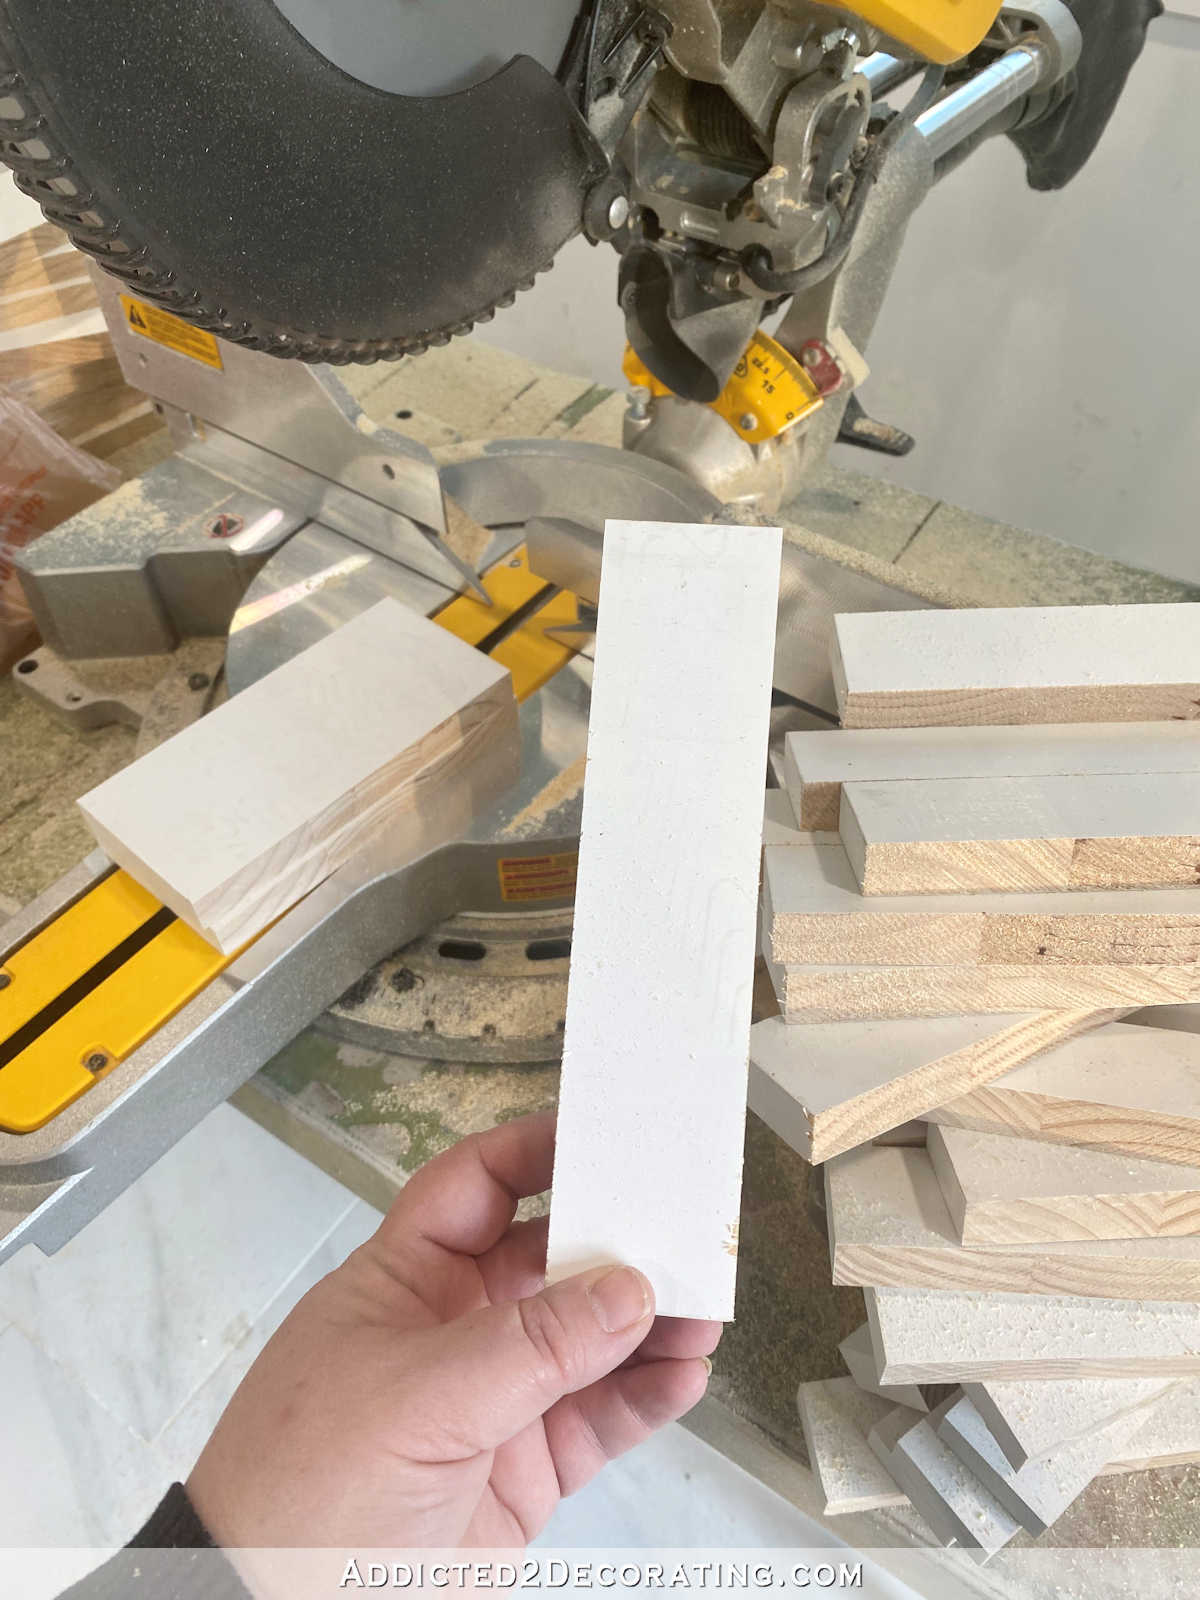
I attached them along the perimeter using Loctite construction adhesive and 1.5″ 16-gauge nails.
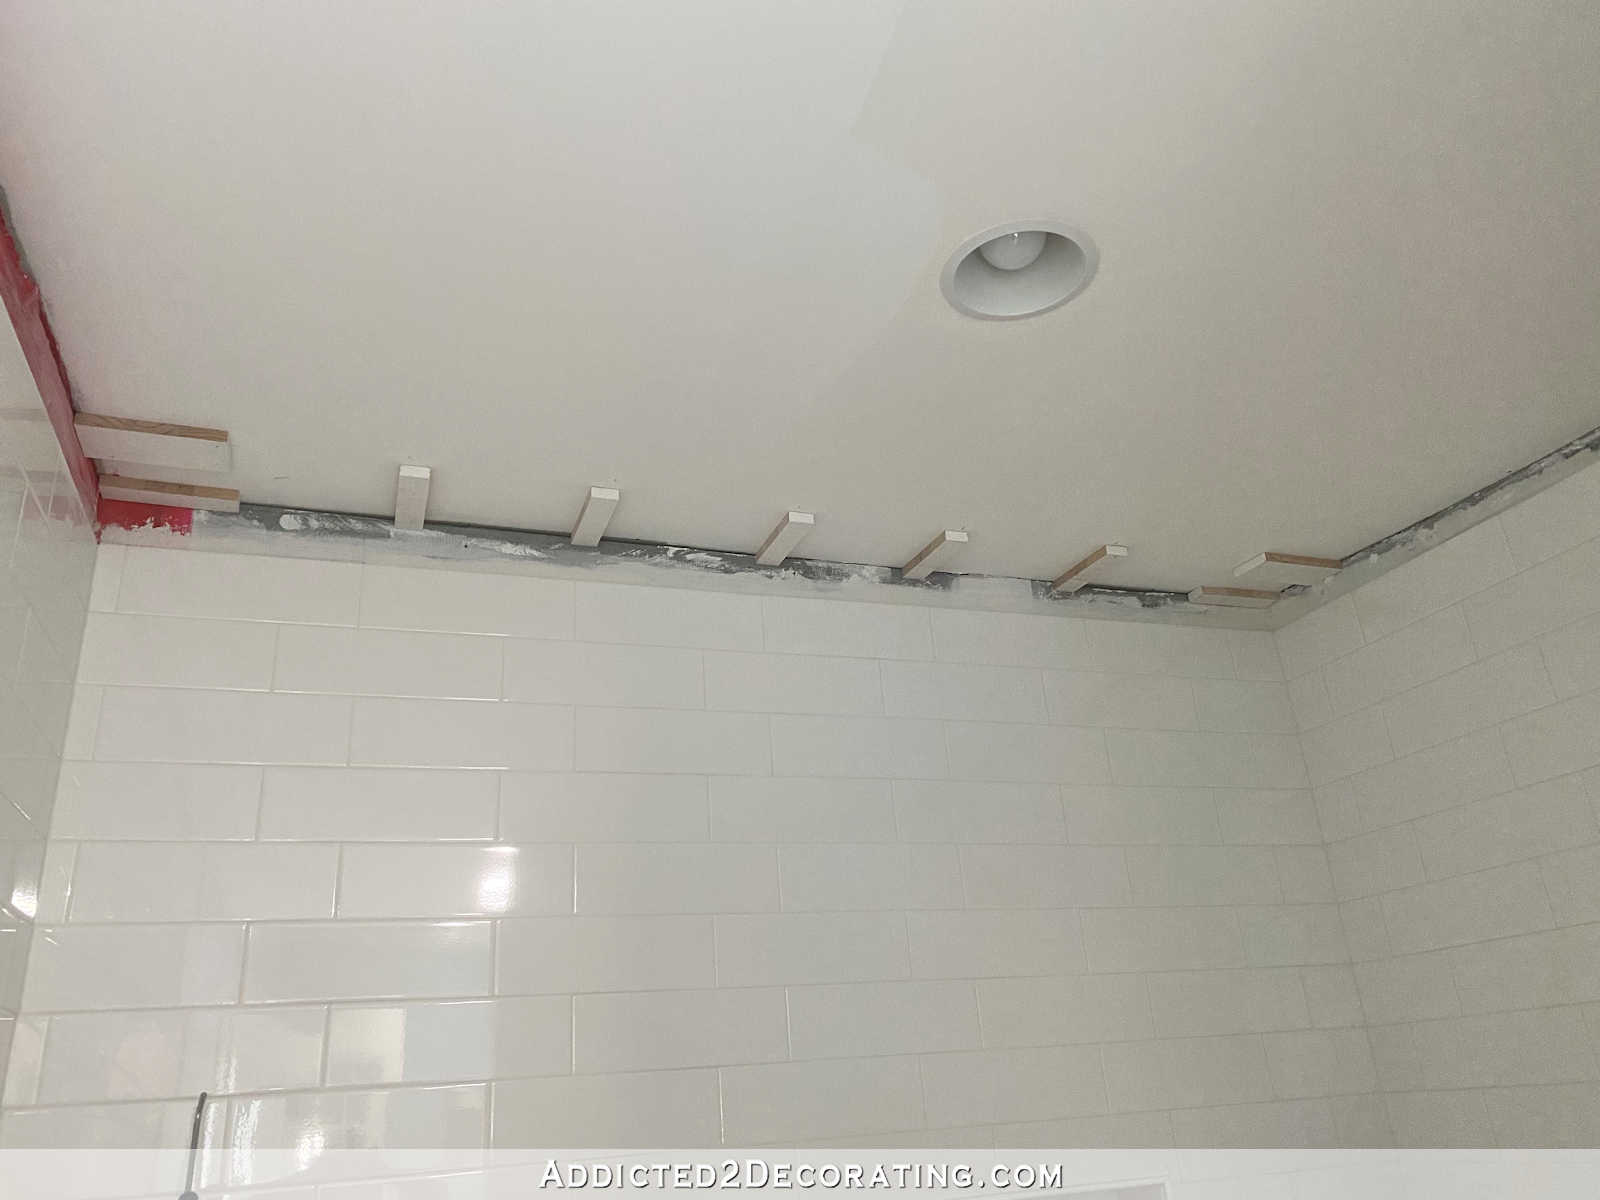
On the corners where I’d have two boards butting up against each other, I cut double-width spacers and attached them so that two boards could be attached to the same spacer.
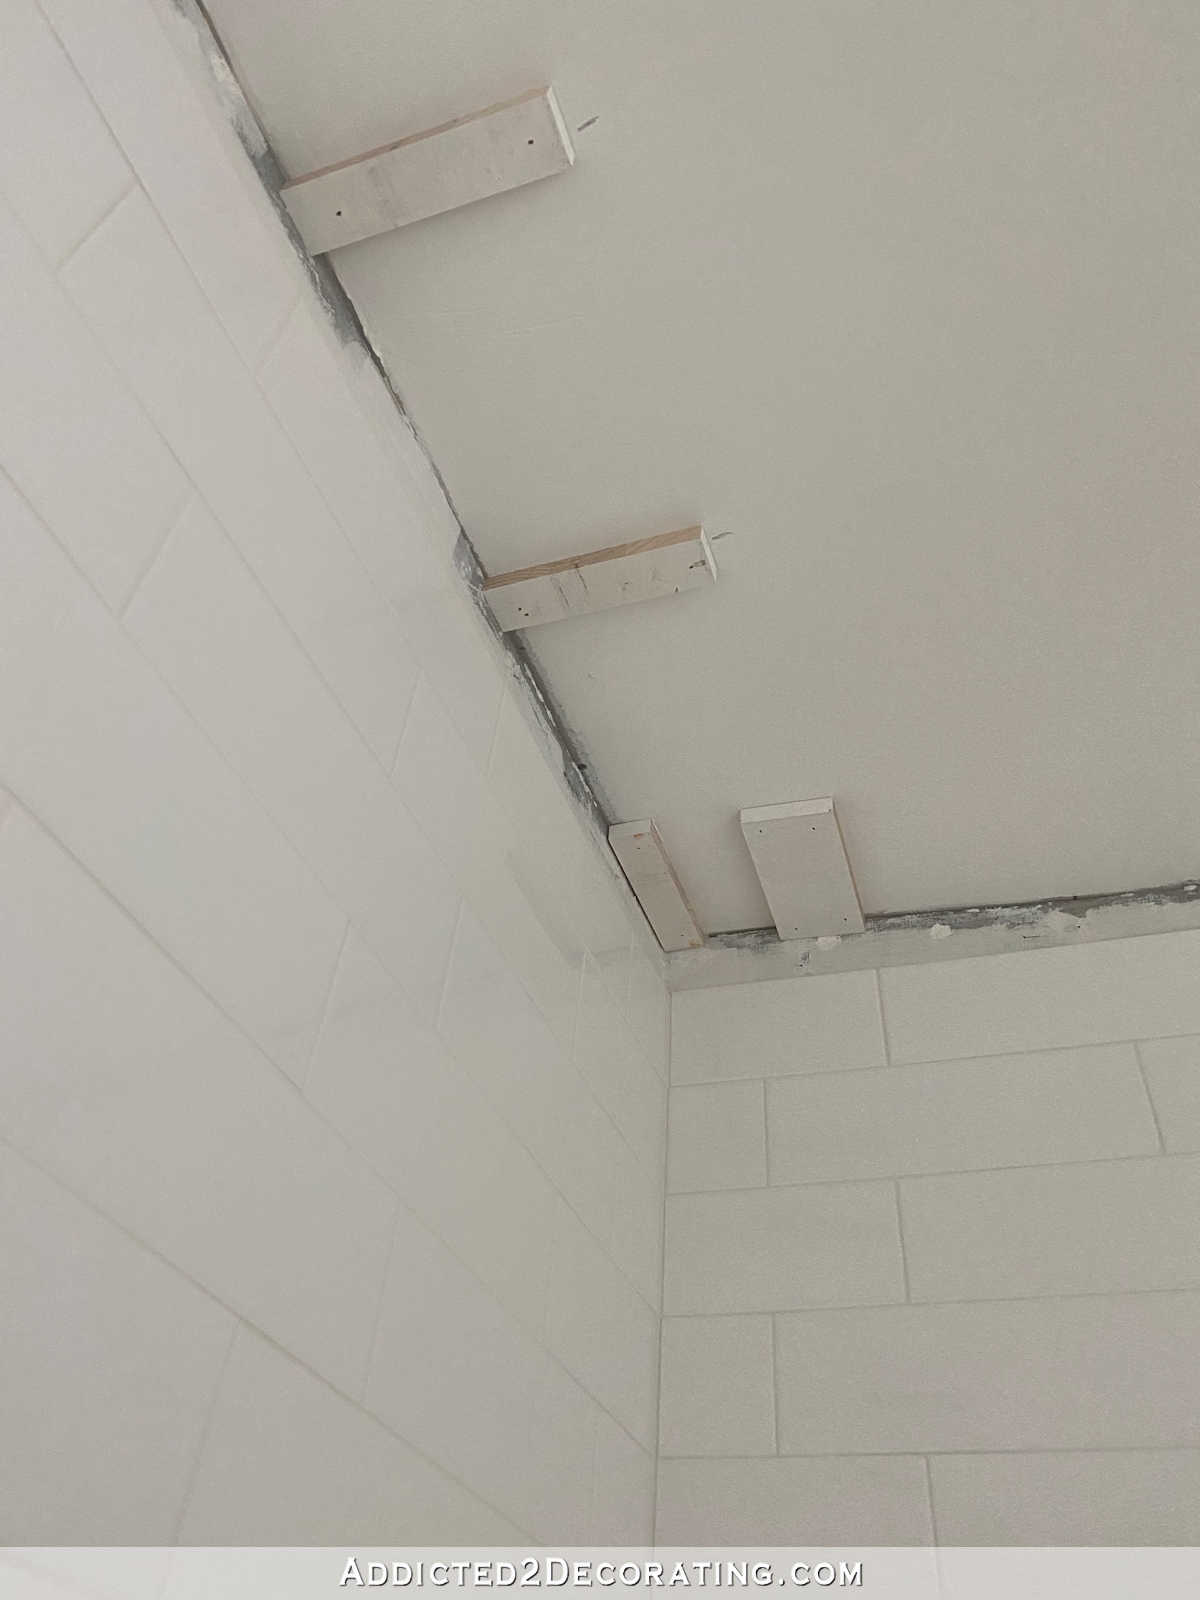

And after attaching the spacers and giving the adhesive a little time to set, I went back and attached the 1″ x 8″ boards around the perimeter.

In all, I got three of the boards attached before I realized that I was going to have problems with this plan.
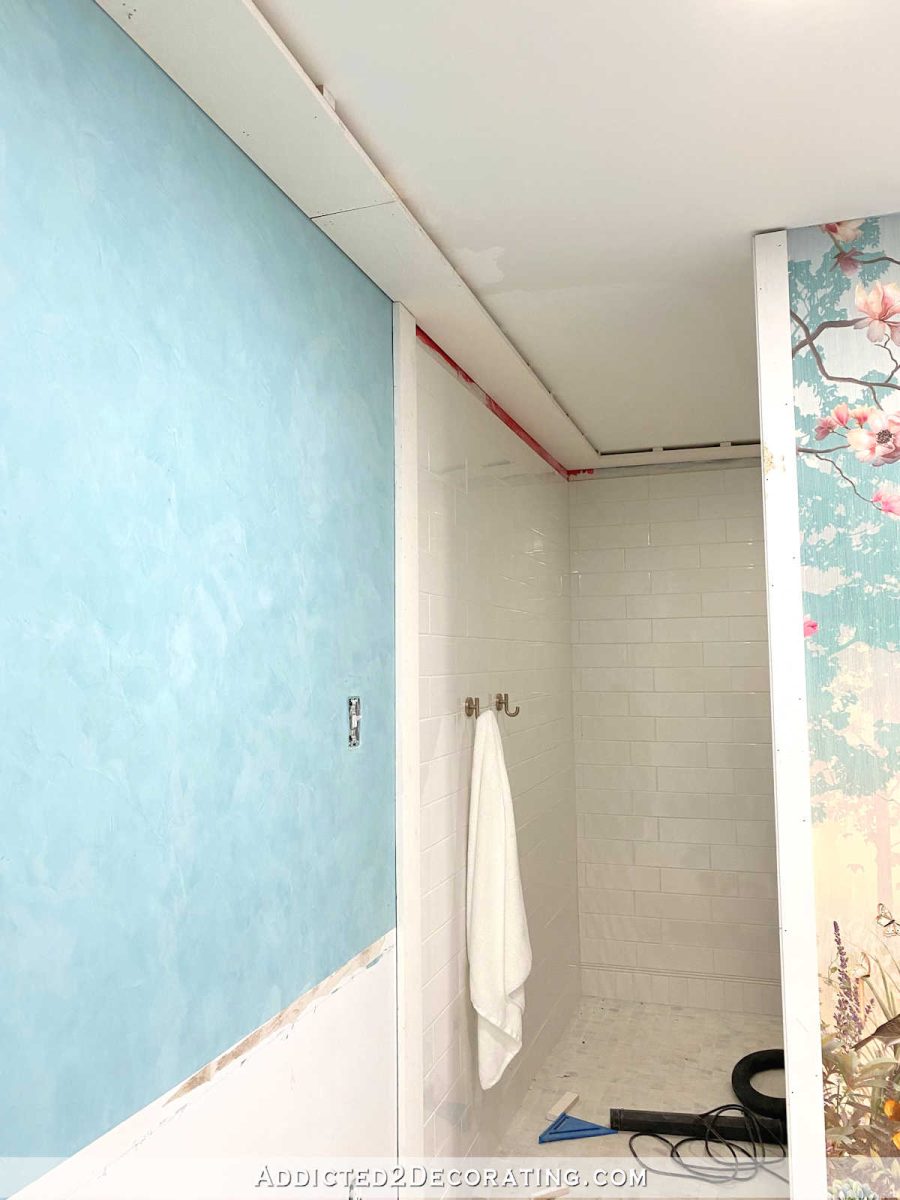
It all looked fine until I got over the newly trimmed door, where I ran into another problem. This is an old house on a pier and beam foundation, built on soil that’s constantly moving. So I can never count on anything being perfectly square, level, or plumb. And the ceiling above the door is definitely not level. So having the crown molding drop down an additional 1.5 inches makes it too close to the door trim, and accentuates how unlevel the ceiling is (the door trim on the top is level).
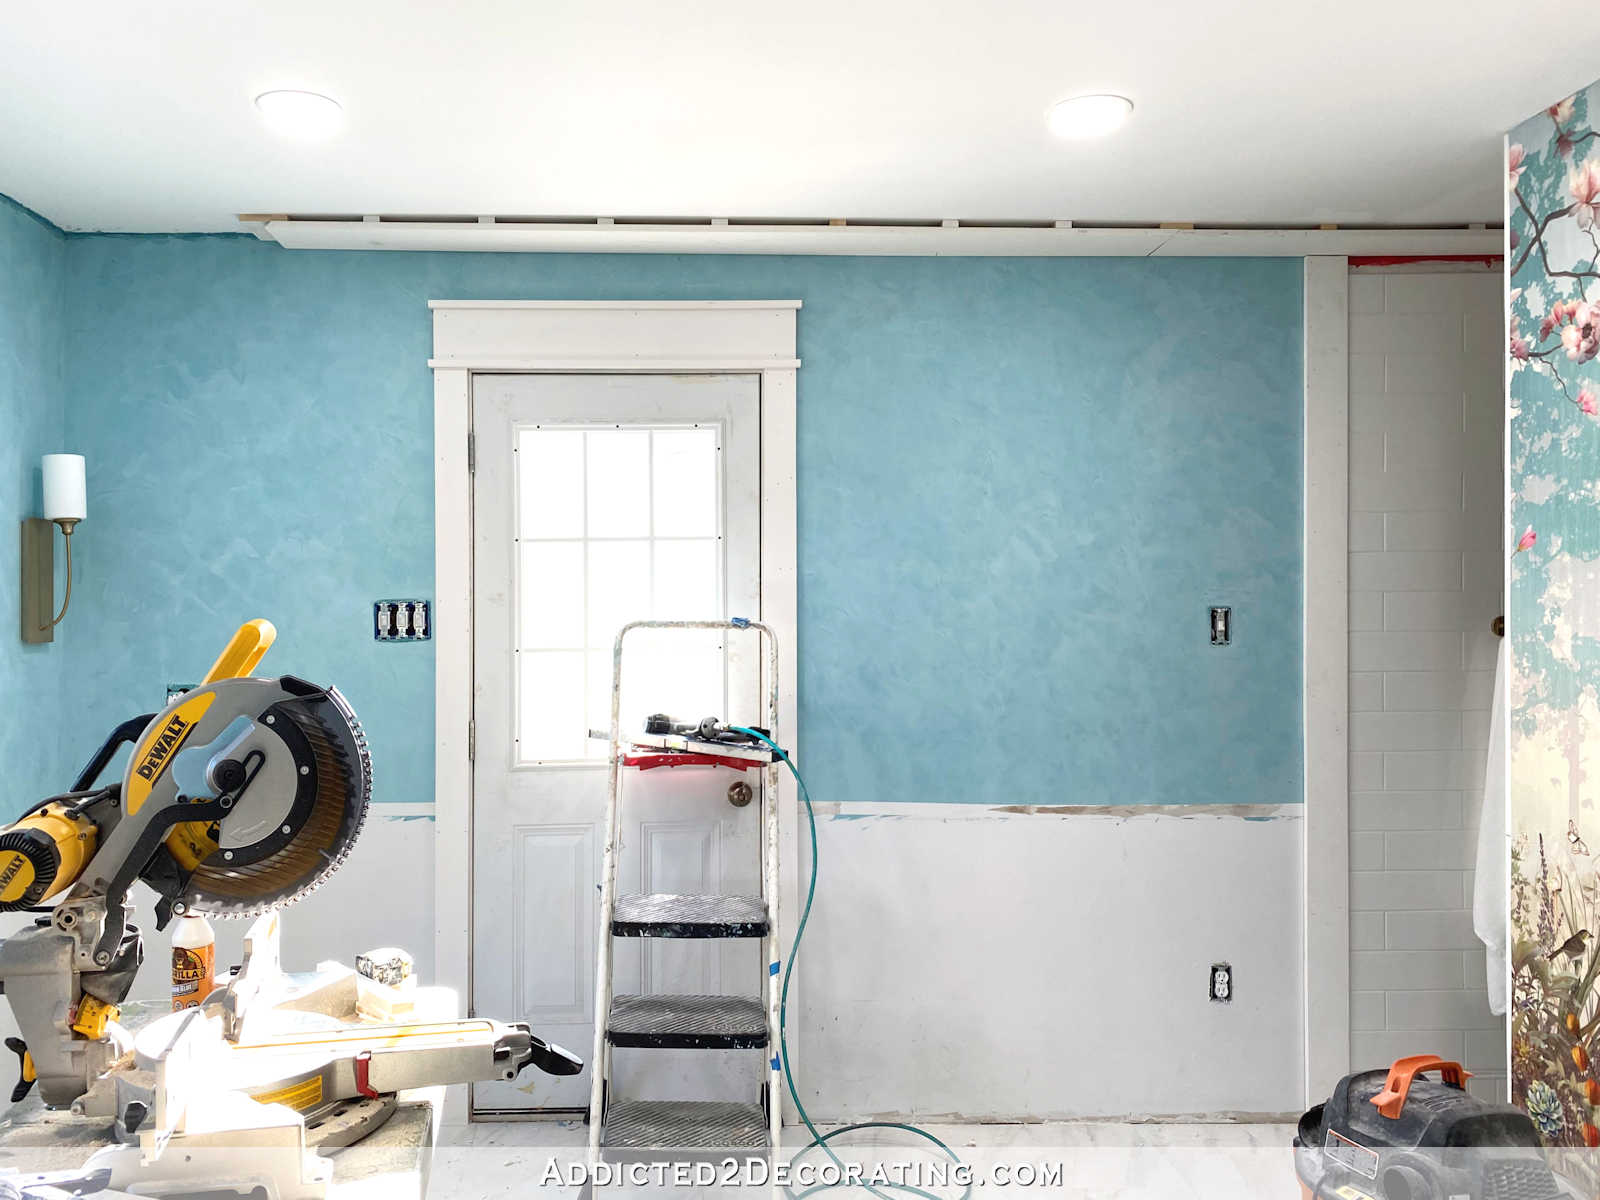
So now I’m kind of back to the drawing board on how to handle the trim around the ceiling. I’ll be taking this down and considering other options, but I’ve thought through and contemplated so many options for so long that I’m really tired of thinking about it. Quite honestly, I’ll probably just make something up as I go along.
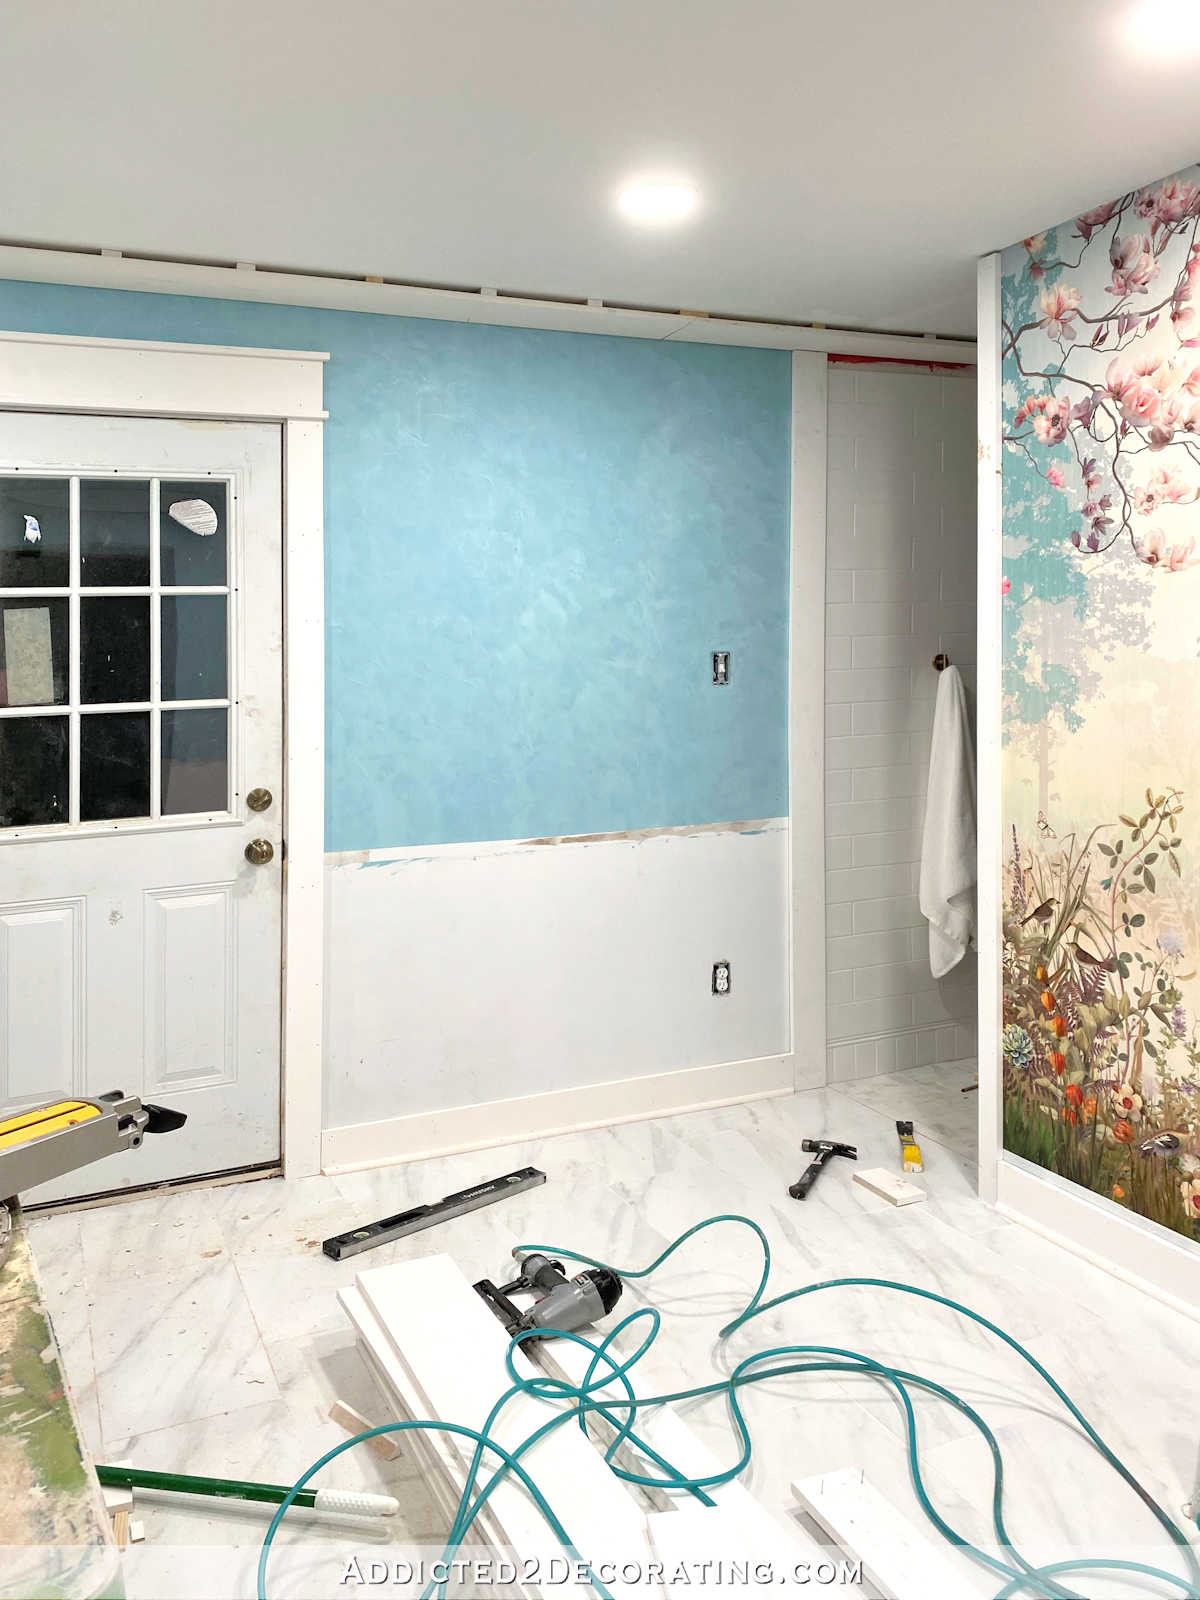
I did make progress on trimming out the mural wall, but I realized that I forgot to purchase any base cap trim, which I use on all of my baseboards. And of course, nothing is wood filled, caulked, or painted at this point. I’m still very early in the installation phase of the trim right now.
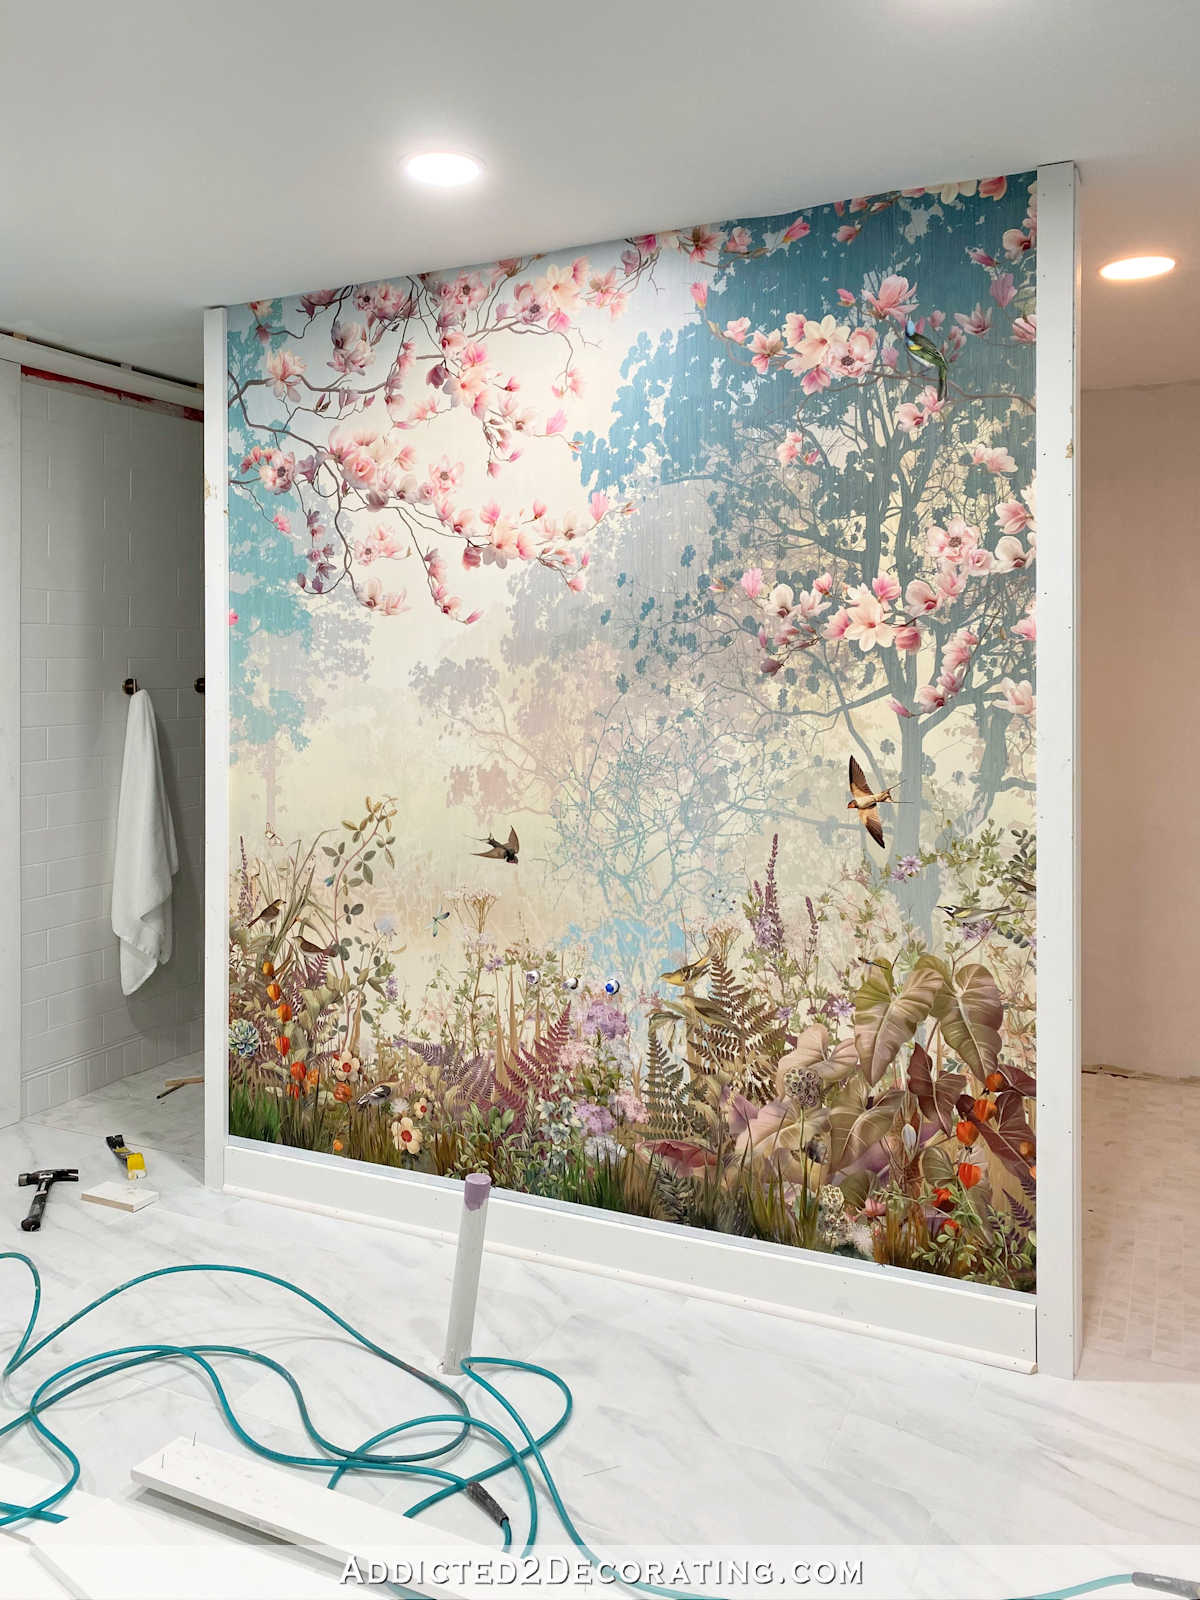
So this weekend has been two steps forward, and one step back. I’m not disappointed that I tried out my idea, though. I love trying new ideas, and if they don’t work, at least I know! I’d rather try and realize something won’t work than always wonder if I missed out on a great idea.

Addicted 2 Decorating is where I share my DIY and decorating journey as I remodel and decorate the 1948 fixer upper that my husband, Matt, and I bought in 2013. Matt has M.S. and is unable to do physical work, so I do the majority of the work on the house by myself. You can learn more about me here.
I hope you’ll join me on my DIY and decorating journey! If you want to follow my projects and progress, you can subscribe below and have each new post delivered to your email inbox. That way you’ll never miss a thing!
[ad_2]
Source link


