A Great Source For Gallery Wall Frames (And A Peek At The Framed Artwork For The Home Gym)
[ad_1]
If you’ve been around here a while, you know I’m a big fan of gallery walls. And generally, because I’m a perfectionist, I love symmetry, and I like things to look neat and tailored, I prefer the kind of gallery wall where everything is the same size, framed in the same frame, and hung in a grid.
I give you Exhibit A, our entryway…
And Exhibit B, the water closet area of our bathroom…

I hadn’t really considered the artwork I’m adding to the entry wall of the home gym a “gallery wall”, but I guess it really is. It’ll be six framed pictures hung in a grid, just like the bird pictures in the entryway.
So after having the pictures printed in an 11″ x 14″ size at CVS (one hour photos for almost immediate gratification!), I headed to Michael’s to look for frames. I know IKEA has really good prices on frames, but we don’t have an IKEA in Waco. The nearest one to me is just outside of Austin, so about an hour-and-a-half away. I’ve only been there once. 🙂
So my go-to is Michael’s. They almost always have frames on sale. I needed six 16″ x 20″ frames with a mat for 11″ x 14″ pictures. That’s a pretty tall order. They almost never have that many of one frame in stock. After searching for a while, I finally found the perfect frames…

These are the Home by Studio Decor Natural Walnut Stain 11″ x 14″ Frame with Mat, and in the store, they were buy one, get one 50% off. But just as I expected, they didn’t have enough. There were only two in the store, so I got my phone out, found the frame on the Michael’s website, and bought four more.
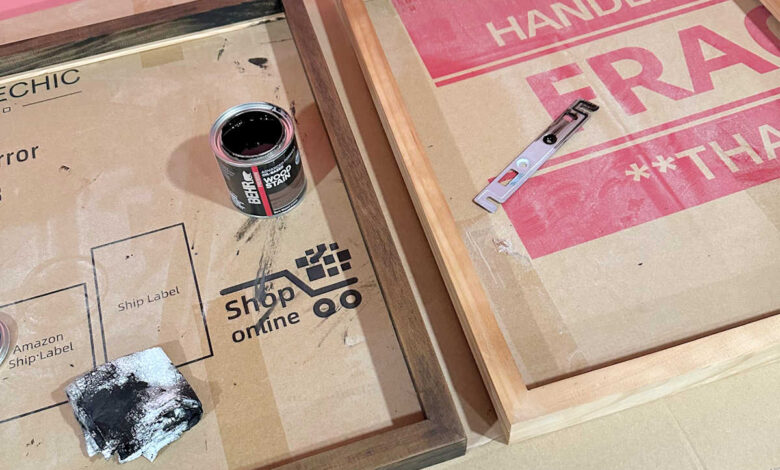
I bought the two that they had in the store, brought them home, and stained the frames. I really loved the natural color of the frames, and they would look beautiful in another room. But for our home gym, I want dark walnut to match my walnut WaterRower. So using Behr oil-based stain in Dark Walnut, I gave each frame a quick coat of stain.

The frames took the stain beautifully. I thought they would because the wood of the frame didn’t feel like it had any type of protective coating on it. I didn’t even have to sand before staining. I just removed the protective wrap, removed the glass and mat, and started staining.

And here’s how the first two turned out.

I love these prints (you can find them here), and I think they’ll tie in nicely with the rest of the black and walnut throughout the room.

But here’s what I really wanted to share with you. Later that evening, after I had already stained the two frames I bought, I pulled up my Michael’s order on my laptop to be sure that my order went through correctly. And that’s when I noticed this at the bottom of the screen…

That is the exact same frame that I bought, except that I bought mine individually. And I even bought them on sale! But look at that price!!
I bought mine on sale for $33.74 each. That’s $202.44 for six frames. And again, that’s a sale price. But that same exact frame comes in a “pro pack” of six frames for $121.44. And that’s not a sale price. That a regular price of $20.24 per frame when purchased in a pro pack.
I don’t know why I forgot that Michael’s has these pro pack offers on their website! I found and bought pro pack frames for the wall in the water closet of our bathroom. And yet, I completely forgot about them this time around. And because of that, even buying these frames “on sale” (ha!), I ended paying $80 more than I would have with their pro pack.
Had I not already stained the frames, I would have taken them back, canceled my online order, and purchased a pro pack. But it was too late.
So I just wanted to pass that info along to y’all. Michael’s doesn’t sell pro packs of all of their frames. But this is the second time I’ve been in the store, found a frame that I really like, and discovered that they come in pro packs, sold only on their website, at prices that are far lower prices than even their sale prices on the individual frames.
If you’re looking for frames for a gallery wall, I suggest looking there first.

Addicted 2 Decorating is where I share my DIY and decorating journey as I remodel and decorate the 1948 fixer upper that my husband, Matt, and I bought in 2013. Matt has M.S. and is unable to do physical work, so I do the majority of the work on the house by myself. You can learn more about me here.
I hope you’ll join me on my DIY and decorating journey! If you want to follow my projects and progress, you can subscribe below and have each new post delivered to your email inbox. That way you’ll never miss a thing!
[ad_2]
Source link


