Decorating a Master Bedroom – Where To Start
[ad_1]
Today, we’re going to help Stephanie with her bedroom. She’s having trouble figuring out where to start with decorating her bedroom, and she’d love some input. Here’s what she has to say…
Stephanie’s Question:
I need major help in our ensuite bedroom. I can’t find a look that I love or even a focal point to draw from. The space is large (roughly 17′ x 12′). The only piece of furniture we wouldn’t replace is the king size bed, everything else I’m open to changing. We’re in the process of replacing the carpet with wood flooring and I would love to paint before that happens. There are 3 windows in the room but because of the 2nd story porch overhang there isn’t a lot of natural light. A sitting/reading area would be great. We don’t need dressers in the main bedroom because our closet is large. Bedside tables are necessary though. I tend to be drawn to cooler colors and I thought about going dark on the walls but with so little natural light it makes me nervous to pull the trigger.
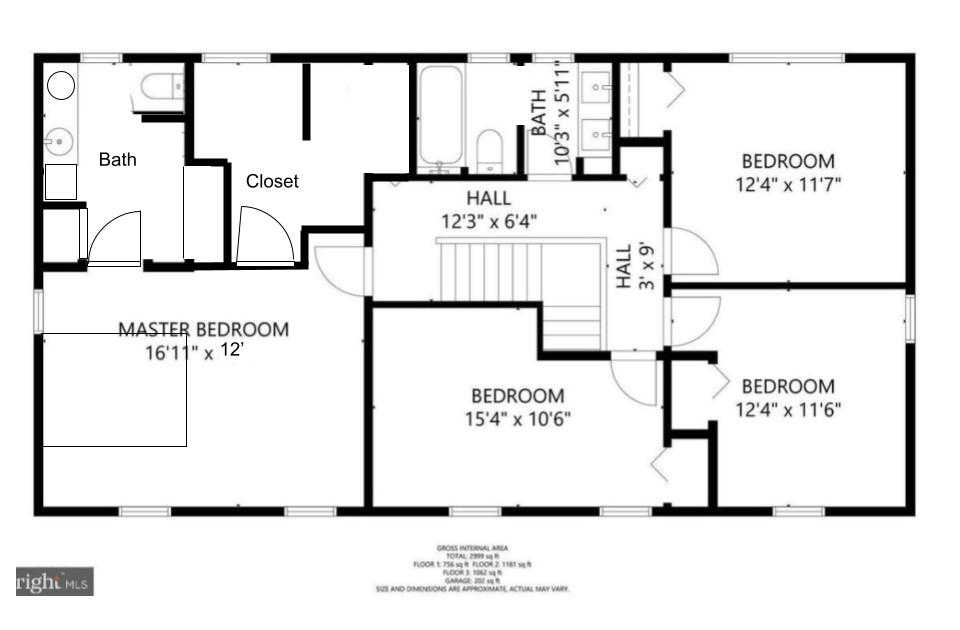
Any ideas or inspiration you might have to get me started on this space would be so helpful. I have skills to sew, paint, and light DIY building skills. Attached are photos of the room, and a floor plan layout. The hallway color is SW Kestrel White and the bathroom color is SW Greyish. I’m attaching photos of the room, bathroom (it will eventually get a full renovation) and the walk in closet that will get painted, new lights and a full closet system that will follow the look of the bedroom.
(In a follow-up email, Stephanie provided a bit more info)…
I’m so excited that you will be tackling my design dilemma! I don’t shy away from colors but I do like a mix of color and neutrals. I tend to lean into cool colors, lots of teals, aquas, and blues are in my house, but I love to play with color combos. Stylewise I’m more transitional than traditional, more coastal than farmhouse or industrial. I like eclectic (Pier 1 was my go to before they closed) and unique design features.
We recently installed a wet bar in our den with a live edge wood counter and used a navy tile in 3 different ways to create a really cool backsplash. (photos attached) I love texture. We have a pretty open budget for decorating this space and we’re working on choosing a contractor to install wood floors in the space, they will be a mid tone brown on the cooler side and lighter than the bed frame.
Stephanie’s Current Bedroom
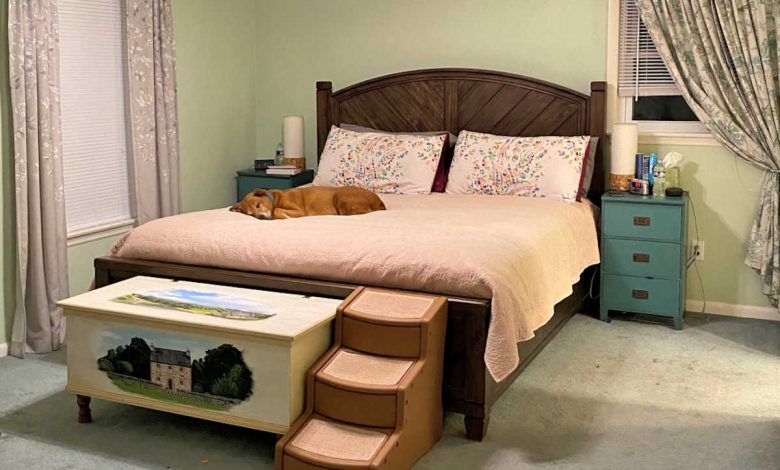
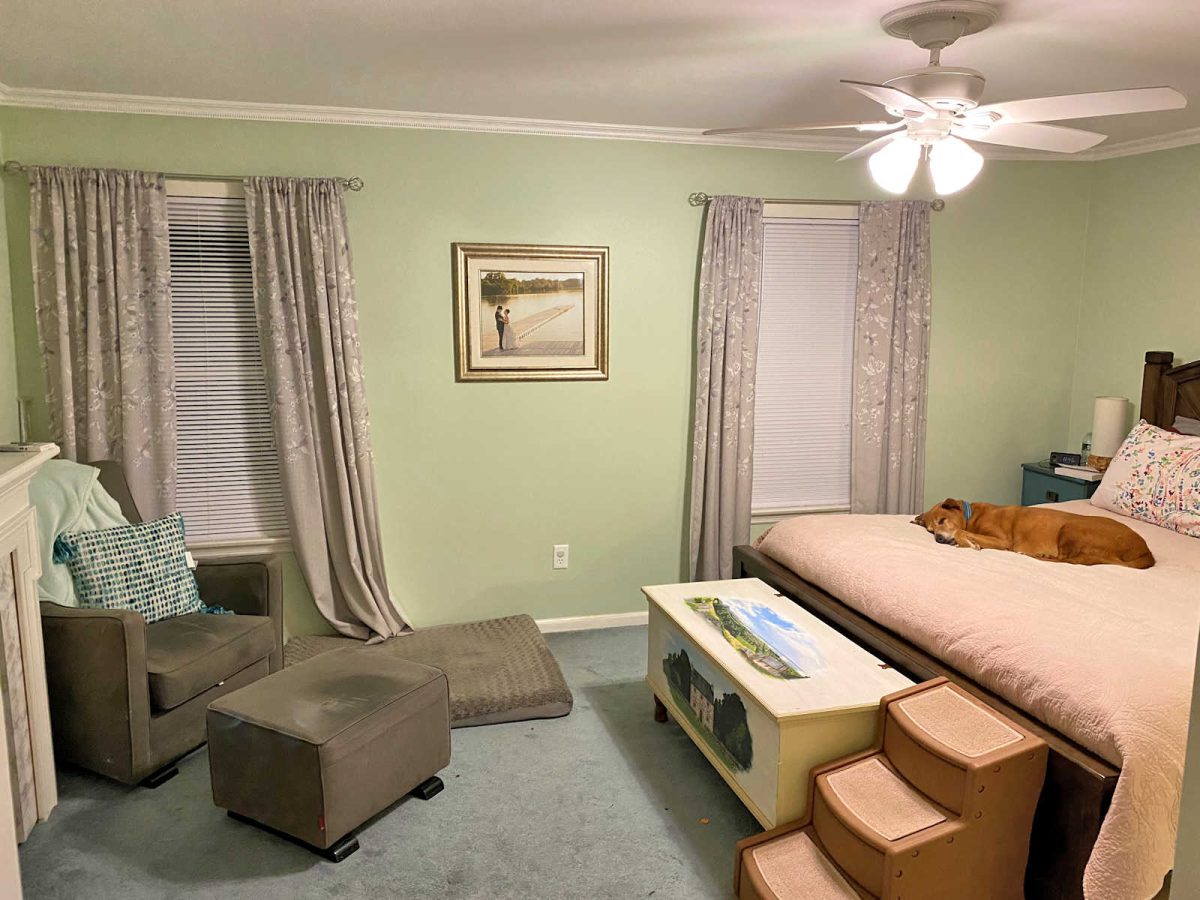
In this first photo, you can see the king size bed that Stephanie says will stay in the room. Everything else can stay or go. And the gray carpet in the room will soon be replaced with a medium tone hardwood floor.
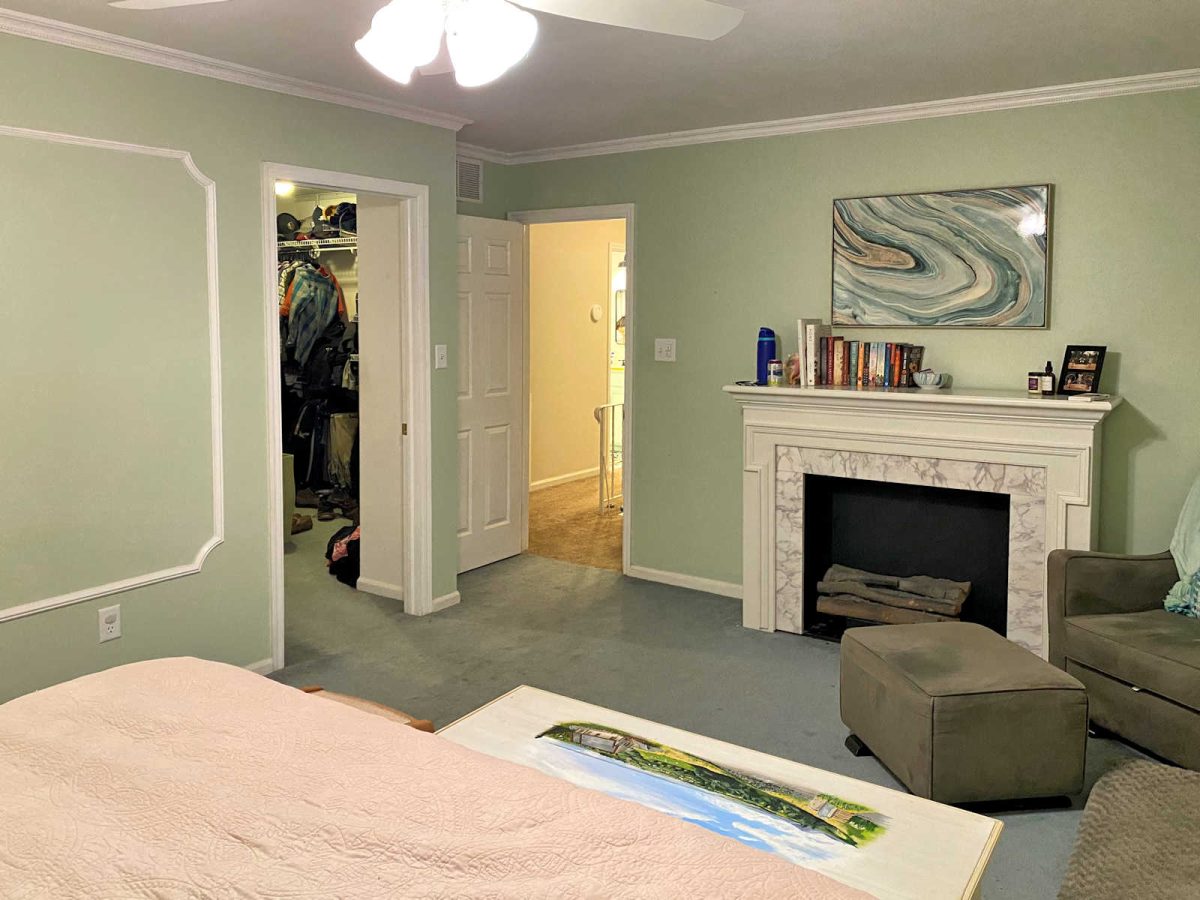
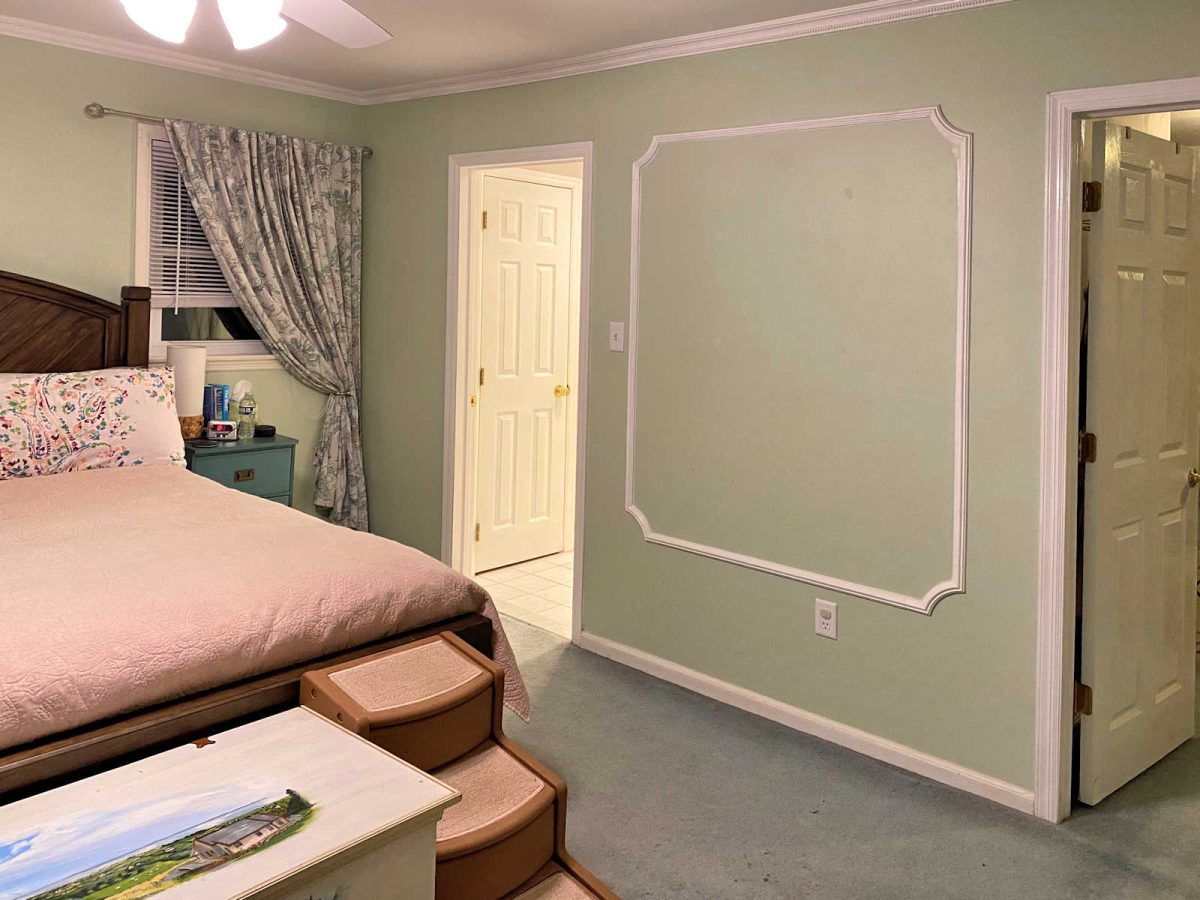
In the photos below, you can see the large walk-in closet on the right, and the bathroom on the left. The bathroom will be remodeled soon, and the closet will be getting all new organizational systems as soon as Stephanie has a direction on the bedroom.

Below is a photo of the bar area that Stephanie just redid with the beautiful blue tiles, wood tones, and live edge wood countertop. This helps us to get a visual of Stephanie’s love of blues, teals, wood tones, etc.

And finally, here is the floor plan that Stephanie provided showing the bedroom, bathroom, closet, and their relation to the rest of the areas.
My Suggestion:
The first thing that stands out to me about the current bedroom is that the bed seems like it’s on the wrong wall. With it being on the wall with one off-center window, the bed has to necessarily be shoved over into the corner, and that gives the impression that this room is cramped, when in fact, it’s a pretty spacious room.
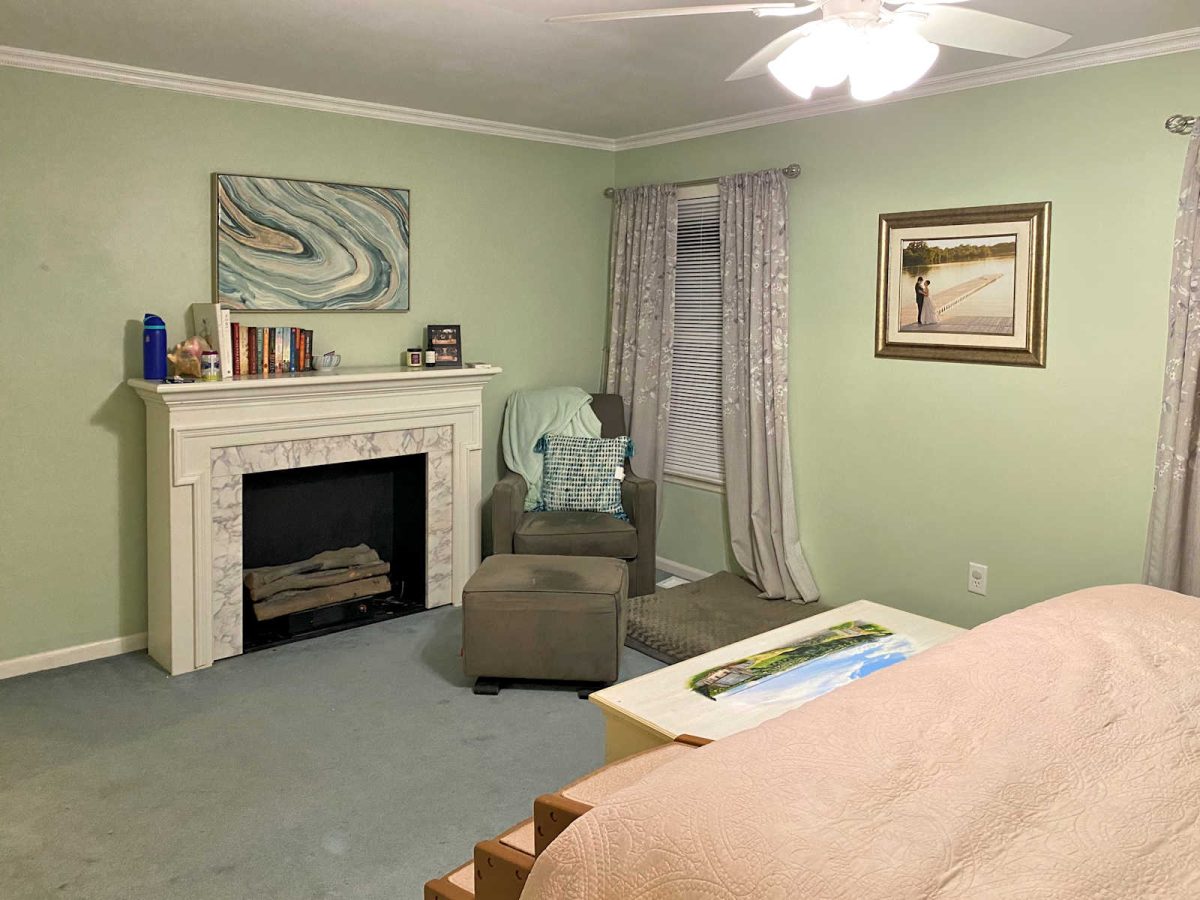
I’m assuming that the fireplace is movable because it’s look like there’s a small gap between it and the wall. So if that’s movable, the first thing I would do is move the bed to the wall with the two windows, centered between the windows, and then move the fireplace to the wall between the bathroom and closet. This brings the bed out of the corner, and makes it the focal point. In a master bedroom, the bed, with its pretty headboard, beautiful bedding, and any artwork you hang over the headboard, should almost always (with very rare exceptions) be the focal point of the room.
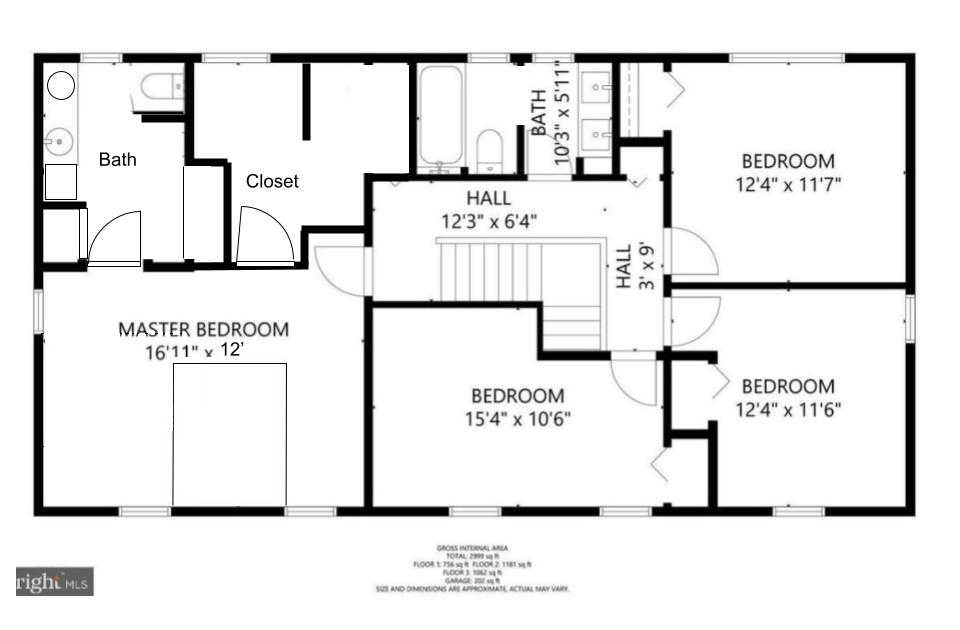
So bringing the bed out of the corner, and placing it between the two the two prominent windows in the room will make the entire wall the focal point. And if that floor plan is to scale, it looks like the two main windows in the room are offset probably to leave room on the left wall for a dresser. Since you said you don’t need a dresser, it’s possible that you could put a chair and a lamp in that area, although it’s hard to tell without actually being in the space. But that seems like the most likely space where you’d be able to fit the reading area that you want.
With the bed the focal point, you can consider the whole arrangement — the windows, the bed, bedside tables, and any artwork above the bed — as one big statement. This will also give you the opportunity to use much larger night stands/bedside tables, which would look more proportional with your king size bed.
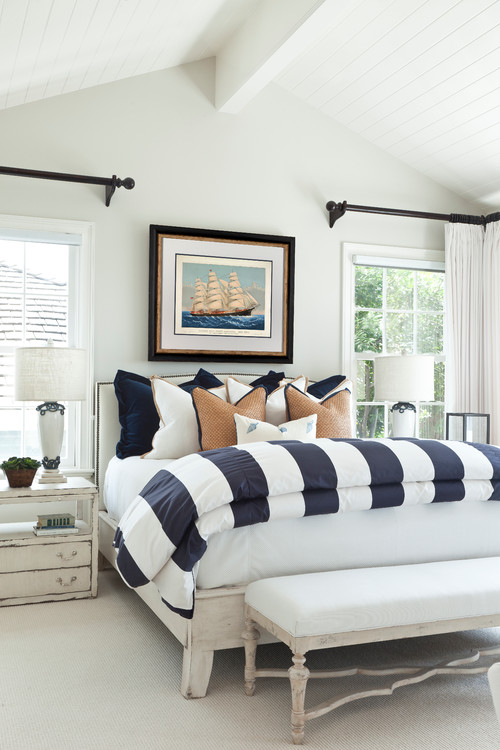
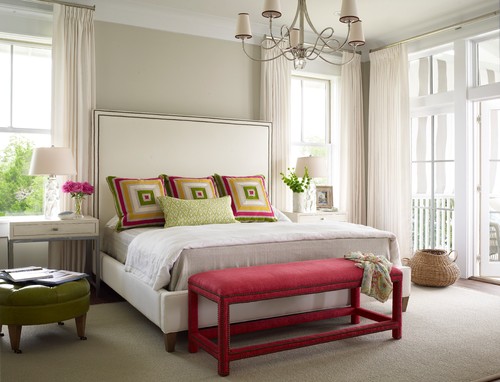
Here are some examples of this arrangement and how the whole thing then becomes one large statement…
So pulling the bed out of the corner and putting it in a much more prominent place is the first thing I’d do.
And then just one more piece of general decorating advice, whether you stick with your current curtains or use new ones, I’d take the curtain rods up as high as they will go. In other words, make the brackets touch the bottom edge of the crown molding and bring those curtains (or the new curtains) up as high as they’ll go. Also, extend the rods about 10 to 12 inches on either side of the windows so that the curtains are covering up as little of the actual windows as possible. This will make the ceiling feel higher and will make the windows feel grander.

Now let’s move on to finding a decorating direction. When a person is stuck on how to even begin decorating a room, I always recommend one thing — search until you find one big thing you love that contains all of the colors you want to use in the room, and use that as a jumping off point for the whole room. And what are the two easiest things you can start with?
Artwork or an area rug.
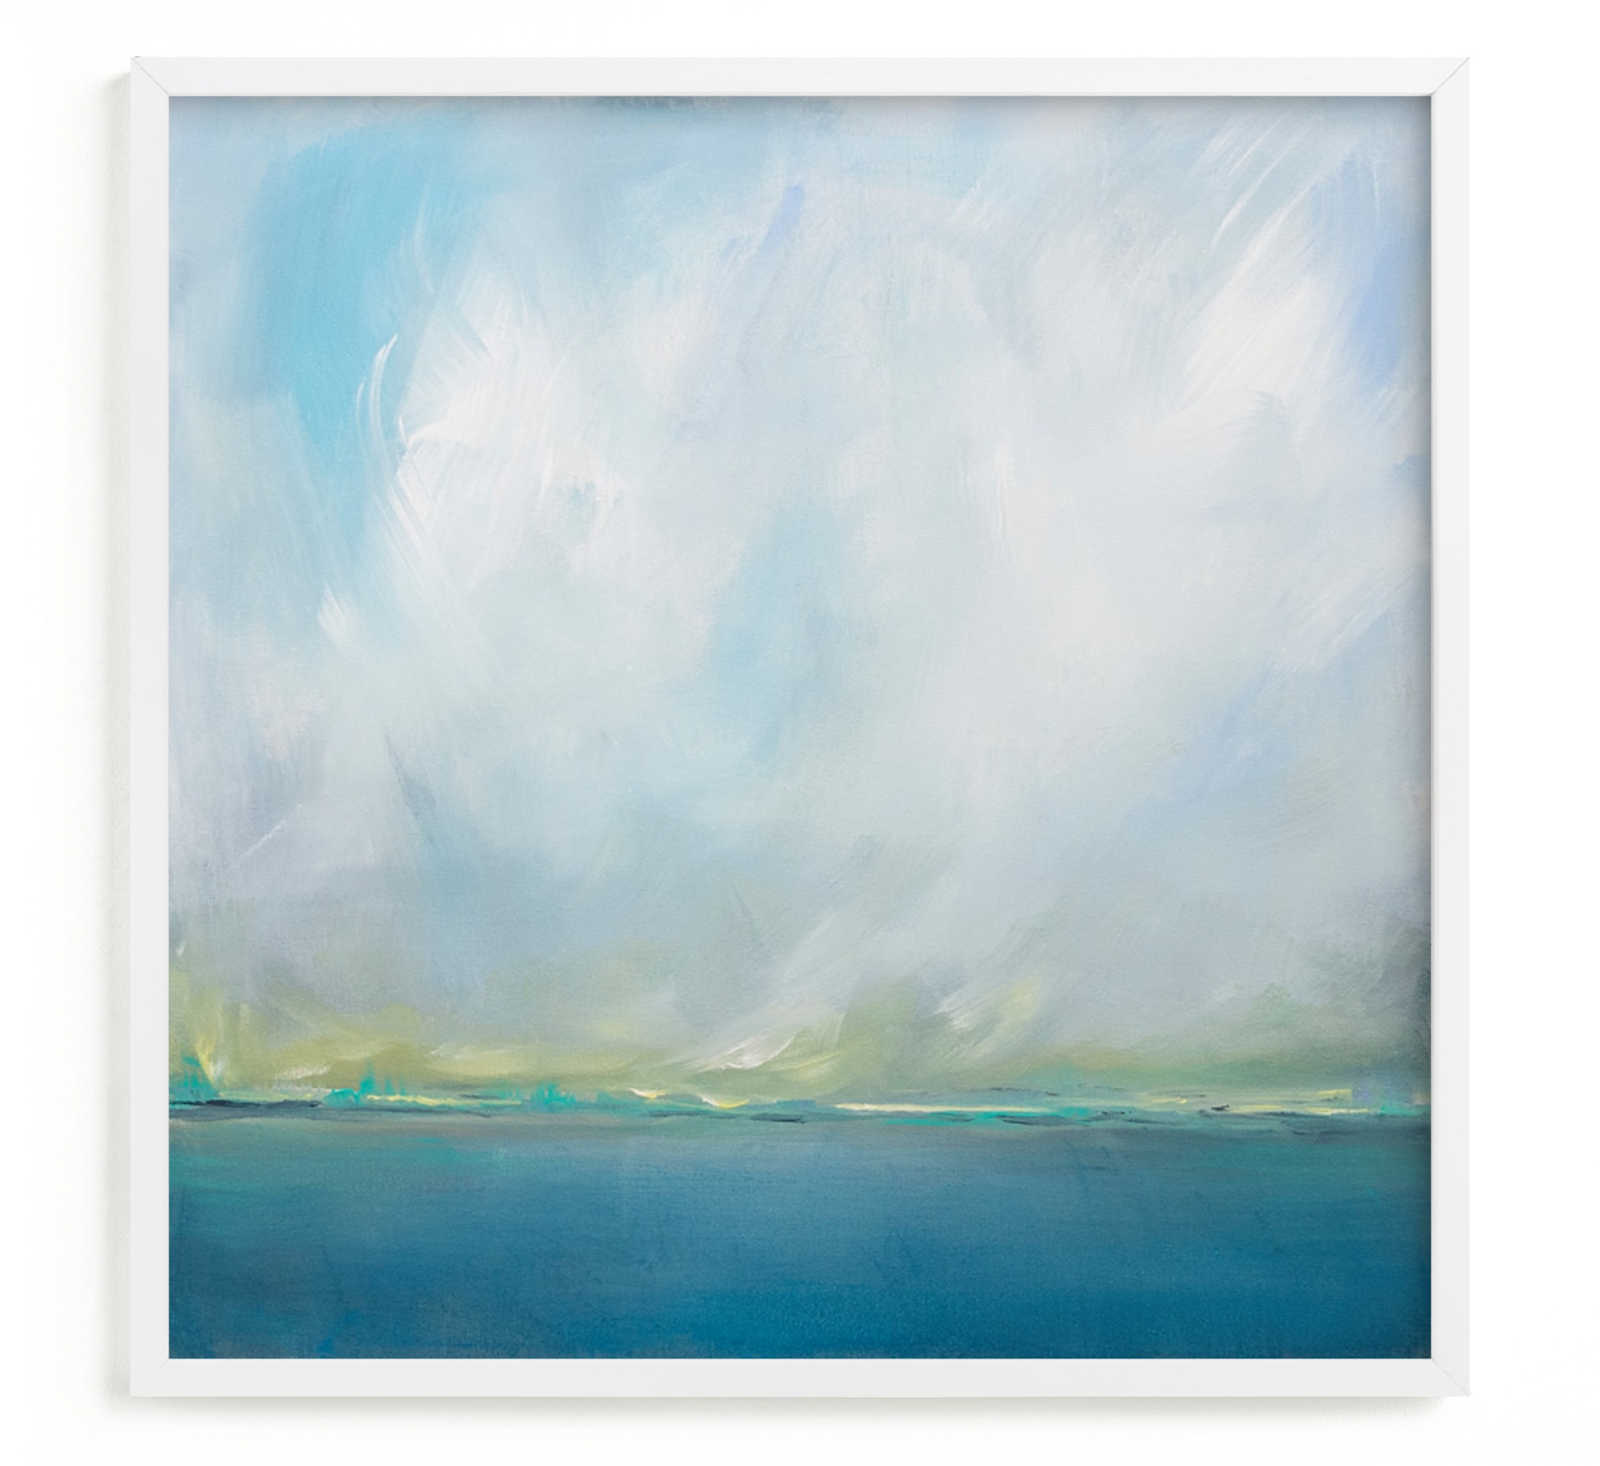
So I would start there. You mentioned that you love cool colors — teal, aqua, blue — and you like a coastal look. So I would suggest starting your search with artwork. Find one statement piece of artwork that you can hang over the headboard, and make sure it has a variety of colors that you can pull from it to use in the rest of the room.
Here are a few that I found that fit the “cool colors” and “coastal” look that I think could be used as a fantastic starting point for the room.
*This post contains affiliate links.
This first one is my absolute favorite. 🙂 I love the mix of blue, teal, aqua, green, yellow, and white.
But here are two more that would work just as well as a jumping off point…
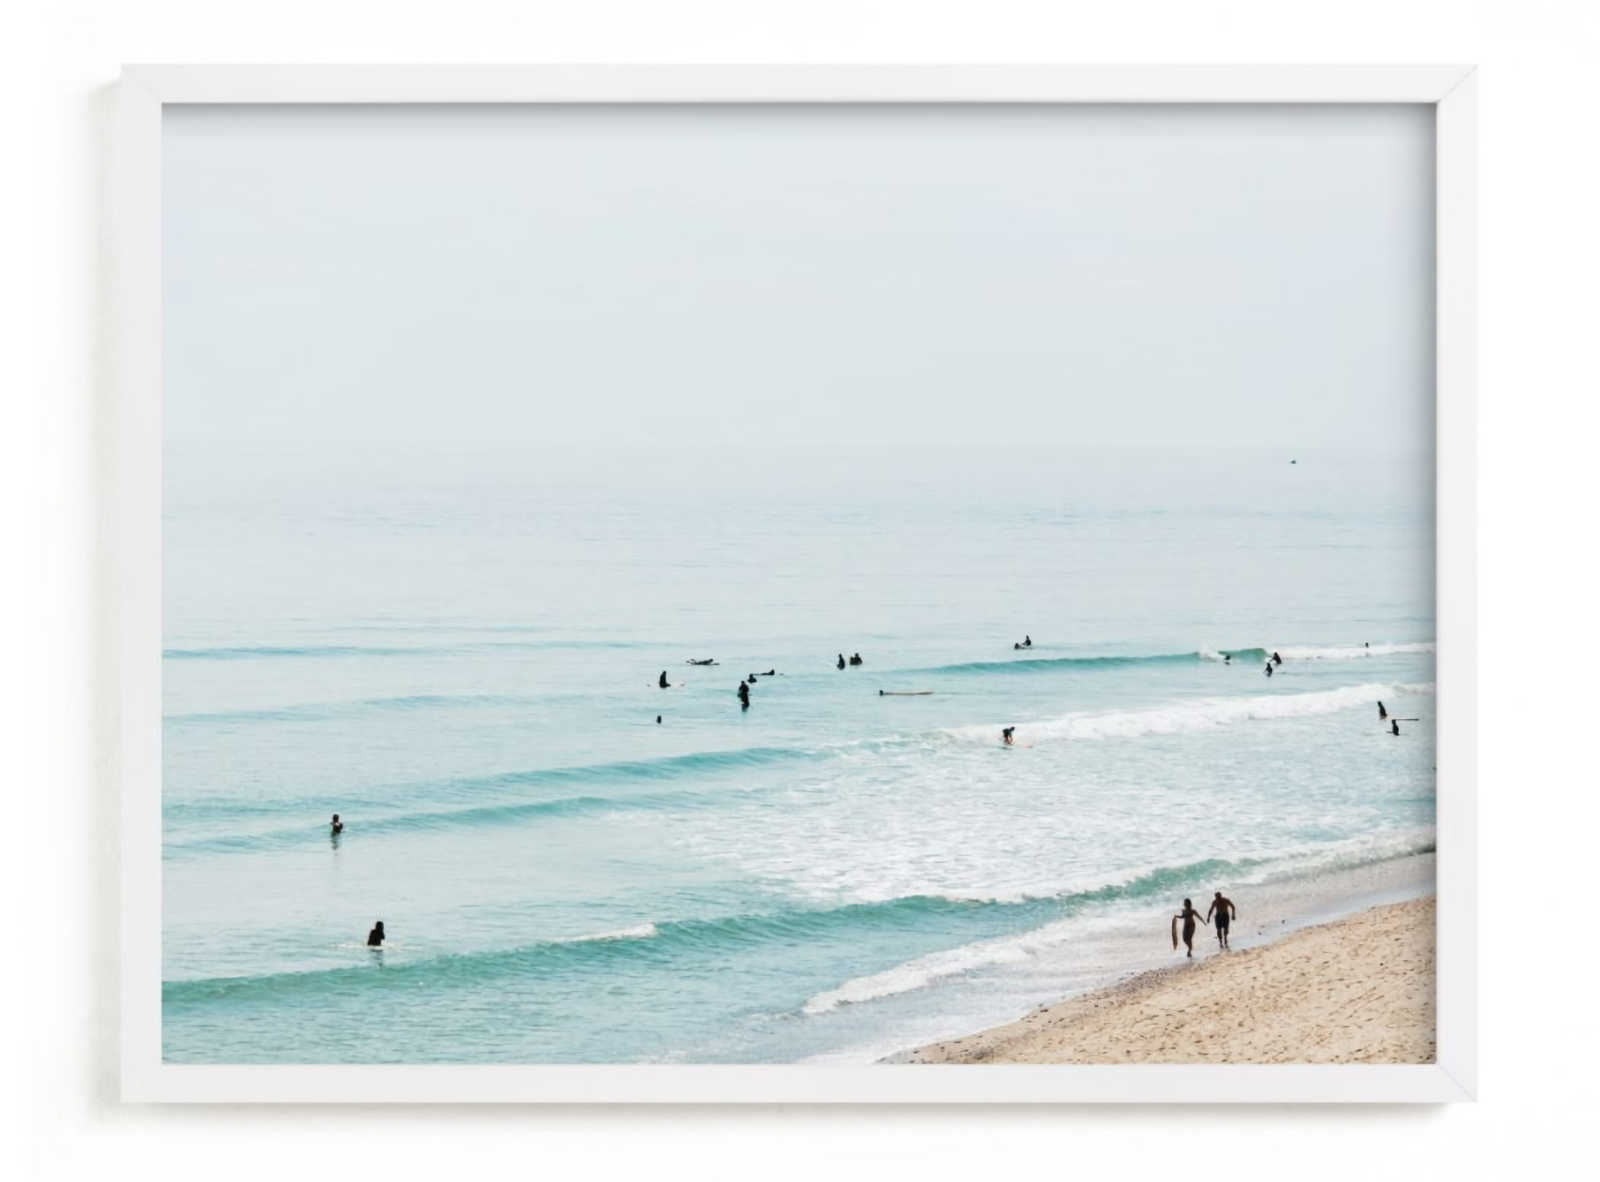

So those are three that I came across and thought they could be a beautiful starting point for a bedroom design. And all three look serene, but they actually have loads of colors in them to draw inspiration from for the entire room, and of course, you could add all kinds of coordinating and complementary colors that aren’t found directly in the artwork.
I used my favorite one — Divinity by Julia Contacessi, via Minted — to demonstrate how I might use that painting as a jumping off point for a bedroom.

First, I put a light neutral color on the walls — my favorite Benjamin Moore Classic Gray. Then I went with dark teal draperies in a faux dupioni silk. Dupioni silk has a beautiful, natural texture to it, and the color pulls that dark teal from the painting but takes it a couple of shades darker than the painting to kind of act as a “frame” for this whole area. Next, I pulled out that light green from the painting and carried it onto the bedside tables. I kept the lamps on the bedside tables neutral, but made sure they had some interesting texture and also just a touch of wood to bring some of that warmth of the wood headboard into other areas. I added more neutral texture to the bed with pillows, and then added one pillow that brought the colors together.
In the image above, the draperies are from Overstock (although I tweaked the color to better suit the artwork), the bedside tables are from Wayfair (and I highly doubt they’re to scale with the bed), the neutral textured pillows are from Kirkland’s (and I changed the size because these aren’t big enough for a bed), the colorful pillow is from an Etsy store called Stella Home Decor (and I changed the size on that one also), the lamps are from Home Depot, and of course, the artwork is from Minted.
So this is a general idea of what the room could look like using that painting as a starting point, but the actual products that I used to create the image probably wouldn’t work because I tweaked colors, changed sizes, etc. But I just wanted to give you a general idea of how to take a piece of artwork and create a room around it.
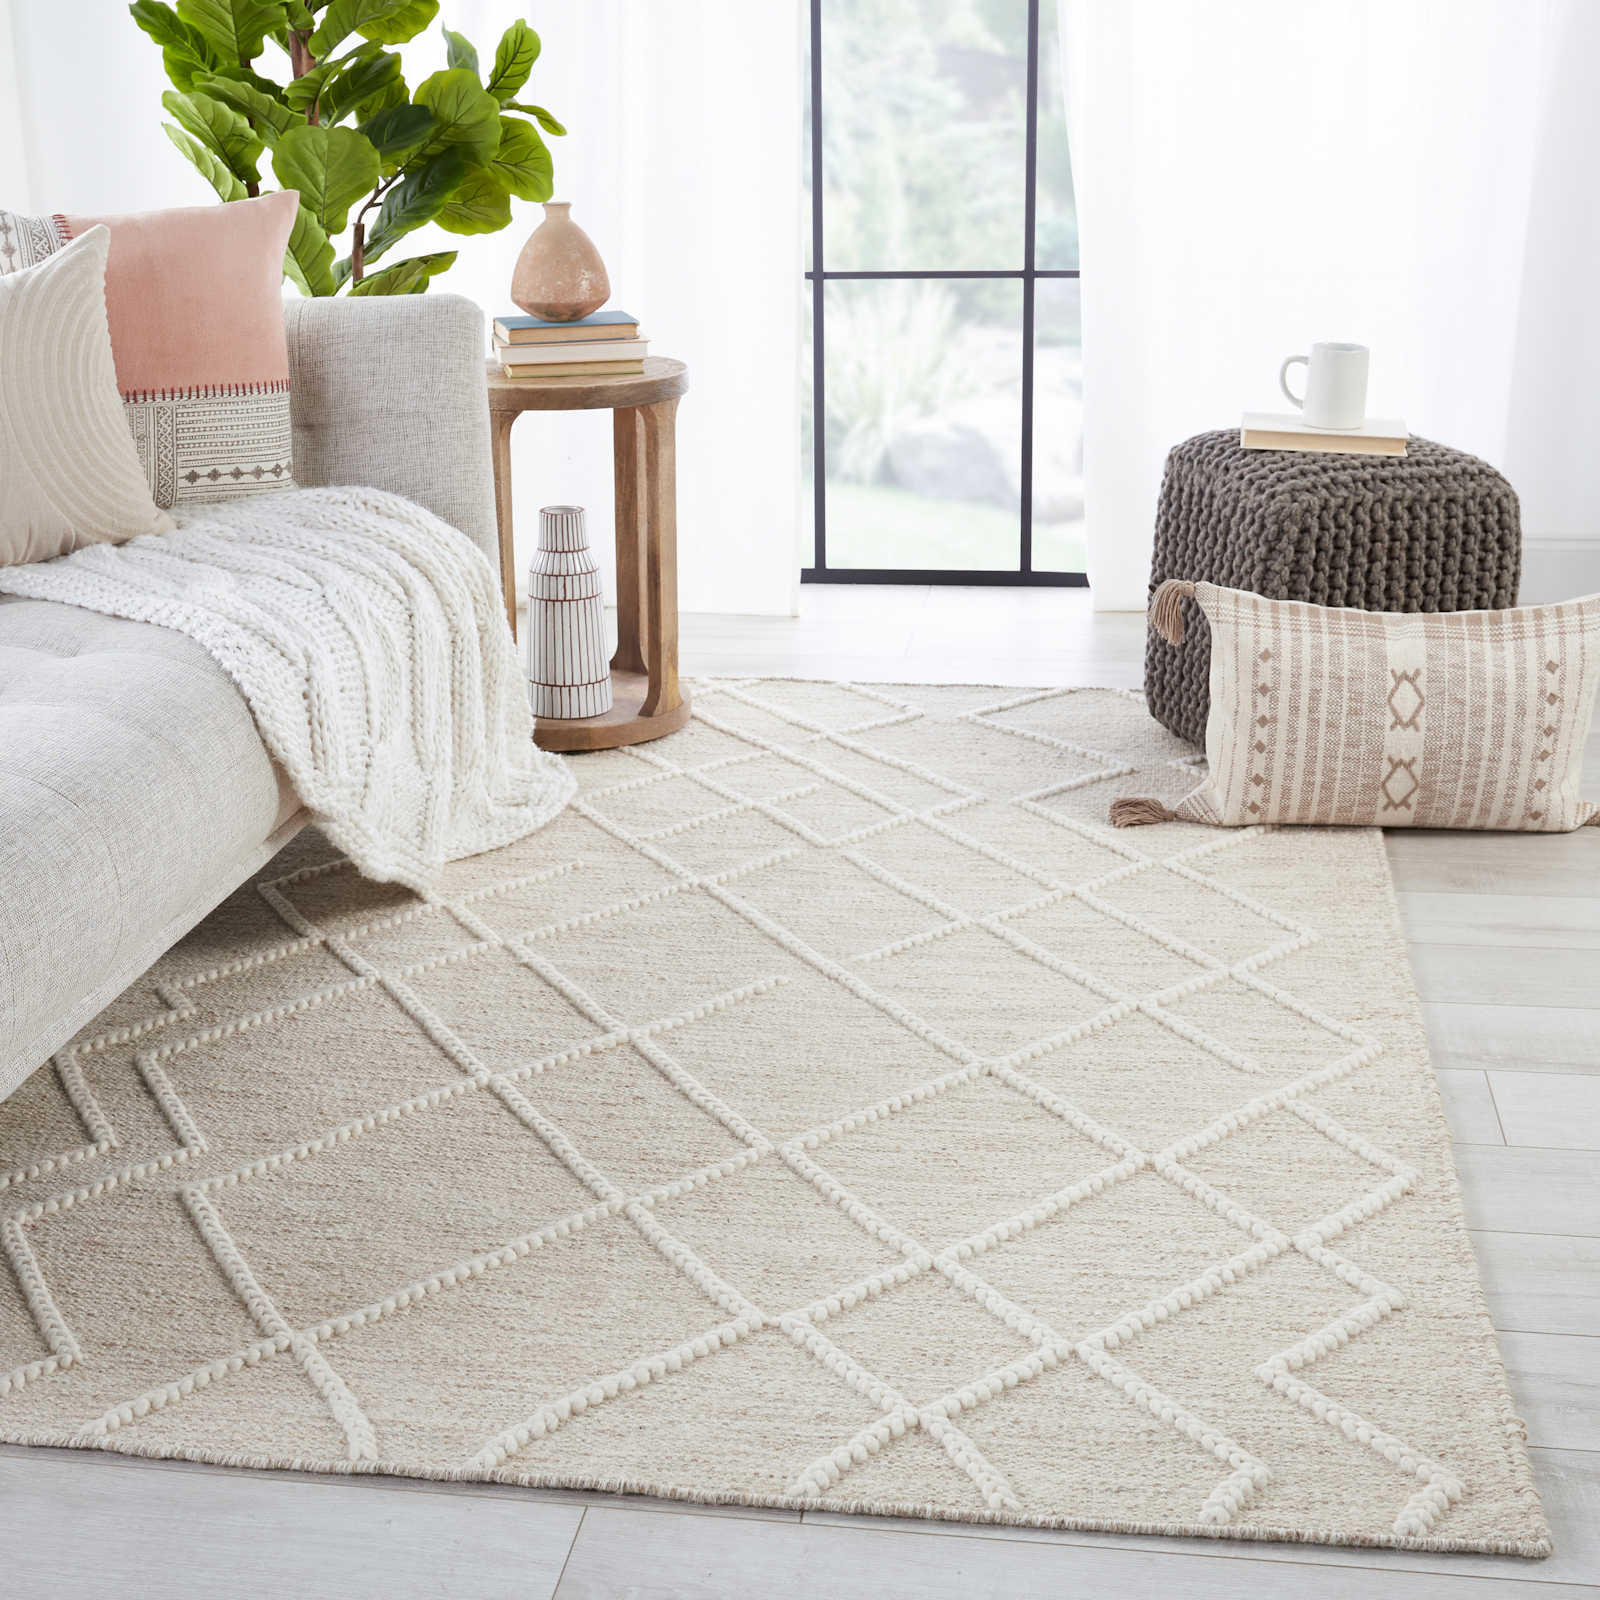
And of course, this isn’t a complete look. You could add more pillows, a colorful throw at the end of the bed, and more color and texture with other items on the bedside tables. I’d also add a large area rug under the bed (make sure it’s large enough so that it extends past the bedside tables on each side, and at least three feet past the foot of the bed — most people err on the side of area rugs that are too small). And since the rug will be on hardwood floors, and there’s already plenty of color going on with the windows, bedside table, pillow, and artwork, I’d keep the rug neutral, concentrating on texture and pattern rather than color. Something in a neutral geometric similar to the rug pictured below would work nicely.
So that’s my suggestion for how to start when decorating a bedroom and you feel like you don’t even have a starting point. Search until you find that one big item, and I personally find that artwork is the best and easiest jumping off point for pulling together an entire design.
Alright, folks! What suggestions do YOU have for Stephanie?
(Are you stuck with a DIY or decorating problem and want input? Click here to submit your question. I post/answer the questions in the order that they’re received, so please don’t send questions if your contractor is on the way to your house right this minute and you need immediate advice. 😀 )

Addicted 2 Decorating is where I share my DIY and decorating journey as I remodel and decorate the 1948 fixer upper that my husband, Matt, and I bought in 2013. Matt has M.S. and is unable to do physical work, so I do the majority of the work on the house by myself. You can learn more about me here.
I hope you’ll join me on my DIY and decorating journey! If you want to follow my projects and progress, you can subscribe below and have each new post delivered to your email inbox. That way you’ll never miss a thing!
[ad_2]
Source link


