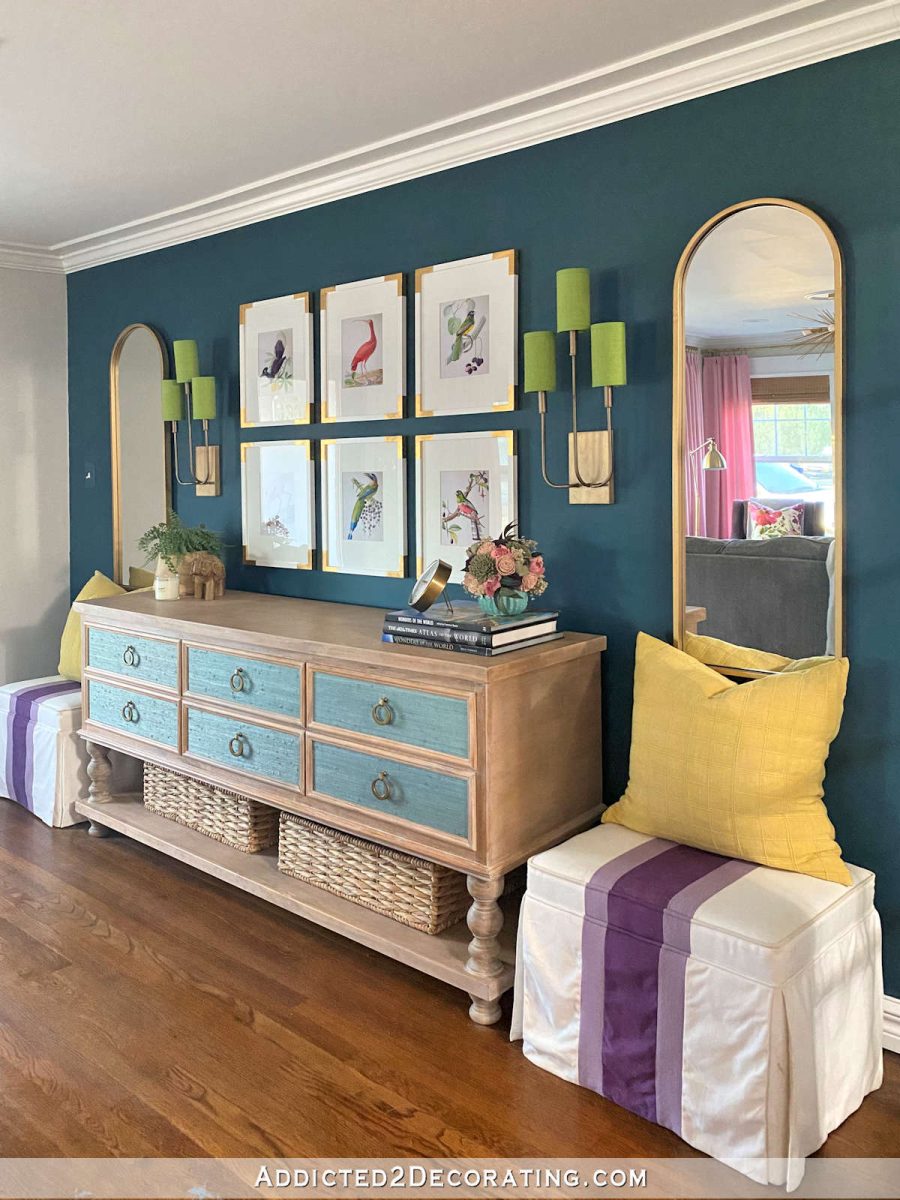
Over my year-end break, I tried to finish up some little nagging projects that had been unfinished. And one of them was making repairs to the entryway wall. That wall is painted a dark teal in a flat sheen, and when I swapped the framed pictures for mirrors last year, I was left with some unsightly spots that needed repair and repainting. I’ve found that trying to touch up paint on walls can be quite a challenge, and some colors are more finicky than others, and some sheens are more challenging than others. I tend to have more problems the darker the paint is, and the less sheen the paint has.
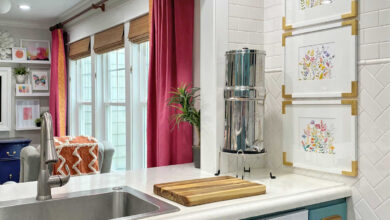
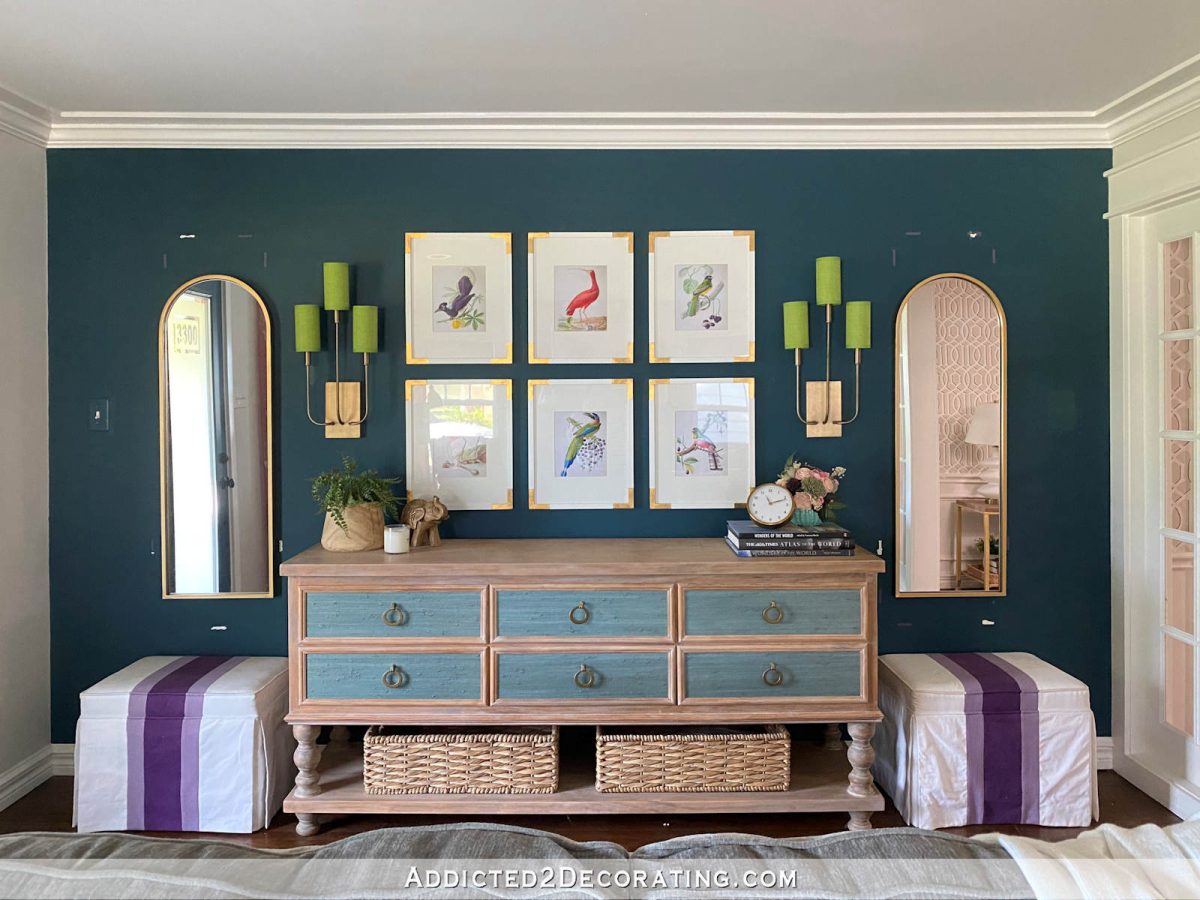
The last time I showed y’all the entryway wall right after I made the pictures-to-mirrors swap, it looked like this…
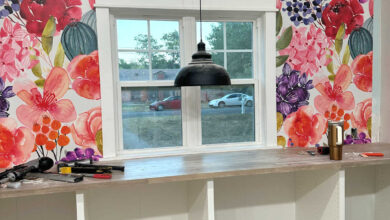
Or at least that’s what I showed y’all. I wanted to show you the new mirrors, but what I didn’t show you was the damage left behind on the wall from removing the pictures. I had removed the unsightly spots in my photo editing program, but what it actually looked like was this…
I had used the Command picture hanging strips that are supposed to come off without any damage to the wall (you can find them here, and they really do work). The problem that I had is that I hung the pictures using the strips when the wall was painted purple (remember that phase? 😀 ), and I had them all perfectly spaced and level. So when I decided to paint the wall dark teal, I didn’t want to remove the strips and rehang everything from scratch, so I just painted around the strips. Well, evidently I wasn’t so careful, and I got the paint too close, so the paint kind of sealed the strips to the wall. 😀 So when I removed them, some of them took the teal paint with them, and others peeled off right down to the drywall in other spots. That left me with not only a difference in color, but also with little divots on the wall that needed to be leveled out.
That part was simple. I just used a putty knife and some drywall mud (you can buy small containers of drywall mud for small projects like this, or use spackle or even wood filler) to fill in those areas that had peeled off to make them flush with the rest of the wall again. Once they dried, I sanded them smooth. Easy peasy.
Before I touched up the paint, I also moved my mirrors up on the wall. I like to do stuff like this before touching up paint because if I accidentally scratch the wall or put the new screws in the wrong place, I can touch up everything at the same time before hanging the mirrors for the final time rather than having to touch up, rehang, make adjustments (if needed), and then touch up again.

So filling in the wall divots was easy. Sanding was easy. None of that had me frustrated. What did have me frustrated was that I had tried touching up paint on this dark, flat-finish wall before, and the dried paint stood out like a sore thumb. You can see it below (see the arrow?), and it showed even more in person. Same color, same sheen, same can of paint, but it dried so differently.
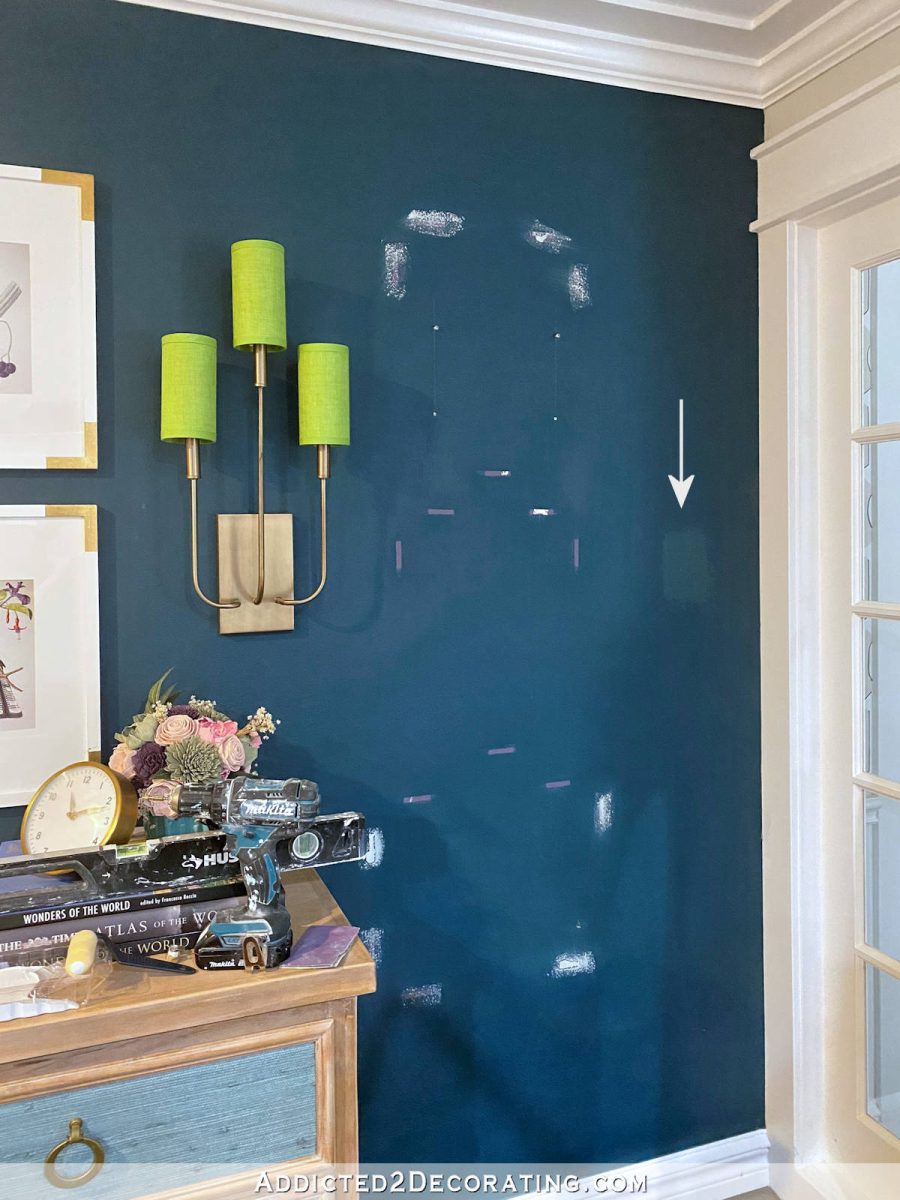
Why did that happen? It happened because with some paints, even if it comes out of the same can, you will get different sheens by rolling it vs. spraying it vs. brushing it. This super flat sheen dark paint had originally been rolled onto the wall, and then I tried to touch up some areas with a brush. Rolling and brushing, even with the same color and sheen, will produce different sheens with some types of paint.
I generally only experience this frustration with dark colors or very saturated colors, but I do think even with light colors, you can have a very slight variation in sheen if you try to brush over something that was previously rolled.
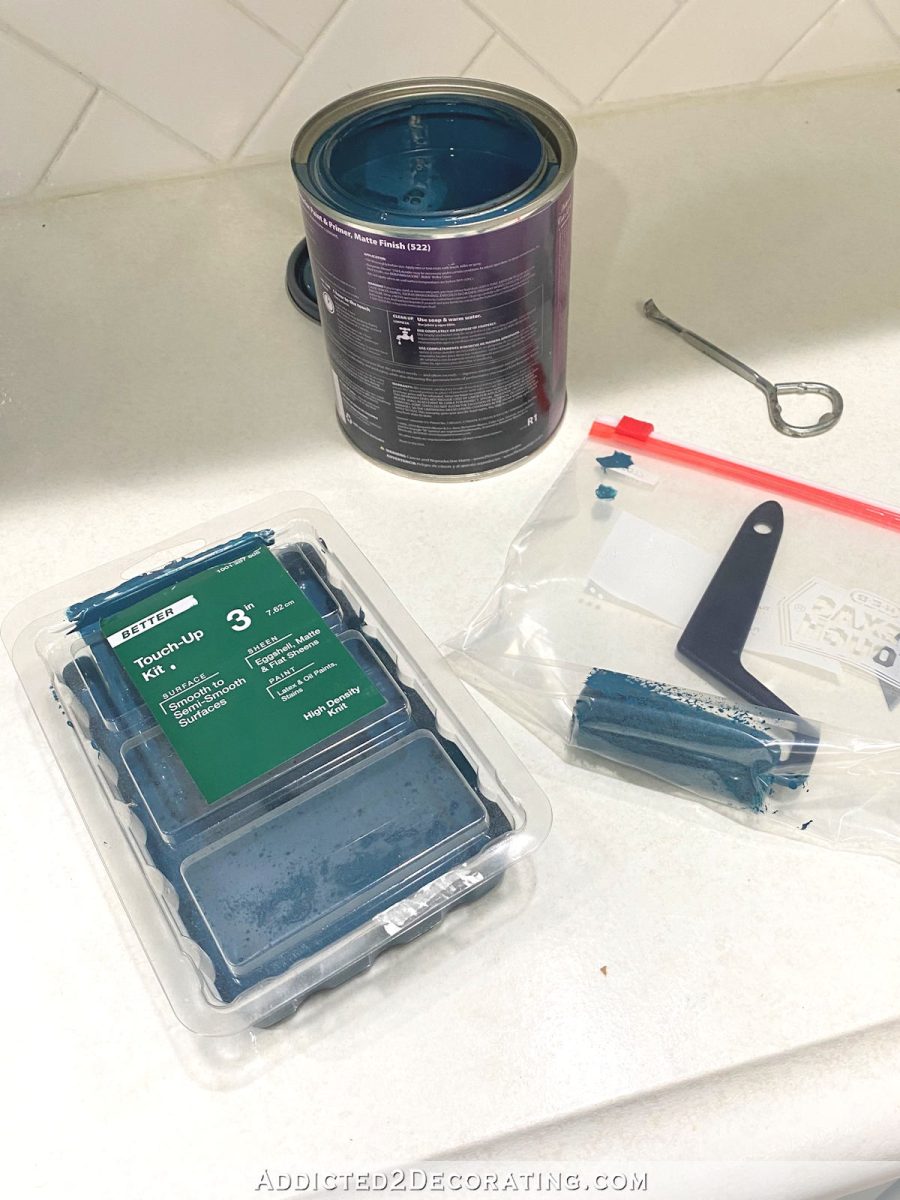
But thankfully, I didn’t have to paint the entire wall again. I just headed to Home Depot and picked up two of these little 3-inch rollers to do my repairs.
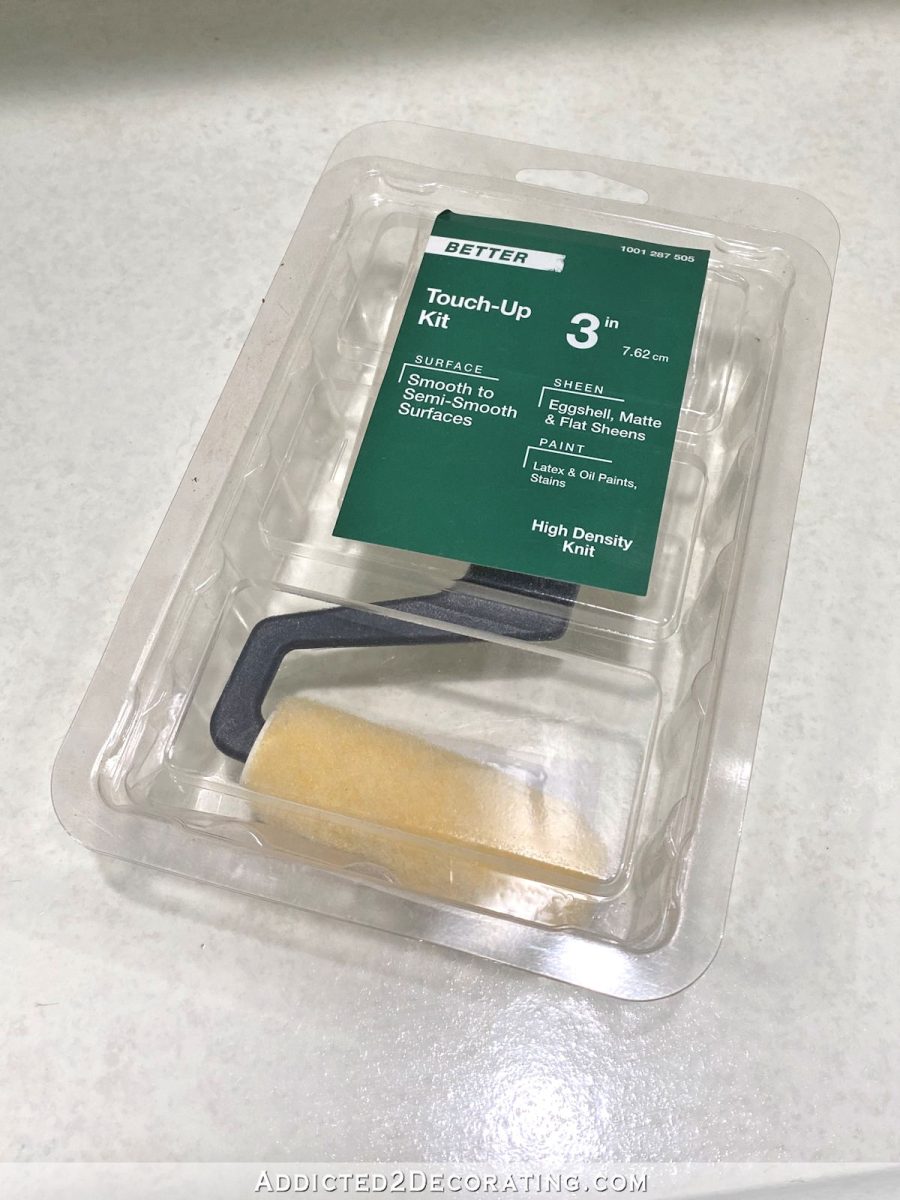
I love these because it comes with everything you need (except the paint, obviously). It has the roller, the roller cover, and the container it comes in is the paint pan.
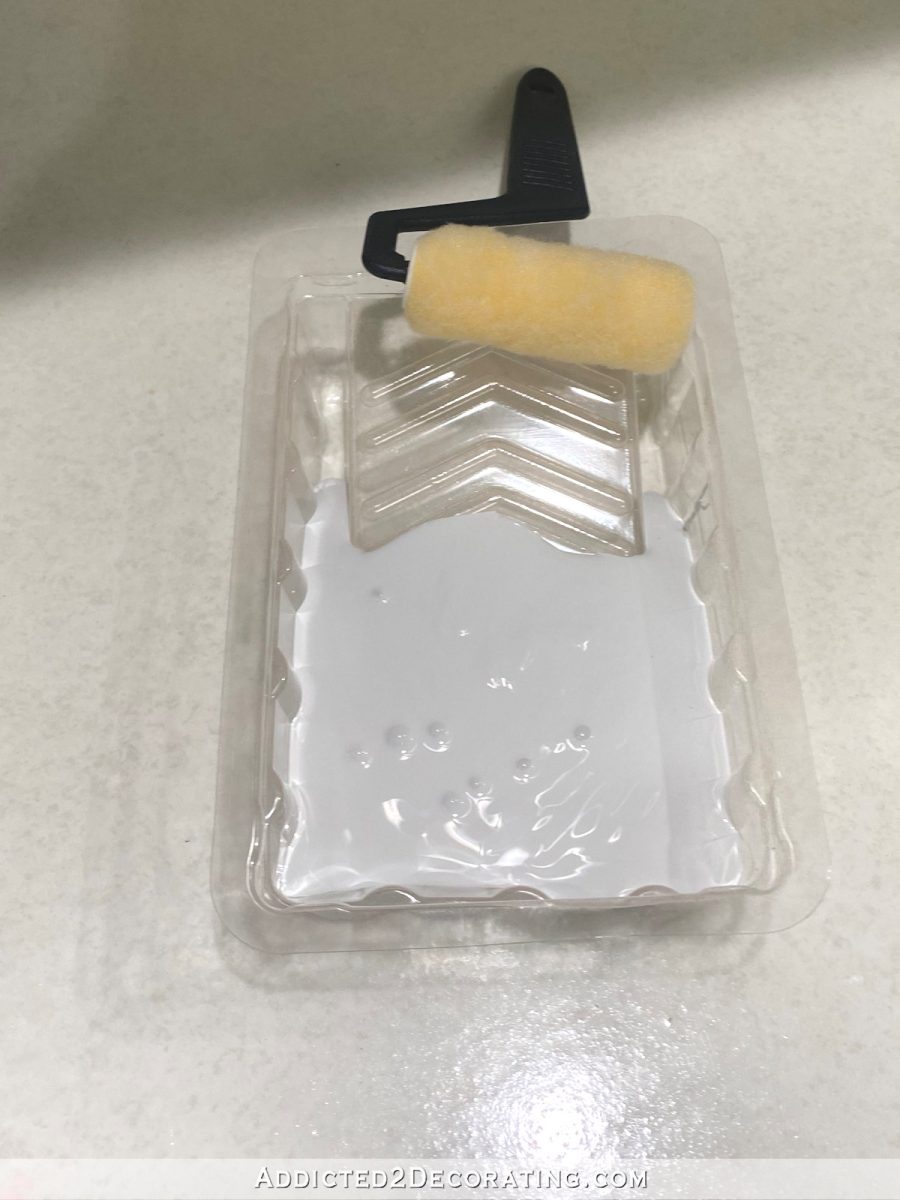
So I got two of them — one for the primer (always prime drywall mud, spackle, or wood filler before painting), and one for the paint. And another thing I love about these is that if you need to wait and do a second coat, you just pop the lid back onto the roller pan to keep the paint wet and lint-free, and then just put the roller into a sandwich bag while you wait.
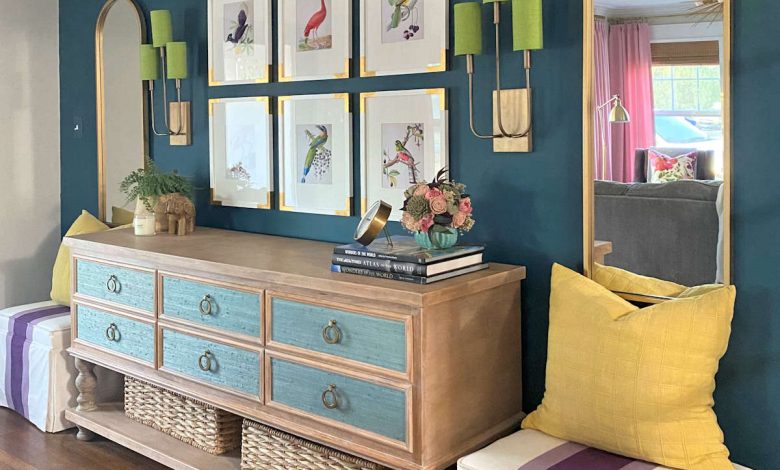
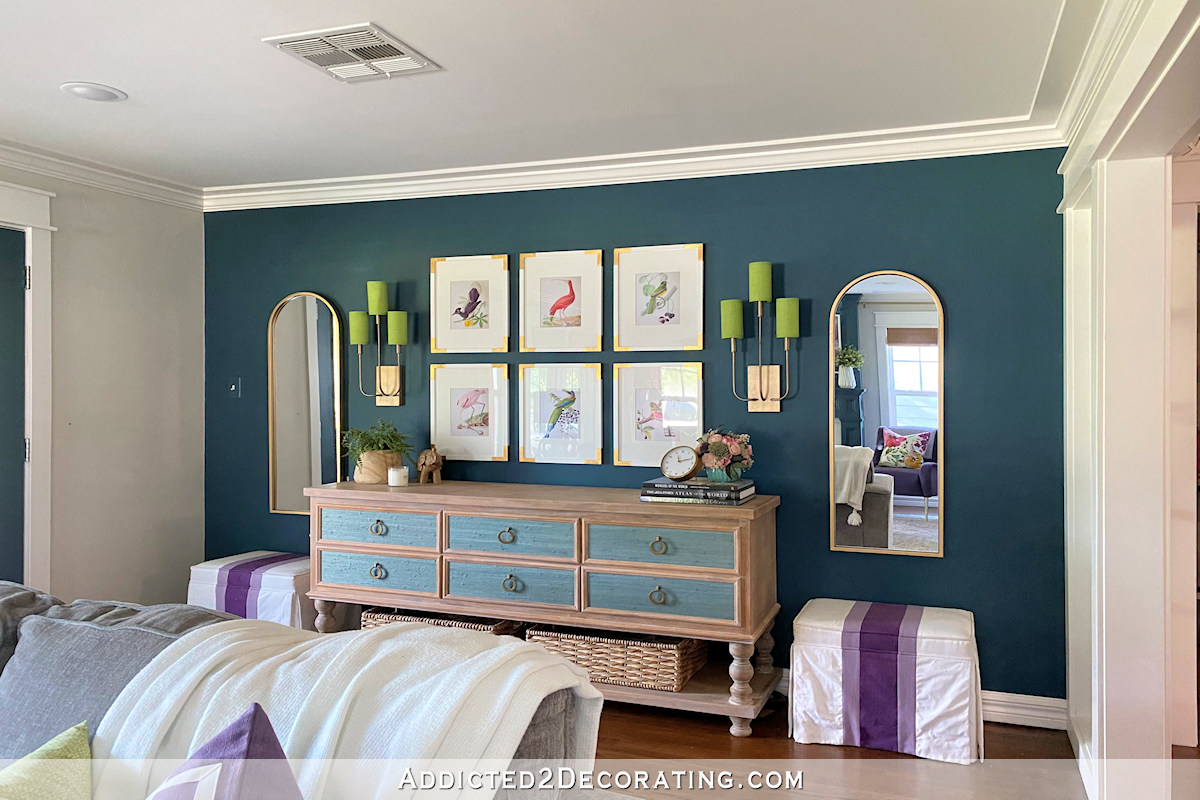
This time, the touchups turned out perfectly. I can’t see them at all because they blend in perfectly. And no more photo editing required to hide unsightly wall damage. 😀

So that’s an important painting tip to keep in mind — always do touchups using the same application method that the items (walls, cabinets, furniture) was originally painted in order to hide the touchups and keep the sheen the exact same. And it’s especially true the darker and more saturated the color is, and the flatter the paint is. If the original coat was rolled, then roll on the touchups. If the original coat was brushed, then brush on the touchups. And if the original coat was sprayed, then spray on the touchups (although that can be a bit more difficult, but using one of these little fillable sprayers and masking around the area for overspray may help).

Addicted 2 Decorating is where I share my DIY and decorating journey as I remodel and decorate the 1948 fixer upper that my husband, Matt, and I bought in 2013. Matt has M.S. and is unable to do physical work, so I do the majority of the work on the house by myself. You can learn more about me here.
I hope you’ll join me on my DIY and decorating journey! If you want to follow my projects and progress, you can subscribe below and have each new post delivered to your email inbox. That way you’ll never miss a thing!
Source link