This website may contain affiliate links and advertising so that we can provide recipes to you. Read my disclosure policy.
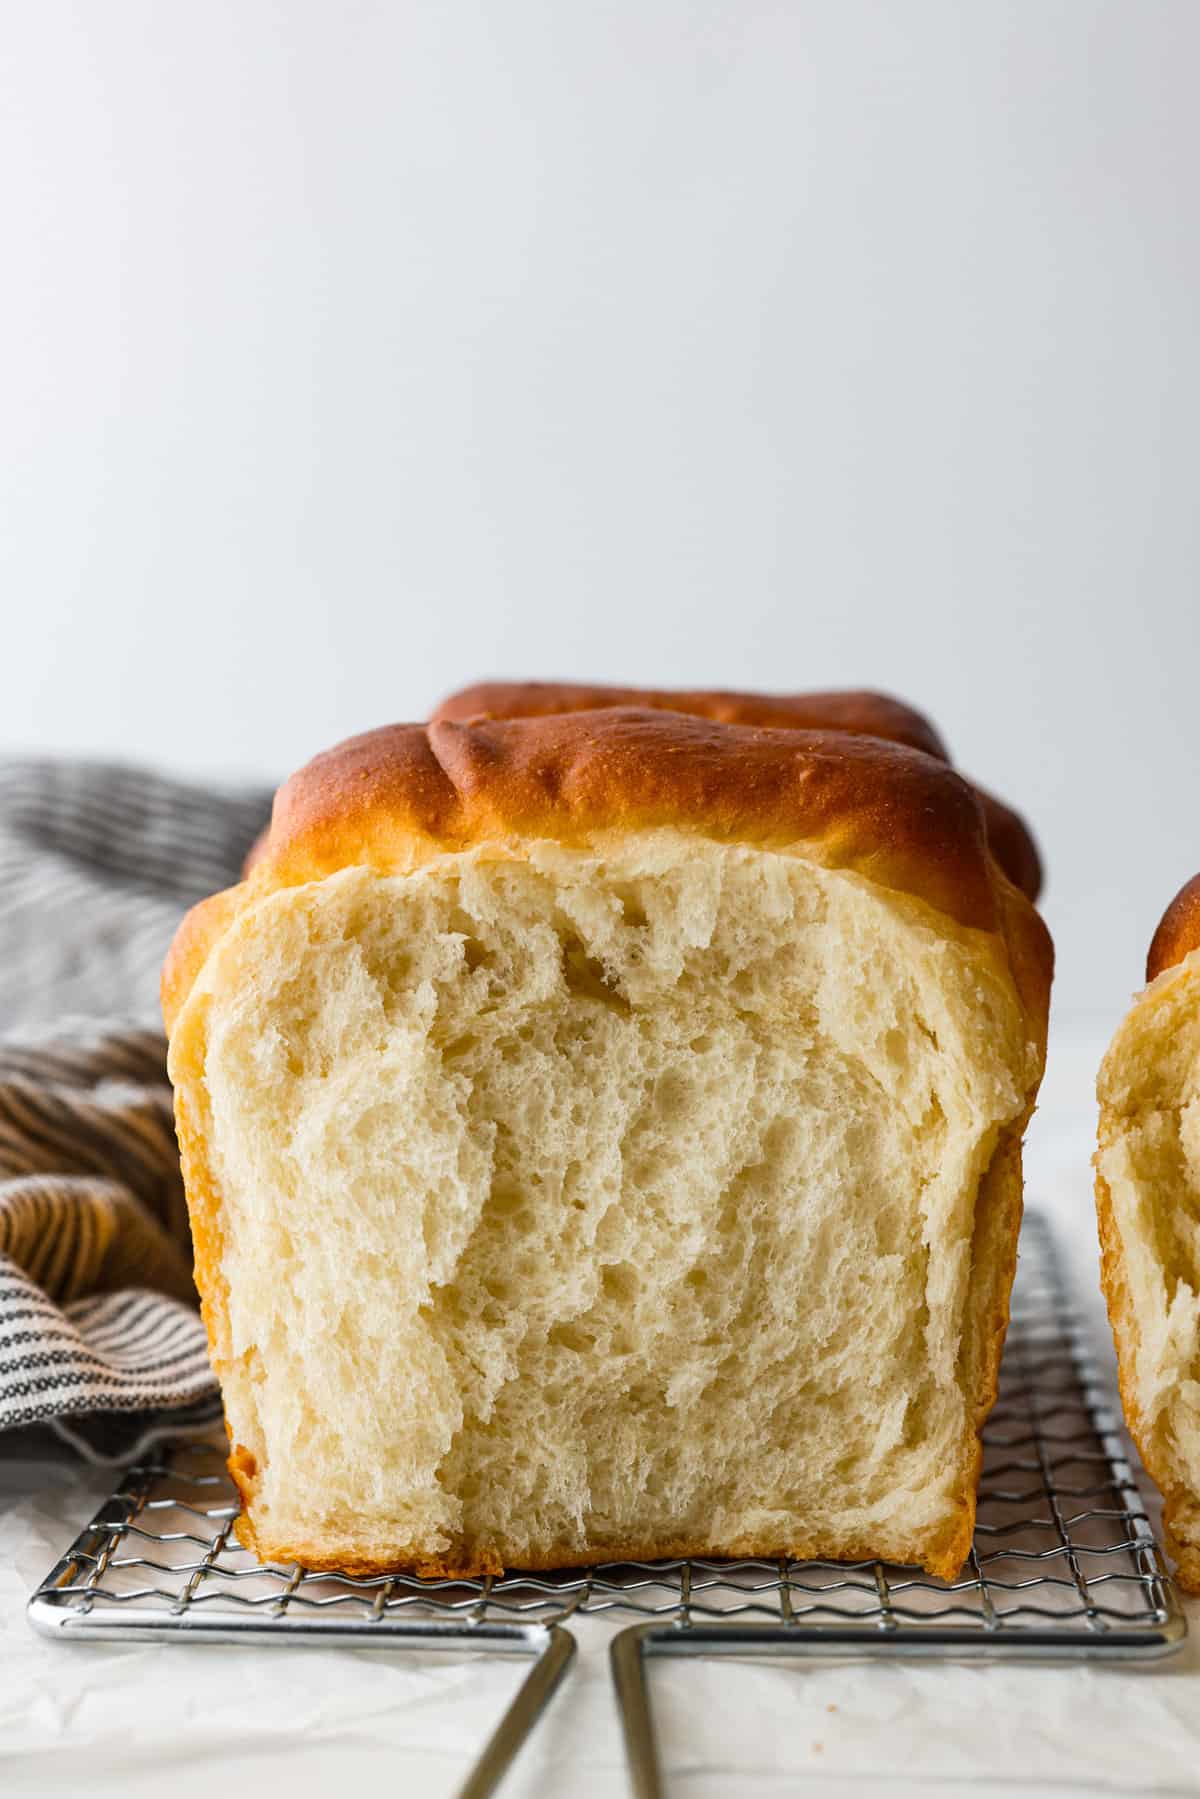
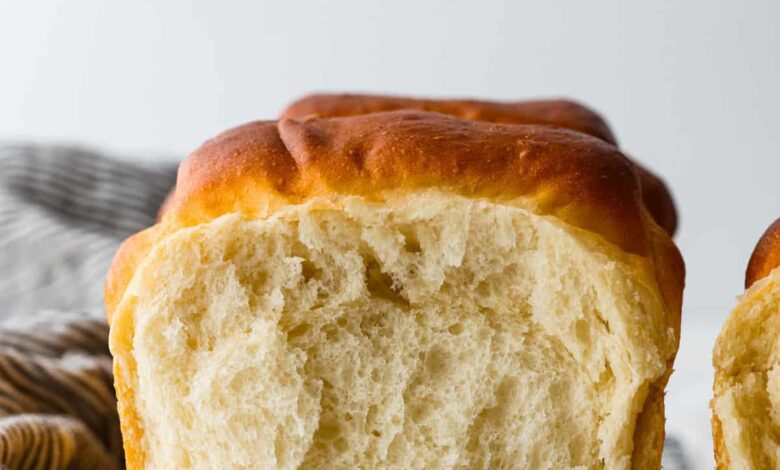
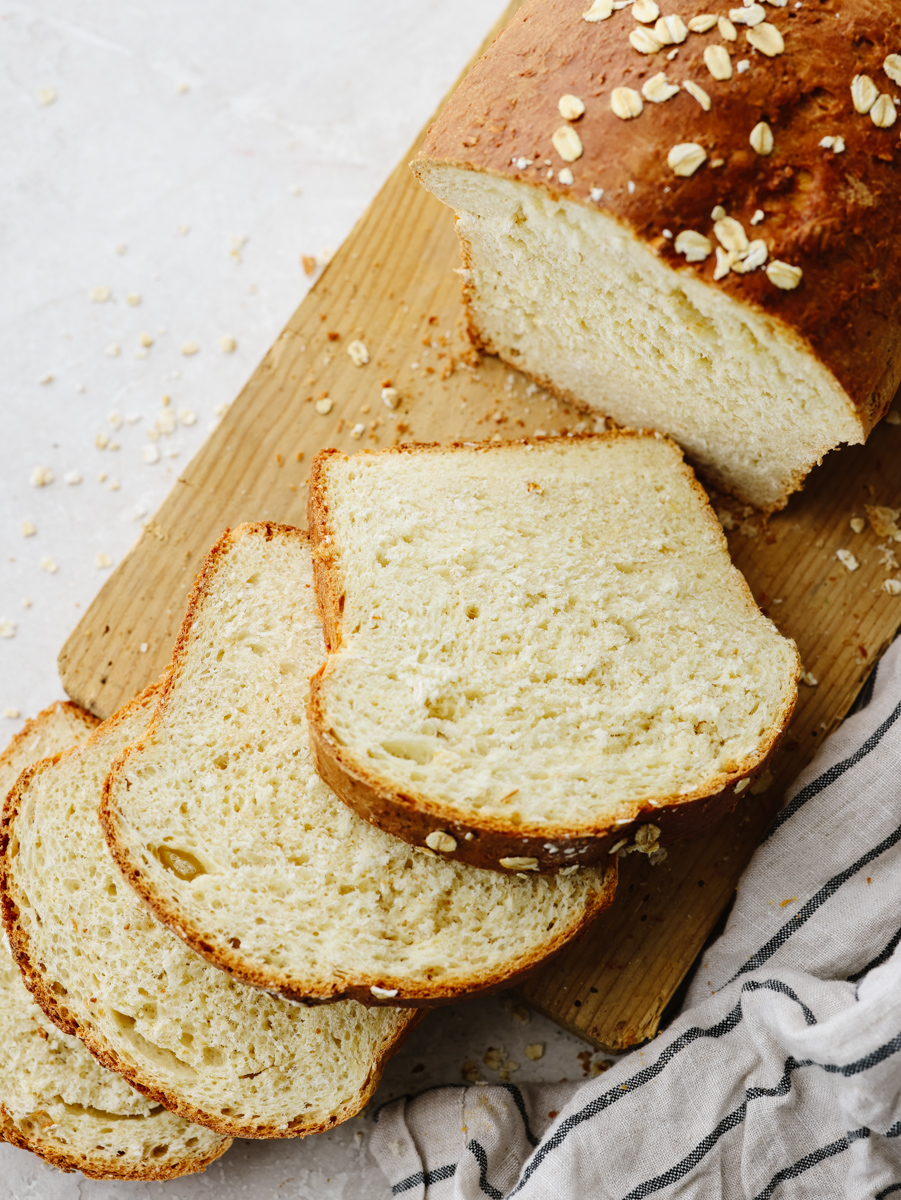
The softest, fluffiest, most delicious bread you’ll ever have! Japanese milk bread is a game-changer and will have you in love at first bite. Even if you’re new to baking, you’ll be able to whip up a loaf worthy of a Japanese bakery.
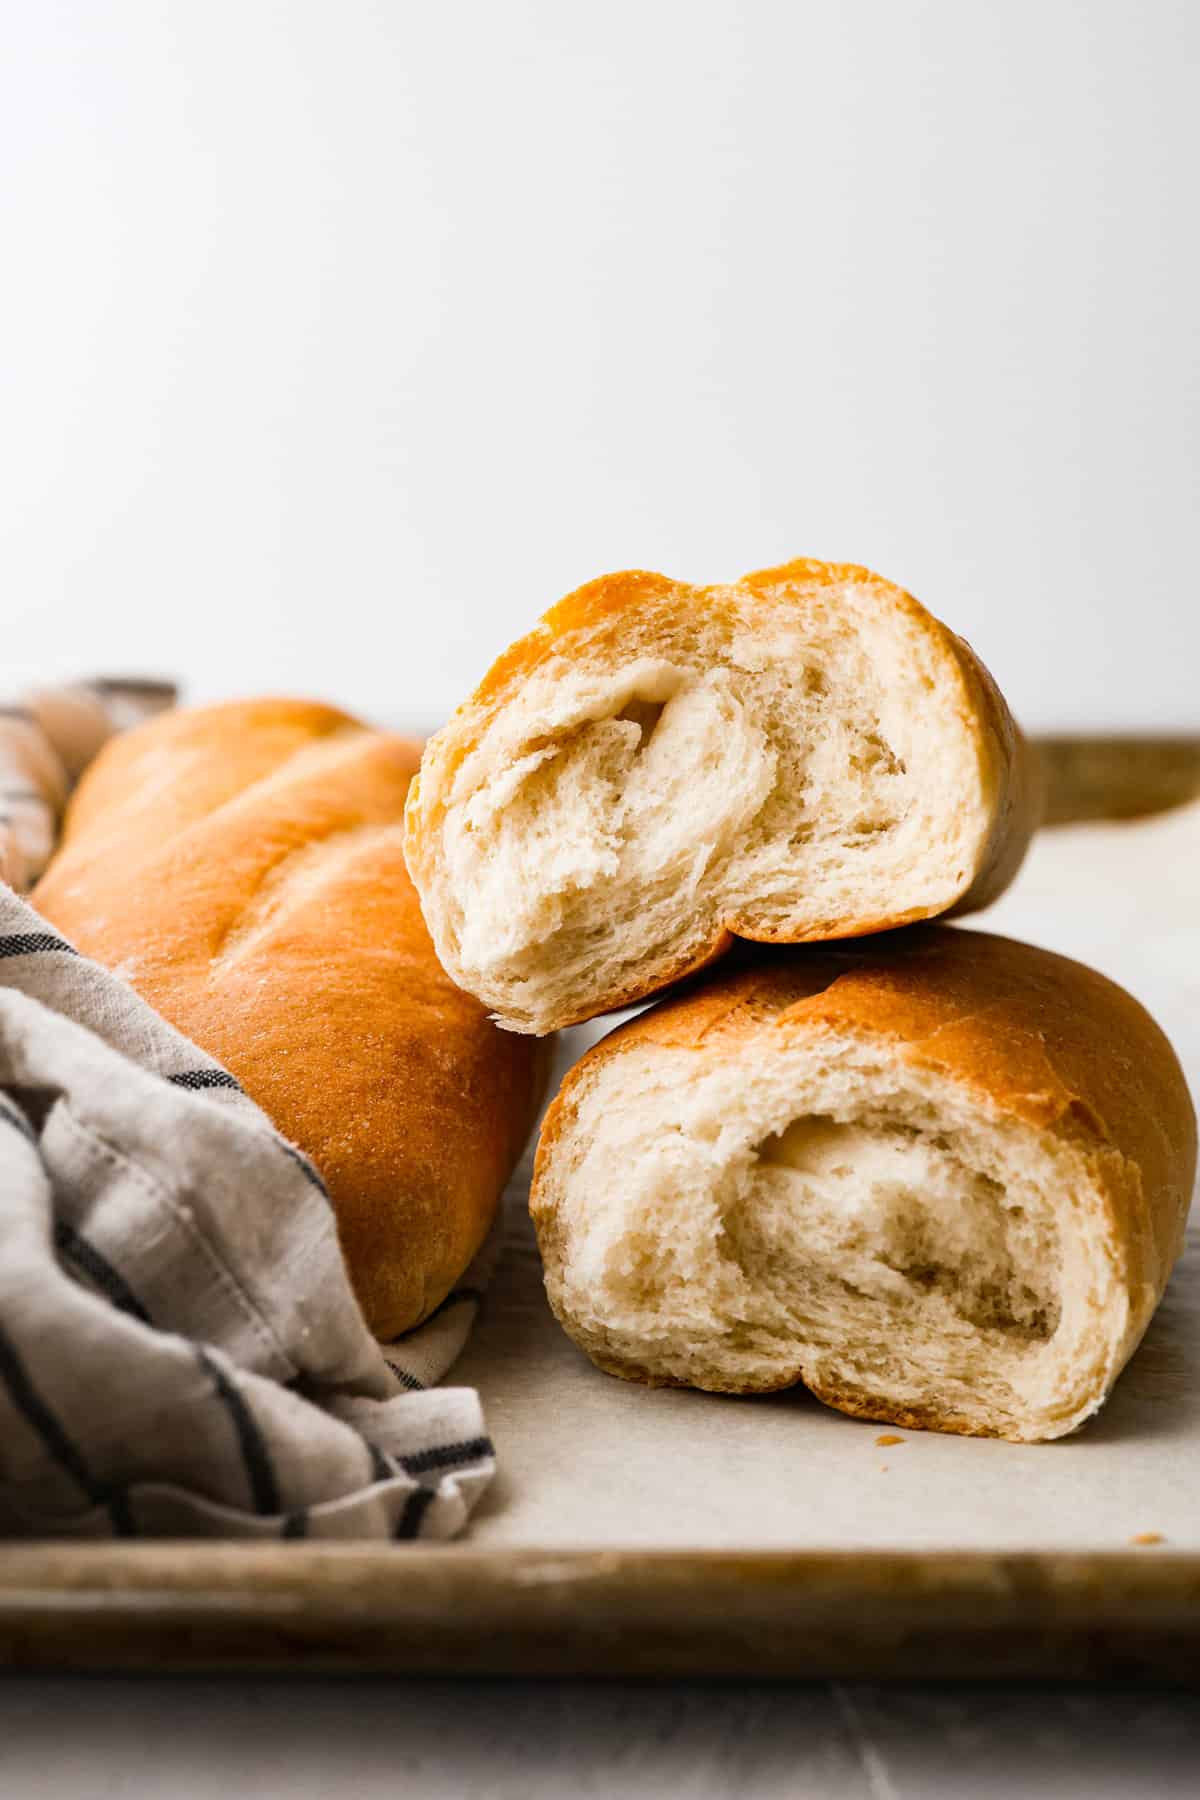
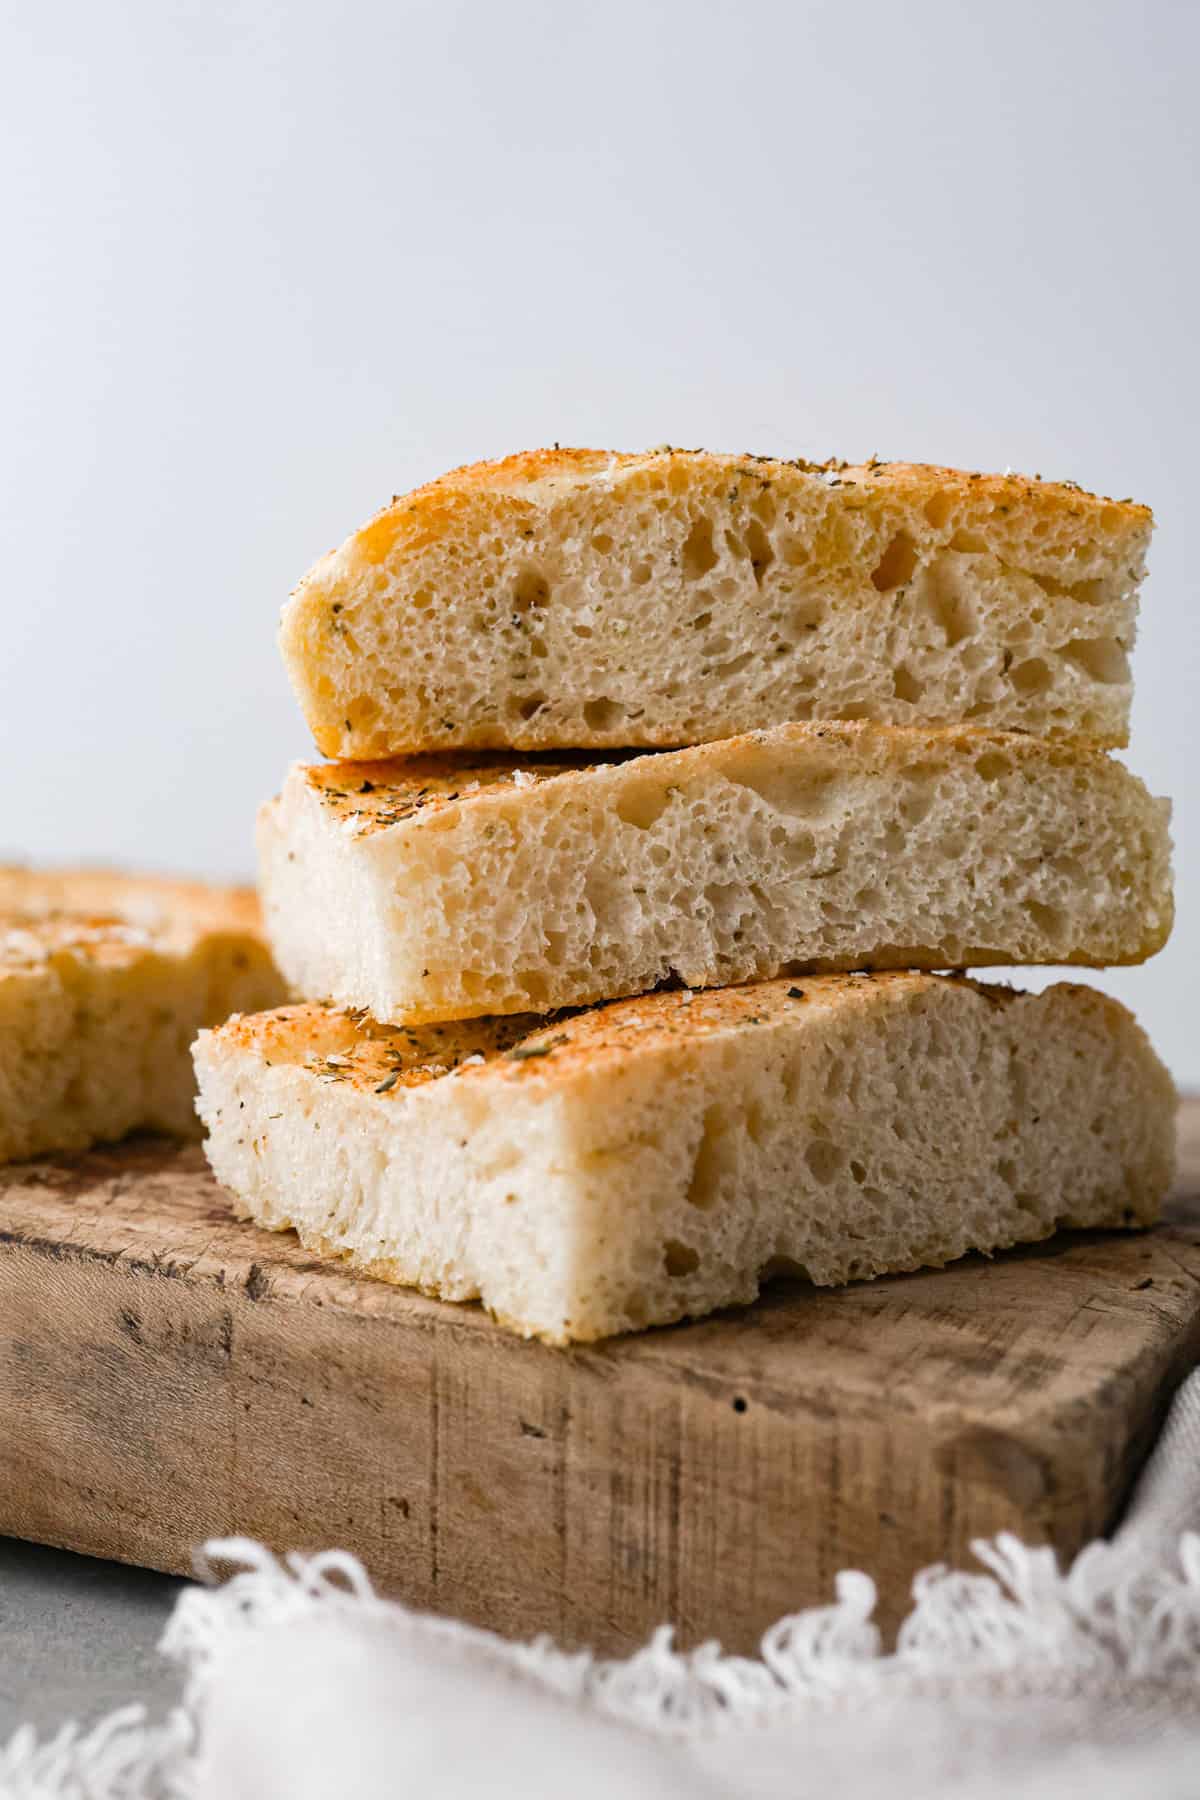
Homemade bread can be tricky to get right, but trust me- once you do, you won’t want it any other way. Here are a few more recipes to start you off on your (delicious) bread-making journey! Grandma’s perfect homemade bread, rye bread, and pumpernickel!

Japanese Milk Bread Recipe (Hokkaido Milk Bread)
Oh my word, you guys, have you tried Japanese milk bread? (Also known as shokupan.) It’s basically the fluffiest, pillowy cloud of pure joy disguised as a loaf of bread. I’m not even exaggerating – this bread is next-level soft, with a delicate sweetness that’s so addictive. And the secret weapon? It’s all thanks to this magical little thing called tangzhong.
Tangzhong is a pre-cooked flour paste that gets incorporated into the dough. It might sound complicated, but trust me, it’s a breeze to make. This paste adds an insane amount of moisture and elasticity. The result? Bread that tears like a dream, practically melts in your mouth, and has the perfect sweetness. You’ll be reaching for another piece before you even finish the first one.
Ingredients You’ll Need
Japanese milk bread is like a delicious science experiment. Each ingredient contributes to that dreamy texture! (Exact measurements are in the recipe card at the end of the post.)
- Tangzhong: This flour-milk paste is like the secret to fluffy, delicious bread. Don’t worry, it’s easy – to make this starter you just have to whisk up water, flour, and milk on the stove! Trust me, your bread will thank you with the softest crumb ever.
- Active Dry Yeast: Activate it in warm milk and sugar, so your Japanese milk bread rises properly.
- Warm Milk: I recommend using whole milk here. The high fat content will give you a more tender crumb.
- Sugar: Just a touch to sweeten things up! (And also help activate the yeast.)
- Tangzhong (again): Yes, it deserves a double mention! Once cool, fold this gooey wonder into your dough. It’ll add that melt-in-your-mouth texture you’ll be bragging about to everyone.
- Egg: Binds everything together and also adds a bit of richness.
- Flour: The backbone of the Japanese milk bread! All-purpose is what I used here, giving structure without getting too dense. Be sure to measure out your flour exactly, so it doesn’t end up too dry
- Salt: Brings out all the other yummy flavors and keeps your bread from tasting bland.
- Butter: Makes the crumb extra tender and adds a subtle buttery flavor. I used unsalted since we add salt separately.
- Egg Wash: One egg white mixed with water gives your bread a beautiful golden shine!
How to Make Japanese Milk Bread
I know it looks like a lot, but Japanese milk bread is actually surprisingly easy to make. Just mix up that tangzhong and get ready to create the perfect dough! It’s a labor of love, and is worth every second of prep time! Once you get a bite of that sweet, pillowy bread, you’ll be a believer.
Making the Tangzhong
- Heat Over the Stove: Add the water, flour, and milk to a small saucepan over medium low heat. Stir continually until it thickens into a paste. Remove from heat and set aside.

Preparing the Dough
- Activate Yeast: In the bowl of a stand mixer add the yeast, milk, and sugar. Allow the mixture to set about 5 minutes until the yeast becomes frothy. (It’s similar to a roux.)
- Combine With Tangzhong: To the mixing bowl add the tangzhong, egg, flour, and salt. Mix on low speed until the dough comes together completely.
- Mix in Butter: Once the dough has come together, add in the butter, one tablespoon at a time until it is all completely incorporated. The dough should be smooth and come somewhat free from the sides of the bowl. If the dough is too sticky, add additional flour one tablespoon at a time, I ended up adding 2 tablespoons.
- First Proof: Place the dough into an oiled bowl and cover it with plastic wrap, or a damp towel. Allow the dough to proof until it is double in size, about 1 hour.
- While the dough is proofing, prepare a loaf pan by spraying it with non-stick cooking spray.
- Divide: When the dough has doubled in size, dump it out onto a lightly floured surface and divide it into 3 equal pieces.
- Flatten: Flatten each section out into a rectangle, fold the sides in, lengthwise, toward the center to create a skinnier rectangle, flatten them a bit further until they are about the width of your bread pan.
- Roll, Add to Pan: Roll each long rectangle into a log and fit them together in a line into the prepared bread pan, keeping the seams on the bottom of the pan.
Proof and Bake
- Second Proof: Cover the formed milk bread loaf and allow it to proof until it is peaking just above the bread pan, 45 minutes to 1 hour.
- Preheat Oven: Whole the loaf is proofing, preheat the oven to 350 degrees Fahrenheit.
- Prepare Egg Wash: Once the loaf is ready to bake, make the egg wash by whisking the egg white and water together.
- Bake: Brush the egg wash over the loaf and bake the loaf for 25-30 minutes. The bread should be golden brown and temp out to 190 degrees Fahrenheit.
- Cool: Remove the milk bread from the pan and allow it to cool for at least 10 minutes before serving.

Tips for Success
Whether it’s your first time making homemade bread or you’re a seasoned baker, here are a few extra things to keep in mind so your Japanese milk bread turns out just right.
- Don’t Overmix: What makes Japanese milk bread so good is its soft, light texture. If you overmix your dough, gluten will develop and you’ll end up with a more dense and rubbery loaf of bread. Only mix until everything is combined.
- Use Room Temperature Eggs and Dairy: Your milk will already be warm to activate the yeast, but I also recommend letting your butter and eggs come to room temperature before you use them. This way, everything will mix together more smoothly!
- Can I Use Bread Flour? Yes! It has a little bit more protein content than all-purpose flour, so your loaves will have a slightly different crumb, but it’s still light enough that you’ll end up with the right texture.

How Long Does Milk Bread Last?
Store leftovers, completely cooled to room temperature, in a bag or airtight container at room temperature for up to 3 days, in the fridge for up to 7 days, or in the freezer for up to 2 months.

Try These Other Bread Recipes Next!
Pin this now to find it later
Make the tangzhong
-
Add the water, flour, and milk to a small saucepan over medium low heat. Stir continually until it thickens into a paste. Remove from heat and set aside.
For the dough
-
In the bowl of a stand mixer add the yeast, milk, and sugar. Allow the mixture to set about 5 minutes until the yeast becomes frothy.
-
To the mixing bowl add the tangzhong, egg, flour, and salt. Mix on low speed until the dough comes together completely.
-
Once the dough has come together, add in the butter, one tablespoon at a time until it is all completely incorporated. The dough should be smooth and come somewhat free from the sides of the bowl. If the dough is too sticky, add additional flour one tablespoon at a time, I ended up adding 2 tablespoons.
-
Place the dough into an oiled bowl and cover it with plastic wrap, or a damp towel. Allow the dough to proof until it is double in size, about 1 hour.
-
While the dough is proofing, prepare a loaf pan by spraying it with non-stick cooking spray.
-
When the dough has doubled in size, dump it out onto a lightly floured surface and divide it into 3 equal pieces.
-
Flatten each section out into a rectangle, fold the sides in, lengthwise, toward the center to create a skinnier rectangle, flatten them a bit further until they are about the width of your bread pan.
-
Roll each long rectangle into a log and fit them together in a line into the prepared bread pan, keeping the seams on the bottom of the pan.
-
Cover the formed loaf and allow it to proof until it is peaking just above the bread pan, 45 minutes to 1 hour.
-
Whole the loaf is proofing, preheat the oven to 350 degrees fahrenheit.
-
Once the loaf is ready to bake, make the egg wash by whisking the egg white and water together.
-
Brush the egg wash over the loaf and bake the loaf for 25-30 minutes. The bread should be golden brown and temp out to 190 degrees fahrenheit.
-
Remove the bread from the pan and allow it to cool for at least 10 minutes before serving.
Calories: 2349kcalCarbohydrates: 383gProtein: 61gFat: 62gSaturated Fat: 35gPolyunsaturated Fat: 5gMonounsaturated Fat: 15gTrans Fat: 2gCholesterol: 313mgSodium: 2541mgPotassium: 921mgFiber: 12gSugar: 62gVitamin A: 2018IUCalcium: 382mgIron: 20mg
Nutrition information is automatically calculated, so should only be used as an approximation.