I only got about halfway done with installing the wallpaper mural on the main wall of the studio yesterday, but I’m so excited about how it’s looking! And it was totally worth the extra time, effort, and money to switch out this wallpaper from the smaller, darker design to this larger, brighter design.
I considered waiting to show you until all of the wallpaper was installed and the window trim was reinstalled, but then I realized that it’s going to be a while before that happens. For reasons I won’t explain right now, I’ve decided to finish installing the wallpaper, then install the cabinets, then make the countertop, and THEN re-install the window trim. I’ll explain that later, but all of that to say that if I were to wait until the window trim is finished before showing you, it would be quite a wait.
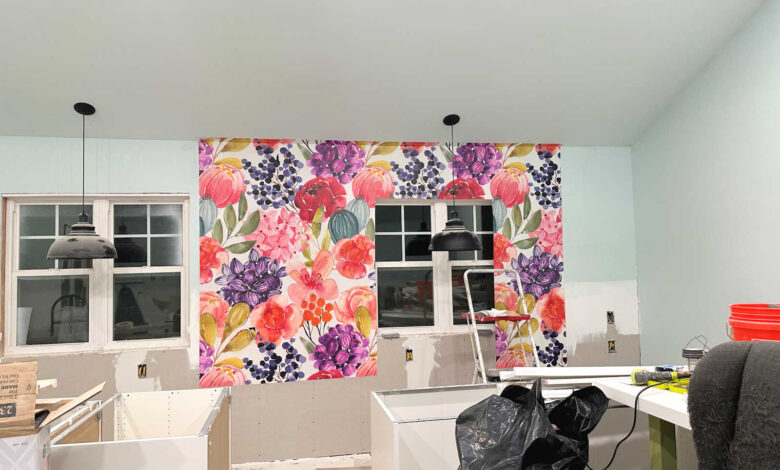
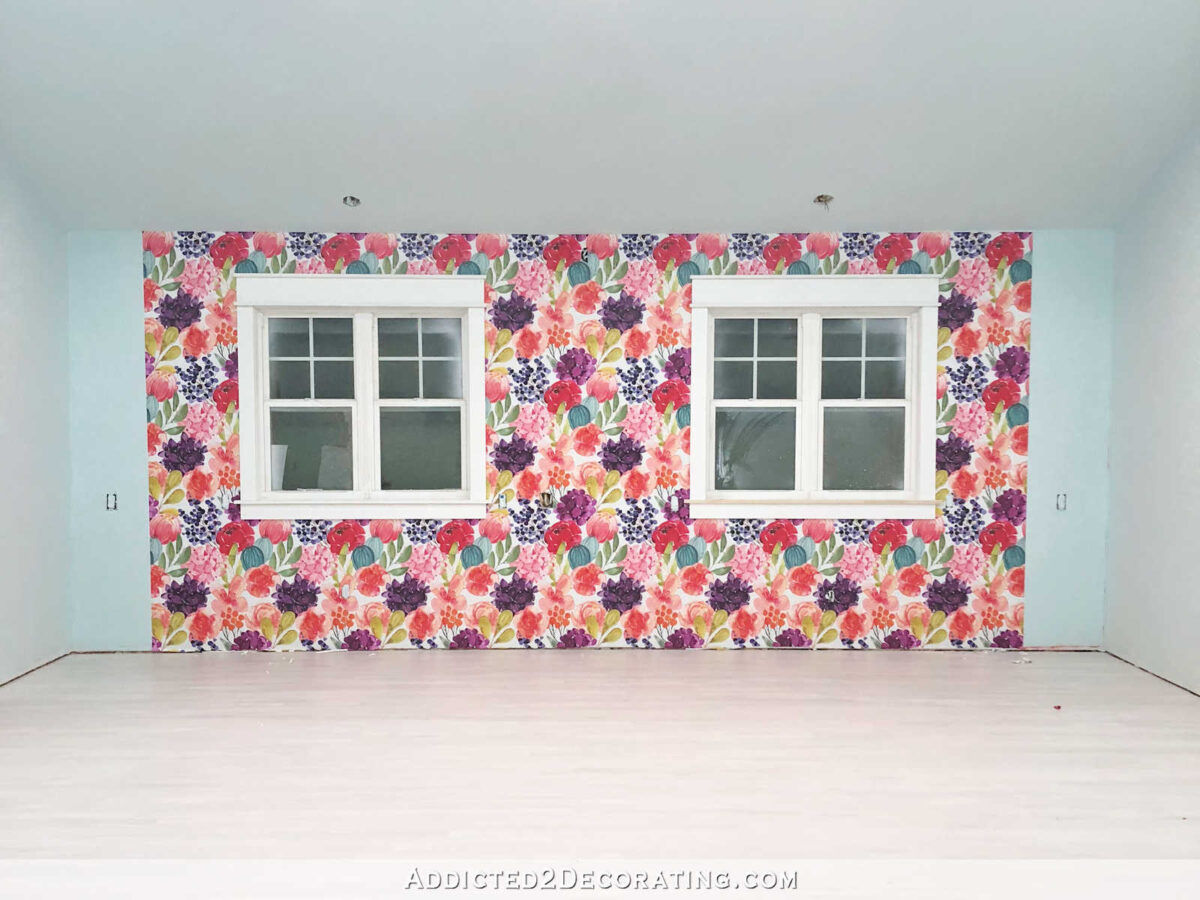
So I’ll go ahead and show you the incomplete installation of the mural just so that you can see the progress, see the new design, and be excited about it with me. 😀 Here’s a peek at how it looks as of this morning.
Doesn’t that look so good! I absolutely love it! It was totally worth it to redo this wall!
So to review, I created this design myself, and then had to jump through a few hoops in order to have it printed by Spoonflower. Since it’s a two-part design (meaning that one repeat of the design spans two widths of wallpaper)…

…rather than a standard wallpaper (where one repeat of the design spans one width of wallpaper)…

…the design, printing, and installation process was a little different from standard Spoonflower wallpaper.
As I explained before, Spoonflower’s system isn’t really set up to print murals. They print standard wallpaper only, and they print their wallpaper so that the seams overlap by about 3/4 inch. And they do that by taking 3/4-inch of the design on the left side of the wallpaper, and printing it on the right side of the wallpaper.

But I didn’t need or want that on the edge of the pieces because, again, this is a two-piece mural. So that extra 3/4-inch of design that automatically prints on the right edge doesn’t match up with anything. That meant that before I could install anything, I had to trim away the little white strip on the left side of each piece, as well as trim away the white strip and the excess print on the right side of each piece.
I started in the middle of the wall because I wanted to be sure that the large pink and dark purple flowers hit close to the middle of the wall. I didn’t care about any of the other flowers as long as those two were front and center.

I think by the time I went to bed, I had five pieces installed. I think that means I have three left. I had hoped to get them all done last night, but I just ran out of steam and wanted to go to bed.

But look. See how I can stand on the other side of the room now, and they still look like flowers? None of them turn into dark blobs of color from a distance. I can stand all the way at the back doors, and they still look like colorful flowers.

Whereas before, not so much. With the standard wallpaper and smaller design, from the other side of the room, some of the flowers looked like blobs. And the design looked much busier because there were so many repeats.
Now, the design looks less busy because there are fewer repeats, larger flowers, and brighter colors.

This room isn’t easy to work in since I’m having to work around so much, but I think once I can get the cabinets installed, I’ll have some breathing room in here and it won’t feel as cramped and chaotic. And I’ll actually be able to put things into cabinets and drawers rather than having everything piled in boxes, or on the desk, or on the work tables. I’m so close to being able to install cabinets!

Addicted 2 Decorating is where I share my DIY and decorating journey as I remodel and decorate the 1948 fixer upper that my husband, Matt, and I bought in 2013. Matt has M.S. and is unable to do physical work, so I do the majority of the work on the house by myself. You can learn more about me here.
Source link