We Have A Usable Shower!
[ad_1]
*This post contains affiliate links.
It’s an exciting day here in the Linauer household. We finally have a usable shower in our new master bathroom. This shower was designed specifically for easy wheelchair access for Matt, and it’s going to be so nice for him.
It has a curbless entry (i.e., the shower floor is perfectly flush with the bathroom floor), a nice entry wide enough for his shower wheelchair to easily enter, and the shower itself is huge. I think that the ADA recommendations for a wheelchair accessible shower is that it should be no less than 60 inches (5 feet) square for a wheelchair to have enough room to turn. Our shower is about 7.5 feet by 7 feet. This shower is almost as big as our entire hallway bathroom.
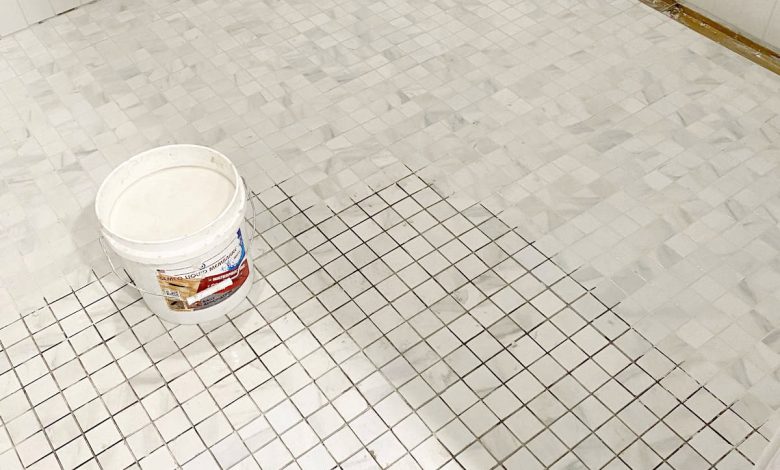
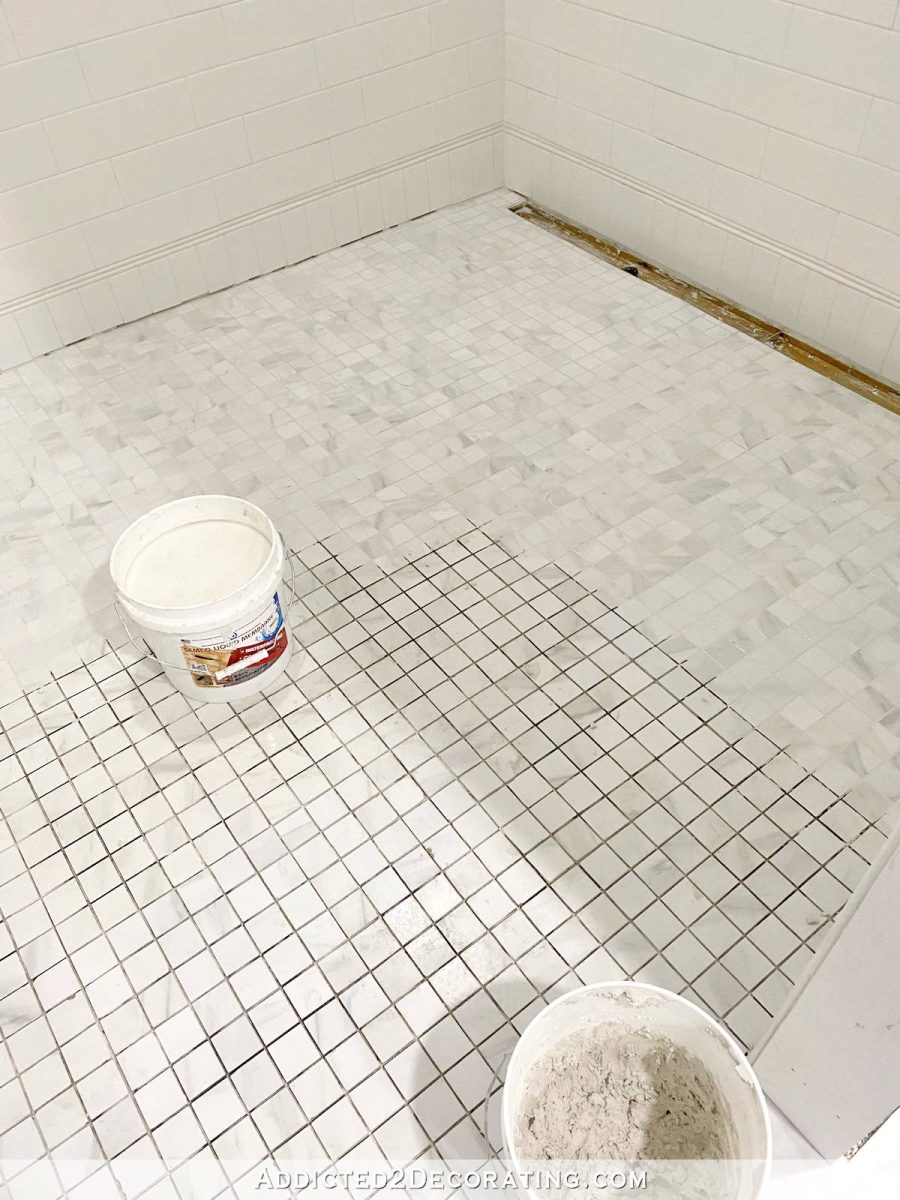
The last time I shared about the bathroom, I had installed some of the plumbing fixtures, but I still needed to grout the floor and caulk the corners and along the floor. Here’s what the ungrouted shower floor looked like…
For the floors, I used Kolasus white 2″ x 2″ square tiles that come in 12″ x 12″ sheets from Home Depot.
It really is amazing the difference that grout can make. It’s magical! 😀 For this whole shower — walls and floor — I used Bright White grout. I know I’ll have people ask me if I worry about having white grout in this shower, but I really don’t. I love white grout, and if and when it starts getting a little grungy-looking (as in, discoloration that can’t be cleaned no matter how much I scrub), Grout Renew can bring it back to its bright white color.
In fact, I just used Grout Renew on the hallway bathroom floor. That floor also has Bright White grout, and after several years, the grout was starting to look a bit dingy. When it gets to the point that no matter how much I scrub it (trying a Magic Eraser, vinegar in water, baking soda, etc.), I know it’s time for Grout Renew. So I took about 30 minutes the other day (it’s a small bathroom) and Grout Renewed the floor so that it looks bright and clean and new again.
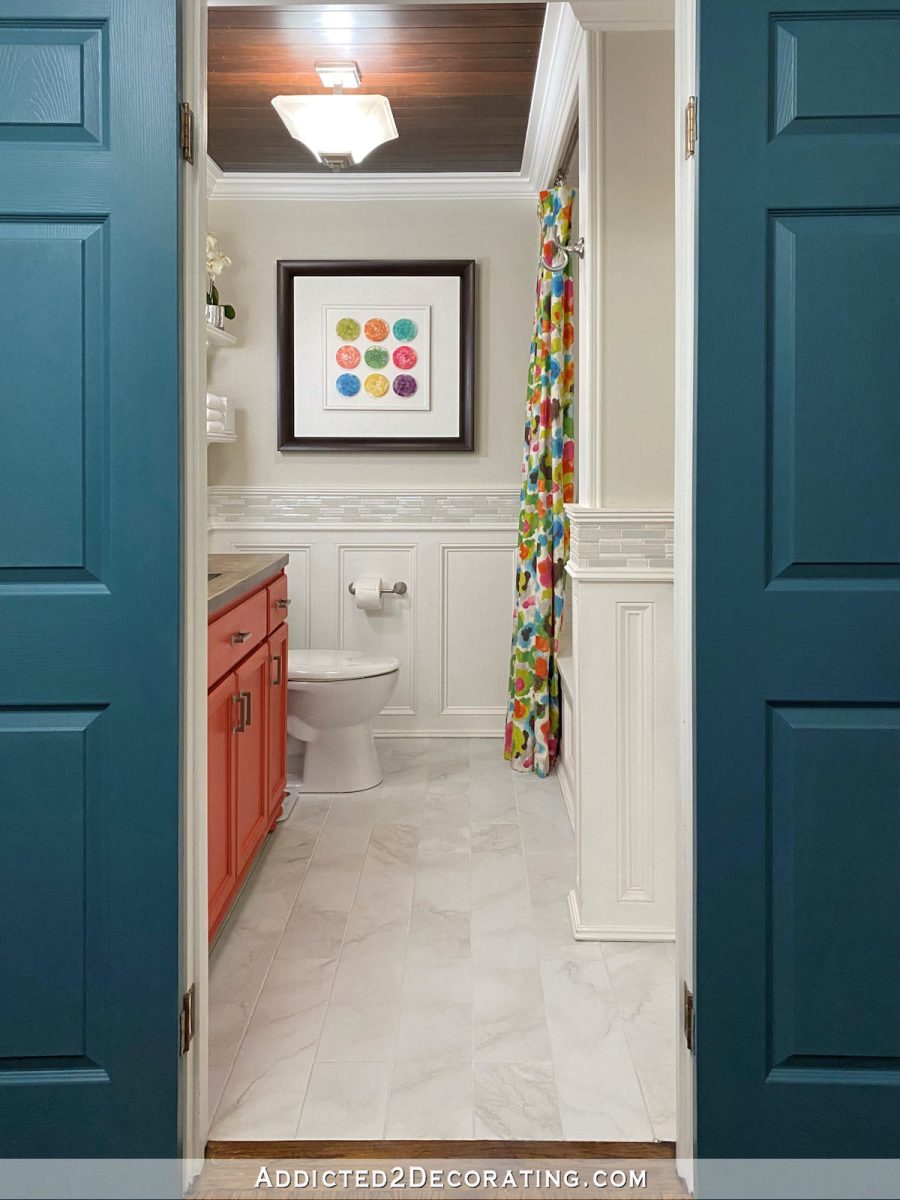
I pretty much consider Grout Renewing the grout on floors to be part of deep cleaning my house every few years just to keep the grout looking bright and fresh.
So if I have to do that in this shower every few years, I’m okay with that. Anyway, here’s what the shower floor looks like fully grouted, and with the corners all caulked.

I just love the huge difference that grout makes!
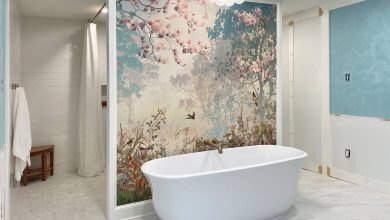
Here’s the whole “tour” of the shower as it looks now. The shower is located behind the mural wall, and is accessible via this entrance on the left side of the mural wall. (The bathtub will sit in front of the mural wall.) The bathroom floor isn’t finished yet, but you can see that the shower has a curbless entry.
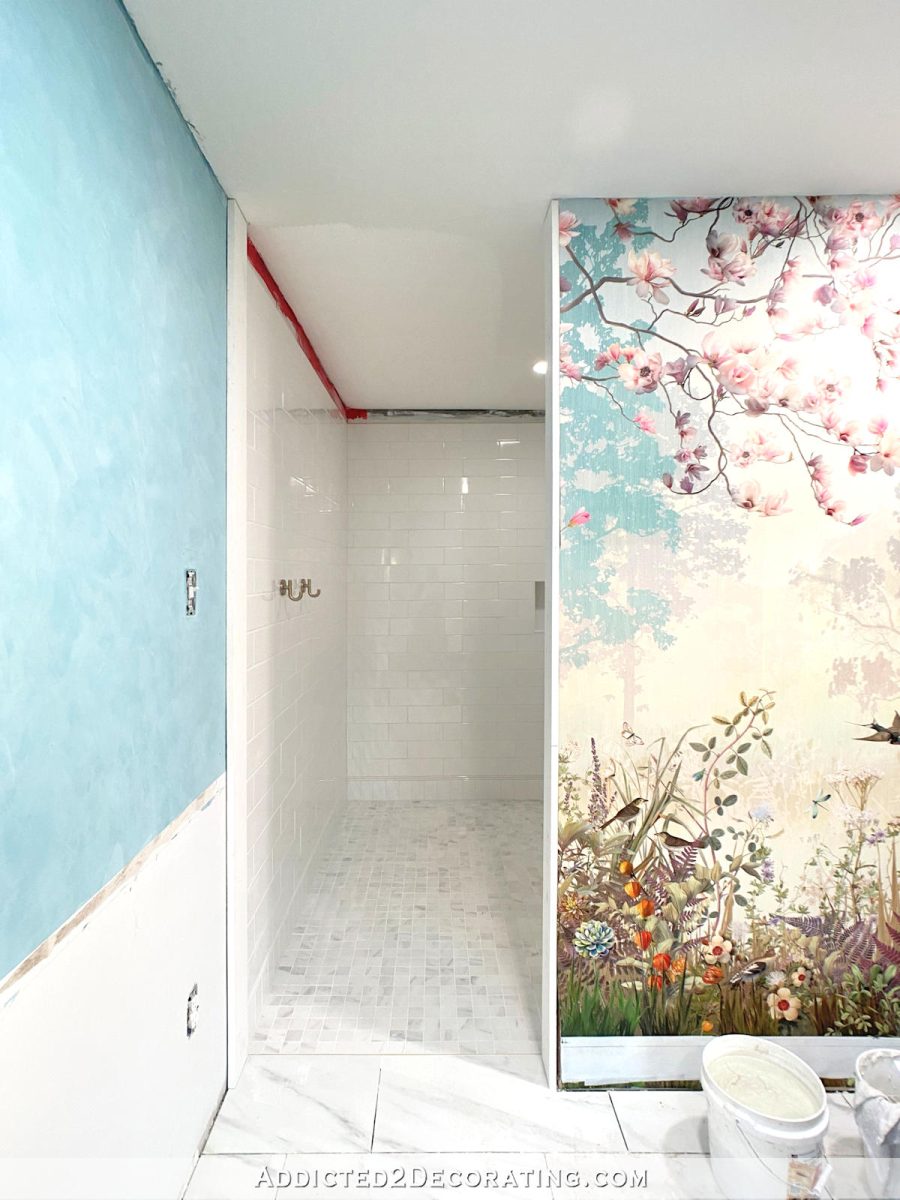
For the shower walls, I used Daltile Restore 4″ x 16″ bright white subway tiles, also from Home Depot.
I installed two towel hooks close to the entry of the shower, but I put them inside the shower. I don’t want towels hanging on the bathroom wall, and this back wall of the shower is far enough away from the shower head that I’m fairly certain they’ll remain dry.
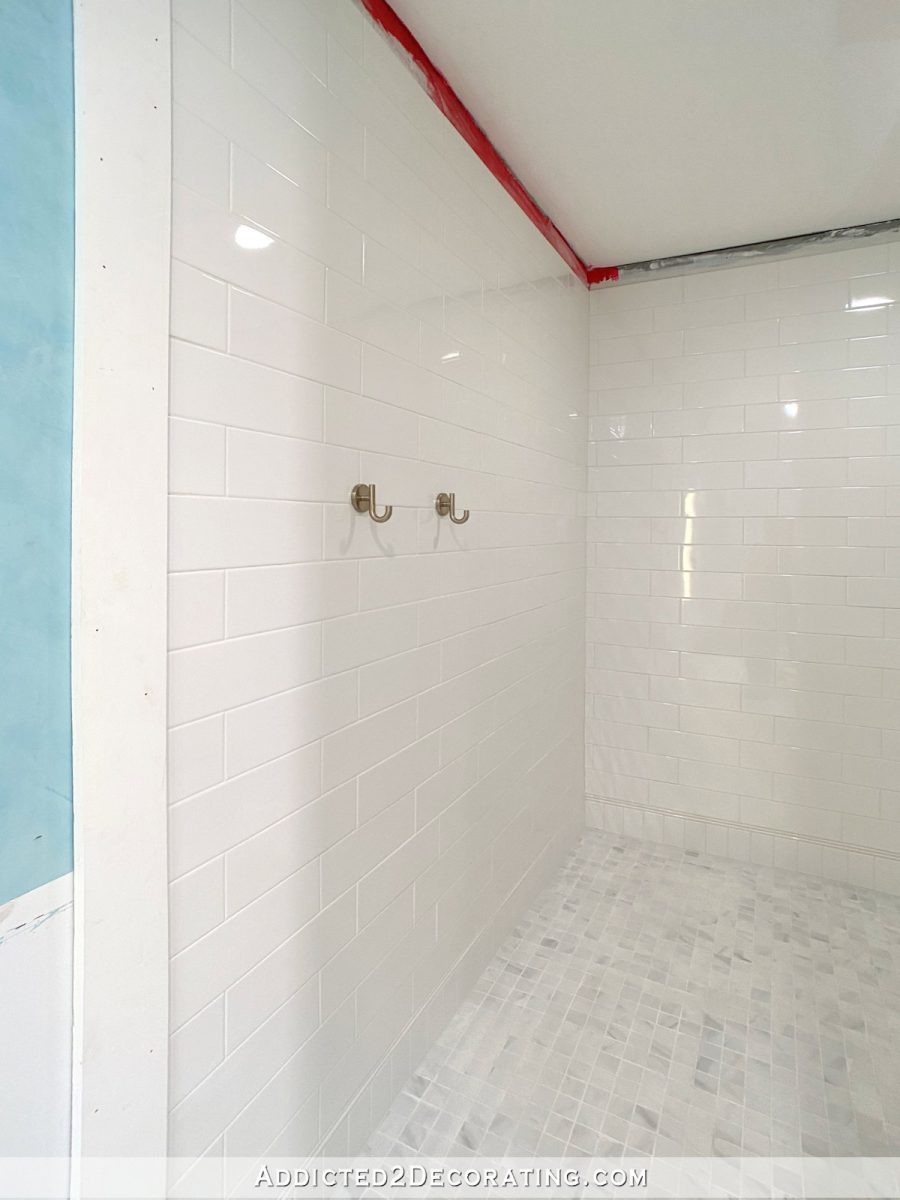
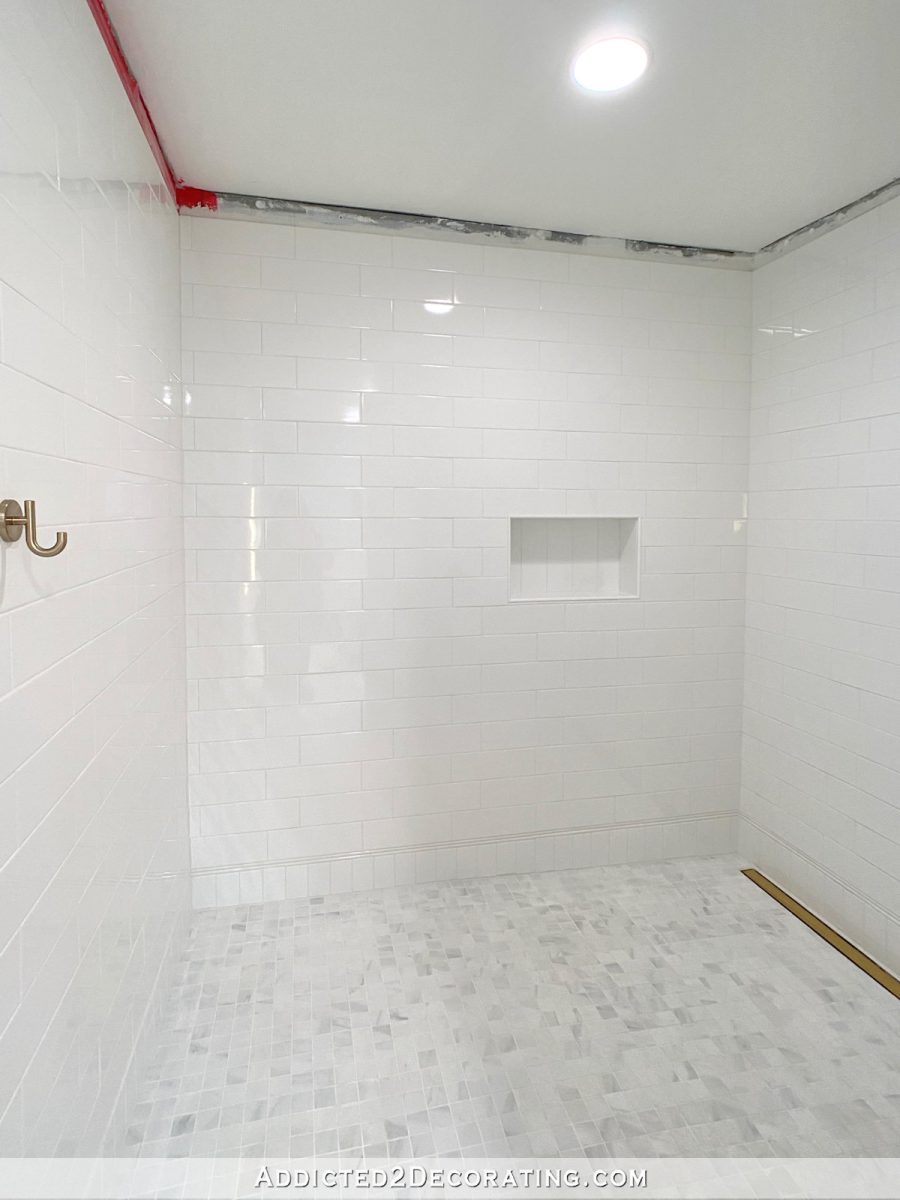
In this photo below, you can see where the slope of the floor starts. And of course, it slopes towards the linear drains that are against the wall with the shower head. The shower niche (we just have one small shower niche since neither of us is really a “products” kind of person) is on the wall opposite the shower entry. One niche is enough for us.
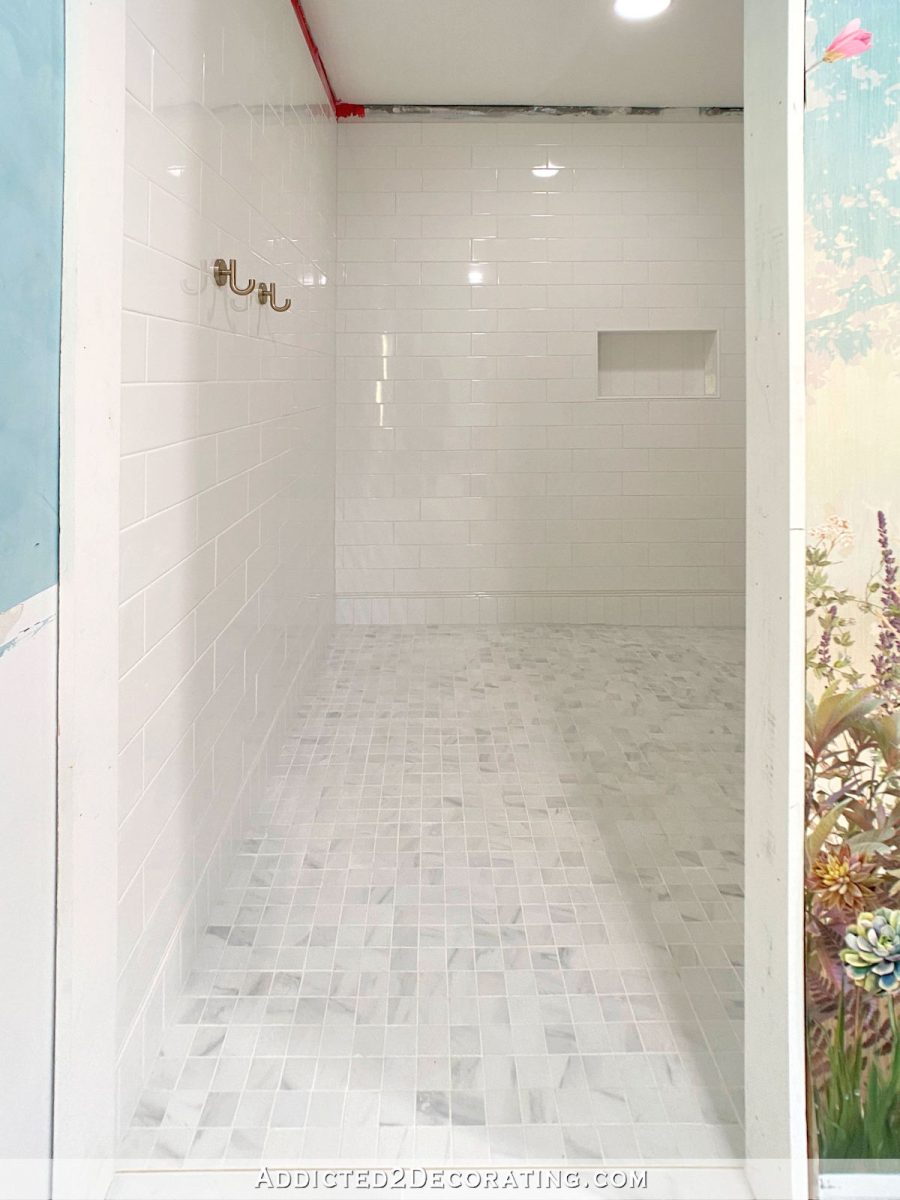
Below, you can see one of the linear drains, and you can see more of the slope if you look a the bottom of the niche wall. Again, that wall is about 7.5 feet wide.
We have two linear drains to span that wall. And this wall has the shower head, handheld sprayer, and three-way diverter.
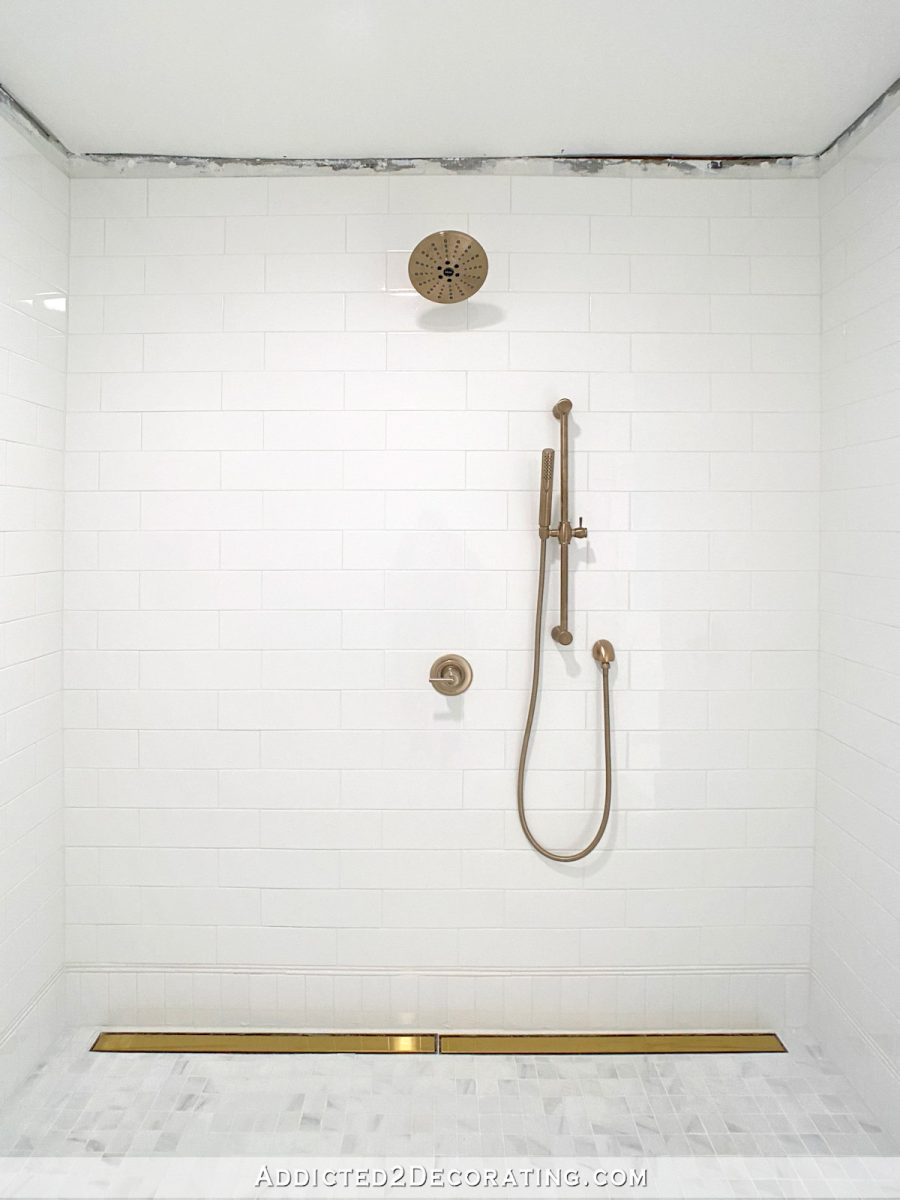
The fixtures are Delta Trinsic in Champagne Bronze. The linear drains are Neodrain 36-inch linear drains that I found on Amazon.
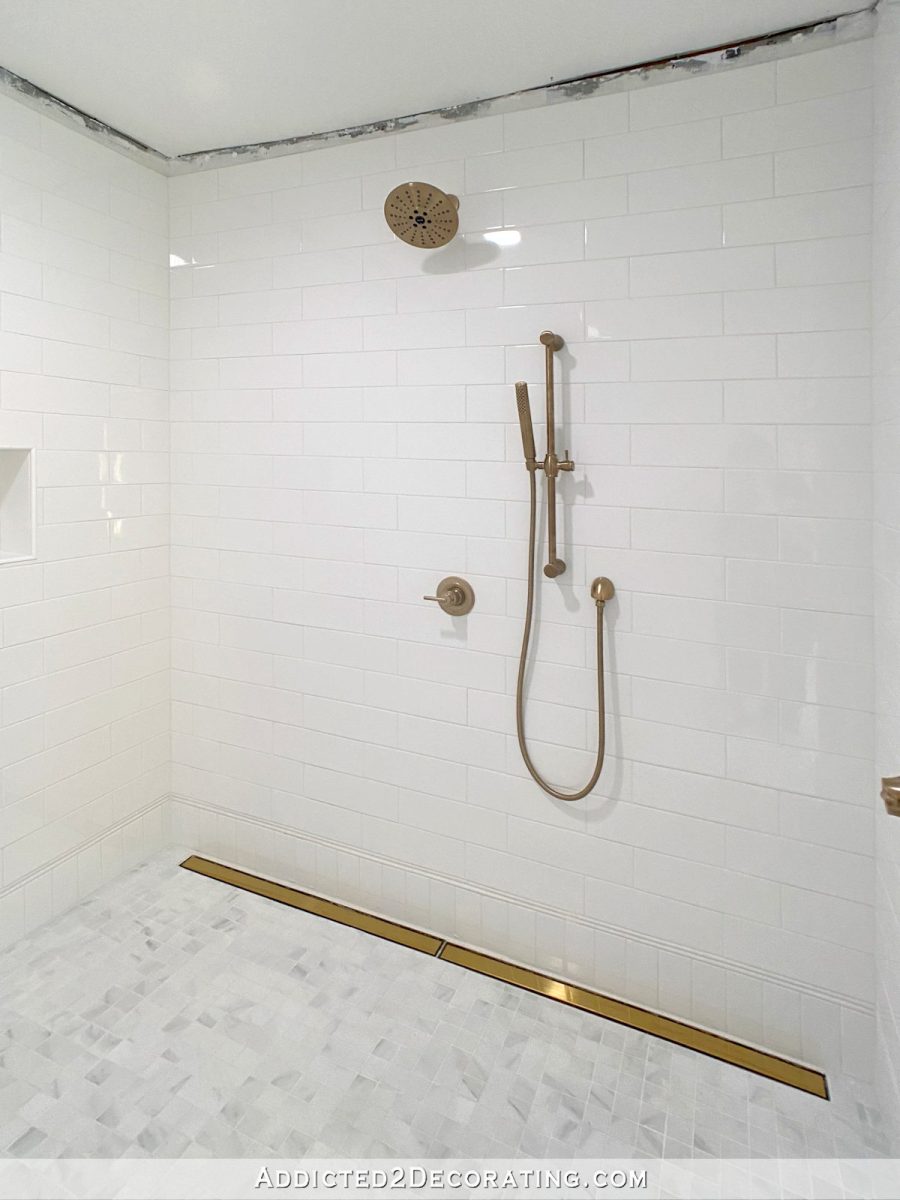
The actual water control valve is on the side wall. That way I can just reach inside and turn the water on without getting wet.
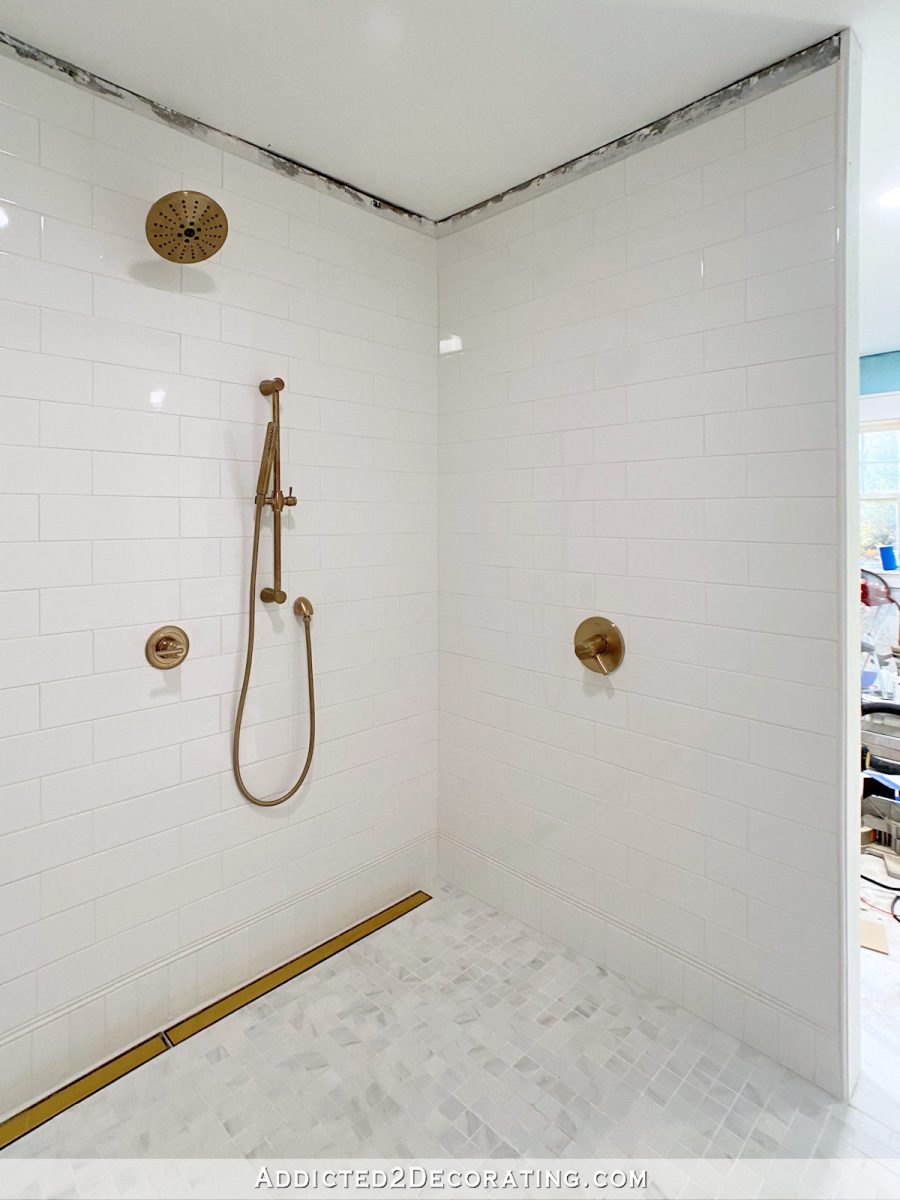
So it’s finally usable! And overall, it’s about 95% finished. It has felt like a Herculean task to get it to this point, so the rest should be easy. I still need to add trim to the top, and I’m actually going to carry the same crown molding and trim that I use in the rest of the bathroom right into the shower. I know that seems a bit unorthodox, but I’ve given it a ton of thought, and I’ll share my thoughts on it in a later post.
For now, I have a dog and a husband who need showers. 😀

Addicted 2 Decorating is where I share my DIY and decorating journey as I remodel and decorate the 1948 fixer upper that my husband, Matt, and I bought in 2013. Matt has M.S. and is unable to do physical work, so I do the majority of the work on the house by myself. You can learn more about me here.
I hope you’ll join me on my DIY and decorating journey! If you want to follow my projects and progress, you can subscribe below and have each new post delivered to your email inbox. That way you’ll never miss a thing!
[ad_2]
Source link


