DIY: Storage Cabinet With French Doors (Finished!)
[ad_1]
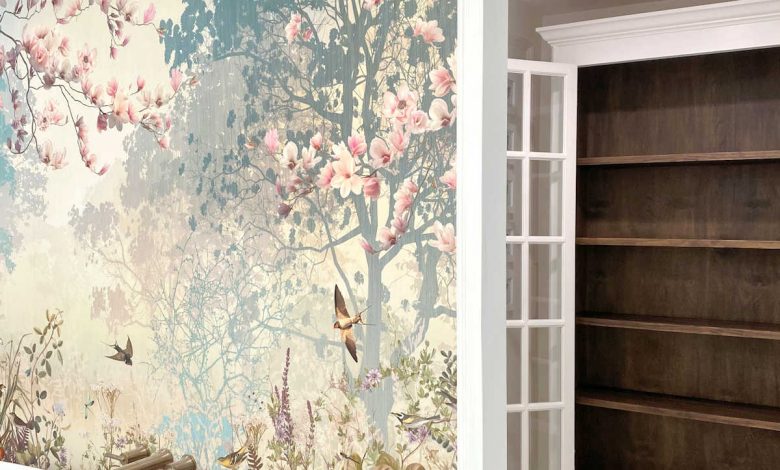
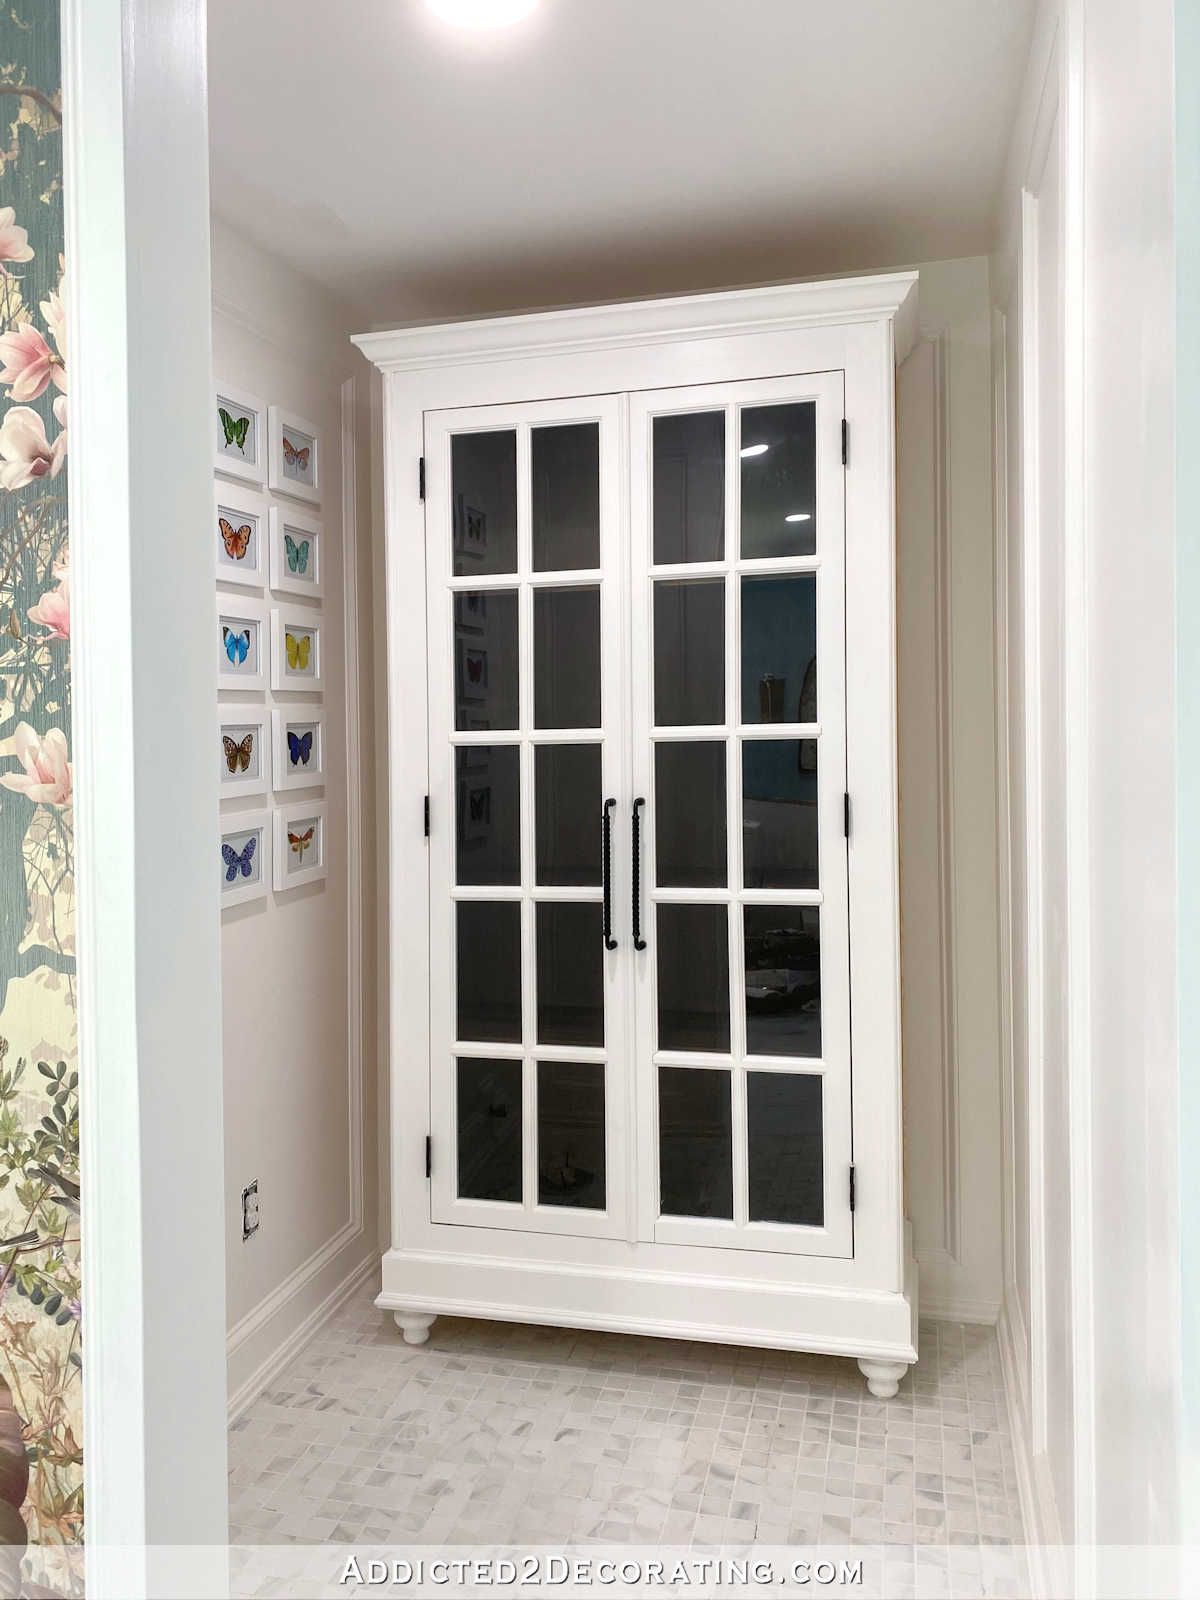
The bathroom storage cabinet is finished! I’m so thrilled with how it turned out. I wasn’t quite sure what I wanted to do with the inside of the cabinet. Paint it white? Paint it a pale pink? Well, in the end, I decided to go with…STAIN! Here’s how it turned out…
It’s hard to see the pretty interior of the cabinet when the doors are closed, but I’m thinking about installing some tape LED lights, not only to brighten up the inside, but also to act as a nightlight like the ones I put in the built-in open shelves in the hallway bathroom.
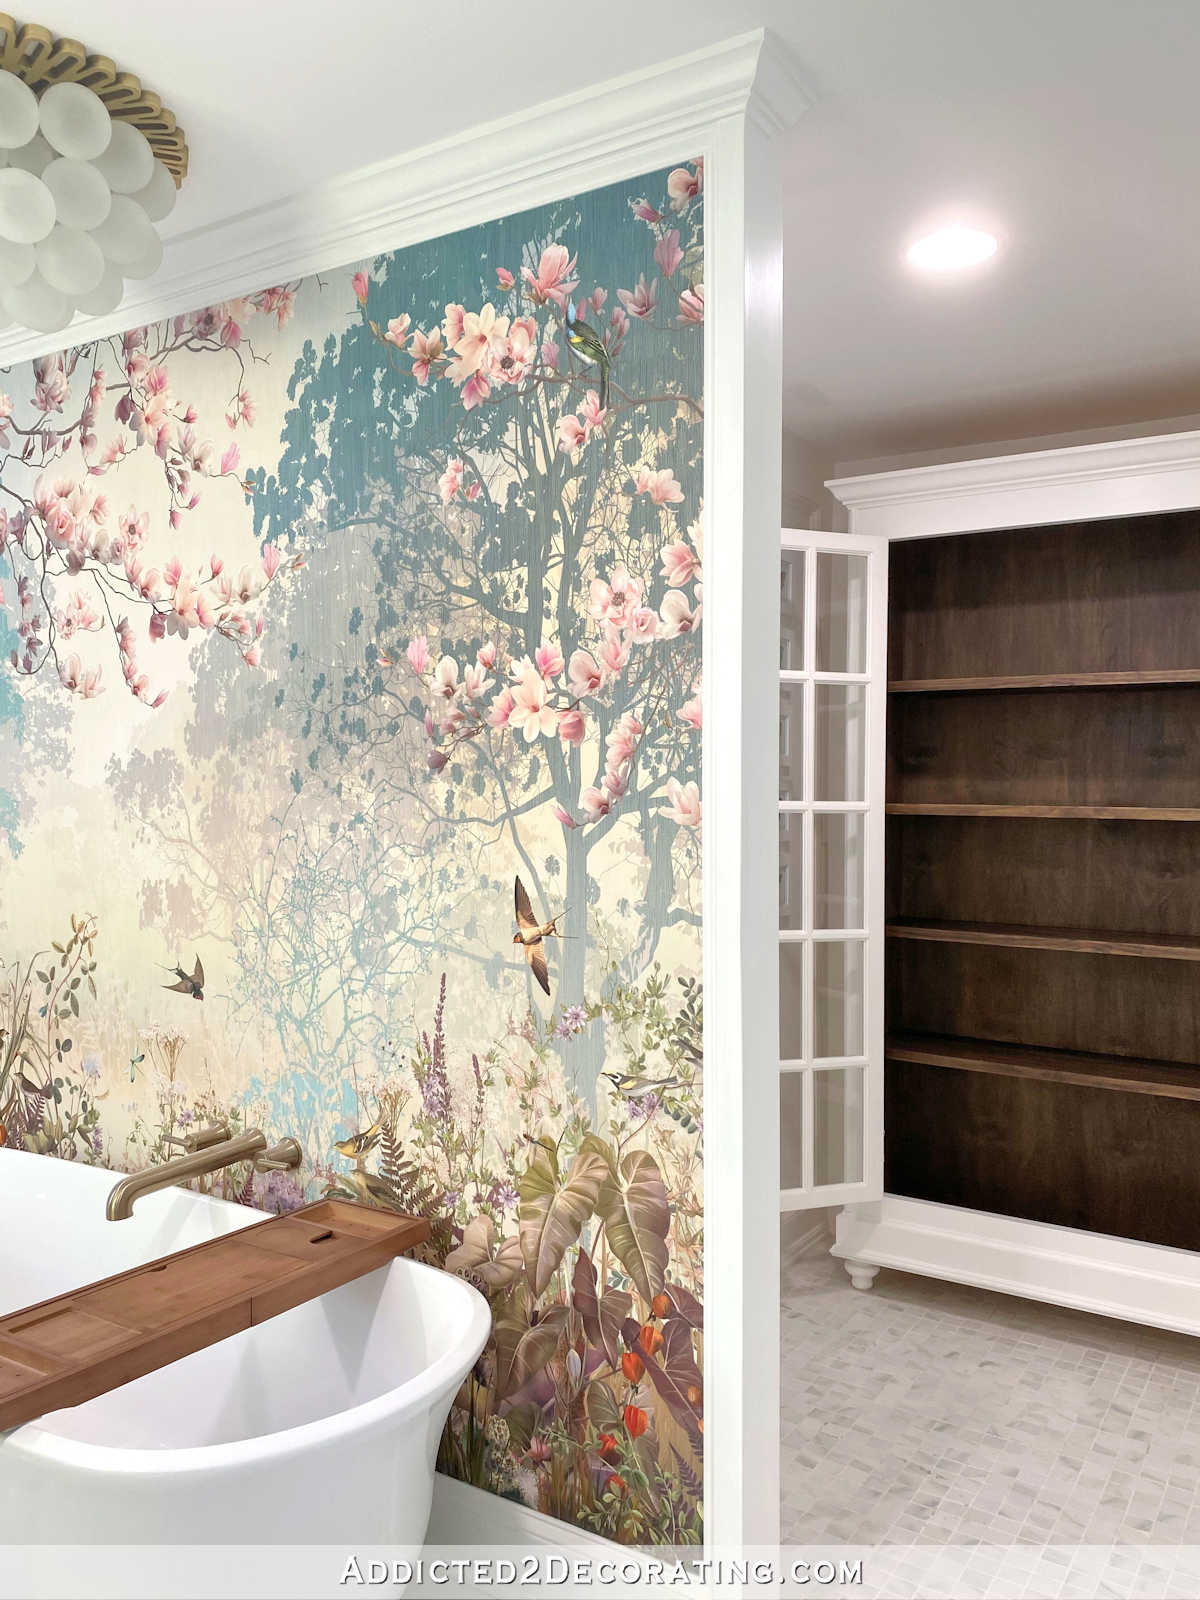
Here’s a look at the cabinet with the doors open so you can see the pretty stained wood inside…
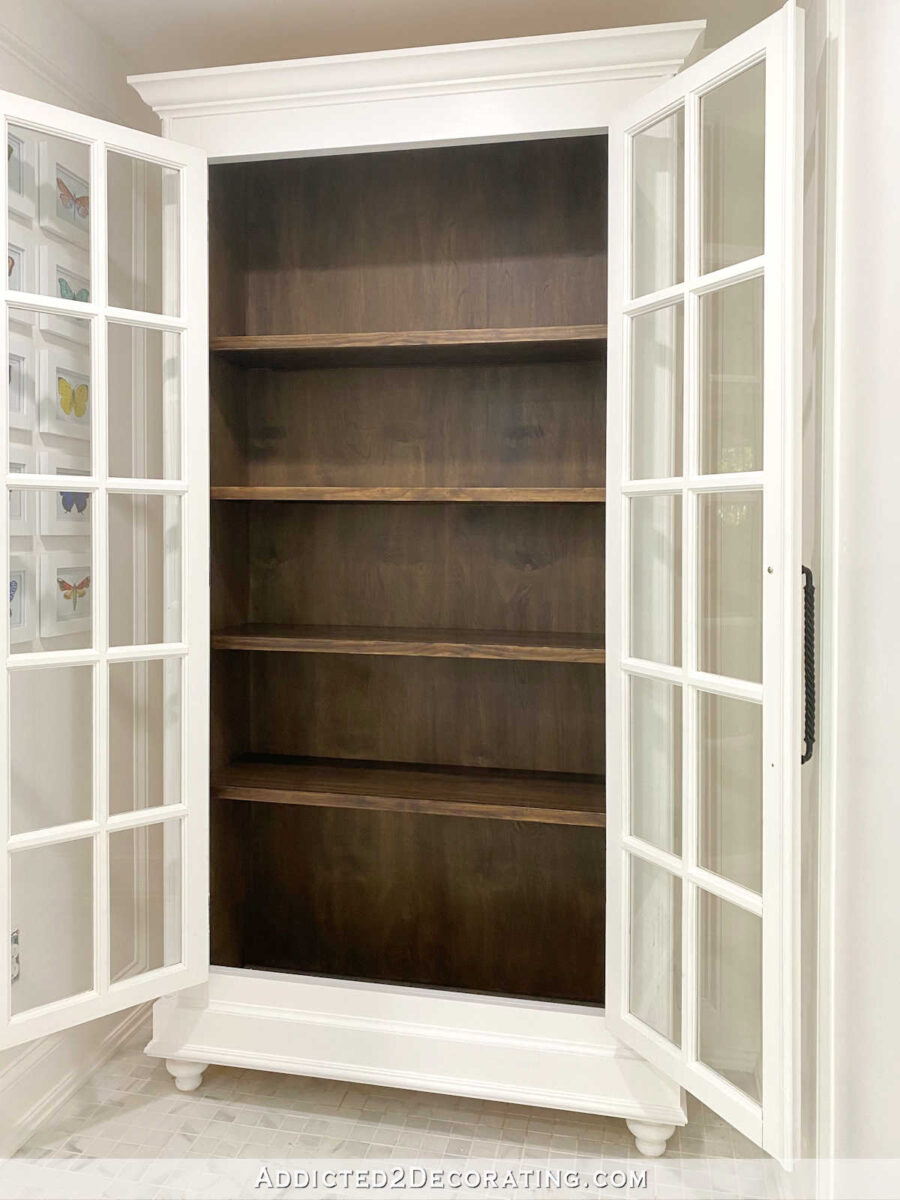
*Sigh* I love it. I’m just so pleased with how this turned out.
I built this cabinet myself and shared the process in two previous posts. If you missed those, you can see them here:
So at the end of the last post about this project, the cabinet was all trimmed out and ready to be finished.
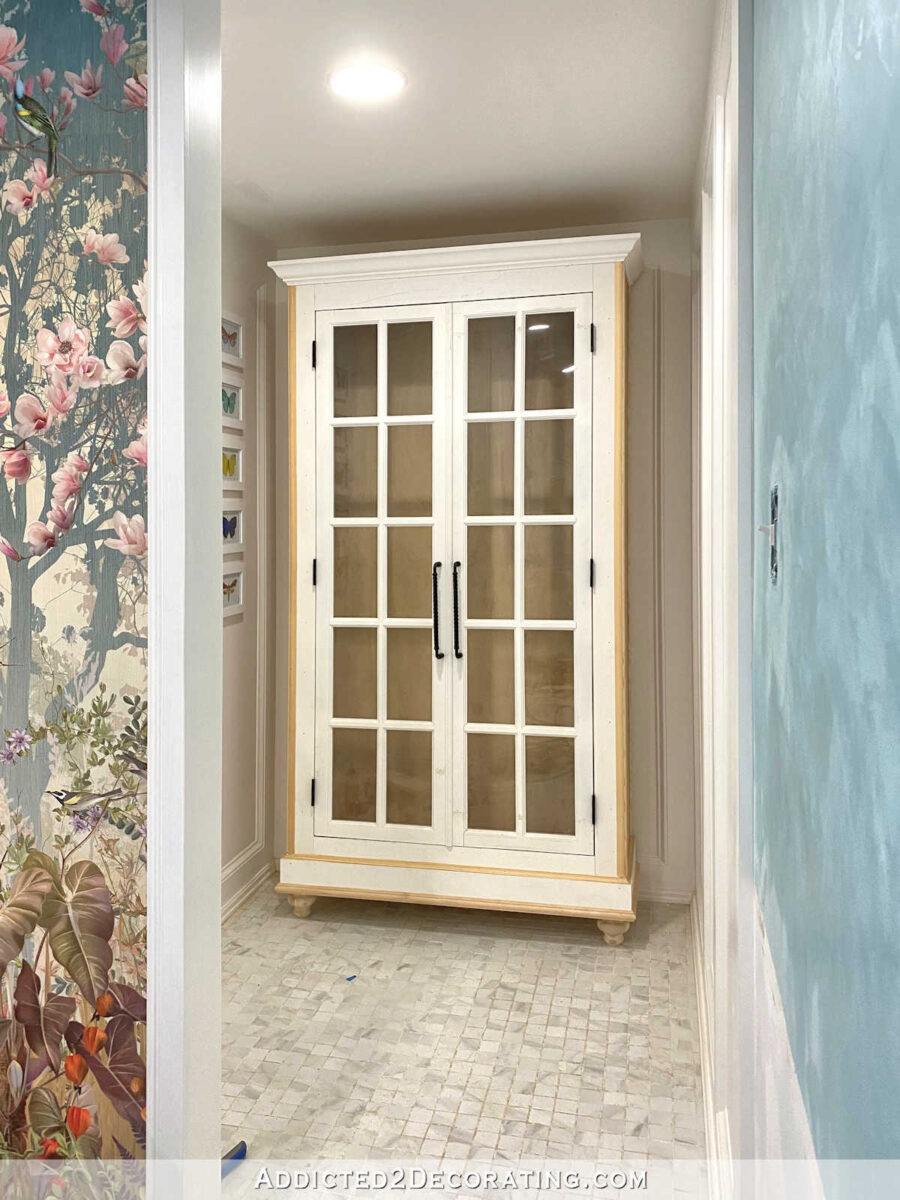
After thinking through the different options for finishes, I finally decided that since I used a pretty plywood for the back, I would try to stain it. The tricky part was that I had used MDF for the sides, the top, and the bottom. So I knew that finding a finish that would work on plywood as well as MDF and give me a somewhat uniform finish on both would be a challenge.
Any oil-based penetrating stains were ruled out immediately, so I headed to both Lowe’s and Home Depot to see what the other options were. To be honest, there weren’t many options at all, so I bought Behr Premium Water-Based Wood Stain in Dark Walnut.
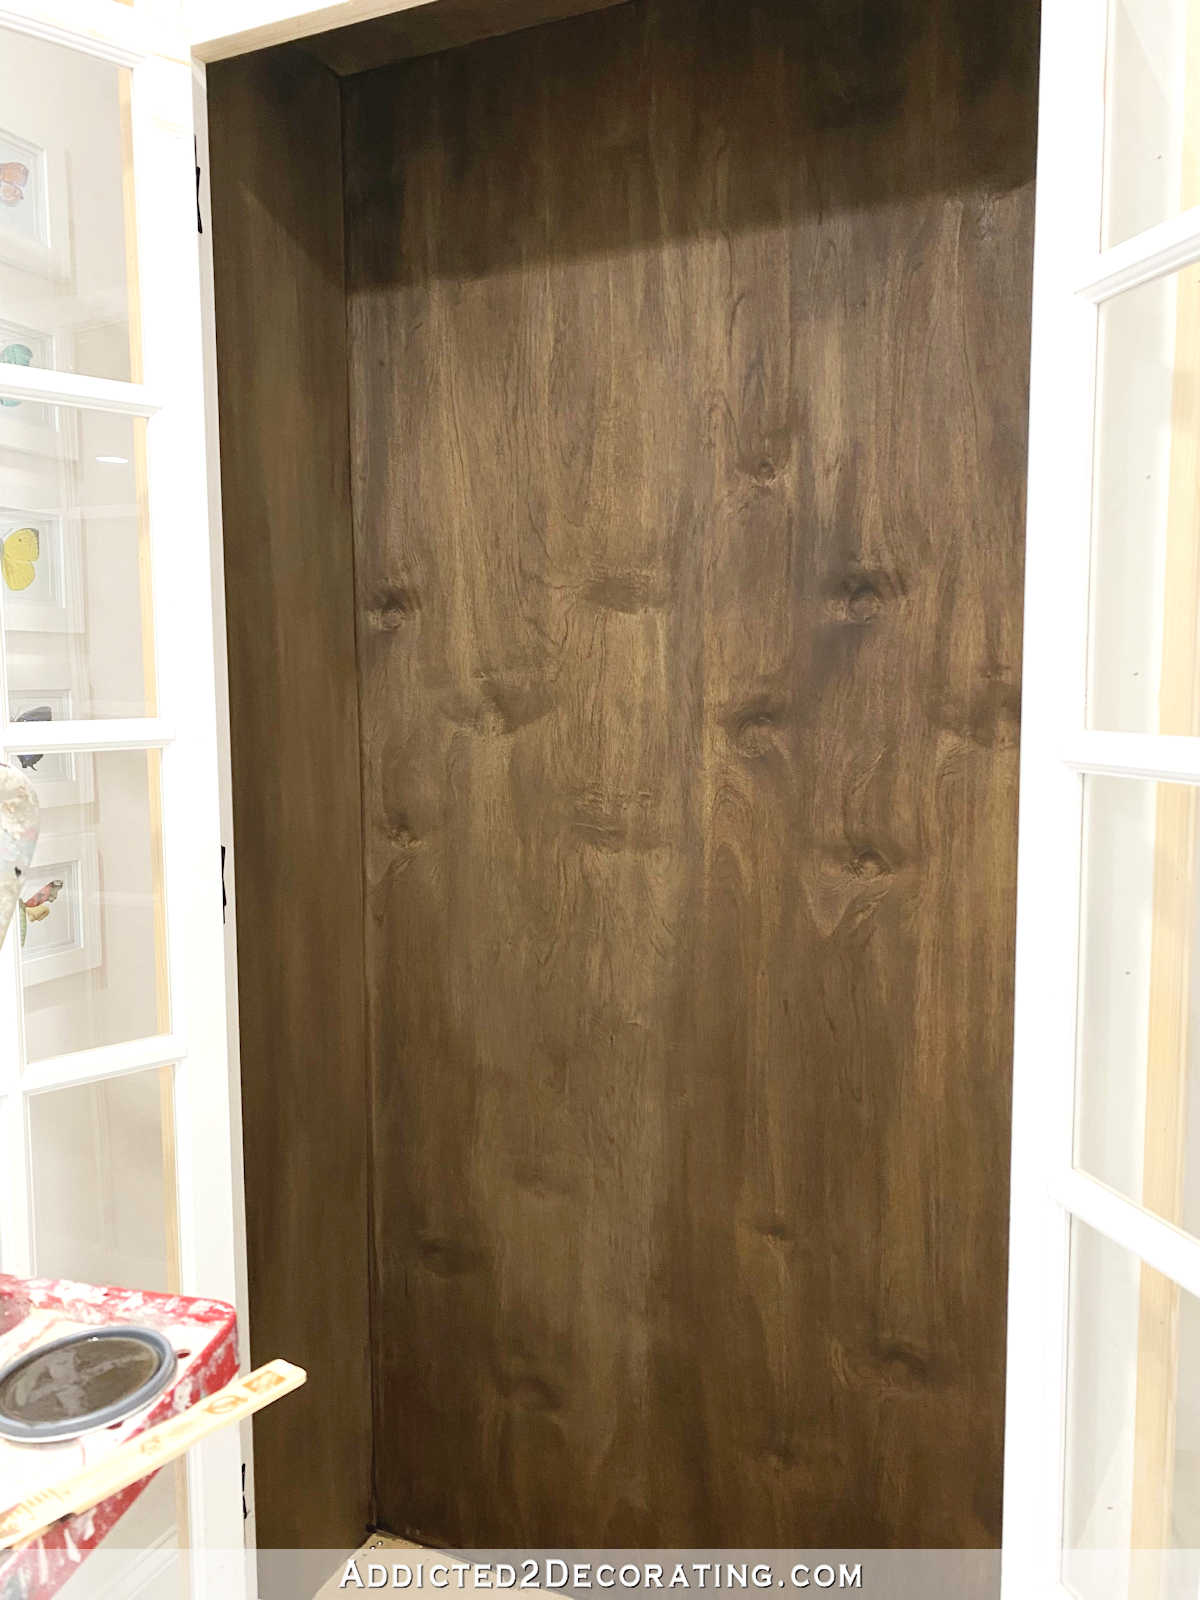
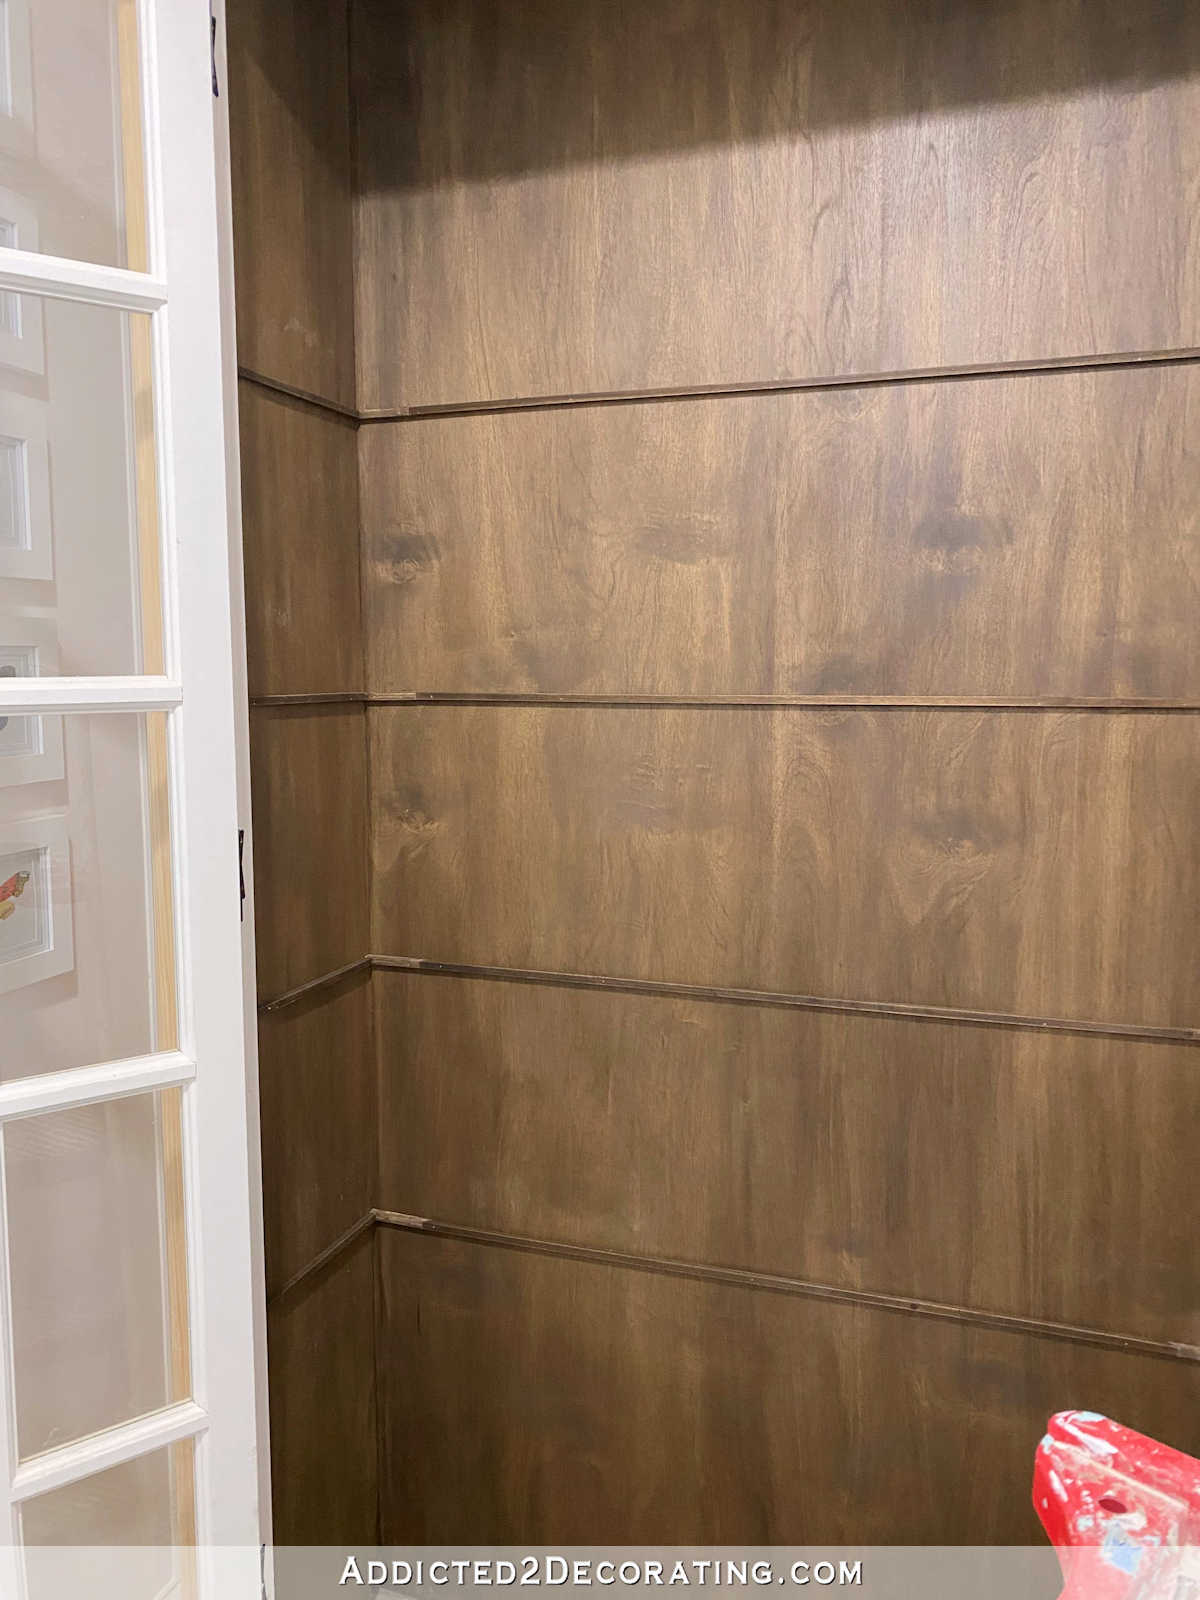
As it turns out, this product is AMAZING!! Seriously, it’s my new favorite stain. It’s so easy to use. It goes on easily, the excess wipes off easily (as in, it doesn’t get sticky), and the finish is so pretty. You can see in the picture below how it did on the plywood back and the MDF side. Honestly, if I didn’t tell people that the sides were MDF, I don’t think they’d ever know.
Here’s a view from a bit further back, and before I stained the bottom of the cabinet.
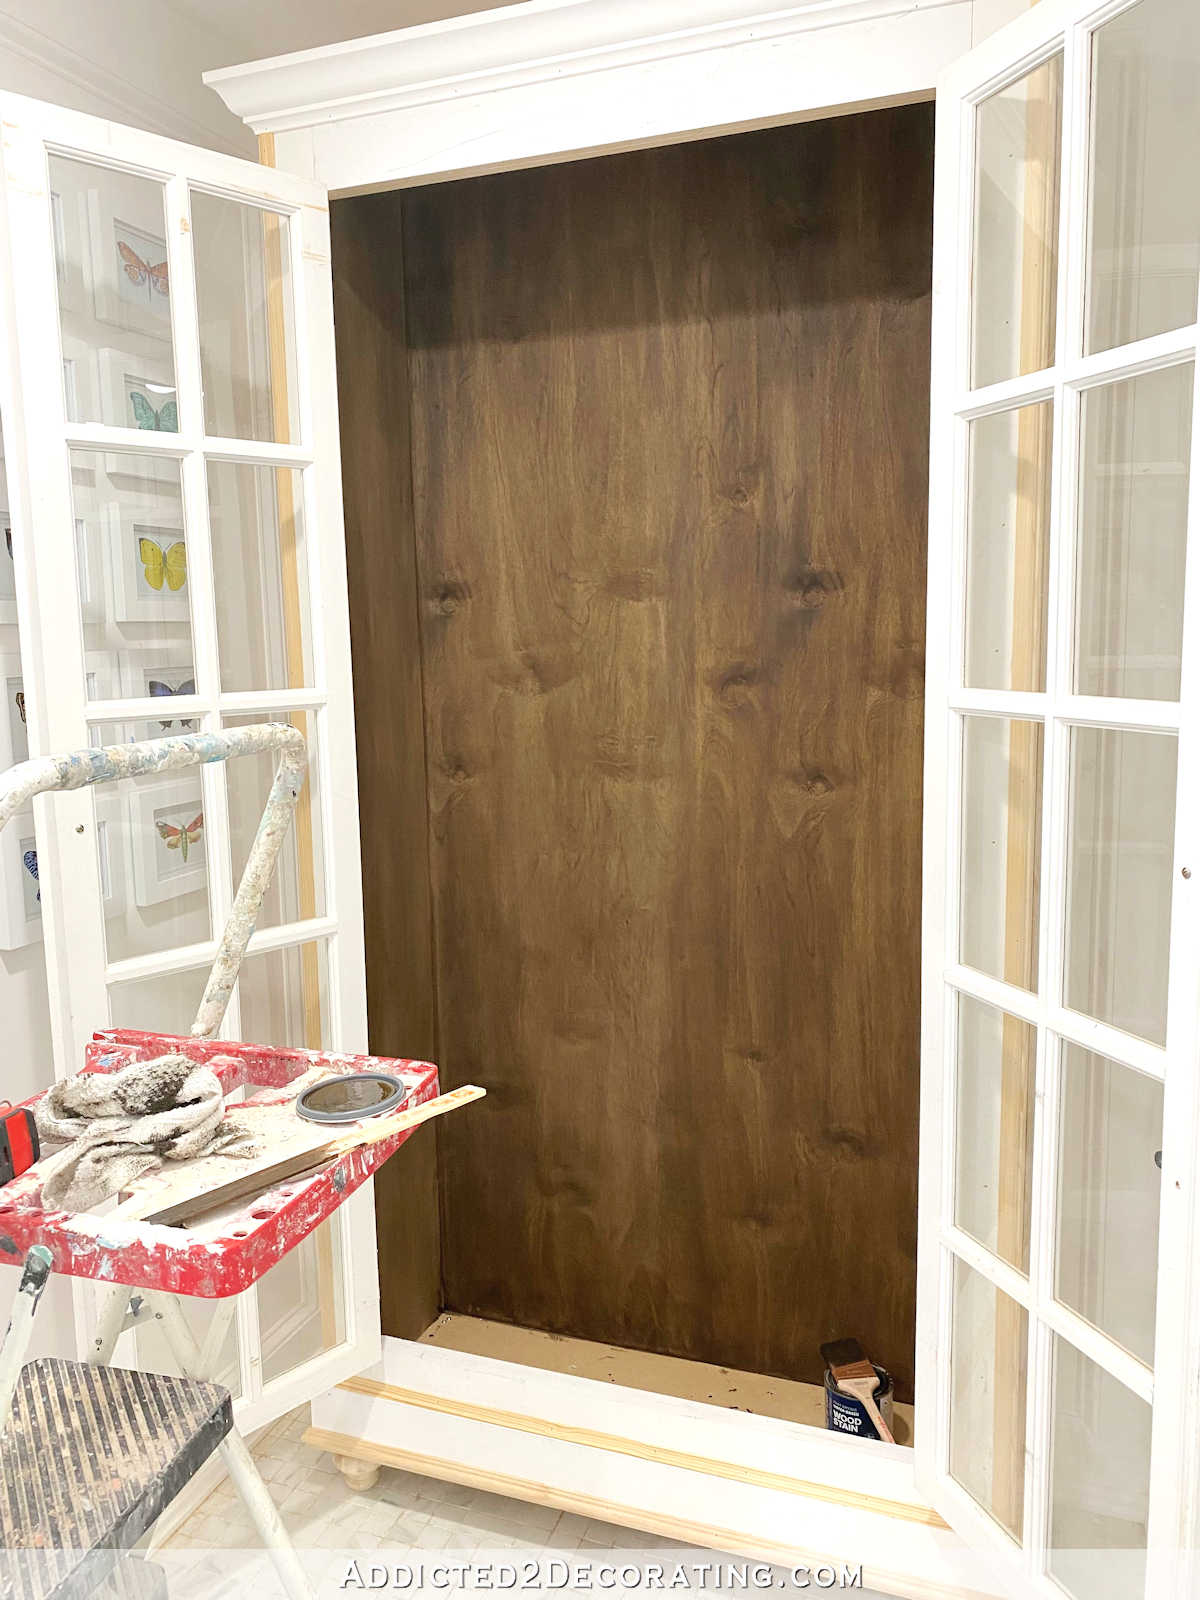
I love this stain so much! It worked on the plywood (which is just sold as “sanded plywood”, so I have no idea what kind of wood it is), on the MDF sides, and on the pine shelves. Everything turned out beautiful.
To install the shelves, I measured where I wanted my shelves to go, and then attached 3/8-inch square dowels using 5/8-inch 18-gauge nails in my nail gun. I couldn’t find the dowels in 48-inch lengths, so I had to use 36-inch lengths and piece them together, which is why the three inches at either end of the back dowels look different. Fortunately, only the top one shows, so I still need to put a little more stain on those small pieces.
For the shelves, I used 1″ x 12″ premium pine (the kind that has almost no knots), cut to length. To give the front edge of the shelves a finished look, and also make them look a little thicker and more substantial, I used 1″ x 2″ premium pine, ripped down to one inch wide on my table saw, and nailed that to the front edge of the shelves using 1.5-inch 16-gauge nails.
Once those were attached, I stained the shelves using the exact same Behr water-based stain.
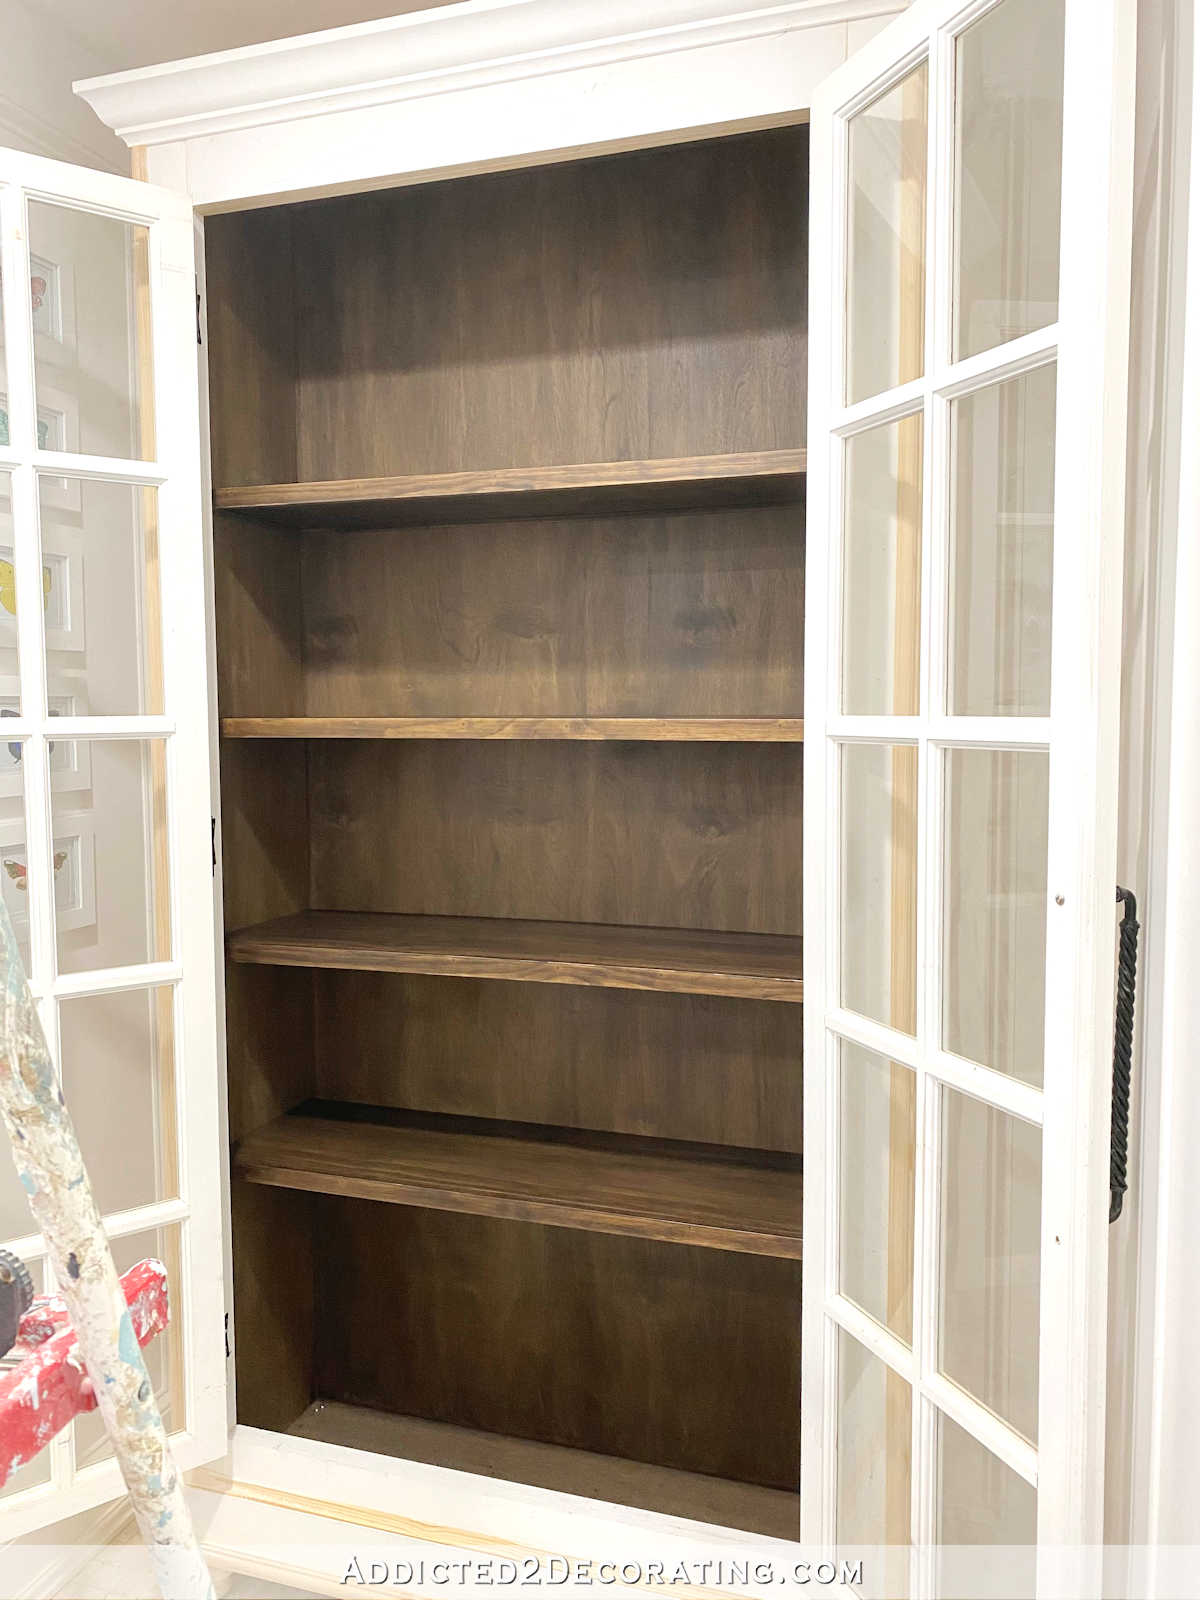
Here the process I used to finish all of the wood on the inside:
- Brush on the water-based stain, allow it to sit for a few minutes, and wipe off the excess with a rag, and allow to thoroughly dry (about two hours)
- Brush on a coat of General Finishes High Performance Topcoat in a flat finish, and allow to thoroughly dry (about an hour)
- Sand the topcoat lightly by hand with 220-grit sandpaper, but be very careful on corners because it’s very easy to sand off the color on corners.
- Wipe off the sanding dust, and apply a second coat of the topcoat.
Generally, two coats are sufficient. On one of my shelves, after I did the initial stain coat and the first clear topcoat and then sanded, I had some areas that looked a little bit too light. I just went back over those areas very strategically with some stain, let it dry, and then proceeded with the second clear topcoat.
I can’t wait to get some lights in the cabinet so that the interior shows up better when the doors are closed. But even with the inside just being dark I still think it’s pretty.
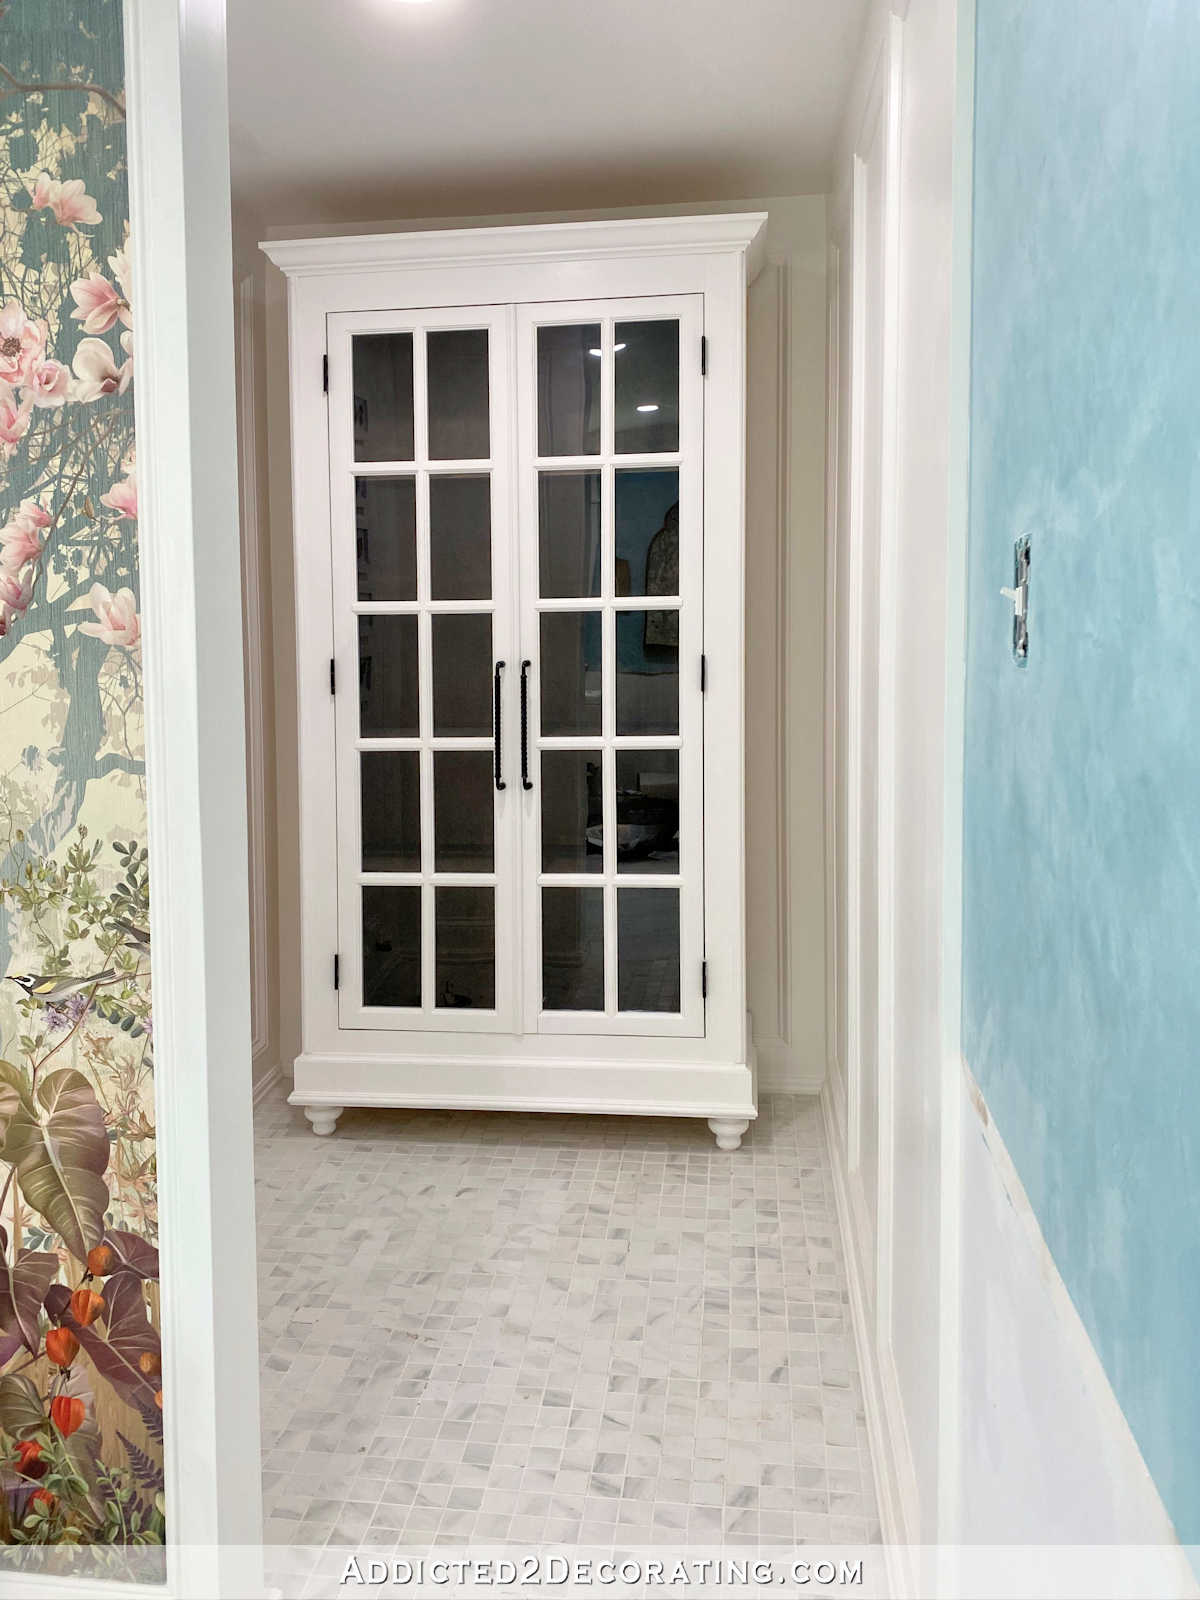
But that pretty stained interior needs to be more visible.
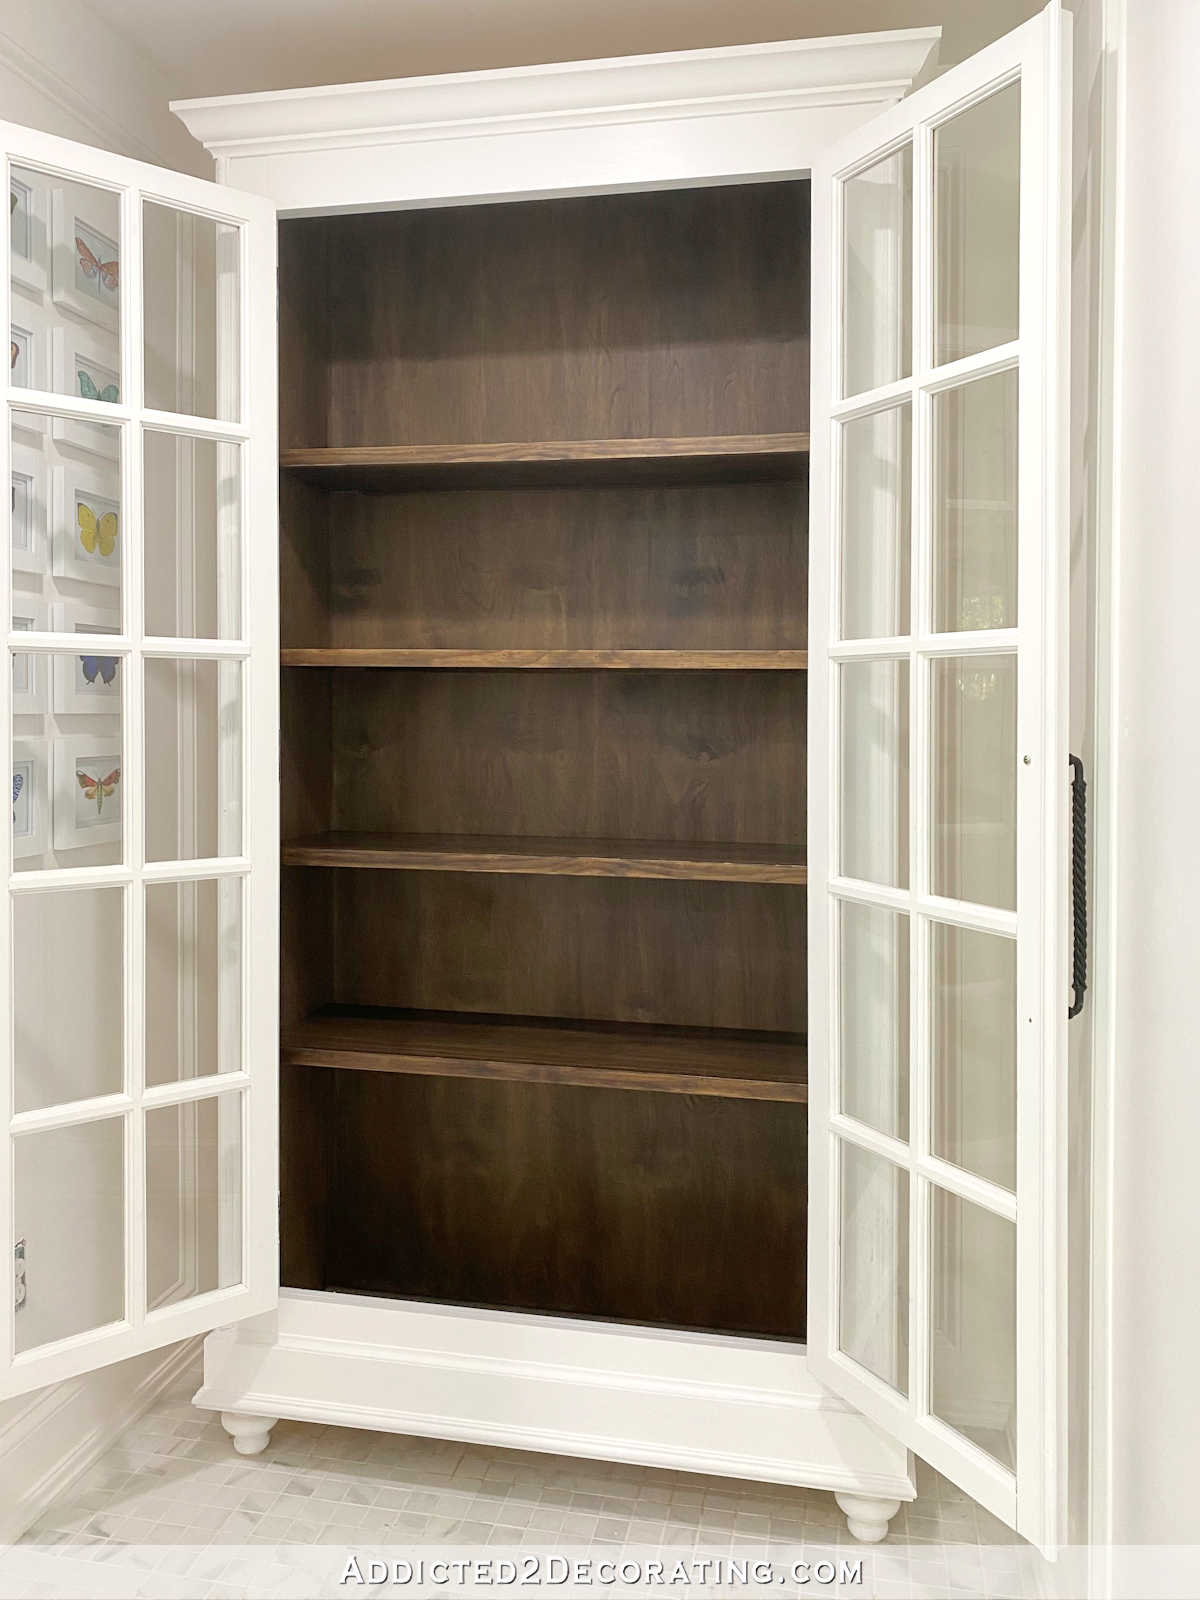
I really couldn’t be more pleased with how this turned out. I think a stained interior is just what this cabinet, and this area of the room, needed.
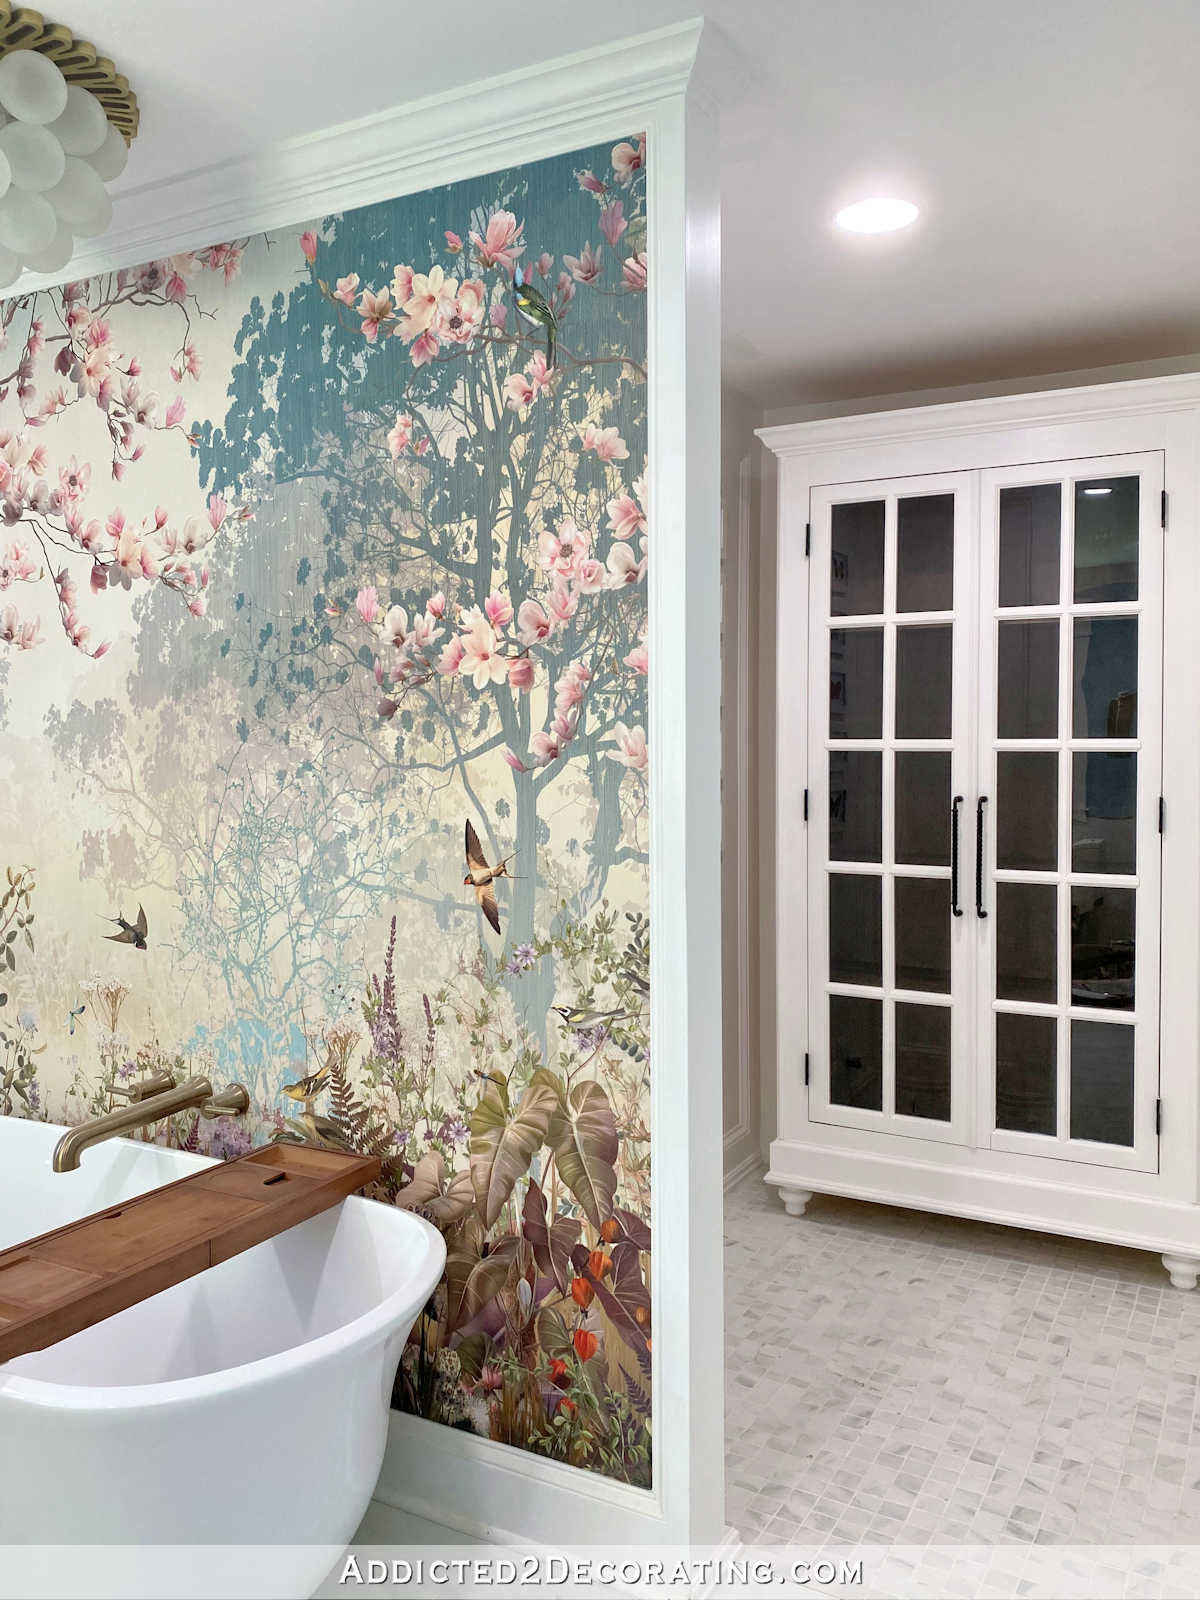
Now I have wood in the shower, wood on the tub, and wood in the water closet. And it goes so beautifully with the lower dark areas of the mural.
I think the stain was definitely the right decision. What do you think?
That’s a big project marked off of my list! Finishing up the rest of this little water closet should be pretty easy. I have a couple of places on the wall that need a tiny bit of repair and touch up. (Building this huge cabinet in such a small space was a challenge, so some dings were expected.) Then I have some cleanup to do on the floor, and the toilet needs to be installed. And finally, I need to install lights inside the cabinet, and decide what I want to store in there.
And then…finally…it’s time to move on to the main wall. EEEEEKKK!!! I’m so nervous about that!! But the time has come. 😀
Don’t forget to check out the previous two posts about this project if you missed them:

Addicted 2 Decorating is where I share my DIY and decorating journey as I remodel and decorate the 1948 fixer upper that my husband, Matt, and I bought in 2013. Matt has M.S. and is unable to do physical work, so I do the majority of the work on the house by myself. You can learn more about me here.
I hope you’ll join me on my DIY and decorating journey! If you want to follow my projects and progress, you can subscribe below and have each new post delivered to your email inbox. That way you’ll never miss a thing!
[ad_2]
Source link


