DIY Chest Of Drawers – Part 3 (Walnut Storage Cabinet For Our Bathroom) – Finished!
[ad_1]
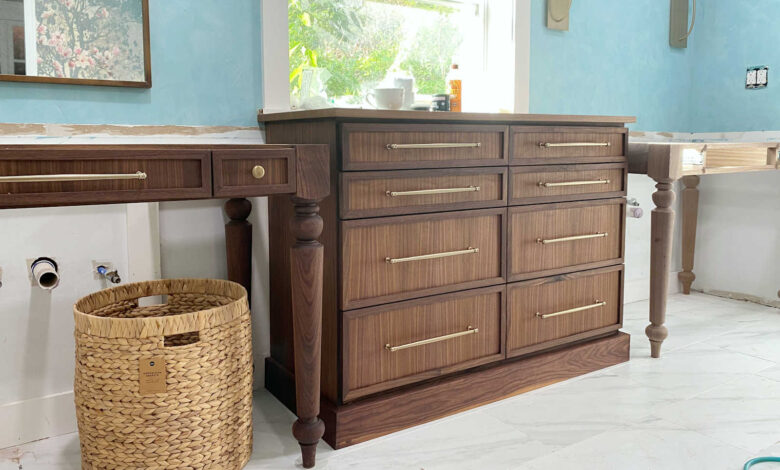
The DIY chest of drawers in our bathroom is finished! I had hoped to get both the storage cabinet and the second vanity finished this weekend, but the storage cabinet took way longer than I thought it would. But it’s finally done!
If you missed the first two posts on this DIY chest of drawers, you can find those here:
When I left off at the end of Part 2 of this project, the storage cabinet looked like this…
The bulk of the work was done, but I still needed to make and attach the top, and then add the trim along the bottom. And then the whole thing needed to be finished with the Rubio Monocoat finish.
Now that the DIY chest of drawers is finished, this is what it looks like…
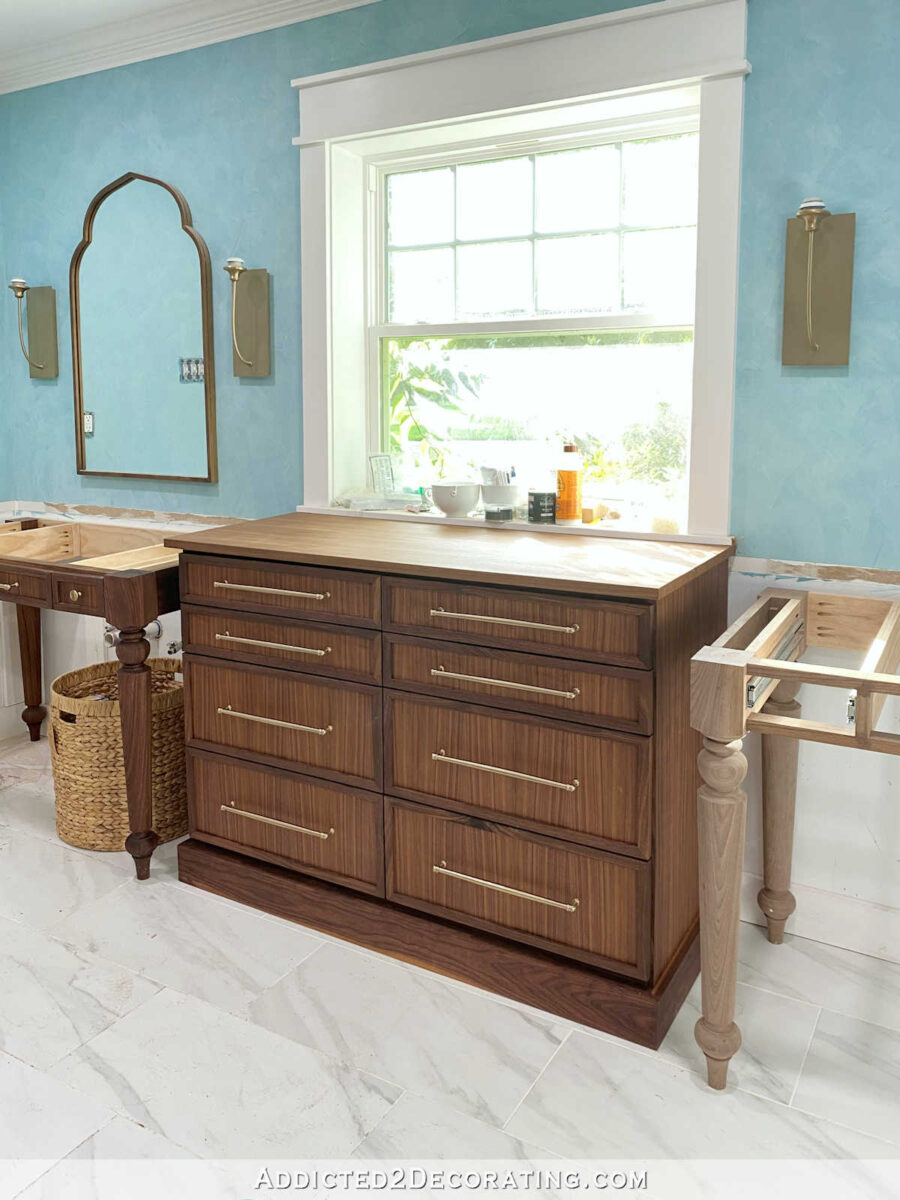
I had originally planned to use my router to create a pretty edge profile around the top, as well as on the top edge of the bottom trim. But because of the simple and squared design of the drawers, I decided to keep the style of the top and the bottom trim simple and squared as well.
To finish the top, I cut a piece of 3/4-inch plywood to fit the top. I made a mistake and cut it too small, so I had to cut a strip and attach it with glue and 16-guage nails to get it to the correct size. Then I used my table saw to rip down some walnut lumber to 3/4″ x 7/8″. Then I cut and attached those pieces to the side edges and the front edge using 18-guage nails.
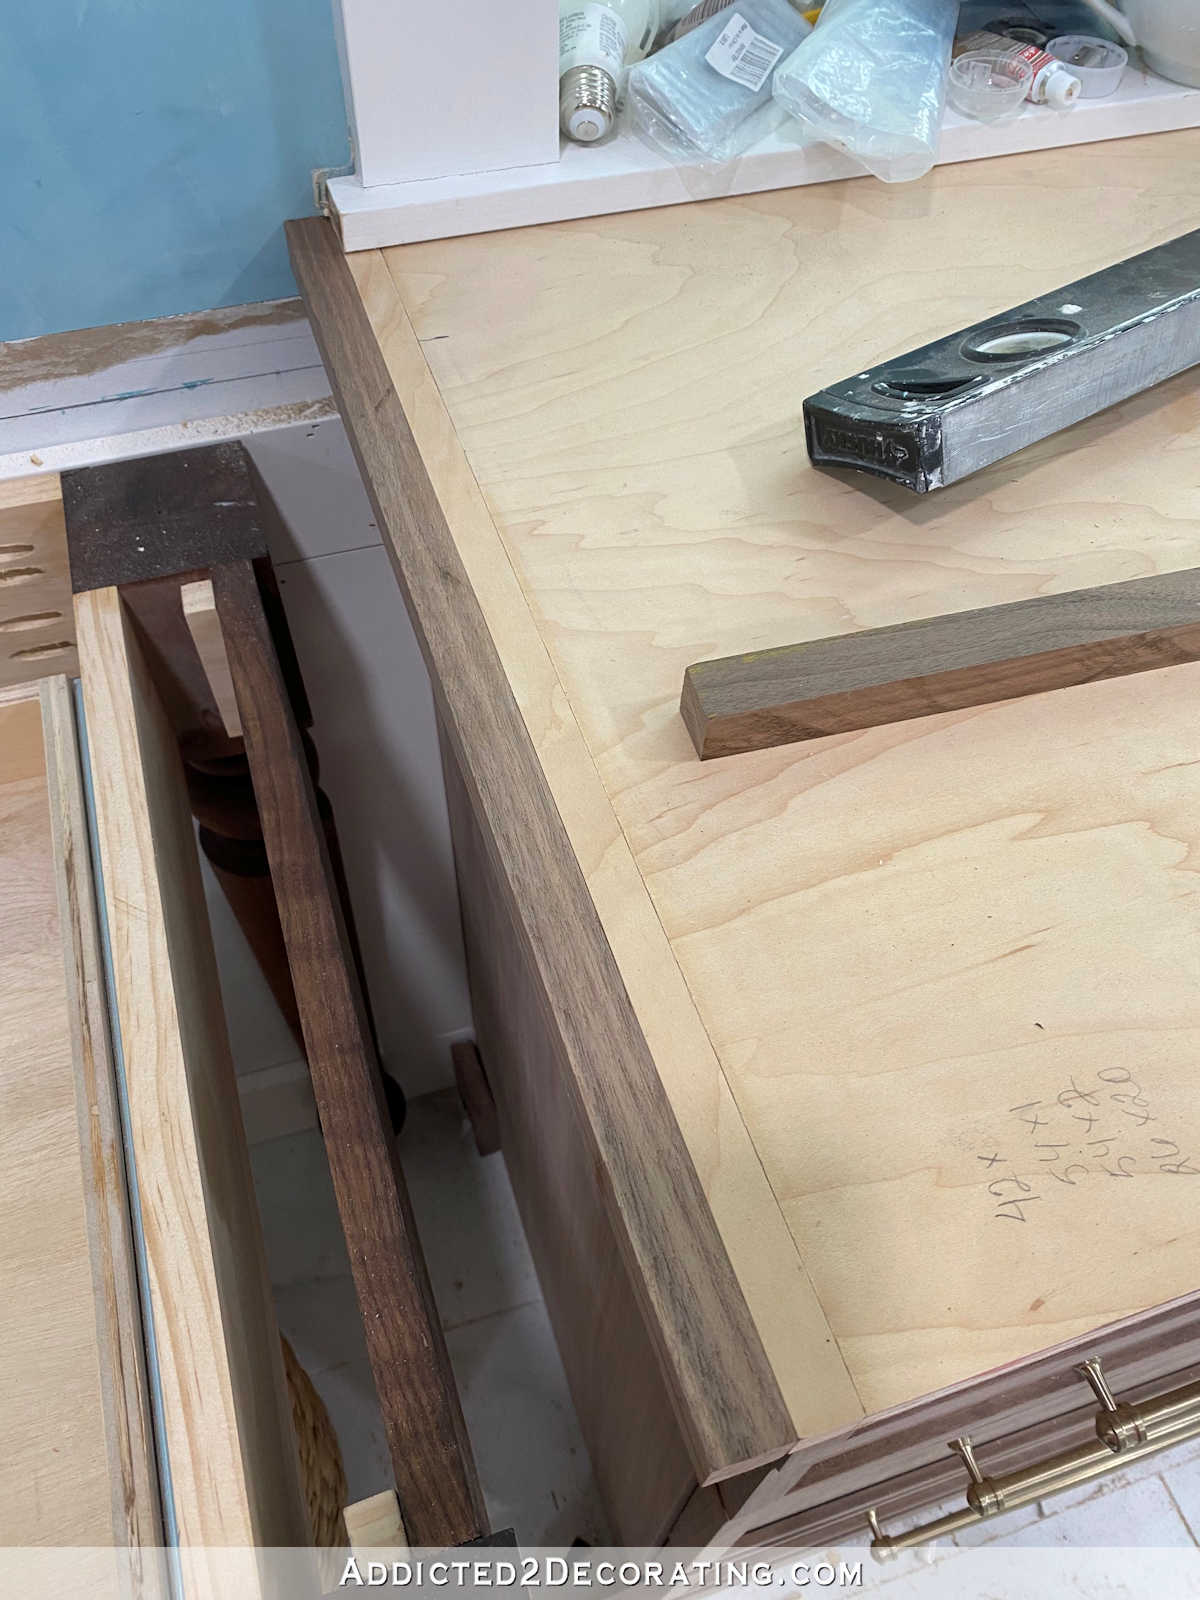
This picture shows more clearly how the side pieces were attached.
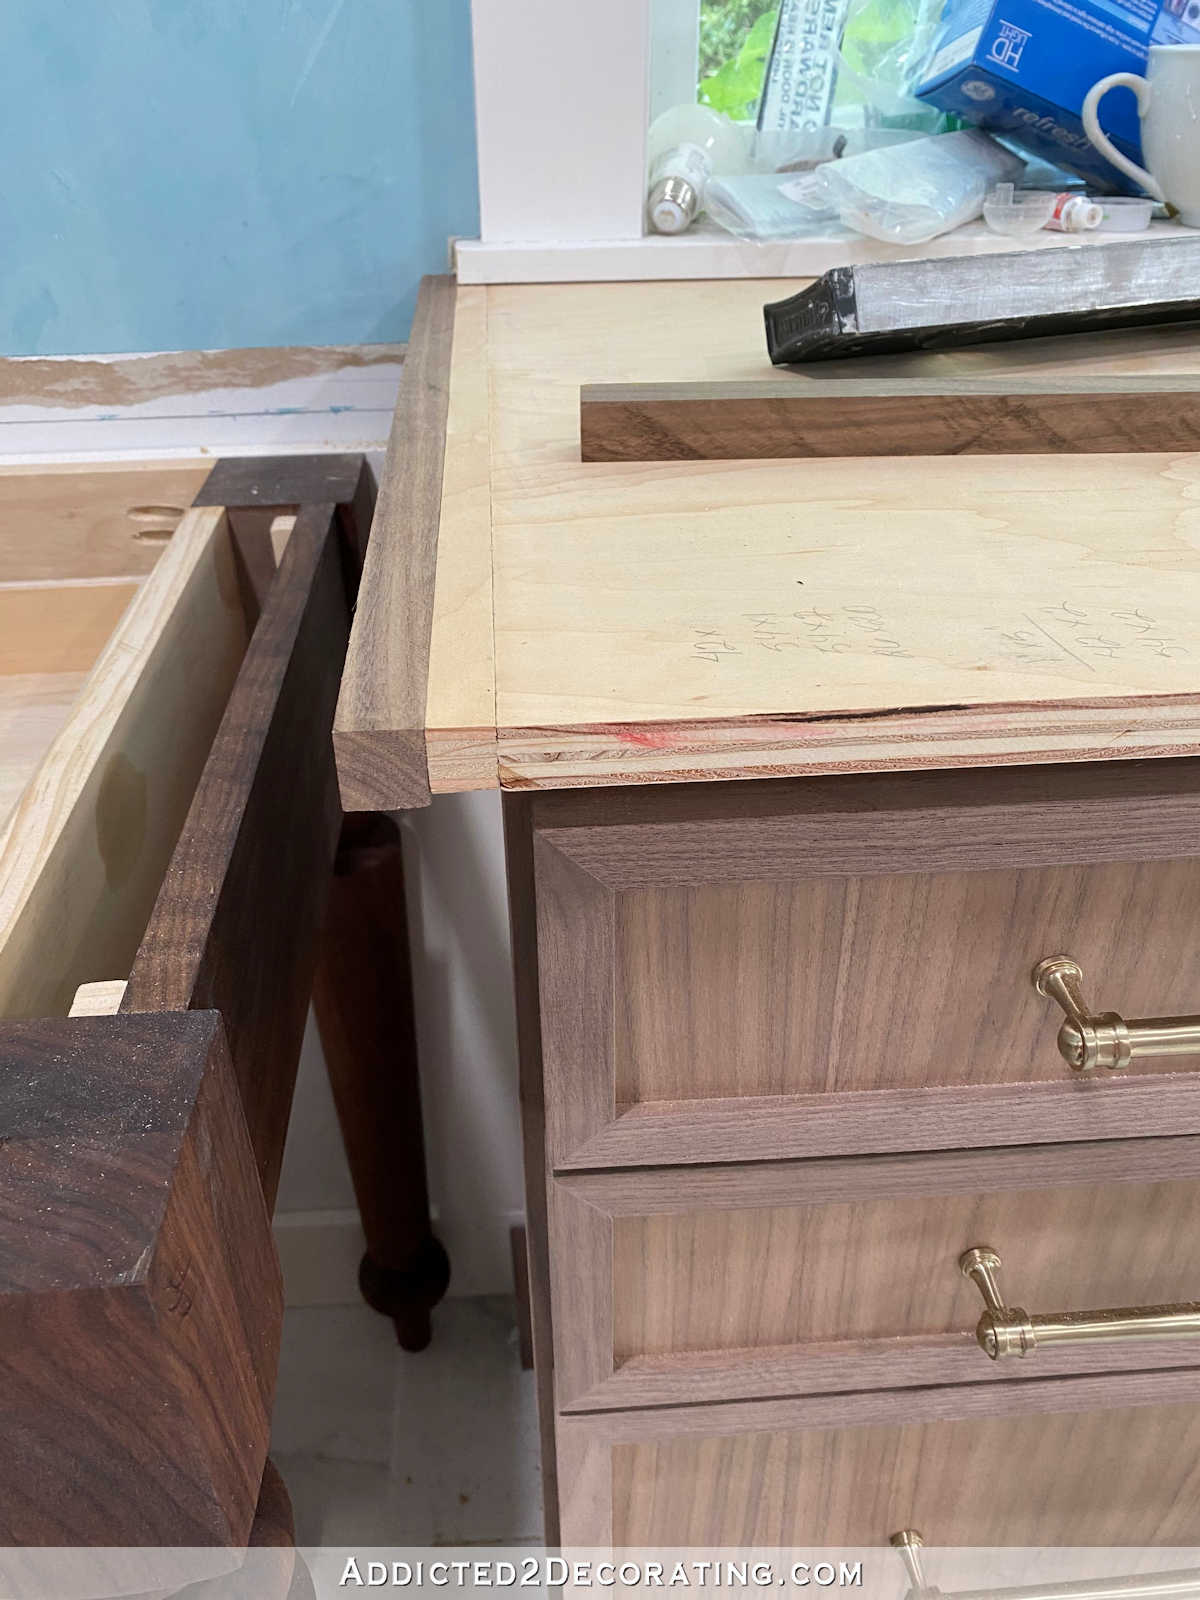
After attaching those pieces to all three sides, I then cut some walnut veneer to cover the edges. I attached those pieces with contact cement. I attached the two sides first, and then trimmed those pieces on the top and front.
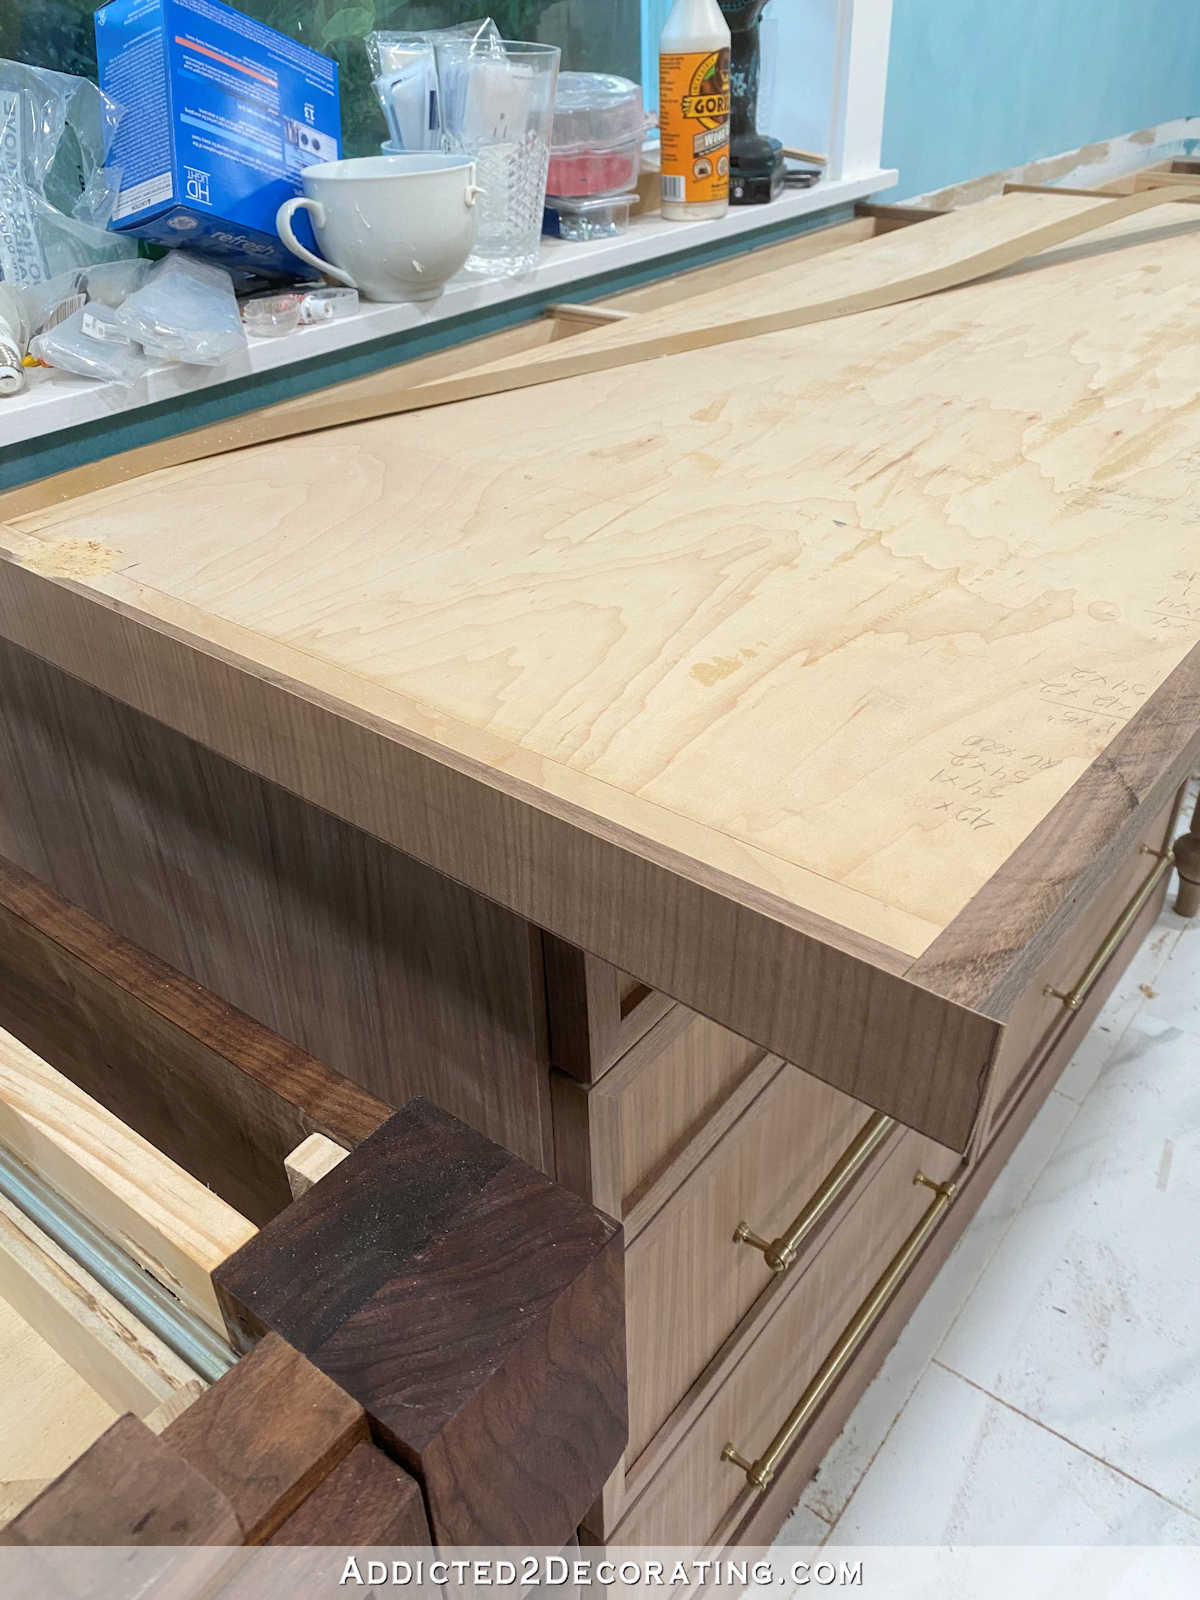
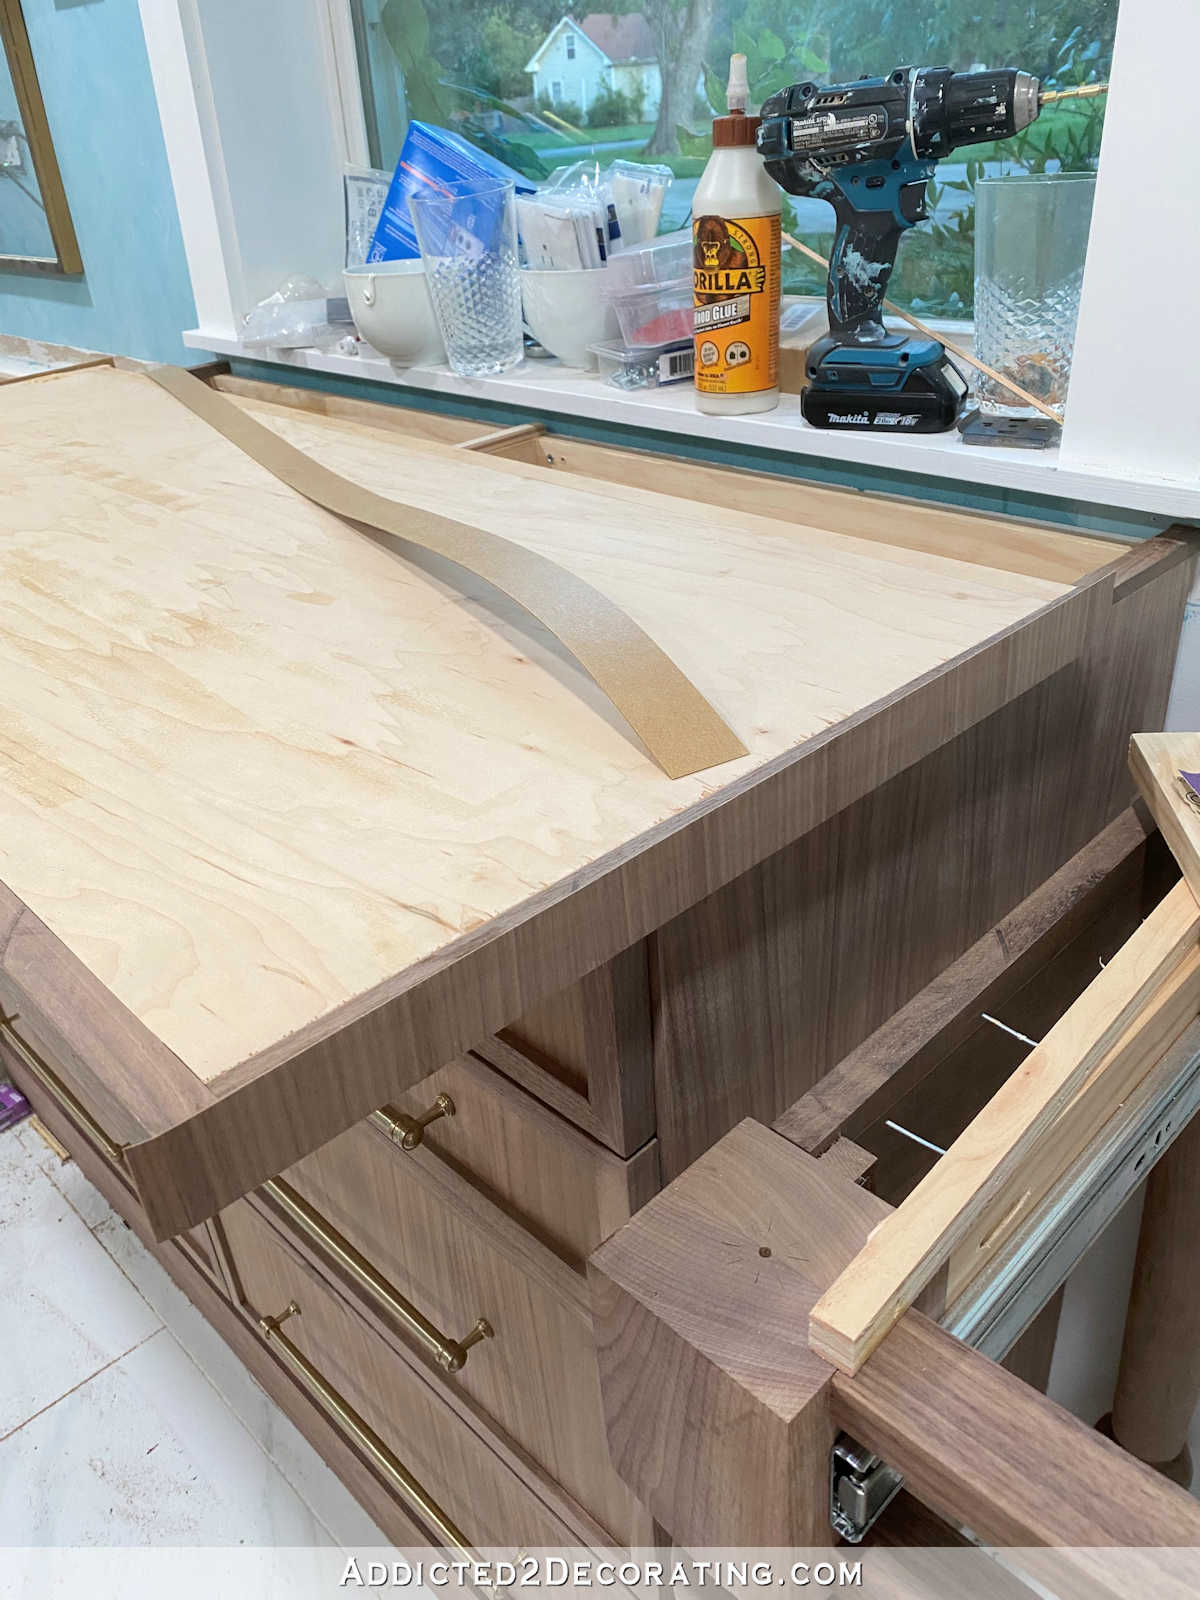
And then I attached the veneer on the front edge. You’ll notice that the wood grain on the veneer on the sides is vertical, and the grain on the front is horizontal. That’s the closest you can get to making a piece of plywood look like a solid piece of walnut lumber using veneer.
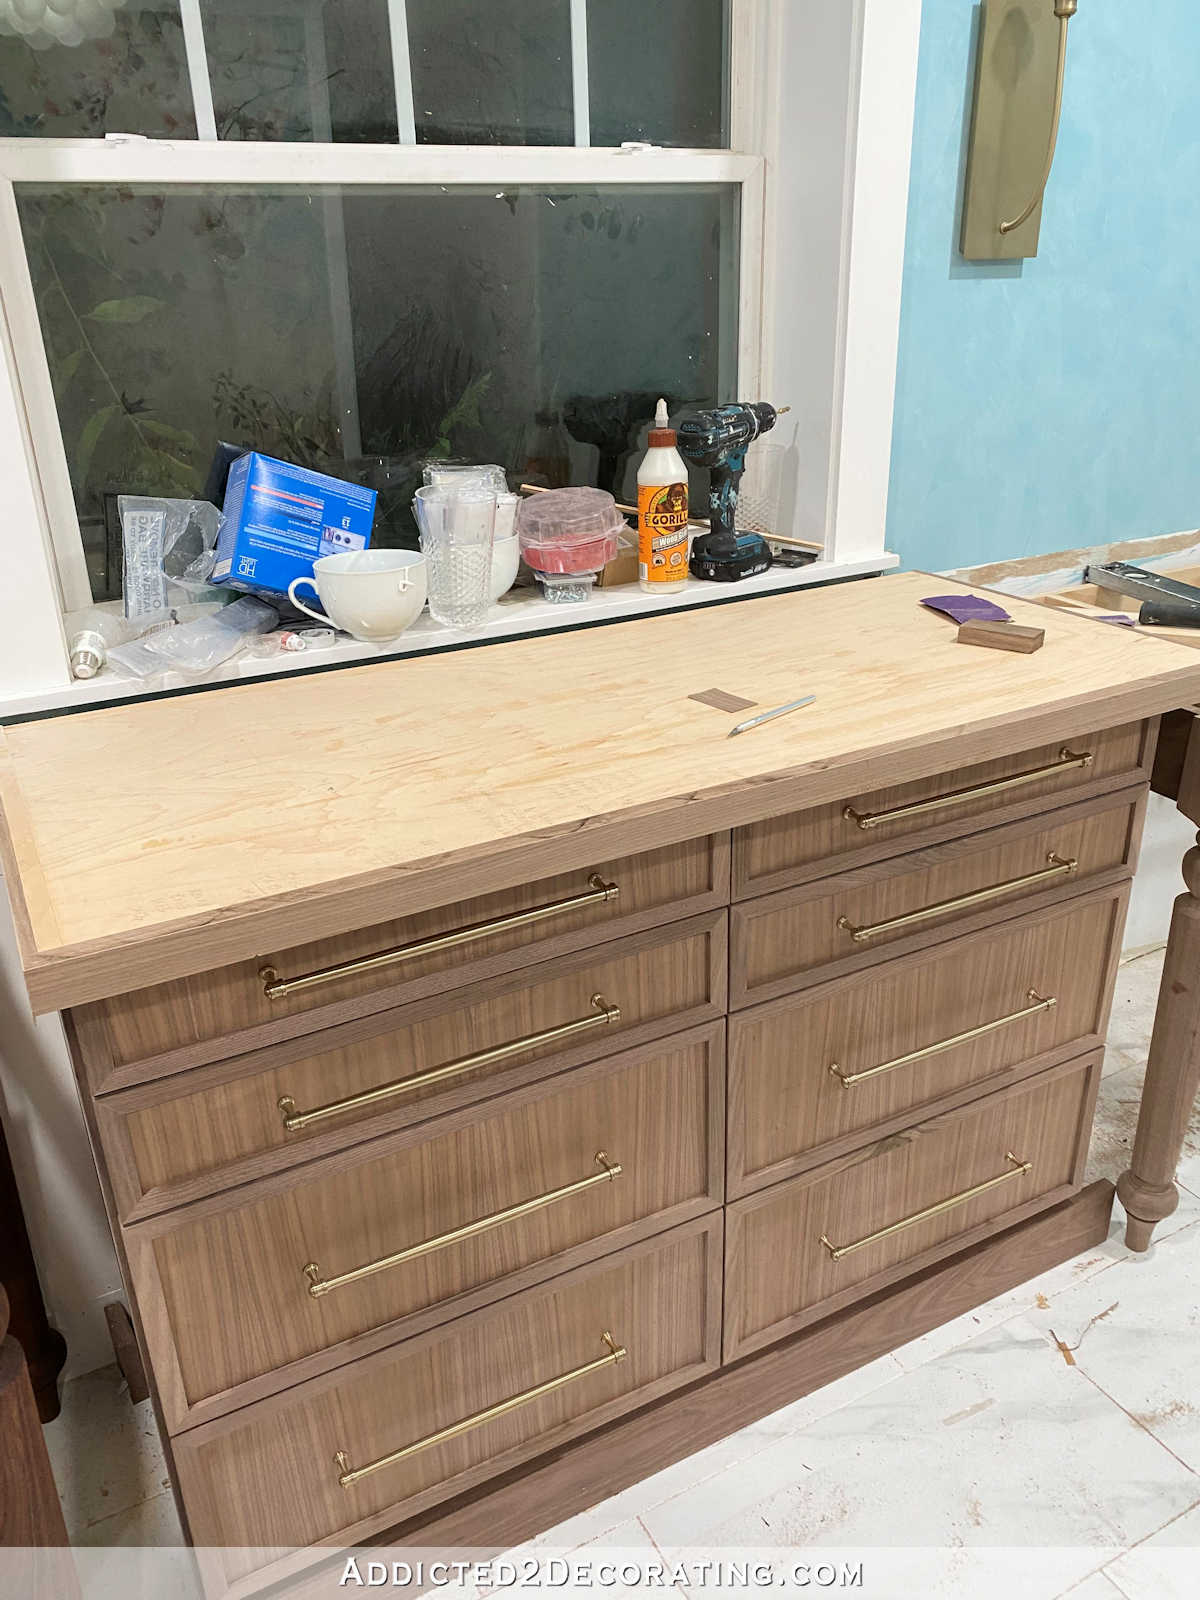
With the side and front edges covered and trimmed, I was then able to add the large piece of veneer to the top and trim it to size.
I wrote about using veneer with contact cement in more detail in this post:
For the trim around the bottom, I used 1″ x 4″ walnut lumber (actual size was 3/4″ x 4″), with the pieces mitered on the corners, and attached with 1.5-inch 18-gauge nails. I filled those holes with walnut wood filler, and once they were sanded, they disappeared.
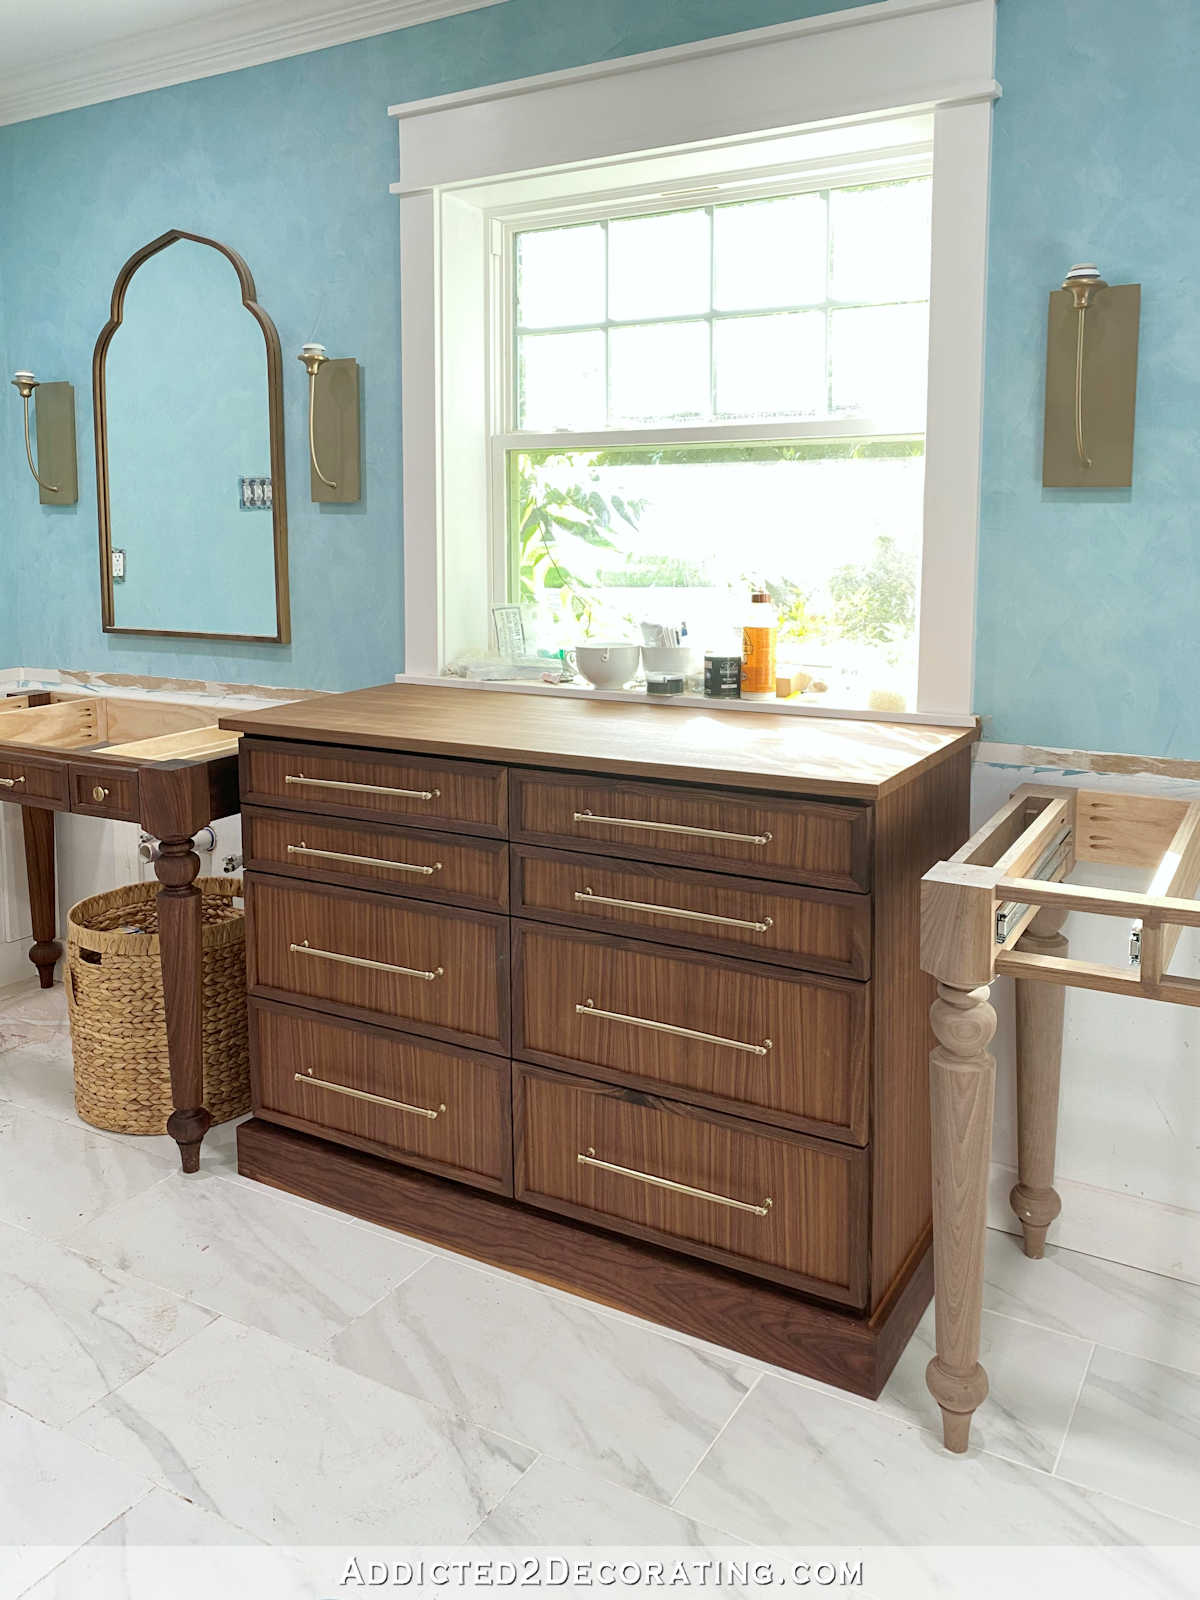
With everything assembled, I gave the top and the bottom trim a quick sanding with 120-grit sandpaper, got everything cleaned up with mineral spirits, and then once it was completely dry, I finished it with Rubio Monocoat. I wrote in more detail about how to use Rubio Monocoat in this post:
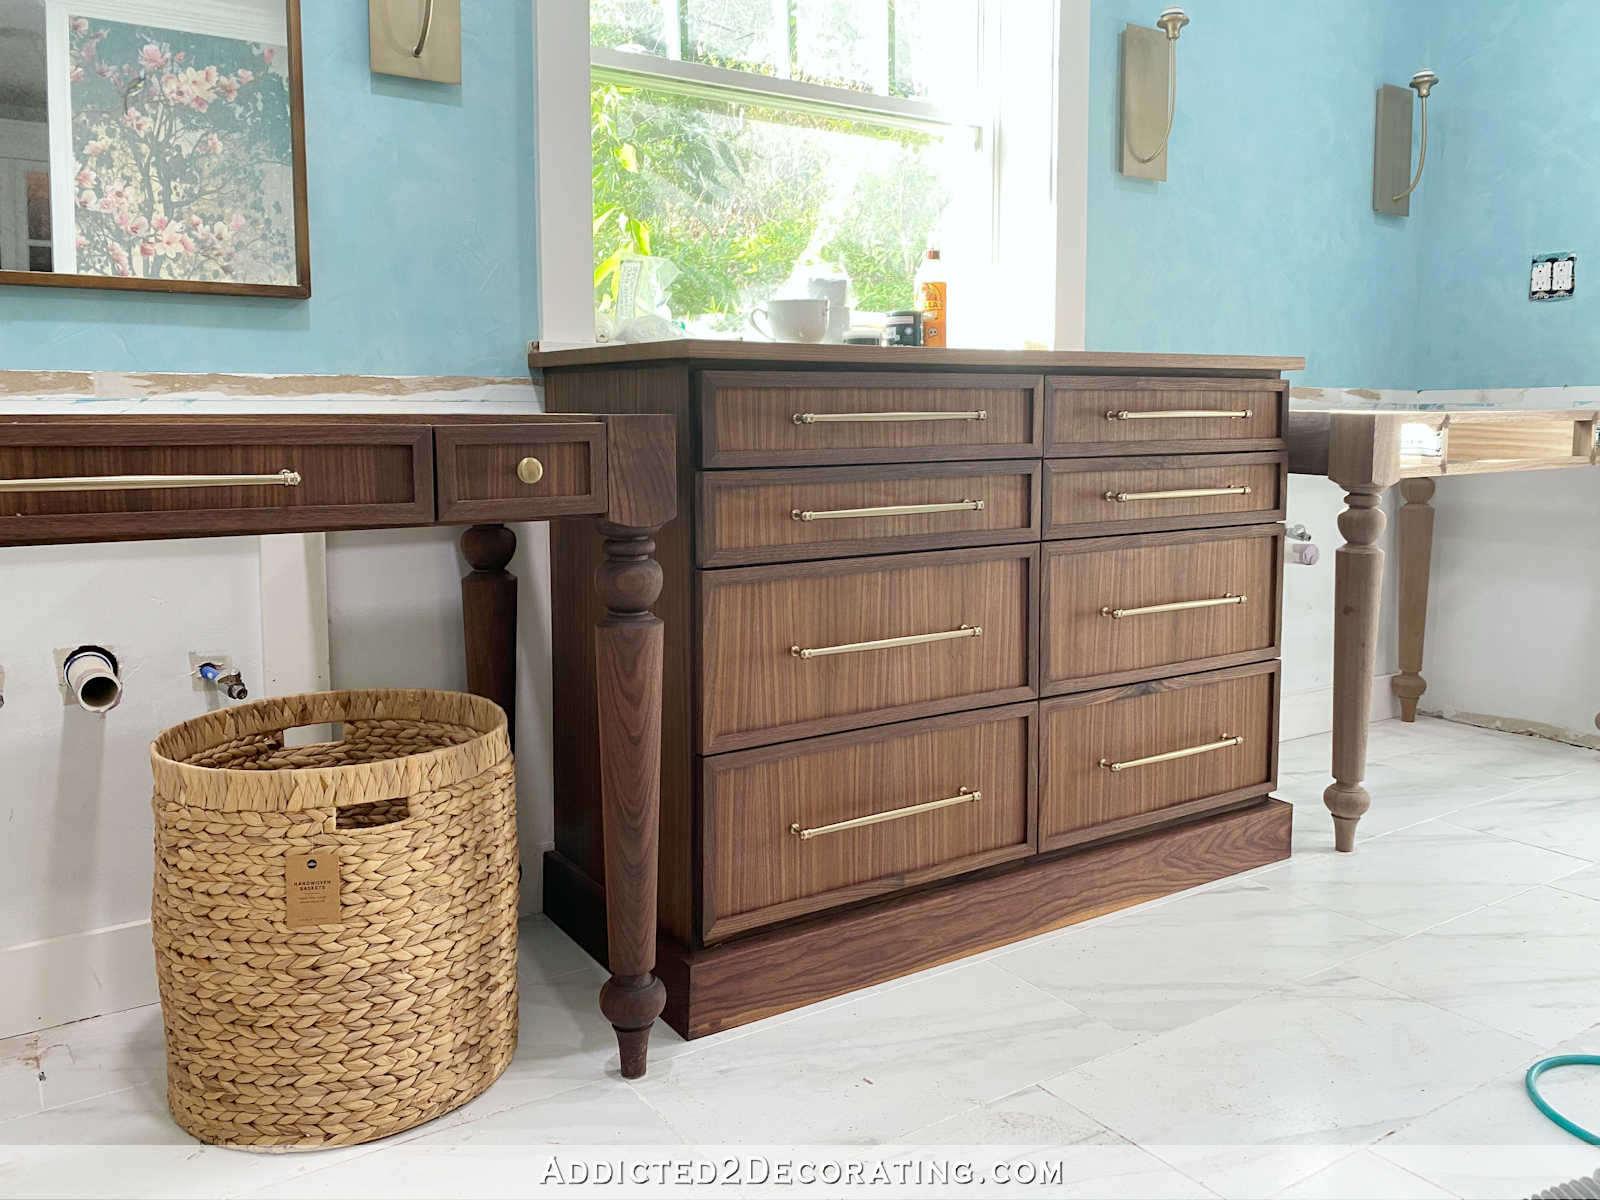
So that’s two down, and one to go. I just need to finish the second vanity, for which I still need to make drawer boxes and drawer fronts, and then I can check off this huge project from the “to do” list for this bathroom.

Addicted 2 Decorating is where I share my DIY and decorating journey as I remodel and decorate the 1948 fixer upper that my husband, Matt, and I bought in 2013. Matt has M.S. and is unable to do physical work, so I do the majority of the work on the house by myself. You can learn more about me here.
I hope you’ll join me on my DIY and decorating journey! If you want to follow my projects and progress, you can subscribe below and have each new post delivered to your email inbox. That way you’ll never miss a thing!
[ad_2]
Source link


