[ad_1]
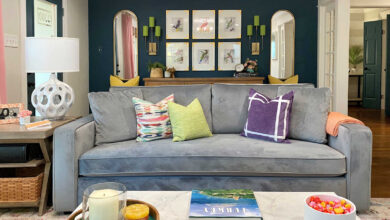
I still don’t have any of the walls in the main part of our master bathroom completely finished, but I’m making good progress on them. I shared the first part of this project a couple of weeks ago. If you missed that post, you can find it here: DIY Wainscoting Part 1 — The Anatomy Of Judge’s Paneling With Tile Accent (Bathroom Walls). Here’s what the basic design of that wainscoting looks like. The band of plywood is where the accent tile will be added, and the rest of it will be painted solid white.
Now that the countertops have been installed, I’ve been working on carrying that wainscoting over to the other side of the door, and wrapping it around the countertop. And hoping and praying that I did all of my planning and calculations correctly so that it would flow from one side of the door to the other side, and wrap around the countertop as a backsplash, continuously and flawlessly.
If you’ll remember, just below the plywood strip that will act as a backer for the accent tile, I added a strip of wood (it started as a 1″ x 2″ piece of lumber, and I ripped it down into 3/4-inch-wide strips), and then added a decorative trim on top. The whole purpose of this strip was to take up the width of the countertop that would be installed on the other side of the door. In other words, that 3/4-inch strip would dead end into the edge of the 3/4-inch-thick countertop.
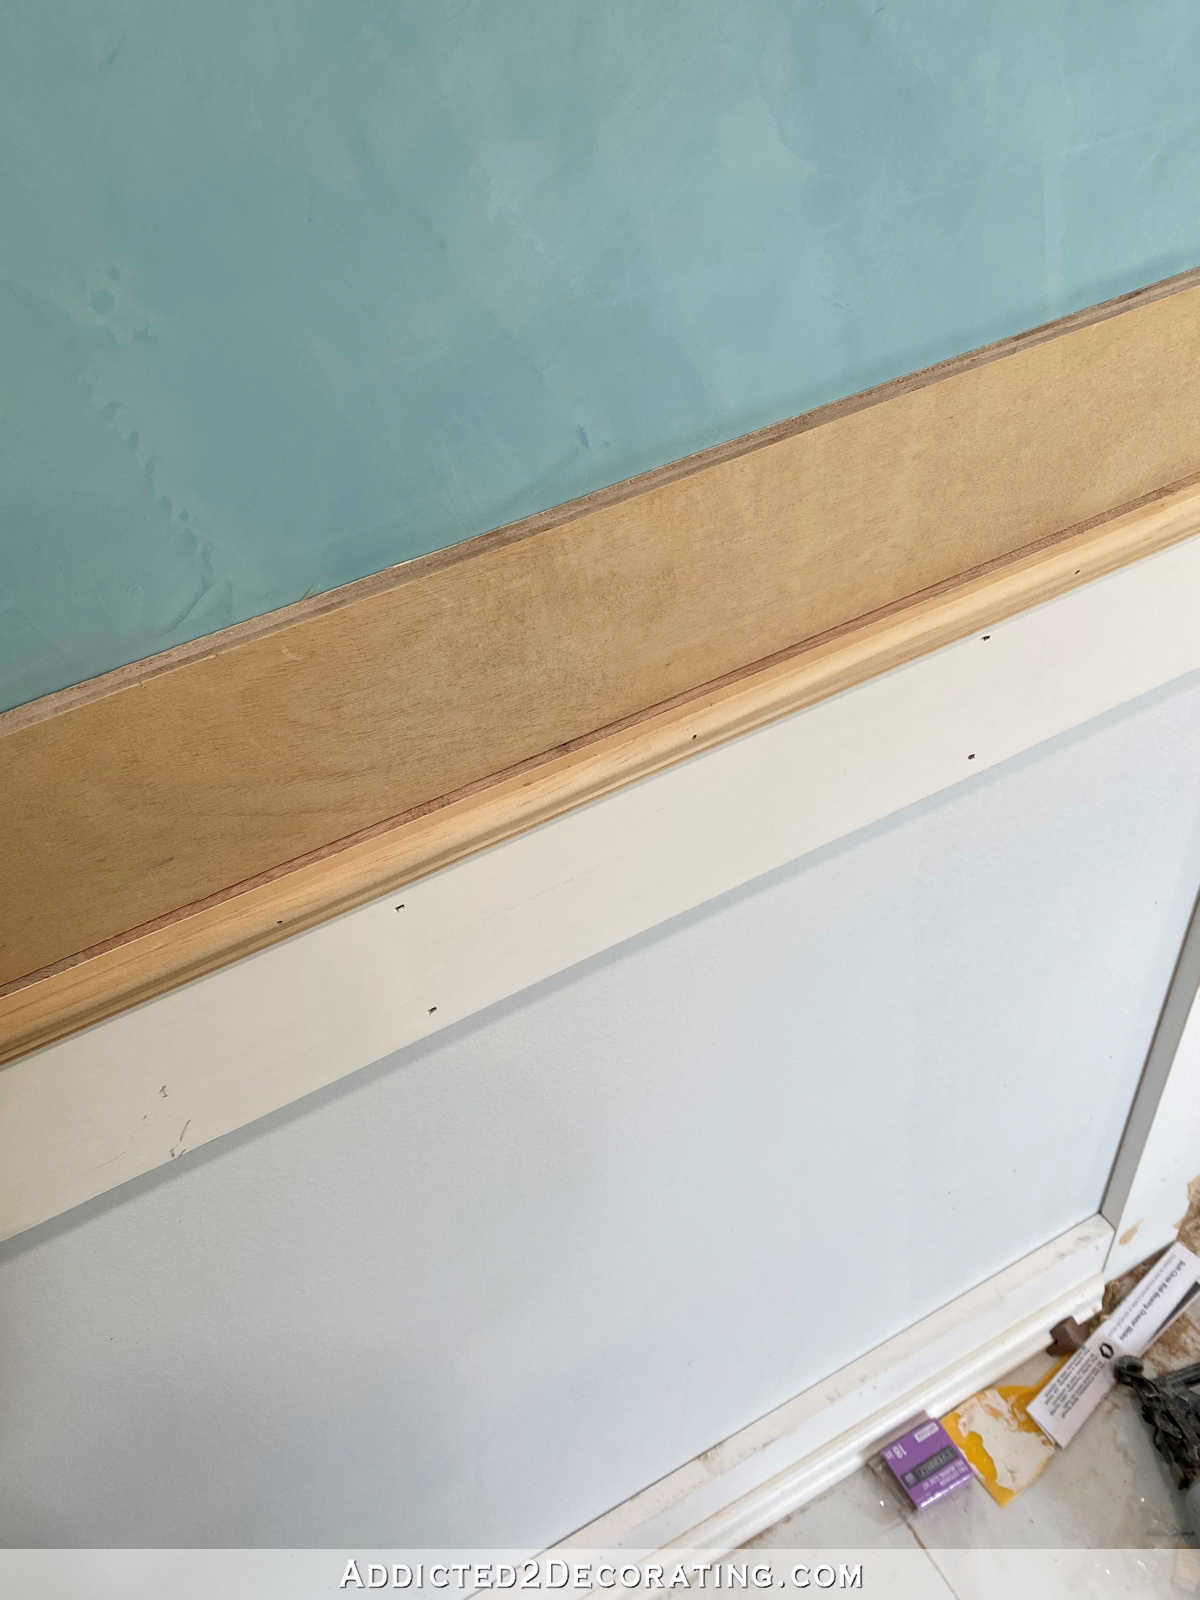
And then on the areas where there is no countertop, the accent tile will be installed just above that trim. But around the countertop, the tile will sit right on the countertop without any trim below.
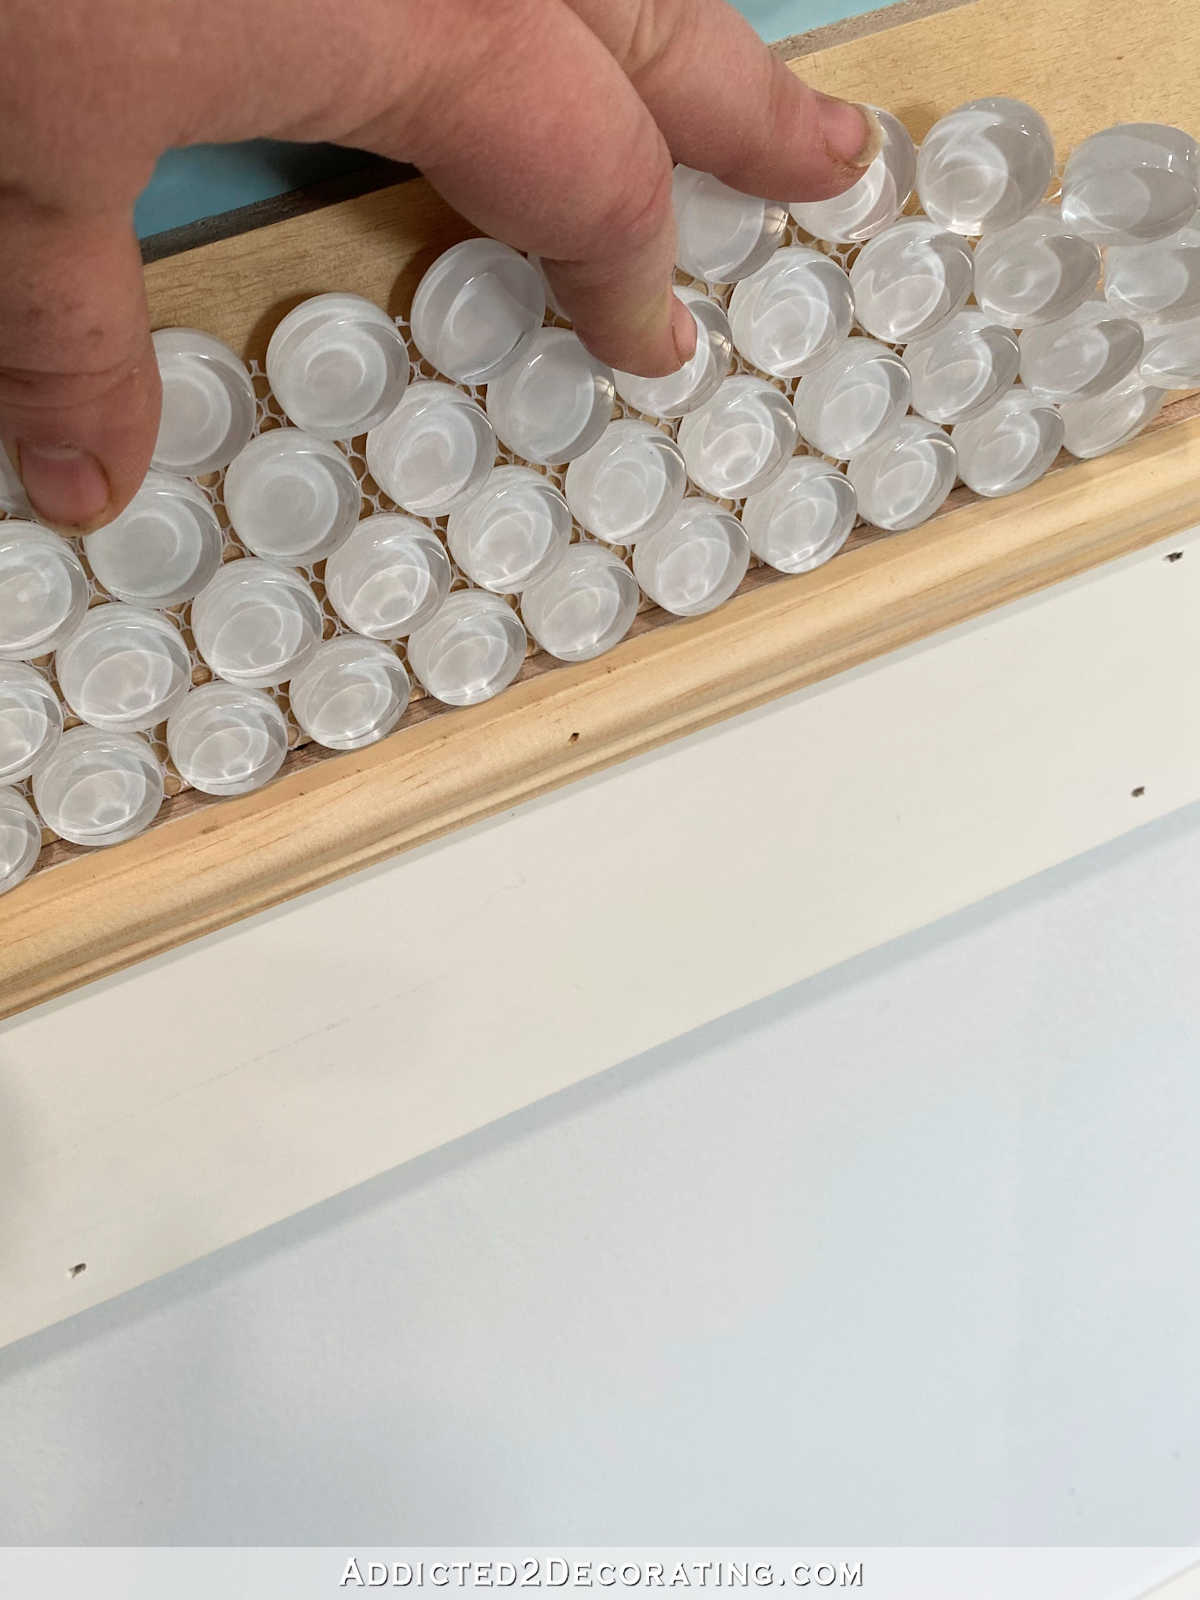
If that’s clear as mud, I now have a visual that I hope will clear things up for you. You can see in the photo below how that 3/4-inch trim runs right into the edge of the countertop. But the plywood (which, again, is the backer for the accent tile) runs continuously around the wall and right on top of the countertop to create the tile backsplash.
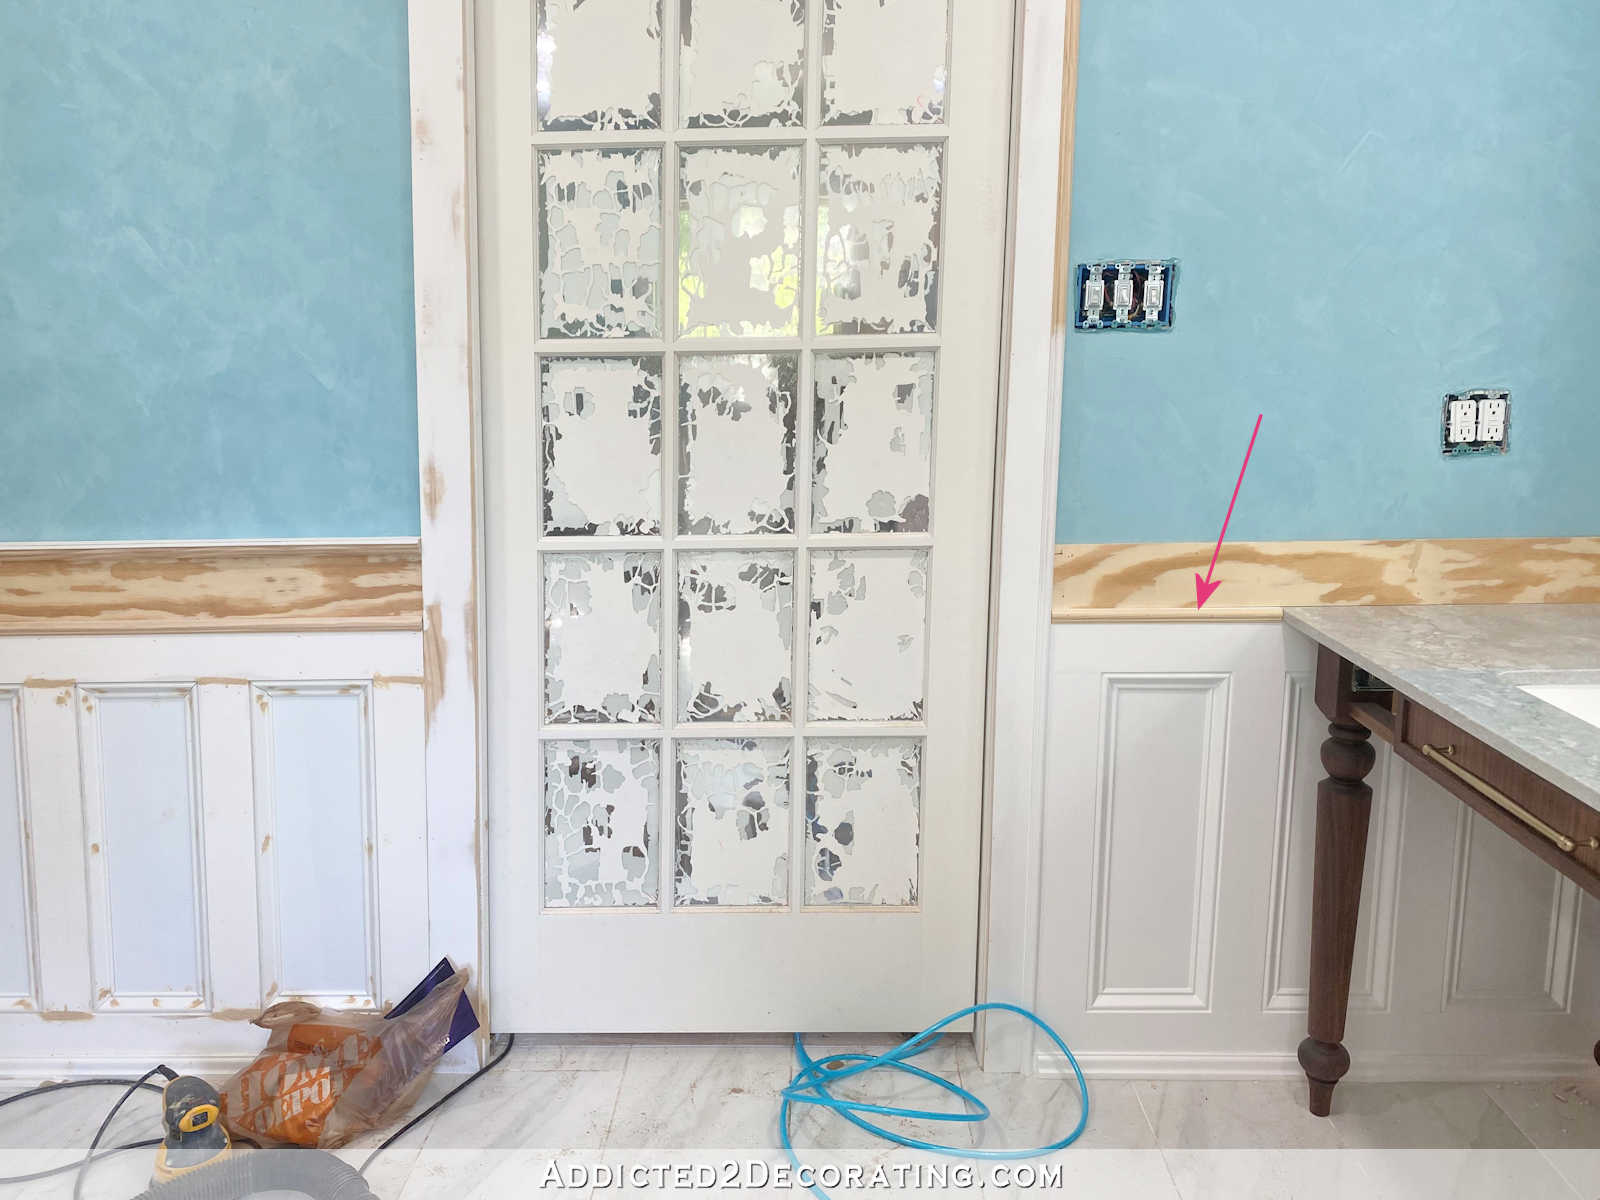
(FYI, for those of you confused about the door, it came with the panes covered in plastic and pre-primed. So all of that primer is on the plastic, which is easily cut away after the door is painted.)
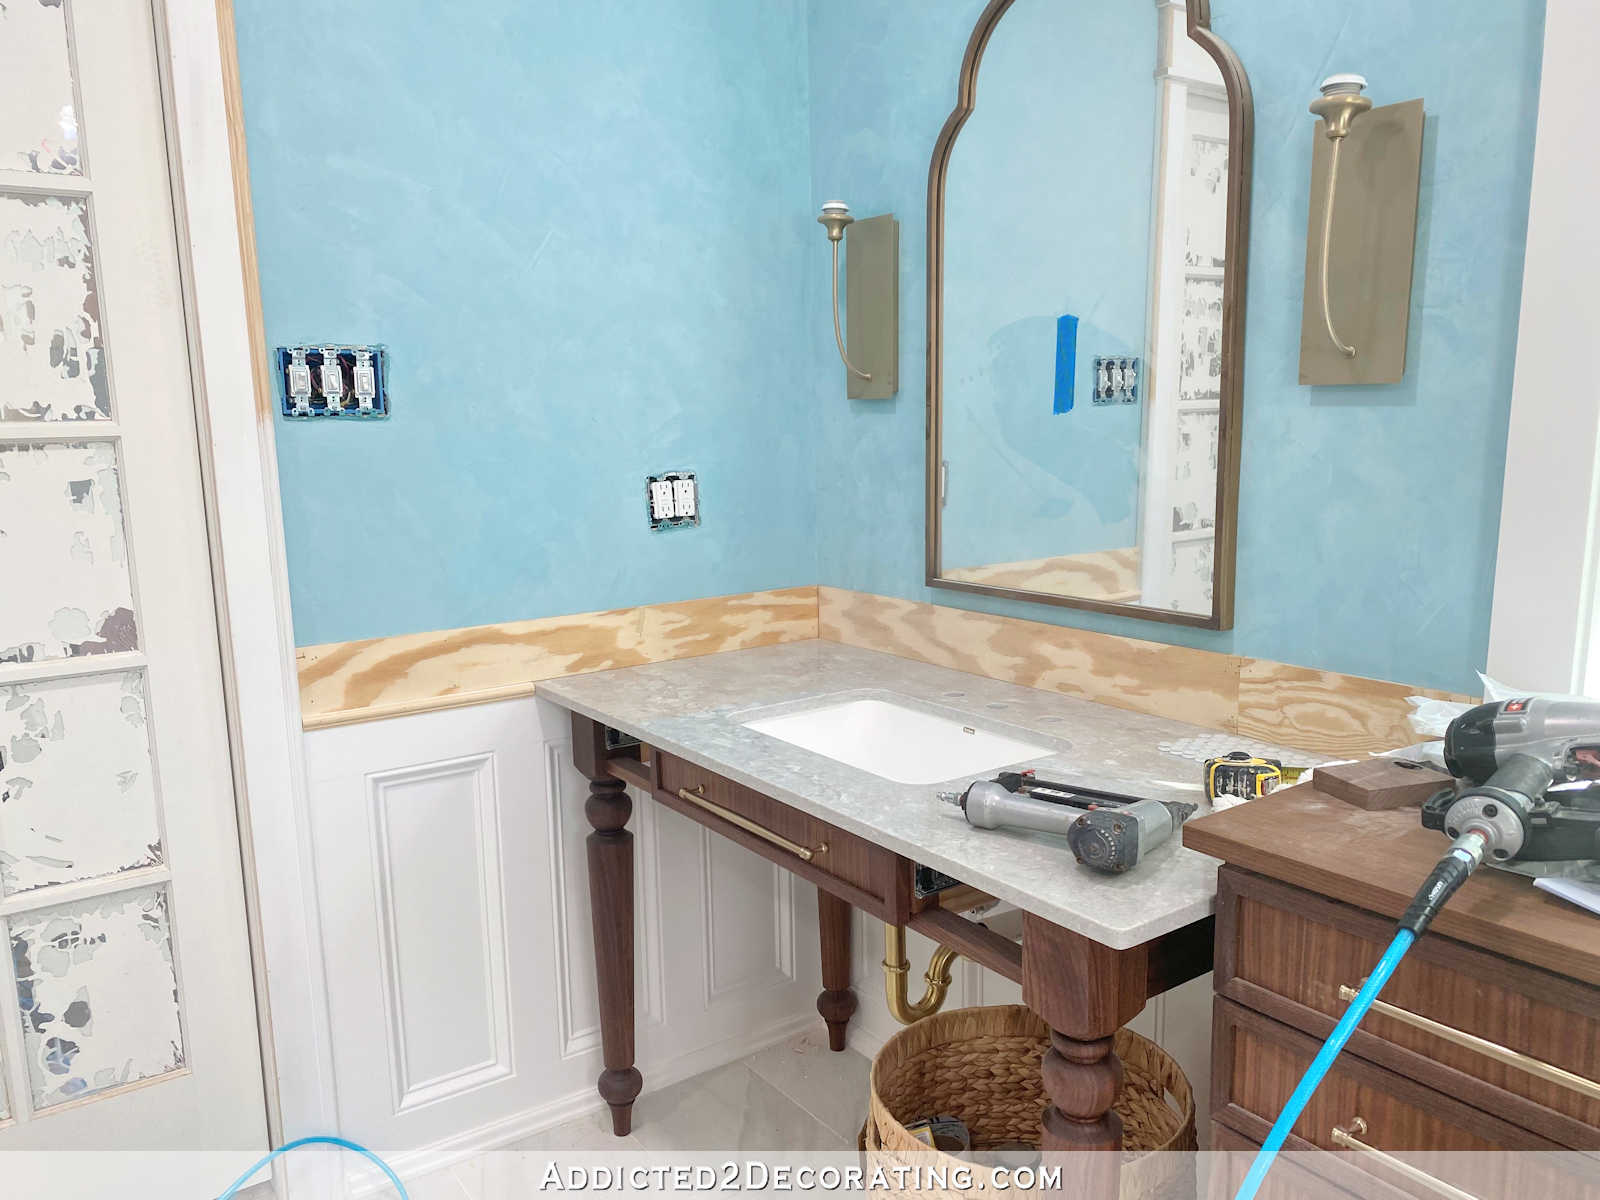
Here’s another look at it wrapping around the corner and under the mirror.
And then I continued on with the rest of the wainscoting components to finish off all of the trim detail. Again, if you missed the post where I went over all of the details about the trim pieces that were used, you can click here to find that information.
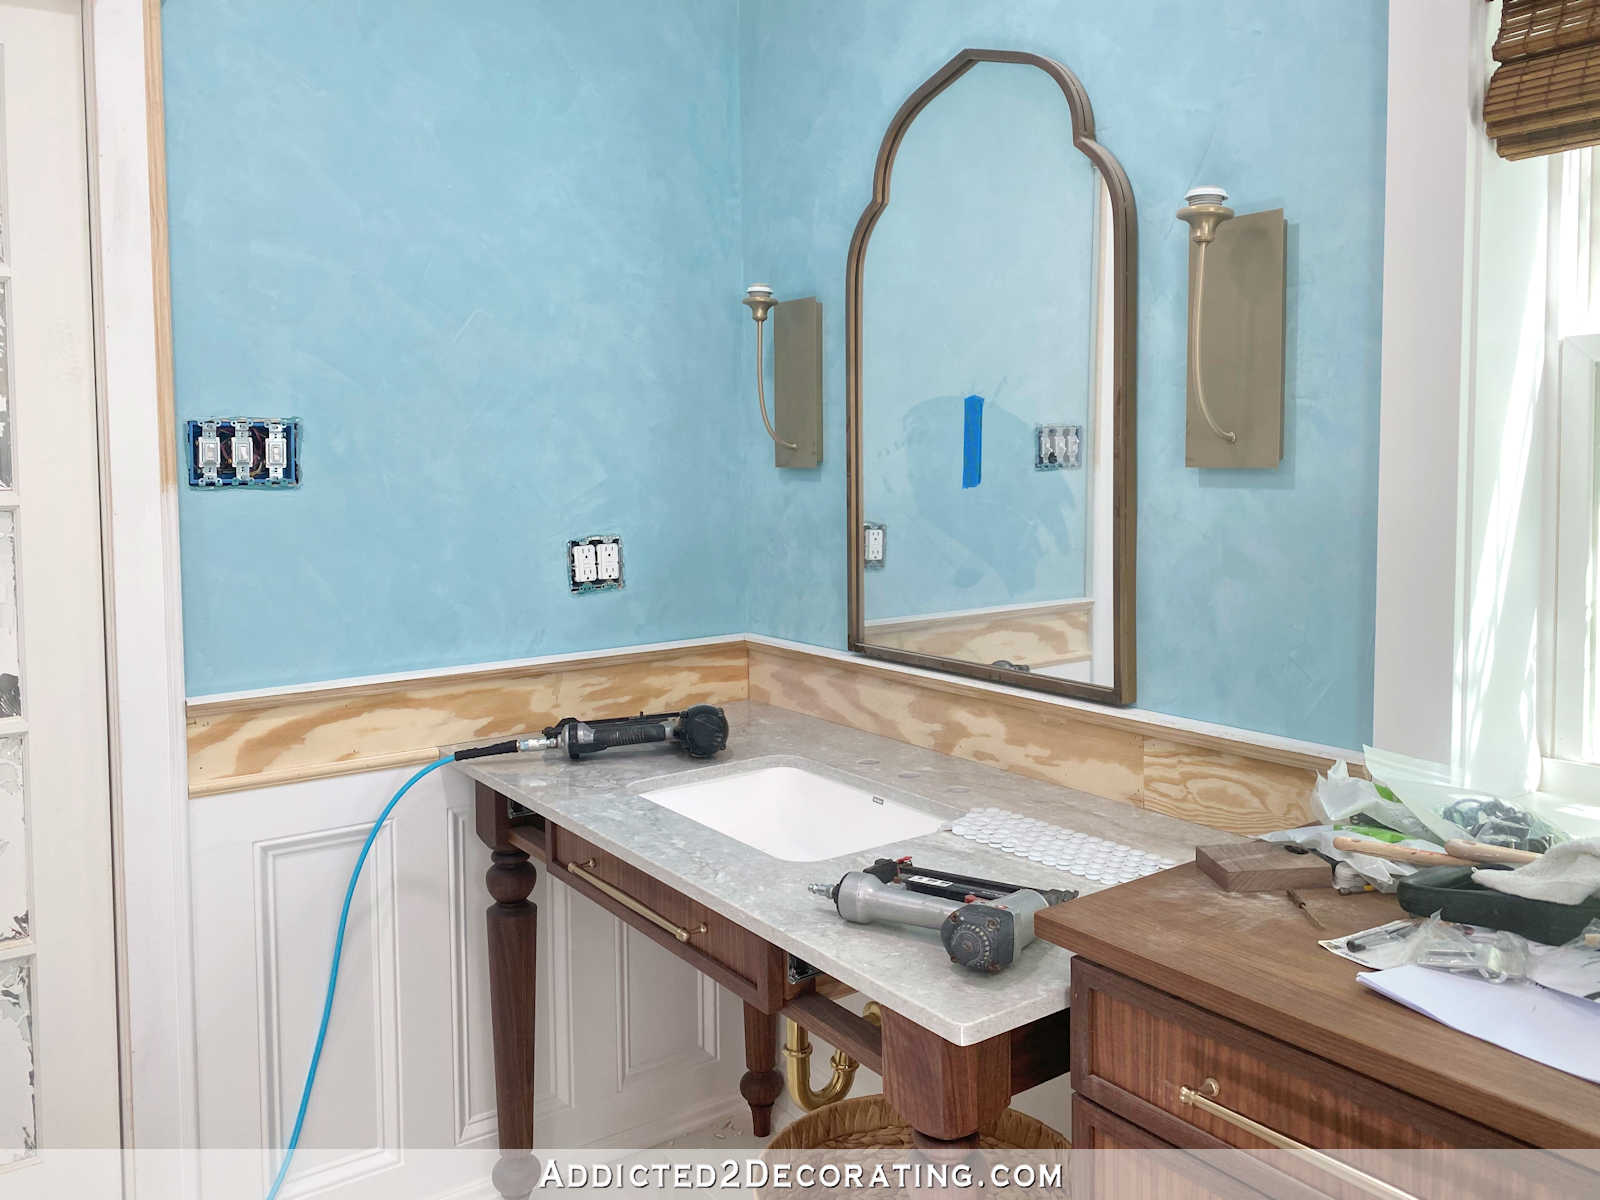
So while it still needs a lot of finishing (sanding, grouting, priming, sanding, and tiling), you can start to see the full design take shape. And let me tell you, I breathed a huge sigh of relief when I saw that all of my calculations and measurements and planning worked out just as they should.

It won’t be too much longer before I’ll have a big section of wall finished, and I’ll be able to see this whole vision come to life.

Addicted 2 Decorating is where I share my DIY and decorating journey as I remodel and decorate the 1948 fixer upper that my husband, Matt, and I bought in 2013. Matt has M.S. and is unable to do physical work, so I do the majority of the work on the house by myself. You can learn more about me here.
I hope you’ll join me on my DIY and decorating journey! If you want to follow my projects and progress, you can subscribe below and have each new post delivered to your email inbox. That way you’ll never miss a thing!
[ad_2]
Source link