[ad_1]
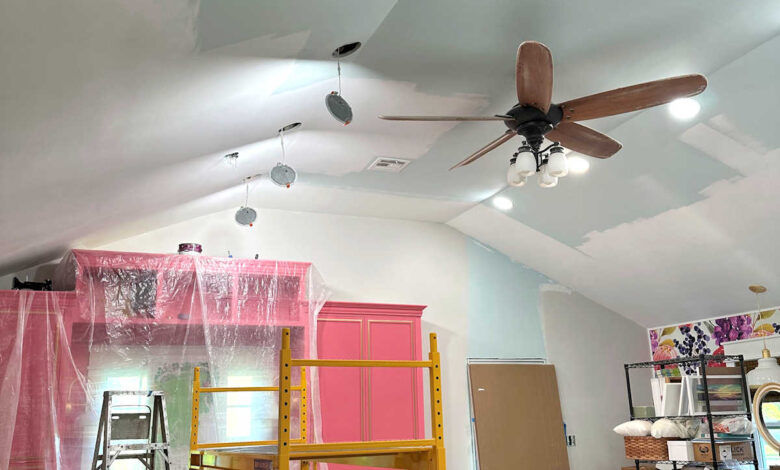
Some of you will be very happy to know that I finally started painting the rest of the ceiling in the studio last night, and I hope to finish up the ceiling and the rest of the walls today.
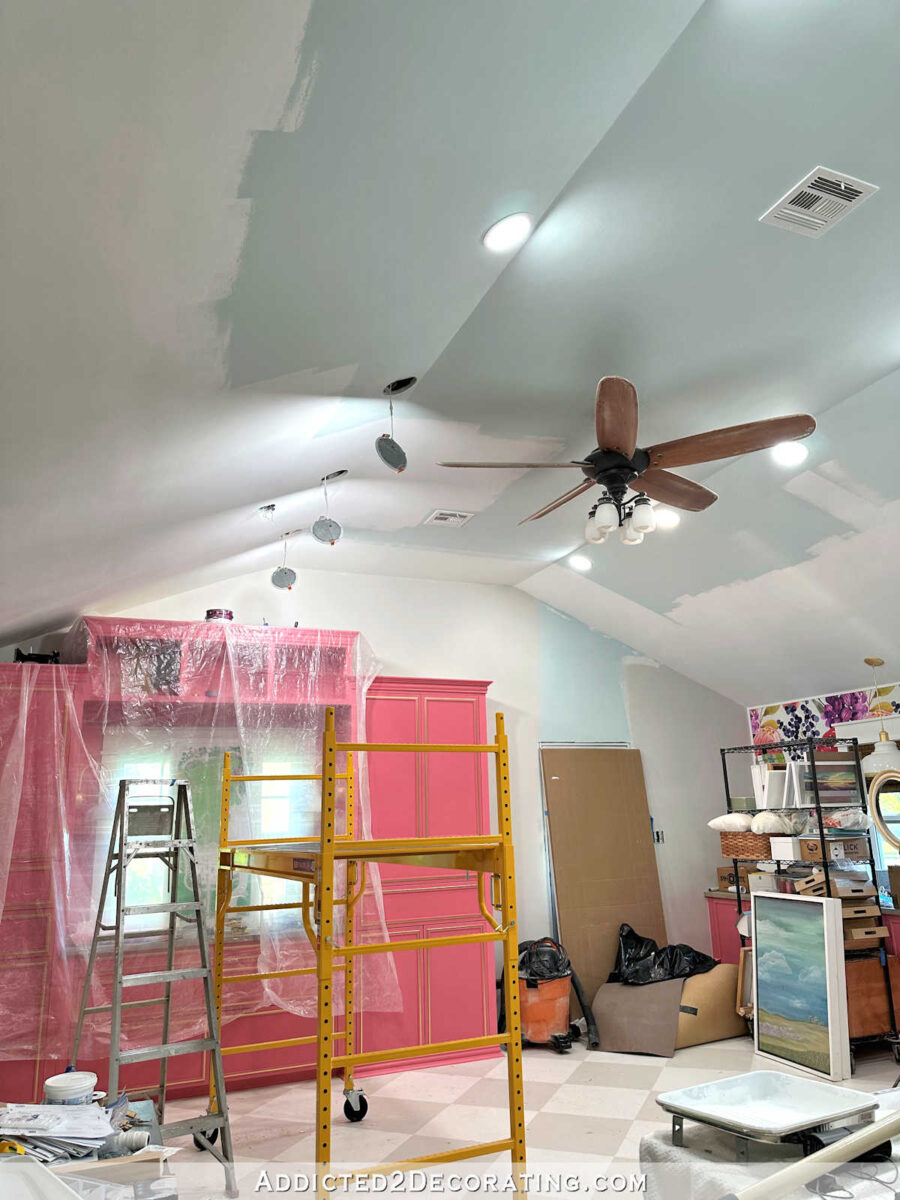
It’s a huge room with a tall ceiling, so this is a job that I’ve been putting off for quite some time now. Not only was I not thrilled about the idea of painting such a tall ceiling and having to spend so much time on the scaffolding, but I also procrastinated because in order to paint the rest of the ceiling, I’d have to work around some pretty large items. My work tables are so large that they can’t be moved out of the room. And I don’t have anywhere else to put the desk, either. So I’ll just have to work around those items, as well as several other items, as I go.
I spent quite a bit of time yesterday cleaning up and putting things away to make the job easier, but I still have quite a few things that I’ll need to work around. But it’ll feel so good to finally have this job done! I’m ready to be rid of the blue, and have a white ceiling and Benjamin Moore Classic Gray walls. I only have small portions on two walls to finish, and then I have this one big wall that needs to be painted.
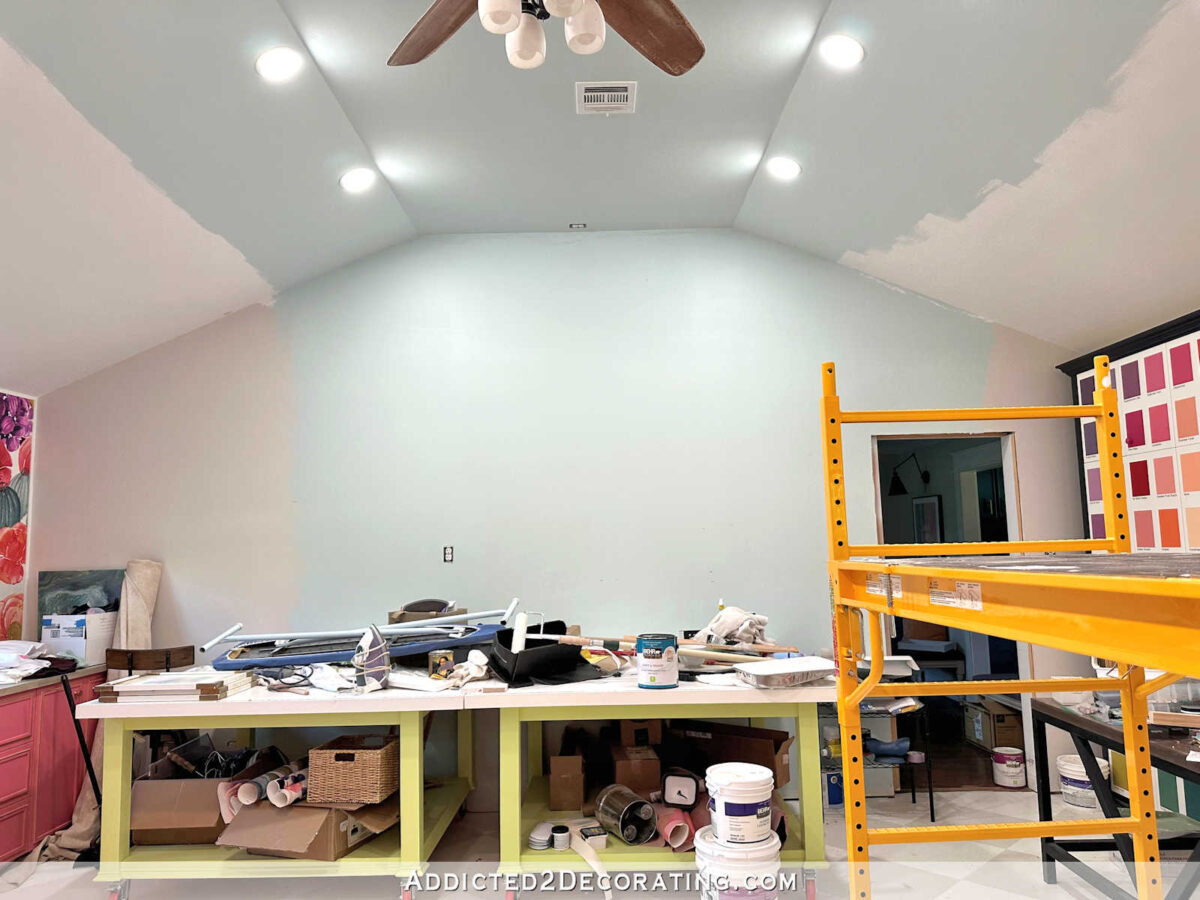
I will be so excited if I can get all of the painting done today!
In other news, I’m so glad that I mentioned the wall vent that I need to put into the wall to provide air circulation for the HVAC unit that sits in the storage closet! All this time, I’ve been planning on putting the air vent right here on the wall next to my desk and perpendicular to my pink cabinets.

But when I mentioned it, several people had other suggestions. One suggestion was to swap out the door to the storage closet with a louvered door. I don’t think my brain would allow me to have one solid door in the back entry (i.e., the door to the studio bathroom) and one louvered door. Having mismatched doors like that would probably drive me crazy.
I did actually consider cutting out the lower two panels on the door and adding one large vent in that area, but since the door is a pocket door, my concern was that anything I added to the door might add too much thickness to the door for it to operate smoothly and properly in the pocket.

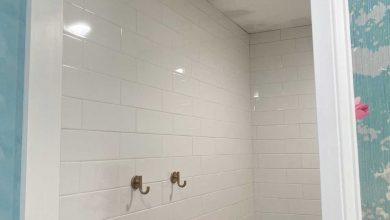
But several of you suggested putting the vent in the wall in the back entry. I loved that idea, but there was only one place where it could go — to the right of the closet door. Again, since the door is a pocket door that opens to the left, I can’t cut out a rectangle of drywall to the left of the door. So this narrow area was the only option for putting a vent in the back entry wall.

That area is 17.25 inches wide, and I cut out enough of the drywall on the closet side to make sure that there was nothing in that bottom portion of wall. And fortunately, there’s nothing in there! No studs, no wires, no nothing. So it was the perfect place for a vent as long as I could find a vent that size that I actually like.
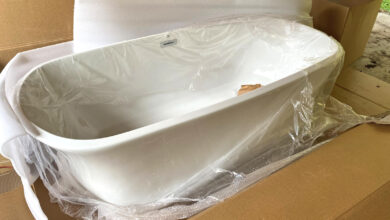
Since I still have quite a few DIY projects I need to finish for the studio, the last thing I wanted was to add a DIY vent to my list. So instead, I went in search of pretty air return vents, and I came across Worth Home’s primed wood luxury air return vents (affiliate link), and they had one that is the perfect size for that space! I bought the one with the rough opening of 14″ x 30″ and the overall dimensions of 16,8″ x 31.5″, but they have just about every size imaginable. I mean, this is going to be a near-perfect fit since I have 17.25 inches of space!

I’m very excited about getting this done, and I think it’ll look great (or disappear altogether) once it’s installed and painted the wall color. And I’ll finally be able to close the closet door! And the best thing is that I ordered it Saturday night, and it’s out for delivery right now. I love DIYing, but there’s nothing like that quick gratification of speedy deliveries. 😀
And finally, I’m still undecided on the cabinets. I know that the overwhelming number of people who voted (I’d guess about 95% of the over 450 votes) said that I should paint the area around the window and the backs of the cubbies the wall color.
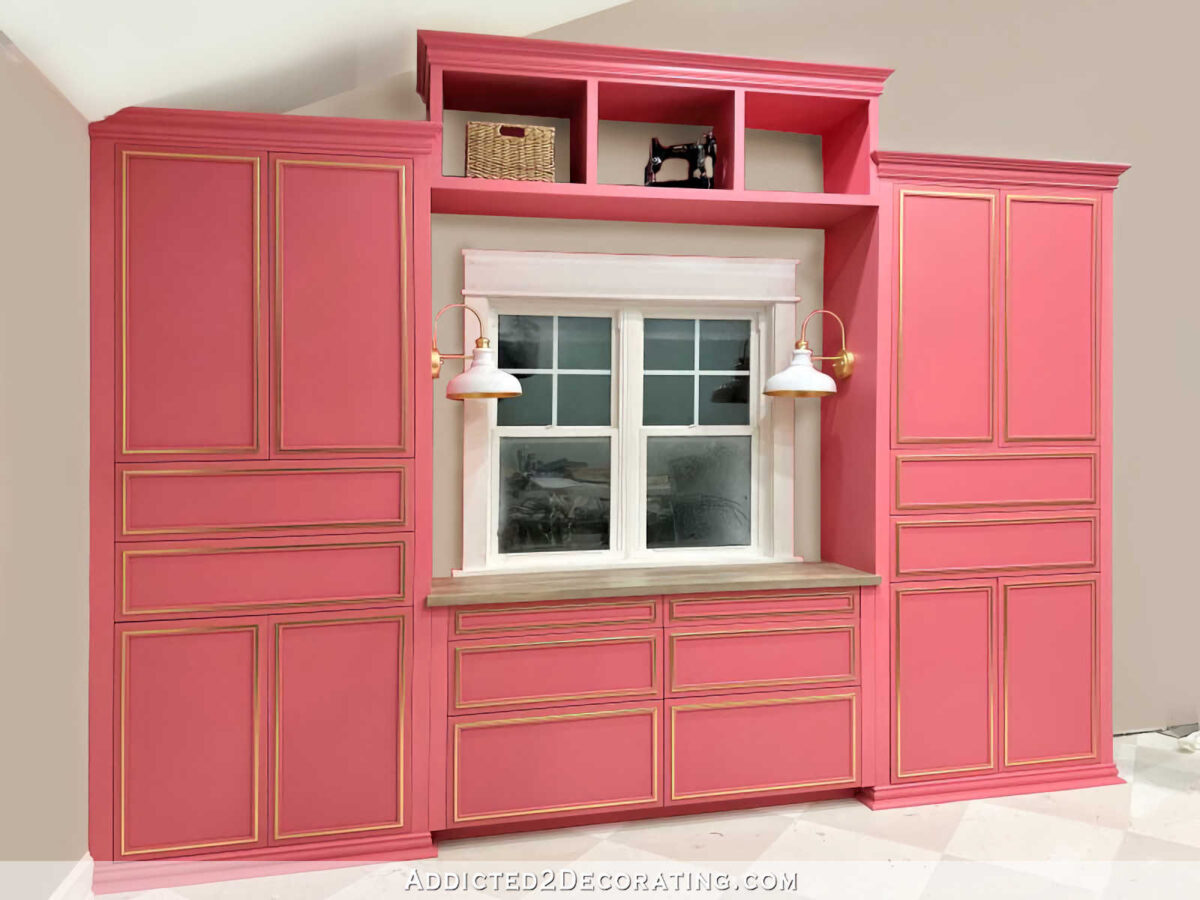
I totally understand why that was the most popular choice. I get it. And like I said last week, it was the clear winner of the three choices when my mom, my brother, and I were weighing the options.
But for some reason, when it came right down to actually painting those areas, I just couldn’t make myself do it. There’s something about the wall color showing on the backs of the cubbies that I just can’t get on board with. To my eye, the wall color showing there cheapens the look of the cubbies. And no, removing the bridge isn’t an option. I love the bridge, I just need to figure out this one nagging detail.
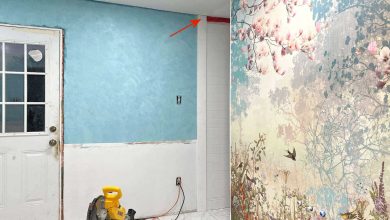
I did try putting wallpaper on the back of one to see what that would look like…

I love the look, but as my mom pointed out, it’ll be covered up as soon as I put things in those cubbies. So I just don’t know what to do. I will figure it out, but I haven’t figured it out yet. What I do know is that I’m sure those cubbies need some lighting. And maybe once they have lighting, I’ll realize that’s all they needed all along.

Addicted 2 Decorating is where I share my DIY and decorating journey as I remodel and decorate the 1948 fixer upper that my husband, Matt, and I bought in 2013. Matt has M.S. and is unable to do physical work, so I do the majority of the work on the house by myself. You can learn more about me here.
[ad_2]
Source link