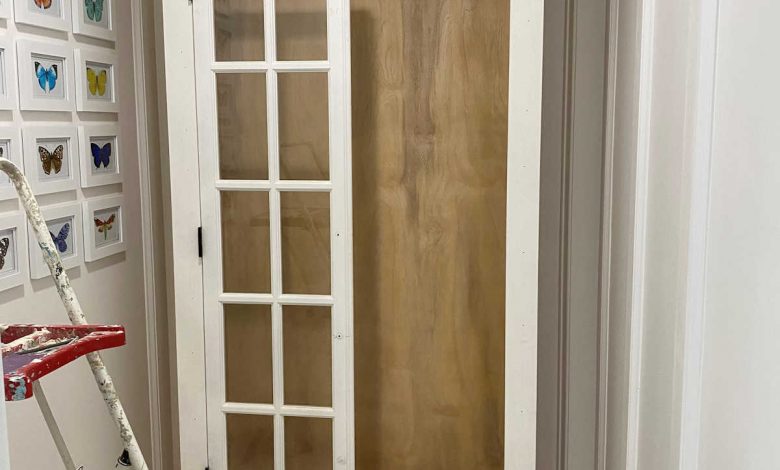
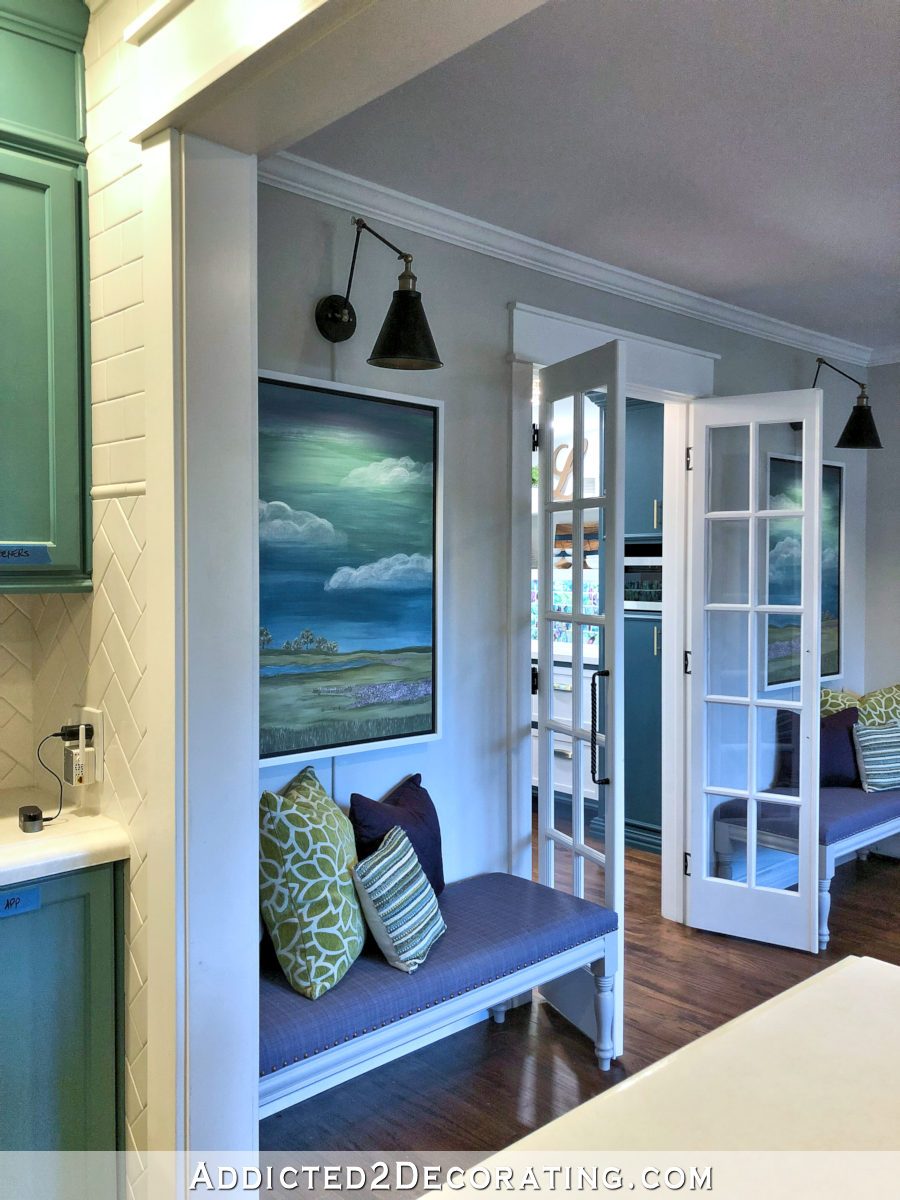
Have you ever wondered how to build a storage cabinet using leftover French doors? Okay, probably not. 😀 But I happened to have some unused French doors on hand that I removed from our pantry, and I kept them because I was certain I could find a use for them. And then when I decided that the water closet area of our master bathroom needed a large cabinet, I knew I had found the perfect use for those French doors. Here’s what they looked like when they were on the pantry…
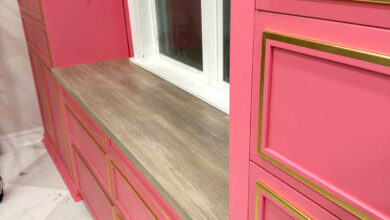
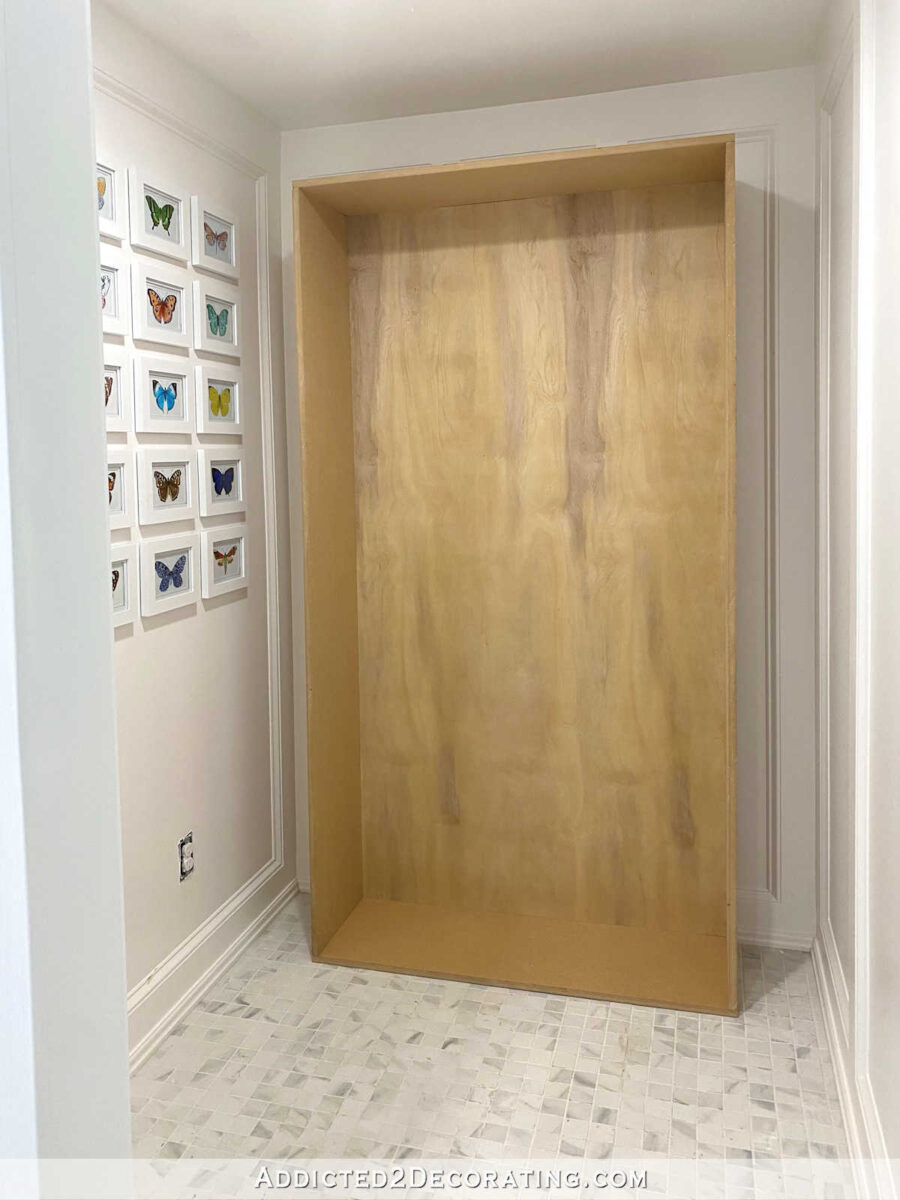
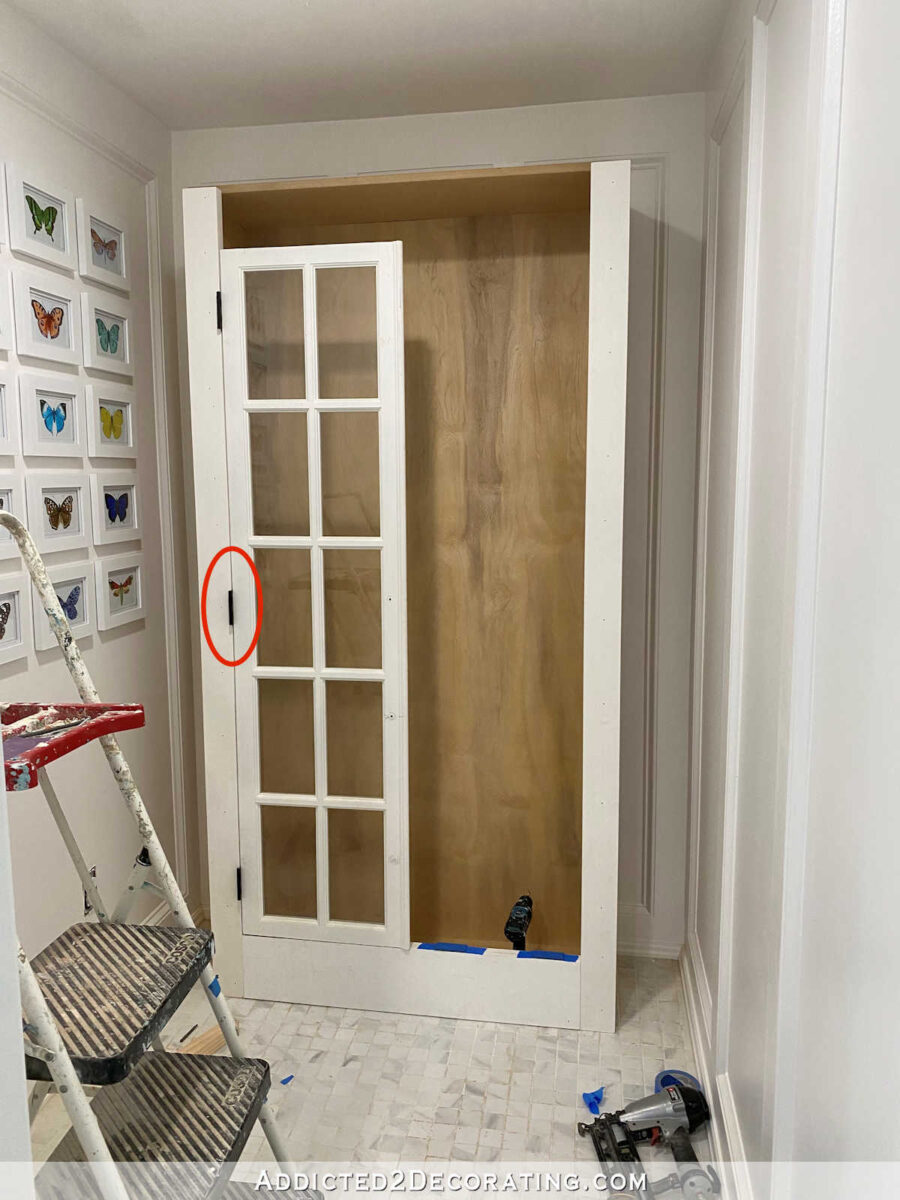
And here’s what they look like on the very basic build of the new DIY bathroom storage cabinet…
Before I even started building the cabinet, I first used my circular saw to cut down the doors. You’ll notice in the pictures above that when the doors were used as regular interior doors, the top and bottom rails were wider than the side stiles. But when used as cabinet doors, the rails and stiles should be the same width. So once I got those cut down, then I was ready to use these doors and their measurements as a jumping off point for the rest of the build.
That cabinet still needs a whole lot of trim, maybe even some cute little feet, and shelves inside. Then I can paint and prime it. But all of that will be fairly easy, especially compared to the main part of this build. I’ve never built a cabinet this large that wasn’t built-in, and I’ve found that building built-in cabinets is a whole lot easier.
Building a large freestanding cabinet isn’t necessarily difficult, but finding the work space for it is a challenge. And since I work alone, and there’s no way I can carry such a huge cabinet once it’s built, I had to so all of the building in the bathroom, with about half of it being done inside the small water closet. That was quite a challenge! 😀 But I was determined, and I got it done. Now I can move on the fun part — the trim and the finishing.
*This post contains affiliate links.
Here’s how I built the storage cabinet…
1. Cut the main pieces
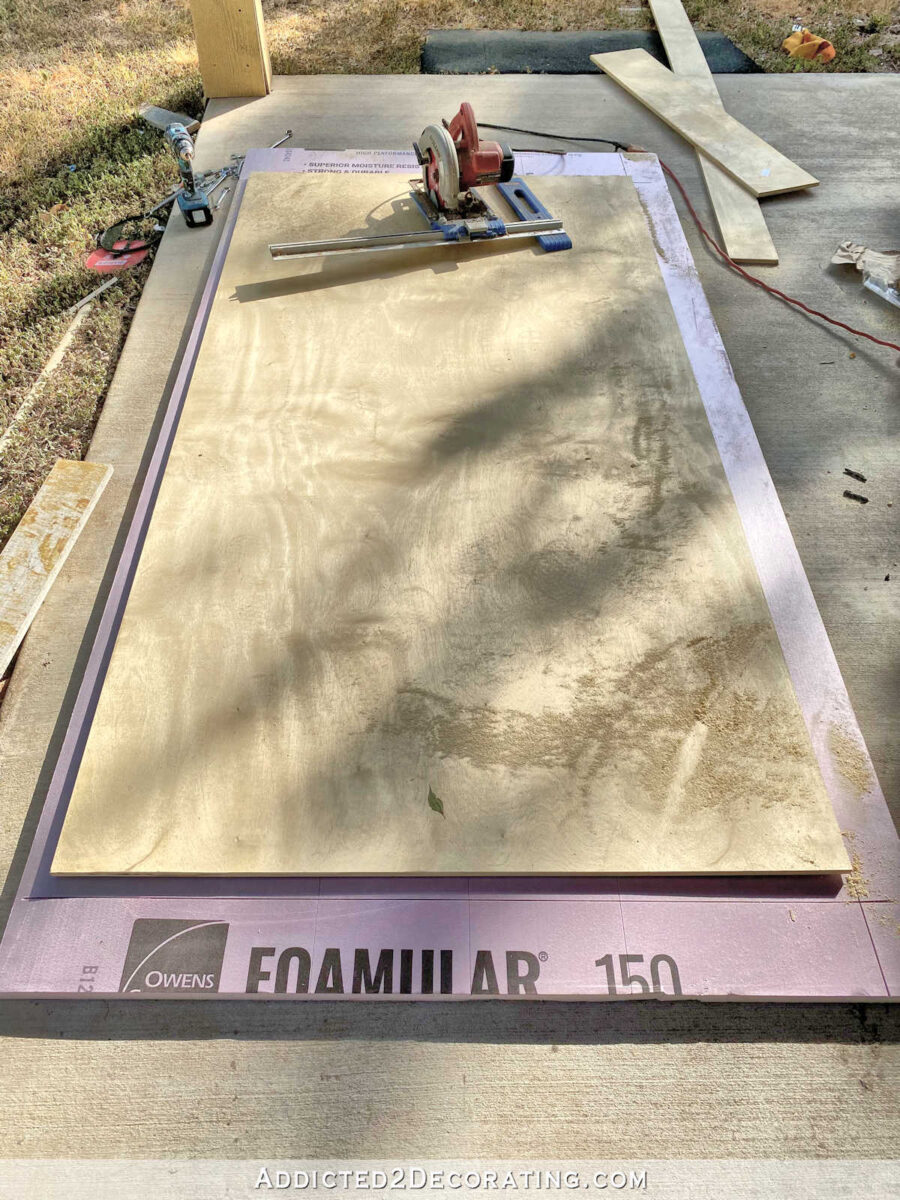
To cut these pieces, I used my circular saw along with a Kreg Circular Saw Guide. The first step was to cut the back piece out of 1/2-inch plywood. All of my measurements were based on the doors I wanted to use. The width of the two doors together was 36 inches, and the height was 70 inches. So I added 7 inches to that width (3.5 inches for each side) and 13 inches to the height (7.25 for the bottom and 5.75 for the top — numbers I pulled right out of thin air because I thought they would look nice). So I cut the back piece to 43 inches wide and 83 inches tall. Again, this was all based around the measurement of the doors, which were my starting point.
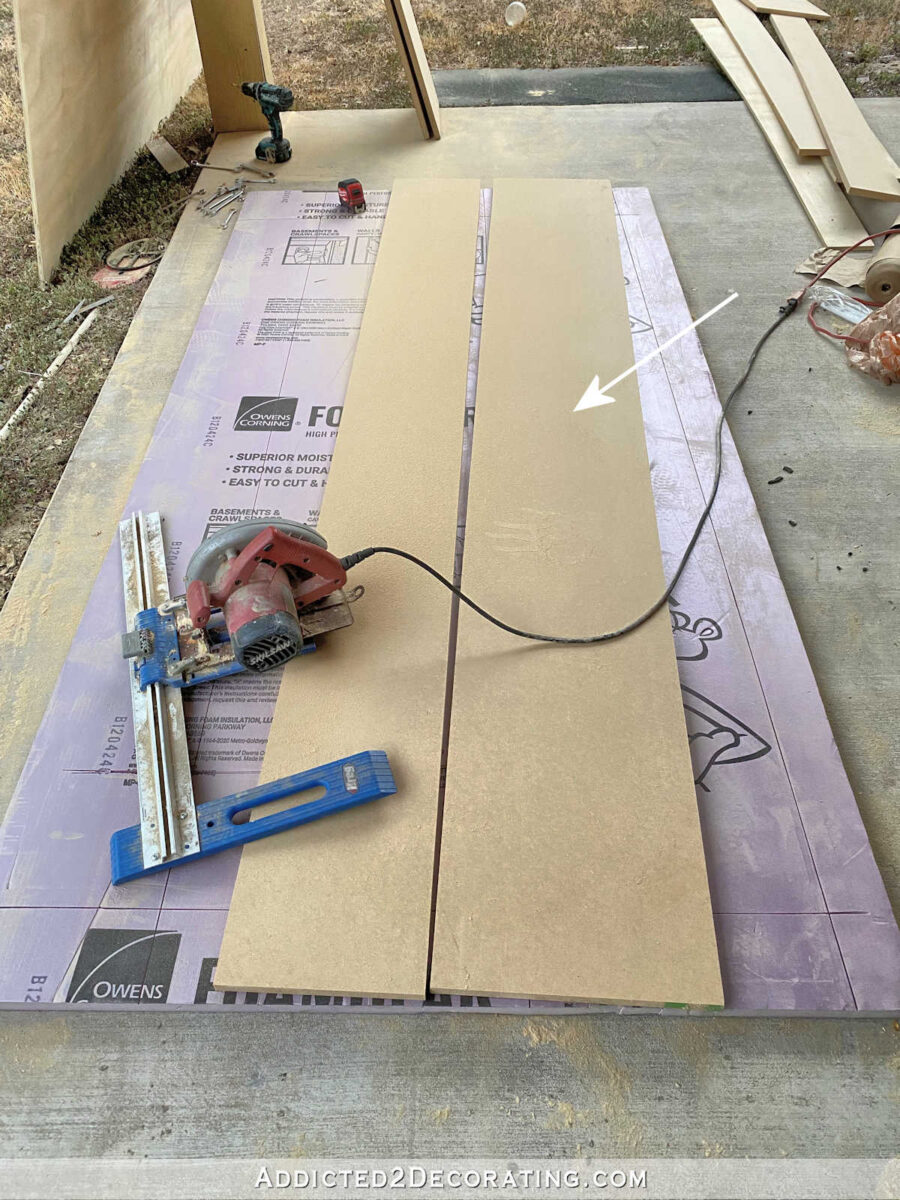
And then I cut the two side pieces to 13.5 inches wide by 83 inches high, and two top and bottom pieces to 14 inches wide and 43 inches long. I cut these out of MDF simply because I had some large scrap pieces of MDF on hand, so I saved about $70 by not having to purchase a piece of plywood for these pieces.
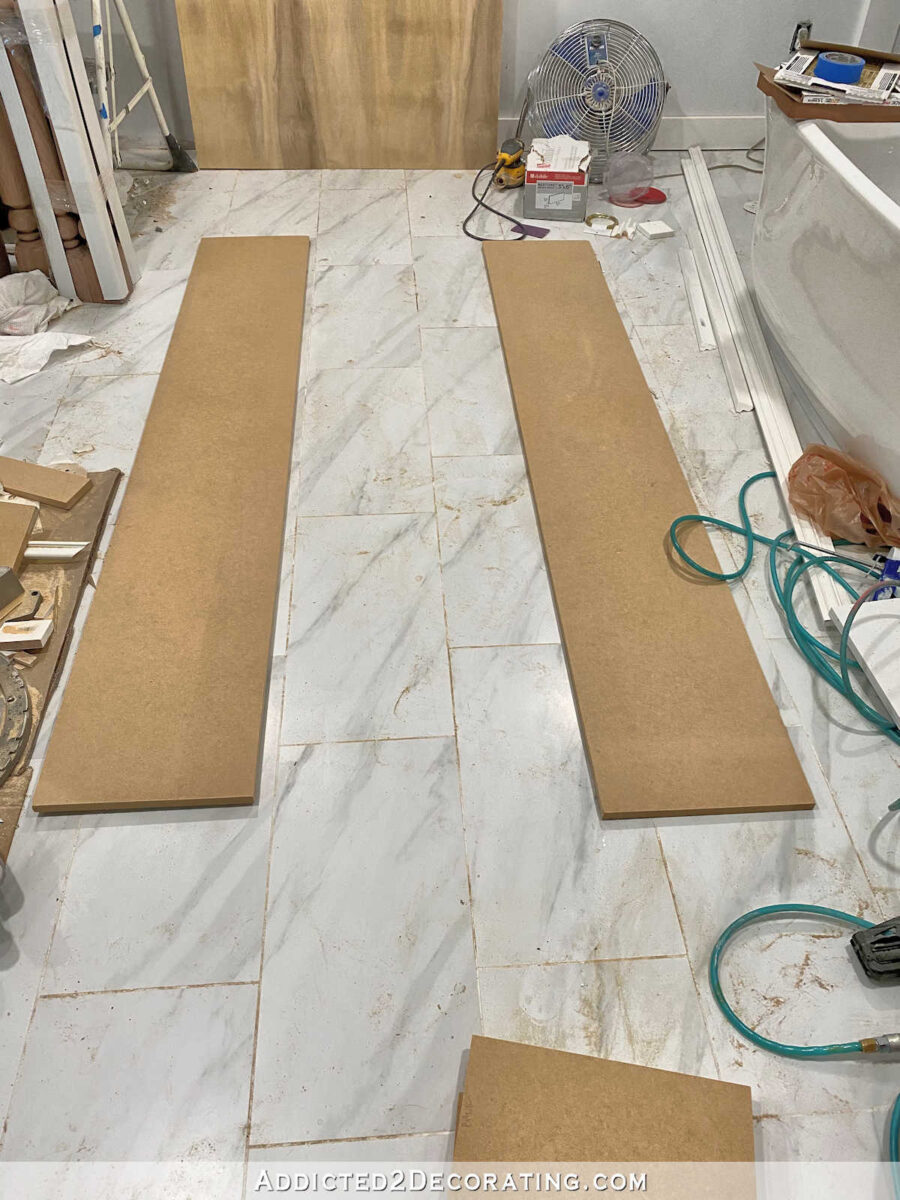
So once I had my main pieces cut, I started with the two side pieces…
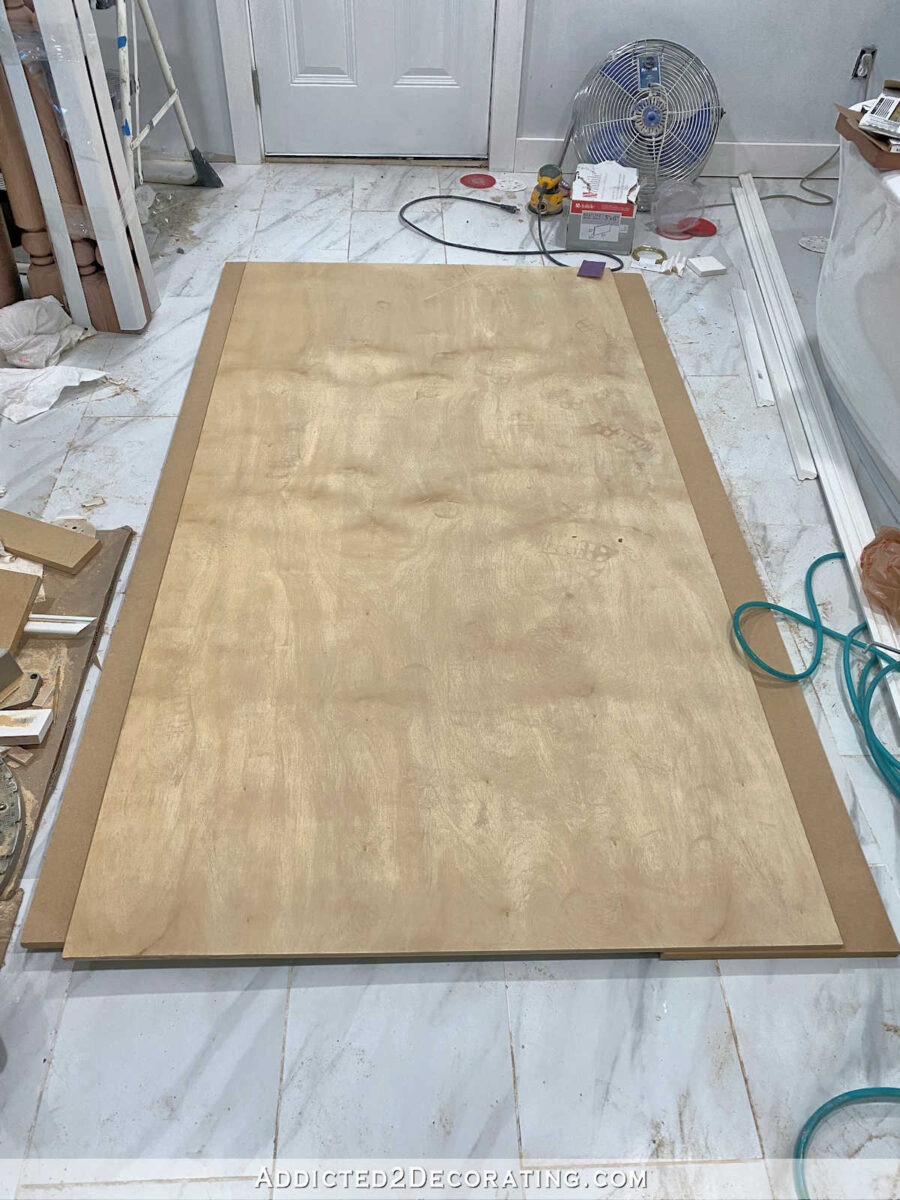
And the back piece….
2. Attach the back to the sides
Standing one of the side pieces up on edge, I placed a bead of wood glue along the long edge…
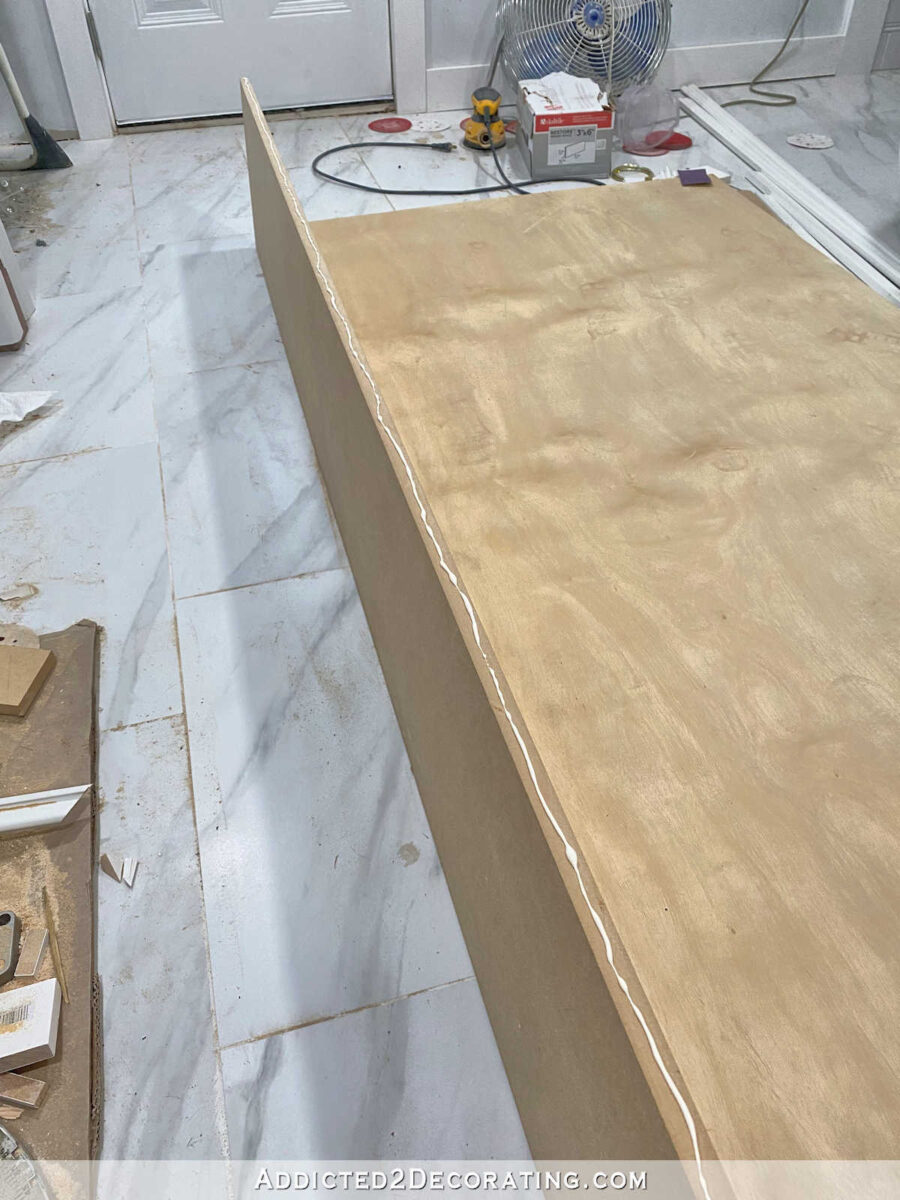
And then I lifted the plywood back up on to that edge, made sure they were aligned, and then attached them using 1.5-inch 16-gauge nails in my nail gun. I didn’t use screws because I don’t like screwing into the edge of MDF. As long as I’m using wood glue and nailing the pieces about every 4-6 inches, I completely trust 16-gauge nails to do the job.
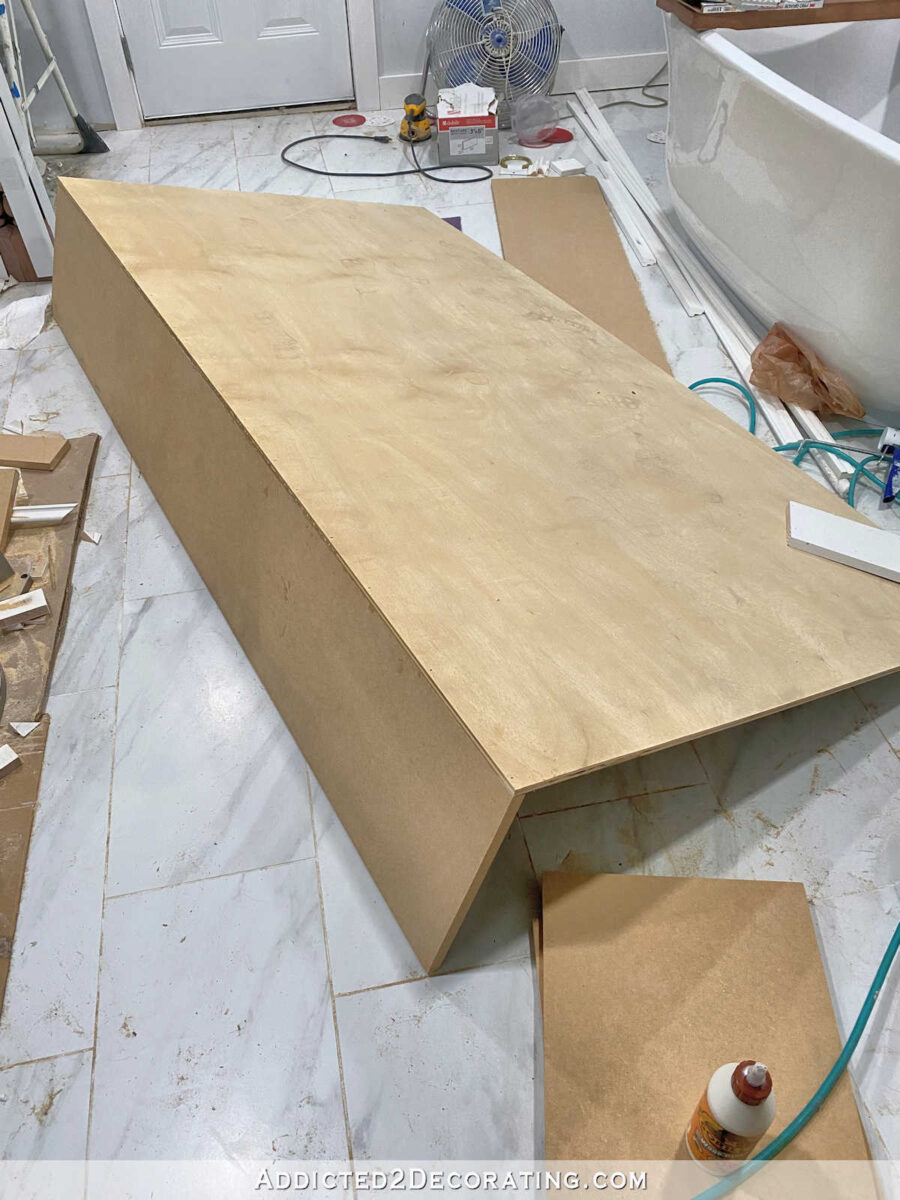
Then I moved to the other side and attached the second side. That gave me the start of the main cabinet box…
3. Attach the top and bottom pieces
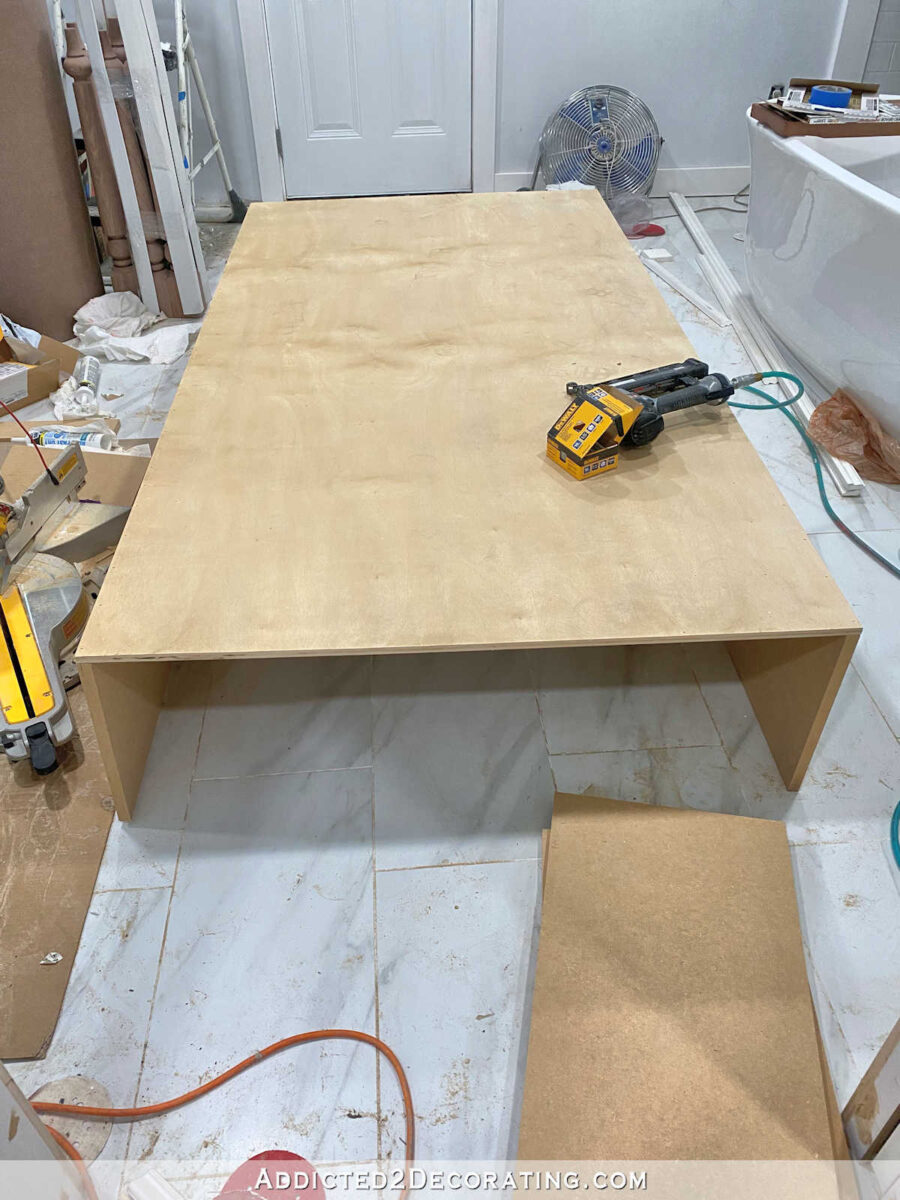
Next I attached the top and the bottom pieces, which were the final pieces of the main box. The pieces were 14 inches wide (the width of the side pieces + the thickness of the plywood back) and 43 inches long (the same as the plywood back). I attached these pieces also using wood glue and 16-gauge nails, and I used one on the top and one on the bottom.
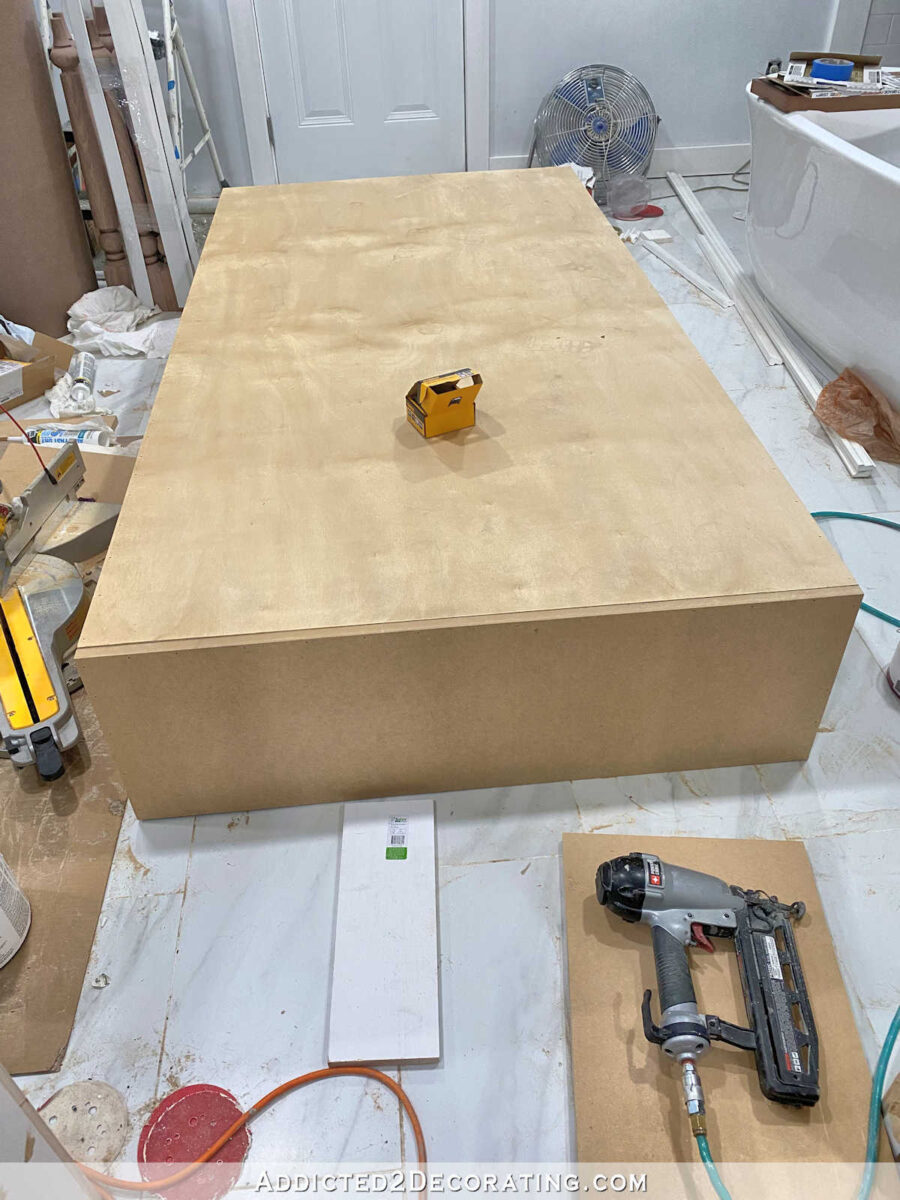
At this point, I stood the box upright and moved it into its location, where I’d have to finish the build. Again, since I work alone, and there’s no way I could have built this outside and then moved it in by myself, I had to do everything in place so that I could just slide it where it needed to go.
4. Attach the stiles
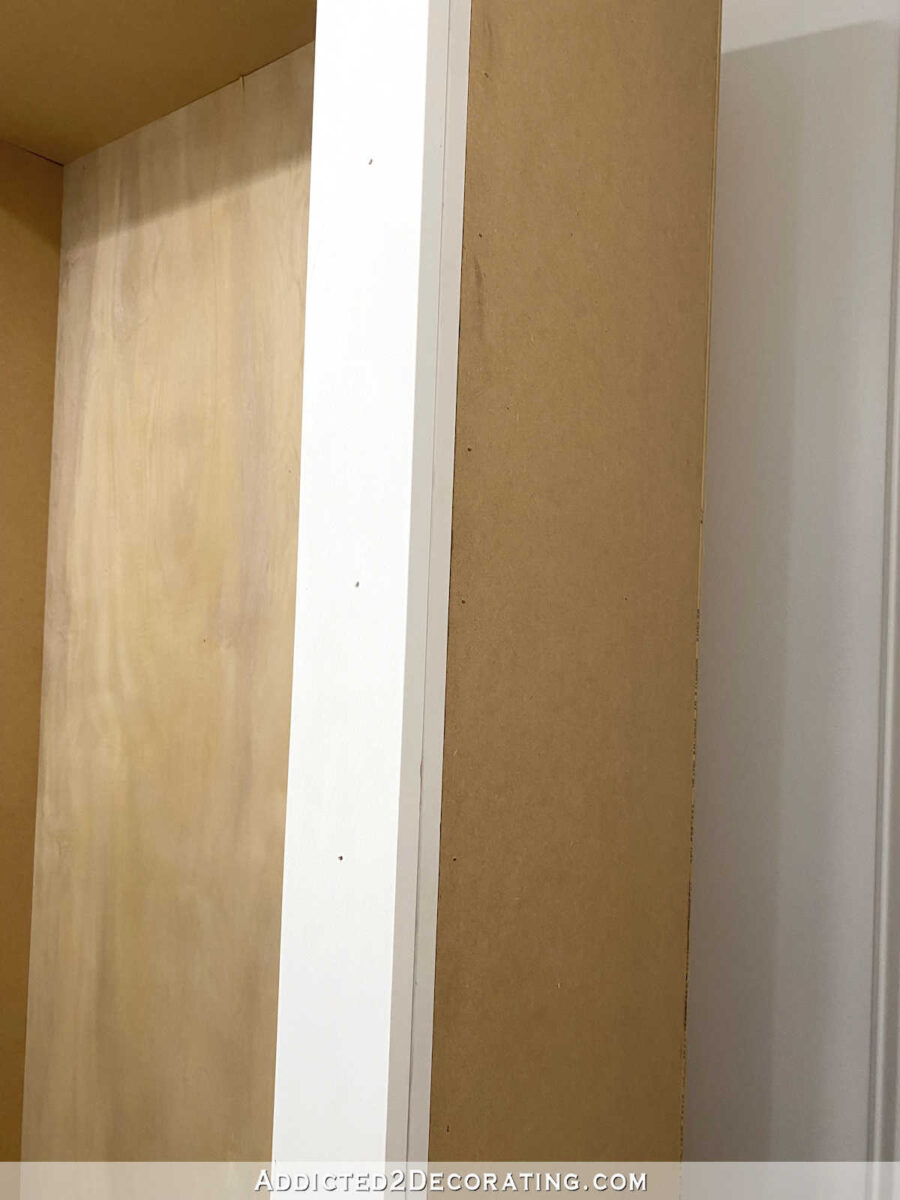
Since I was using actual wood interior doors for the cabinet doors (which are thicker and heavier than actual cabinet doors), I wanted to add more support and strength to the sides where the doors would be attached before I started adding the stiles and rails to the cabinet box.
I added this strength and support by gluing and nailing 2″ x 2″ pine lumber on the inside of the box. I attached these using wood glue and 16-gauge nails, nailing it from the outside of the box through the MDF and into the pine lumber, making sure that the front edges of the lumber and the MDF were perfectly flush.
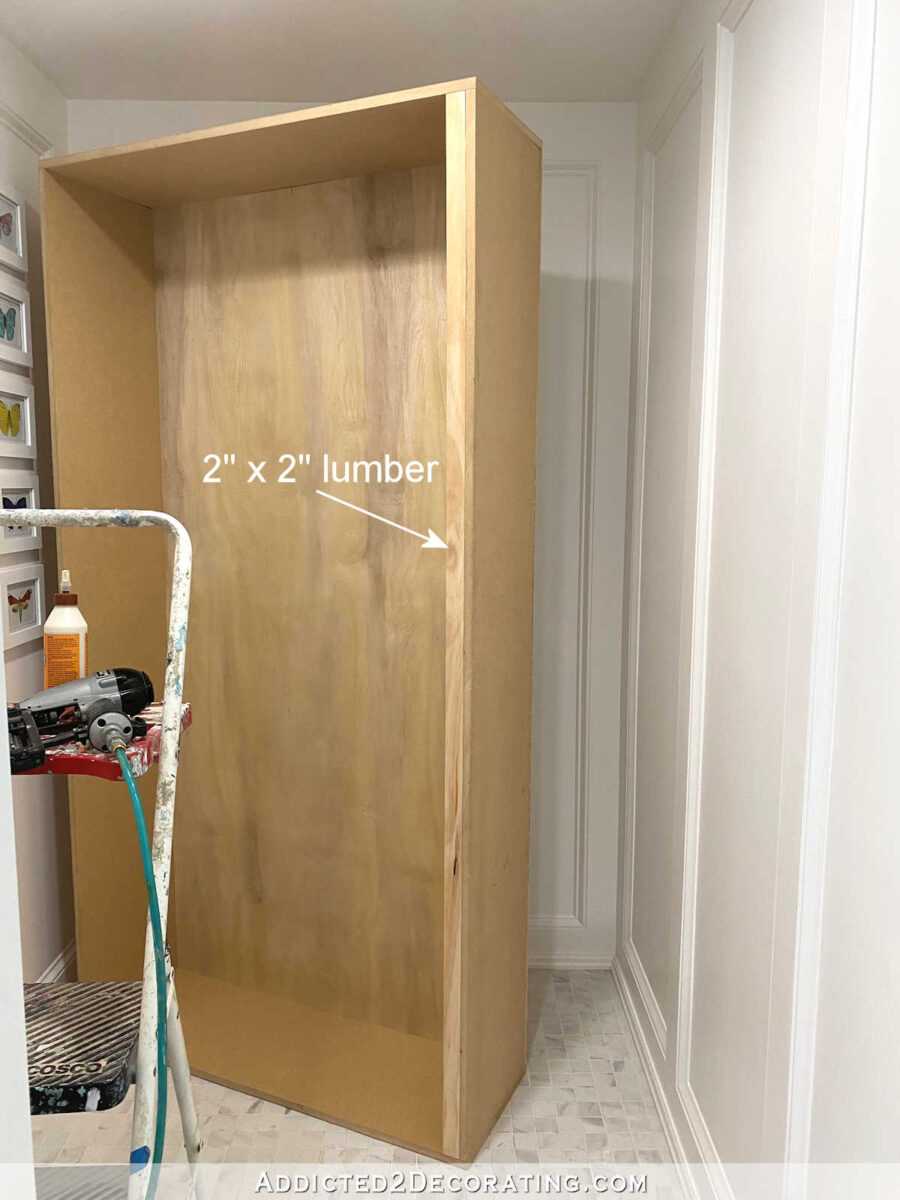
Here’s a closer view after the first one was attached. And again, the purpose of this was to add strength. I didn’t want to attach a heavy wood and glass door to a stile that was only attached to the edge of MDF. This gave me 1.5 inches of real, solid wood to attach the side stiles to.
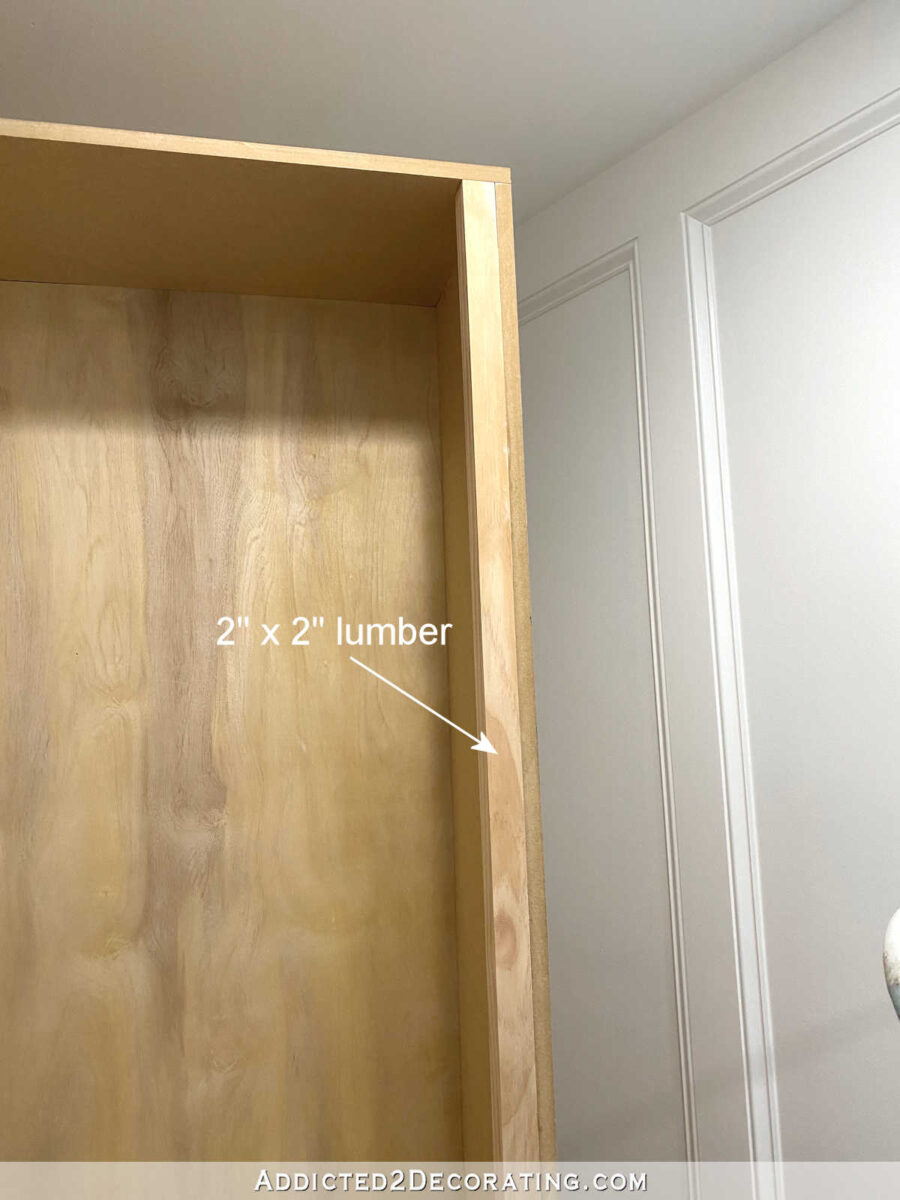
For the stiles, I used 1″ x 4″ pre-primed fingerjoint boards (which are actually 3.5 inches wide), and using wood glue and 16-gauge nails, I attached those to the 2″ x 2″ pine boards that I had just attached.
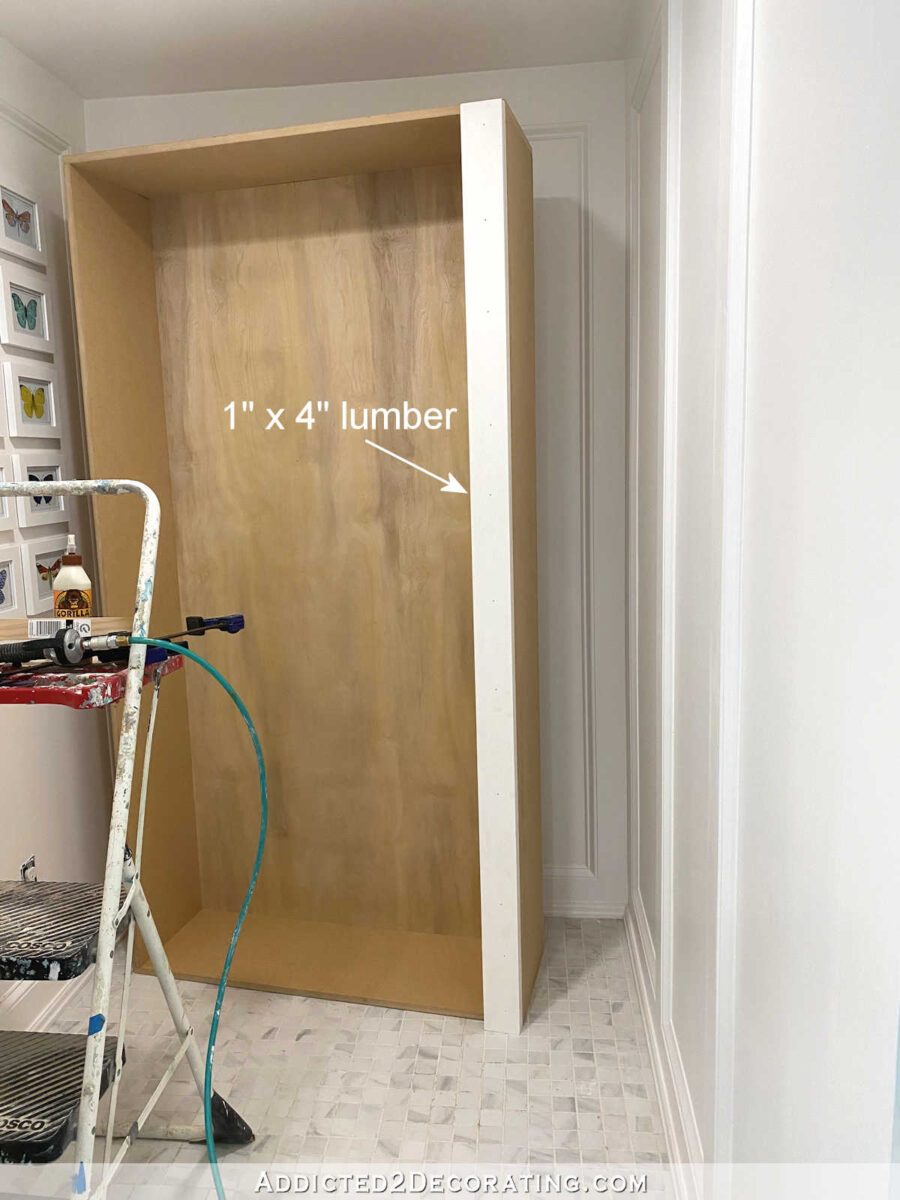
I actually doubled up those side stiles, using two 1″ x 4″ boards stacked on each other and attached one at a time, to make the stiles thicker. This was only necessary because I was using actual interior doors as my cabinet doors, and I was planning on installing the doors so that they were inset. Since the doors are 1.5 inches thick, I wanted my stiles to also be 1.5 inches thick. Had I been using regular cabinet doors, which are generally only 3/4-inch thick, doubling up the stiles would have been completely unnecessary.
I repeated that whole process on the other side of the cabinet box so that both the left and the right stile were attached before moving on to the next step.
5. Attach the bottom rail
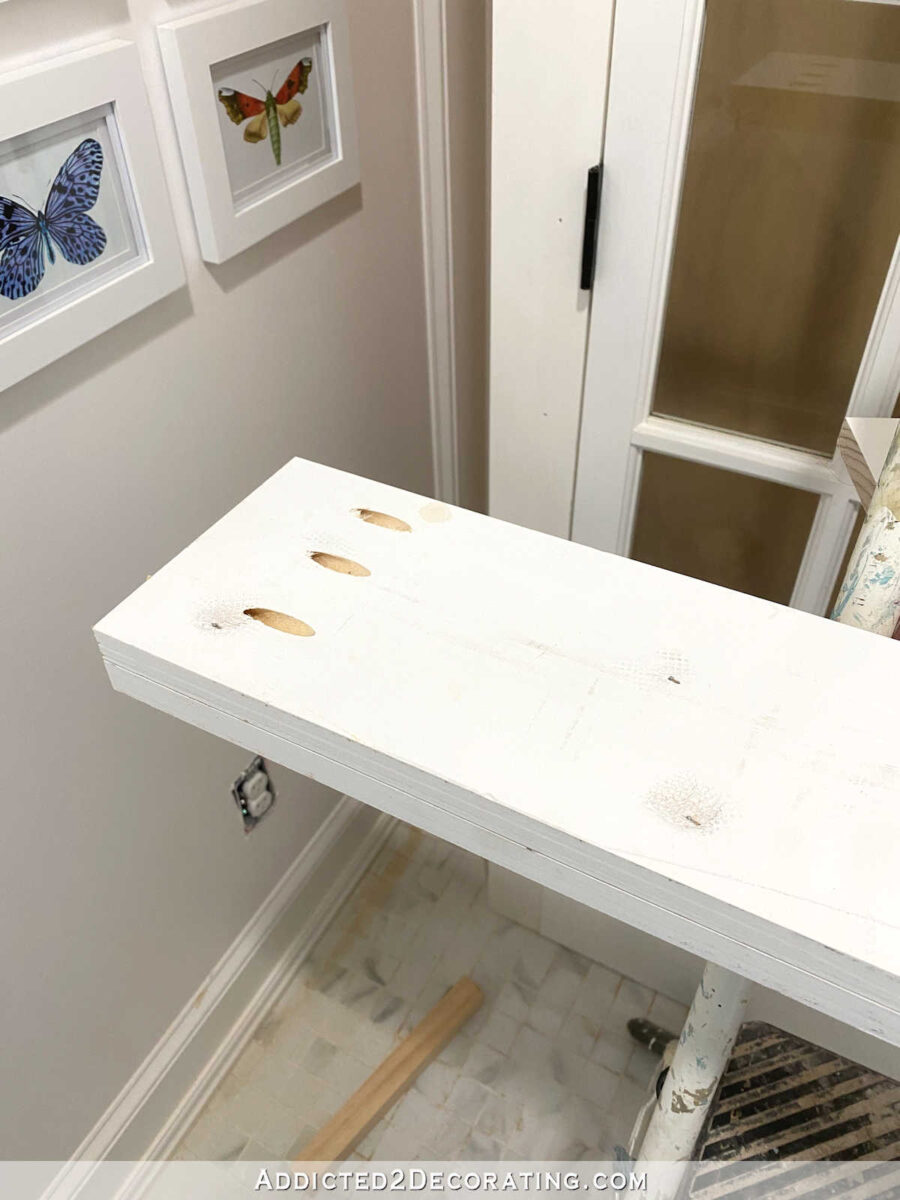
Next, I attached the bottom rail. After measuring the space between the stiles and verifying that it was 36 inches, I cut the bottom rail out of 1″ x 8″ pre-primed fingerjoint boards. I doubled up the thickness on this piece as well so that it would match the thickness of the stiles, and then I used my Kreg Pocket Hole Jig to drill pocket holes in each end of the rail.
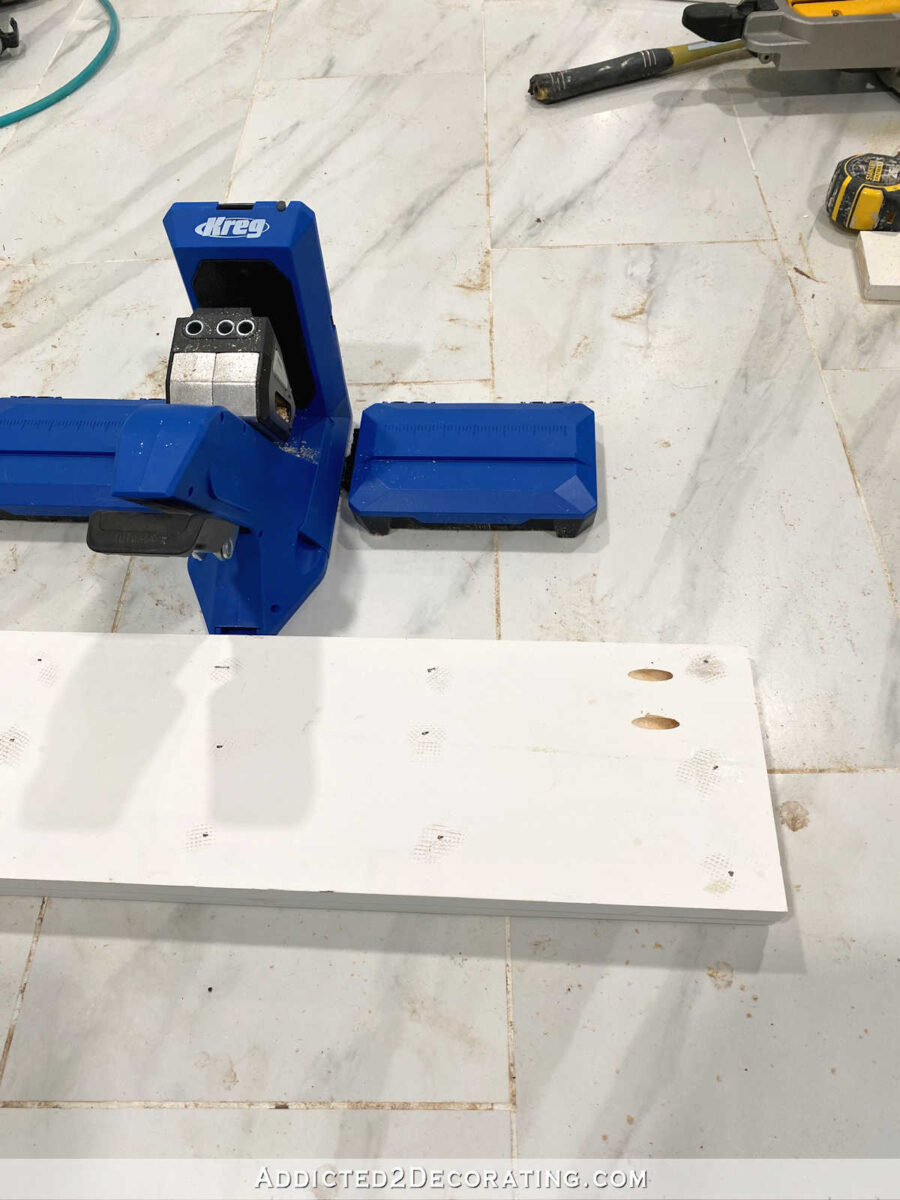
By the way, this is the Kreg Pocket Hole Jig that I have, and it is AWESOME!! It’s an amazing upgrade from the original one that I bought. I think this style is a fairly recent product, and I highly recommend it.
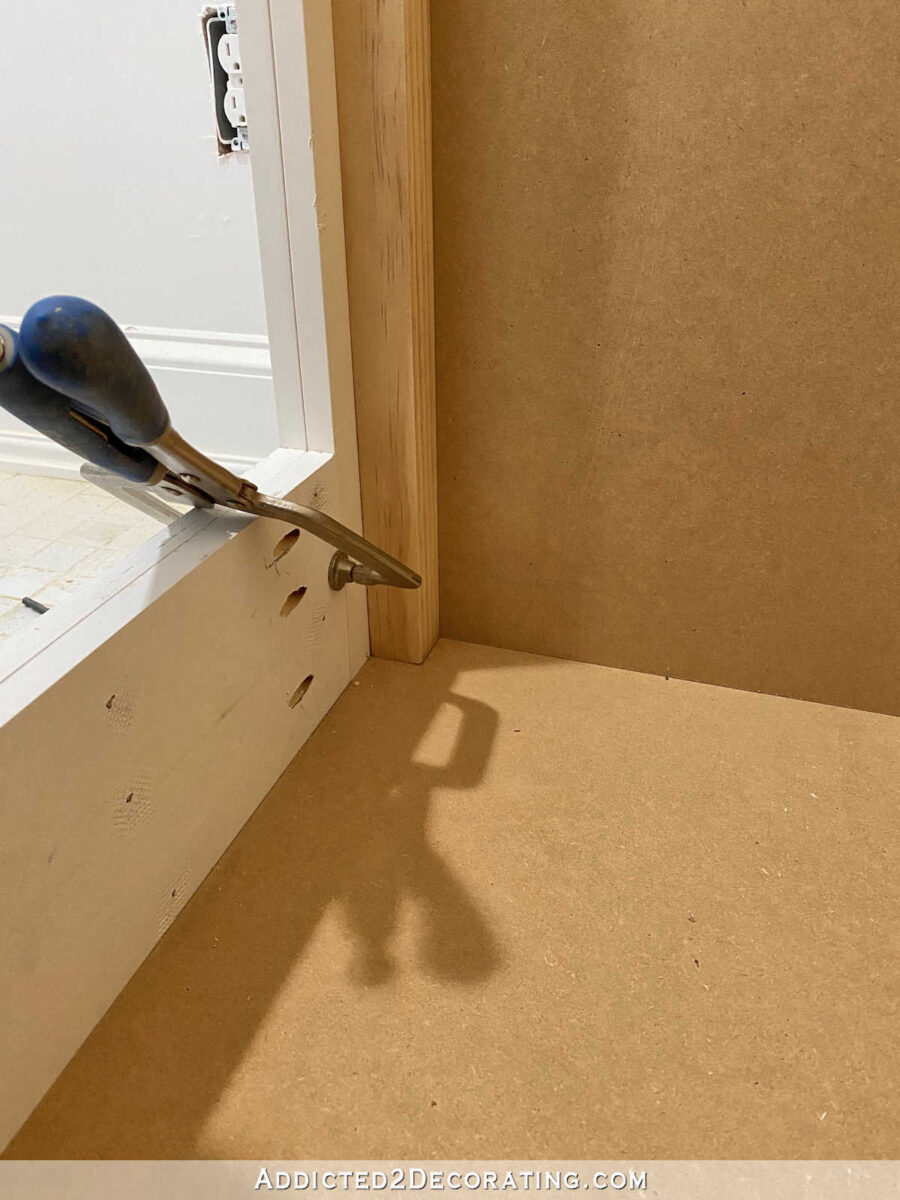
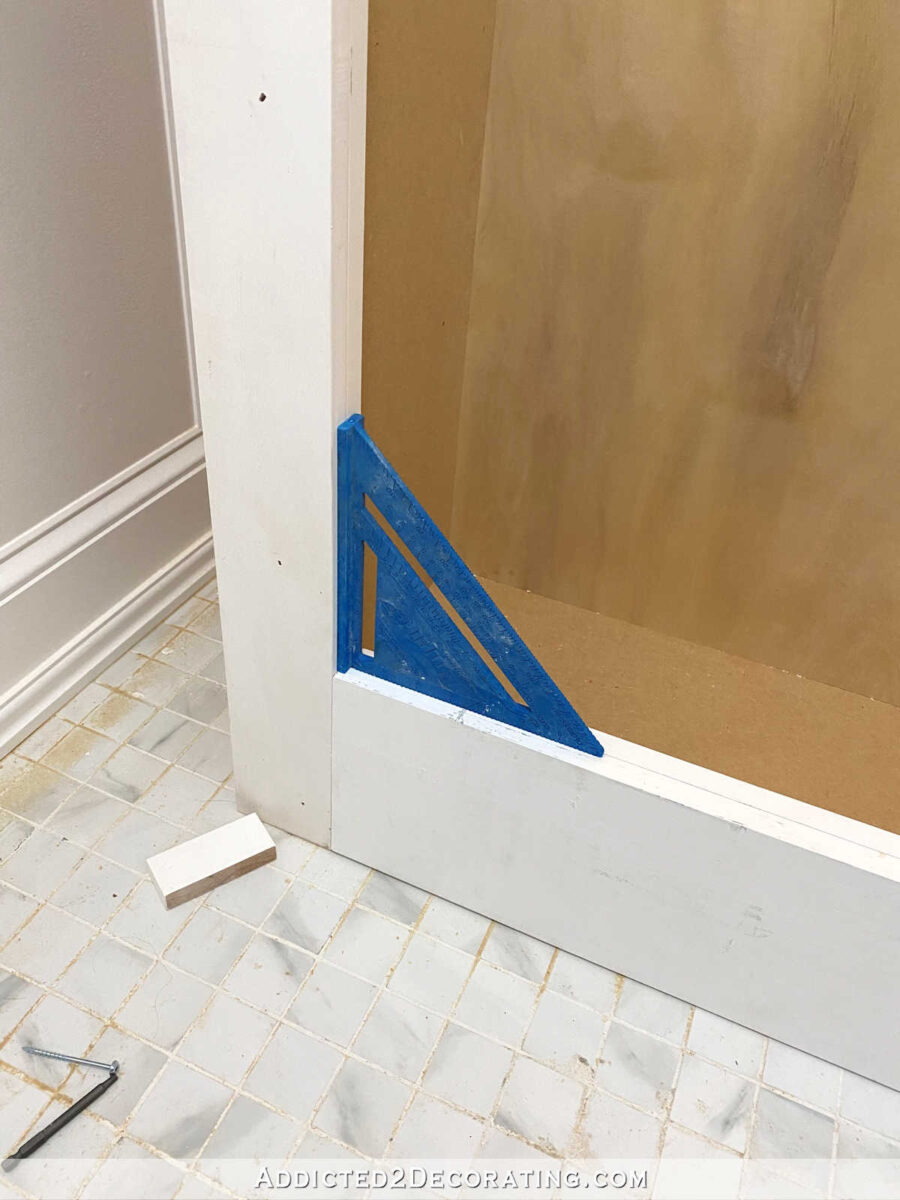
I put the bottom rail in place, checking for square and holding it into position using two clamps (Tip: You can use the 45-degree angle clamps as regular clamps as long as you use scraps of wood under the side with the pointy part).
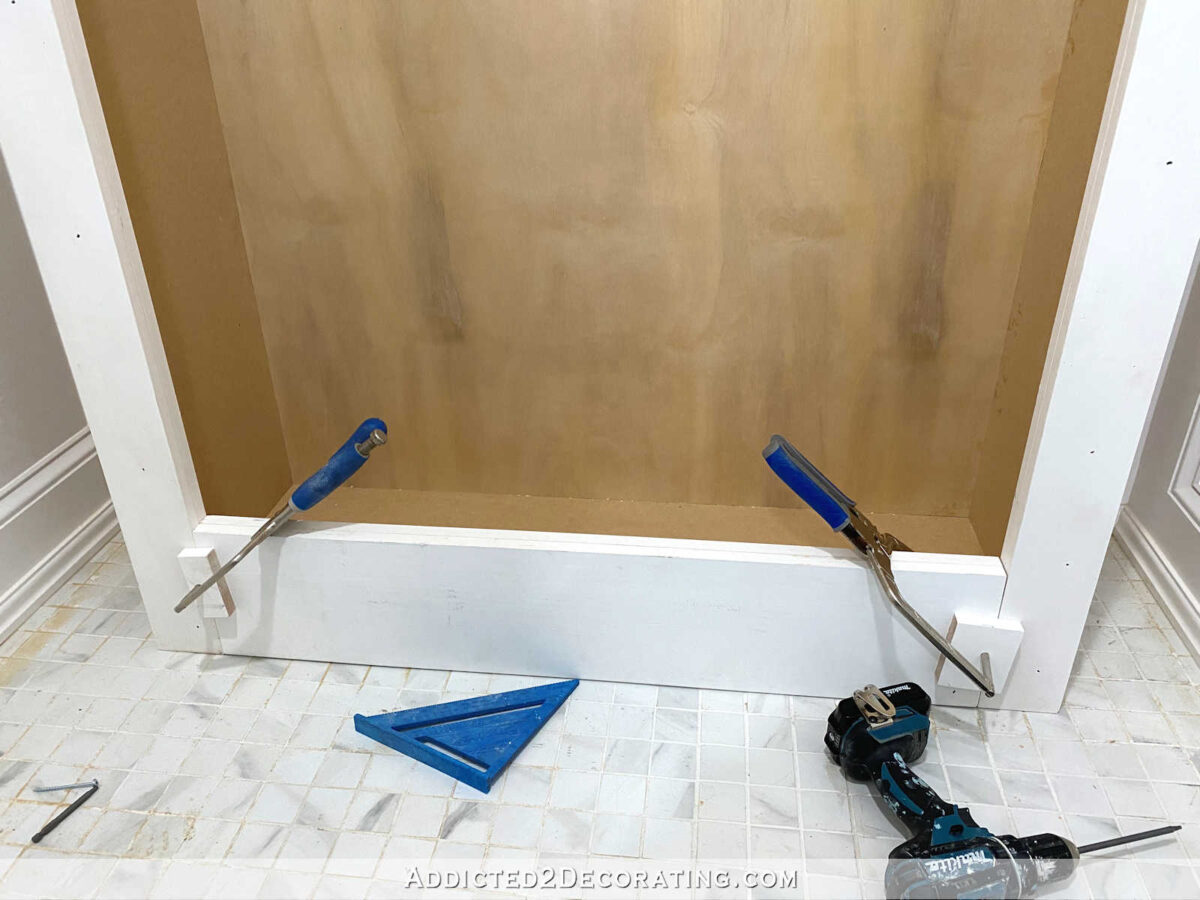
Once I had it lined up just right, I screwed it into place using the pocket holes I had just drilled into this piece.
Once it was attached, I checked for square one last time to be sure it didn’t shift when I was screwing the piece in place.
And here’s what it looked like at this point — a very simple five-sided box with three of the four front edges covered with trim pieces.

6. Install the doors
On a normal sized cabinet with normal doors, I would have installed the top rail next. But since everything on this is so big and heavy, I decided to install the doors first, and then install the top rail after the doors were installed. That just seemed easier in my mind. 🙂
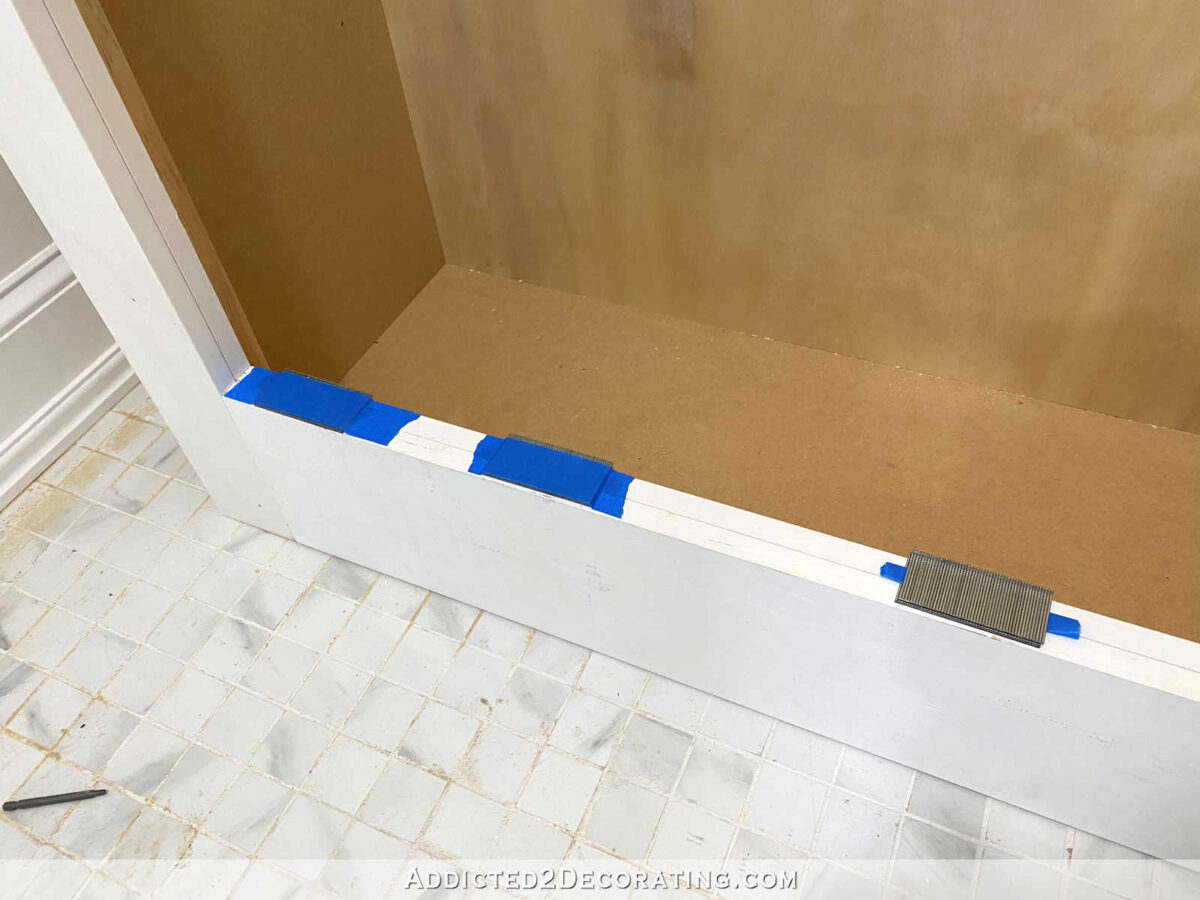
Before lifting one of the doors into place, I needed a spacer to give me about 1/8-inch of space between the bottom rail and the door. I found that two strips of 16-gauge nails were pretty much the perfect spacers. So I taped two strips together…
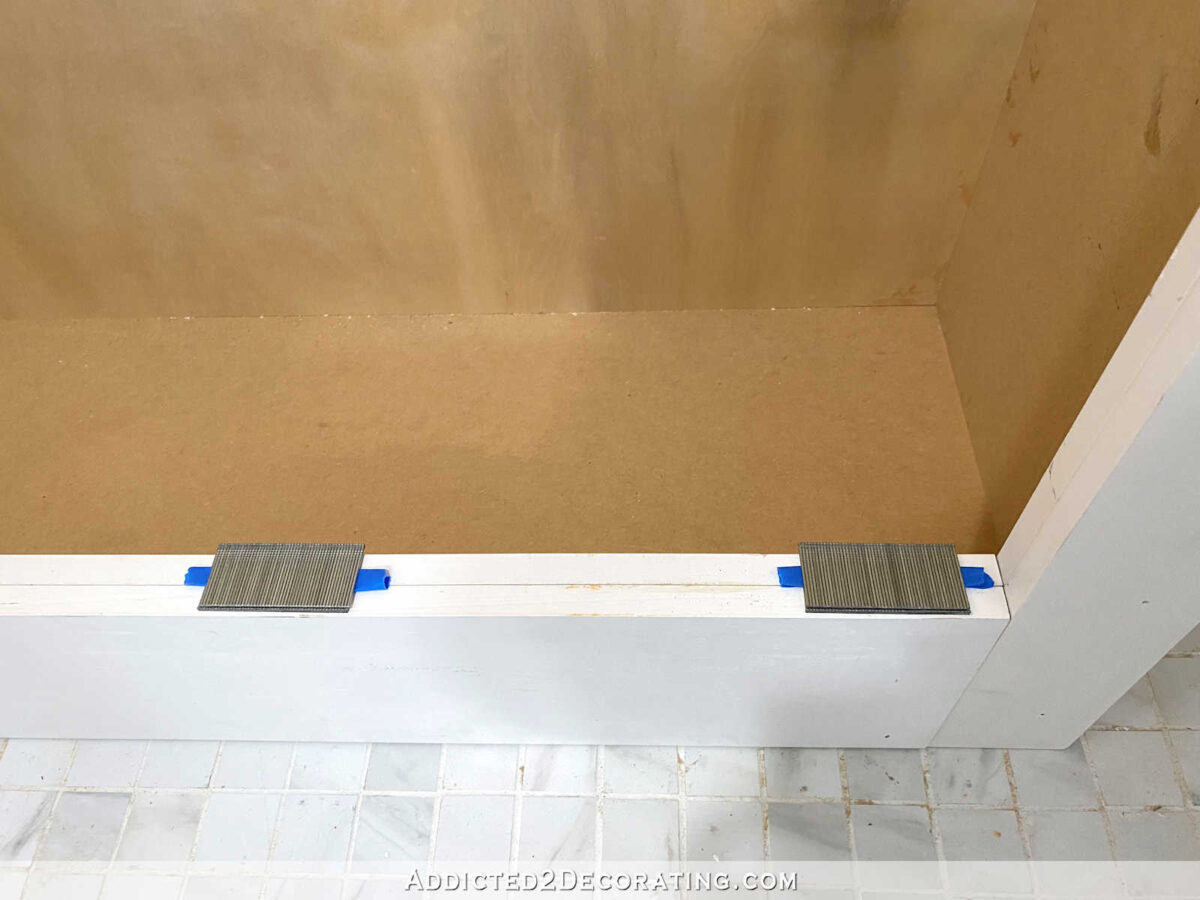
And then taped those to the bottom rail so that I wouldn’t knock them off while lifting the doors into place.
Then I could lift and set the door right on top of those spacers, and with the hinges already attached to the door, everything was perfectly spaced on the side and the bottom.
With the door sitting in place, I used a pencil to mark the placement of the middle hinge onto the side stile.
And then to install the door, I did the following:
- Move the door out of the way
- Unscrew the center hinge from the door
- Screw the center hinge into place on the side stile using the guide mark I had just made
- Lift the door so that the holes for the center hinge were aligned with the center hinge that was now installed onto the stile (The door had to be in the open position for this, which made this process very tricky since I was working alone. this was tricky working alone. That’s why you don’t see pictures of this process, but it was manageable.)
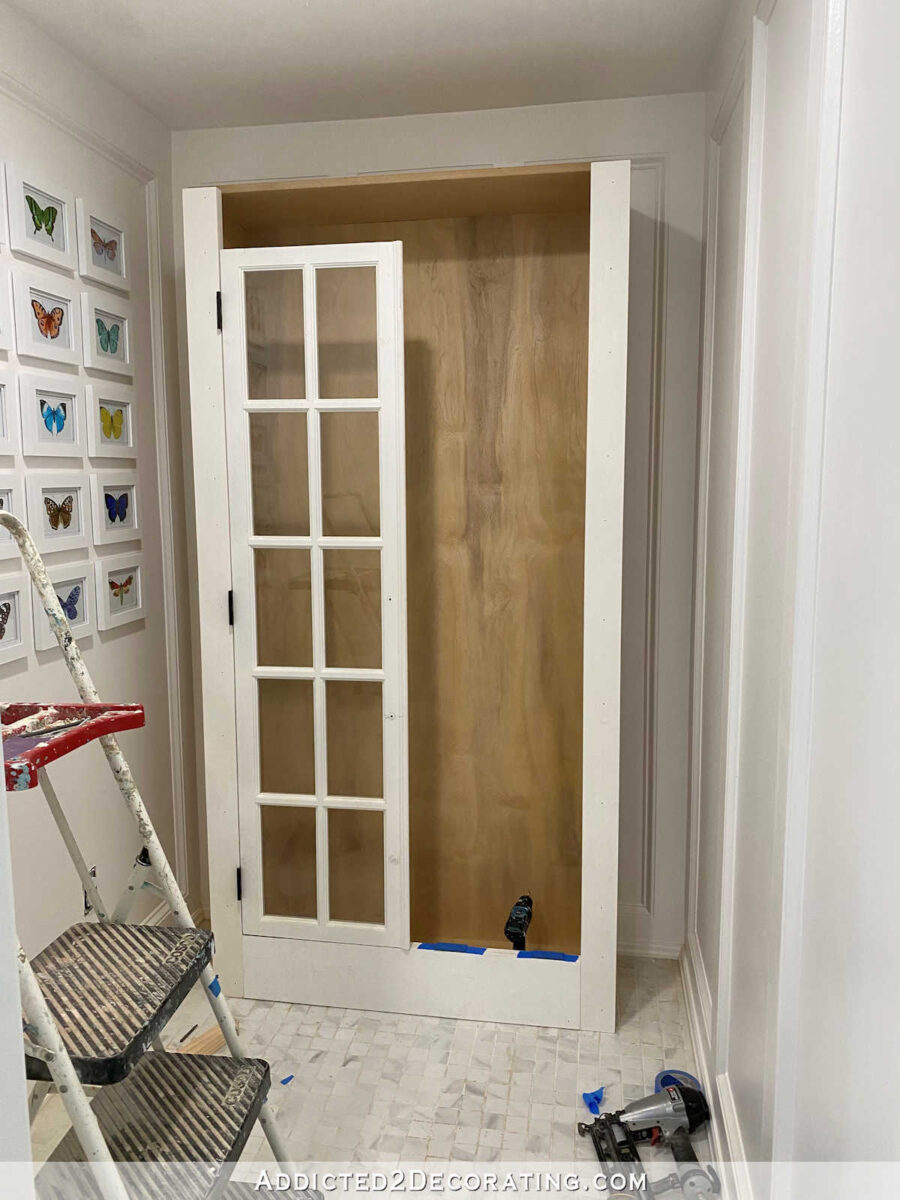
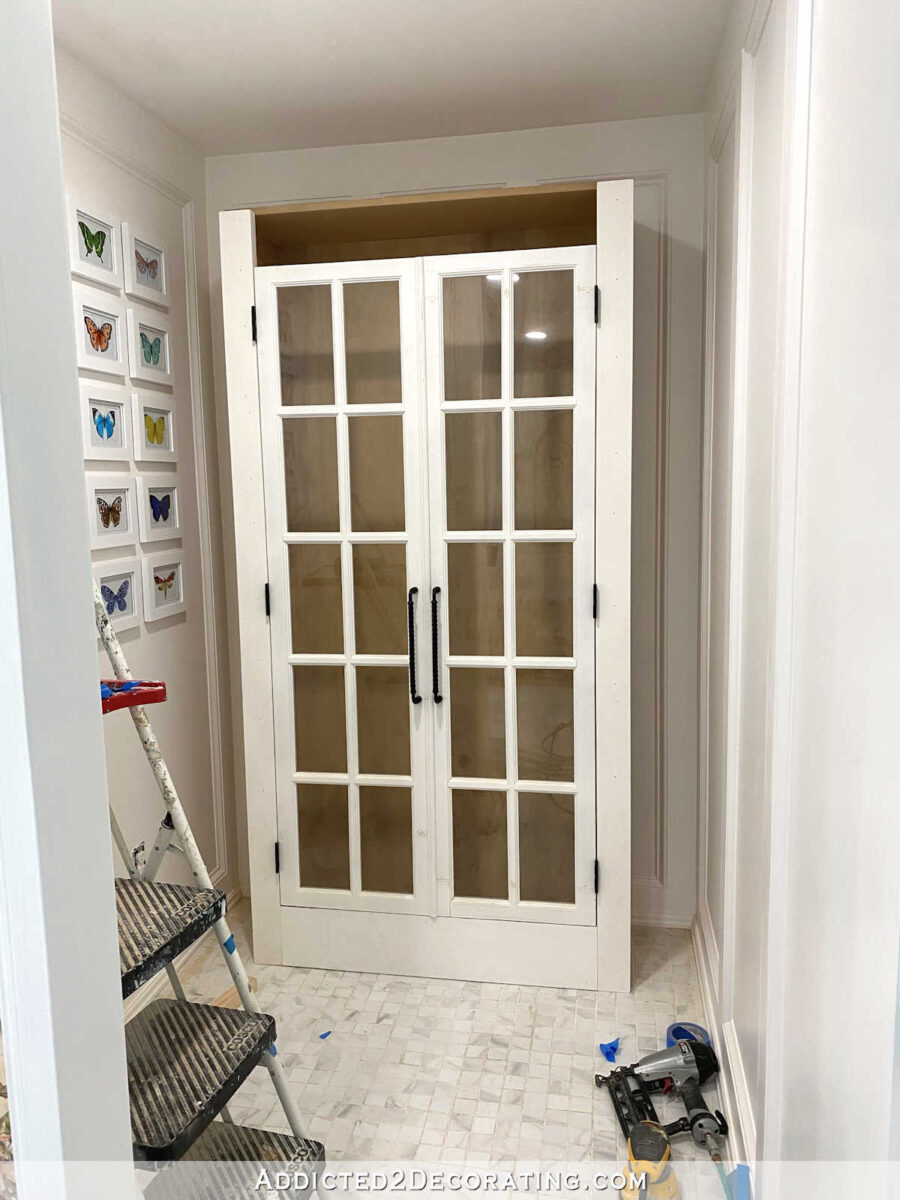
Once the door was attached to the stile with the center hinge, then I could very easily attach the top and the bottom hinges to the stile. And once I repeated that process on the other door, this is what it looked like…
7. Attach the top rail
I made the top rail in the exact same way that I made the bottom rail, doubling up on the thickness and drilling pocket holes in both ends. The only difference is that since I was using 1″ x 8″ lumber, and I needed the top rail to be 5.75 inches, I had to use my table saw to cut down the width before drilling the pocket holes and installing it.
But I installed it the same way — nail strip spacers taped to the top of the doors, top rail clamped into place, and then screwed into place using the pocket hole screws.
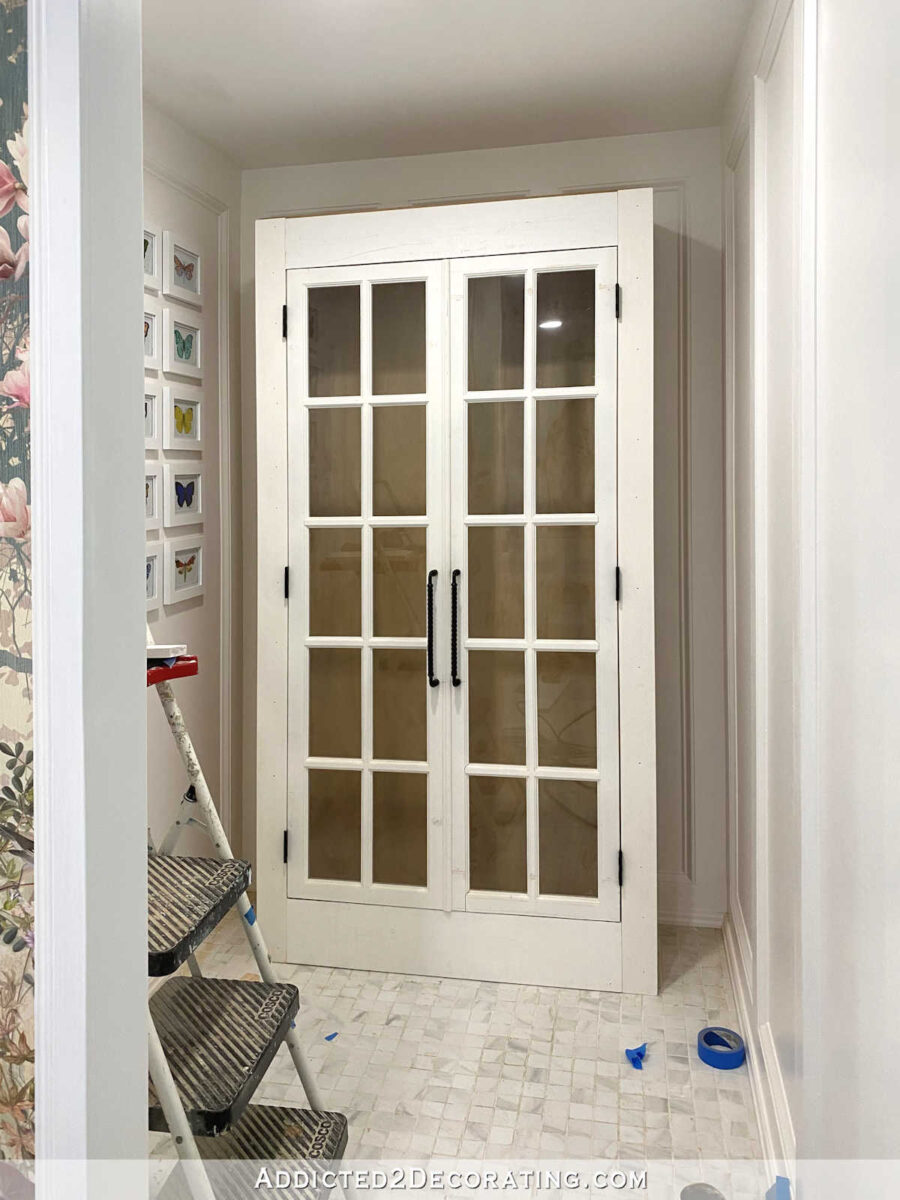
And once that top rail was attached, I had the basic build of the cabinet complete.
I have a whole lot of trim work to do to turn this from a basic box with doors into a pretty cabinet, but that’s the easy, fun, and creative part. Getting the basic build on this beast of a cabinet, and having to do so in such a small work space, was the challenging part. So stay tuned to see how it all turns out! And now that you can actually see a cabinet in this space, what about the color? Stick with white? Go with a very pale pink? I’m personally still undecided on that.

Addicted 2 Decorating is where I share my DIY and decorating journey as I remodel and decorate the 1948 fixer upper that my husband, Matt, and I bought in 2013. Matt has M.S. and is unable to do physical work, so I do the majority of the work on the house by myself. You can learn more about me here.
I hope you’ll join me on my DIY and decorating journey! If you want to follow my projects and progress, you can subscribe below and have each new post delivered to your email inbox. That way you’ll never miss a thing!
Source link