[ad_1]
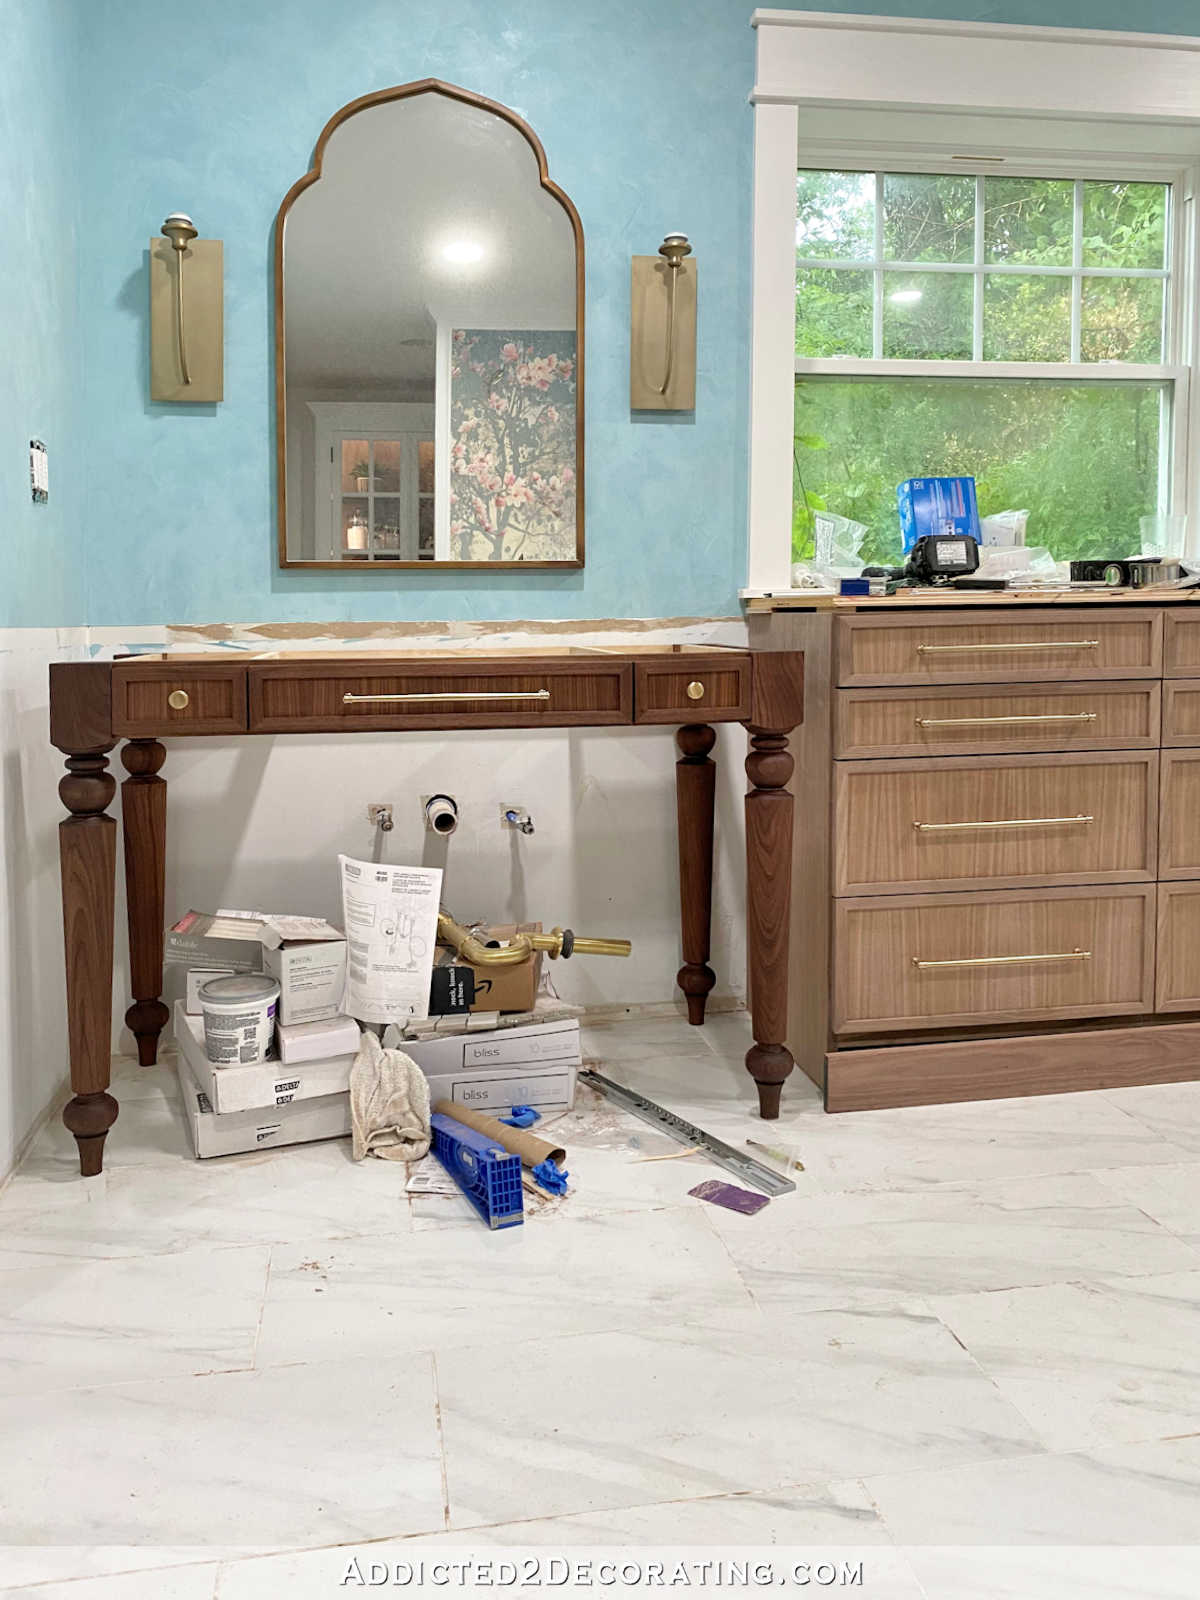
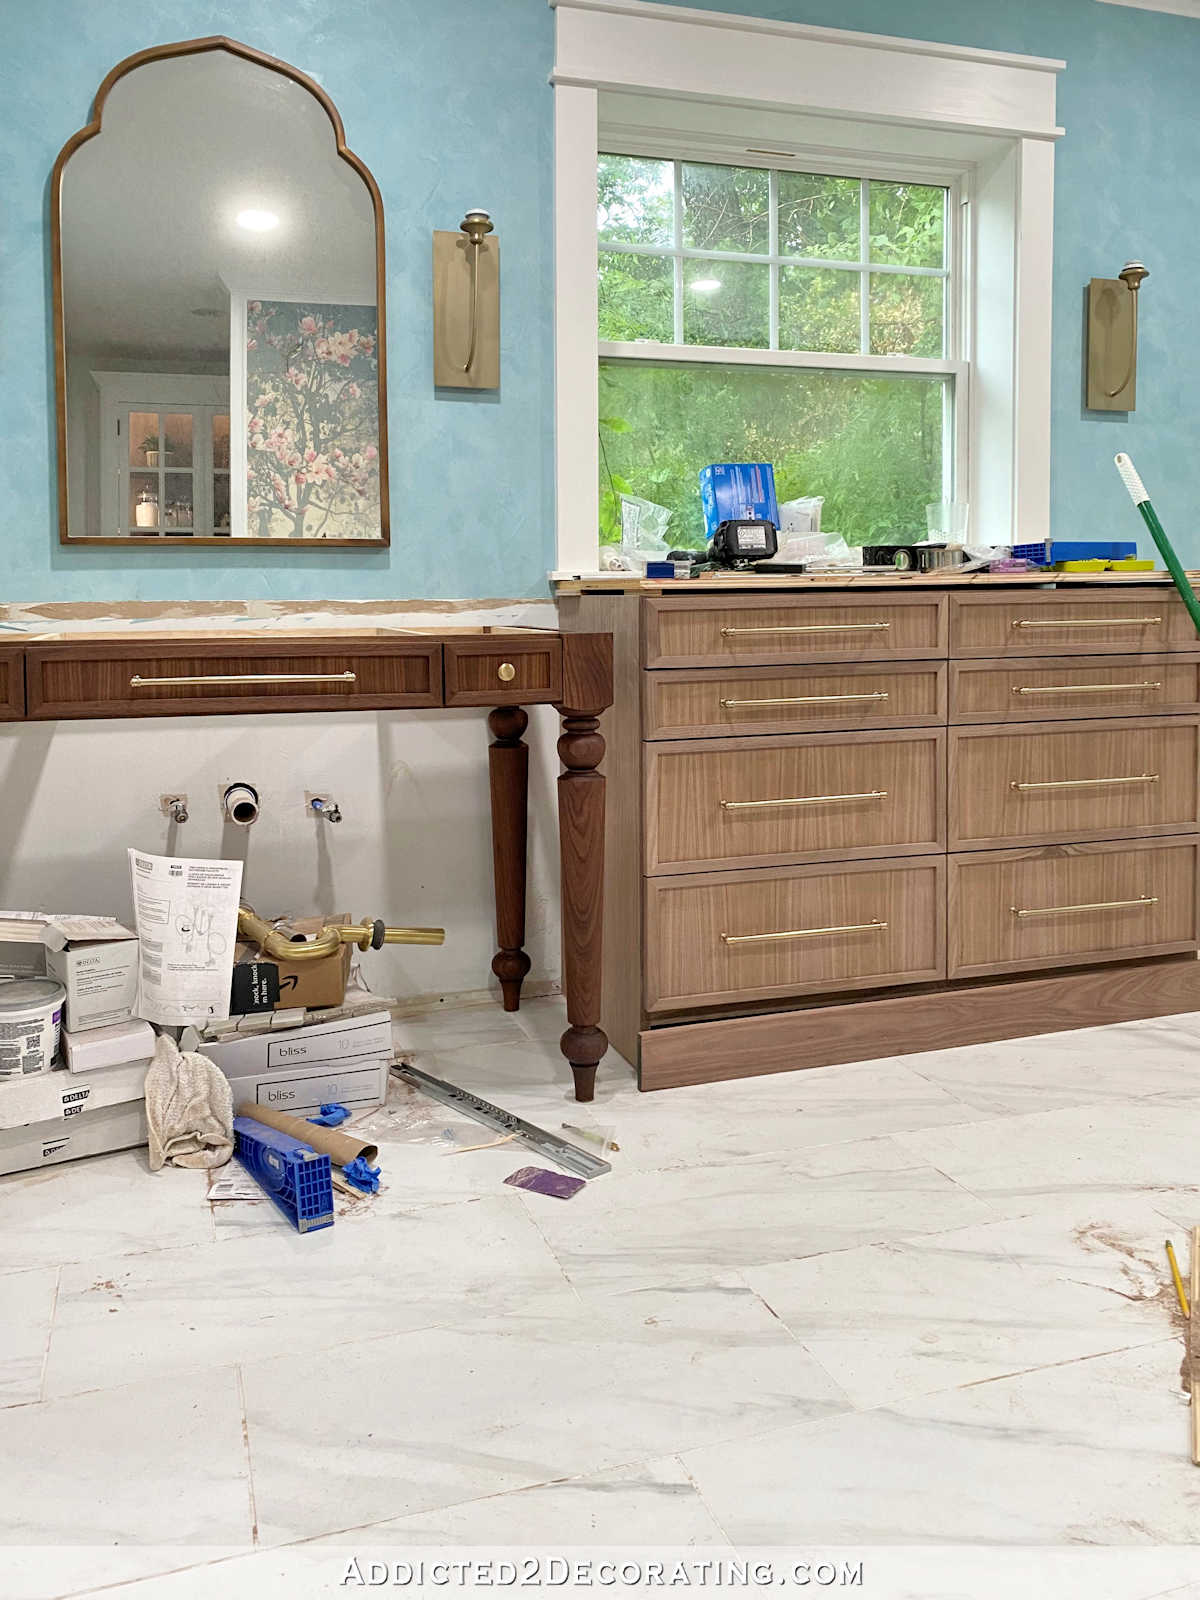
Yesterday, I got one of the vanities for our master bathroom remodel completely finished. After doing much research on the best way to finish walnut, I decided to use Rubio Monocoat Oil Plus 2C. This product was brand new to me, but after watching videos and seeing how easy it is to use, I decided to give it a try.
Before I get to that, let me back up just a bit for those who may have missed previous posts on this project. I built these table-style walnut vanities myself. If you’d like to see that project, you can find that here:
And let me show you what it looks like now that it’s been finished with the Rubio Monocoat…

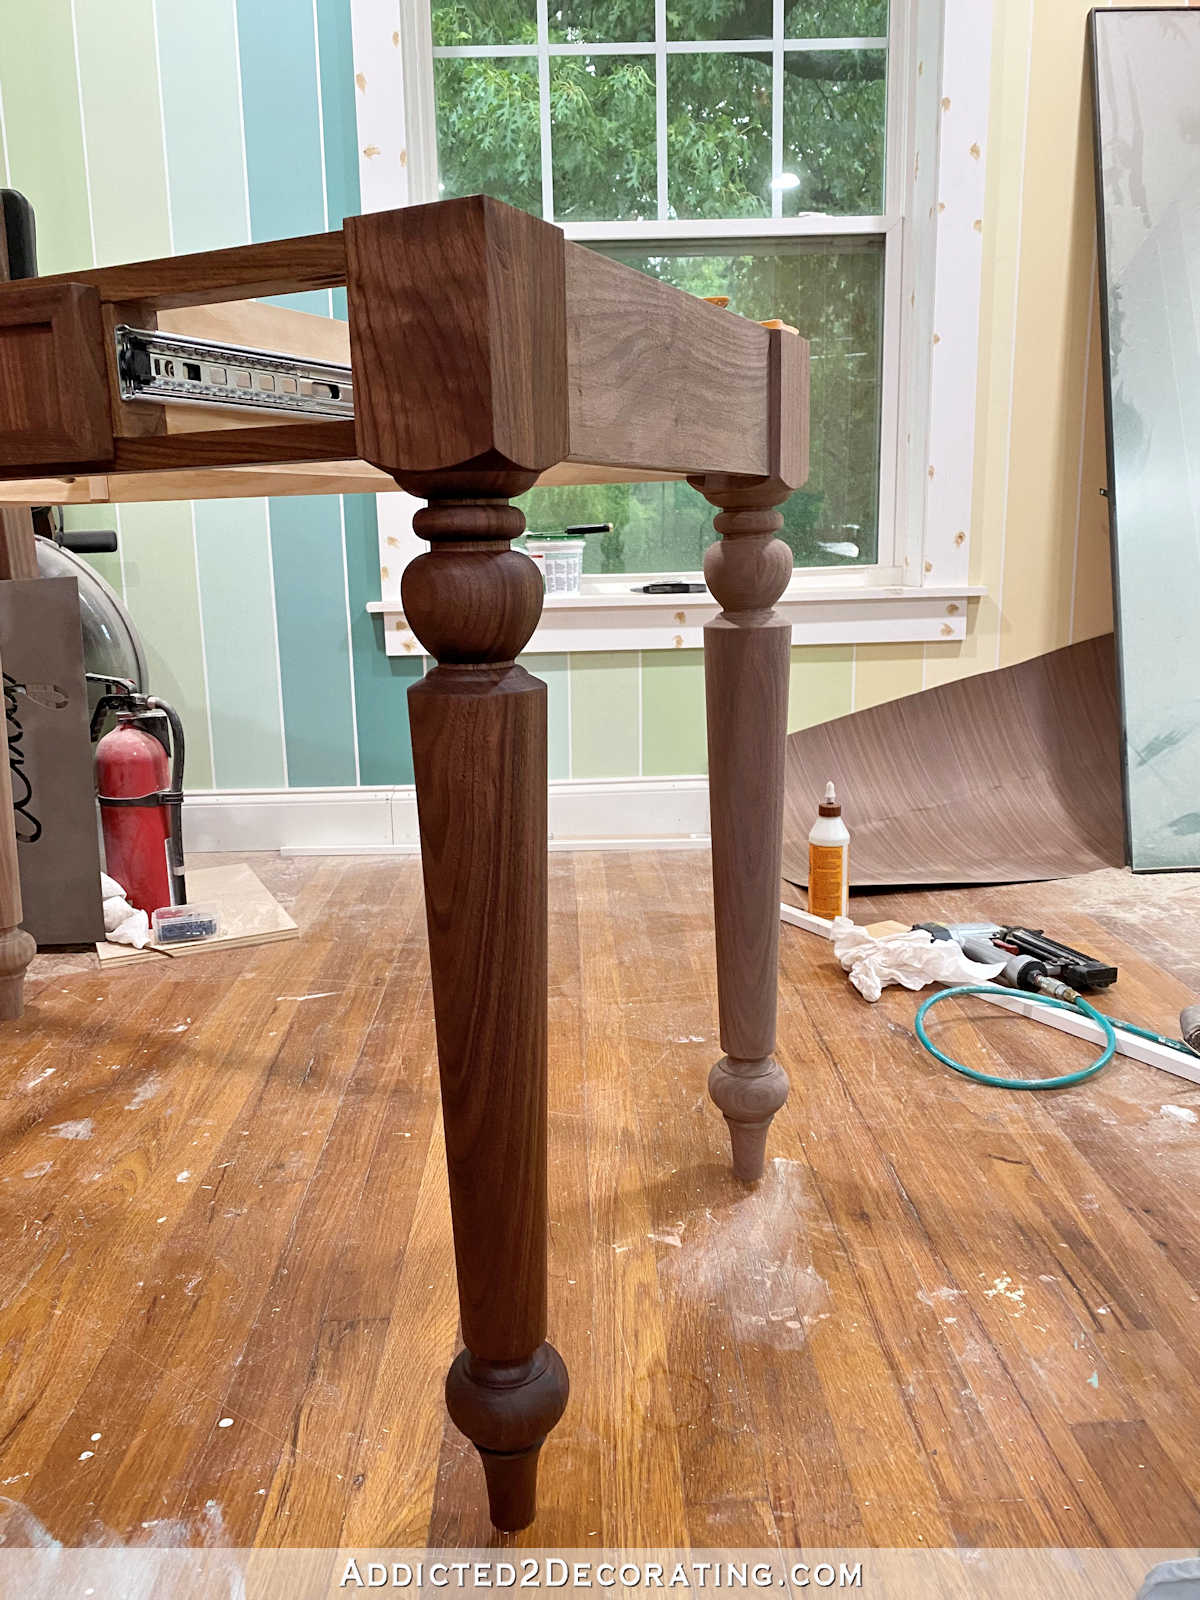
Isn’t that gorgeous?! I absolutely LOVE it!! It makes me want to build with nothing but walnut in the future, and finish that walnut with nothing but Rubio Monocoat. Just look at how the finish brought out such a richness of color in that beautiful walnut!
So let me show you how I did it…
How To Apply Rubio Monocoat Oil Plus 2C
This product couldn’t be easier to use. Here’s the basic rundown of the steps:
- Sand the wood to a 120-grit finish.
- Clean the dust off of the surface.
- Mix the Rubio Monocoat Oil Plus 2C.
- Apply with a white applicator pad.
- Wait 10 minutes.
- Wipe off the excess.
That’s it. Seriously. I can’t think of any other finish I’ve used that’s easier to apply. I also can’t imagine how anyone could mess it up. It seems like a pretty fool-proof finish to me. And the best part is that it only requires one coat, hence the name, Monocoat.
The main thing to note is that Rubio Monocoat Oil Plus 2C is (as the name should indicate) an OIL-based finish. That means that it will significantly change the appearance of the wood. If you don’t want to change the appearance of the wood, you’ll have to find a water-based finish. My absolute favorite go-to water-based finish is General Finishes High Performance Topcoat in a flat finish (which appears more like a satin finish to me).
But I can’t imagine working with walnut and NOT wanting to bring out the gorgeous fullness of the color of the wood, so an oil-based finish is perfect for walnut.
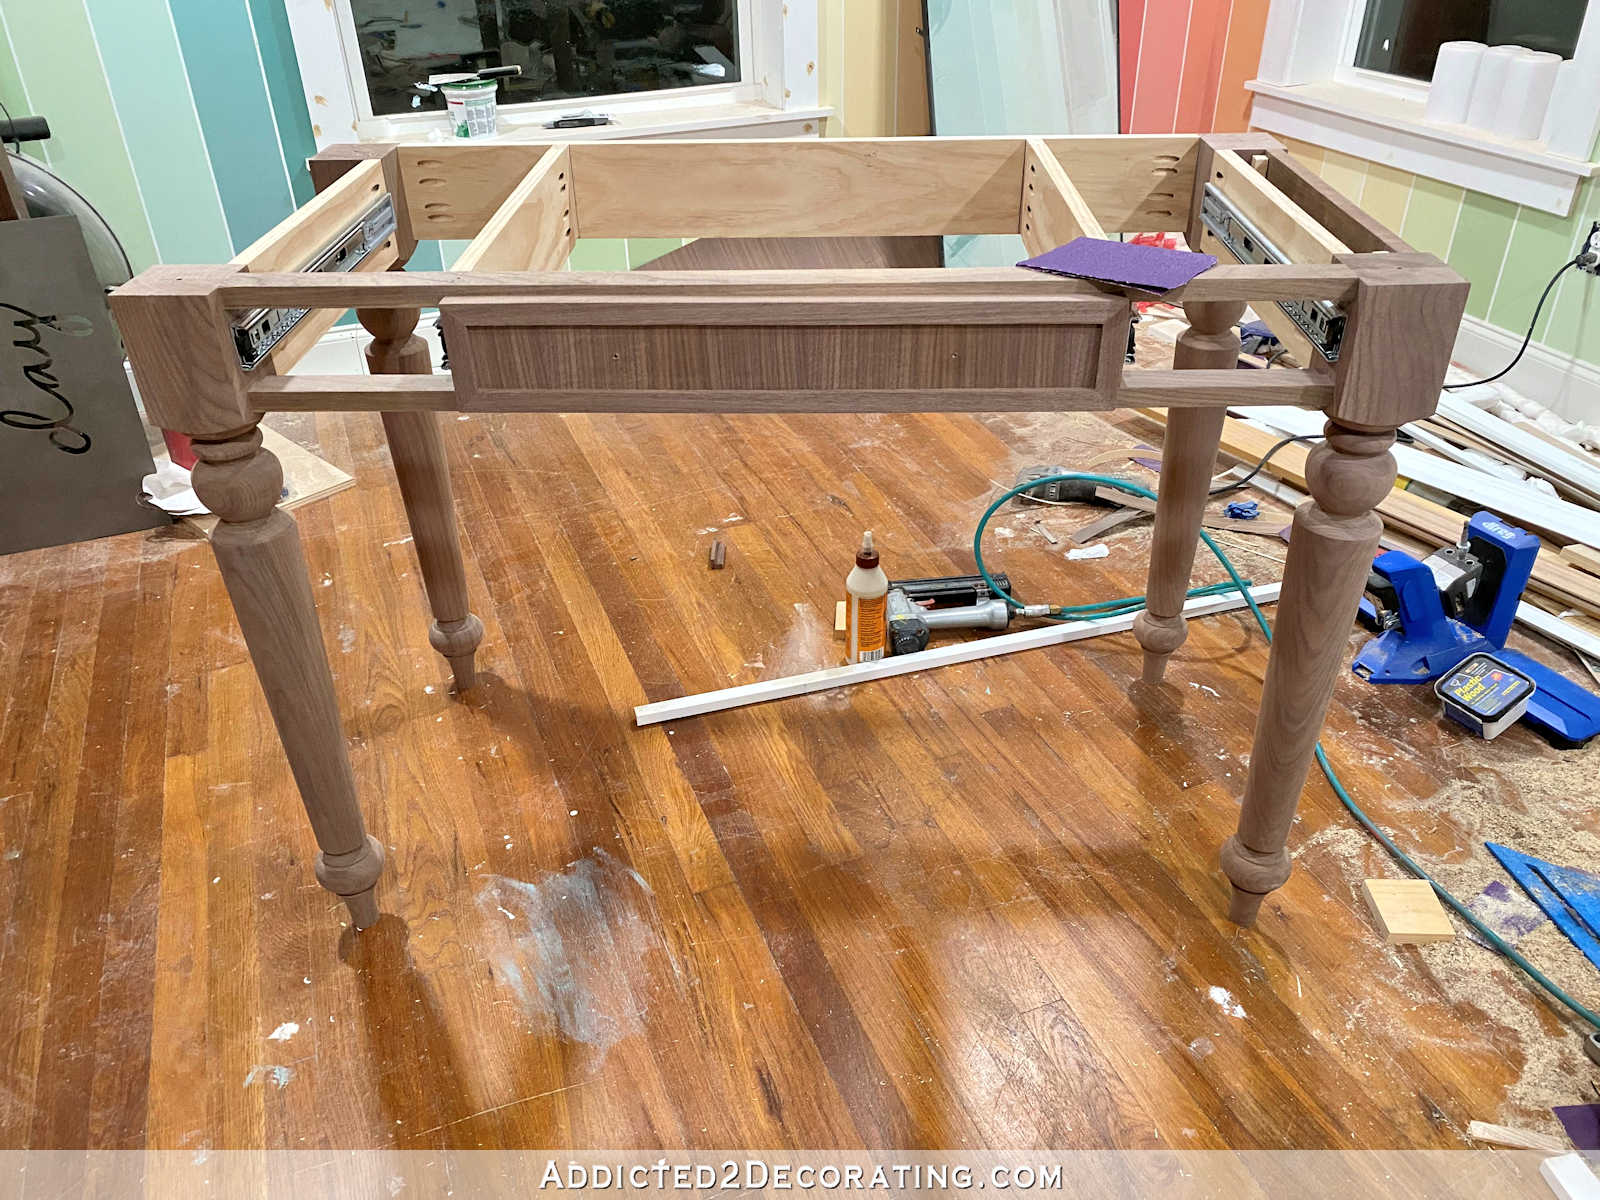
To finish the vanity, I started by giving the whole thing a final sanding with 120-grit sandpaper. And because this vanity doesn’t have any large, flat surfaces, I sanded the whole thing by hand.
I generally sand surfaces to 220-grit sandpaper, but this particular finish requires nothing higher than 120-grit so that the oil can actually penetrate into the pores of the wood and bind to the wood better.
After sanding, I used mineral spirits on a clean white rag to clean off all of the dust.
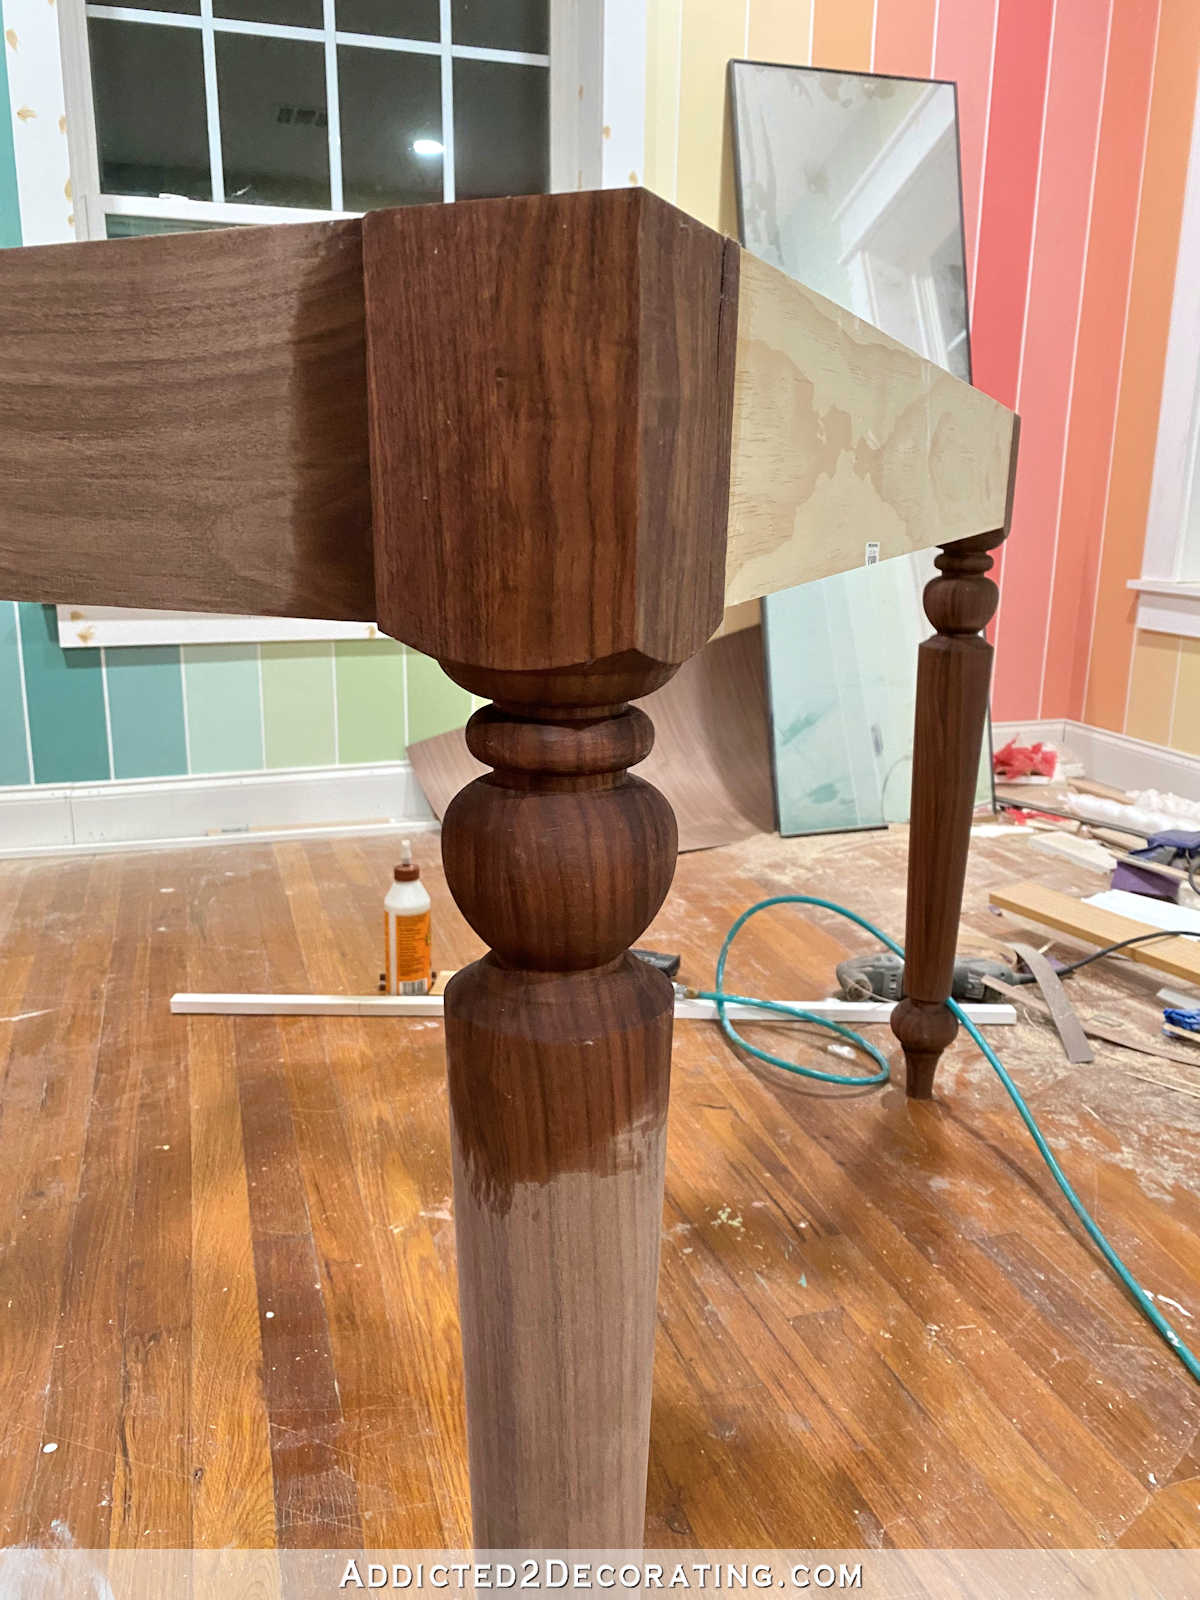
The mineral spirits temporarily turned the wood dark, but as it dried, it returned to its light color again. I let it dry overnight before moving on to the final finish.
And just an FYI, wiping mineral spirits onto the surface of unfinished wood is a great way to get a preview of what the wood will look like with an oil-based finish. It won’t be exact, but it’s pretty close. It can be useful in helping you decide if you want to use an oil-based or water-based finish on a project.
With the vanity cleaned off and completely dry, I was ready to mix up the finish. The Rubio Monocoat Oil Plus 2C comes in many different colors. The one I used is called “Pure”. It’s a two-part finish that has to be mixed together before you use it.
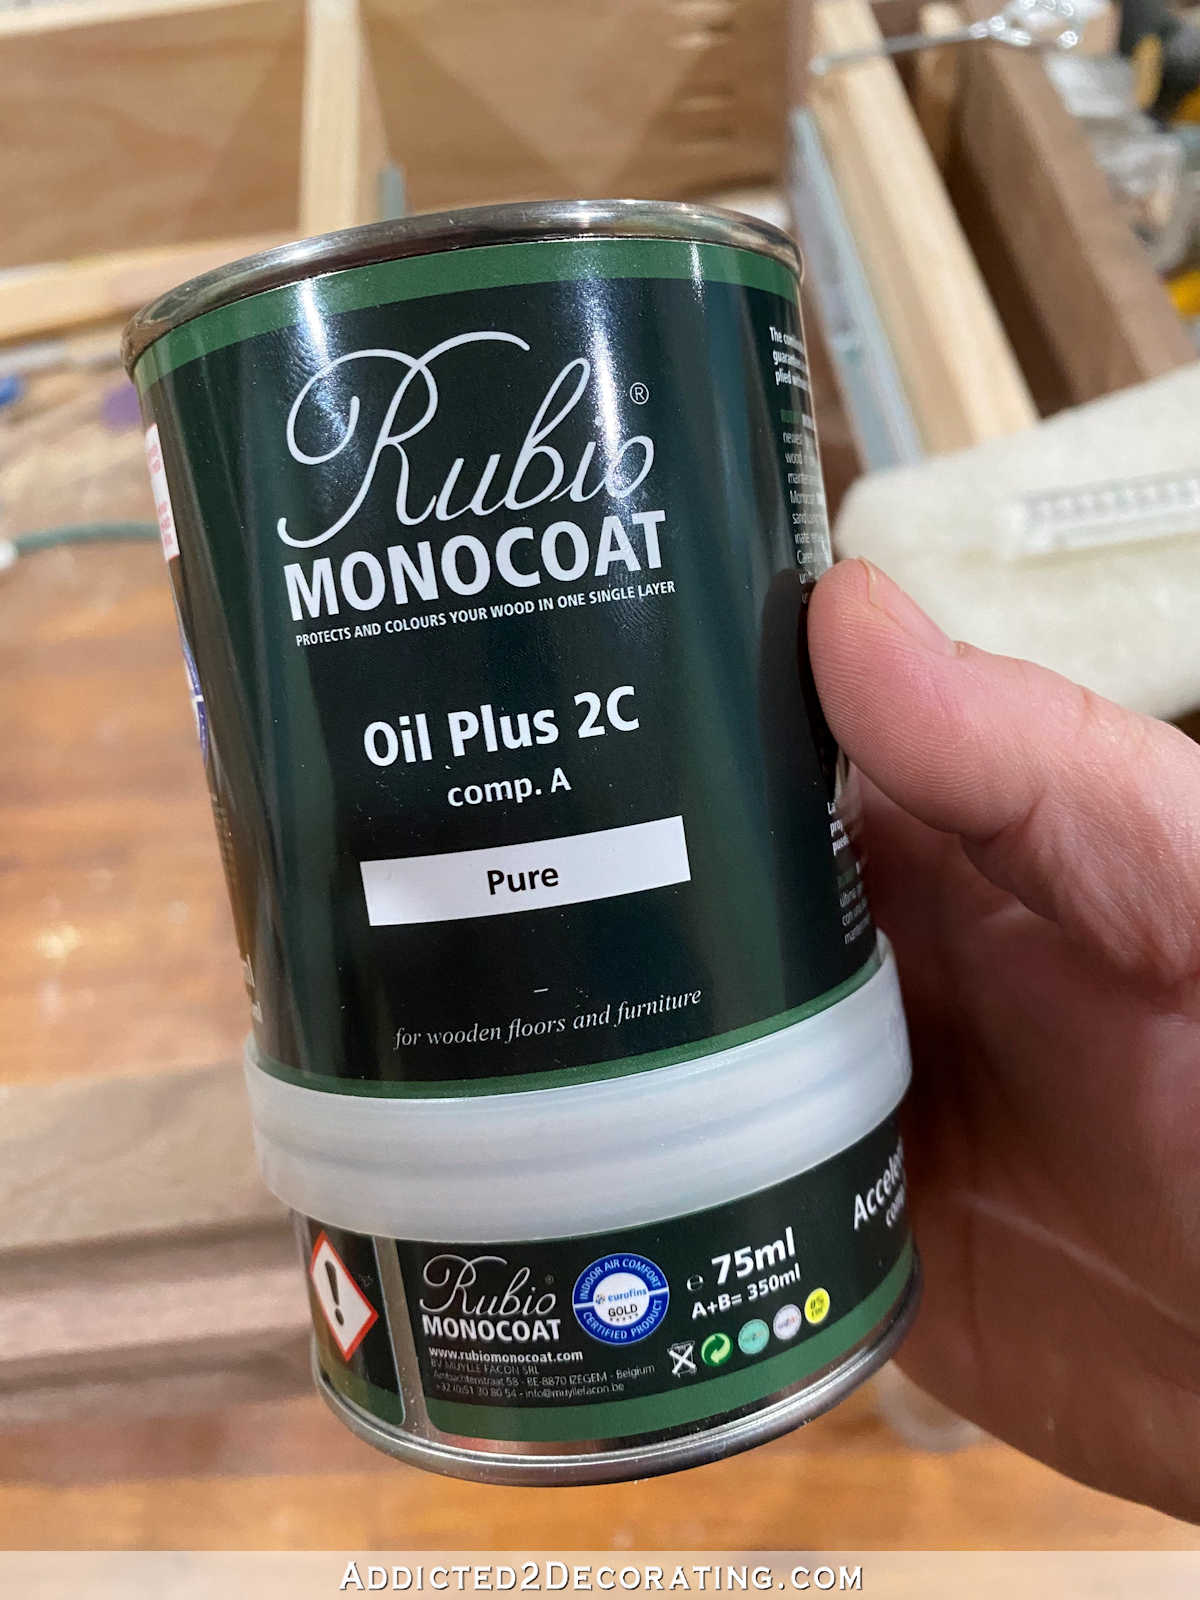
You can actually purchase and use the oil (the large top container) by itself, but I would imagine that the oil by itself would be a finish that would need reapplication periodically, just like my butcherblock kitchen countertops that I sealed with mineral oil. Since that oil didn’t have any hardener in it, it needed to be reapplied every month or two.
But this one comes with an accelerator (which I think is a hardener) that is mixed with the oil to give a lasting finish. And a little bit of this finish goes a long way.
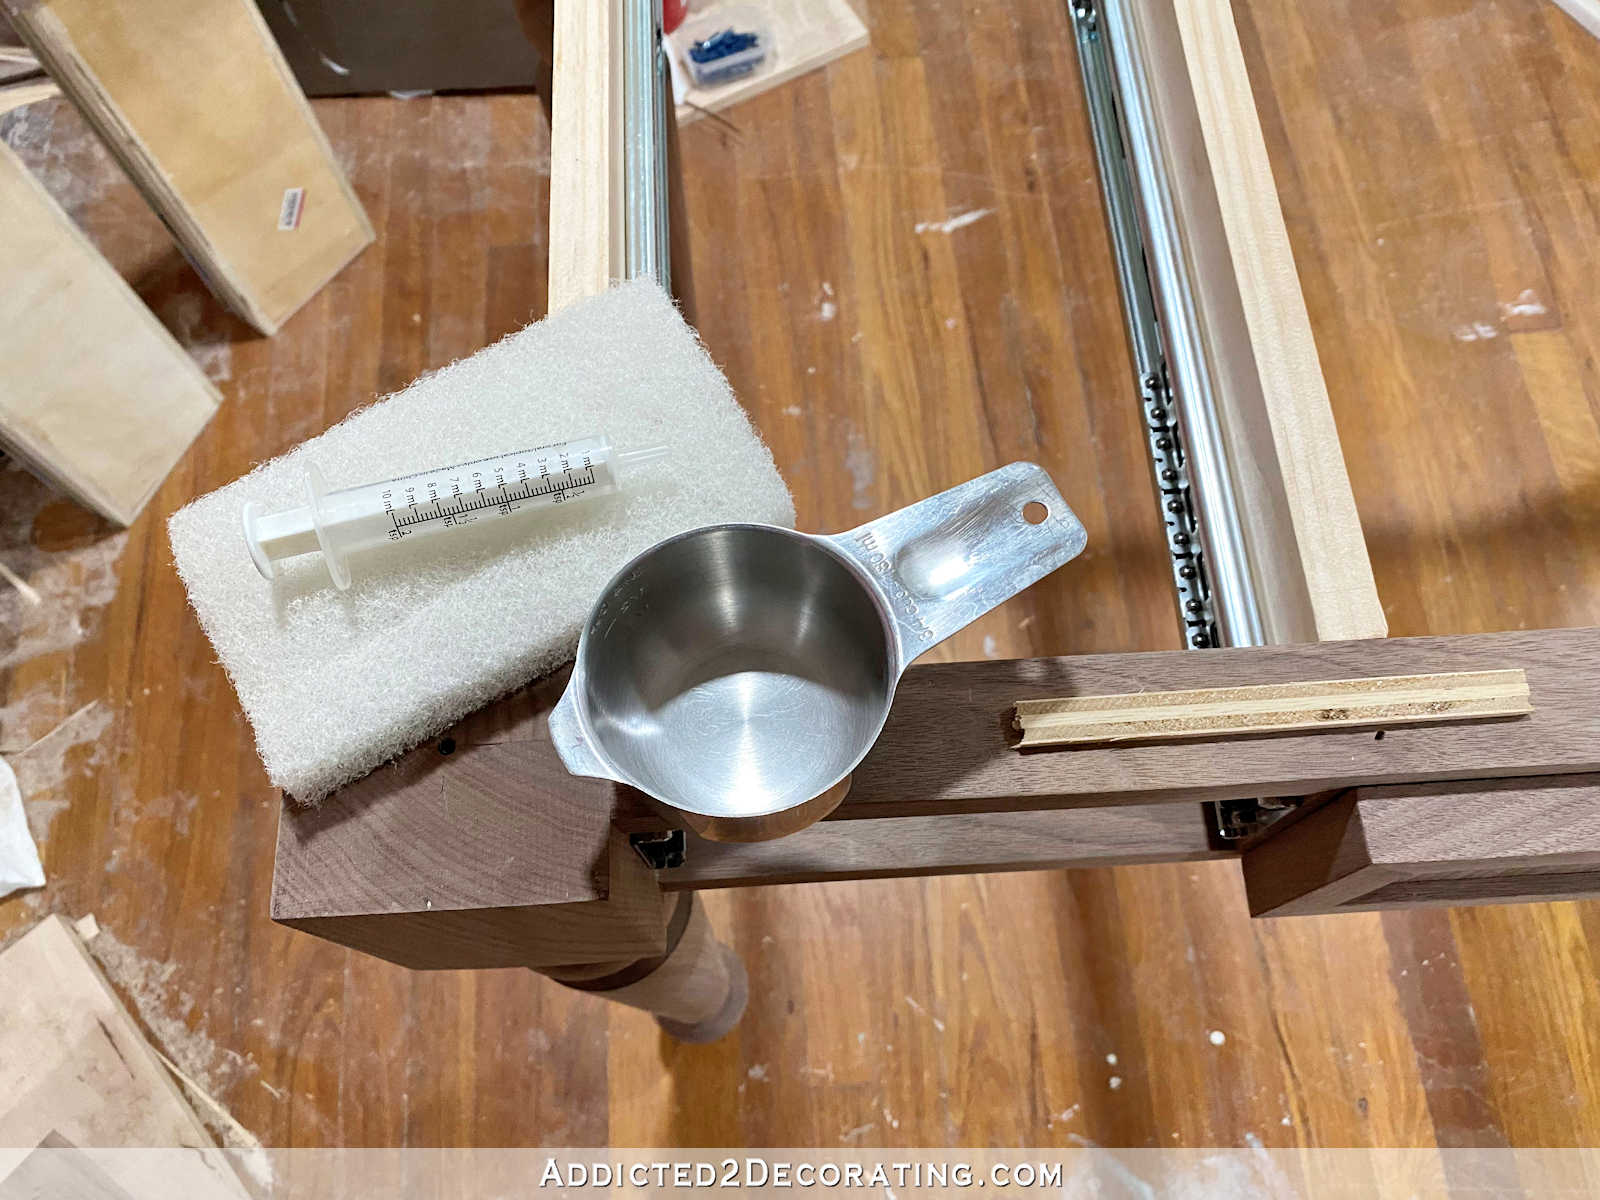
To mix the two parts, I used a syringe (the type that you buy at the grocery store and use to give medication to children) to measure out the two parts, a small container (I always keep my old measuring cups for these purposes), and a scrap piece of wood to use as a stir stick.
I opened the oil and stirred it very well before mixing the two parts. And then I mixed the two parts according to the instructions on the container — three parts oil to one part accelerator. For the whole vanity, I ended up using a total of 36ml of oil and 12ml of accelerator.
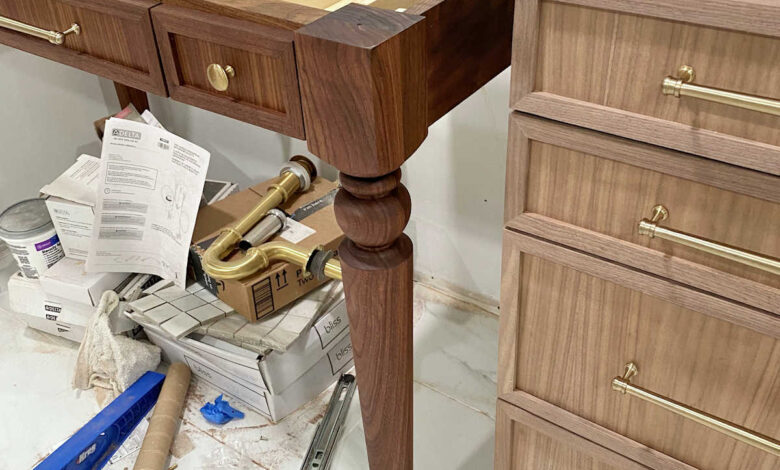
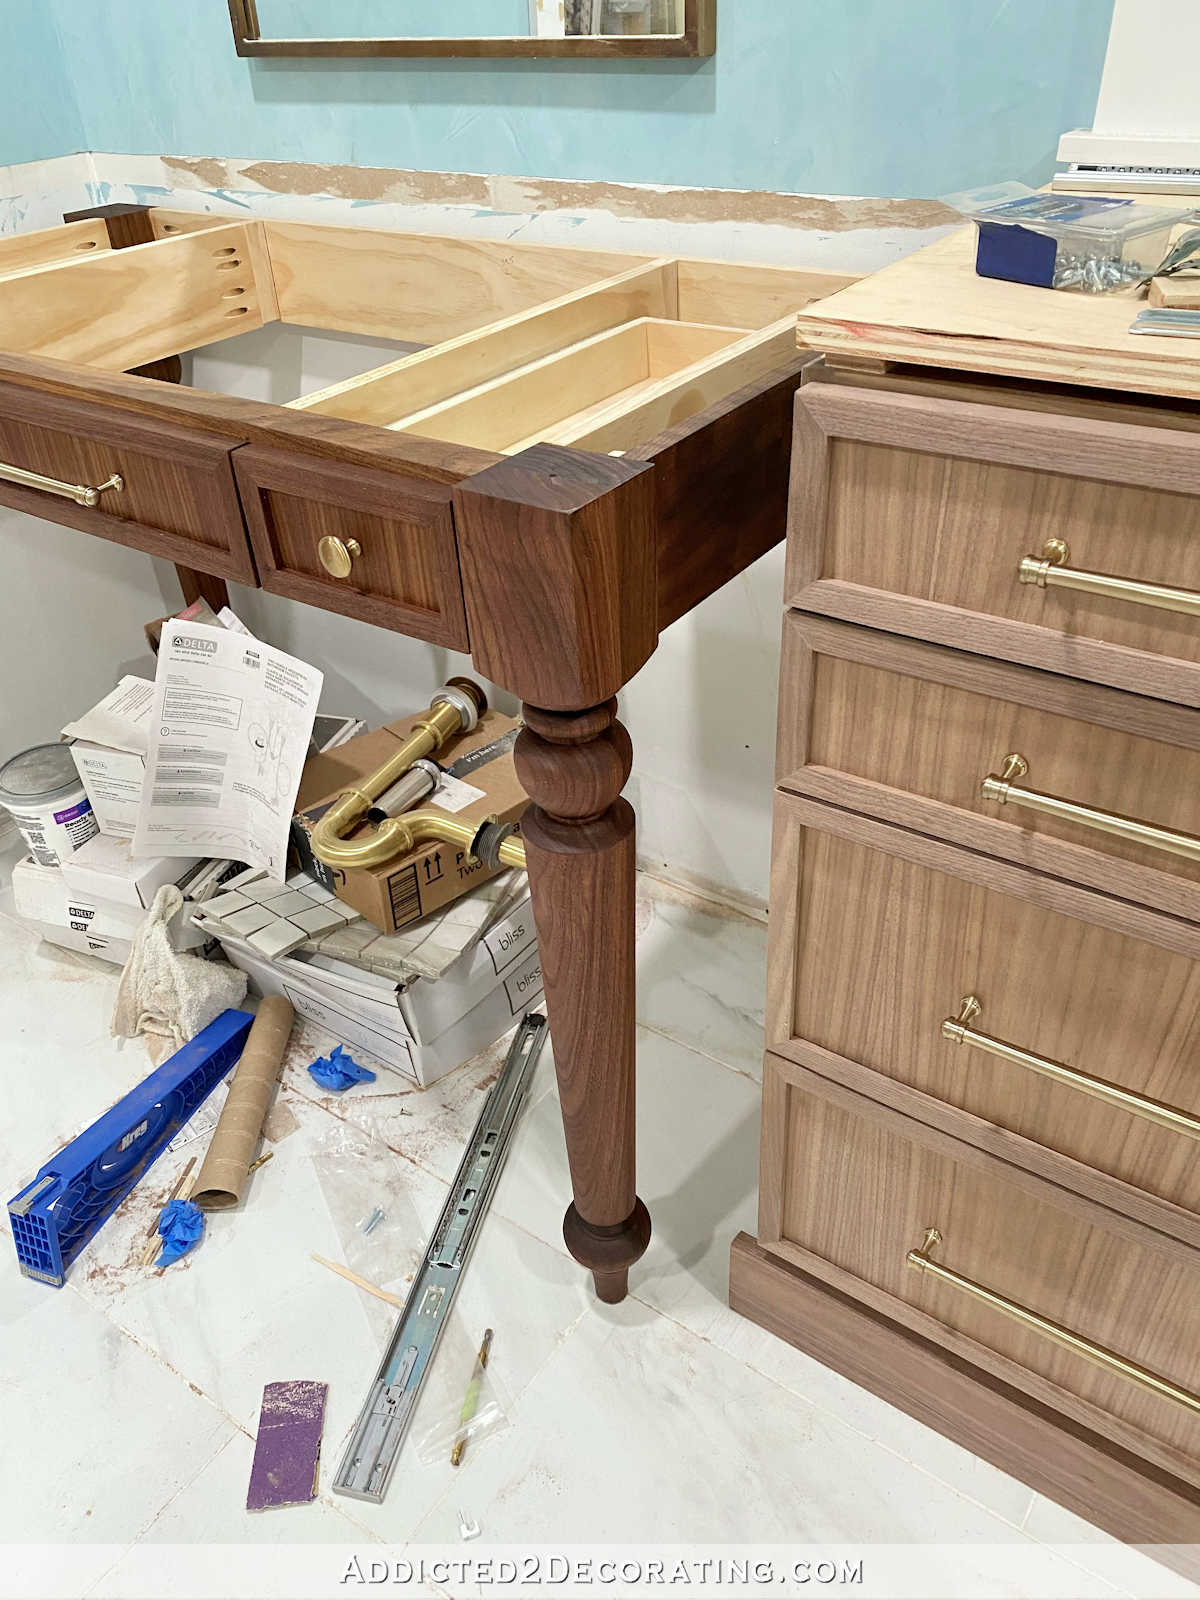
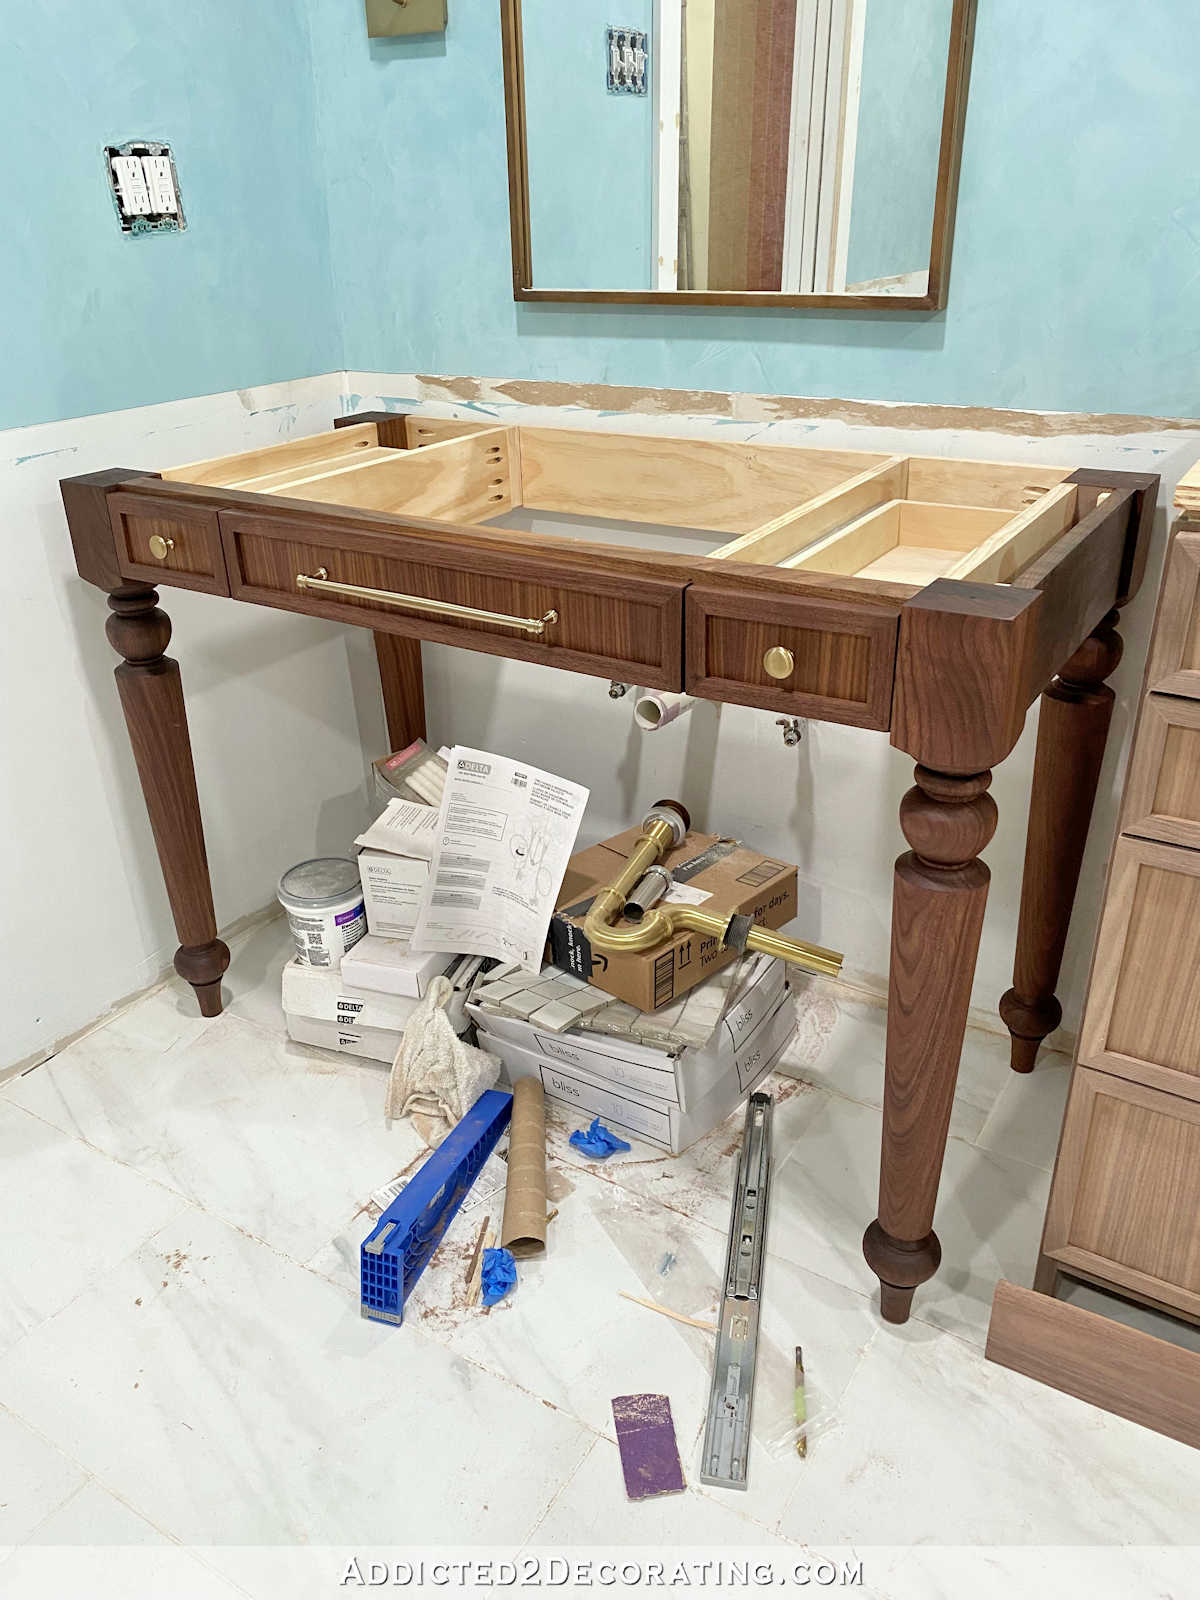
To apply the finish, I used the white applicator pad that you see in the picture above. I cut that pad into four pieces for easier use, dipped it into the mixed oil, and rubbed it on to the surface of the wood. You can see in the picture below what a difference it makes. The front leg is finished with the Rubio Monocoat, but the side apron and back leg are not.
I worked in sections, such as one leg at a time, and then after the oil finish had about 10 minutes to really soak in, I used a clean white cloth to wipe off the excess.
And that’s it. Seriously. That’s it.
I can’t imagine it being any easier! I think it takes about to seven days to fully cure, but it was dry enough to move the vanity back into the bathroom (and not feel like the oil was getting onto my hands) after a couple of hours.
The difference between the vanity and the storage cabinet amazes me. I so wanted to jump ahead and finish the center cabinet as well. It took all of my self-control to stop myself. I just think it would be wiser to wait until the whole thing is finished before jumping ahead applying the oil finish in a piecemeal fashion. I’m still waiting for the veneer to arrive so that I can finish the top, and I want to finish the top before I decide how to finish the trim along the bottom.
So until that arrives (which should be tomorrow), I’ll just admire the one finished piece, and try to imagine how it will look when all three pieces have this deep, gorgeous walnut color.
I’m so glad I decided to use walnut for this bathroom. It’s my favorite wood species, and I can’t believe I’ve waited this long to use it for the first time. It’s not cheap, and the Rubio Monocoat Oil Plus 2C isn’t cheap, either. (That small container was around $50, but it really does go a very long way.) But I think it was very well worth the splurge.

Addicted 2 Decorating is where I share my DIY and decorating journey as I remodel and decorate the 1948 fixer upper that my husband, Matt, and I bought in 2013. Matt has M.S. and is unable to do physical work, so I do the majority of the work on the house by myself. You can learn more about me here.
I hope you’ll join me on my DIY and decorating journey! If you want to follow my projects and progress, you can subscribe below and have each new post delivered to your email inbox. That way you’ll never miss a thing!
[ad_2]
Source link