How to Make a Scrunchie
[ad_1]
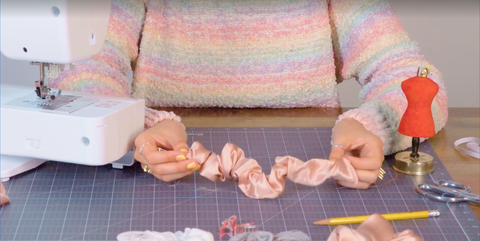
Many ’90s trends have come flying back into fashion, especially scrunchies! Lucky for us, scrunchies are super simple to make at home. It’s easy to get started on your DIY journey: Use fabric scraps from old bedding, cut off the bottom of a T-shirt that’s too big or just buy new fabric you love. Homemade scrunchies also make a great gift for birthdays, holidays and any other occasion.
Whether you’re a newbie who just invested in a sewing machine or a pro who wants to teach children how to sew, scrunchies make an excellent first project for sewing beginners. Follow these simple instructions for our DIY scrunchie tutorial:
What you’ll need:
- Fabric
- Iron (optional)
- Fabric scissors (or rotary cutter)
- Elastic, 1/4″ thick
- Sewing pins
- Thread
- Sewing machine
- Safety pin (optional)
Instructions:
- Get your materials ready: Gather all of your materials. Lay your fabric flat and iron if it’s wrinkly. Using fabric scissors, cut a 4″ x 25″ strip of fabric and a 6″ to 8″ piece of elastic (depending on how tight you want the finished scrunchie). For an oversized scrunchie, cut your fabric wider than 4 inches!
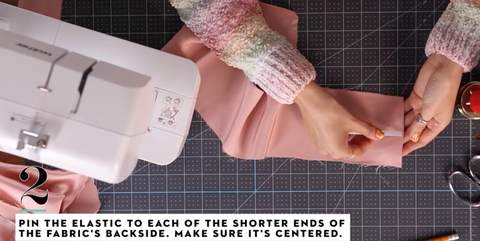
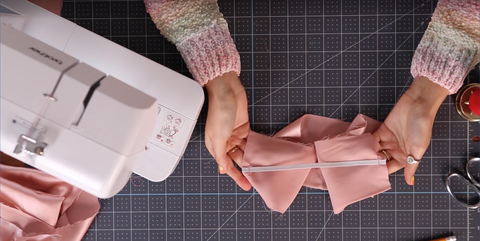
- Secure the elastic in place: Pin the elastic to each of the shorter sides of the fabric on the wrong side (aka the back side). Make sure it’s centered, and then stitch with a 1/2″ seam allowance.
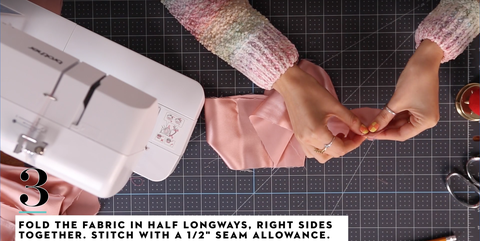
- Stitch the initial tube: Fold the fabric in half longways right sides together, and stitch with a 1/2″ seam allowance. For best results, press it flat first and pin it in place.
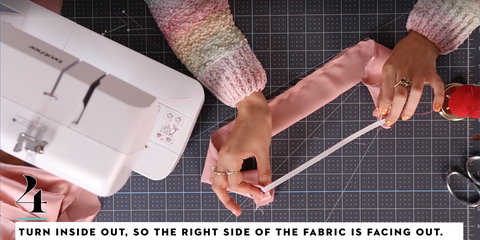
- Turn the scrunchie right side out: Turn the tube inside out, so the right side of the fabric is facing out. Tip: If you pin a safety pin to one end, you can use it to help guide the material through to the other end.
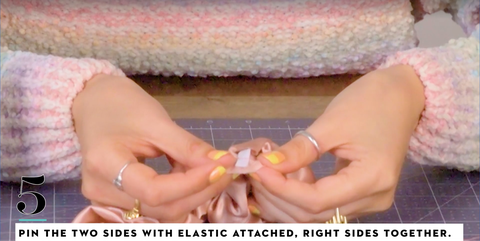
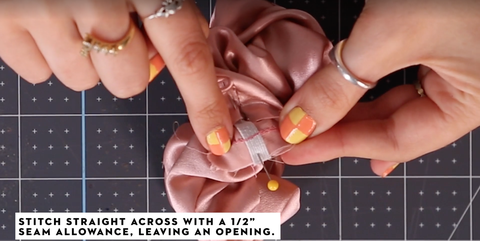
- Create a circle with the tube: Pin the two ends of the elastic together and stitch straight across with a 1/2″ seam allowance, leaving an opening. (Make sure the scrunchie isn’t twisted before sewing.)
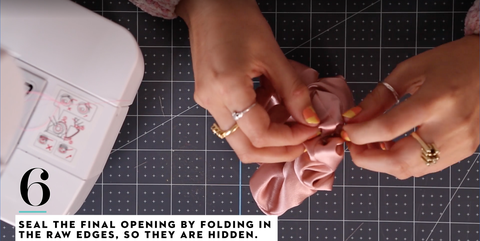
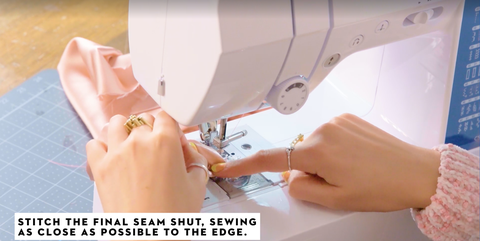
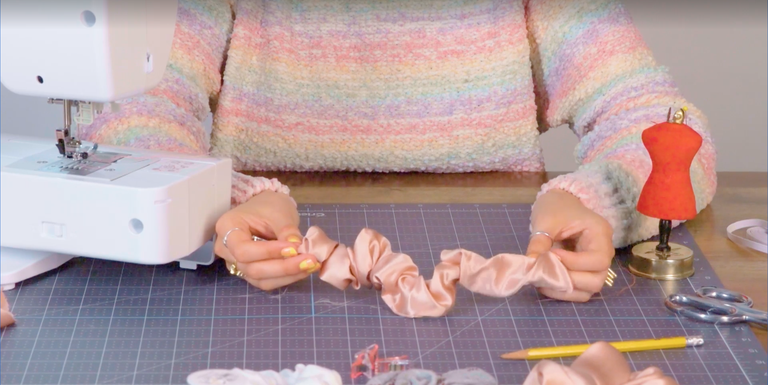
- Finish your scrunchie: Your project should look almost finished! Seal the final opening by folding in the raw edges, so they are hidden. Stitch across the folds to create the final seam, sewing as close as possible to the edge.
Bonus tip! To add a cute tie look to your scrunchie, cut a 4″ x 10″ piece of fabric, then fold in half lengthwise and trim off a 1″ diagonal piece on each end. Stitch around the sides with 1/2″ seam allowance, leaving a small opening in the front to turn it inside out. Turn it inside out and then stitch the final opening closed with a small seam allowance. Then, tie this piece onto your scrunchie.
This content is created and maintained by a third party, and imported onto this page to help users provide their email addresses. You may be able to find more information about this and similar content at piano.io
[ad_2]
Source link


