[ad_1]
I’m so close to having the first of the two curtains panels finished for the back entry of the studio. The first one is taking me a bit longer simply because it has been so long since I’ve made lined pinch-pleated curtains, so I’m having to remember the process along the way. I thought I could perhaps refer back to my own tutorial, but I realized that I don’t actually have a tutorial on how to make a simple, no-frills, no-trim, single-width lined curtain panel.
So I thought I’d take this opportunity to take photos of each step so that I can provide a step-by-step tutorial on how to make a single-width, lined, pinch-pleated curtain panel. So here we go!
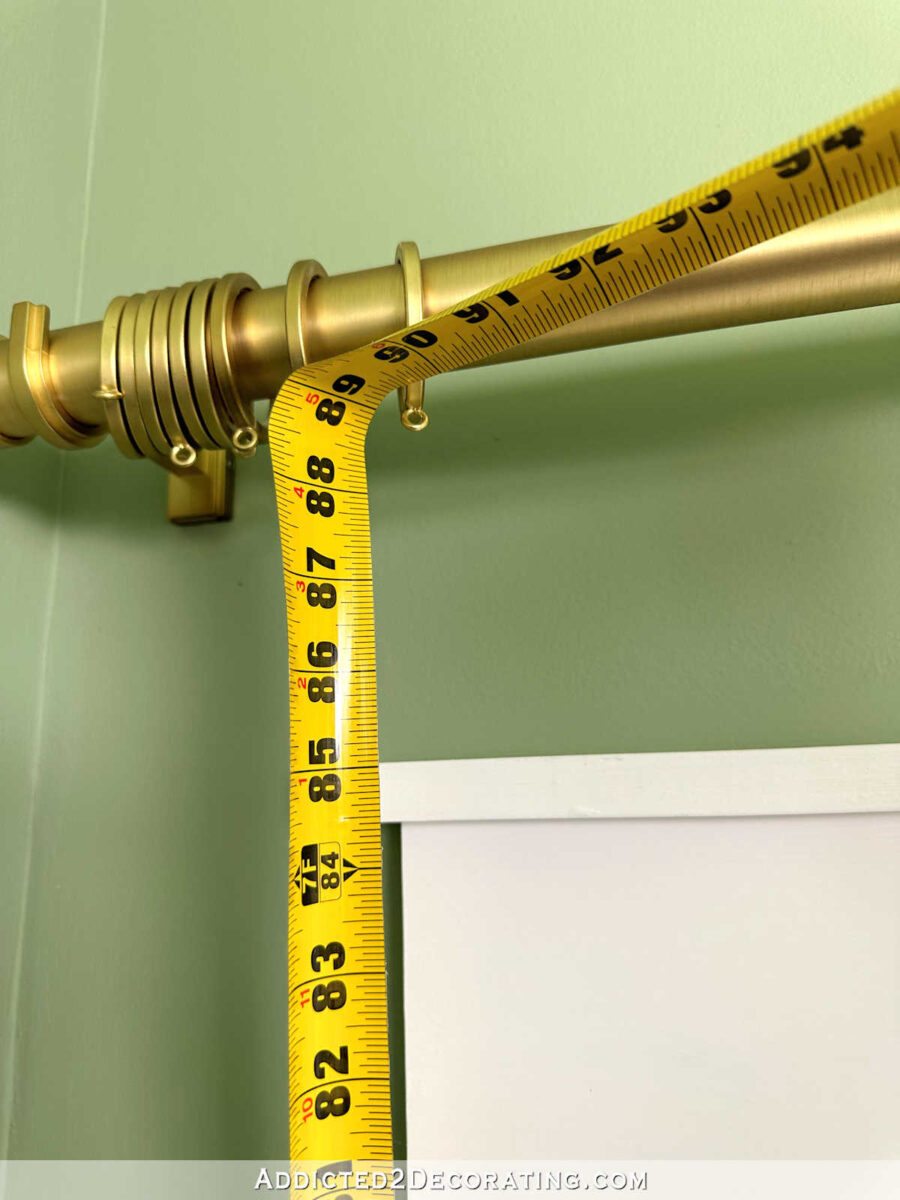
First, I install my curtain rod and rings. I used to do this after the curtain panels were made and ready to be hung, but I’ve found that it’s so much easier to install the rod first, and then make the curtains to fit the height of the installed curtain rod.
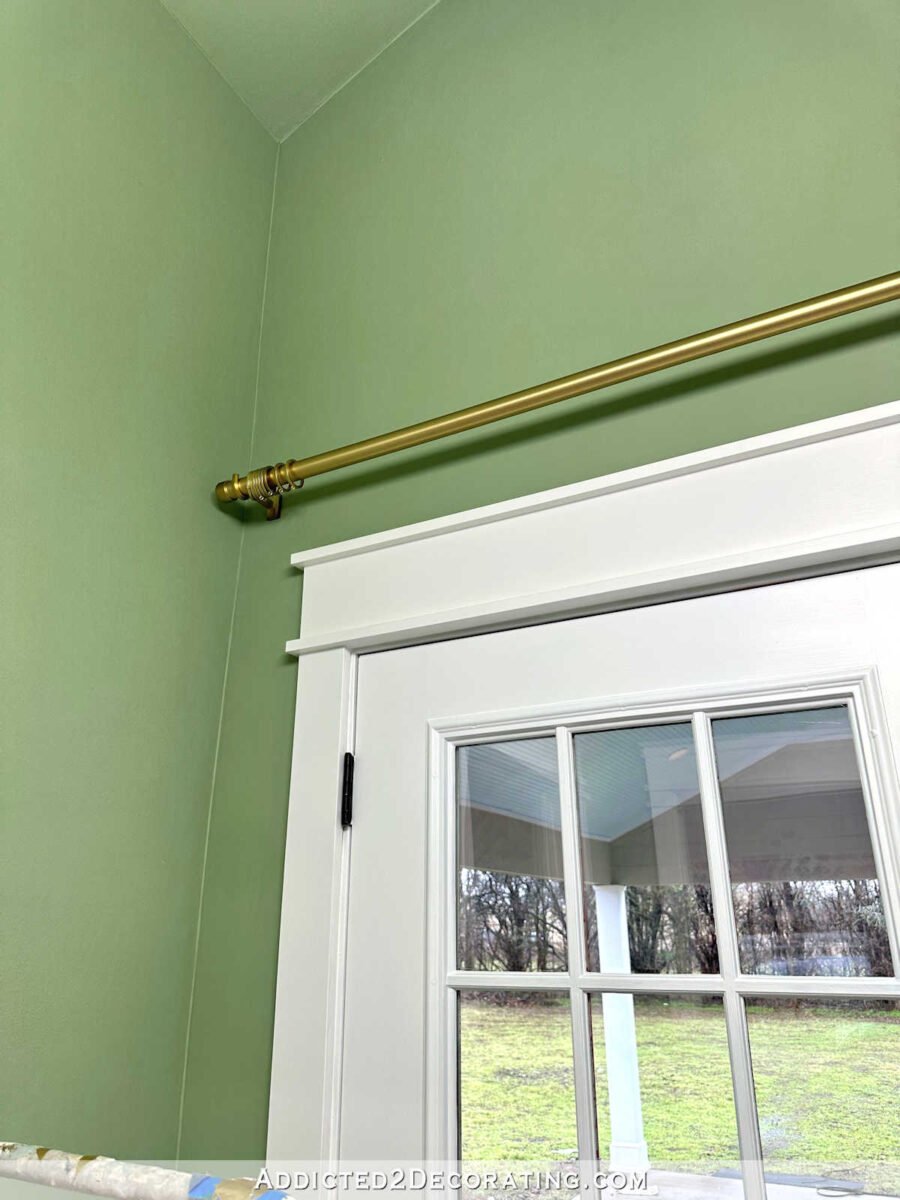
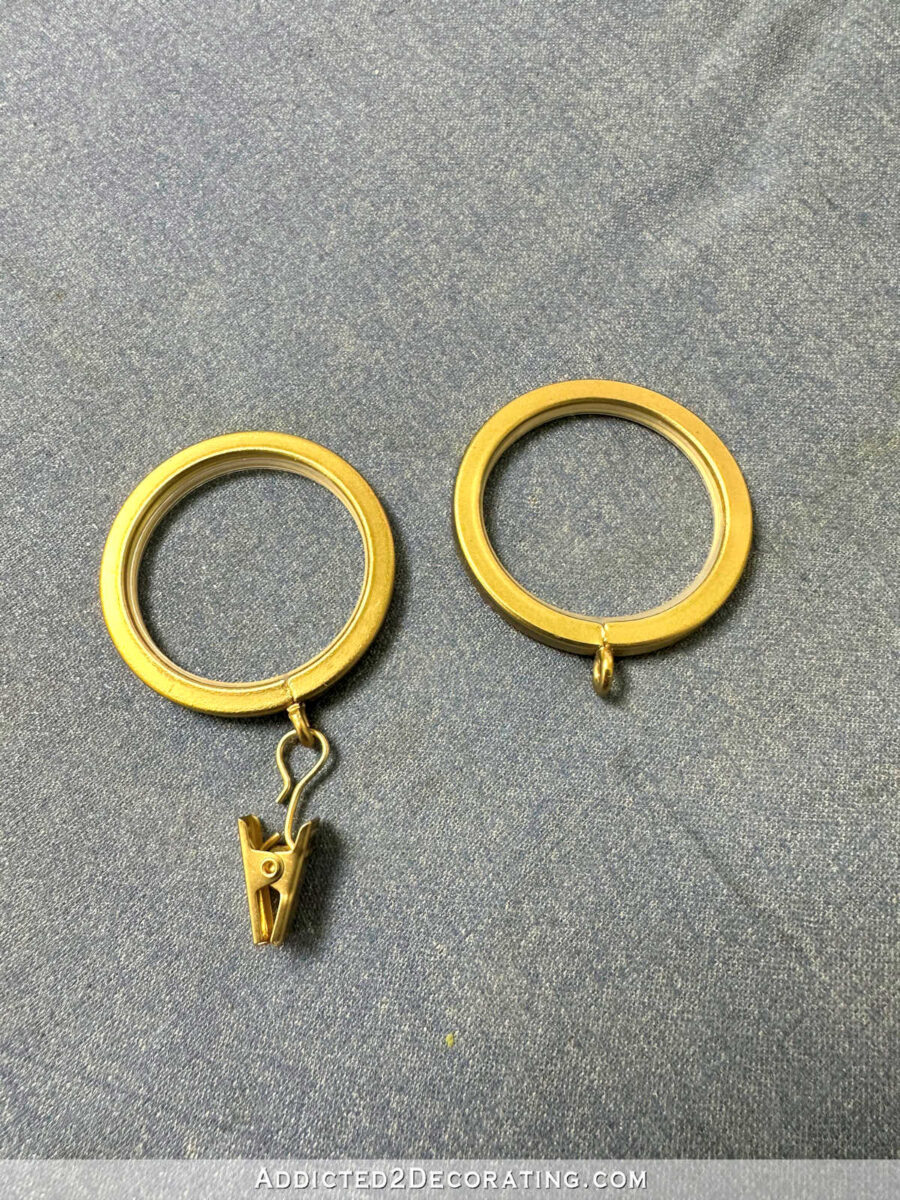
I also go ahead and add the rings, but I remove the clips first. No properly made curtain panels should ever be hung using clips.
Once those the rings are added, I can measure for the finished height of my curtain panels. I measure from the floor to right at the top of the little hook ring, which gave me a measurement of 88 7/8 inches. Then I subtract about 1/4 inch to get my finished length for my curtain panels.
Next, I cut my fabric. For each panel, I allow about three yards of fabric. The first step is to square up the bottom edge of the fabric. I do this by folding the fabric in half lengthwise, and then using a framing square (you can tell I’m a builder at heart 😀 ) to square up the bottom edge of the fabric.
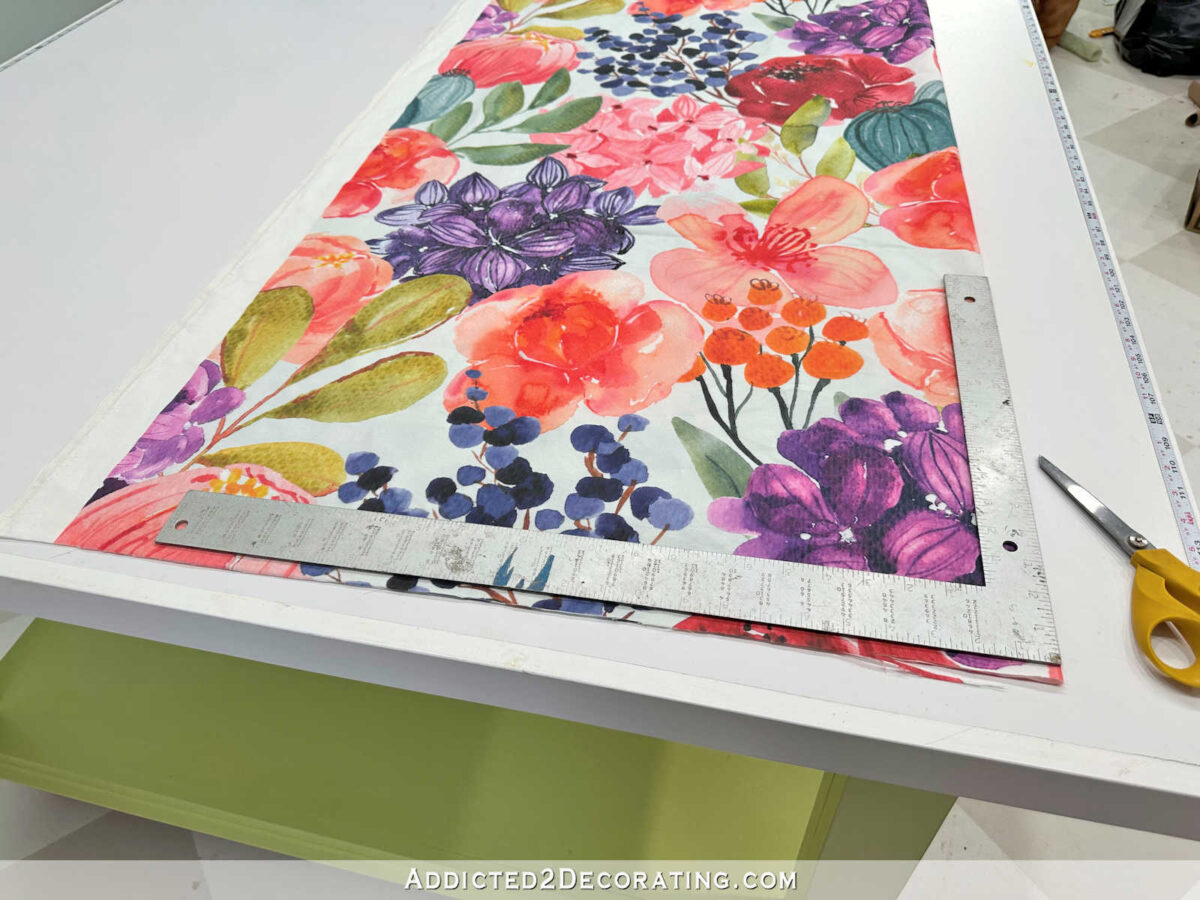
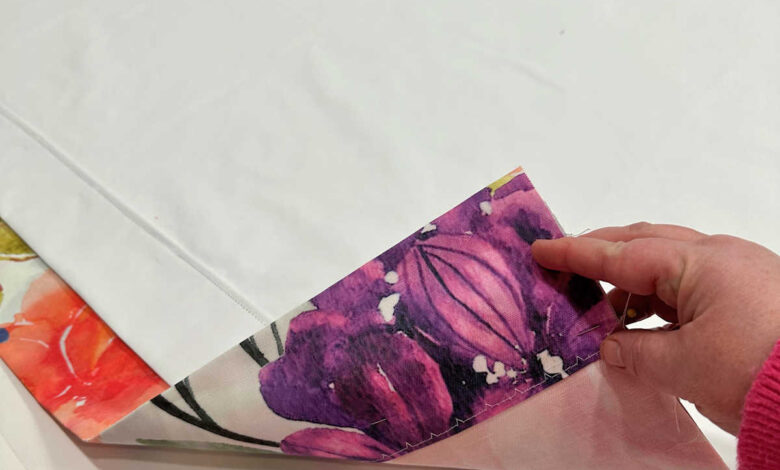
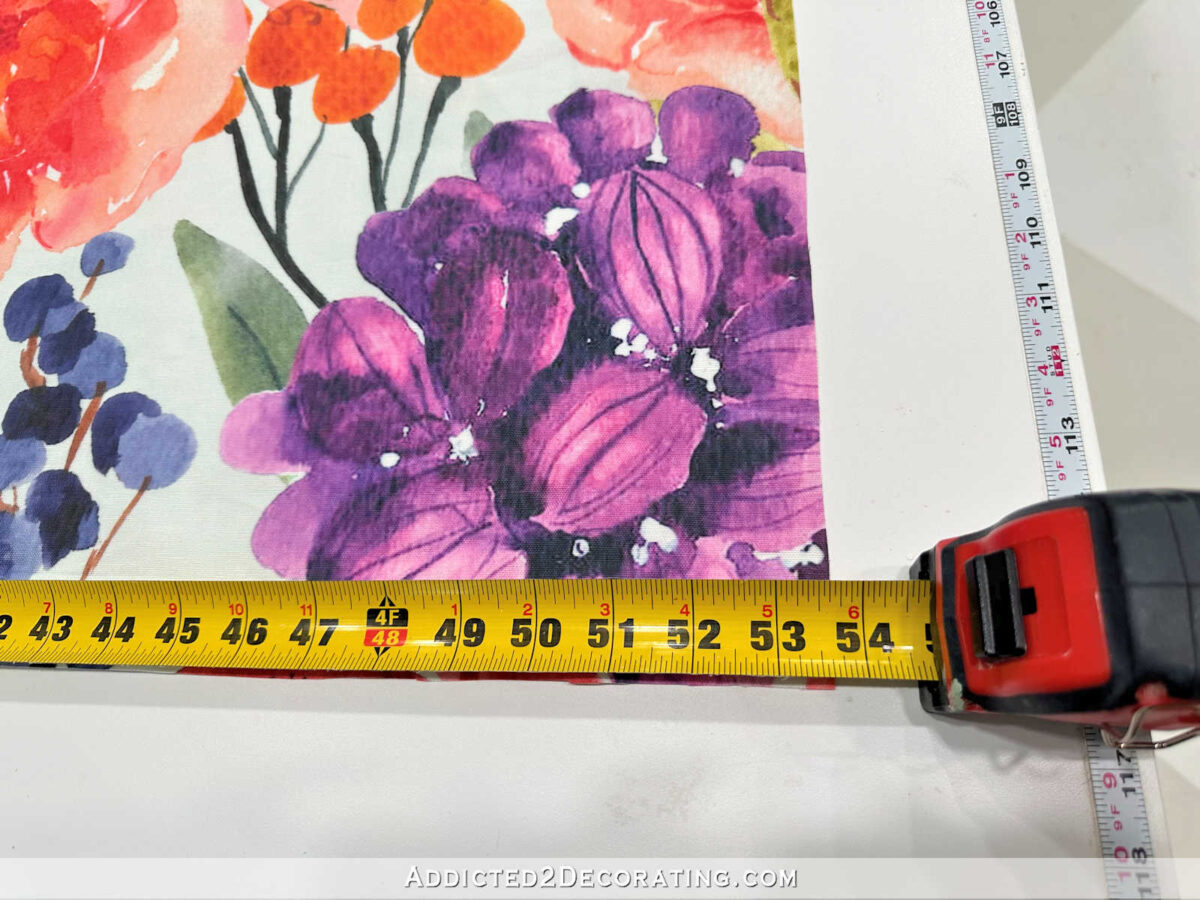
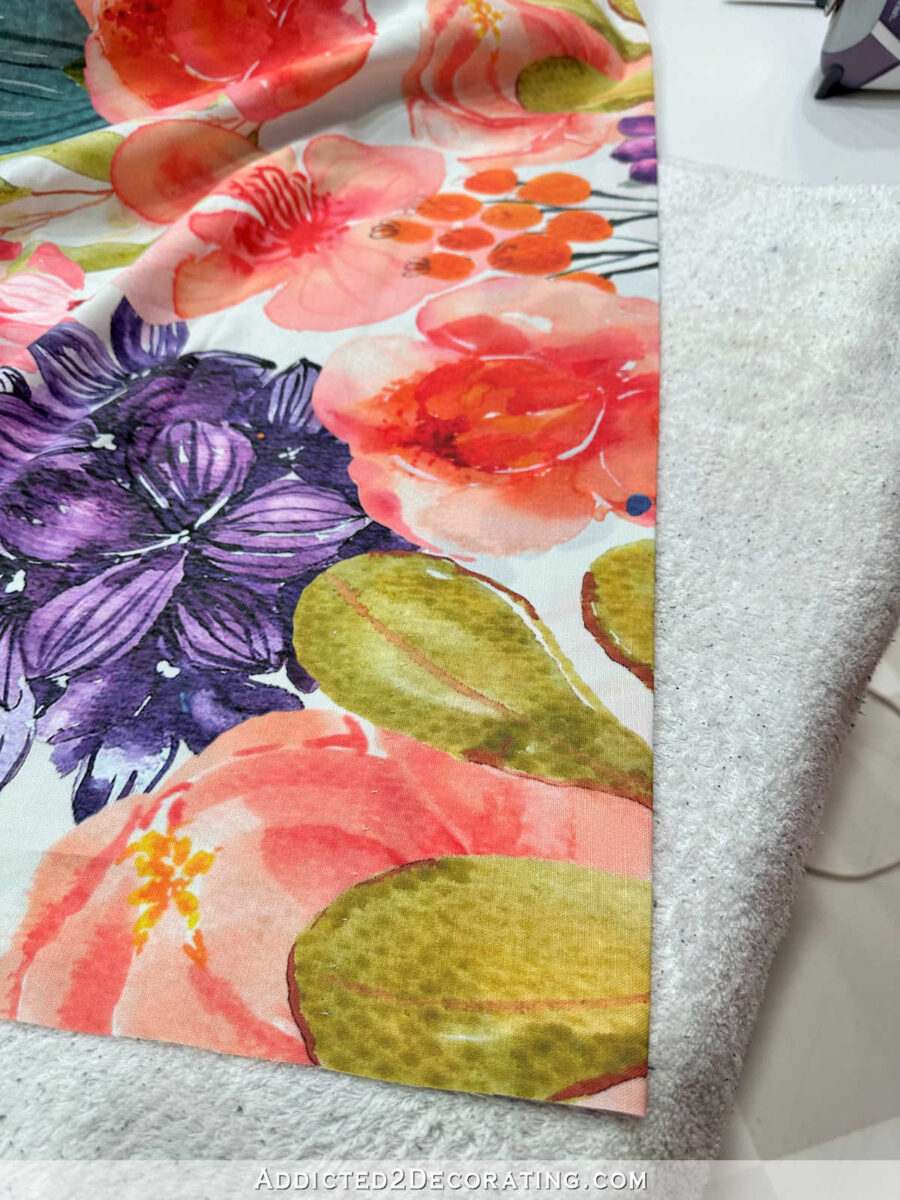
Once the bottom is square, I generally cut off the selvage on both sides of the fabric. For these curtains, I’m using Spoonflower fabric, which is printed with this large white space on both side edges.
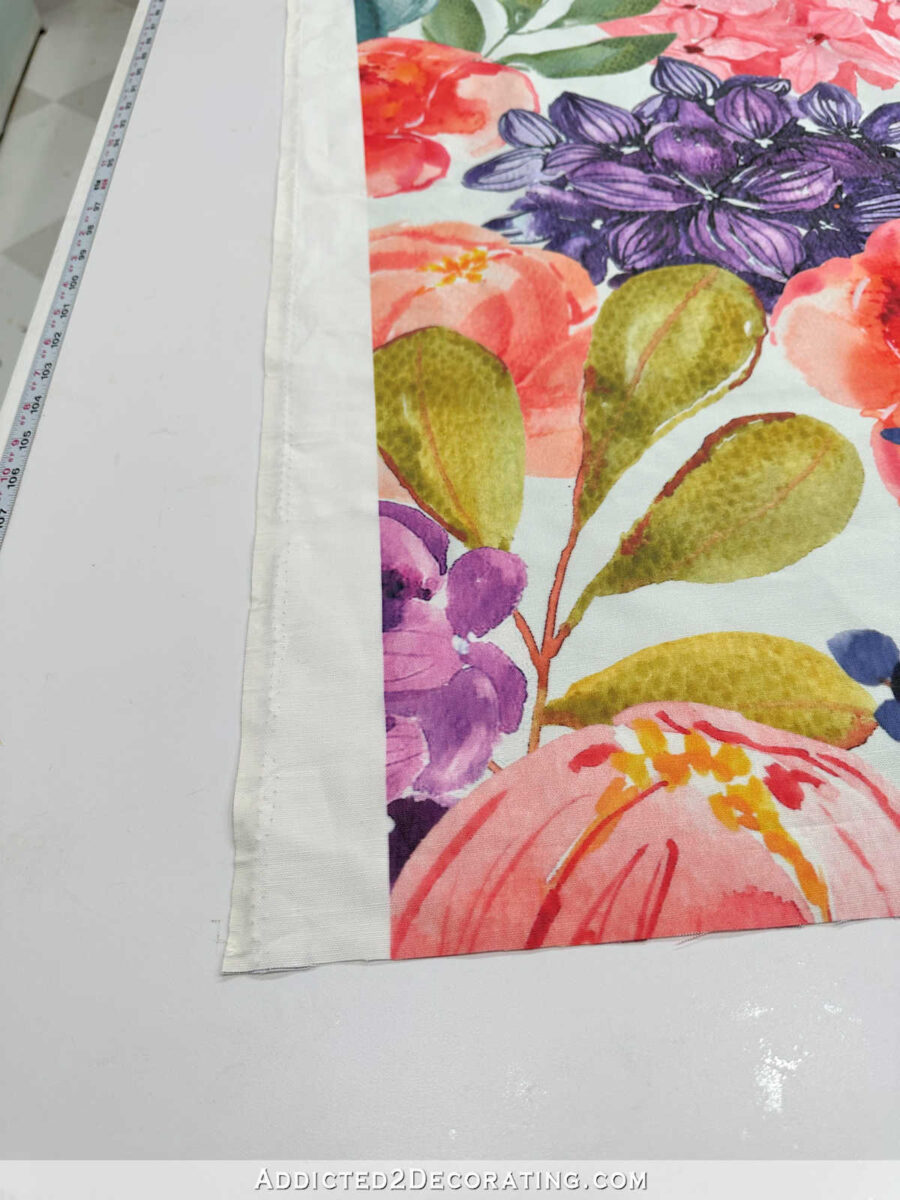
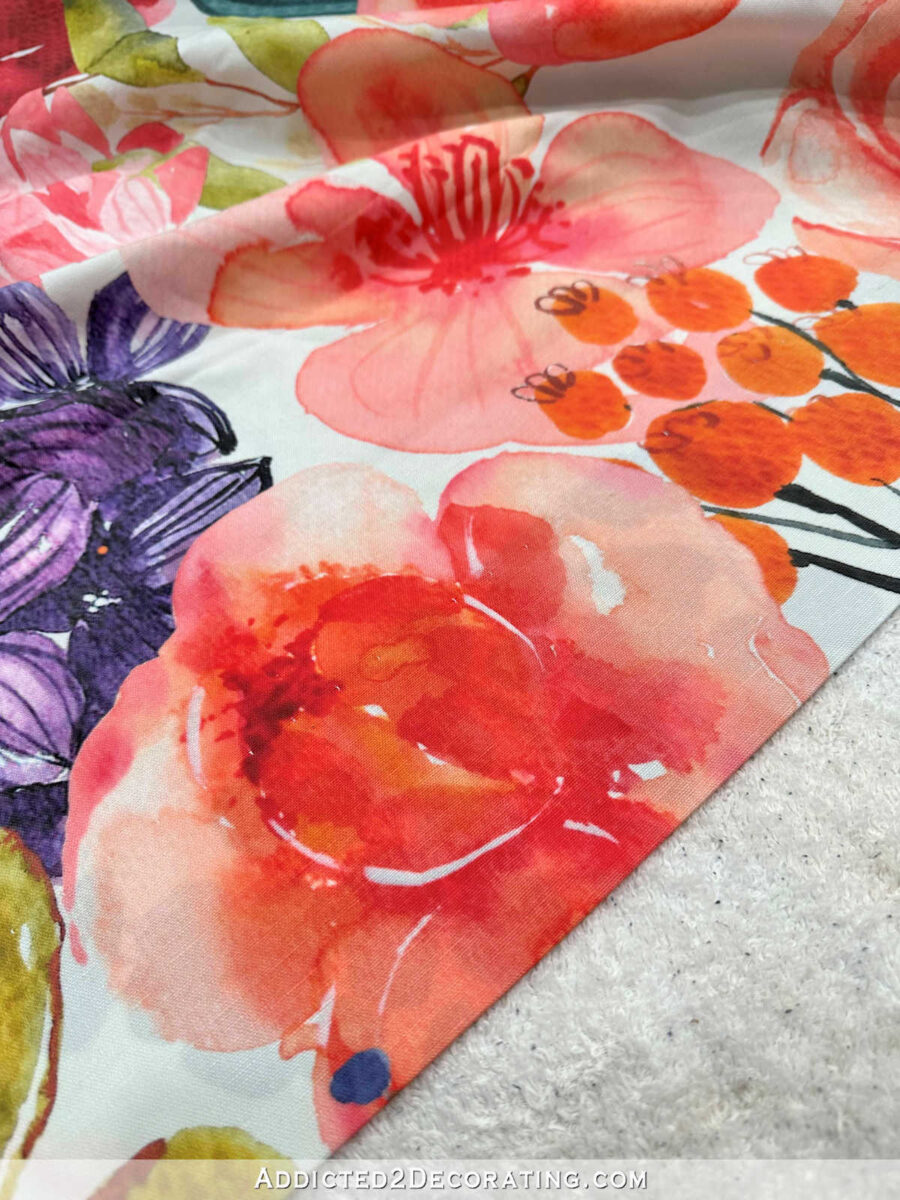
So instead of cutting off just the selvage, I cut off all of the white area right up to the printed design. I repeated that on the other side edge of the fabric.
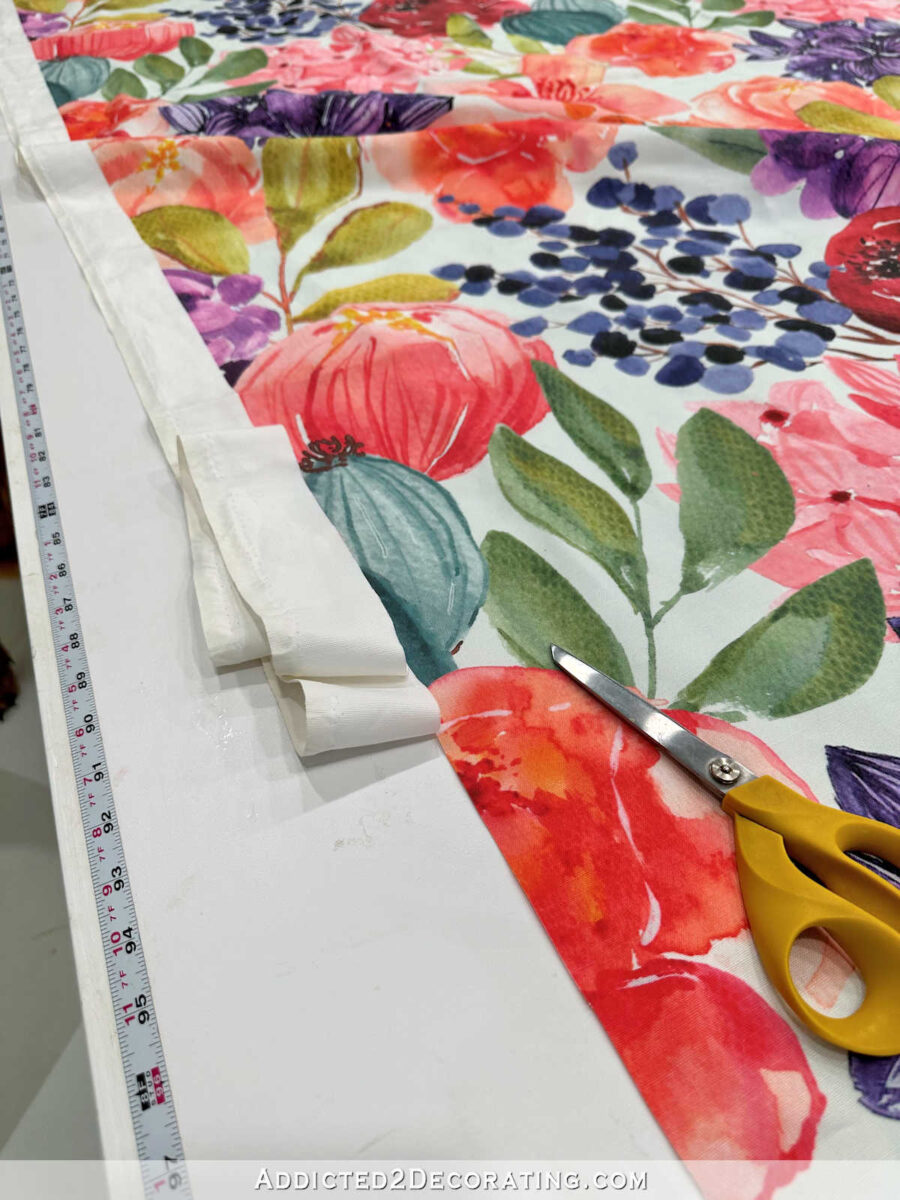
Once the fabric was all trimmed, I measured the (new) width of the fabric and wrote down that number. My fabric was 53 7/8 inches wide after being trimmed.
With the fabric all trimmed and squared on the bottom, I was ready to pin in the hem. I did this by turning the fabric up four inches and pinning it into place along the bottom fold.
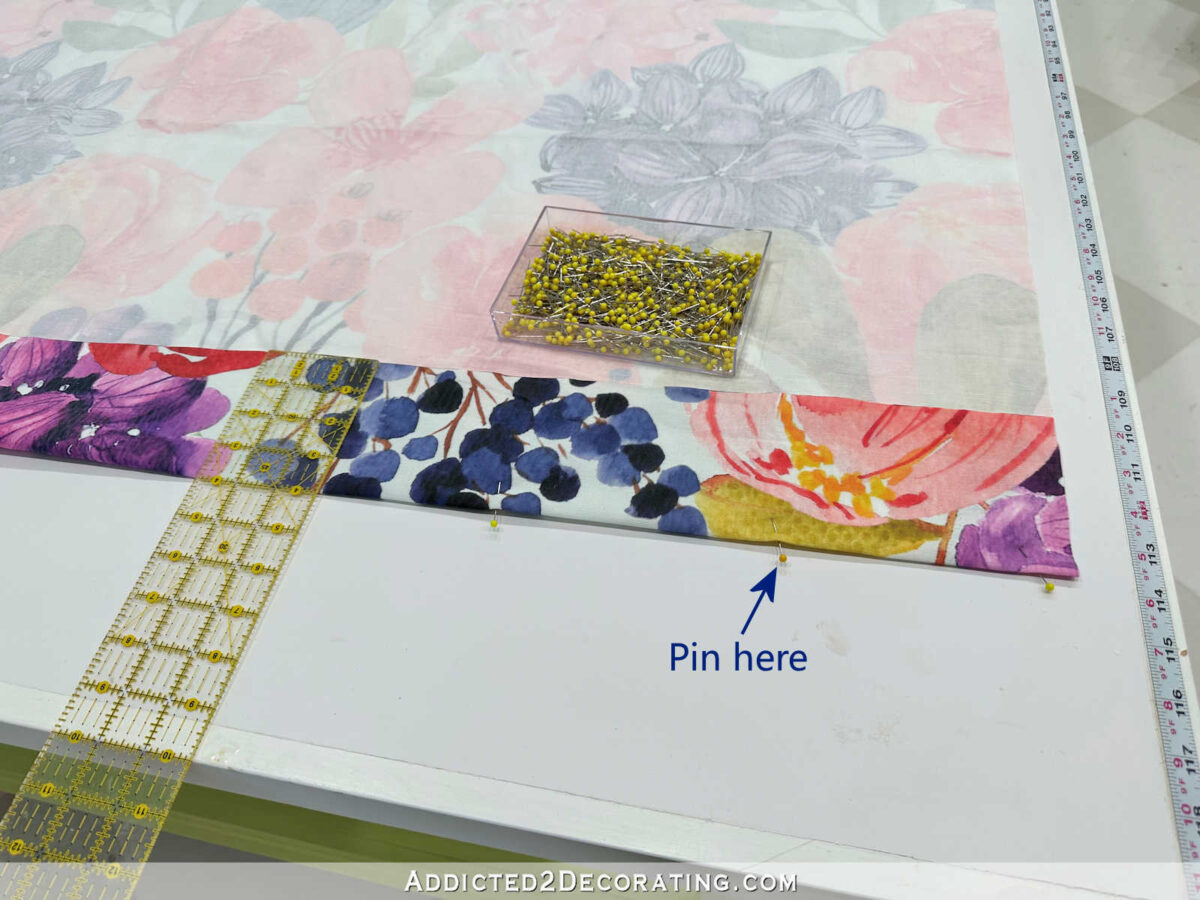
Here’s a look at it once it was folded and pinned all the way across.
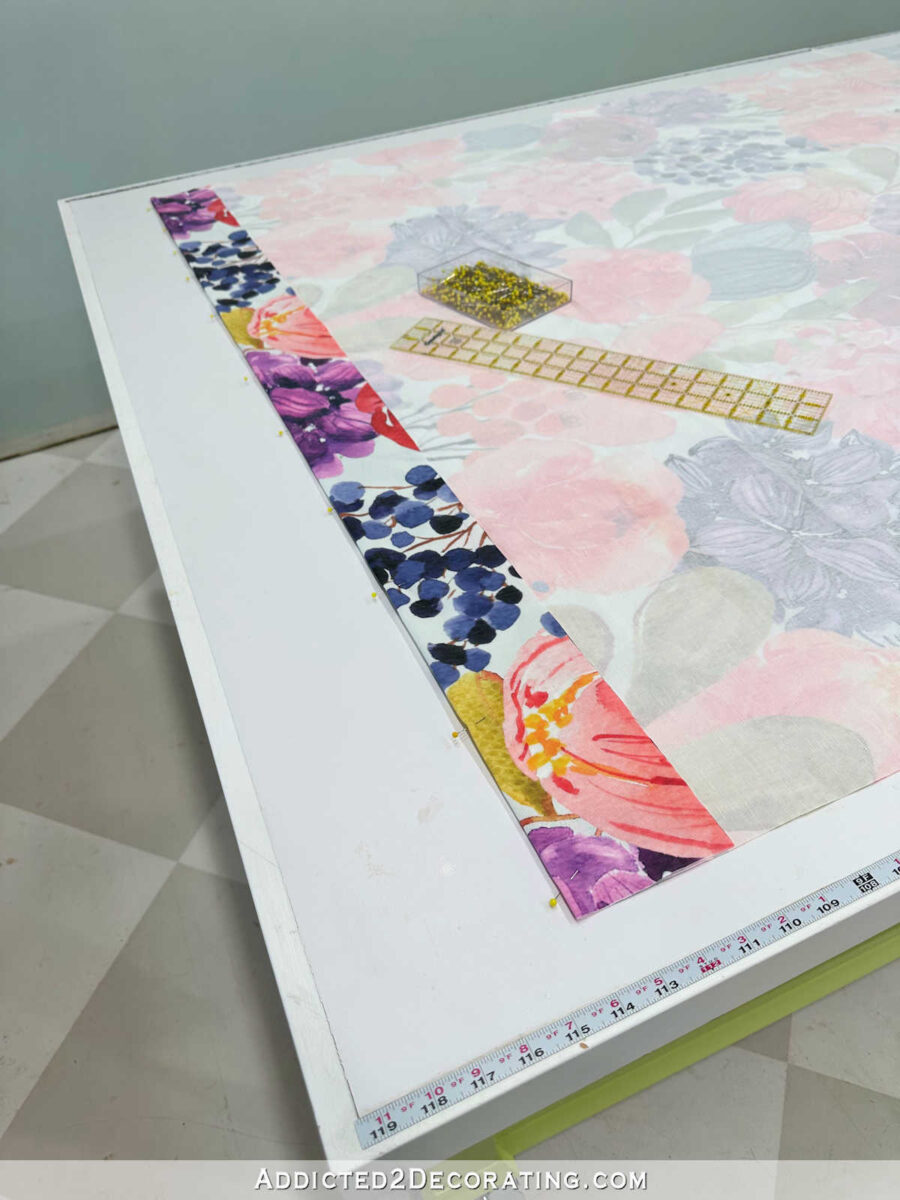
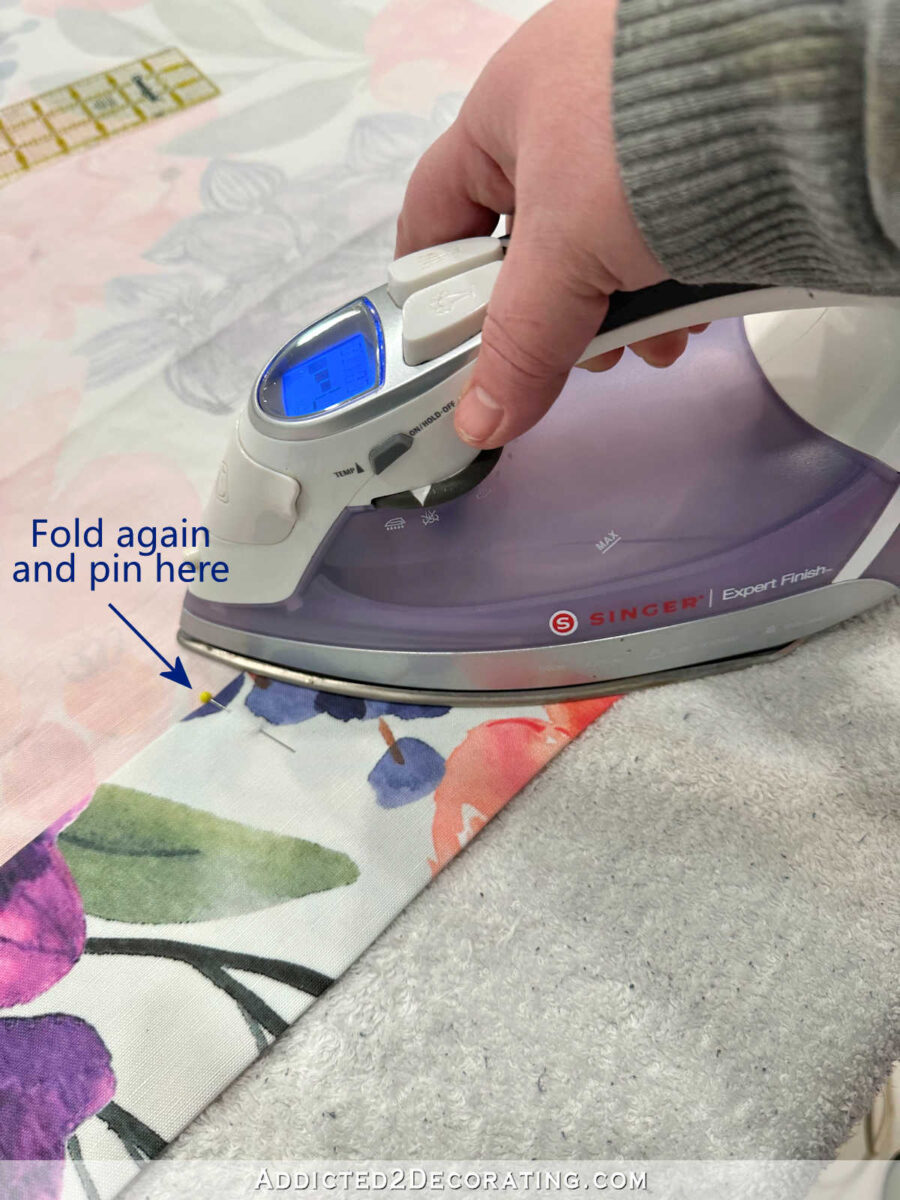
And then I folded it up again another four inches, pinned it into place along the top fold of the hem, and then ironed the folds into place.
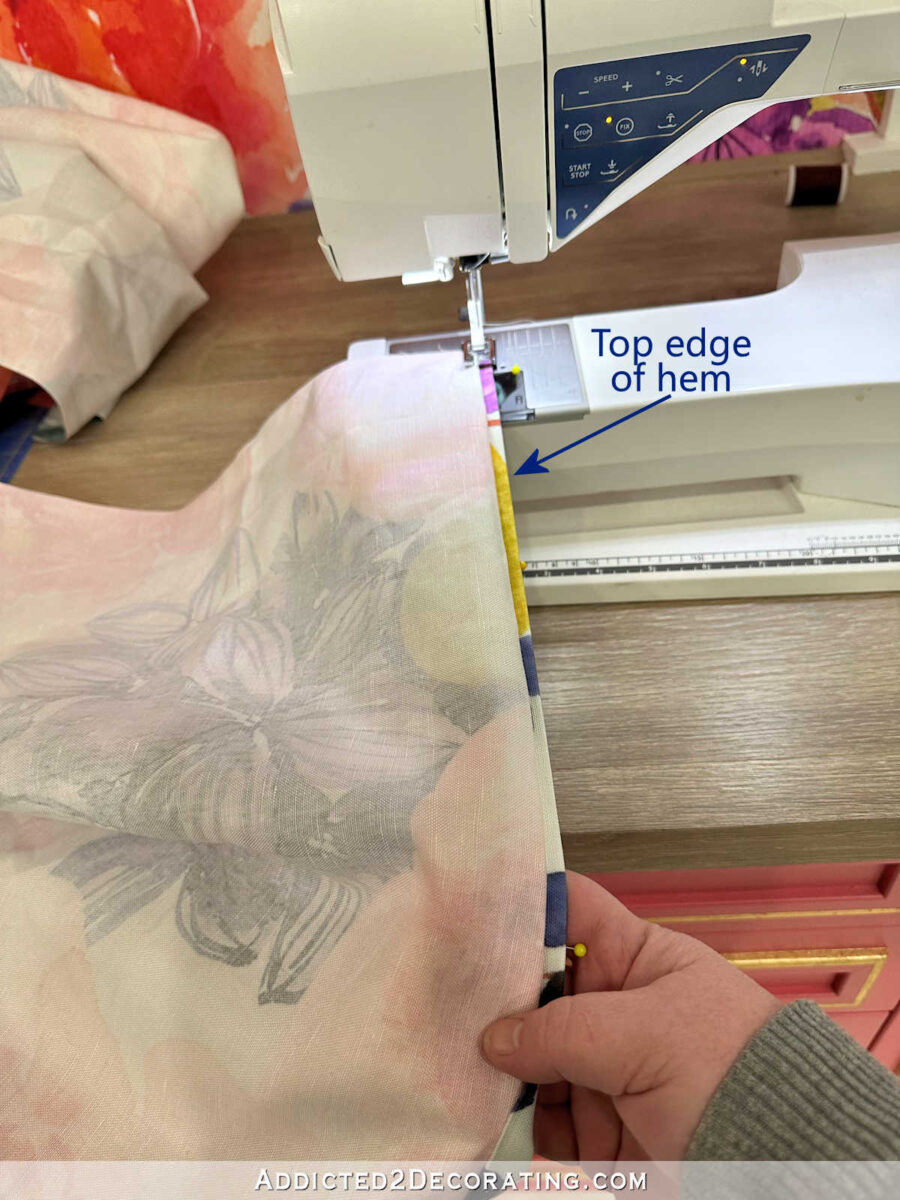
In order to sew the hem, I used a blind hem stitch on my sewing machine. First, I folded the four-inch hem back against the face of the fabric so that only the top edge of the folded hem was exposed on the right side, and the back of the fabric was showing on the left. And then I placed that under the foot of the machine.
Here is what a blind hem stitch looks like. Most machines have this stitch. Even my $120 Kenmore sewing machine that I started off with 20 years ago had this stitch.
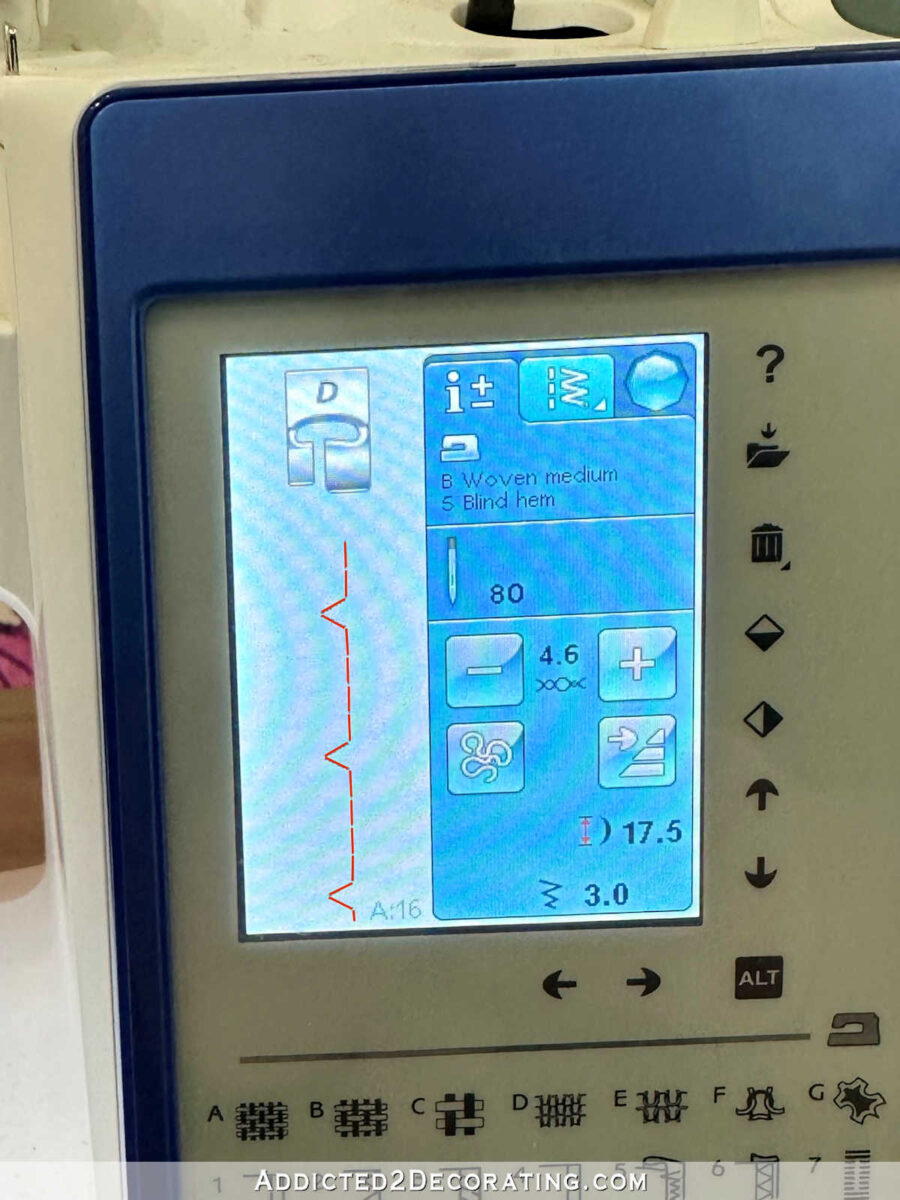
It will sew about four or five stitches on the right, along the top fold of the hem, and then every fifth or sixth stitch, it will reach over to the left and grab just the tiniest bit of that fabric on the left.
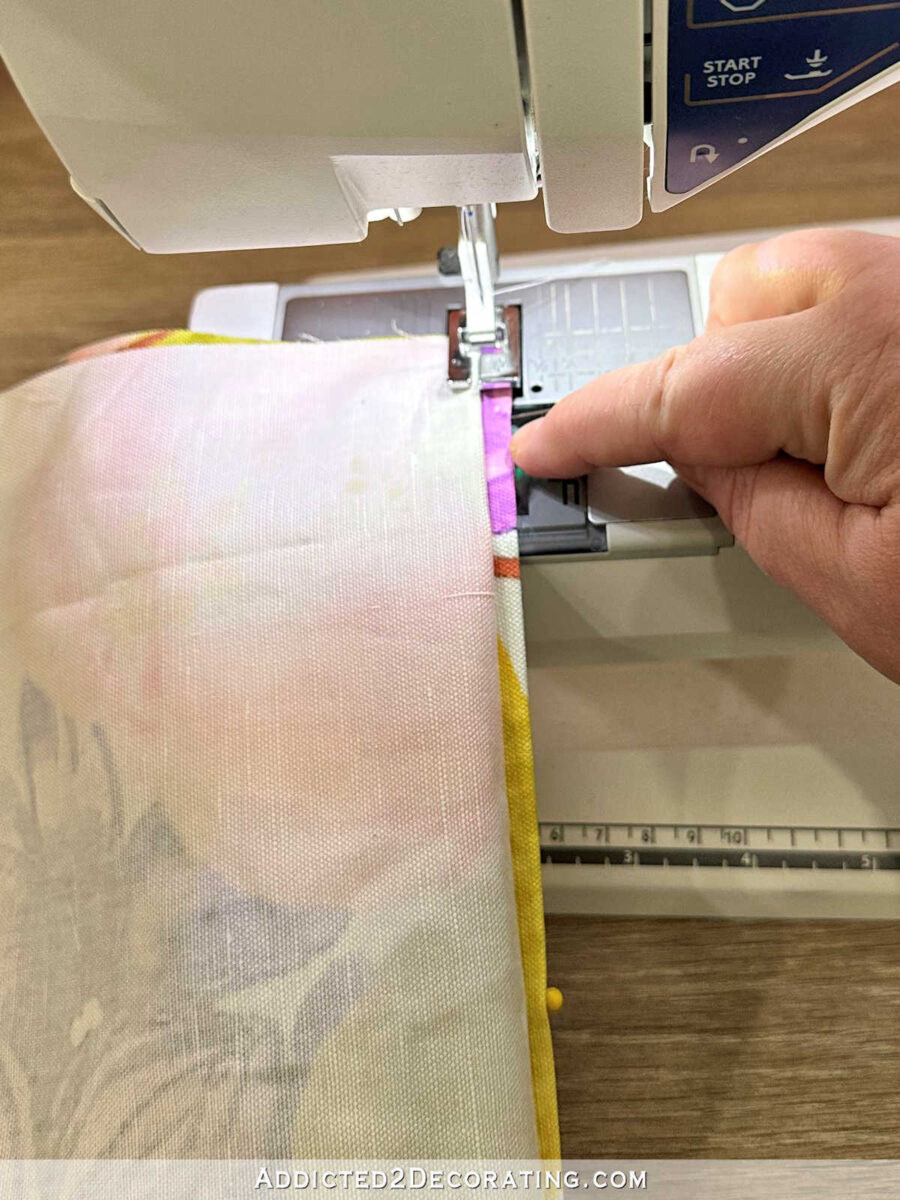
Here’s a closeup of what that stitch looks like with the hem still folded back against the front of the fabric.
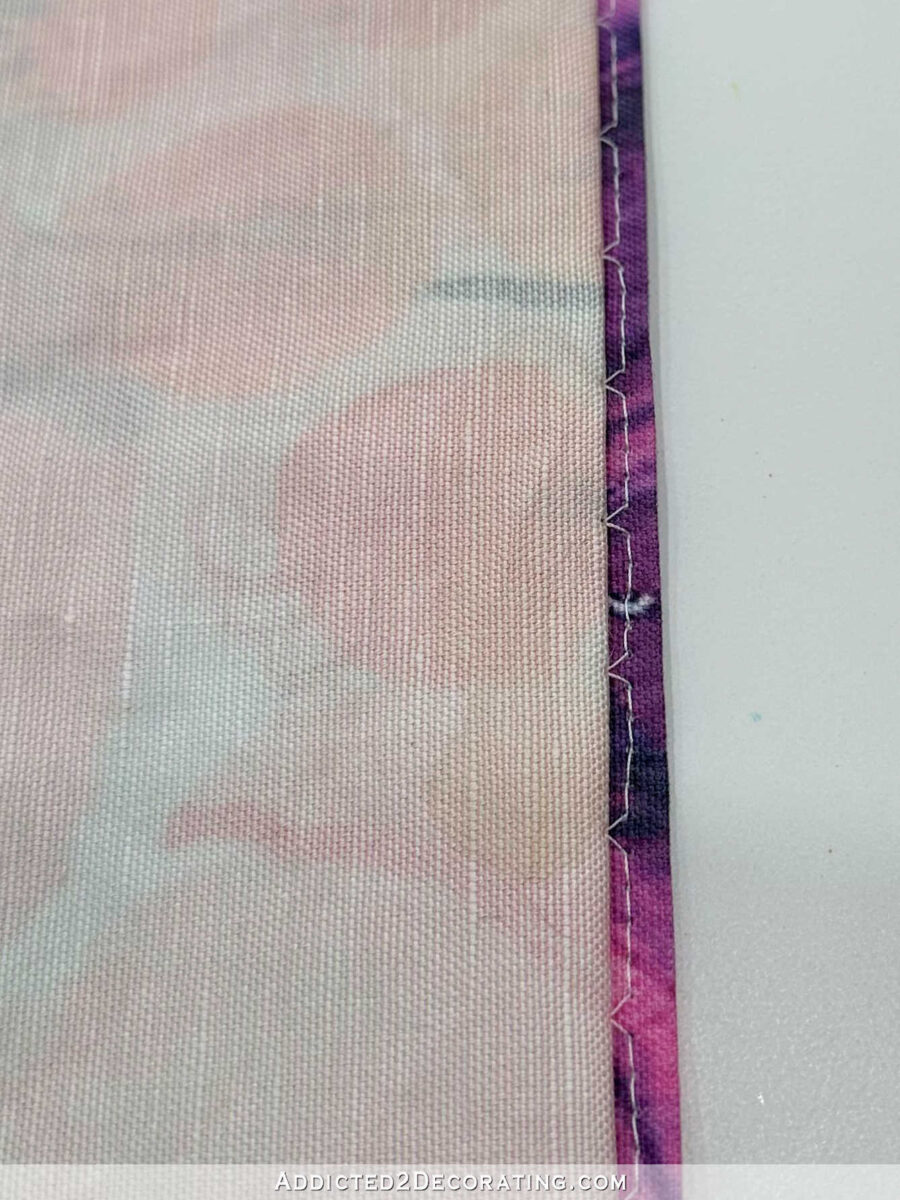
And then when the hem is unfolded, it looks like this…
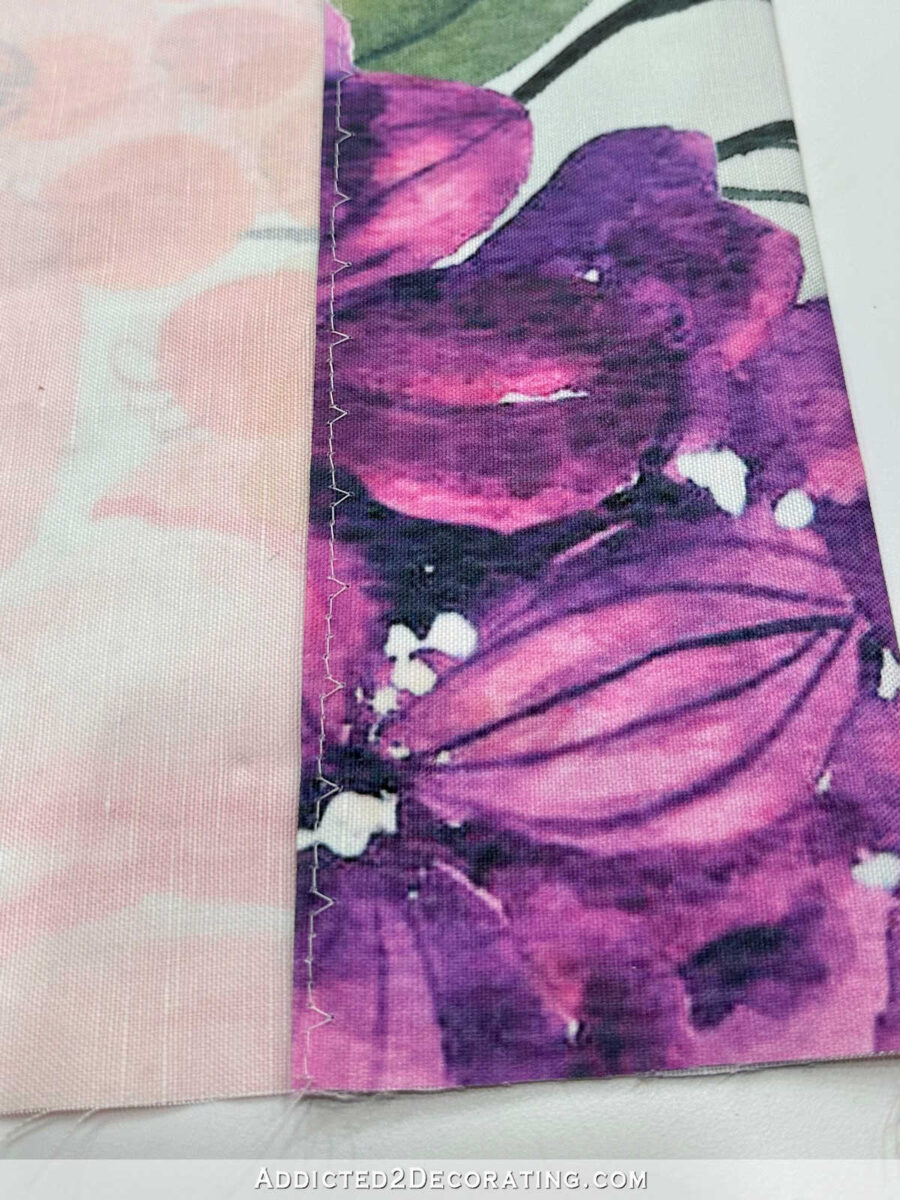
And when the fabric is turned over with the right side of the fabric facing up, you can’t even see those stitches, hence the name “blind hem stitch.”
Here’s an even closer look. Can you see the stitches? In person, if you’re really looking for them, you can see them. But no casual viewer of these curtains is ever going to notice those stitches.
Putting that fabric aside for a while, I was ready to prepare the lining for the curtain panel. Just as I did with the fabric panel, I started by squaring up the bottom edge, and then pinning a double three-inch fold along the bottom edge. I always do a double four-inch fold for my face fabric hem, and a double three-inch fold for the lining hem.
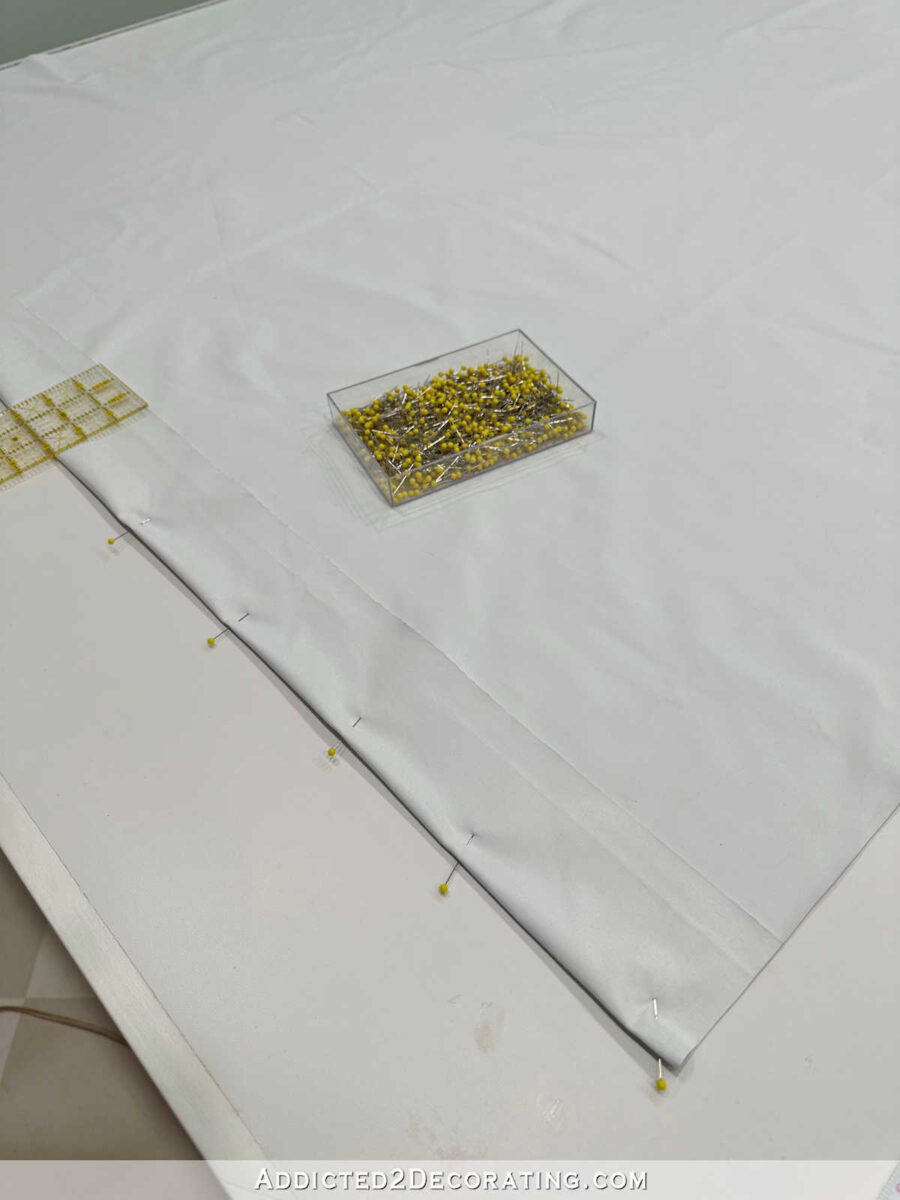
Once that pinned in and ironed, I sewed that hem into place with a standard top stitch. You can do a blind hem stitch on the lining as well, but I never have. I don’t see the point in it, and since I’m making these for me, I’m fine with a topstitch. If I were working in a professional drapery workroom and making them for a paying customer, I might choose otherwise.
One of the reasons I don’t bother is because I always use blackout lining, and there’s just really no hiding stitches on blackout lining. I love the blackout feature, but I hate that it shows every single stitch, and even every single place where pins are added. And wrinkles are just about impossible to remove from blackout lining. So a topstitch is fine for me.
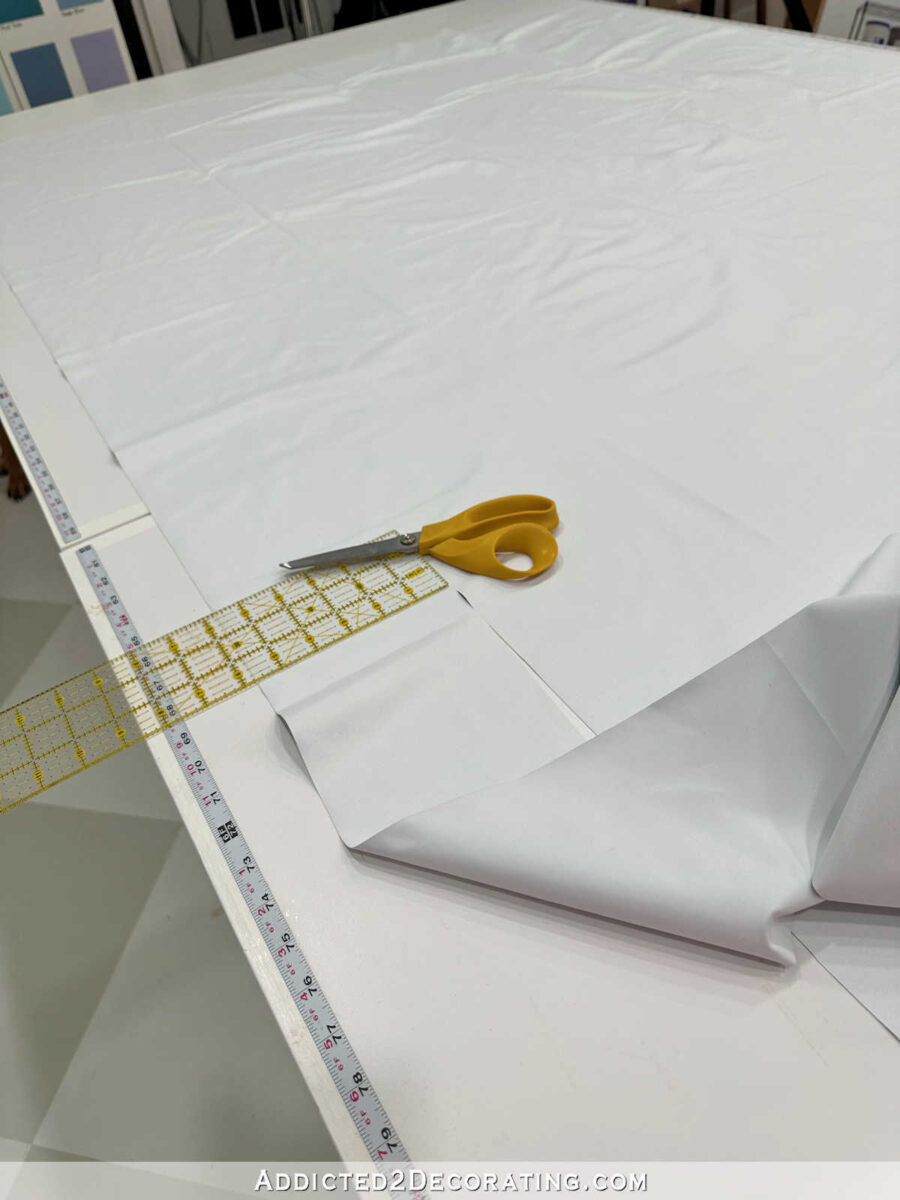
And the last thing to do to prepare the lining is to cut it to the proper width. I had already measured the cut width of my face fabric, which was 53 7/8 inches. To figure the cut width that I needed for my lining, I just subtracted 4 inches from that number. So I measured and cut my lining to 48 7/8 inches wide. Since blackout lining doesn’t have a selvage, I only needed to make one cut along one side edge to get the proper width. If I were using a thinner fabric lining with selvages, I would have cut both side edges.
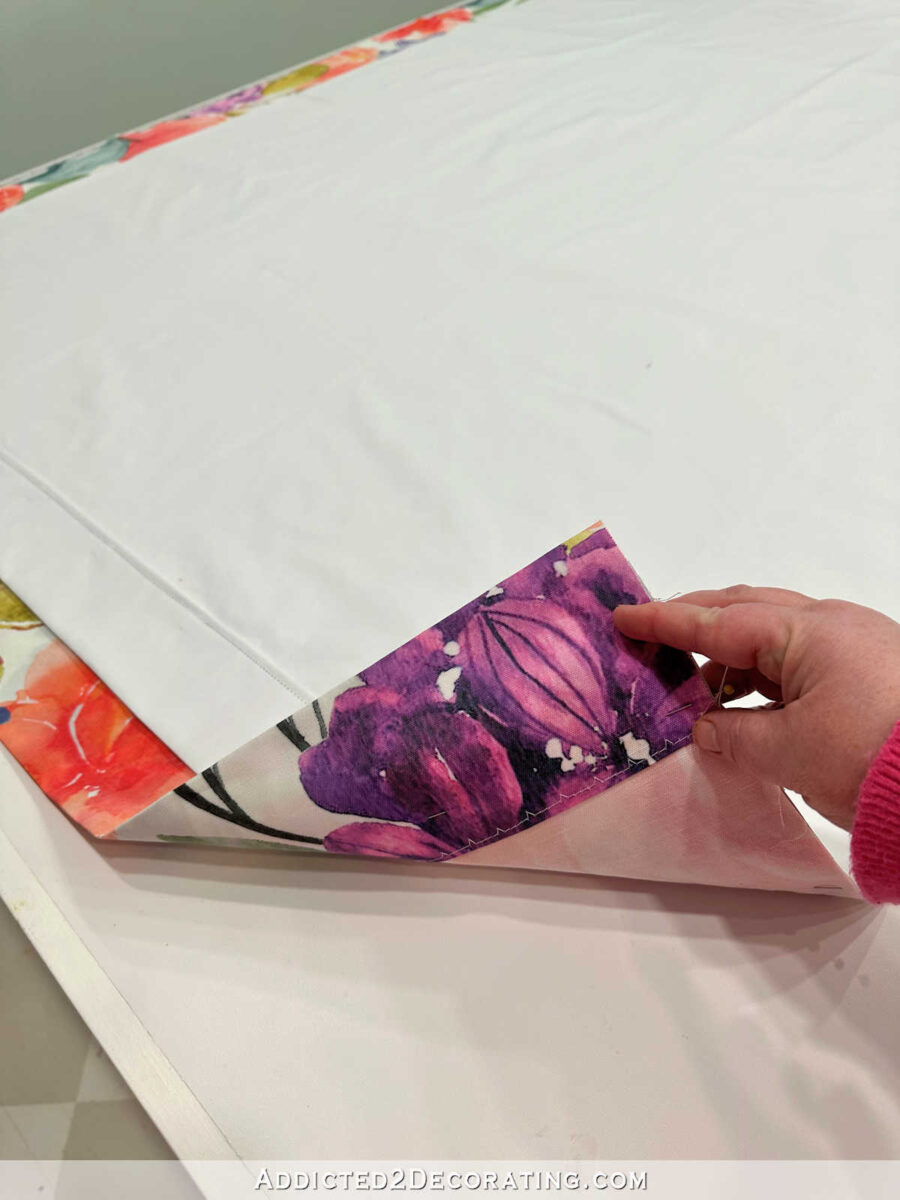
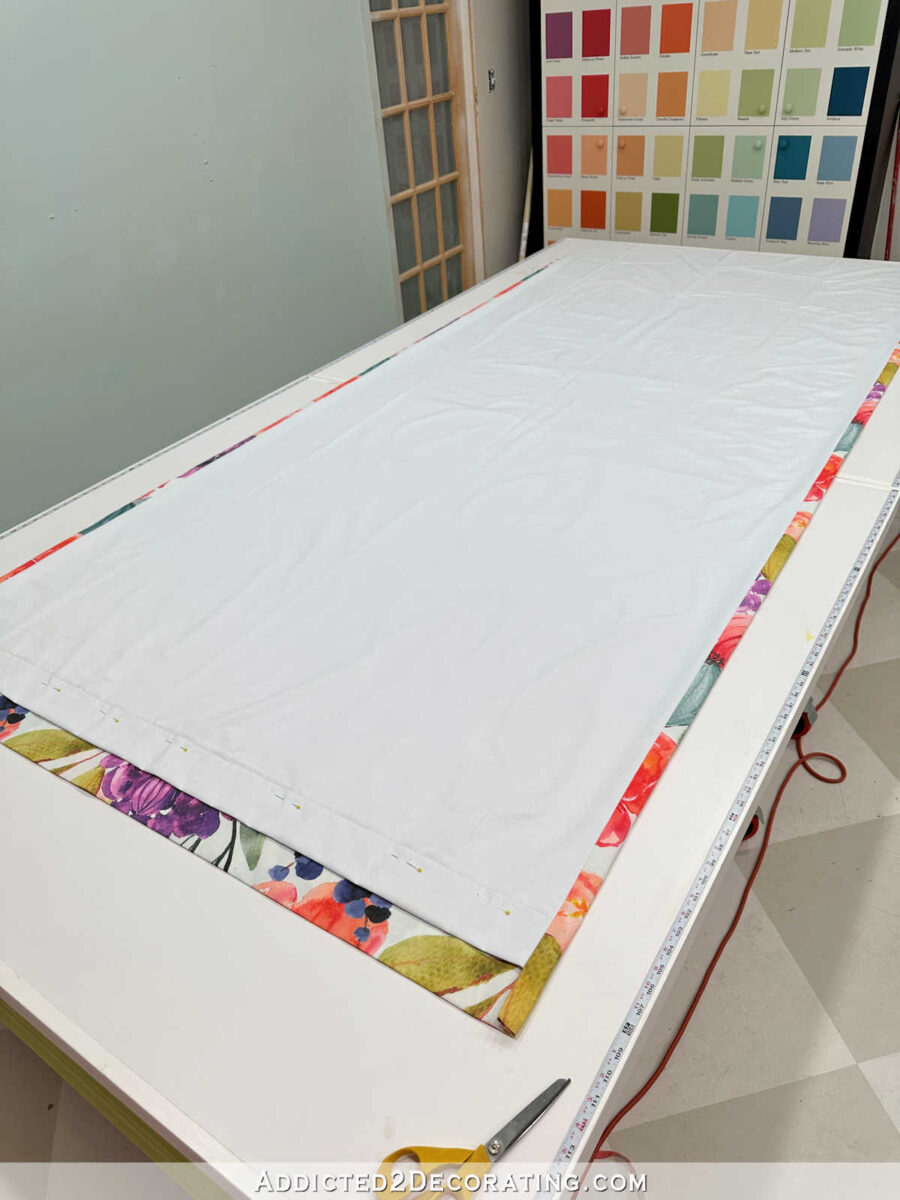
Now that I had the face fabric and the lining prepped, I was ready to join them together. I did this by placing the face fabric, right side up, on my work table.

And then I placed the lining, right side down, on top of the fabric. Measuring from the bottom edge of the hemmed fabric, I measured up 2 1/2 inches for the placement of the bottom edge of the hemmed lining, and began pinning the lining and fabric together along the side edge.
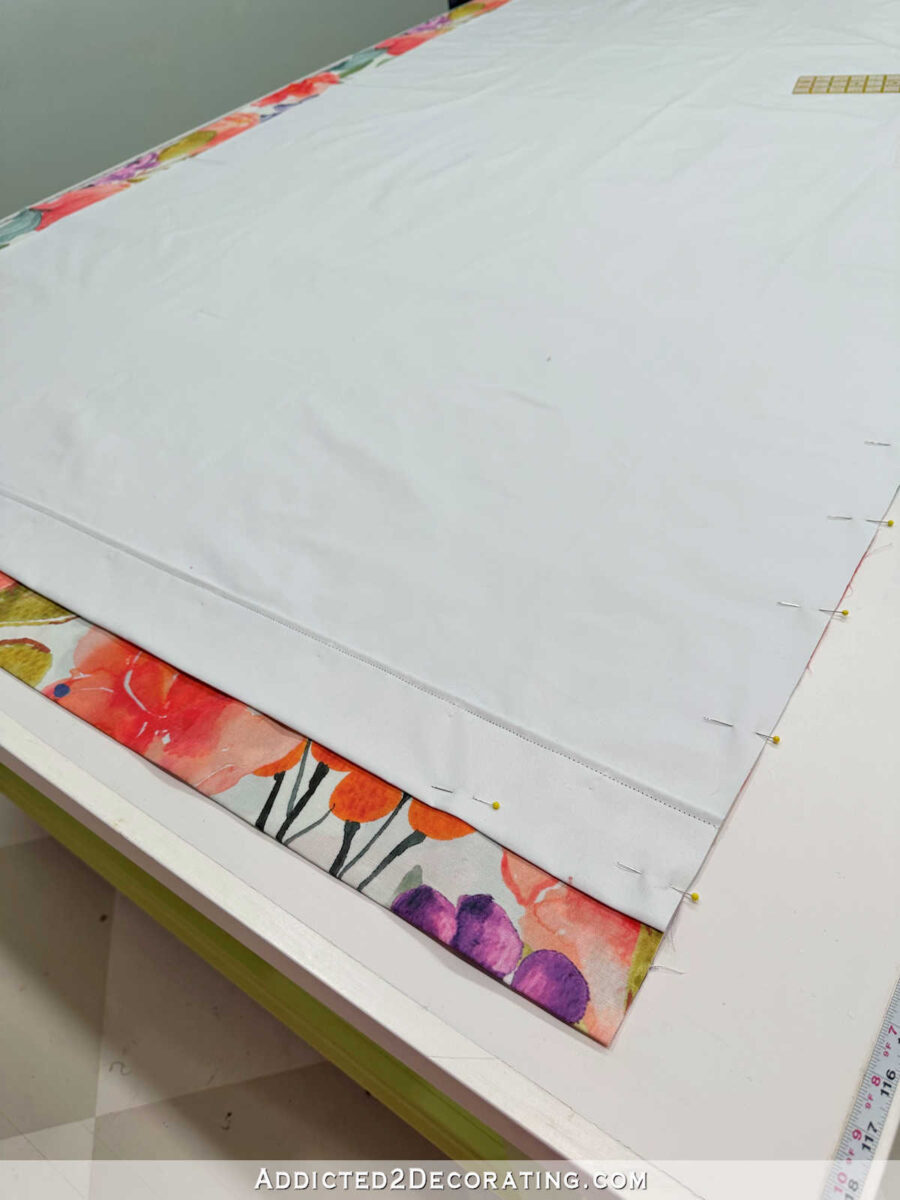
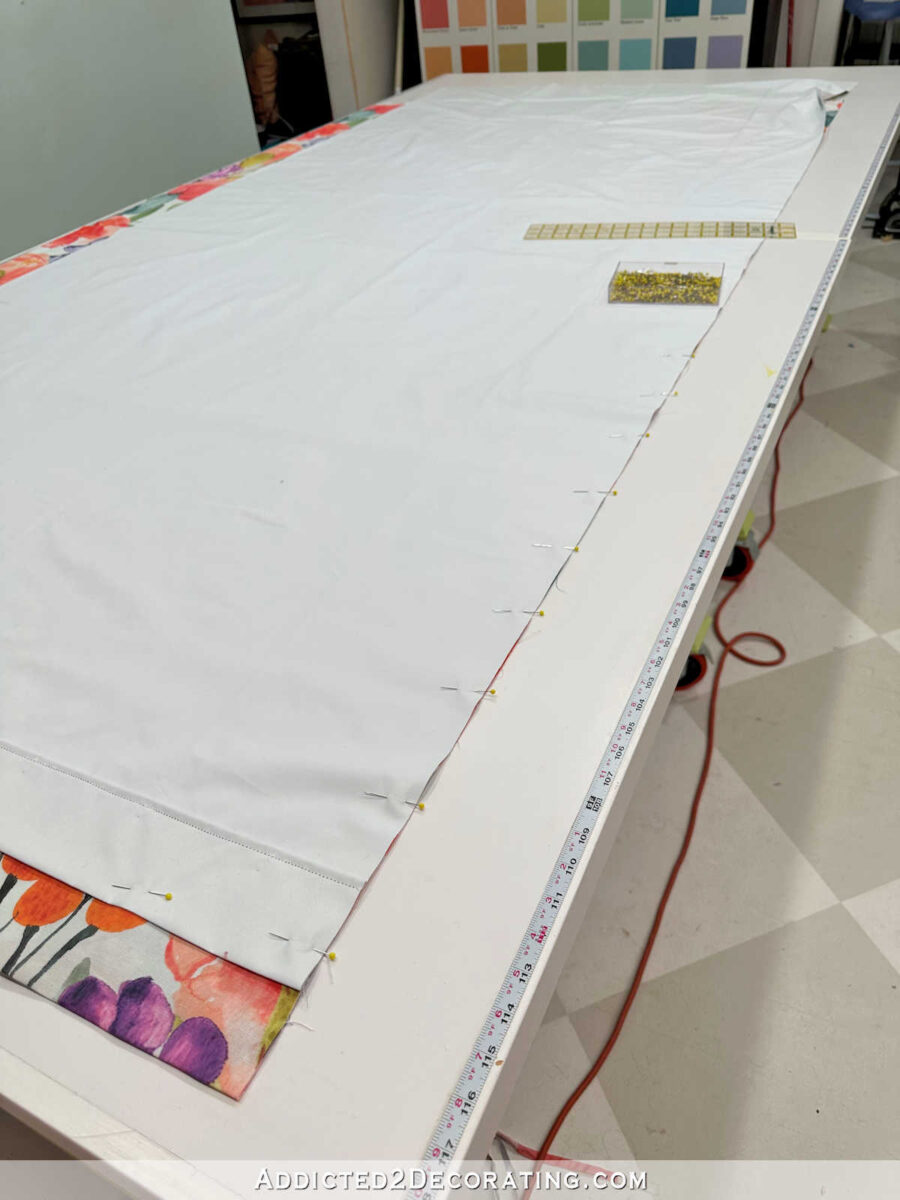
So again, the right (face) side of the fabric and the right (face) side of the lining are facing each other, and the bottom hemmed edge of the face fabric extends 2 1/2 inches below the bottom hemmed edge of the lining.
And I pinned those together all the way up the side of the fabric.
Next, I pinned the other side together. Since the lining was cut four inches narrower than the face fabric, it initially looked like this with the pieces lying flat on each other.
So I had to pull the lining over so that the edge of the lining met the edge of the face fabric. I made sure that the bottom hemmed edge of the lining was 2 1/2 inches up from the bottom hemmed edge of the face fabric, pinned that into place, and then worked my way up the side edge, pinning the to pieces together all the way up.
Next, I sewed the pieces together along both side edges, sewing my straight stitch one inch from the edge. That’s a lot wider than a standard 5/8 inch that’s generally used when sewing most items (like clothing or pillows), but you’ll see why later. I repeated that on the other side.

Just a note: When sewing the lining and face fabric together, I sew both sides going in the same direction. In other words, if I start sewing at the hems and work my way to the top of the drapery panel on one side, I make sure to start at the hem and work my way to the top on the other side as well. That’s just a good practice and will save you a headache if you ever happen to be working with a fabric that shifts or crawls a little as it’s sewn. If it’s going to crawl, at least both sides will be crawling in the same direction.
With the sides sewn together, I always steam iron those stitches into place to smooth out the stitches as perfectly as possible.

Then I separate the lining and face fabric, and steam iron the seam so that the face fabric is folded back on itself, and the lining is straight (i.e., not folded).

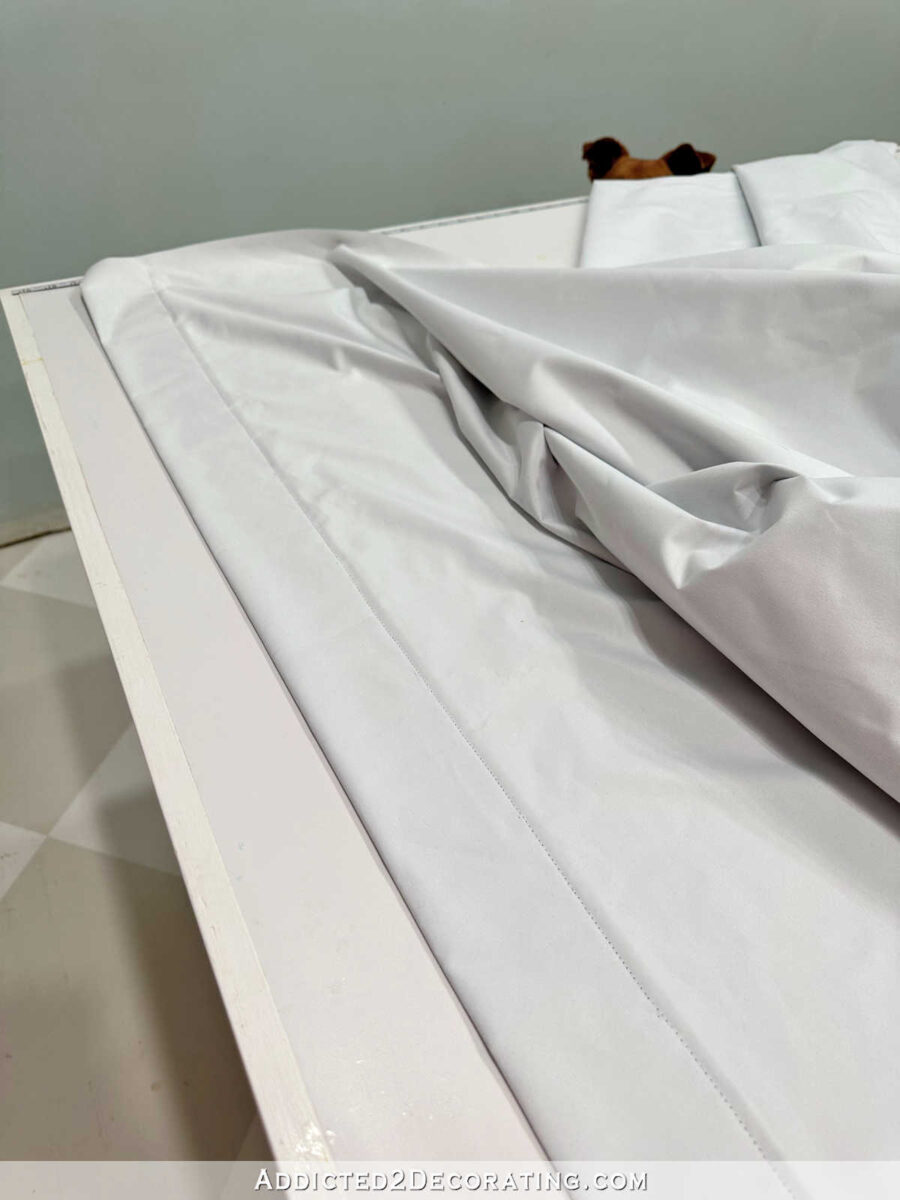
And finally, I turn the panel right side out, and steam iron that seam once again from this side. Again, I make sure I’m ironing it so that the fabric is folded against itself, and the lining is straight.

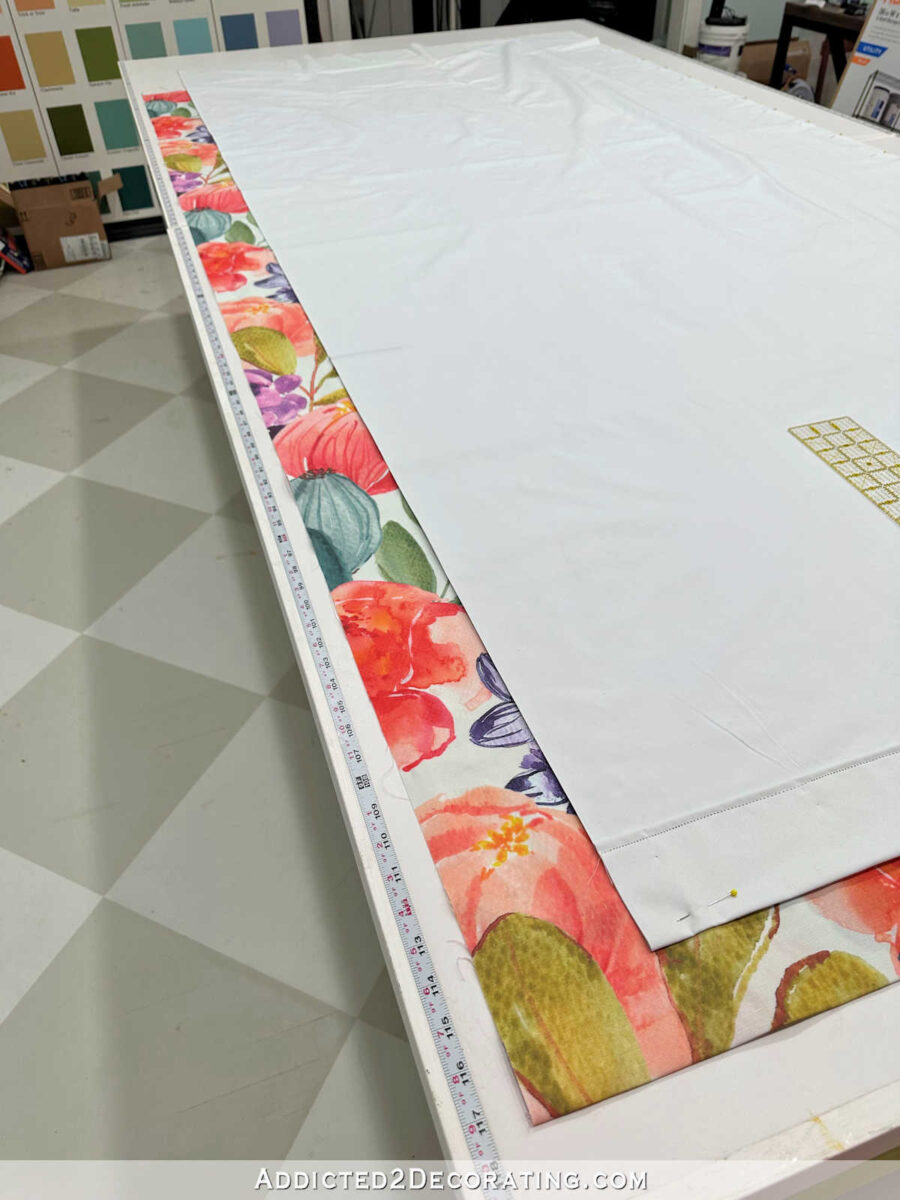
With everything ironed flat, I’m ready to place the curtain panel back on my work table and get it all straightened out and flattened. I start at the bottom hemmed edges, and pin the two layers together all the way across.
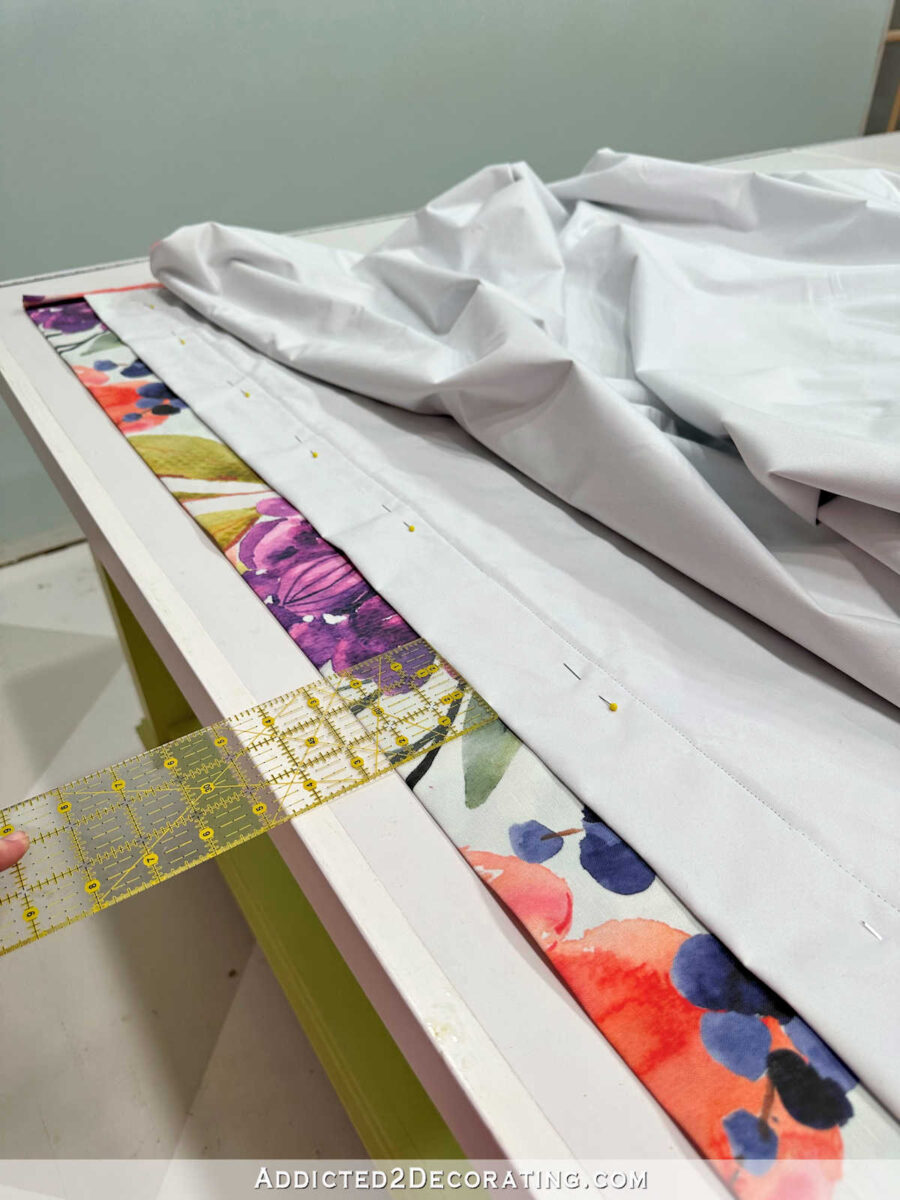
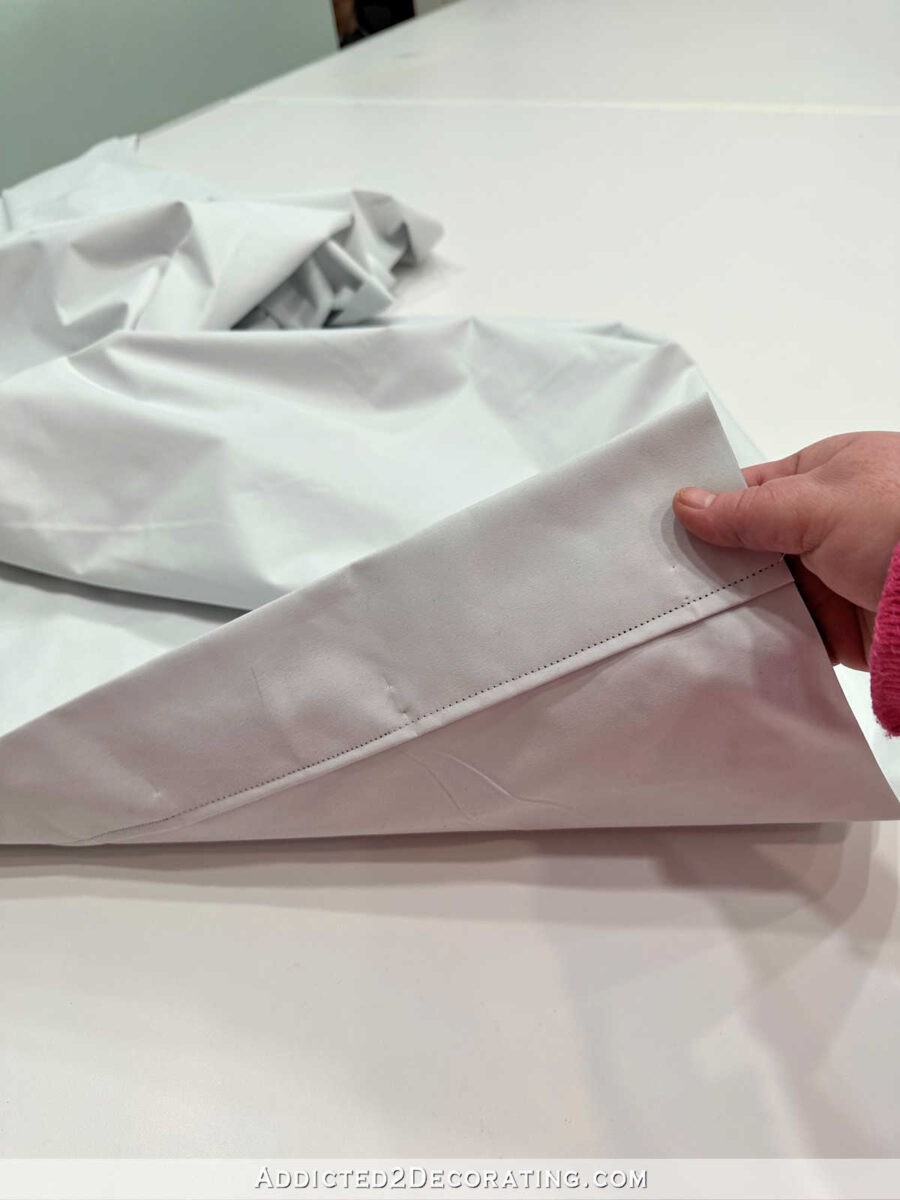
And then flatten and smooth the layers until they look like this, with one inch of the face fabric showing along the back of each side edge.
Once everything is completely smooth and flat, I give those edges a good steam iron one more time to make sure those folds in the face fabric are securely in place, and I have a clean, sharp ironed-in crease along the edge of the drapery panel.
And that’s as far as I’ll get for today. Tomorrow, I’ll show you how to finish the panel with the pleated header at the top, and all of the finishing hand stitching that I do for a really clean, finished look. So stay tuned for that!

Addicted 2 Decorating is where I share my DIY and decorating journey as I remodel and decorate the 1948 fixer upper that my husband, Matt, and I bought in 2013. Matt has M.S. and is unable to do physical work, so I do the majority of the work on the house by myself. You can learn more about me here.
[ad_2]
Source link