My New Favorite Brushed Gold (Brushed Brass) Curtain Rod (And How To Customize The Length Of Non-Adjustable, Non-Telescoping Curtain Rods)

[ad_1]
I have officially found my new absolute favorite curtain rod and rings. I’ve been searching and searching for the perfect brushed gold (or brushed brass) curtain rods for years, and I could never find anything that (1) looked really nice and substantial, (2) didn’t break the bank, and (3) was just the right color.
In fact, when I was finishing up the living room a while back, I couldn’t find anything that met those requirements, so I ended up buying a different color and spray painting the curtain rods and brackets.
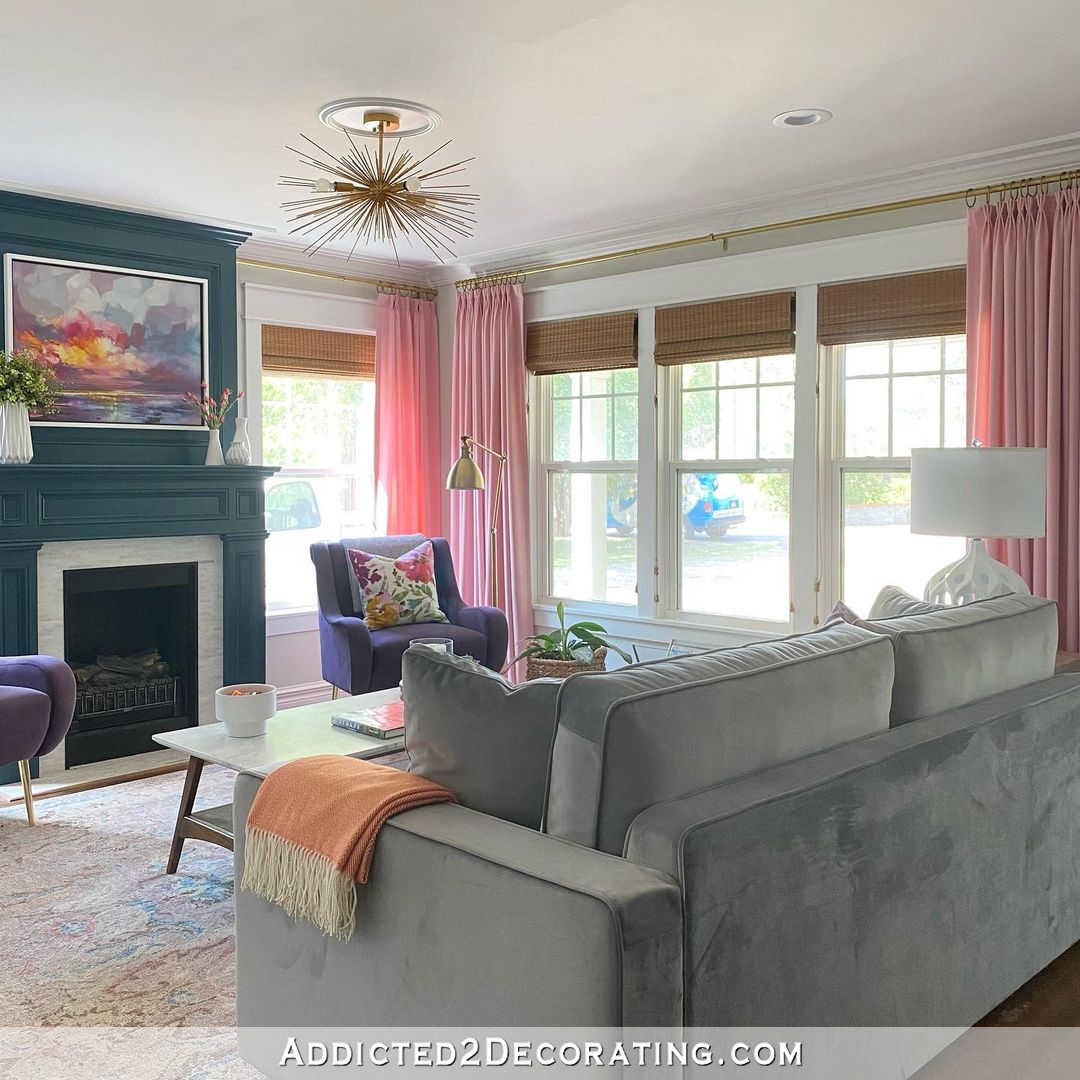
They’re not great. They’re telescoping rods, and the ones over the two windows flanking the fireplace are too short to use three brackets, but the rods don’t hold perfectly straight without a third bracket in the middle. So they bow down a little bit, and that drives me crazy.
But y’all! This curtain rod that I purchased for the studio (affiliate link) is sheer perfection! At 1.25″ diameter, it’s substantial in look and feel. And the brushed gold finish is so pretty!
I ordered an 8-foot curtain rod. It came in two pieces that screw together in the middle.

For the ends, there are these simple little end caps (which I prefer over decorative finials) that just side over the rod, so they don’t screw on.

Once they’re on, there’s a little screw on the side that tightens the end cap onto the rod with an allen wrench, which comes with the curtain rod.

So while these are described as non-telescoping (which they’re definitely not) and non-adjustable, that may be technically true, but where there’s a will, there’s a way. 😀 I needed the curtain rod to be 88.5 inches long (with the end caps), and the curtain rod I bought was 96.5 inches long (with the end caps). So it was eight inches too long.
Not a problem! Since the end caps don’t screw on, I was able to cut four inches off of each end using my miter saw. Did you know you can cut metal with a miter saw? I’ve done it many times, and it works out great! If you’re going to be cutting a lot of metal with your miter saw (like if you’re building a chain link fence and you need to cut lots of metal posts), I would highly suggest buying a blade to fit your saw that is specifically for cutting metal. But I only needed to make two cuts. So I wasn’t going to make a trip to Home Depot for a new blade, and then take the time to swap out blade, only to make two cuts.
So here’s what I do when cutting metal with my miter saw. (Do this at your own risk!!)
- I only ever cut thin or soft metals. This curtain rod metal is relatively thin, so I was confident that it would cut with no problem. I’ve cut aluminum using my miter saw many times.
- I go VERY slowly. Unlike when I cut wood with my saw, where each cut takes about two or three seconds, I go extremely slowly when cutting metal. I take about 20 seconds to make each cut.
- I always, always, ALWAYS wear eye protection when cutting metal. The last thing I want is a metal shard being thrown into my eye.
Using that method, I was able to make a very clean cut on each end of this curtain rod. Those end caps fit perfectly over the cut ends.

I love the design of the brackets that come with the curtain rod, also. The clean, simple design of the base (or whatever you call that part that attaches to the wall) really appealed to me.

But when I got them out of the box to install them, I was equally impressed with the ingenious design of the brackets. Those oval holes are obviously where the bracket screws into the wall. But do you see that middle square hole? That’s the arm of the bracket that locks into the mounting plate to hold it securely.

Here you can see it better without the mounting plate in place.

So you just pull the arm of the bracket out a bit, and the mounting plate slides right out.

And then once you have the mounting plate on the wall, the back of the bracket slides over the mounting plate, and the arm gets pushed back, locking it onto the mounting plate. And then everything is held firmly in place with tiny screws tightened securely using the allen wrench provided.
I love this design so much! I love that there are no exposed, visible screws (like what I have on my living room curtain rods…bleh), and the non-telescoping rod gives the finished, installed curtain rod such a pretty, clean look.

And just look at those beautiful, perfect little brackets!

It’s just perfect! Have I mentioned that yet? 😀 Probably not, so let me say it now. It’s perfect! And a week or so ago, I showed y’all the curtain rings that go with it (affiliate link). Here’s another look.

That square metal used to make the rings gives it a higher end look, in my humble opinion. I can’t wait to get my curtains made now!
I was so curious to see the fabric in place, so I draped it over the curtain rod to give us a sneak peek of what this area will look like when it’s finished. Take a look.

Isn’t that going to look so good?! I did get another coat on the French doors, so I think those are completely finished now. I still need to do some other paint touchups and get the floor cleaned up. And then I just need to make the curtains, and I think that’s it for this back entry! It’s getting there!

Addicted 2 Decorating is where I share my DIY and decorating journey as I remodel and decorate the 1948 fixer upper that my husband, Matt, and I bought in 2013. Matt has M.S. and is unable to do physical work, so I do the majority of the work on the house by myself. You can learn more about me here.
[ad_2]
Source link