I didn’t make as much progress on the master bathroom shower this week as I had hoped, but now that the shower wall tile is finally underway, I hope to really plow through this project this weekend. I still don’t think I’ll finish (that shower is huge!), but I hope to get very close.
I didn’t do any work on the shower tile on Tuesday because, quite honestly, I was paralyzed with doubt and indecision after reading all of the comments on the last post. (See: Two New Shower Wall Tile Design Options) And I don’t work on Wednesdays, so yesterday I made myself get started. I wasn’t going to allow myself to waste another day on indecision. I figured that if I just get started, things would become clear to me as I made progress.
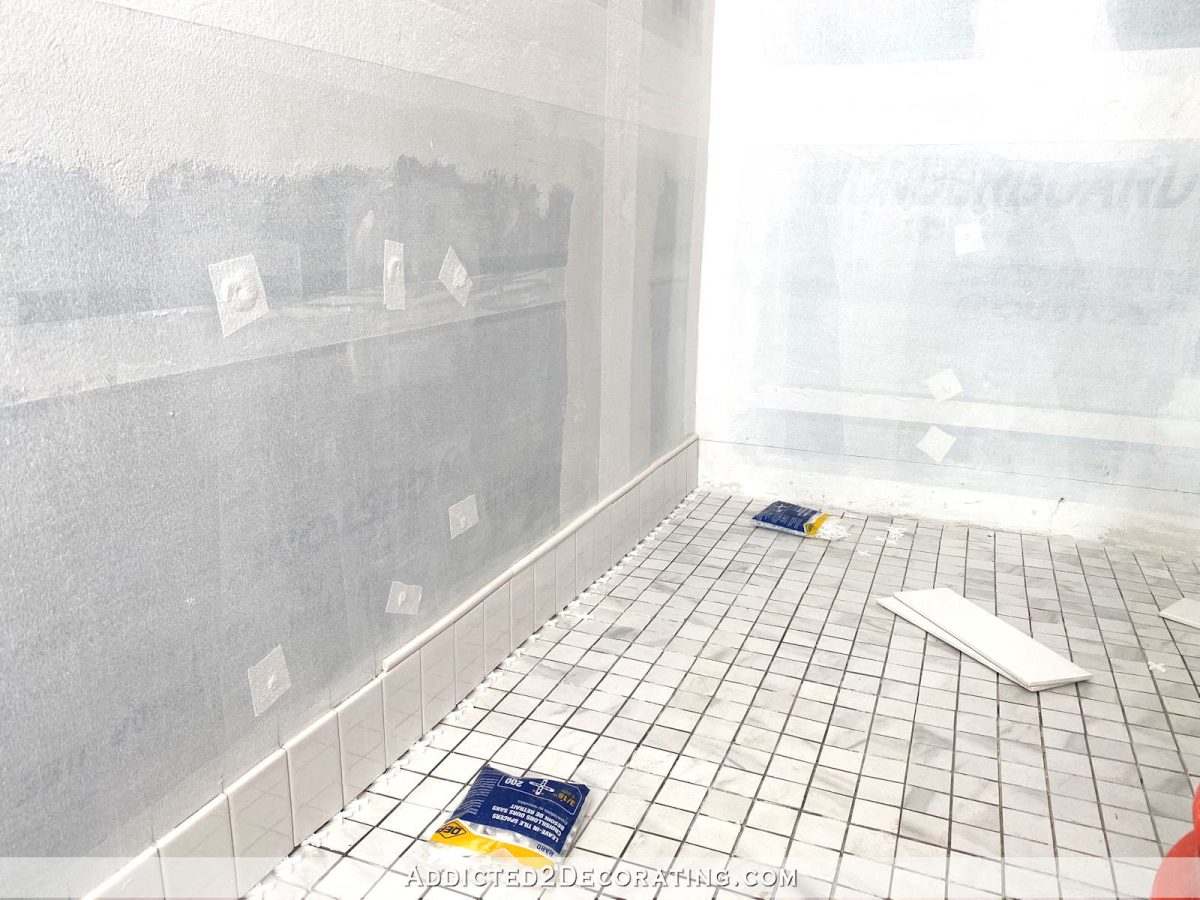
My first big hurdle was to figure out how to do the row of tiles along the floor of the shower. Since I have two linear drains located along one wall (the shower head wall) instead of a round drain in the center of the floor, that created a bit of a challenge with tiling along that slope. You can see what I mean in this photo.
The perspective in that photo is a bit strange, so you’ll have to take my word for it that the floor to the left of the circled area is actually a level floor. The circled area is where the slope changes, and then the area to the right is sloped towards the linear drains.
I didn’t even want to try cutting long 12-inch tiles with the perfect angle to fit just right because that created an issue of where to start. If I started on the shower head wall at the bottom of the slope, and used whole tiles on that wall, then I’d have to cut the tiles at angles going up the slope, and that would leave me with cut tiles showing on the opposite wall that’s visible from the bathroom. That wouldn’t have been horrible, but I didn’t love the idea.
If I started on the most visible wall (i.e., the wall opposite the shower head wall) with whole tiles along the bottom, that means that as the floor started sloping, I’d have to fill in below those whole tiles with cut slivers of 12-inch-wide tiles. I could just see me wasting a whole box of tiles trying to get those smallest slivers right where the floor starts sloping.
So after scouring Houzz for some ideas on how to handle the slope, I finally found the answer. I saw two bathrooms with what looked like a tiled “baseboard” design along the floor in the shower using small rectangle tiles (like standard 3″ x 6″ subway tiles) installed vertically with a long, thin accent tile on top to create that baseboard look. So I decided to try to replicate that look, which would allow me to more easily cut those narrow tiles to fit the slop of the floor.
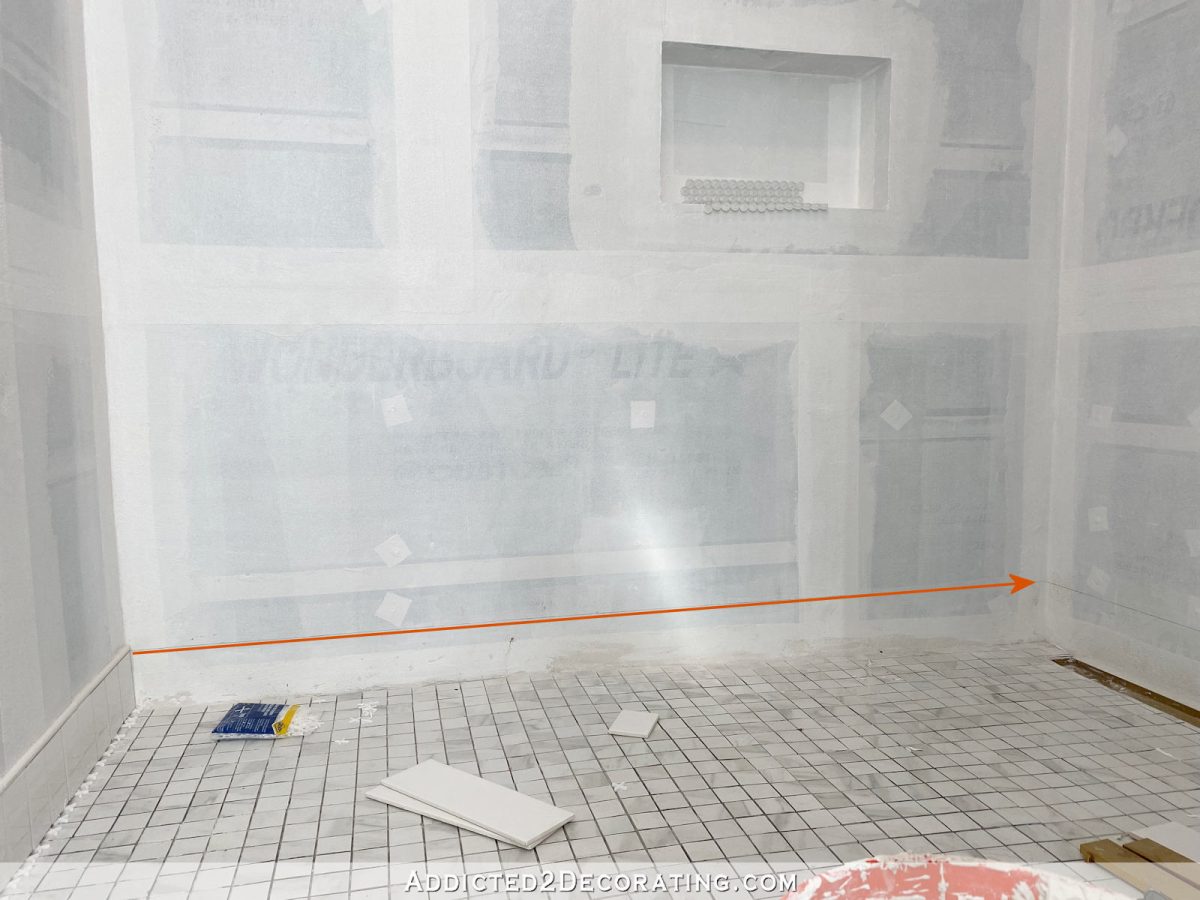
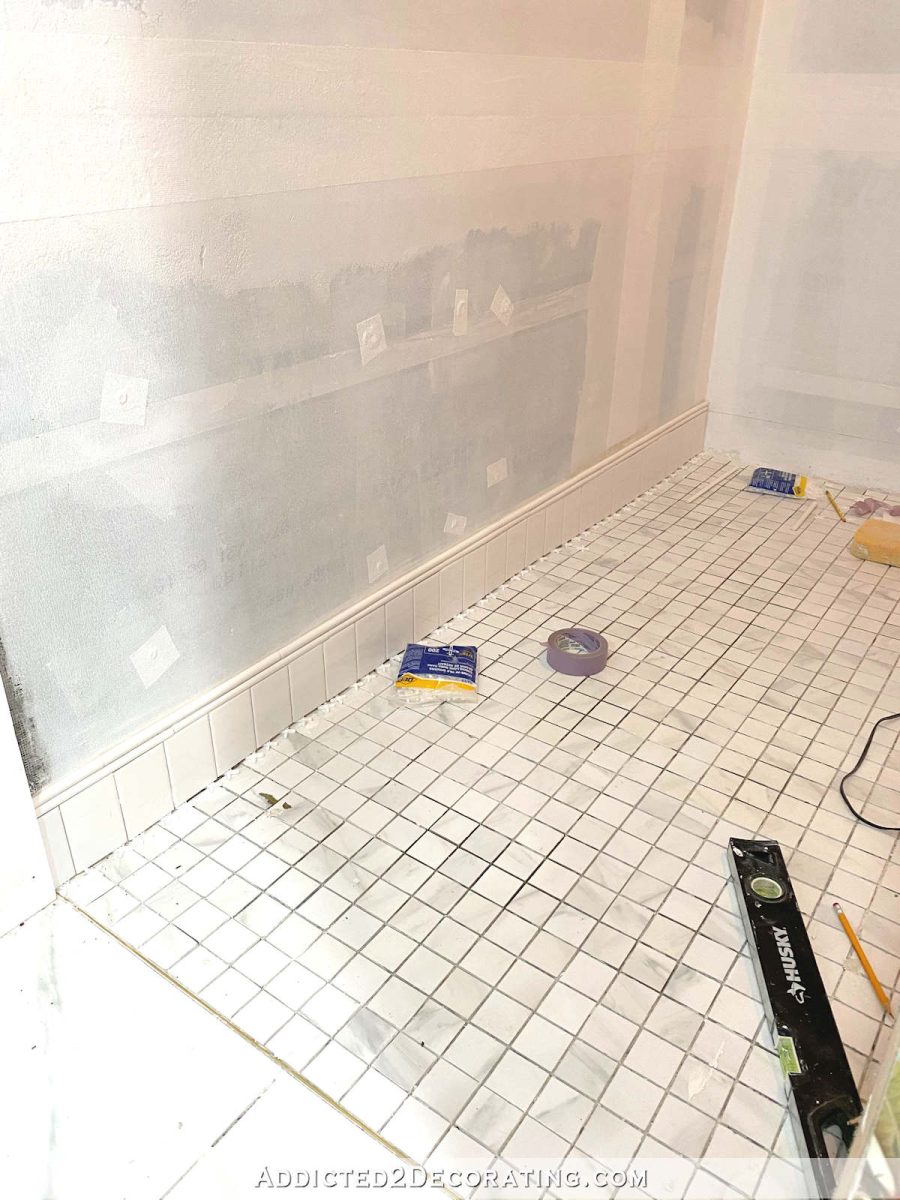
I started by using a long bubble level to draw a level line around the shower at baseboard level…
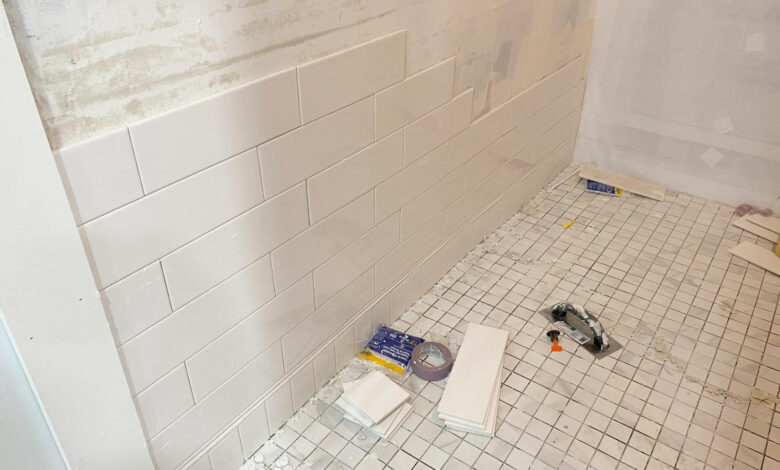
And then using 3″ x 6″ white subway tiles that match the larger rectangle tiles that I’ll be using on the main part of the shower walls, I cut and installed them vertically to fit long that “baseboard” line that I drew. Then I added a thin 1/2″ x 12″ jolly trim tile along the top.

This design will go around the entire shower along the floor, allowing me to cut the smaller tiles to fit the slope of the side walls much more easily, while creating the visual appearance of a “baseboard” in the shower.
I used two rows of the jolly trim tile above those “baseboard” tiles to create a type of basecap trim look…
Once those “baseboard” tiles were installed, the rest was very simple.
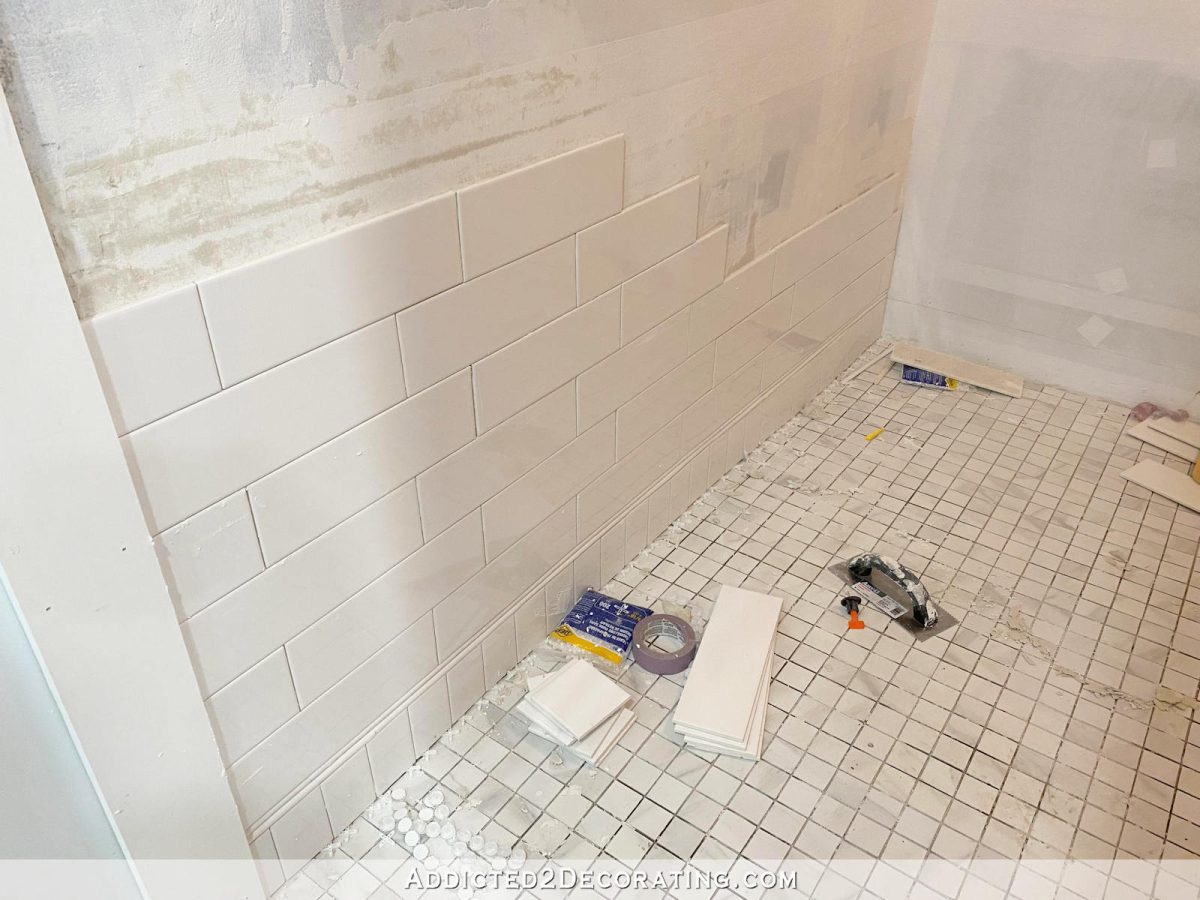
That’s as far as I got yesterday because the mortar I had mixed up started getting too dry to use. And by the time I got my tools cleaned up and my bucket emptied out, washed out, and ready to reuse, it was too late to mix up more and continue working. (All of that mixing of mortar and then cleanup afterwards takes so much time!!) I was so disappointed, because I had high hopes that I could at least get one wall finished yesterday. But as I almost always do, I way overestimated the amount of work I would be able to get finished in the allotted time.
You’ll notice that I have six rows of tiles on the wall, and there’s not a single row of glass tiles. 🙂
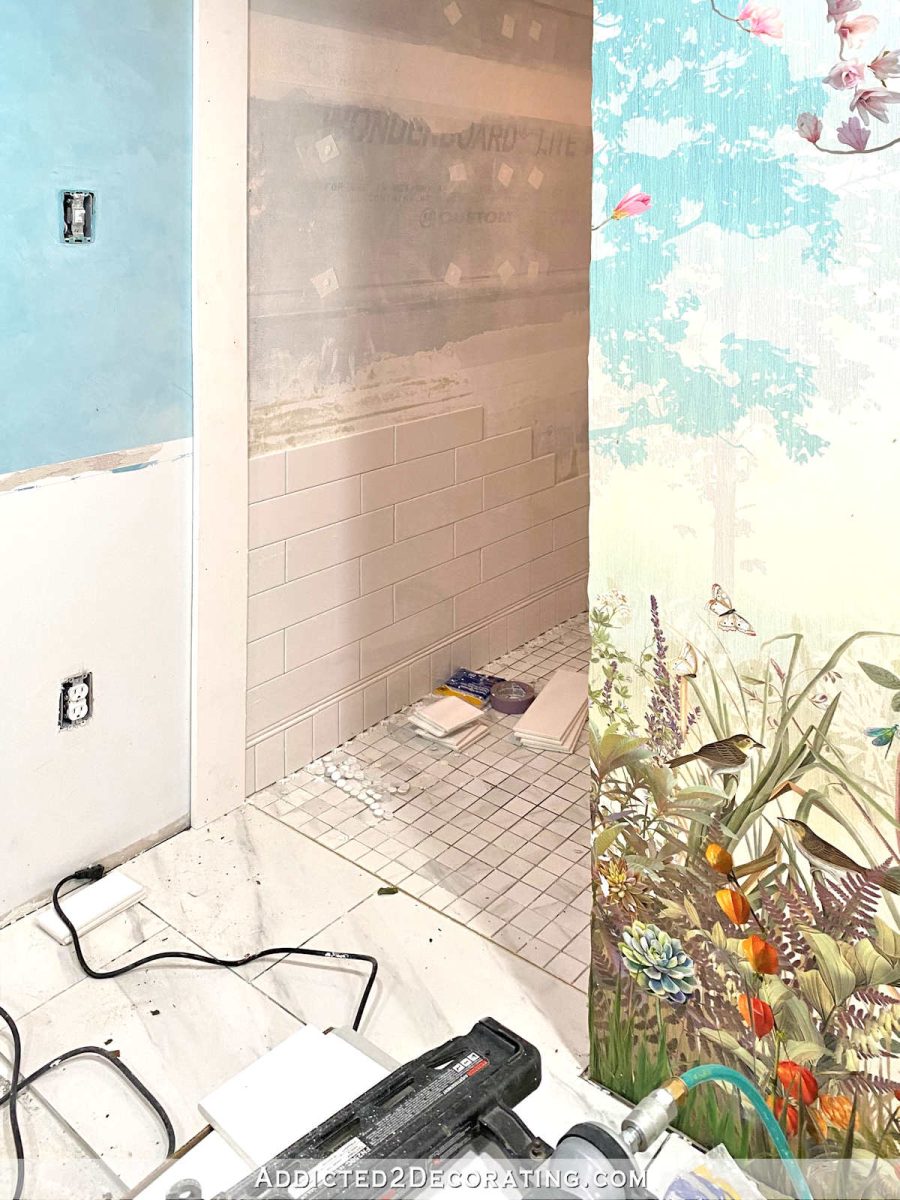
After reading your comments, I decided to go with another design. I’m going to keep it to myself for now simply because I don’t want any more ideas that could send me back into a state of indecision. 😀 I have my mind made up now (for sure this time), so hopefully I’ll be able to show y’all the finished design on Monday.
And I’ll leave you with a couple of pictures of my helper yesterday.
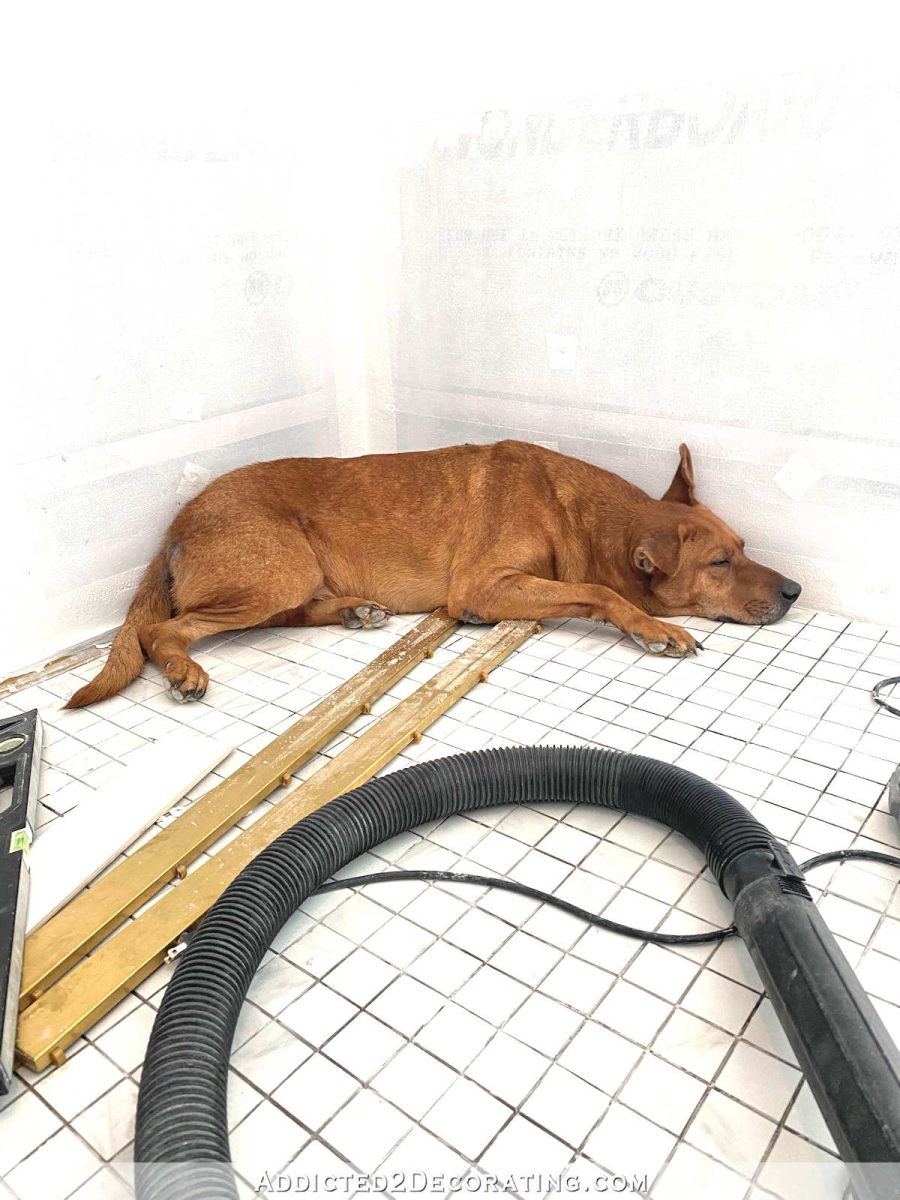
My sweet Cooper. He loves to be with me (or at least to have free access to me) at all times. While I’m working, I keep the back door open, which goes out to his fenced in yard where I have my tile saw set up. So he’ll go out for a while, and then come in for a while. And of course, when he’s inside, he wants to be near me. So he made himself comfortable in the corner of the shower and took a little nap while I worked.
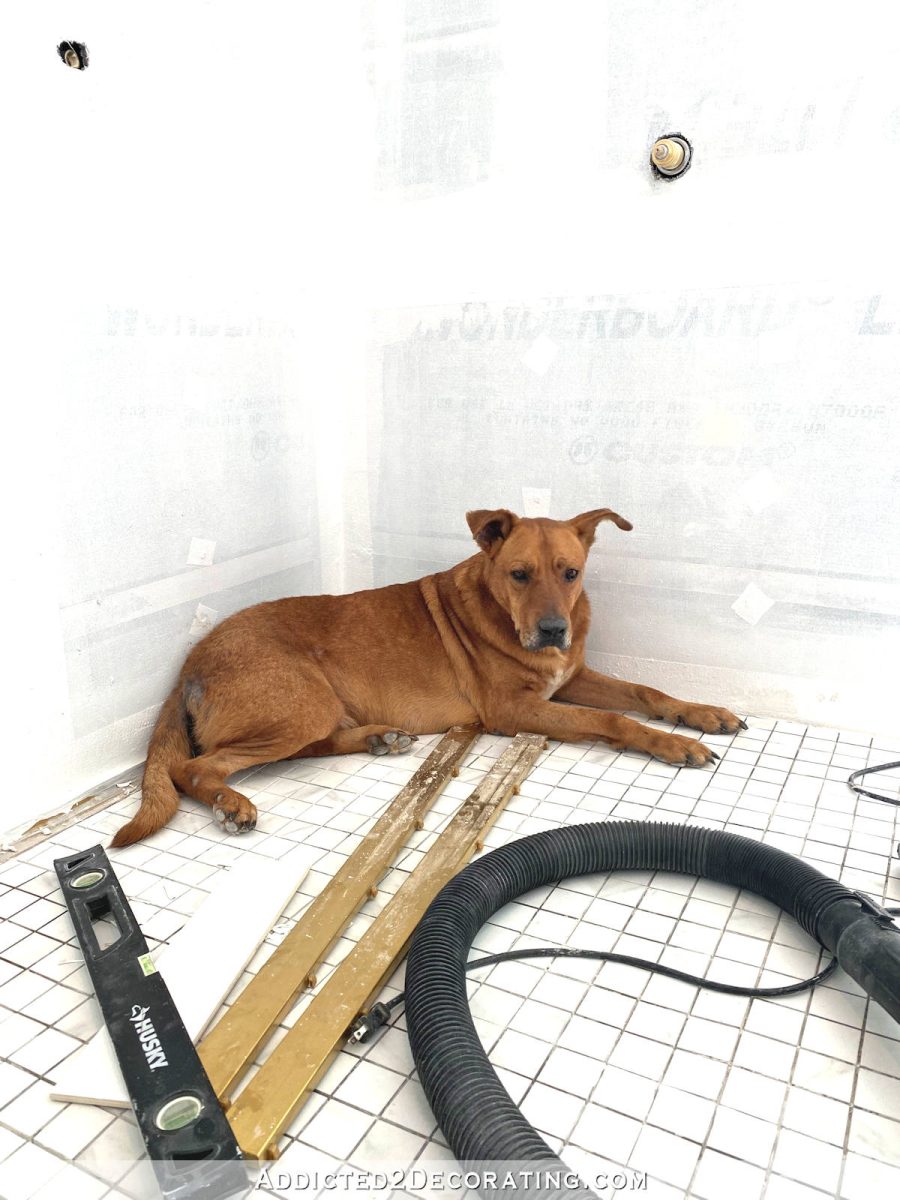
He slows me down a little because he wants to follow me every time I got outside, and then he insists on sniffing all the things several times (I’m convinced he missed his calling as a drug sniffing dog), but I don’t mind being slowed down a bit by him. 🙂 How could I get upset at that cute face?

Addicted 2 Decorating is where I share my DIY and decorating journey as I remodel and decorate the 1948 fixer upper that my husband, Matt, and I bought in 2013. Matt has M.S. and is unable to do physical work, so I do the majority of the work on the house by myself. You can learn more about me here.
I hope you’ll join me on my DIY and decorating journey! If you want to follow my projects and progress, you can subscribe below and have each new post delivered to your email inbox. That way you’ll never miss a thing!
Source link