[ad_1]
Things are moving right along on the cabinets for the office area of my studio! We had gorgeous weather yesterday, and I took advantage of it by getting all of the trim for the doors and drawer fronts cut, assembled, and attached to the doors and drawer fronts. I got all 18 trimmed out and ready for the next step.

It’s supposed to be sunny and 79 degrees today, so I had hoped to get all of the trim caulked so that I could paint today. Unfortunately, I ran out of time, and didn’t get any of the caulking done yesterday, so that will have to be done today. Our weather is supposed to be beautiful all week, so it’s looking like I’ll be able to paint on Thursday. Once I get that done, I will feel such a huge sense of accomplishment!
I had considered skipping the caulking process and just painting the doors and drawer fronts, but I just can’t let myself do that. You can see here that the trim I used is slightly curved even on the backside. So right where it sits against the door, you can see this little crevice.

Things like that irritate the heck out of me, and there’s no way I’d be satisfied without caulking that little crevice. And the mitered corners of the trim also need a little sanding and caulking.

Anyway, this is round two of me prepping, adding trim, caulking, priming, painting, and gold leafing IKEA Veddinge cabinet doors and drawer fronts, and I wrote about it in greater detail the first go ’round.
So now that I’m well on my way to getting the doors and drawer fronts finished, I’ve been thinking ahead and planning how I’m going to finish out the actual cabinet boxes. The exposed side on the right will have to be covered, and since I didn’t buy any of those panels from IKEA, I’ll be using MDF or plywood.
I’ll basically be repeating the very same process I used to build out the sides of the paint swatch cabinet where I added added two pieces of 2″ x 2″ lumber to the sides of the cabinets like this…

And then covered that with a piece of plywood like this…

Since I’ve already done that process once, and it worked out great, there’s not really anything else to figure out. I’ll just repeat that whole process to cover over the right side of the cabinets. But one thing I’ve been considering is adding a bridge to connect the two upper sections.
I’ve been toying with this idea literally from the very beginning of designing this room back in 2017, but someone else suggested it a few posts back when I asked for ideas on how to incorporate the floral design in this area of the room. Someone suggested building that bridge to connect the top upper cabinets, and then just adding the floral wallpaper to the wall in that enclosed area.
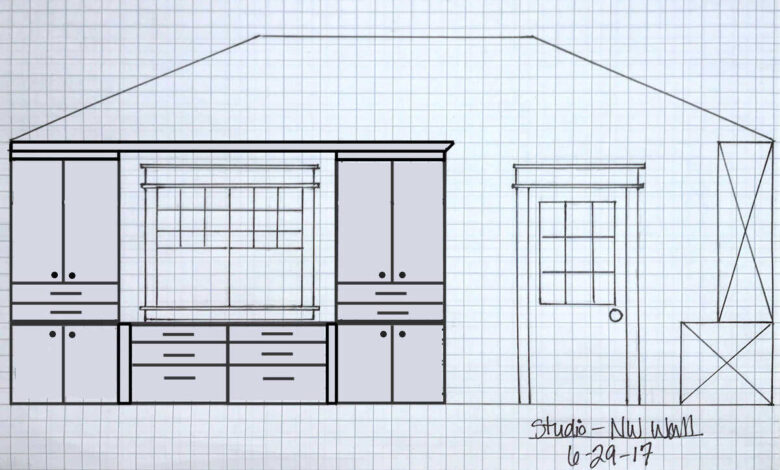
If you’re having a hard time envisioning this, let me show you what I’m talking about. So here’s the plan I’ve been showing y’all for a while now. Even though the design changed slightly when I decided to go with IKEA cabinets, the main idea has been the same since 2017.

But the bridge idea would look something like this…
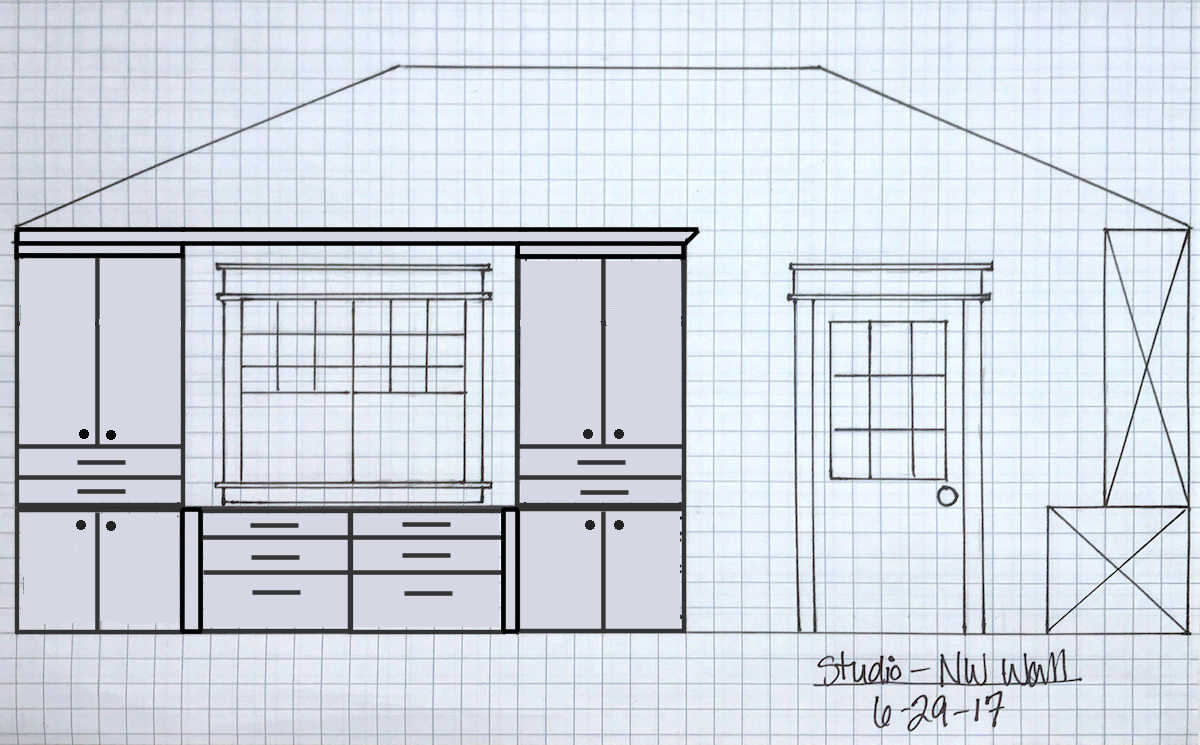
I don’t plan to add the floral wallpaper to the area inside that area because I don’t think enough of it would show to be worth the effort. But what I do love about the bridge idea is that I could add lights above that countertop. I don’t know if I would ever need lights in that area, or what kind of work I’d do on that countertop that would necessitate lighting above it, but I do like the idea of having it available if and when I need it.
Of course, if I didn’t do the bridge, I could always add sconces to the sides of the cabinets, facing the window, just like I did with the closets in our guest bedroom.
I also like that the bridge gives the cabinets a more finished look (in my humble opinion) against that very tall, wide wall. With the bridge, the entire cabinet area looks like a more cohesive unit to my eye.
So that’s really the main design decision I’m trying to decide on right now. I have a few days to decide since I’m focusing on the doors and drawer fronts right now. Those will probably take me the rest of the week, and maybe even the weekend, since I have to do the gold leaf also. But I’m hoping that I’ll be ready to start on the actual cabinets next week, and I need to have that decision made so I’ll be ready to go.
What would you do? Add a bridge with crown molding for lighting? Or forgo the bridge and just add crown molding to the tops of each individual upper cabinet, and possibly add some sconces to the sides of the cabinets?

Addicted 2 Decorating is where I share my DIY and decorating journey as I remodel and decorate the 1948 fixer upper that my husband, Matt, and I bought in 2013. Matt has M.S. and is unable to do physical work, so I do the majority of the work on the house by myself. You can learn more about me here.
[ad_2]
Source link