Studio Office Cabinet Progress – Building Out The Cabinet Boxes & Running Electrical For The Sconces

[ad_1]
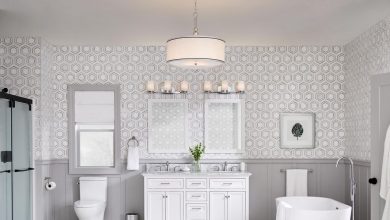
I made quite a bit of progress on the studio office area cabinets yesterday, and it’s getting really exciting to see this area come together. I showed you the other day that I got all of the doors and drawer fronts finished. I installed most of them and took a picture so we could get an idea of how this finished area will look. It still takes some imagination, but here was my progress…

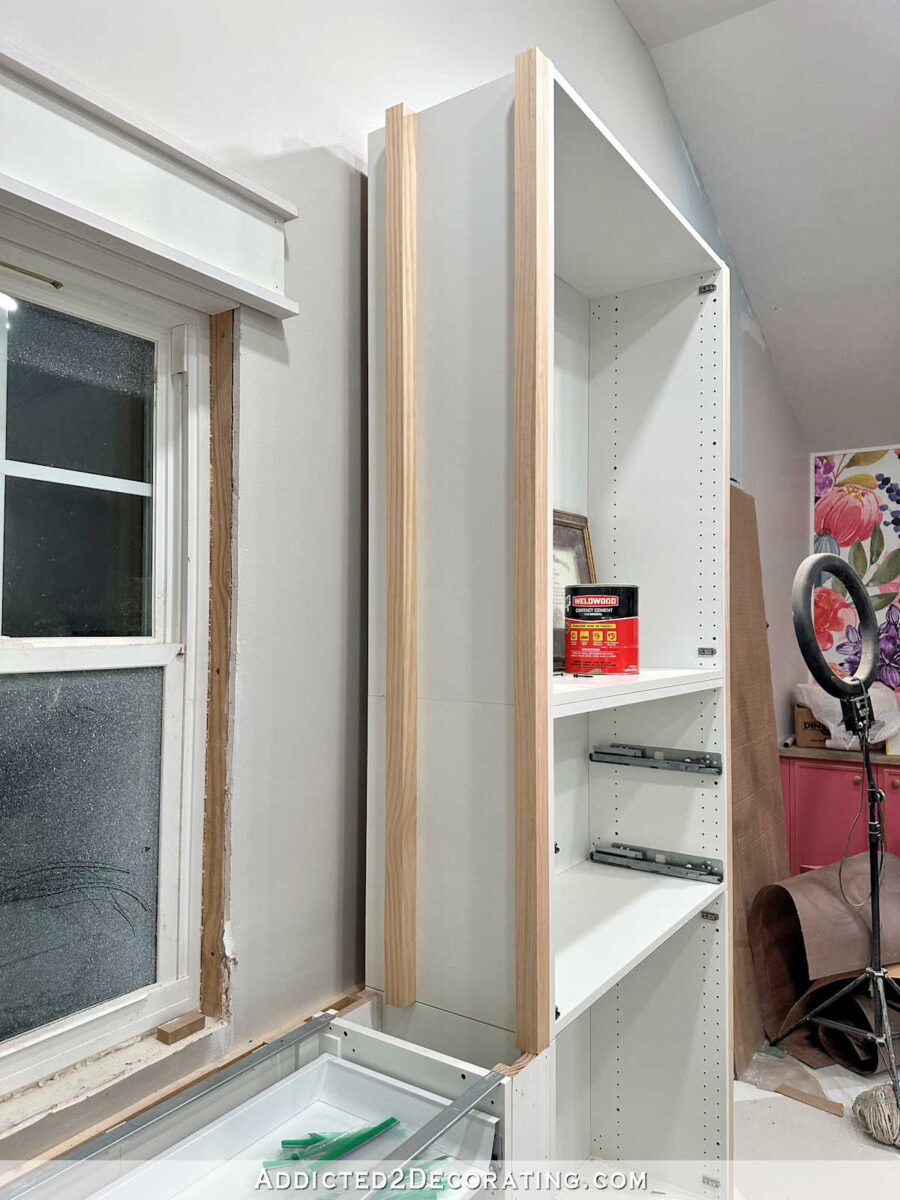
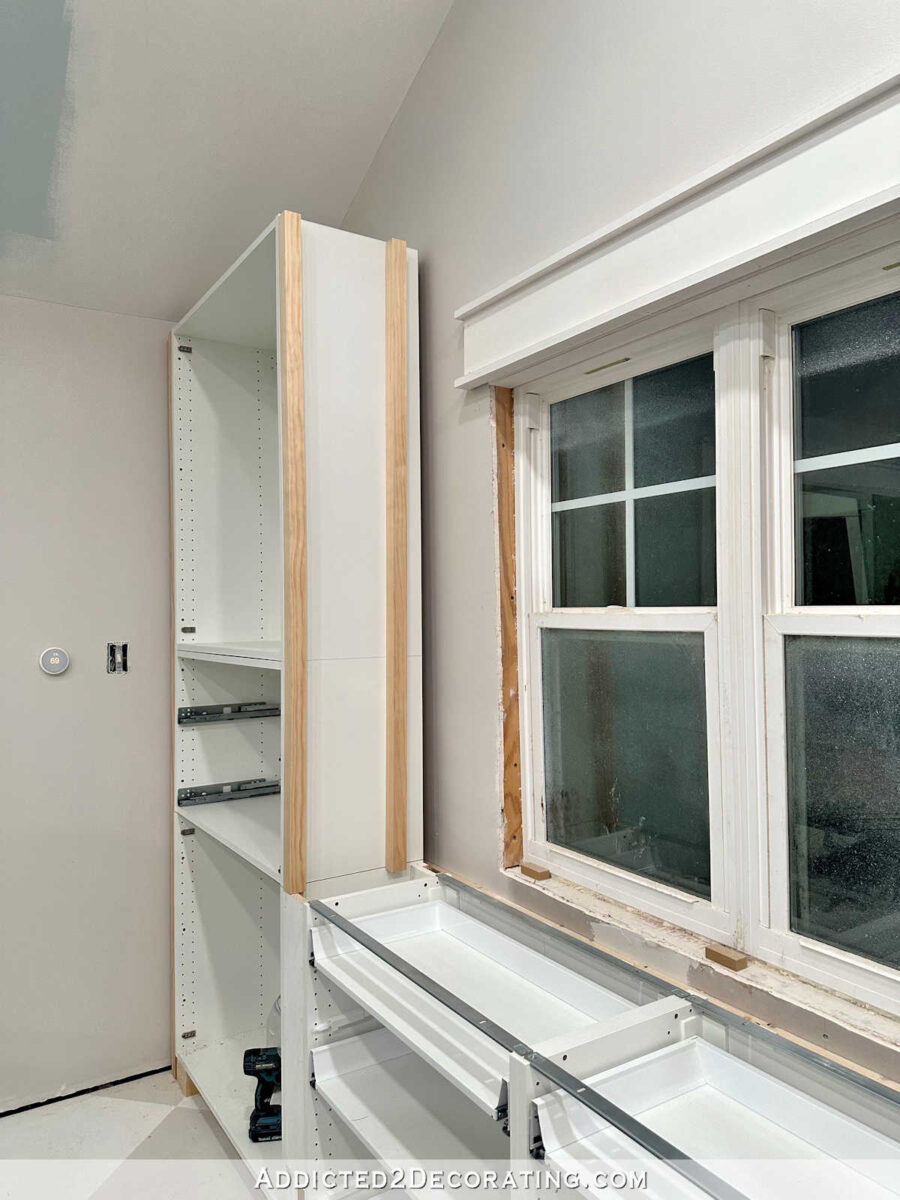
So with those finished, I had to remove all of the doors and drawer fronts to work on the cabinet boxes and get those finished. I started by adding 2″ x 2″ lumber to the sides of the cabinets to fill in the space between the left cabinet and the wall. I attached this using screws that I screwed through the shelf pin holes inside the cabinet and into the 2″ x 2″ wood. This gives me a surface to attach the final trim piece later.

I did the same thing on the other sides of the cabinets. But on the other sides, I attached two 2″ x 2″ pieces of wood because these will be used to attach the plywood to cover the sides. Again, I attached these using wood screws that I screwed through the shelf pin holes inside the cabinet, through the cabinet, and into the wood.
I repeated that process on the other side…
And then I repeated that process one more time on the outside of the right cabinet.
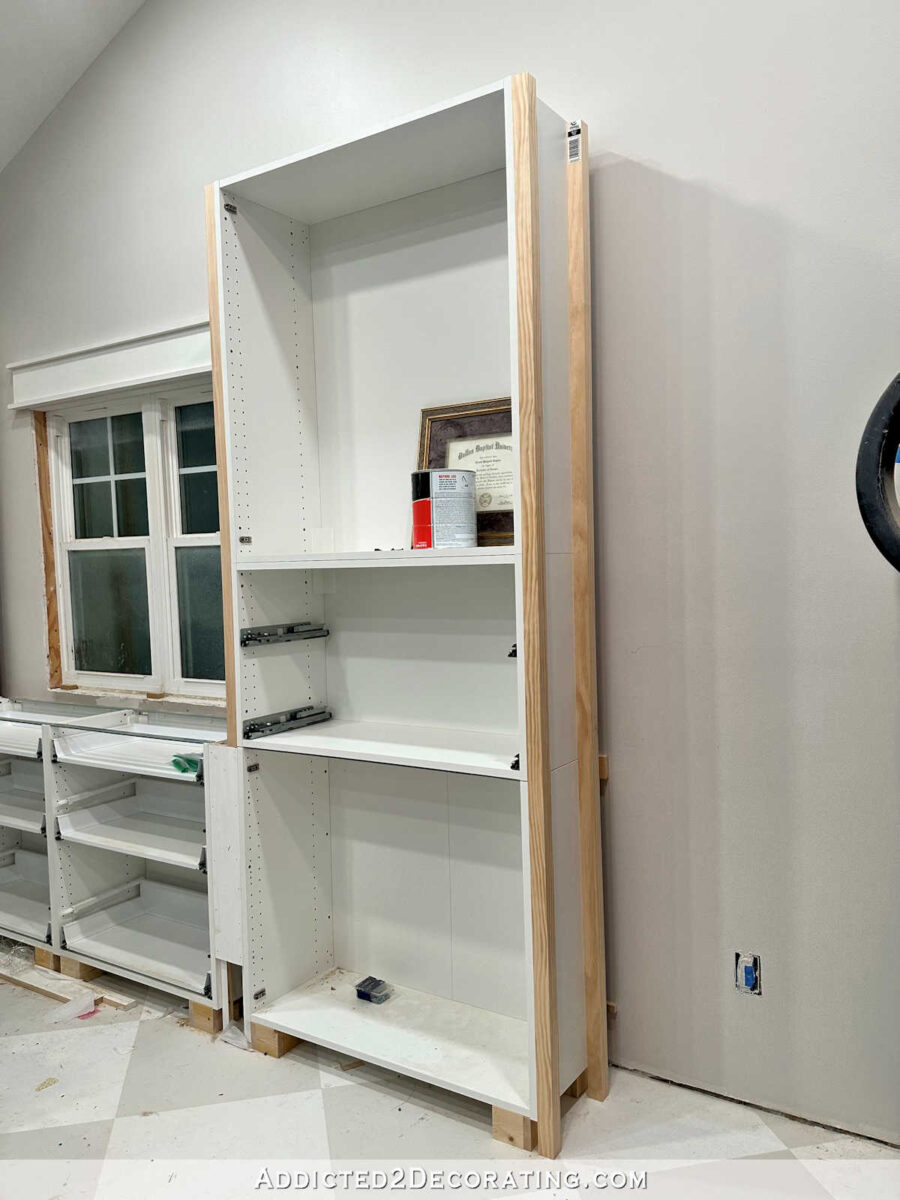
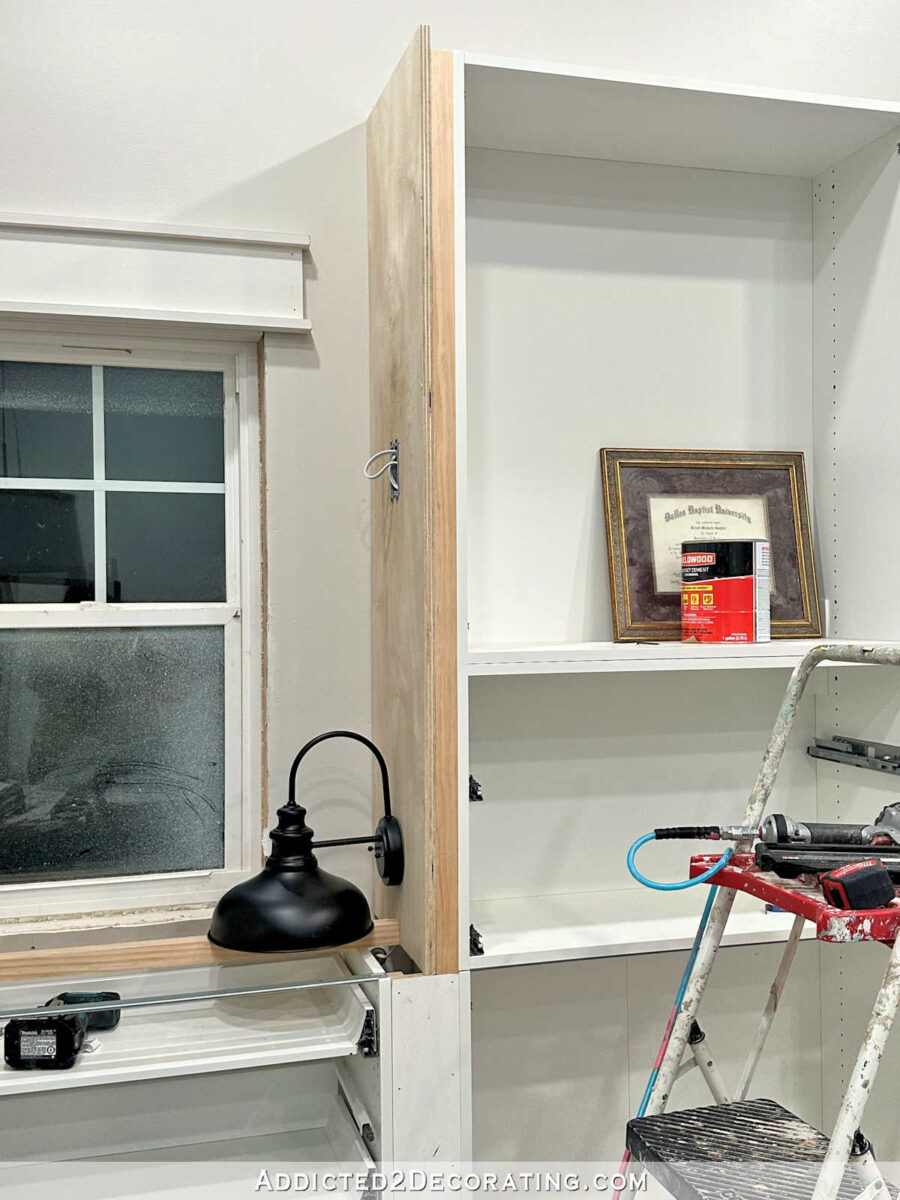
With those strips attached, I could attach the plywood piece to the outside of the right cabinet. I attached this using 1.5-inch 16-gauge nails, and I nailed it right to the 2″ x 2″ wood pieces. You can see that I cut the plywood pieces a little taller than the cabinet to give me something to attach trim and crown molding to in a later step.
Since I decided to add sconces to the window side of each cabinet, I had to add junction boxes to the plywood panels before I could attach those. I used shallow old work boxes for this so that they would fit inside the area between the plywood and the side of the IKEA cabinet. I didn’t want to have to cut through the inside of the IKEA cabinet for a standard size junction box to fit. I measured and marked where I wanted the box to go on the plywood panel, and then used the box as a template to trace around to mark where to cut.

I made sure to get it just right because I only had one chance at this. If I messed this up, I’d have to cut a whole new piece of plywood.

I used my Dremel Multimax oscillating saw to cut the hole for the box. You could also use a drill and jigsaw, or even a router. With the hole cut out, I attached my old work box, which just screwed to the plywood.

I decided to use heavy duty extension cords to wire the sconces. In order to use the extension cord, I had to use my wire cutters to cut off this end.

The wiring had to be done before I attached the plywood panel to the cabinet. So I ran the wire behind the panel and through the junction box.
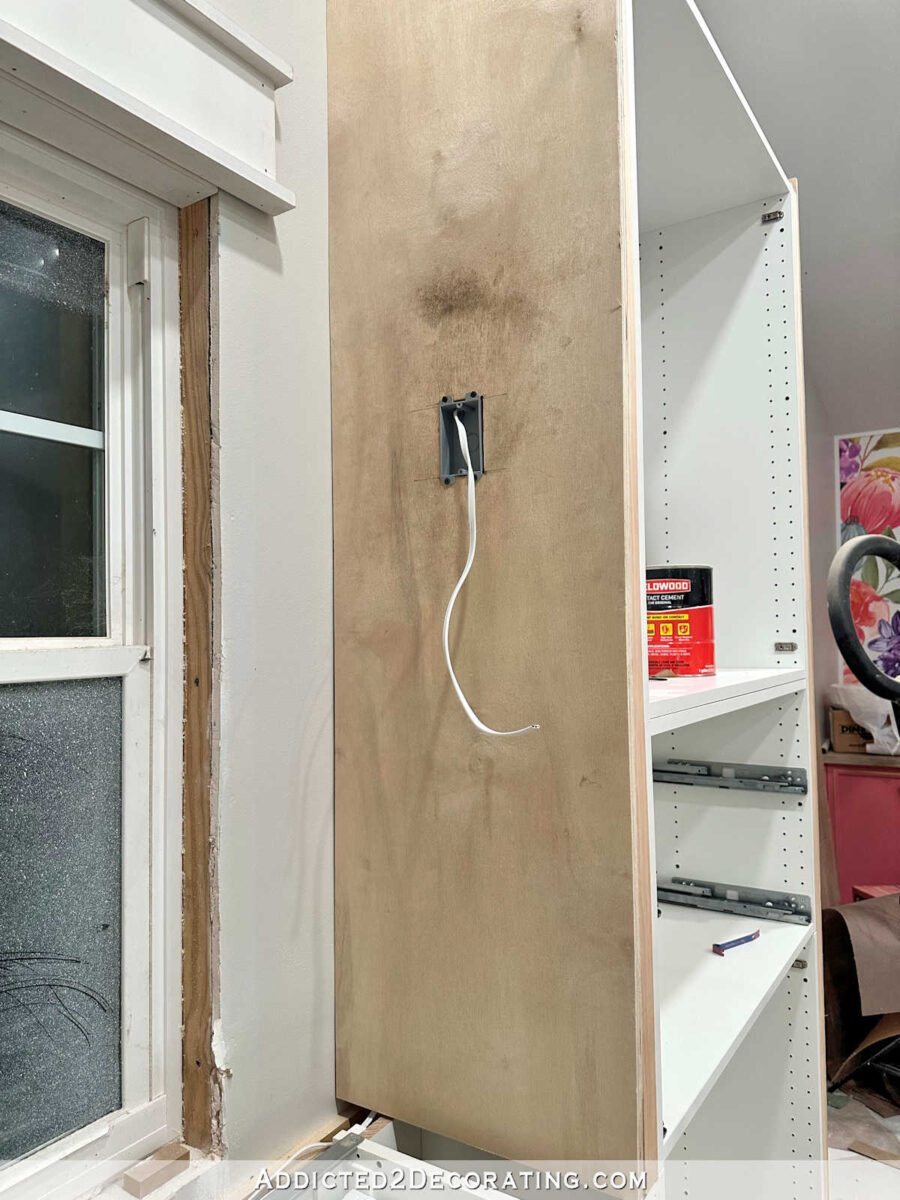
The other end of the cord came out at the bottom of the plywood panel…

You can see here that it just ran straight down behind the plywood and into this space between the cabinets.

And then using a 1-inch drill bit, I drilled a hole in the back spacer in that section, and threaded the wire through that hole.

And the I ran the wire in this space behind the cabinets, but above the spacers/braces that I used to attach the cabinets to the wall. I placed a scrap 2″ x 2″ piece of wood on top of the cabinet where the countertop will eventually go so that you could see how much space the wire has to travel through. It’s quite a large space (about 2″ x 1″), so you can see that nothing will be constricting the wire once the countertop is in place.

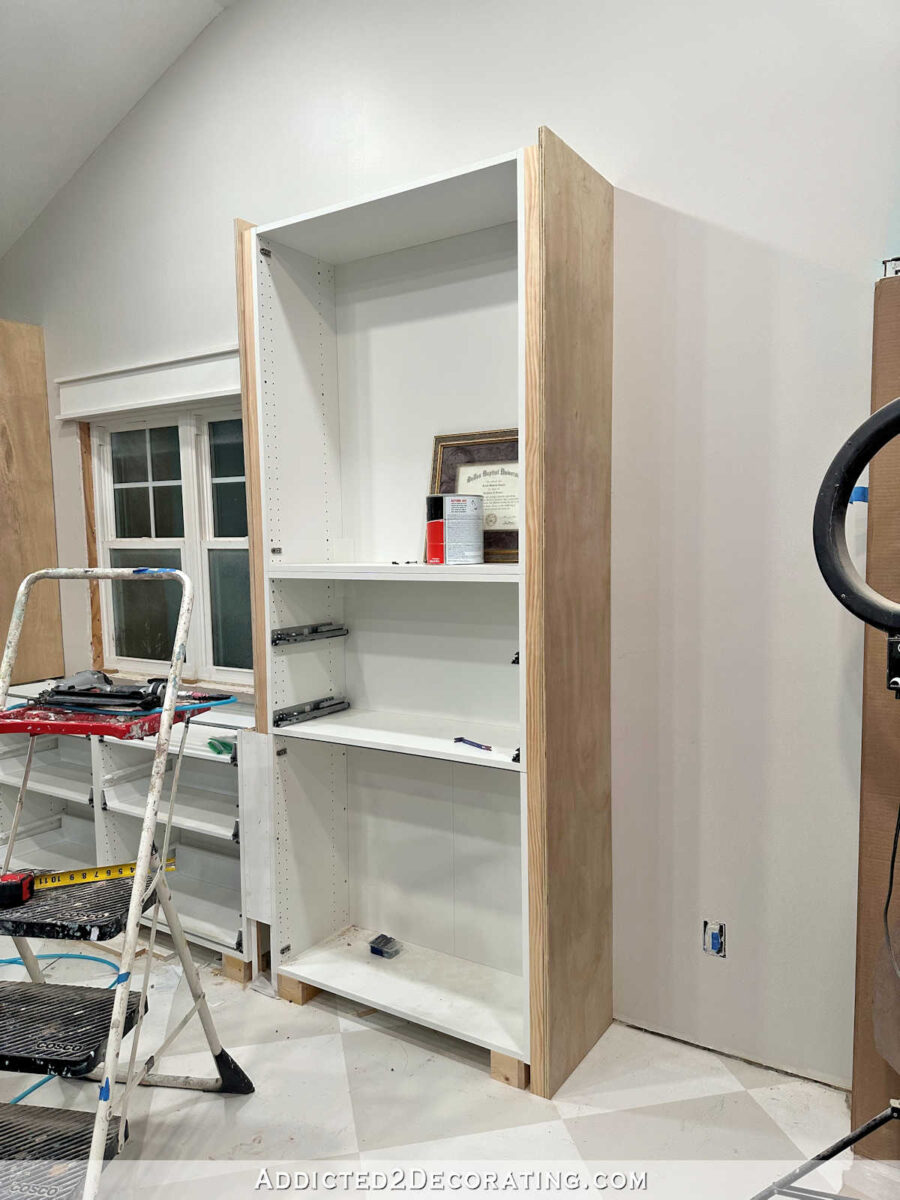
Once the wire was in place, I was able to nail the plywood panel onto the side of the cabinet.

At that point, here’s what the right bank of cabinets looked like with the 2″ x 2″ lumber and plywood panels added to both sides of the cabinets.

Here’s a peek at the sconce. I couldn’t hold the sconce in place and take a picture, so you’ll just have to imagine it up on the side panel where the junction box is. And of course, I will need to paint and gold leaf the sconces to match the pendant lights on the mural wall.
With that side panel in place, I needed to finish up the side panel on the left side. The wire from the right side ran behind the cabinets all the way across the back under the window.

And then I ran that wire, plus a second wire, through a hole that I drilled in that back spacer, just like I did on the other side.

And then I ran those up behind the plywood panel, and through the junction box.

That second wire (extension cord) then ran behind the left cabinet, and through this access panel that I had to cut in the back of the middle cabinet on the left side.

You’ll notice that on the first extension cord, I cut off both ends so that I was just left with the wires. But on this second extension cord, I only cut off the end where the sconce will be wired, but I kept the end with the plug. That’s because, after I finish wiring up this outlet behind this access panel, the sconces will plug into the outlet. I’ll control the sconces with a remote-controlled outlet.

After those wires were run on this side, I was able to nail the plywood panel into place.

So that’s the progress so far! I was so excited to get all of this done. Working through the logistics of wiring up those sconces too me a bit to figure out, and it’s always such a huge relief when a plan works out. 😀

Today, I’ll be working on the bridge with the cubbies. If you’ll remember, this is the vision…

I’m working by myself, so I’ve been thinking through exactly how I’m going to build a big, bulky plywood bridge with cubbies, lift it into place by myself, and attach it to the side cabinets by myself. These are the challenges I have to work through quite often as a DIYer who works alone. But I think I have it figured out. I guess we’ll all find out tomorrow if my plan worked. 😀

Addicted 2 Decorating is where I share my DIY and decorating journey as I remodel and decorate the 1948 fixer upper that my husband, Matt, and I bought in 2013. Matt has M.S. and is unable to do physical work, so I do the majority of the work on the house by myself. You can learn more about me here.
[ad_2]
Source link