The Finished Hallway Remodel – Before and After
[ad_1]
*This post contains affiliate links.
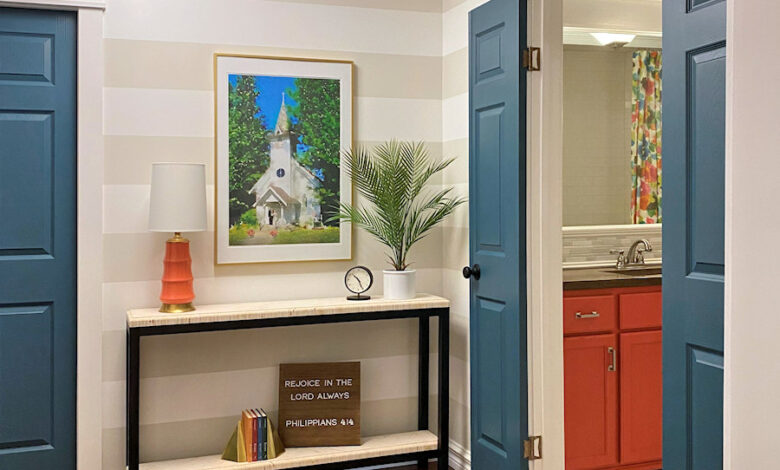
The hallway is finally finished! It’s been a long road, and we lived with an unfinished hallway for well over a year, but i put the finishing touches on it just last night and snapped some pictures to show you.
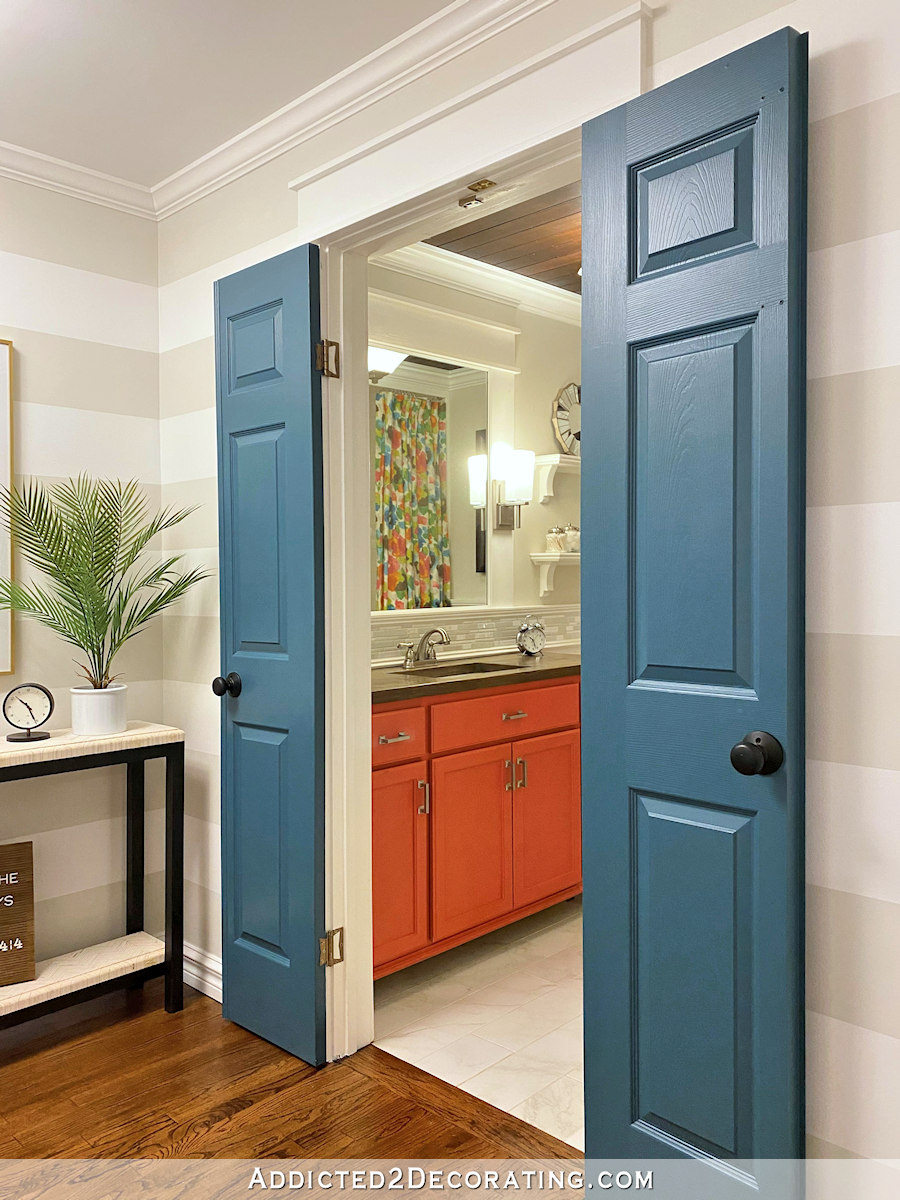
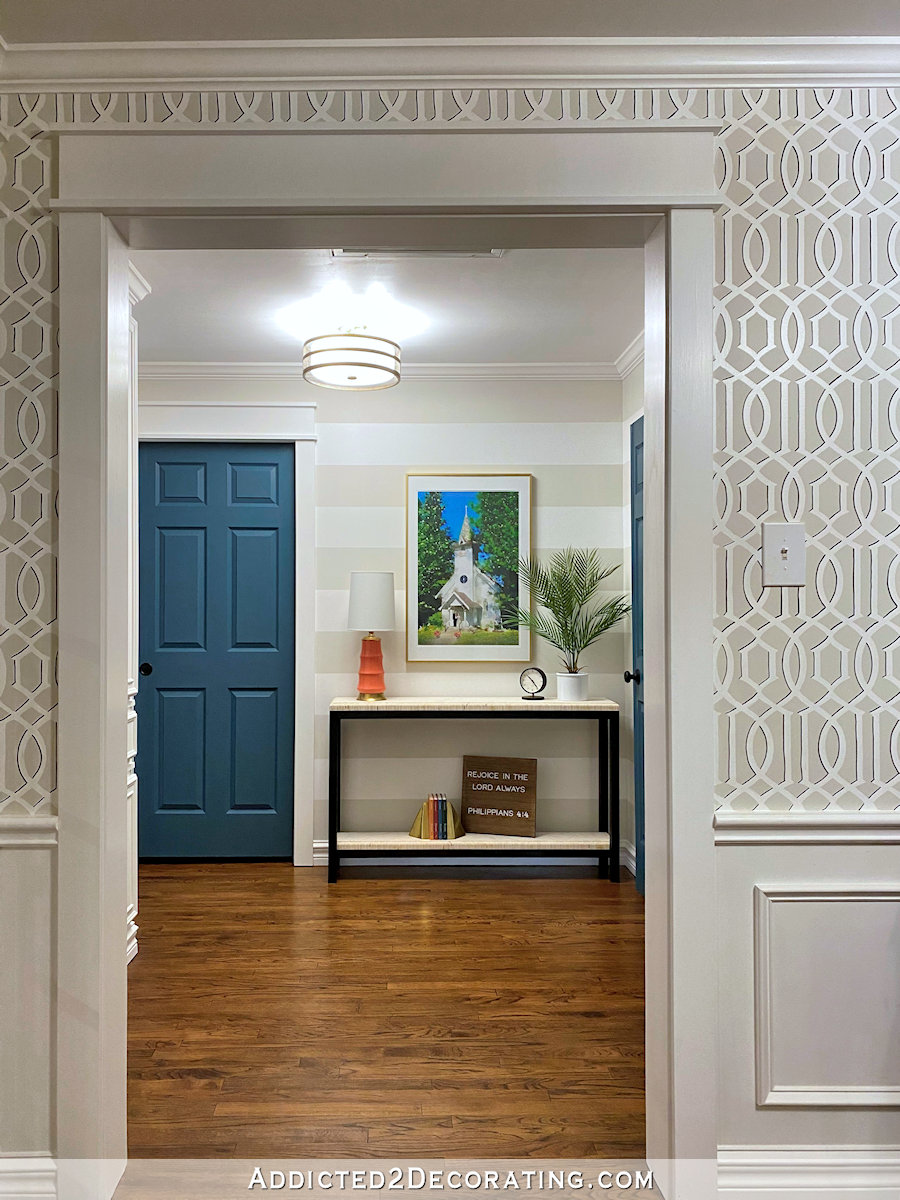
I’m pretty excited about how it turned out, and I actually love the new, smaller hallway much more than I did the much larger and more spacious hallway. Here’s the new and improved (albeit, smaller) hallway.
For reference, this is what the hallway looked like the first time around. The wall with the two bedroom doors was set further back, and there was much more room between the bathroom door and the master bedroom door (i.e., the door on the right on that wall with the two doors).
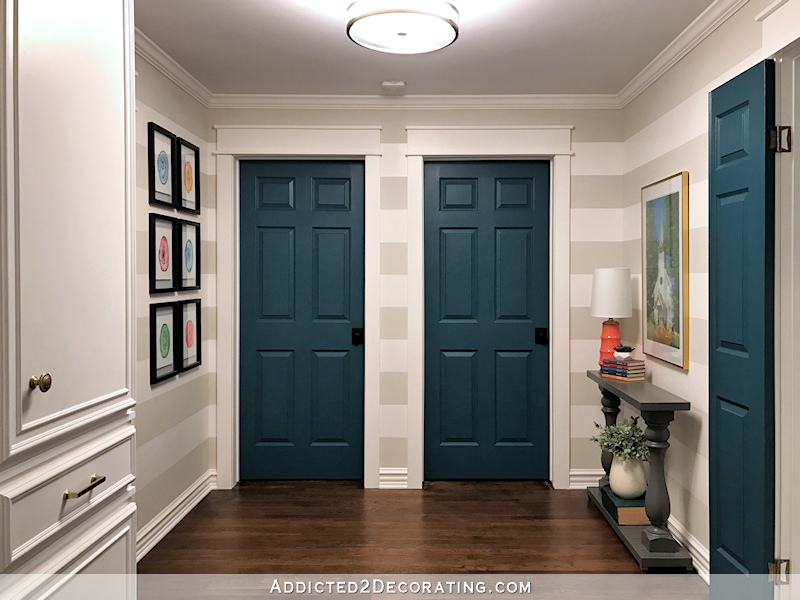

Now the door that went to the master bedroom is gone and that whole wall has been moved forward about three feet. Even though the hallway is now smaller, removing that door left room for a much longer table (a DIY project that you can find here), and now rather than the table being on a side wall, it’s on the wall where you can see it straight on from the music room. I love this arrangement so much more.
So why all of this change in the first place? Well, there were two reasons.
First, we decided to change the master bedroom into our new master bathroom, which doesn’t need to be accessed via the hallway. (That project has yet to be completed.) And also, we had a huge plumbing issue in 2019 (which you can read about here) that caused water damage and warping to the hallway floor. So at the same time the wall was being reframed, we also had the floor in the hallway taken out down to the floor joists, and then had the subfloor replaced.
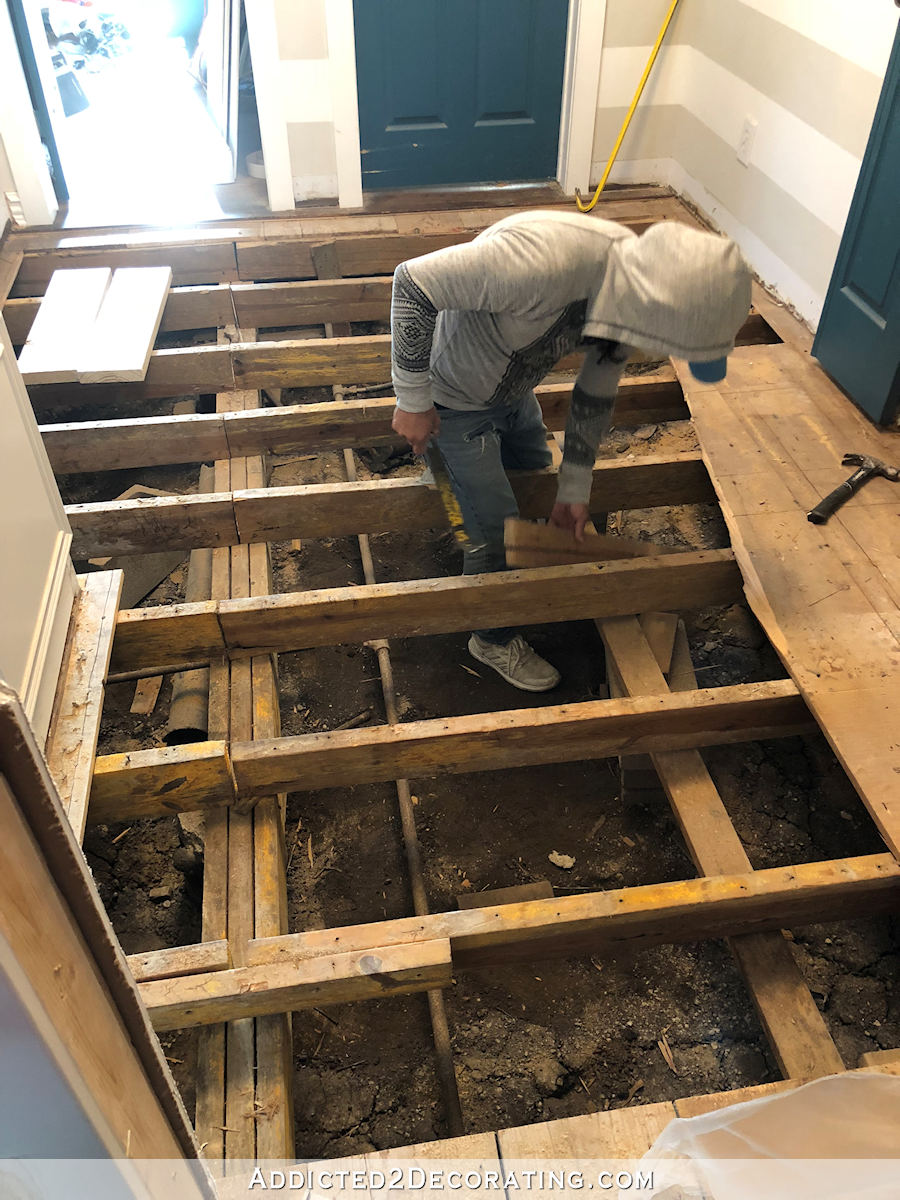
So after they finished up their work in the hallway (moving the wall, replacing the subfloor, and installing new drywall where needed), this is what the area looked like when they handed it back over to me.
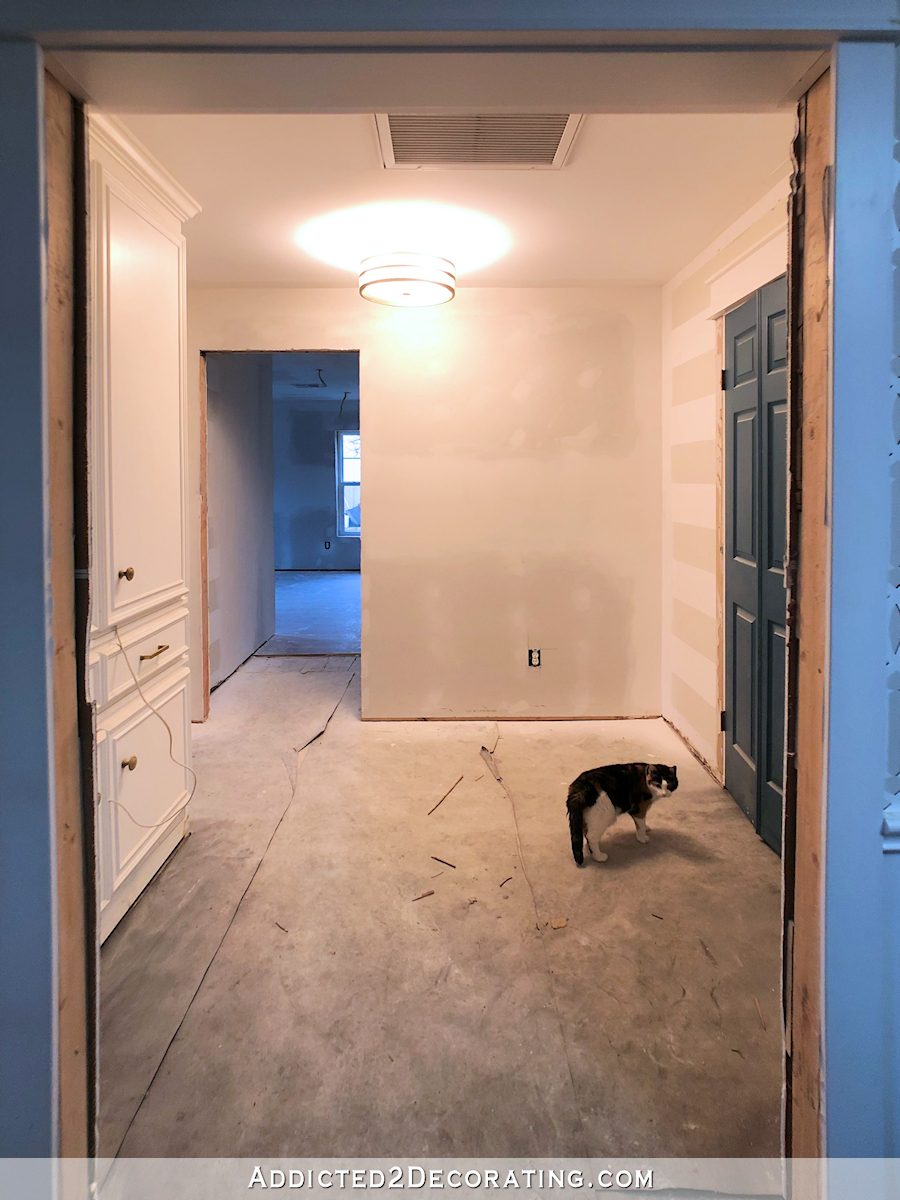
So during this Round 2 of the hallway, I had to install new hardwood flooring, finish the new flooring to match the existing floor in the music room and the rest of the house, install new baseboards, door casings, and baseboards, build a new console table, paint the new doors (the two remaining bedroom doors are now pocket doors), and prime and paint the walls.
Finishing the floor to match the rest of the house took me two tries. The first try was a complete disaster, so I had to sand the whole floor again, and start over. This was my first awful attempt. The hallway floor and the music room floor were very obviously different colors.
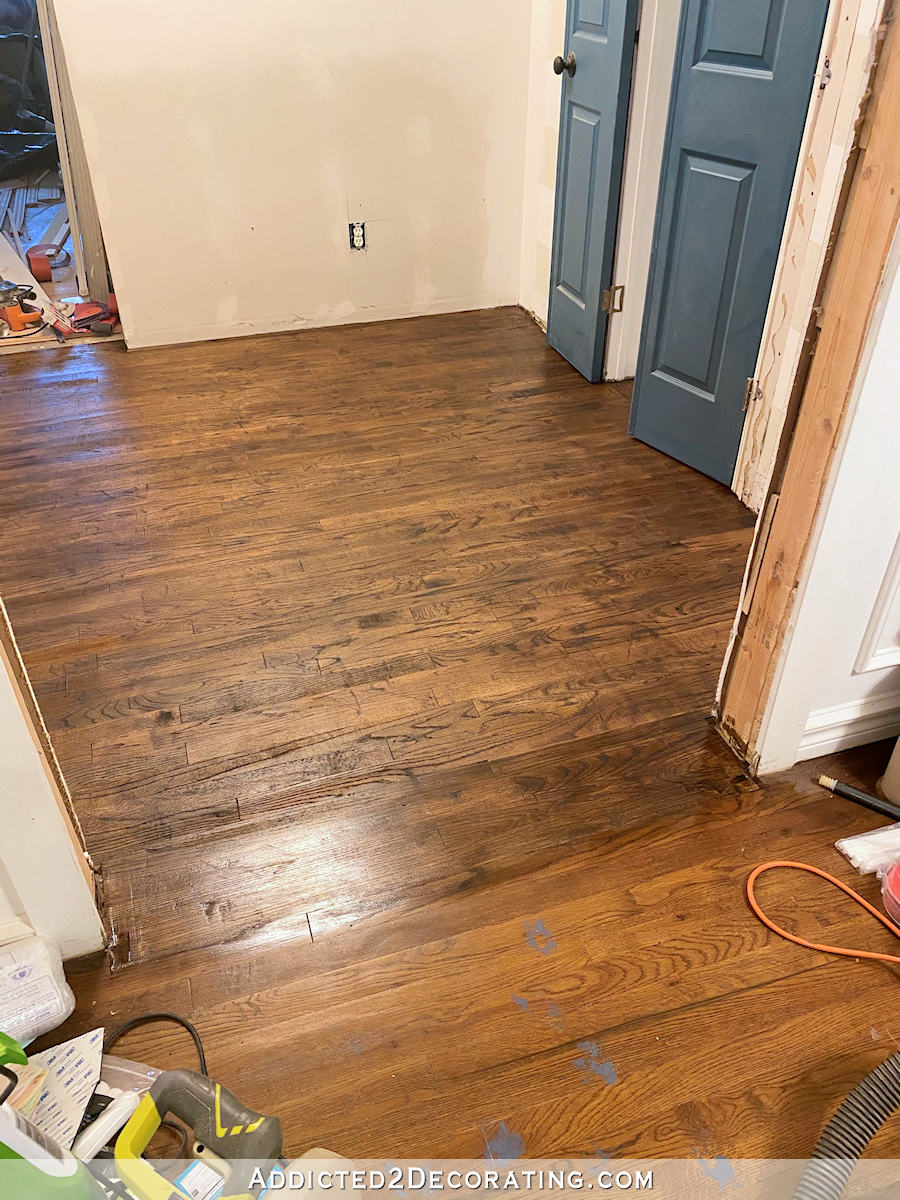
I’m so glad I didn’t just live with that mismatched floor, and that I put the effort (as frustrating as it was) into sanding it down again and getting it right. It’s still not exactly perfect, but considering that they were done years apart, I think it’s a close as I could have gotten it. If someone didn’t know the floors had been done at two different times, I don’t think they’d ever notice a difference.
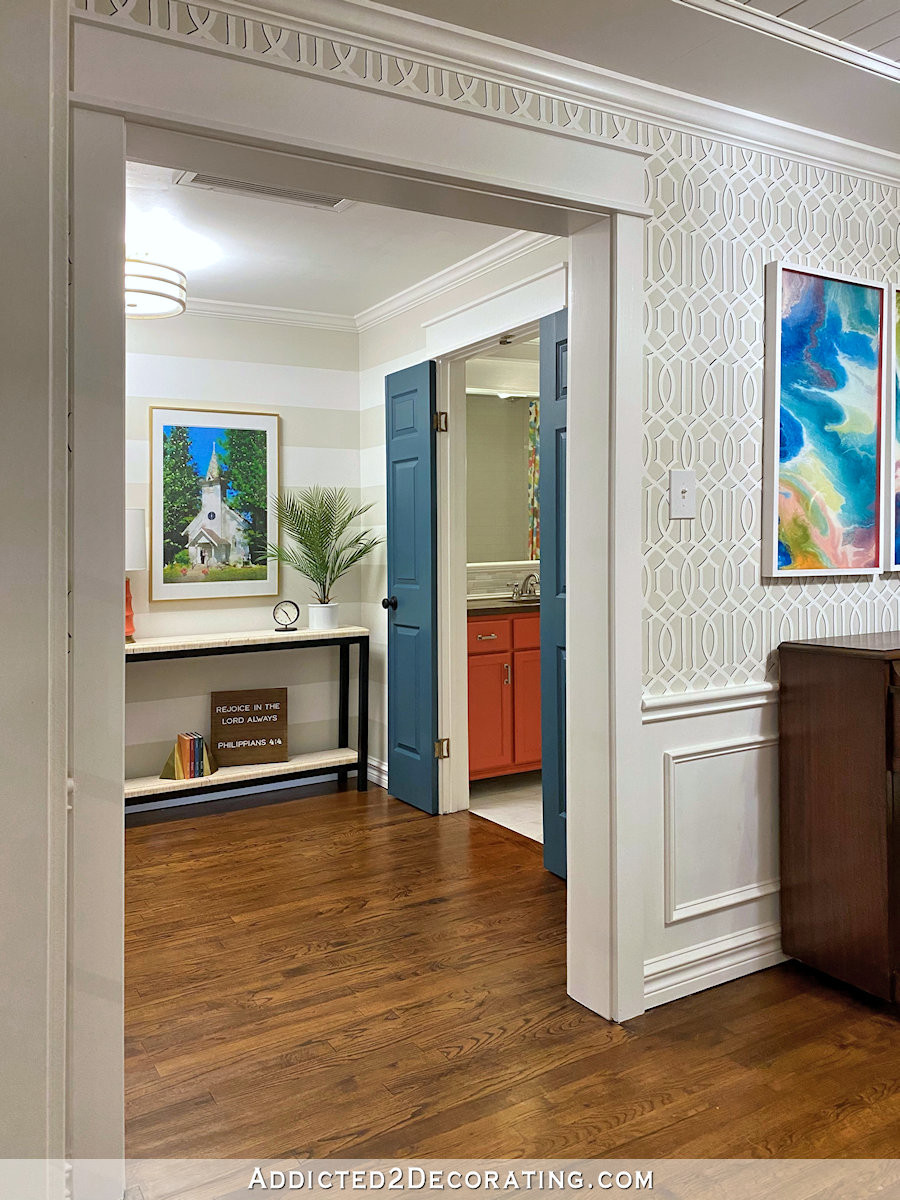
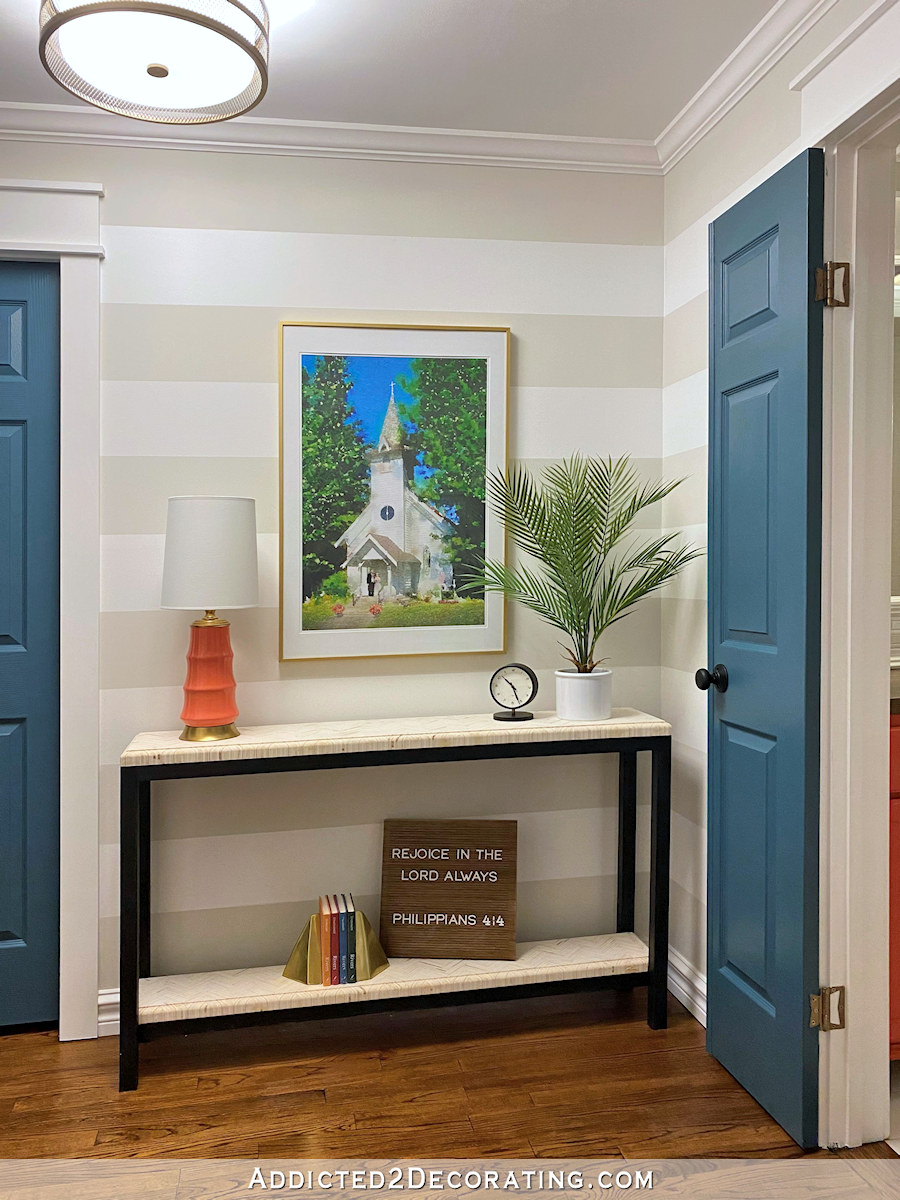
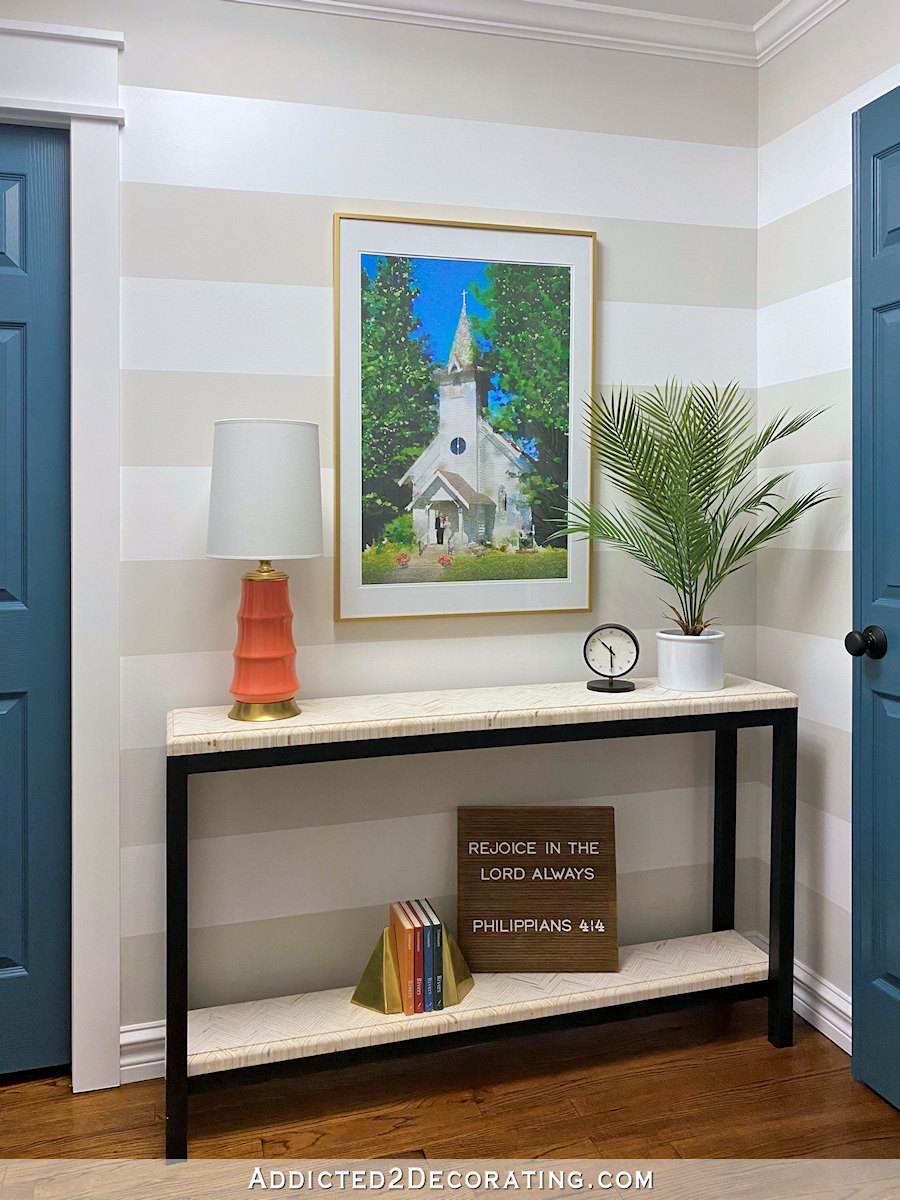
A small hallway with most of the wall space taken up by doors really doesn’t require much decorating with accessories, but this was the perfect place to put one of my favorite framed pieces, which is a picture of the little chapel in Canby, Oregon, where Matt and I got married. My mom took the original picture, but for this one, she made it look like a watercolor painting. You can see more details about that here.
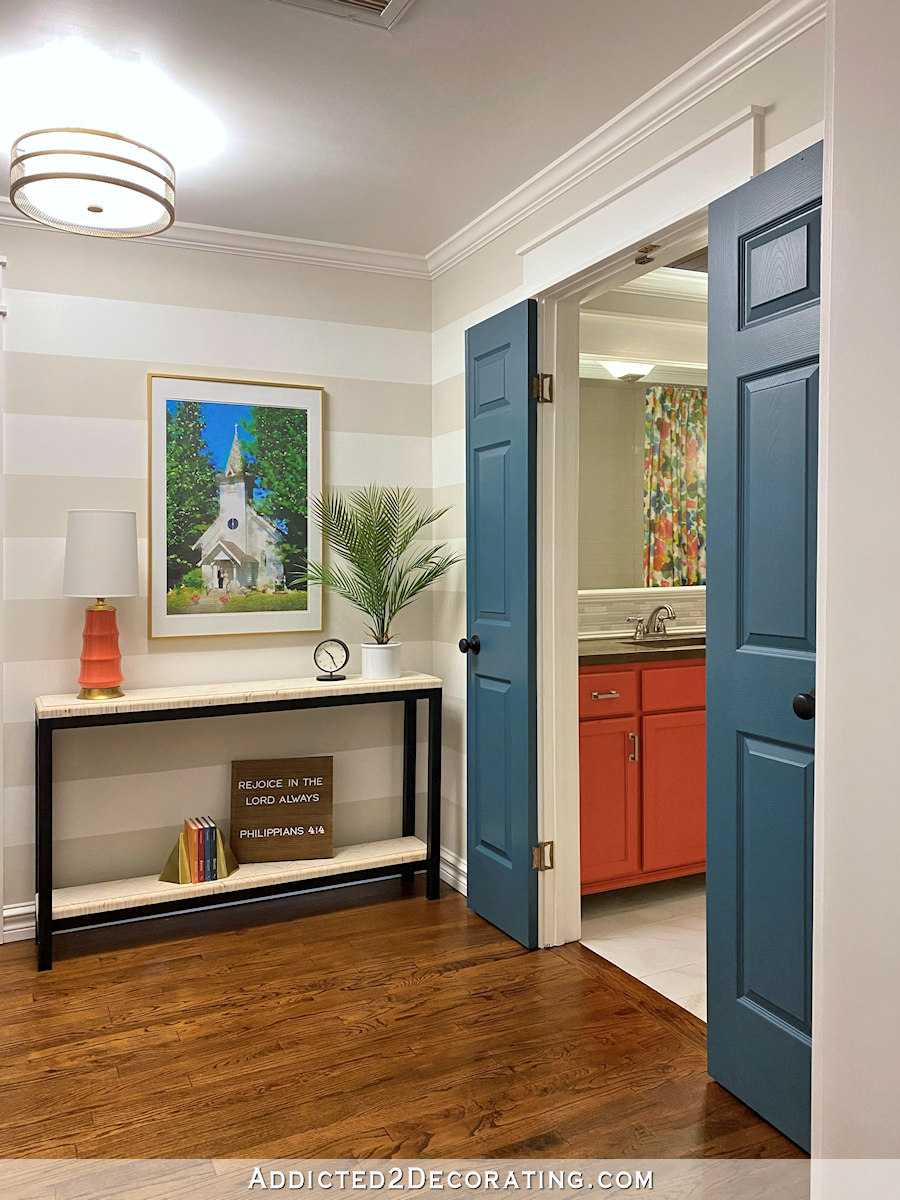
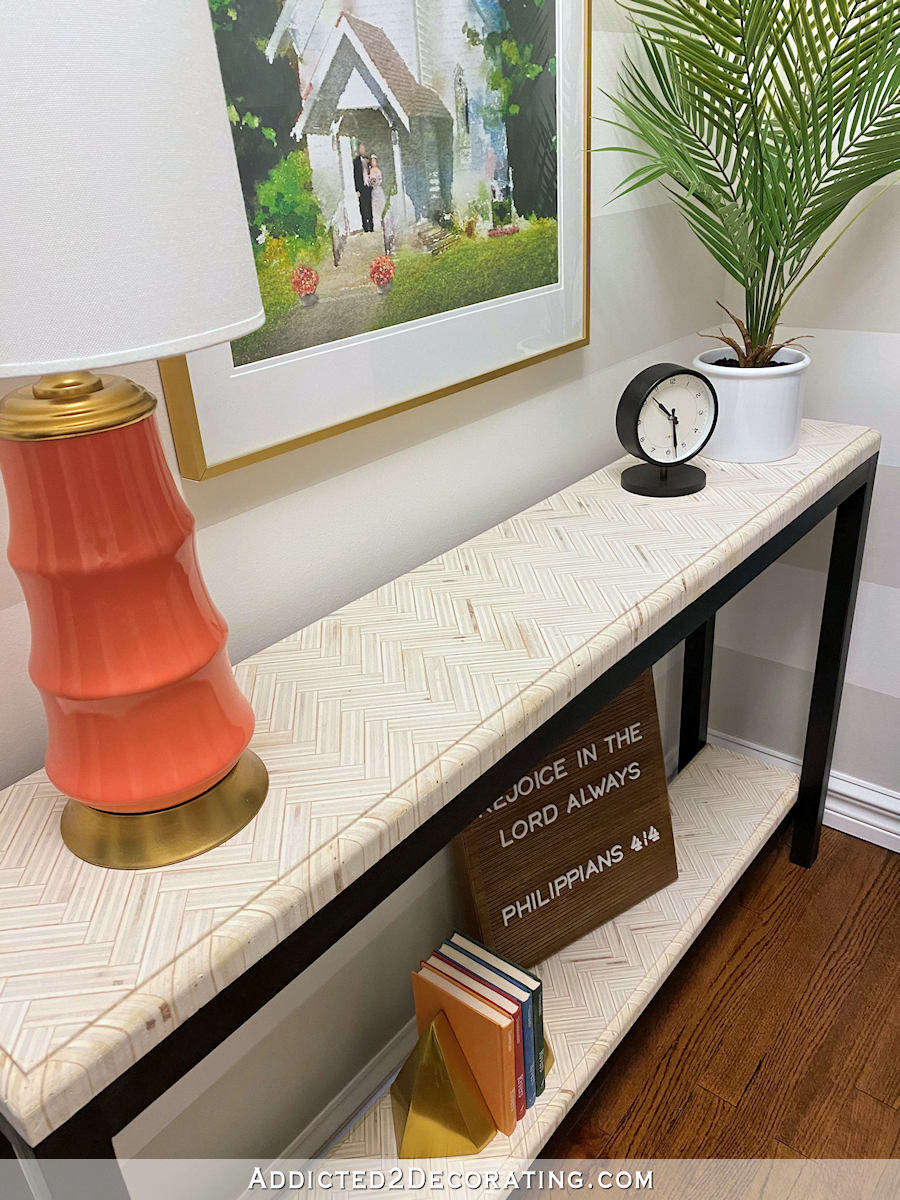
The lamp is one that I bought locally (probably Ross or Marshall’s from years ago) that I spray painted coral. The little clock, plant, gold bookends, and letter board are all from Target.
And here’s a closer look at the edge grain plywood herringbone console table that I made. Again, you can find that project here.
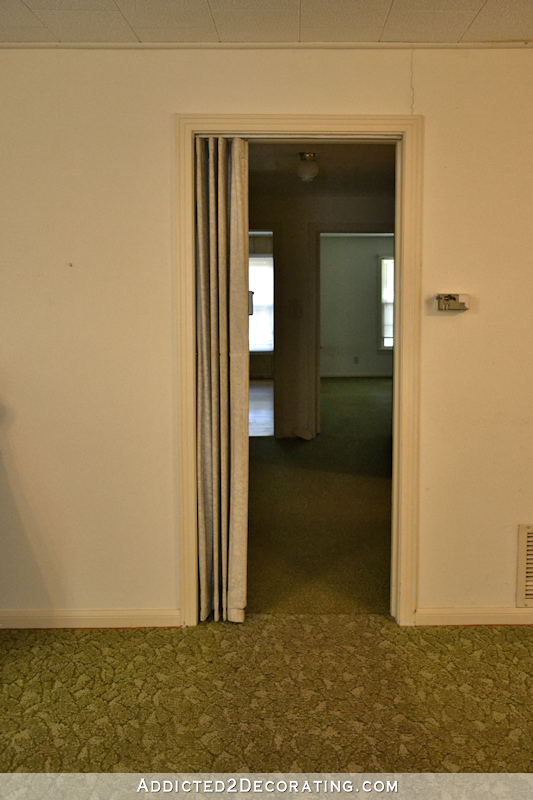
If we were to go way back to the very beginning, you can see just how much this whole area has changed. Here’s what this cased opening into the hallway looked like when we bought the house…
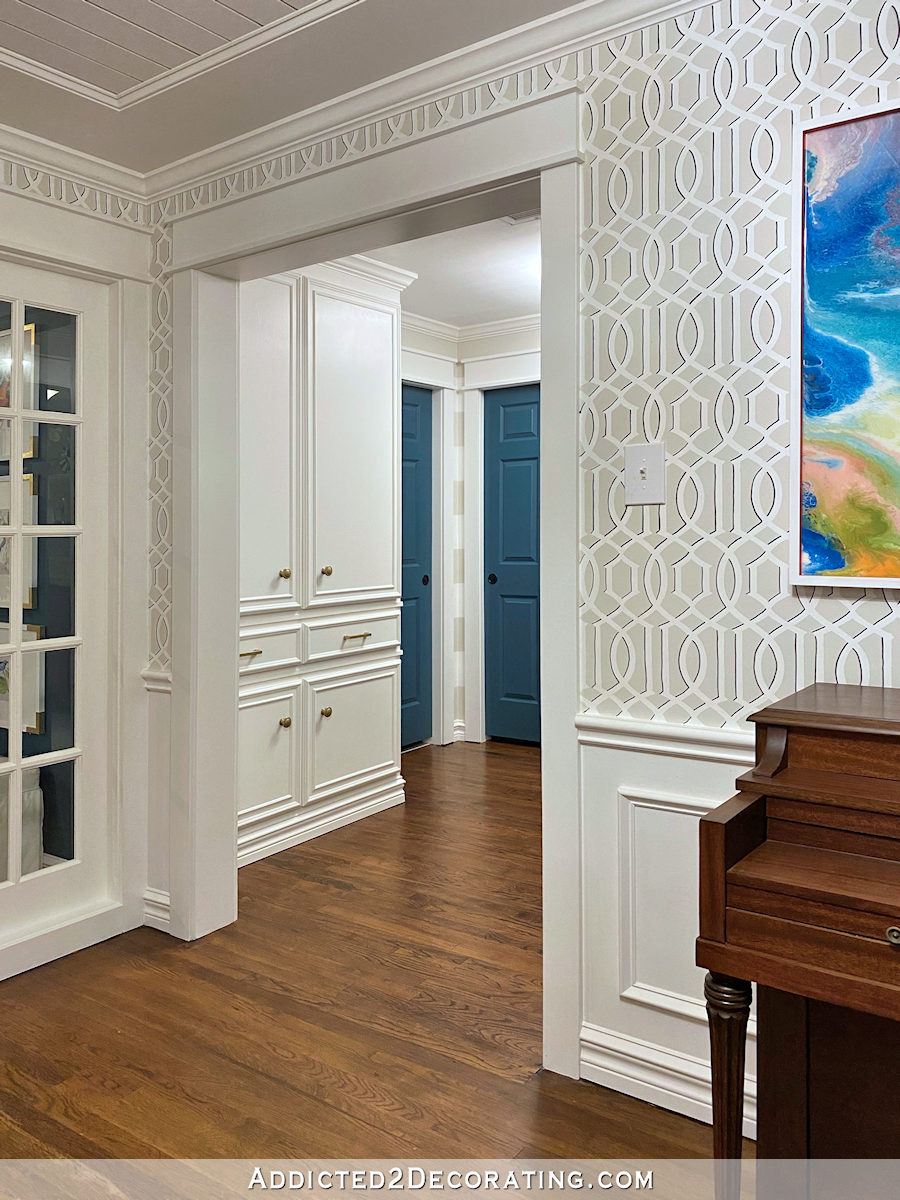
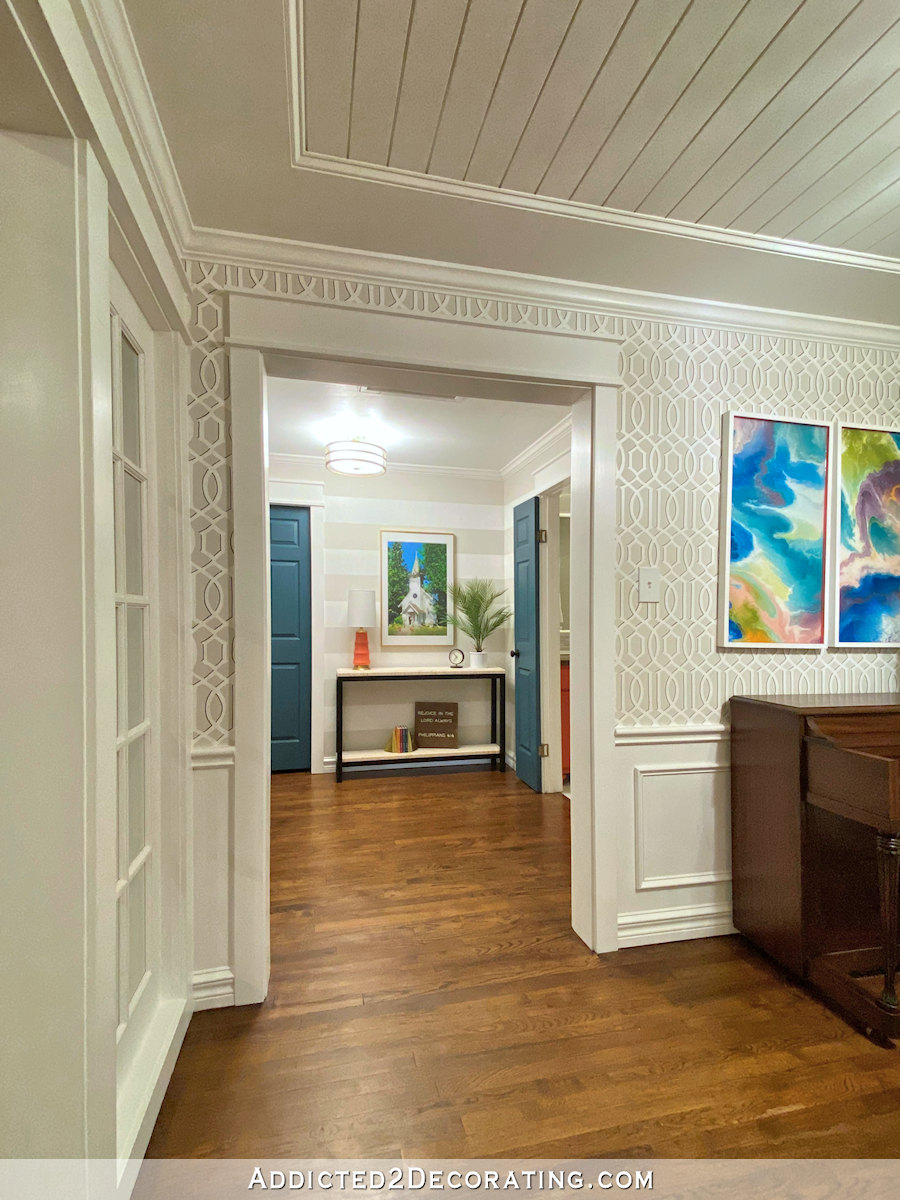
And here’s what that same cased opening looks like today…
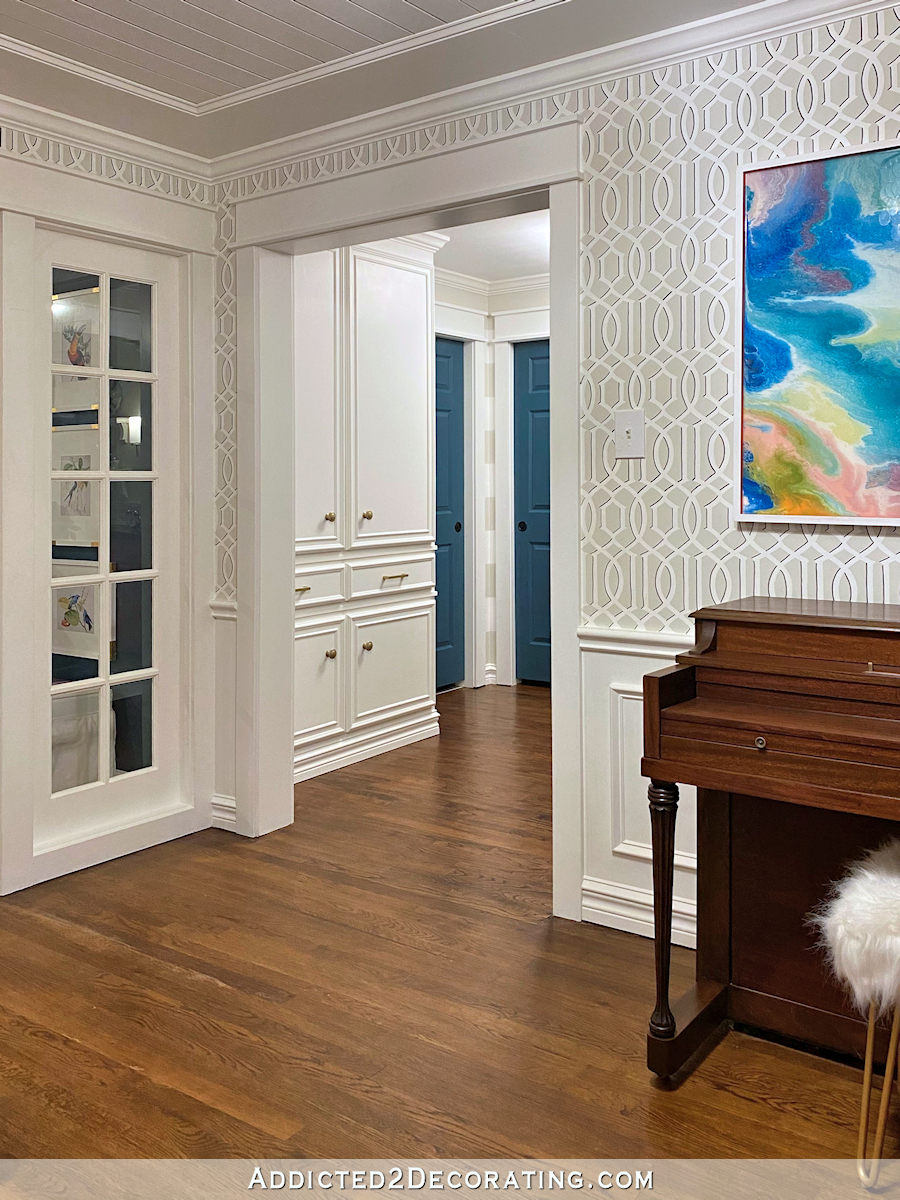
It’s not quite double the width today, but it is widened considerably to open up that whole hallway. The original hallway also had a closet that I believe the homeowners had built themselves.
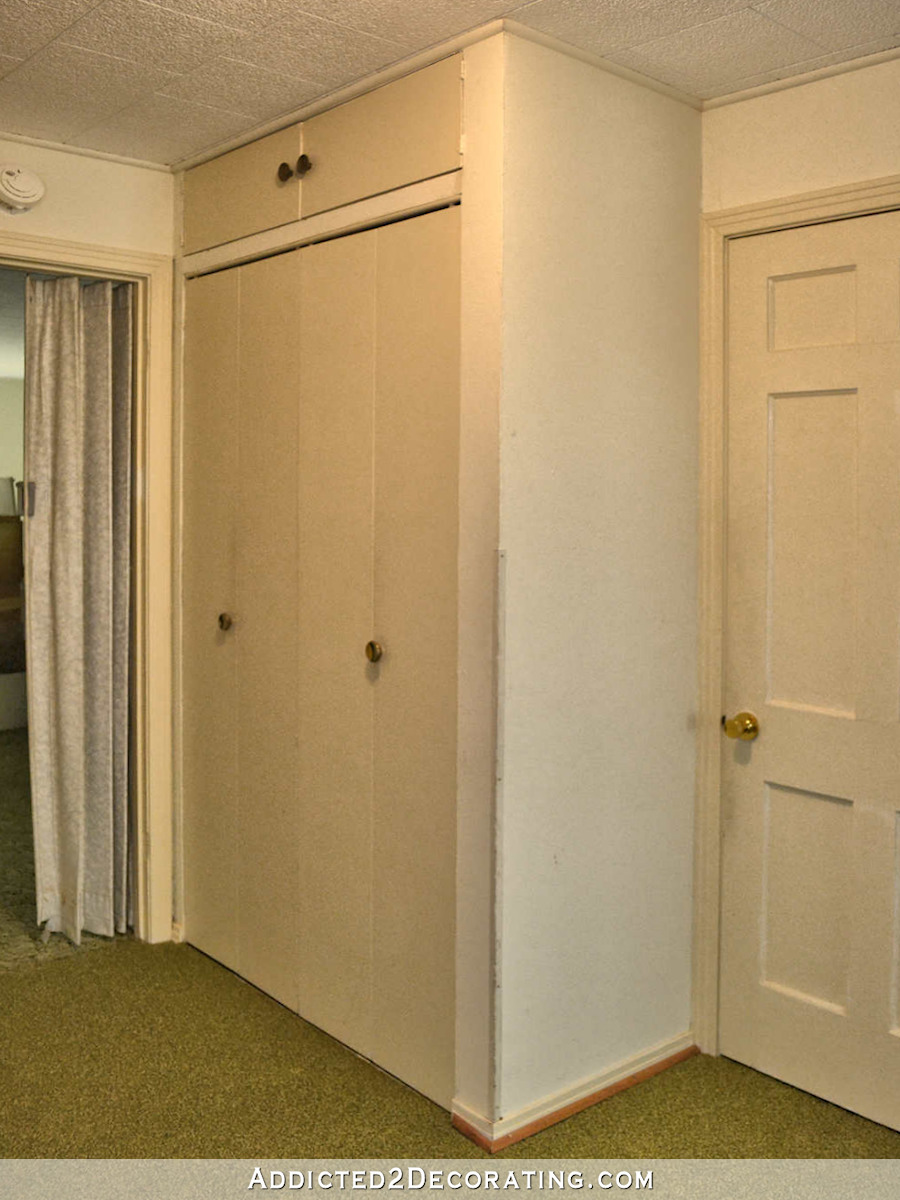
I removed that closet before I refinished the hardwood floors way back before we even moved into the house, and then during the original hallway remodel, I built cabinets in that same spot. You can find that project here.
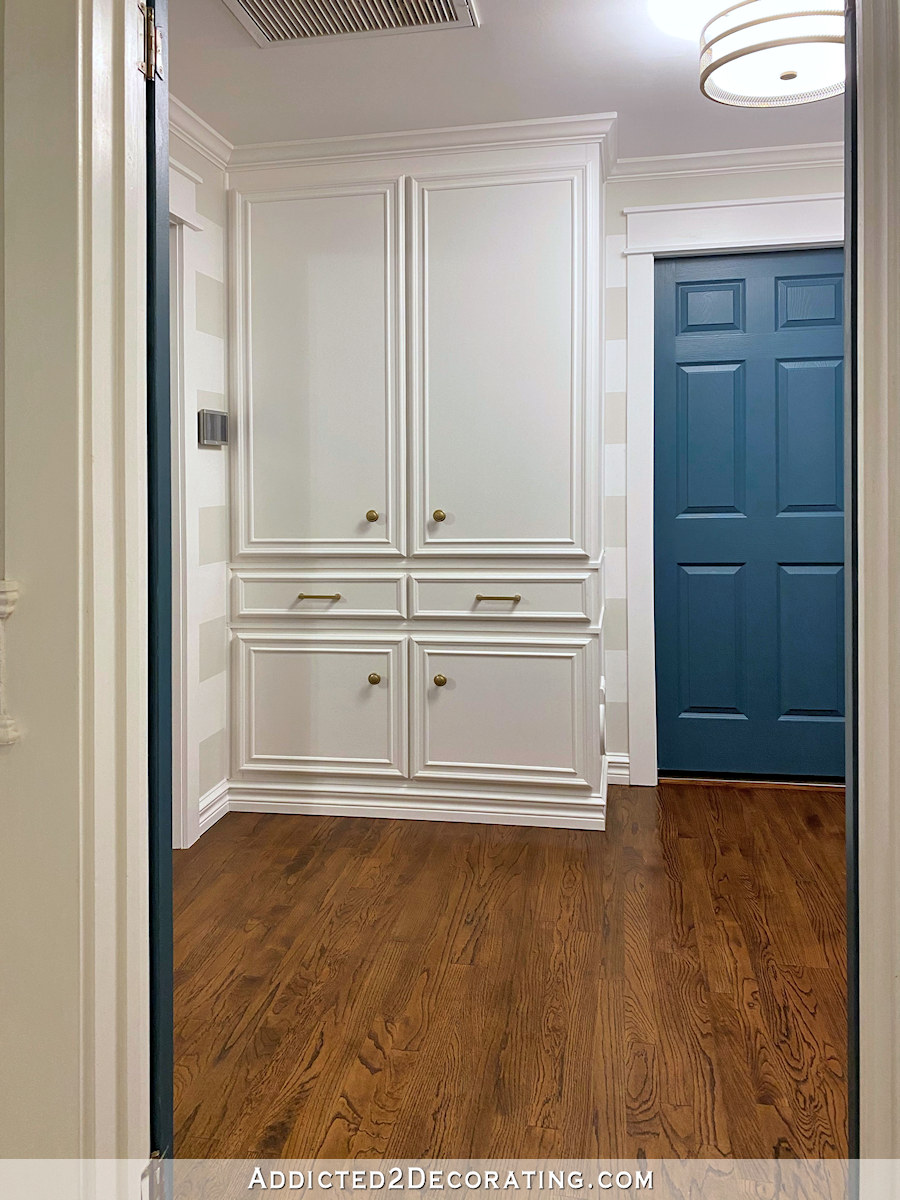
The door just to the right of the hallway cabinets is the guest bedroom door, and the one perpendicular to it is our future home gym (i.e., the next project I’ll be working on).
If you missed the guest bedroom project, here’s a peak at what that looks like…
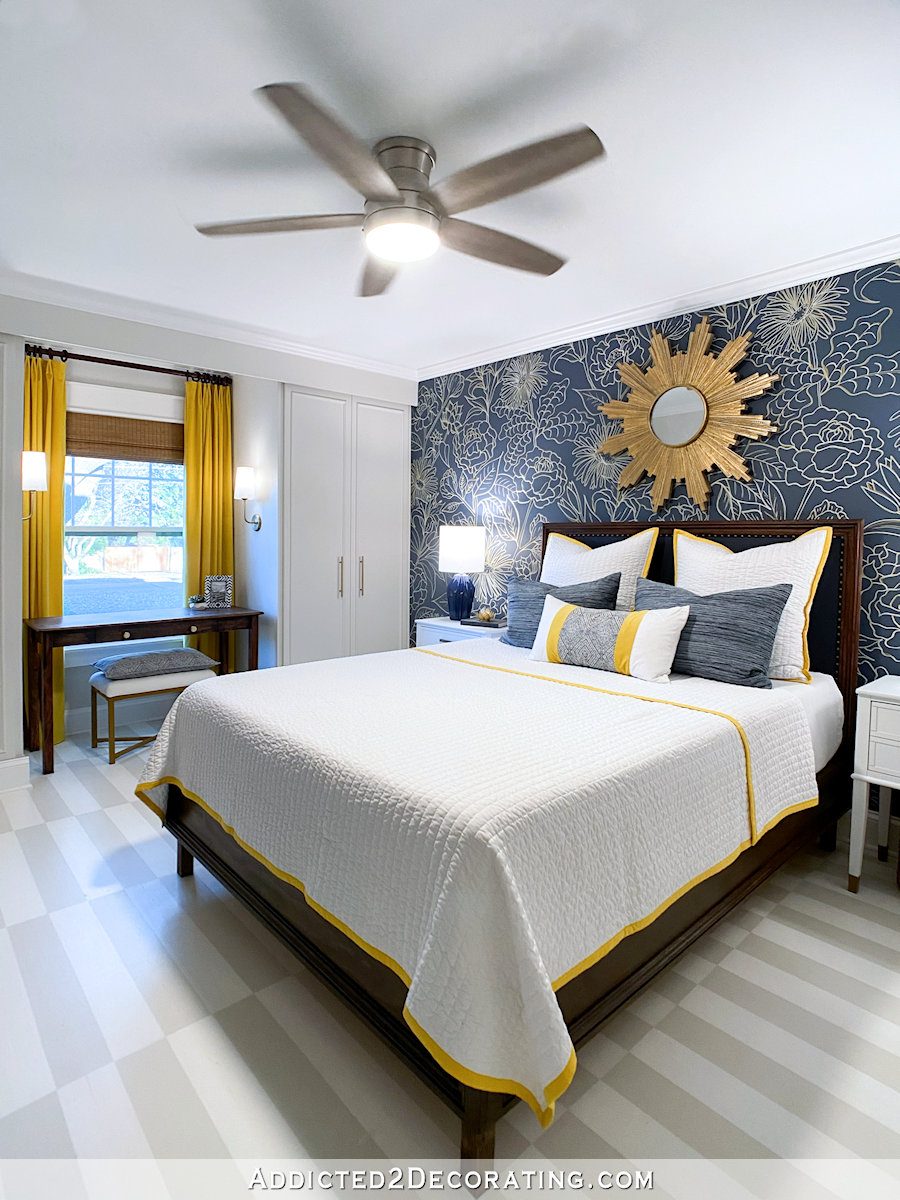
You can find the whole before and after of that guest bedroom here.
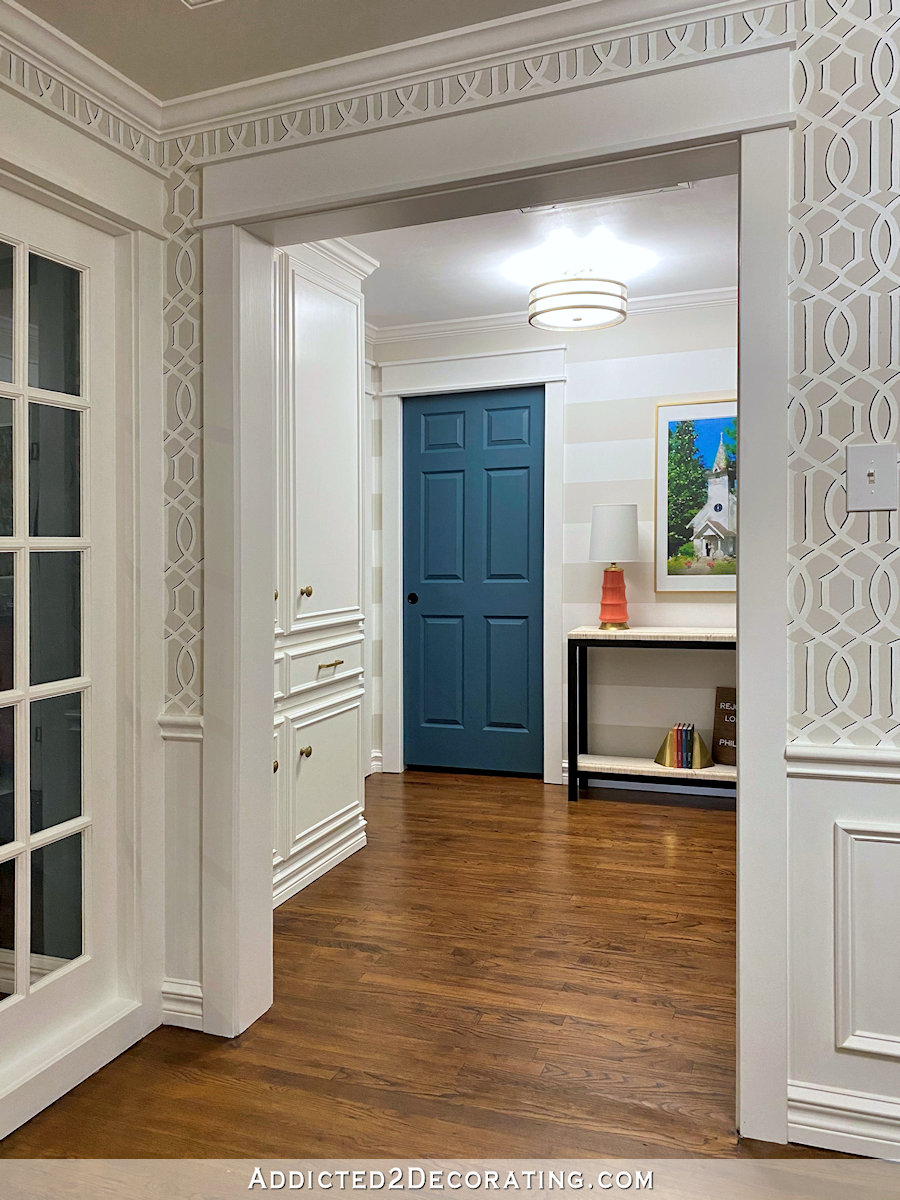
The stripes on the walls are Behr Polar Bear (the white that I use on all of my trim throughout the house), and Benjamin Moore Classic Gray (the only non-white neutral that I like on walls). I’ve used that Classic Gray in almost every room of the house — guest bedroom (floor and walls), hallway, hallway bathroom, music room (which you can see on the stenciled walls below), living room, and breakfast room. It took me forever to find a non-white neutral that I actually liked, so once I found this one, I stuck with it. I really like how it gives the rooms a cohesive look while I can add all kinds of color and give each room its own unique look.
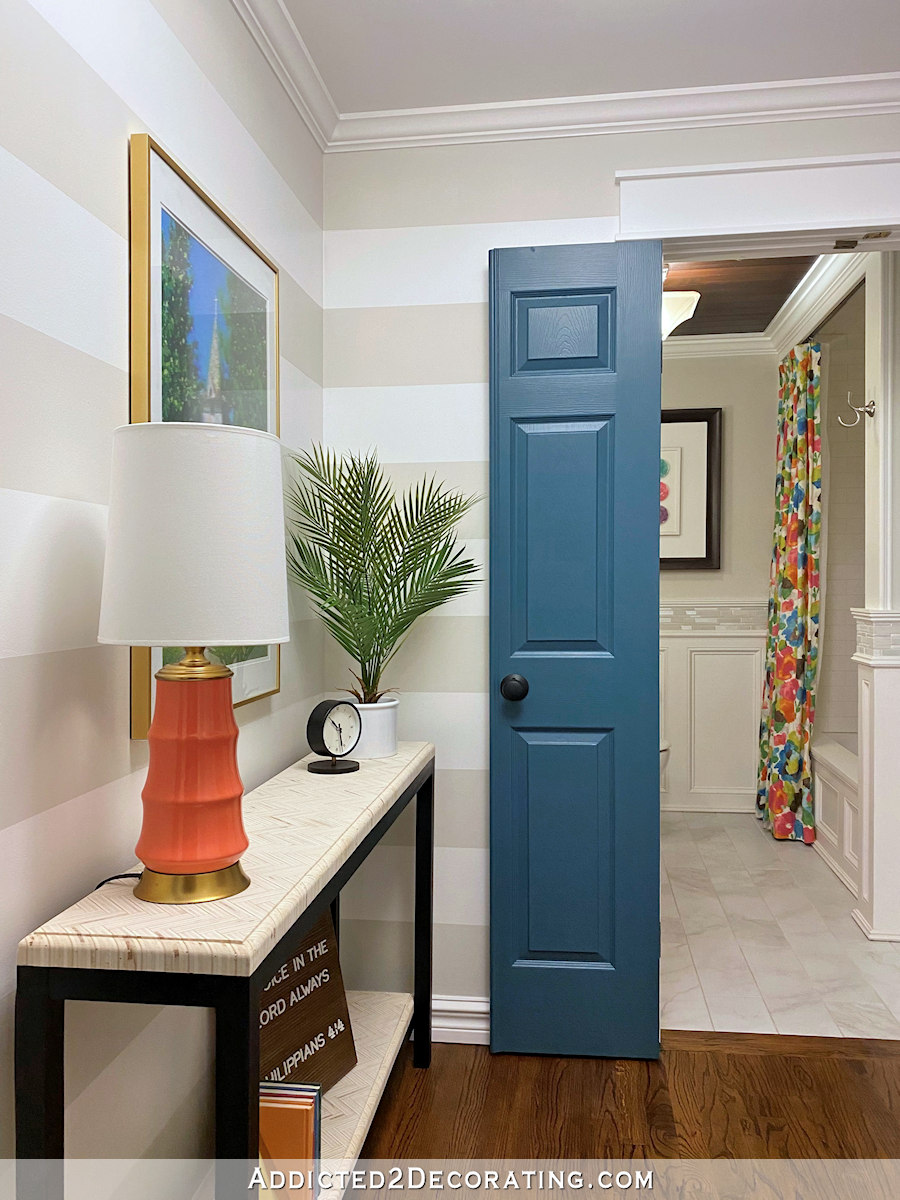
This is the view from the guest bedroom door (which we are currently using as our main bedroom until we’re able to build our addition which will include a new master bedroom), and I just love seeing the colorful lamp, the console table, and the color of the hallway bathroom from our temporary bedroom.
On the little sliver of wall to the left of the cased opening that leads to the music room, I found this colorful series of printable artwork from PrintPunkStudio on Etsy.
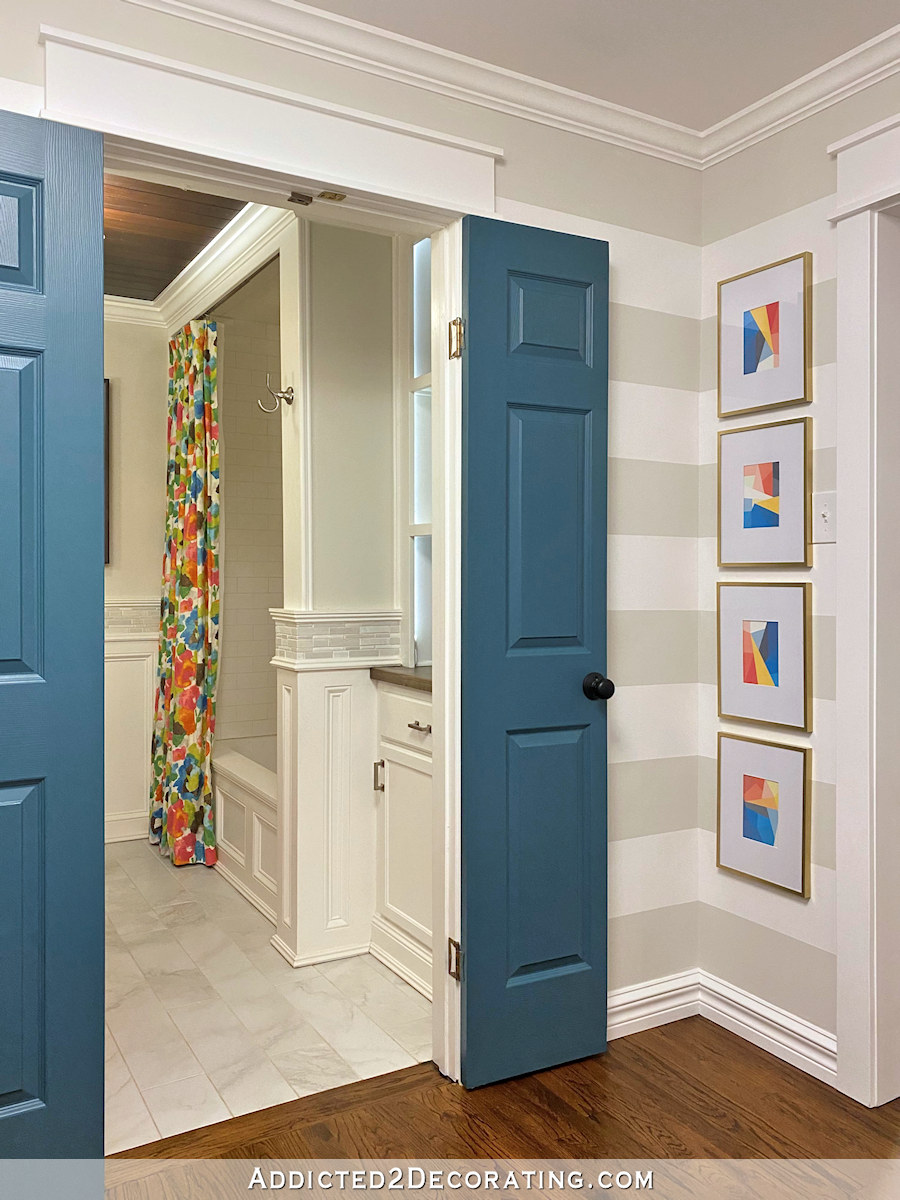
The original colors were tool bold and clashed a bit with the colors in the adjoining rooms, so I brightened the images using my photo editing software (which softened the colors considerably) before printing them. The softened colors were perfect!
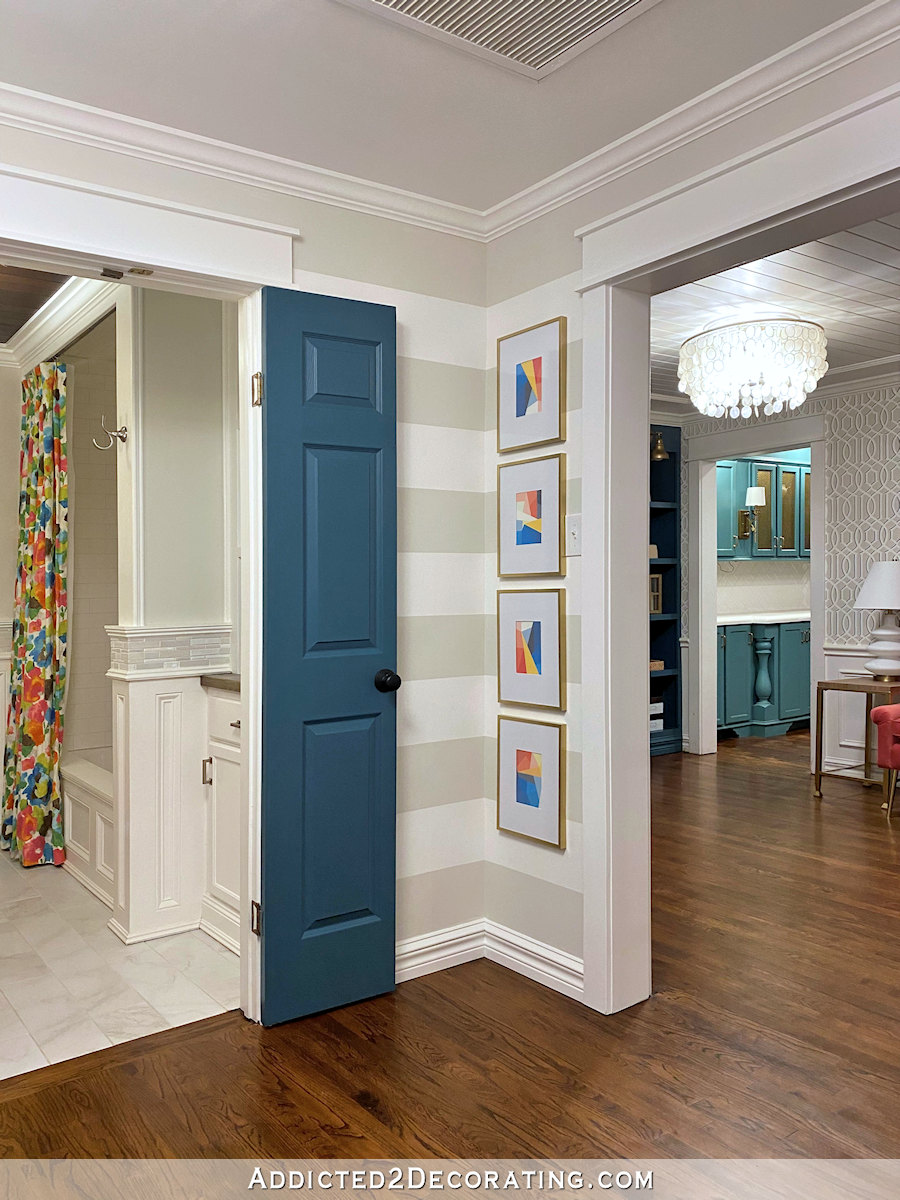
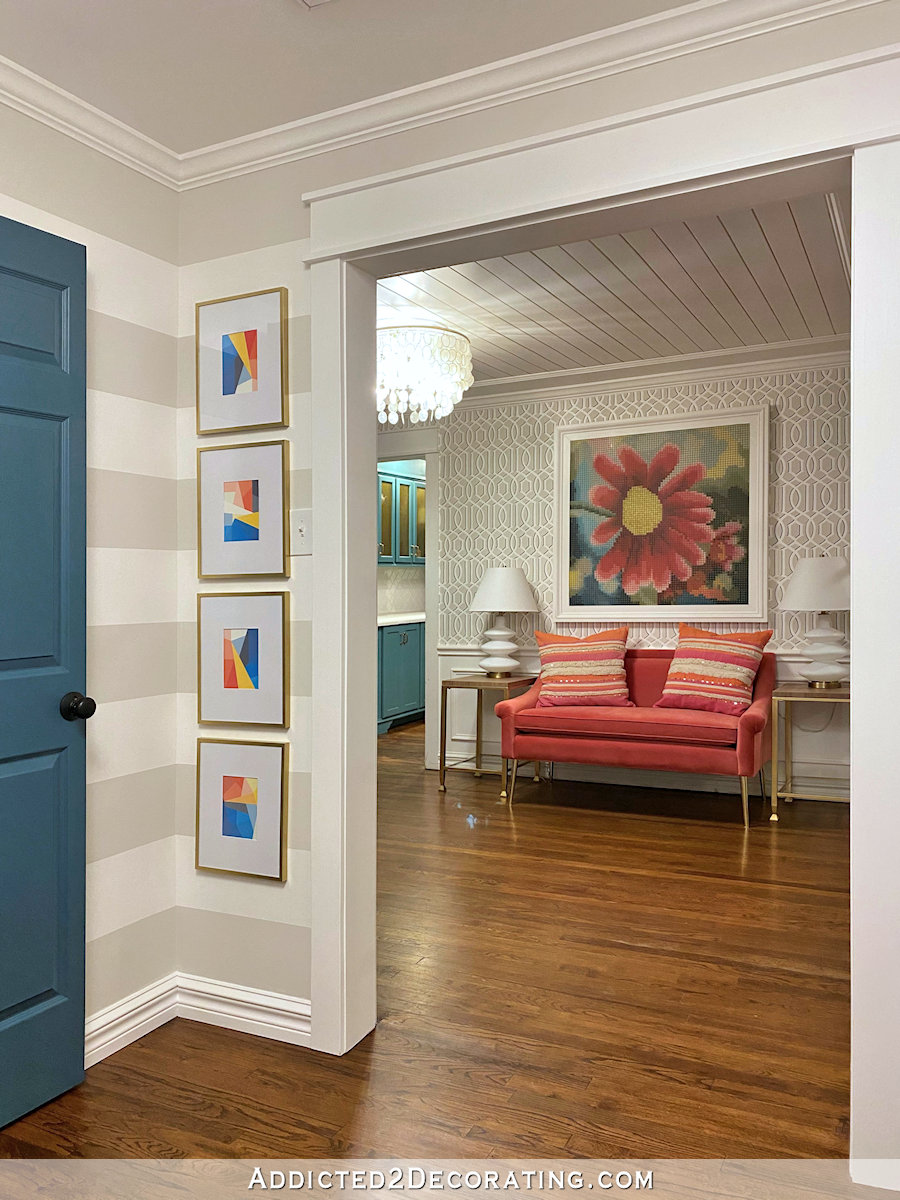
One more detail — the door color is Behr Mythic Forest. It’s the same color I used on the bookcase/sliding door wall in the music room, and the pantry cabinets.
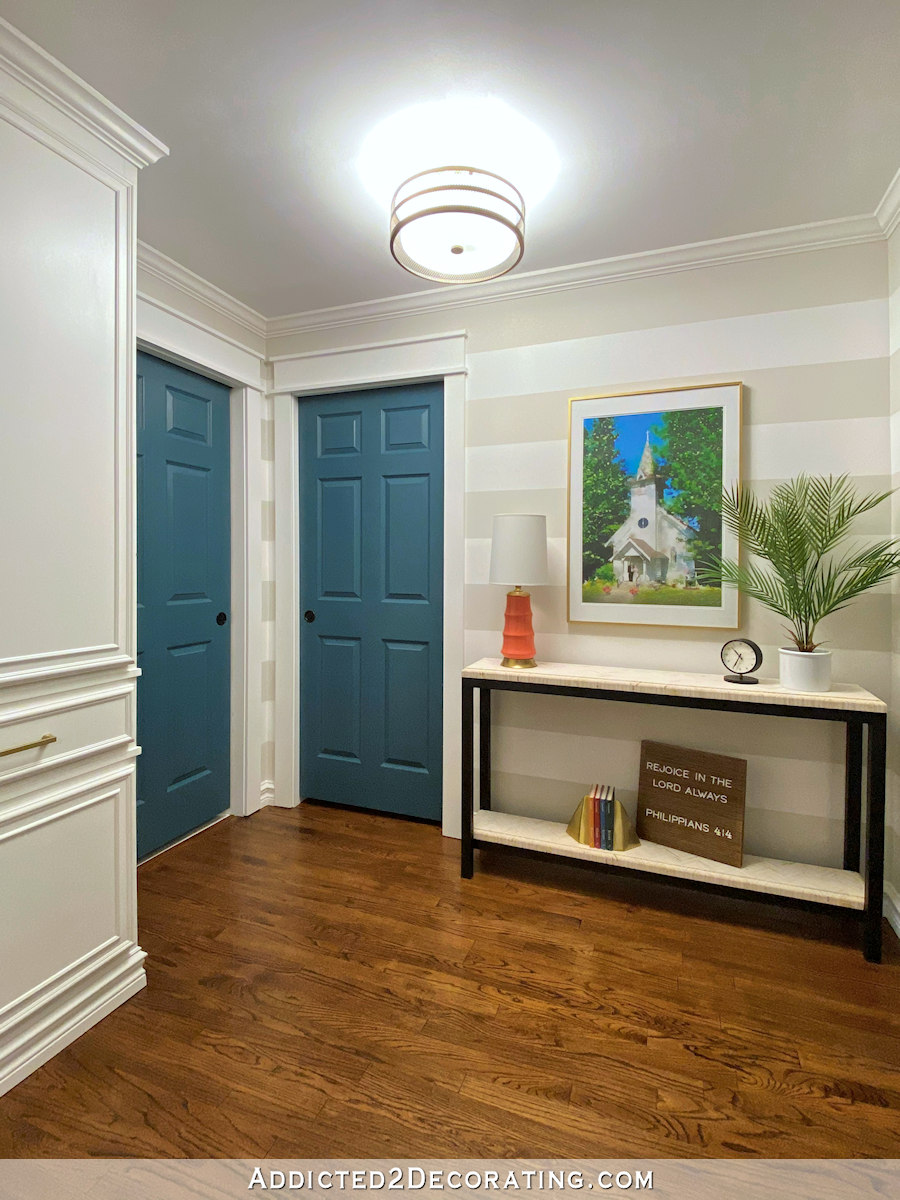
And that wraps up this project! After having this unfinished area hanging over my head for well over a year, it’s so satisfying to have it completely finished.

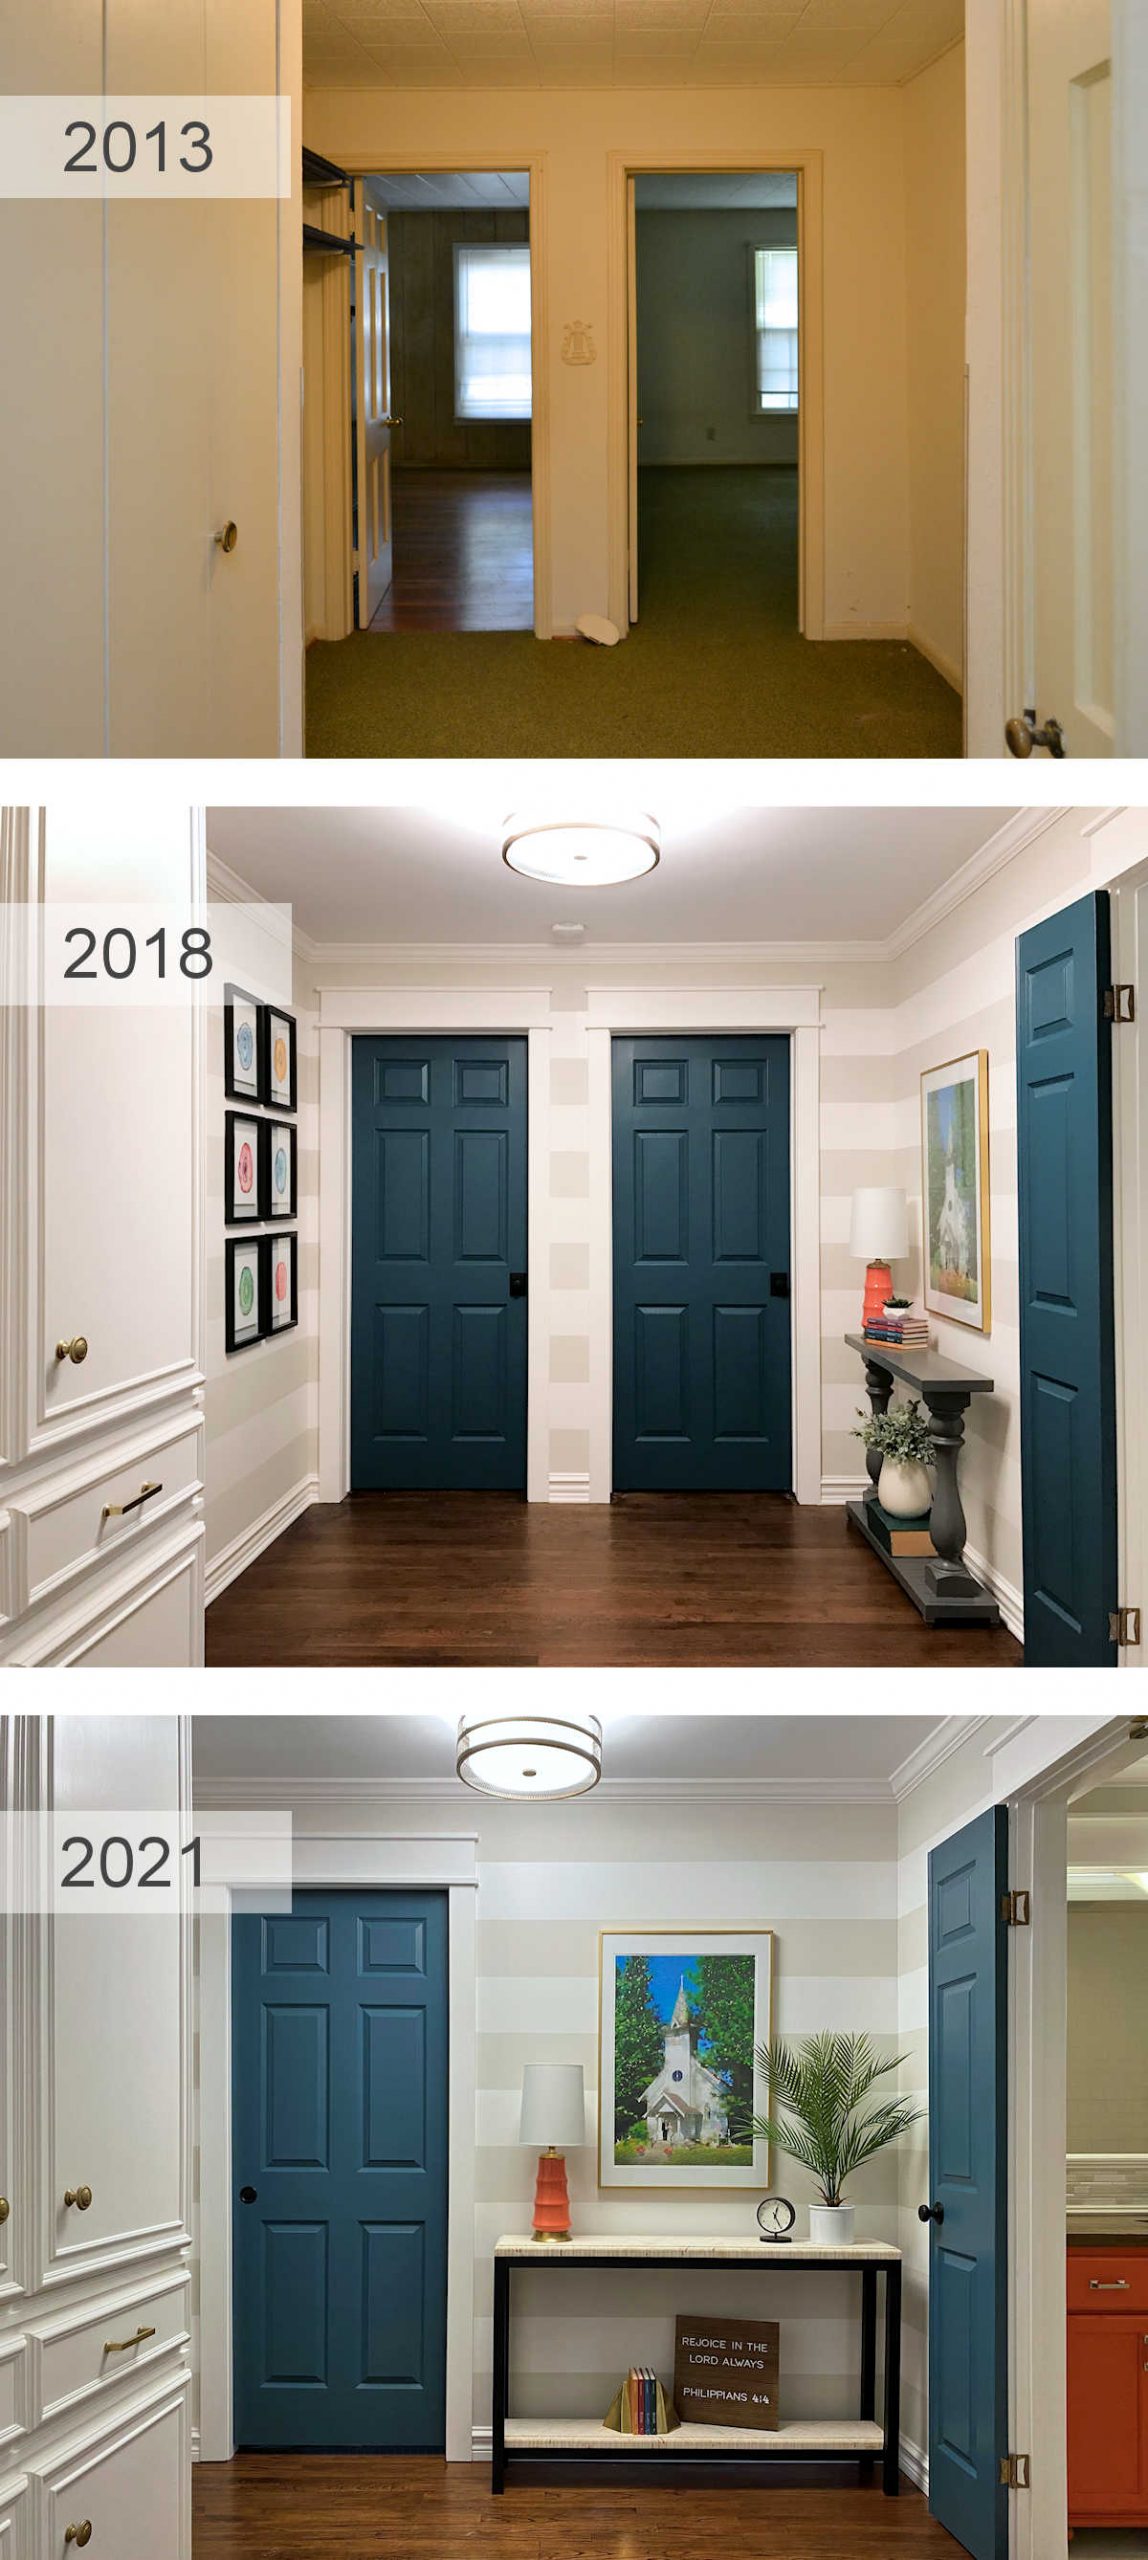
Here’s a quick view of the hallway through the years, from its original state when we bought the house, the first remodel, and today…
And now I can move on to the home gym! I’m very excited about tackling that project, and I’m hoping that I can start it by the weekend.
If you missed the original hallway before and after, you can find that here.
And if you’d like to see all of the posts about the hallway, you can find those here.
[ad_2]
Source link


