Shallow Undermount Bathroom Sink – Addicted 2 Decorating®
[ad_1]
I have been searching high and low for a shallow undermount bathroom sink, and I had almost given up hope. But I finally found it! And it’s amazing! But let me back up and start from the beginning…
Not too long ago, I made the decision on the final design for our bathroom vanities. After considering lots of different options, I decided that I was going to make two table-style vanities. The problem I ran into after that decision was finding a sink that would work with the design. Most vanities that are made to look like tables, or that are made from repurposed tables, use vessel sinks that sit on top, like this one from Jenna Sue Design.
But that design wouldn’t work for us. I’m not particularly fond of vessel sinks, but even if I were, a vessel sink would make the vanity not very user friendly for Matt, and the whole point of these open table-style vanities in the first place is to make things easier and more accessible for Matt, who uses a wheelchair to get around.
So I needed to find a sink — either a drop-in sink or an undermount — that would work with a table-style vanity that can only have a 5.25-inch apron on the front. These are the kinds of challenges that have to be thought through when trying to create an accessible bathroom. The open leg area under the vanity needs to be a minimum of 27 inches high, and the whole table needs to be no more than 34 inches high (ours will be 33 inches high). That has to include 3/4-inch for the vanity countertop (which will be quartz), so that leaves very little height for the front apron (i.e., the horizontal wood piece at the top that connects the turned wood legs of the table). So in order for the sink not to show below the apron, I needed to find a very shallow sink. And I prefer an undermount to a drop-in. And I also really wanted it to be rectangular instead of circular or oval.
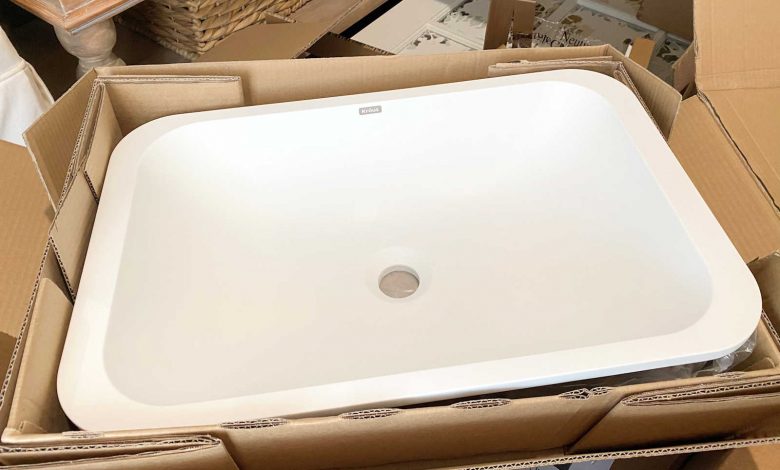
That was a pretty tall order, and I spent my evenings hunting for the perfect sink that fit the bill. I was beginning to think that there was no such sink, but then I found it. And it’s beautiful. And it’s only undermount. And it’s rectangular with curved corners. And it’s a matte white. I mean, there’s no gloss finish to this sink at all.
It’s the Kraus KSU-8MW Natura Bathroom Sink in matte white. It’s not ceramic or porcelain like we’re all accustomed to. This is some proprietary material made in Poland. The matte finish looks and feels very interesting. It’s different, and I love it.
It also doesn’t have an overflow drain, which I find unusual. I’ve just never seen a bathroom sink without an overflow drain.
But of course, the main reason I decided on this one is because of the depth. The total sink height is 4.75 inches. Of course, the plumbing will be visible below the vanities, and I’m okay with that. That’s pretty standard on an open table-style vanity. But at least the bottom of the sink bowl won’t be visible, and that was very important to me.
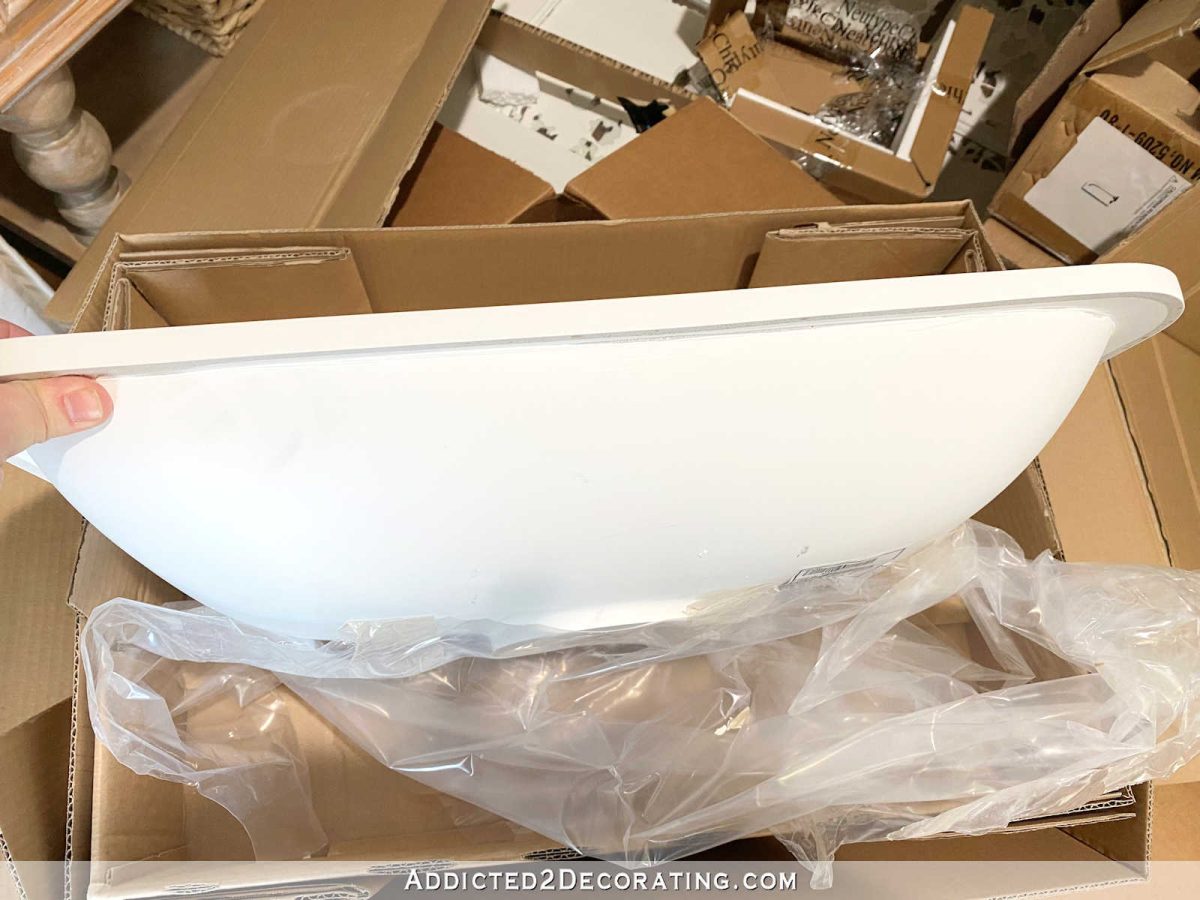
Anyway, it’s just a very interesting sink, and I absolutely love the matte white finish. It even came with a little piece of 400-grit sandpaper that you can use if it ever gets a stain, and if you have to use the sandpaper to get a stain out, it can then be sealed with baby oil (mineral oil). Very interesting! It takes me back to our condo days with our butcher block countertops that I kept sealed with mineral oil.
In other news, these are the doors that I purchased for the bathroom. For now, only one will be installed between the home gym and the bathroom, and the other will be put into storage. It will be installed between the bathroom and the bedroom once we have our addition built with that includes the new bedroom.

I thought that I had shown y’all the doors before, but evidently not. The door between the home gym and bathroom will be a pocket door, and once the addition is built, the other door will be a pocket door as well.
I had such a hard time finding those doors. When I bought the door that’s between the sitting room (breakfast room) and my studio, and also when I bought the doors that I used on the pantry, these doors were plentiful. Both Home Depot and Lowe’s sold unfinished pine 10-lite or 15-lite doors, and they were very reasonably priced — I think around $120. And that price was for both doors on the pantry (i.e., not individually priced) since I used bifold closet doors that came as one unit, and then installed them as French doors. Also, the shipping was free since I had them shipped to the store and then picked them up.
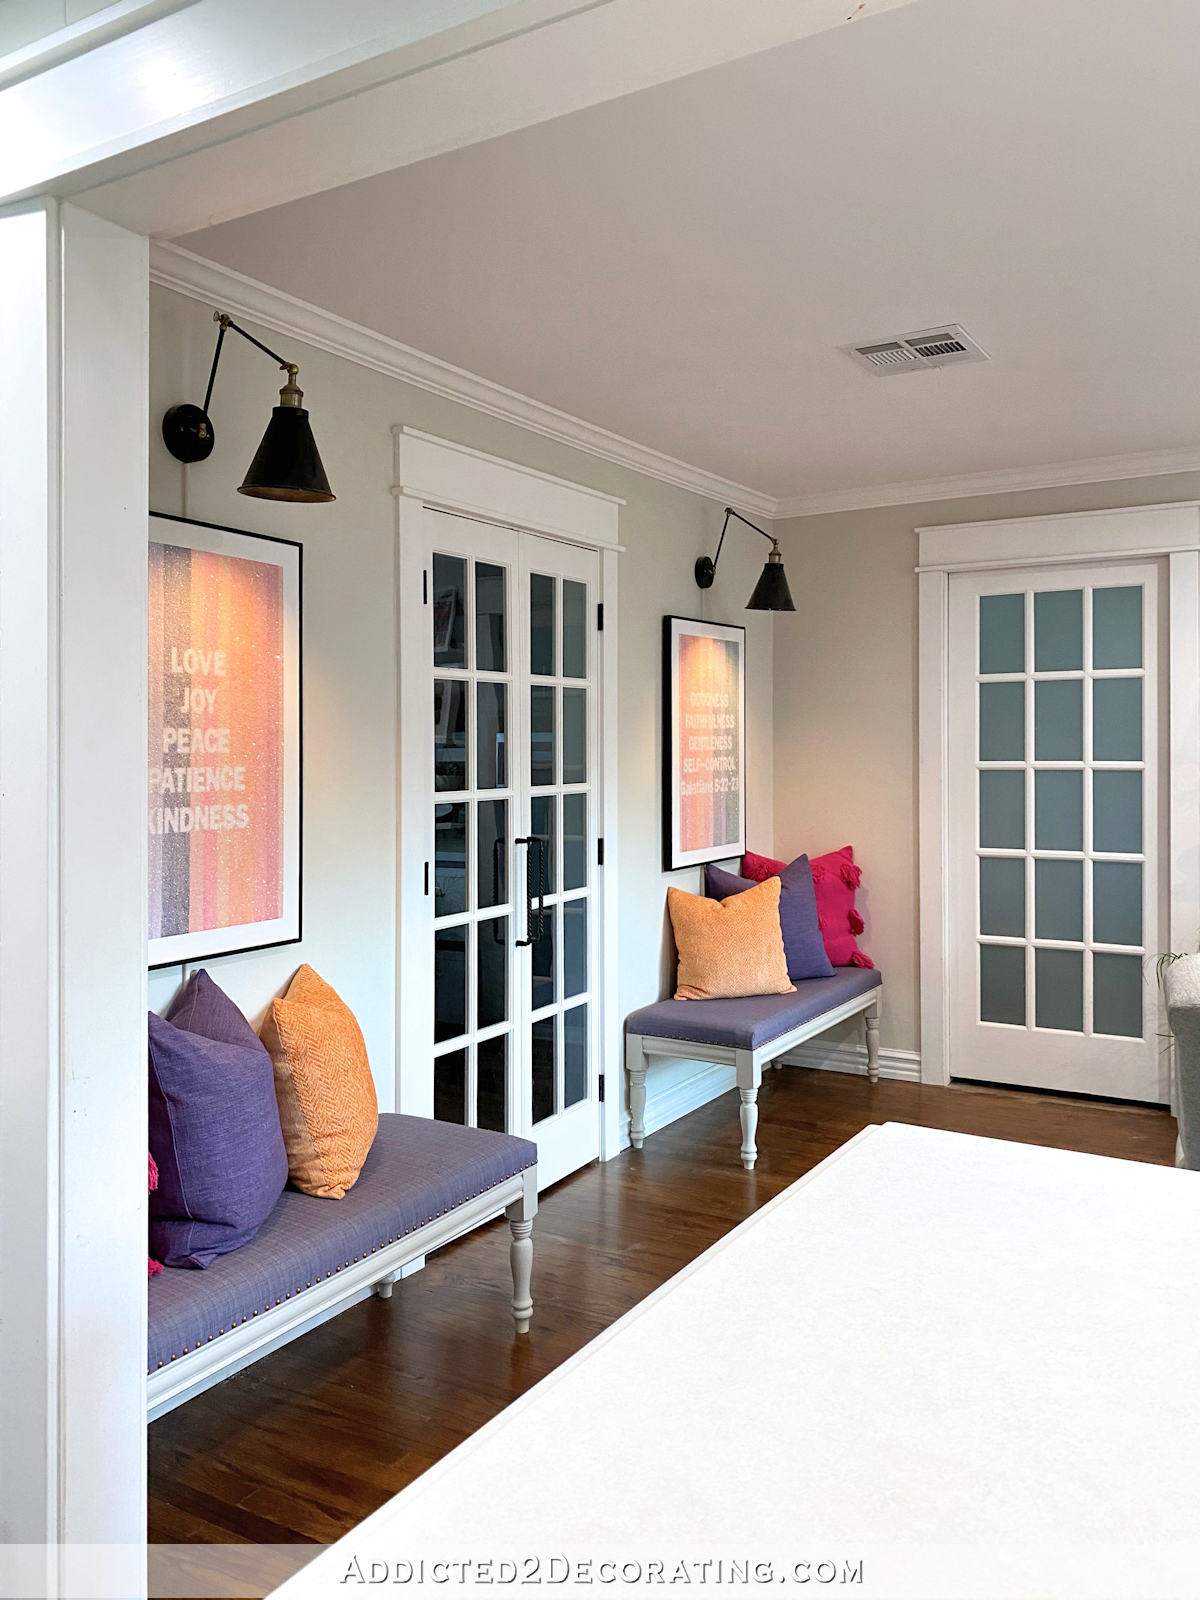
But now, these doors are impossible to find. Neither Home Depot nor Lowe’s has these doors available anymore. They’re still on their website, but the product can’t be ordered anymore. So I searched high and low for a similar door at a reasonable price, and finally found a source on Ebay. They’re way more expensive than the pine doors, and they’re heavier since they’re made of MDF. They come primed, which is good, and the glass panes are covered in plastic, which is also good. But not only is the price way more than what I previous paid, but I also had to pay quite a bit for shipping. Things are just much harder to find, and way more expensive these days. I was just glad to find similar doors, but that’s also why I went ahead and bought two. I didn’t want to take a chance on waiting until our addition was built, and then not being able to find a matching door.
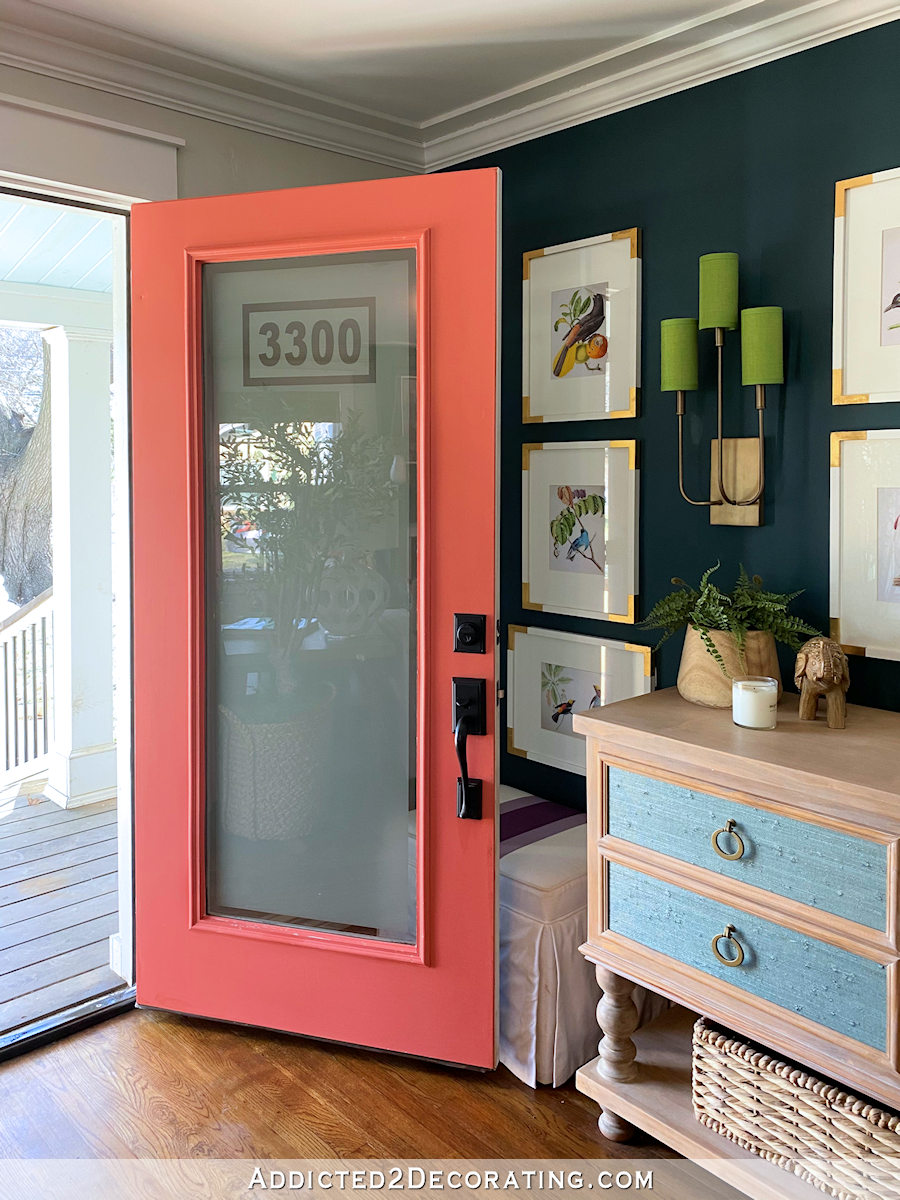
I will be frosting the glass on the doors for privacy, but right now, I’m not sure how I’ll do it. I might just stick with my tried and true method, which I’ve now used on our front door as well as on the studio door, which is this Gila privacy film. It worked great on our front door, where I even cut out our house numbers in the film.
And it worked great on the studio door as well.
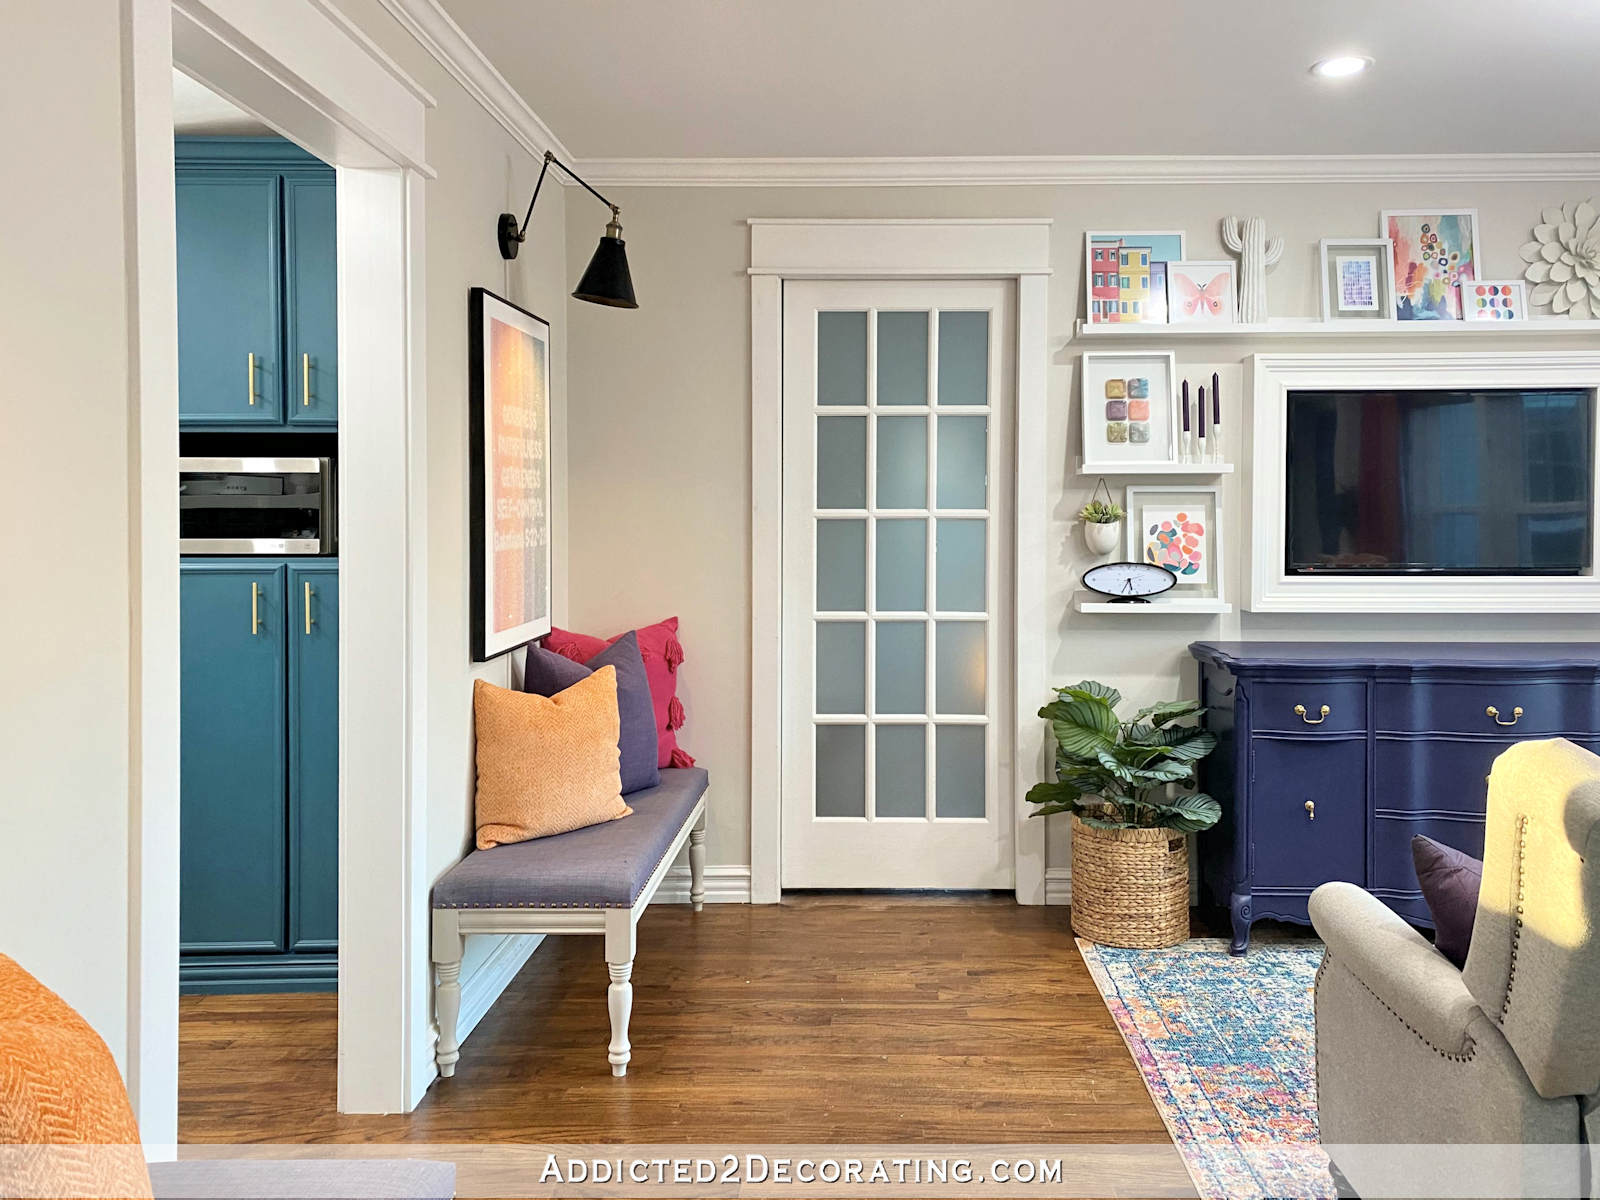
I also used it on the music room doors to hide the ugly sunroom that lies behind those doors.
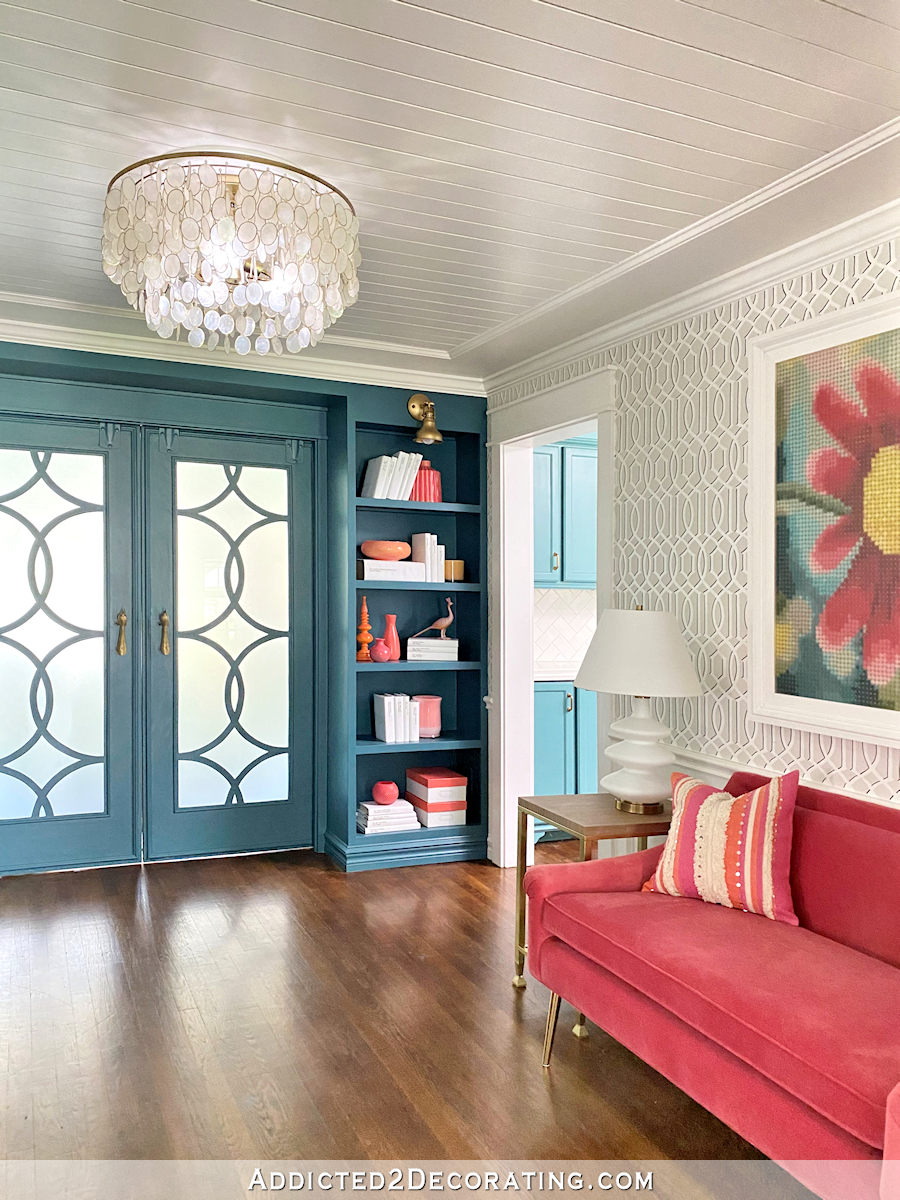
So I have quite a bit of experience with that particular product, and it’s always worked really well for me. I’ll probably stick with it for the bathroom doors as well. But regardless of the method I choose, rest assured that there will be privacy in our bathroom. 🙂
And on a completely different topic, I’ll leave you with one picture of the home gym progress. Here’s the cased opening between the room and the closet area all trimmed out. I’m loving how this room is looking so far!!
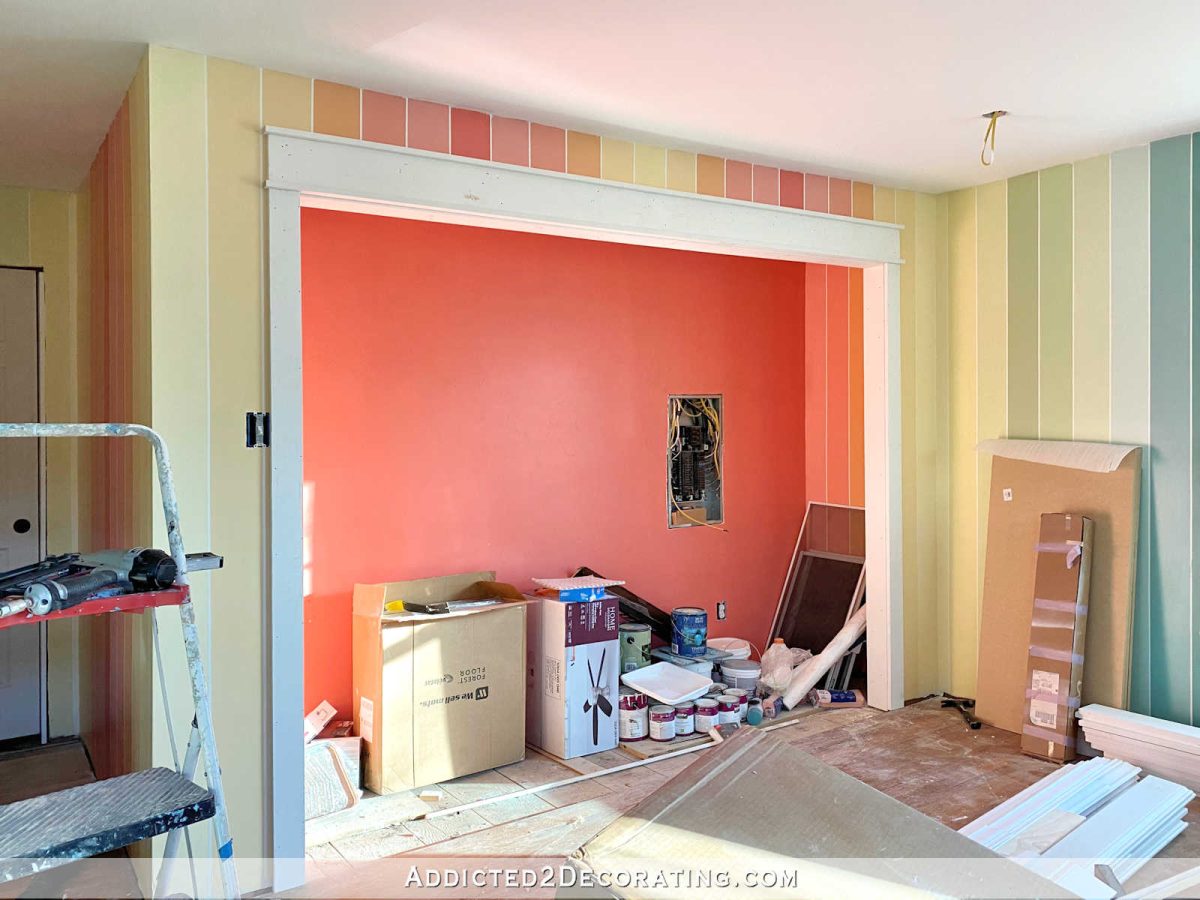
So things are moving right along! The legs for the bathroom vanities should be here at the end of this week, so I’ll be anxious to get started on those pretty soon. I have no shortage of projects to work on in the near future! That’s for sure! 😀

Addicted 2 Decorating is where I share my DIY and decorating journey as I remodel and decorate the 1948 fixer upper that my husband, Matt, and I bought in 2013. Matt has M.S. and is unable to do physical work, so I do the majority of the work on the house by myself. You can learn more about me here.
I hope you’ll join me on my DIY and decorating journey! If you want to follow my projects and progress, you can subscribe below and have each new post delivered to your email inbox. That way you’ll never miss a thing!
[ad_2]
Source link


