How to Repot Plants – Easy Steps for Repotting Indoor Plants
[ad_1]
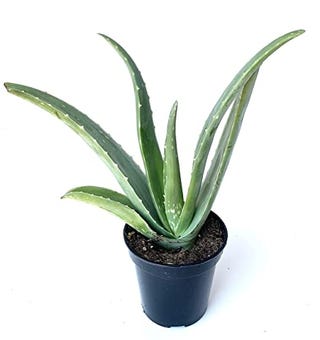
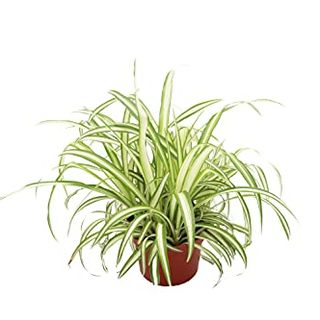
If you’re new to the world of plants and caring for them, the idea of repotting may make you anxious — especially when it comes to keeping your indoor shrubs alive during the transfer. Although there are an array of houseplants you can buy that are almost impossible to kill, including air plants, yuca plants, spider plants and aloe, there might come a time when a new planter or pot is needed. That’s why we’re sharing an easy step-by-step guide on how to repot plants.
Some plants outgrow their planters as time passes. Typically, you should be repotting your plant babies every 12 to 18 months. But if your greenery is a slow-growing plant, like a cactus, every two to four years may suffice. So follow along as we show you the best tips and tricks to keeping your vegetation safe during and after the process, and check out some of these cat-friendly and air purifying options.
What You’ll Need to Repot Your Plants
It doesn’t take a lot of time or money to repot your plant. However, if you find that the roots overflow and need space, a bigger planter might be necessary. Here’s what you should have on hand to get started.
- Your current plant (or new plant if you want to change your room’s look)
- Your planter: If you’re using an older one, make sure to clean it out before starting the repotting process.
- Fresh potting mix: Fresh soil that’s packed with nutrients is essential to keeping your houseplant thriving.
- Lava rocks: If your planter doesn’t have drainage holes, purchase lava rocks to help.
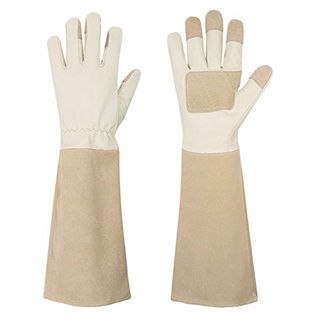
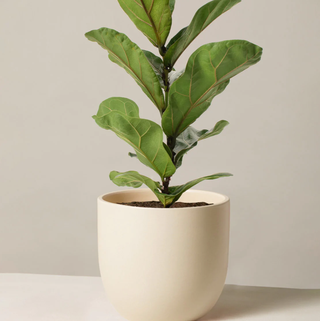
- Gloves: These will not only keep your hands clean, but will help with any irritating plants such as Ficus elastica.
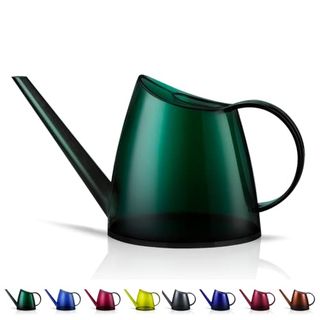
- A watering can: If you don’t want to use your sink faucet, consider a watering can or water bottle.
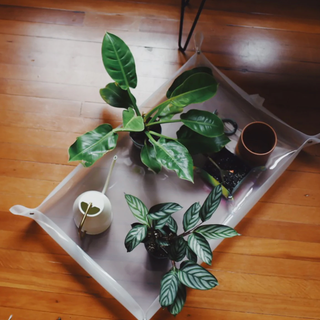
- A potting tarp to keep your space clean. Newspaper will also suffice.
How to Pinpoint When Your Plant Needs to Be Repotted
It’s important to know the type of plant you have and to how to care for it. Knowing this will give you an idea of how often it should be repotted. Here are some general signs that might relate to your succulent, herb or shrub.
- Accumulation of nutrients: If you notice any residue on the soil’s surface, there may be a buildup of minerals and nutrients. This prevents water from penetrating the roots.
- Overgrowth of roots: Take notice if the roots are growing through the drainage holes of your planter. Also check to see if the roots are pushing the plant out of the pot.
- The plant is too big: This is one of the easier signs to catch. If the foliage becomes too thick to the point where your planter is hidden, it’s time to make a change. This also applies if the plant is about to tip over.
- Compacted soil: Soil compaction occurs when the soil particles are pressed together. This prevents water from getting to the roots (and you’ll notice how the liquid just sits on top instead of soaking in.)
Here’s How to Repot Your Plants
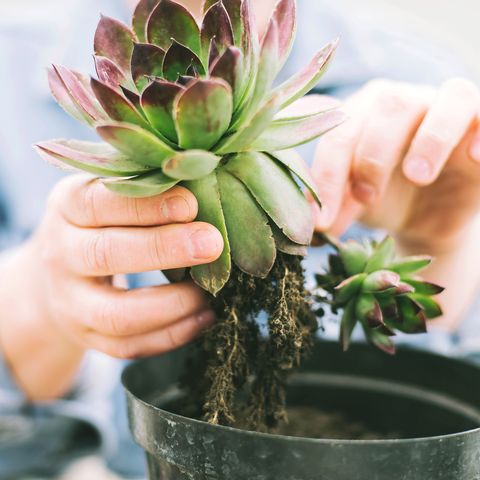
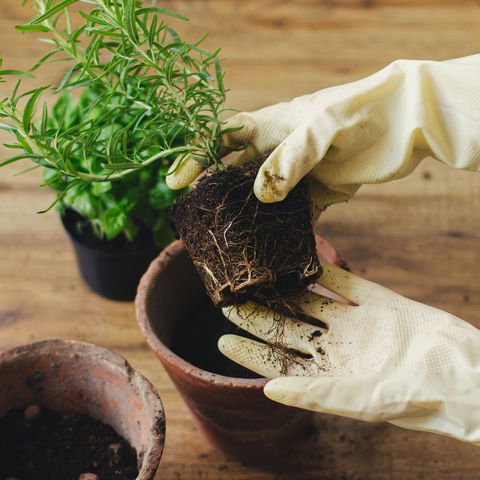
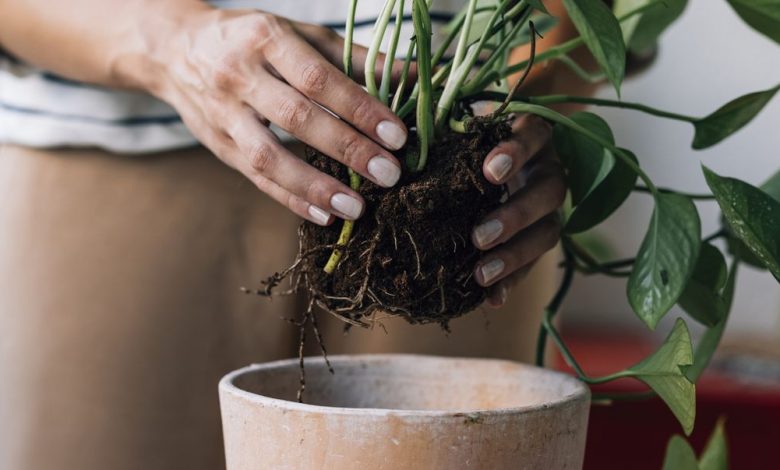
- Remove the plant from its old planter: You have to be gentle during this process. Hold the plant by its leaves or stems and turn it sideways. Tap the bottom of your vessel until the plant slides out. If your greenery is struggling to slide out, gently tug on the base of the stems.
- Loosen the plant’s roots: If any of the roots are long, feel free to prune them, while making sure to leave the thicker ones at the base. Check to see if the roots are growing in circles around the plant’s base before carefully unbinding them for a trim.
- Get rid of old potting mix: As your plant baby grows, it removes the nutrients in its soil. Remove one-third or more of your old potting mix to have space for a fresh layer.
- Add new potting mix: Pour your new potting soil into the planter and pat it down to remove any air pockets. Adding lava rocks to the bottom will help drain the water if your pot doesn’t have drainage holes.
- Add your plant: Now it’s time to place your new or old plant into your pot! Make sure your plant is centered before setting it on top of the new layer of potting mix. Secure your botany with more potting mix around it.
Tip: Don’t add too much soil to your pot, as your roots won’t have space to breathe.
This content is created and maintained by a third party, and imported onto this page to help users provide their email addresses. You may be able to find more information about this and similar content at piano.io
[ad_2]
Source link


