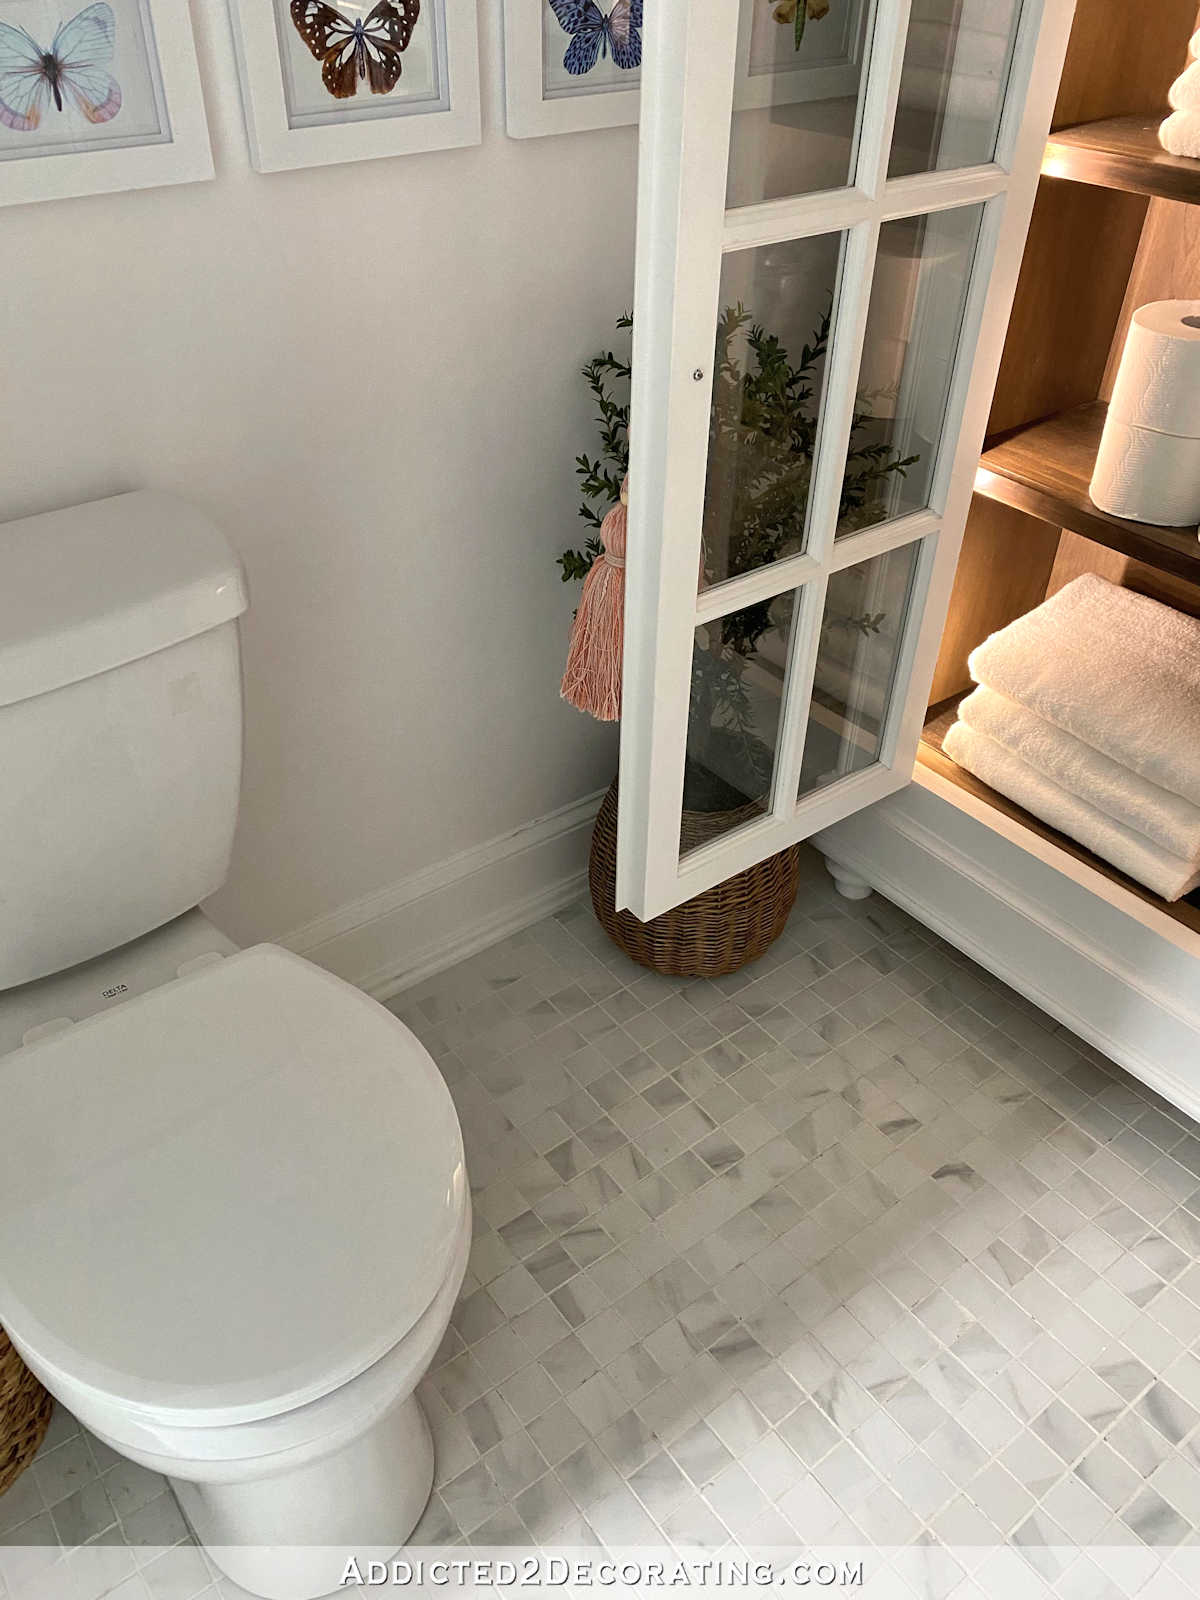
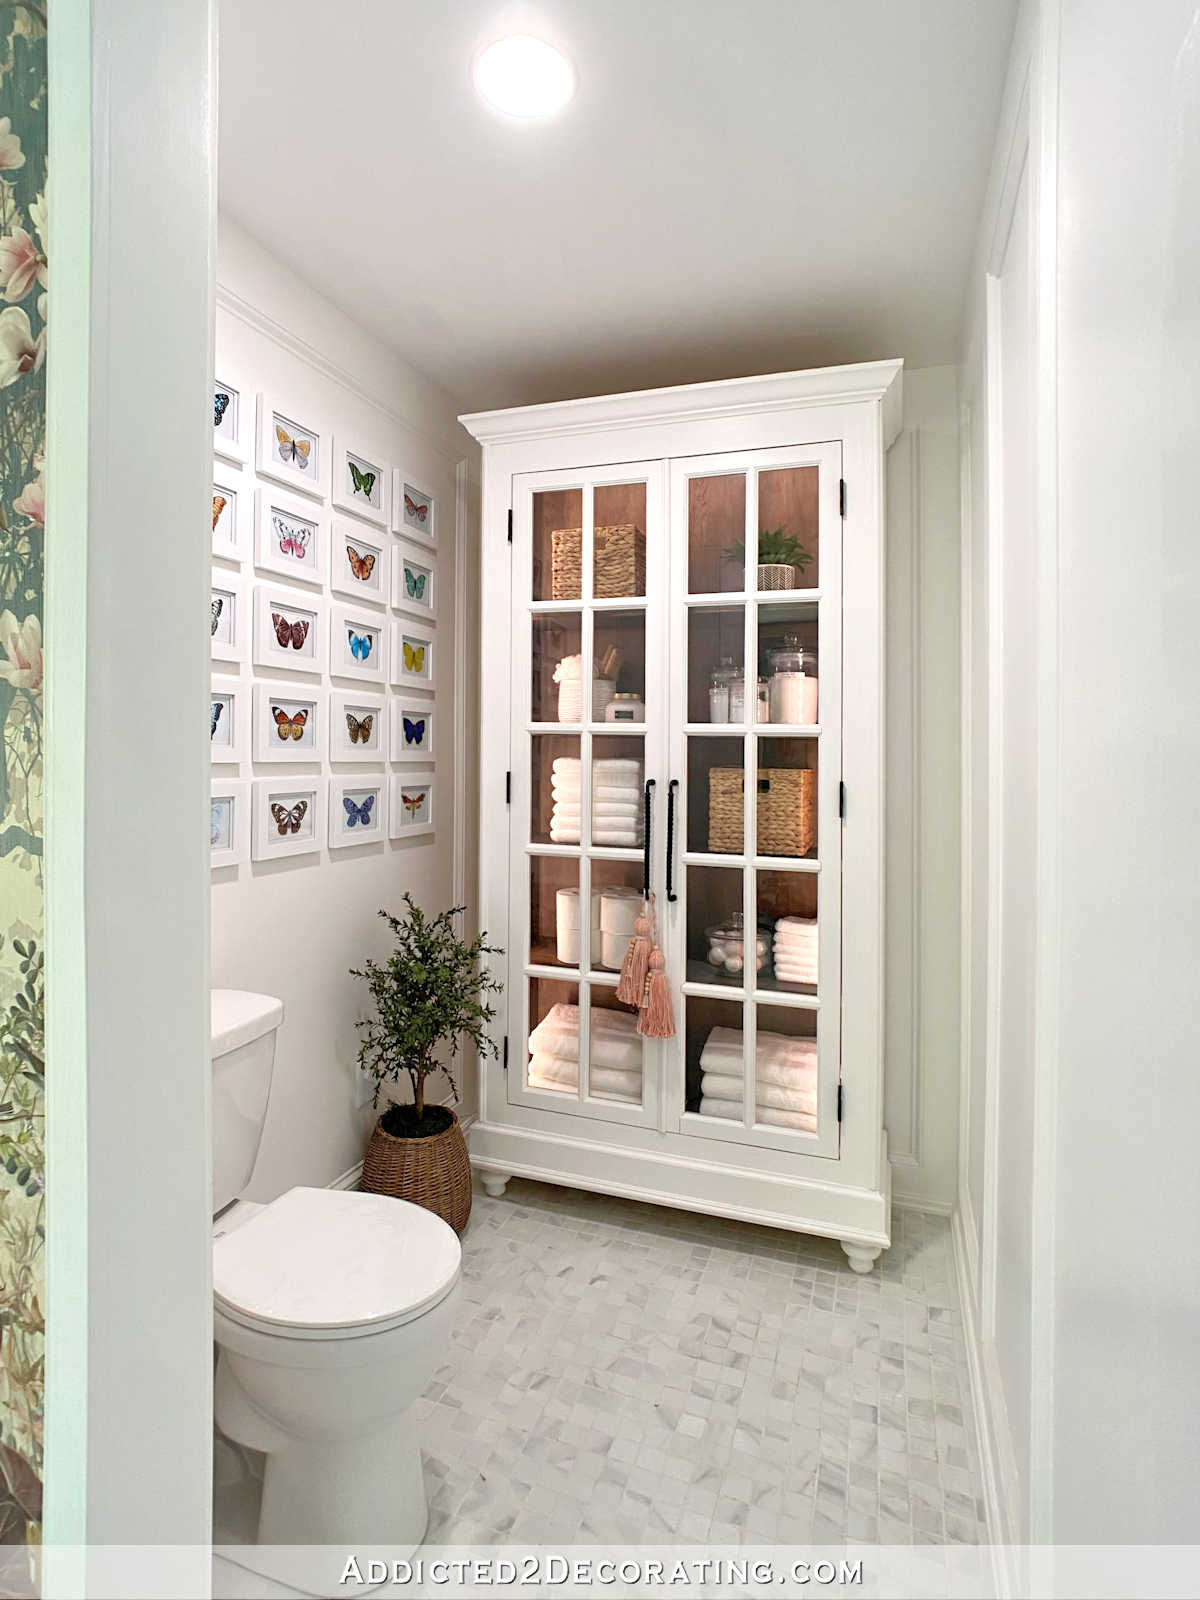
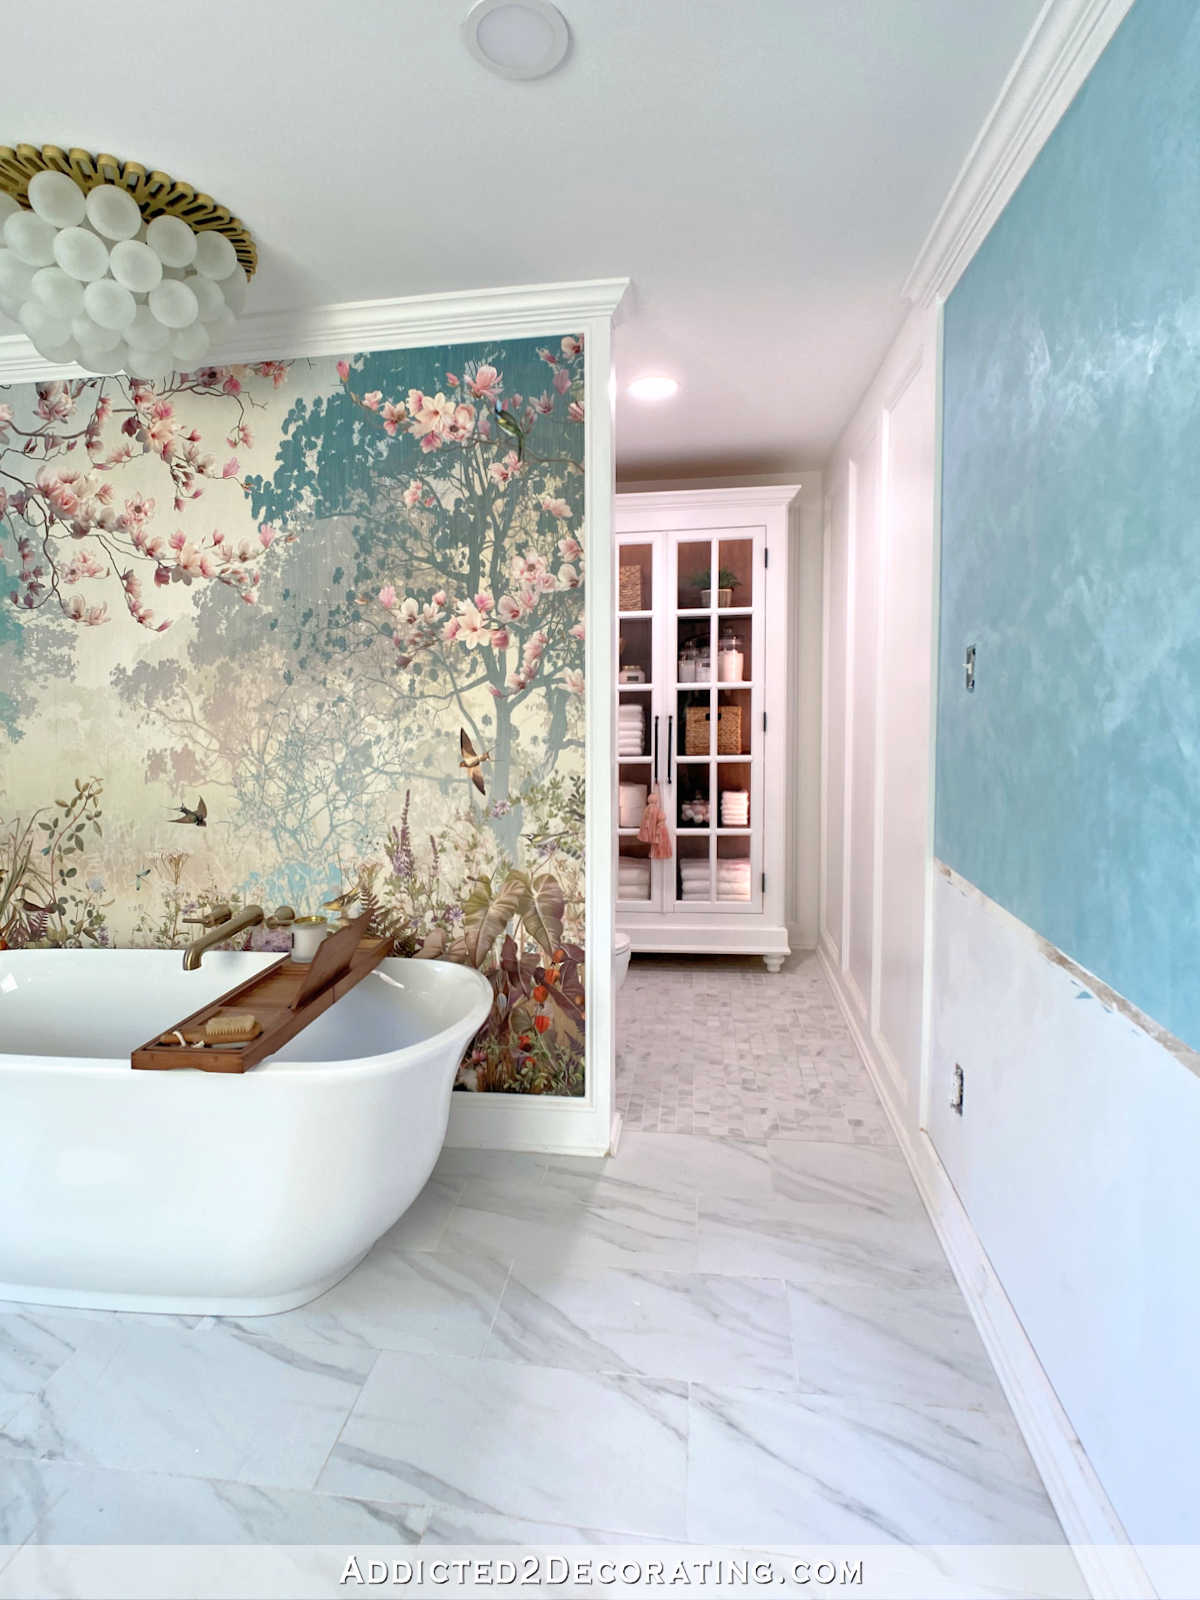
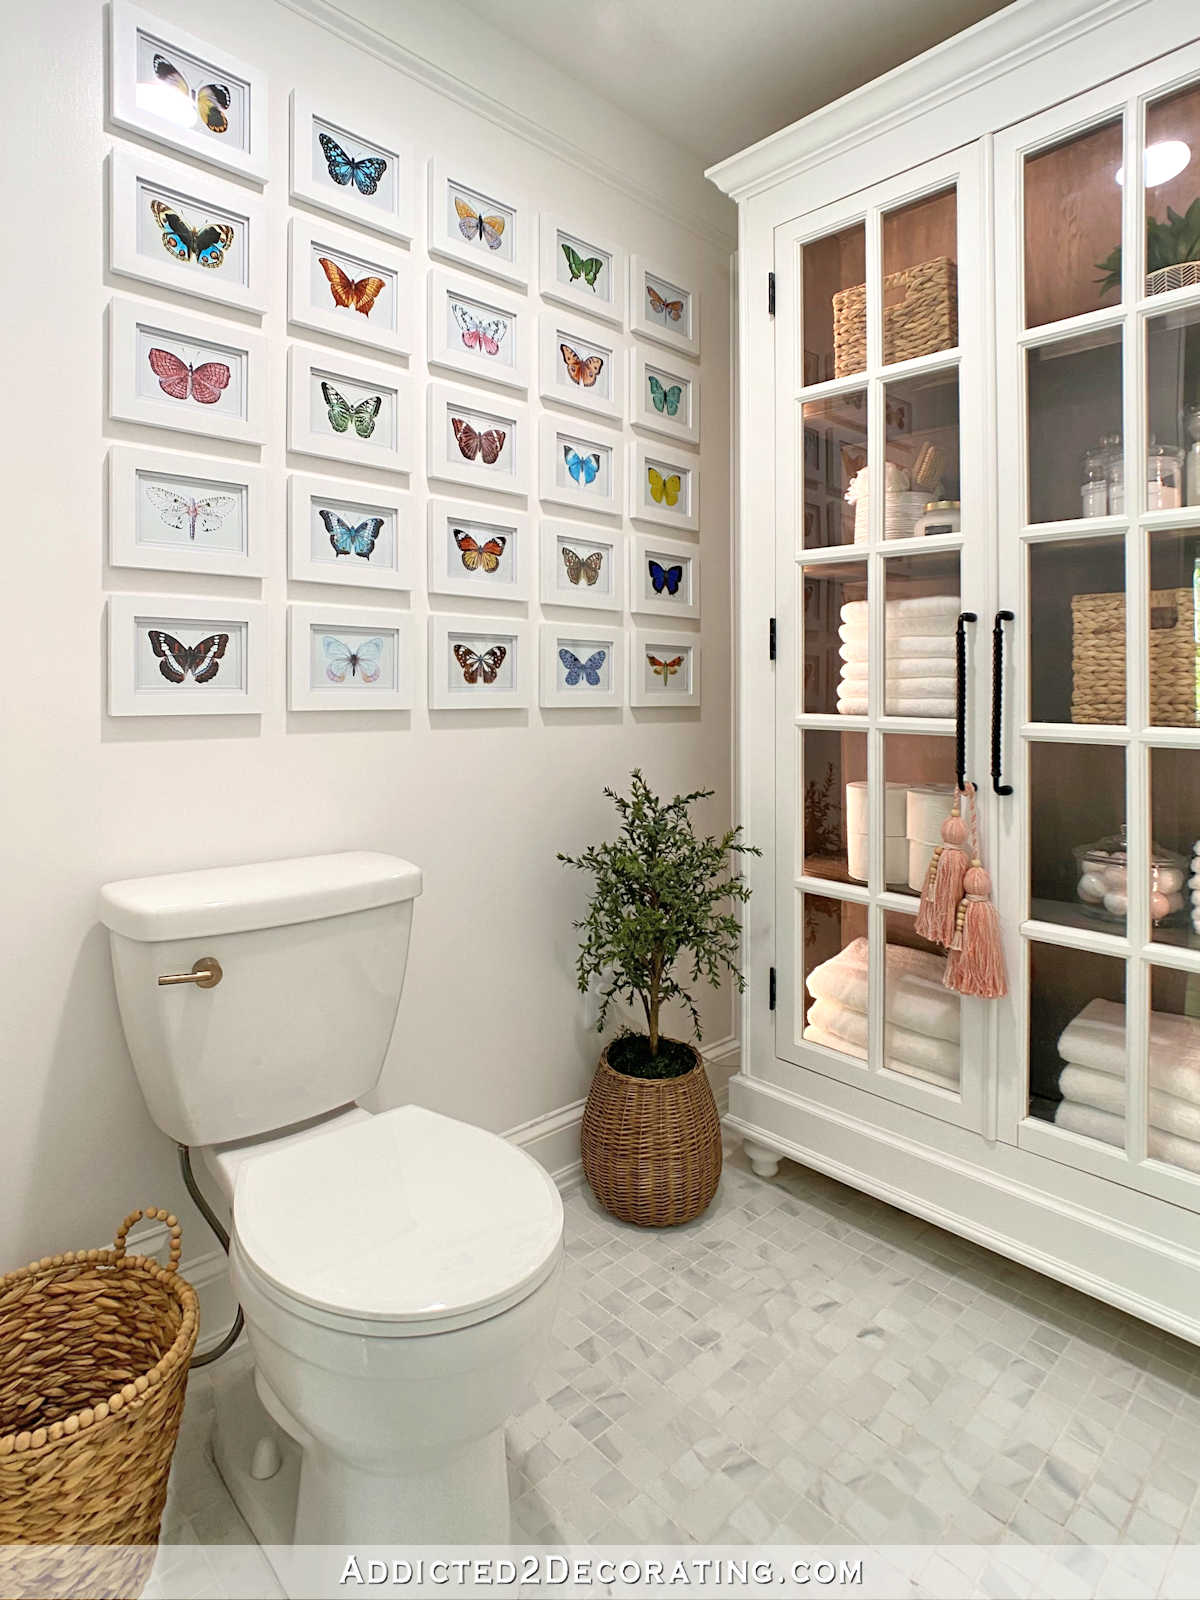
It has been a long road just to get this little area of the master bathroom finished, but it’s finally done. Here’s how the water closet (the toilet area) in the master bathroom turned out…
It’s a small room, so it’s difficult to get a full view even with my wide angle lens. But this is much larger than the standard water closet in American homes, which you can see by the fact that there’s room enough for a rather large freestanding storage cabinet in there, and with room to spare.
*This post contains affiliate links.
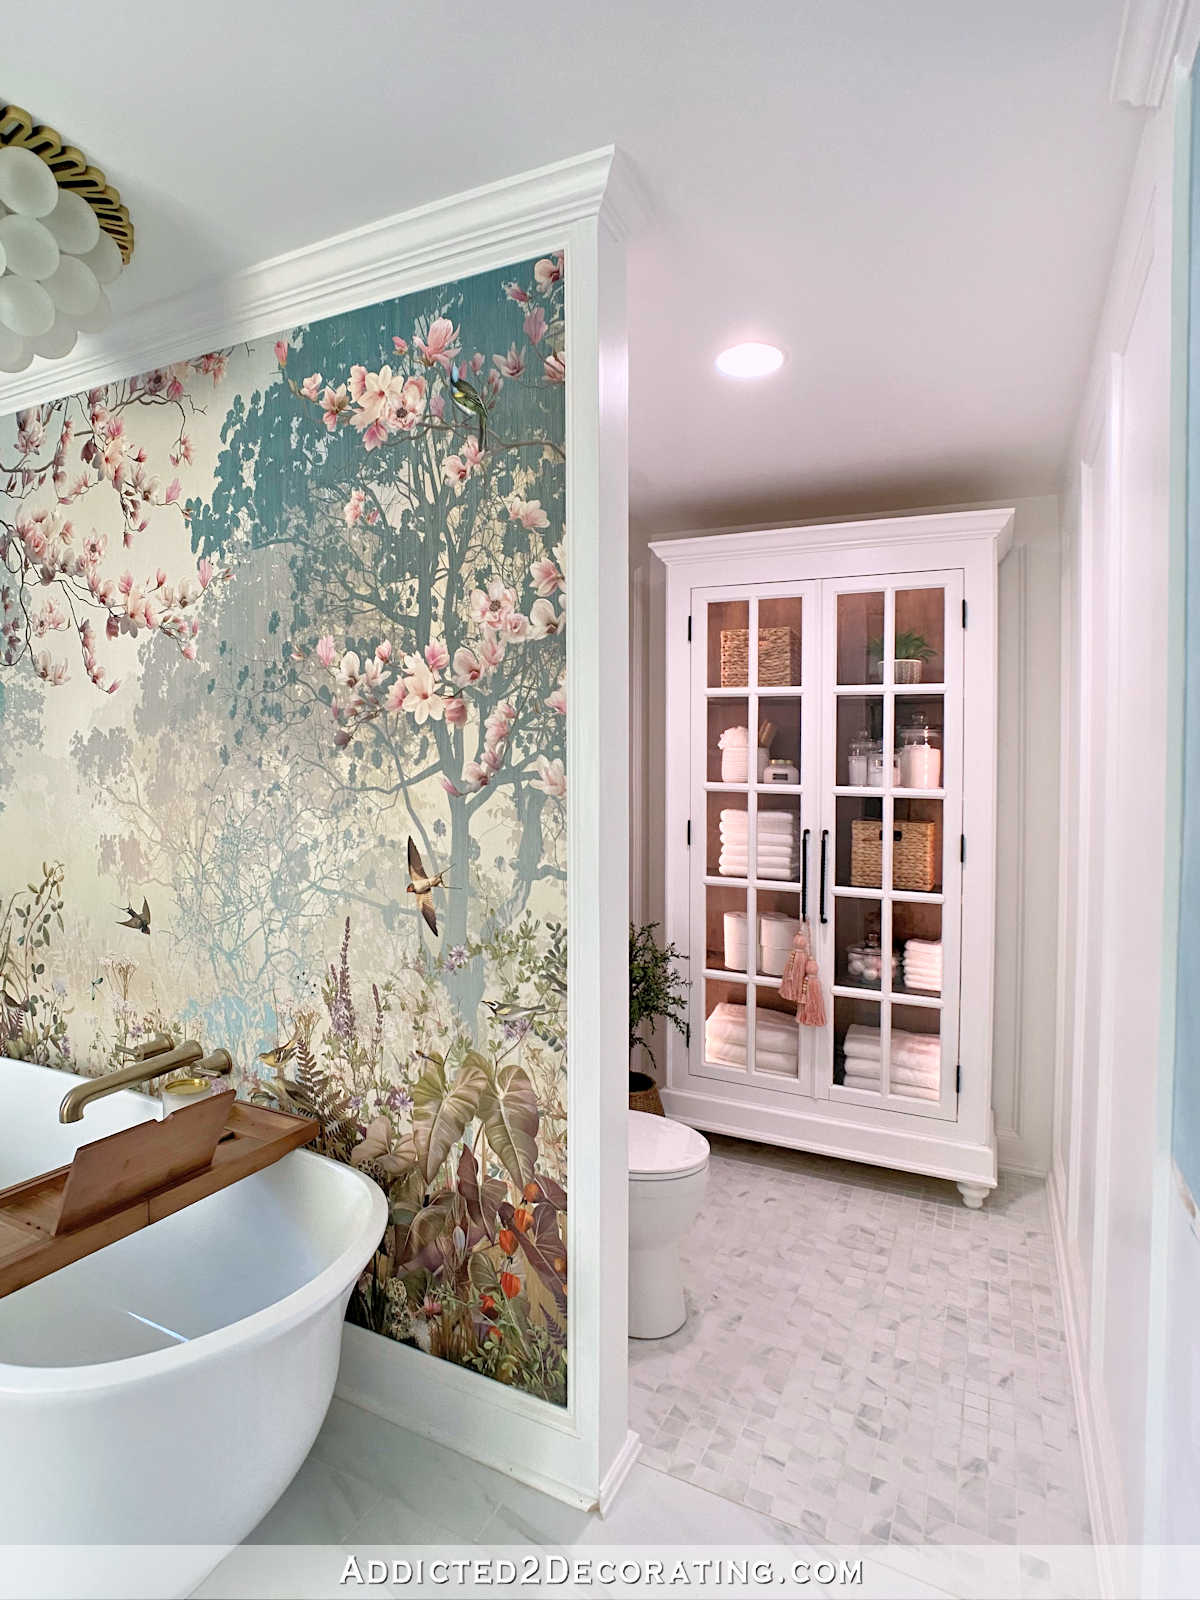
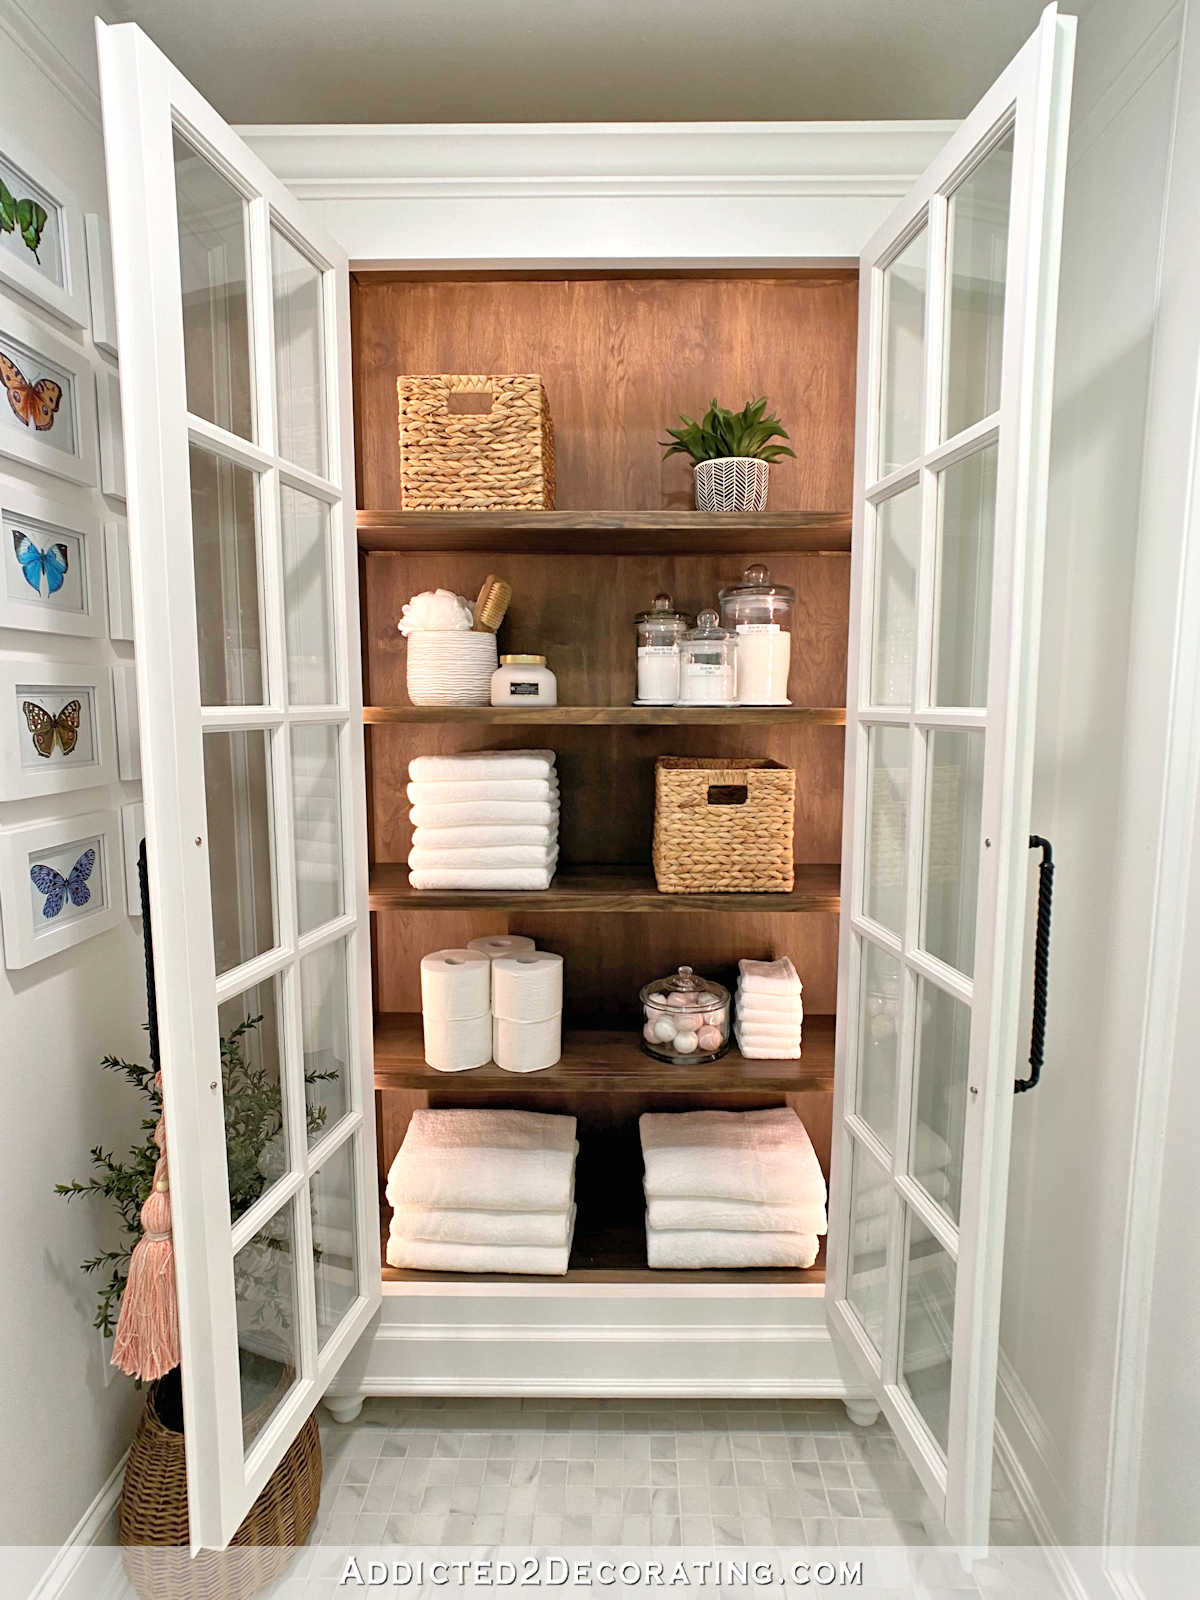
As you can see, even with the door of the cabinet open, there’s still plenty of room…
So I’m going to back up just a little bit and tell you about the lights that I installed inside the storage cabinet. This is a cabinet that I built using some leftover French doors that I took off of our walk-in pantry. If you missed the storage cabinet project, you can see those posts here:
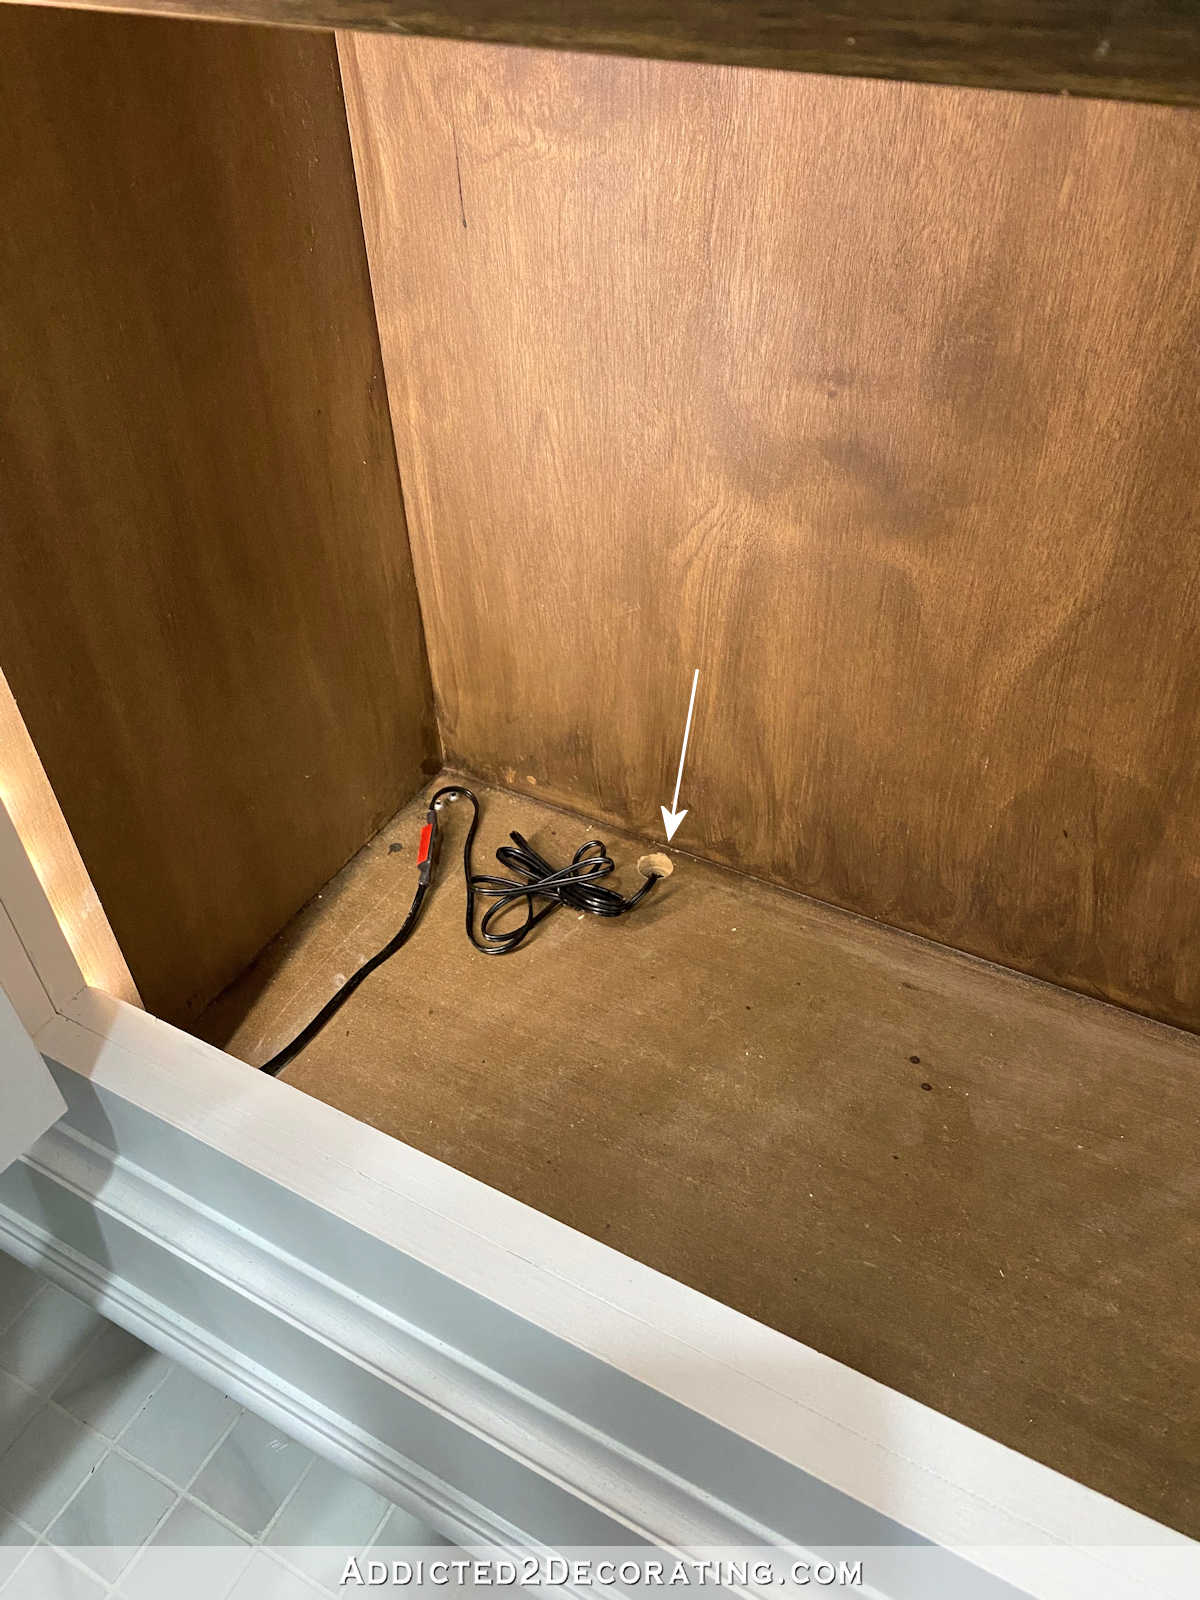
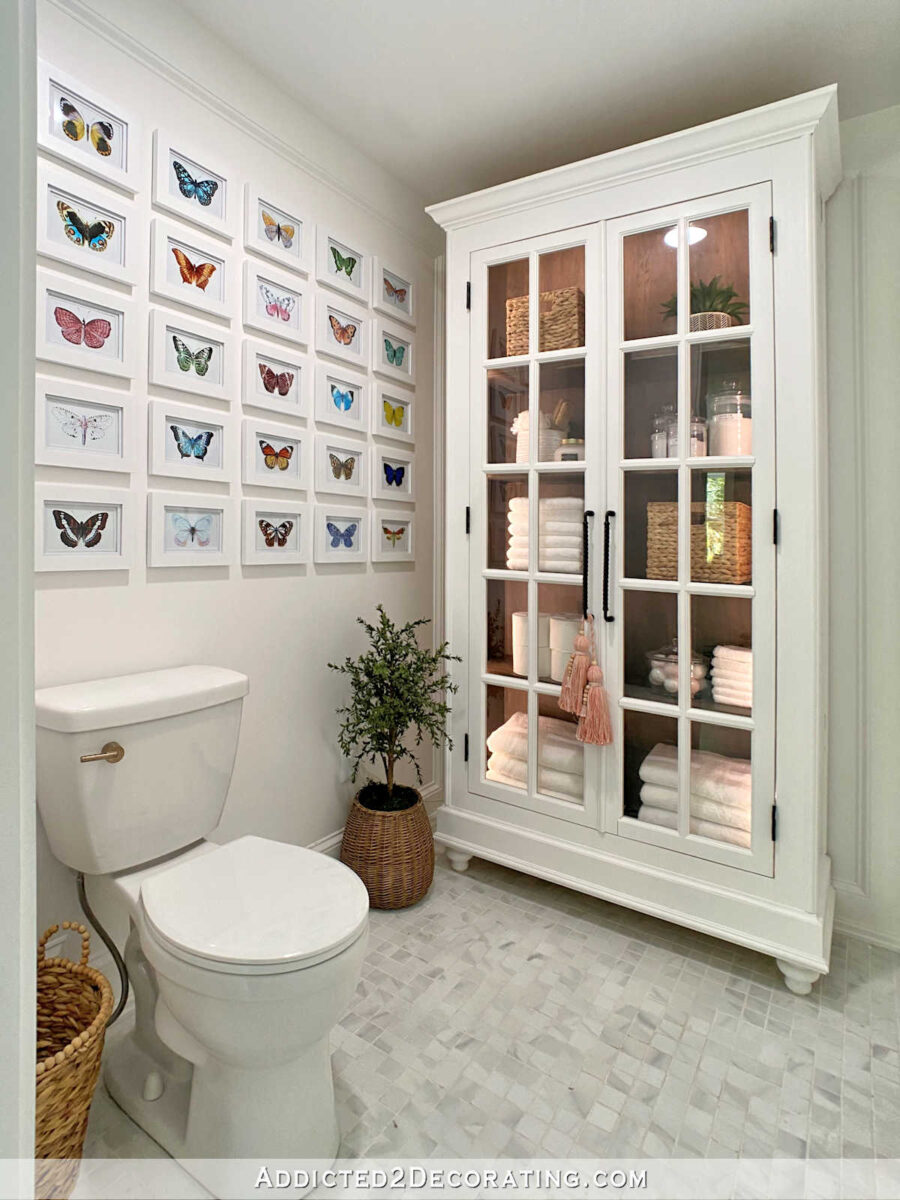
Once the cabinet was finished, I decided that I wanted some lights inside, not only so that the pretty stained wood inside the cabinet could be seen, but also to serve as a nightlight during the night, just like the lights inside the open shelves in the hallway bathroom.
To light the cabinet, I used 24-foot LED tape lights from Home Depot. I drilled a 3/4-inch hole in the bottom of the cabinet, and fed the cord of the light through. Cords on tape lights usually unscrew or unplug from the actual plug that plugs into the wall so that they can be fed through holes in cabinets.
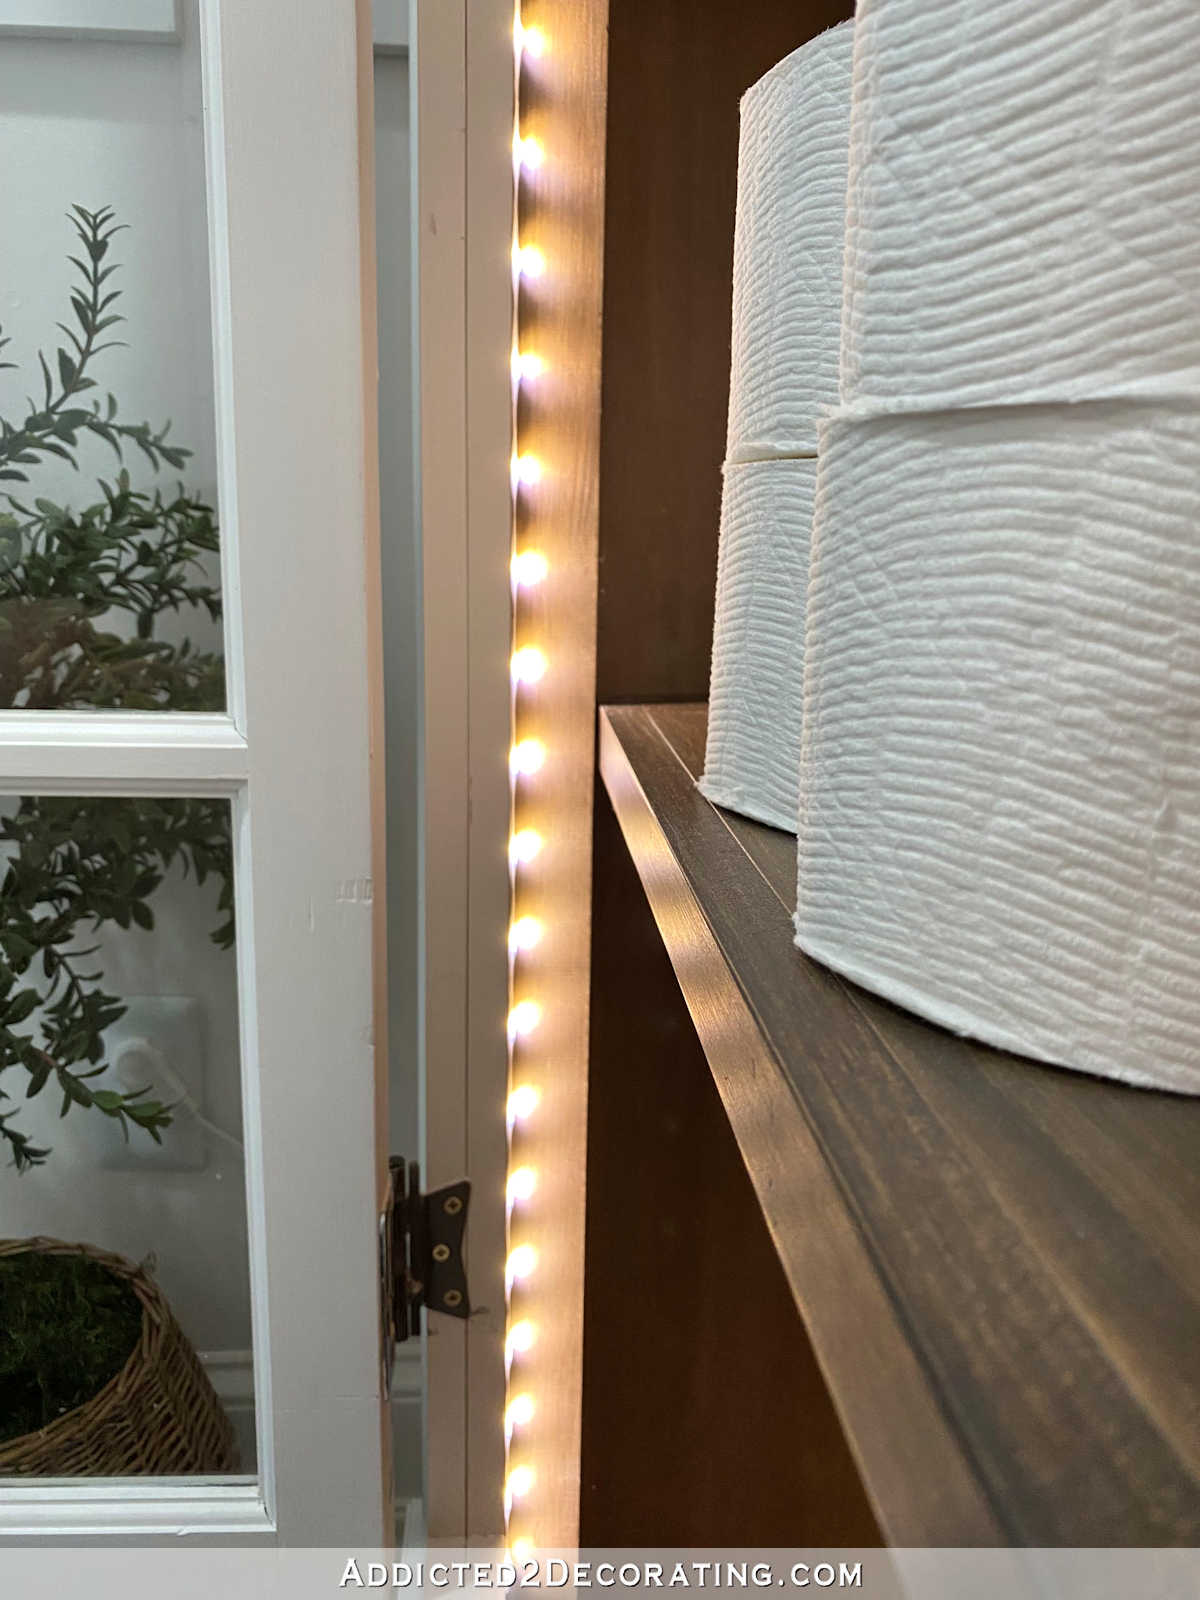
Once I had the cord fed through the bottom of the cabinet, I then removed the plastic from the sticky tape backing on the tape lights, and stuck them to the back side of the face frame of the cabinet. I started on the bottom left…
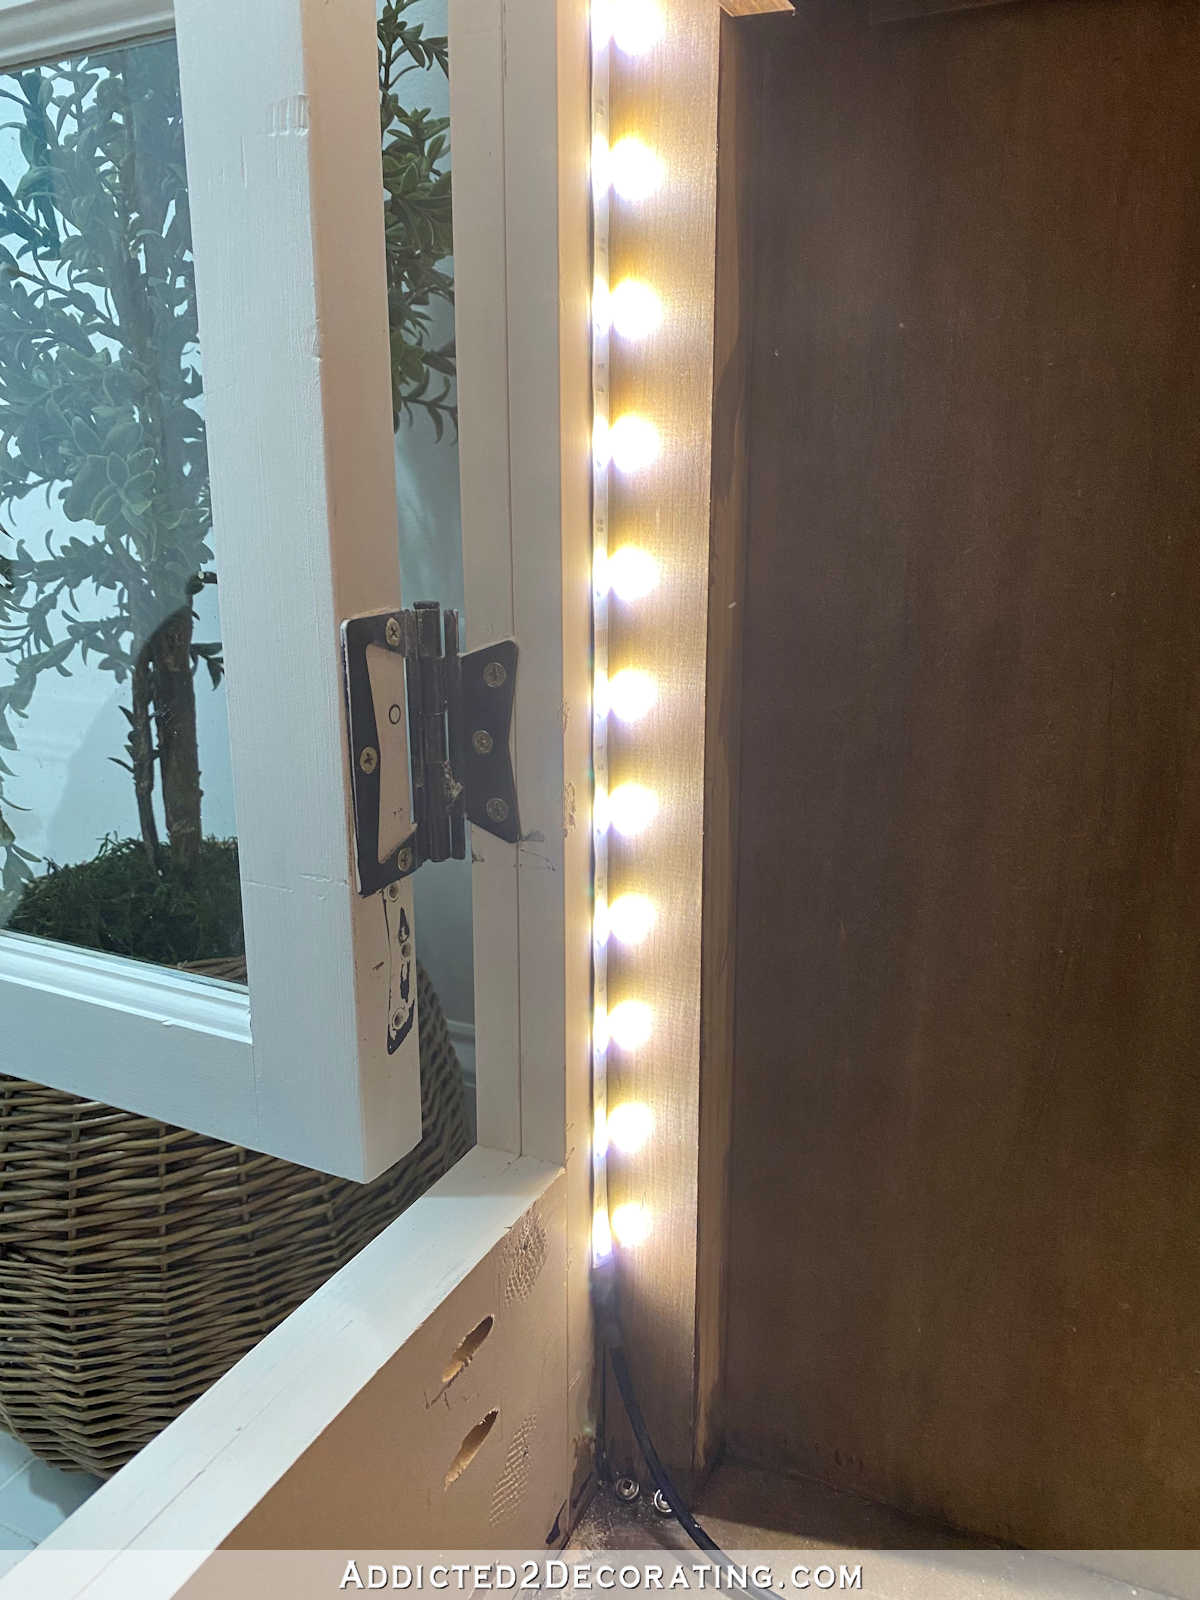
And I ran the tape lights all the way up the left side…
And then across the top, and all the way down the right side.
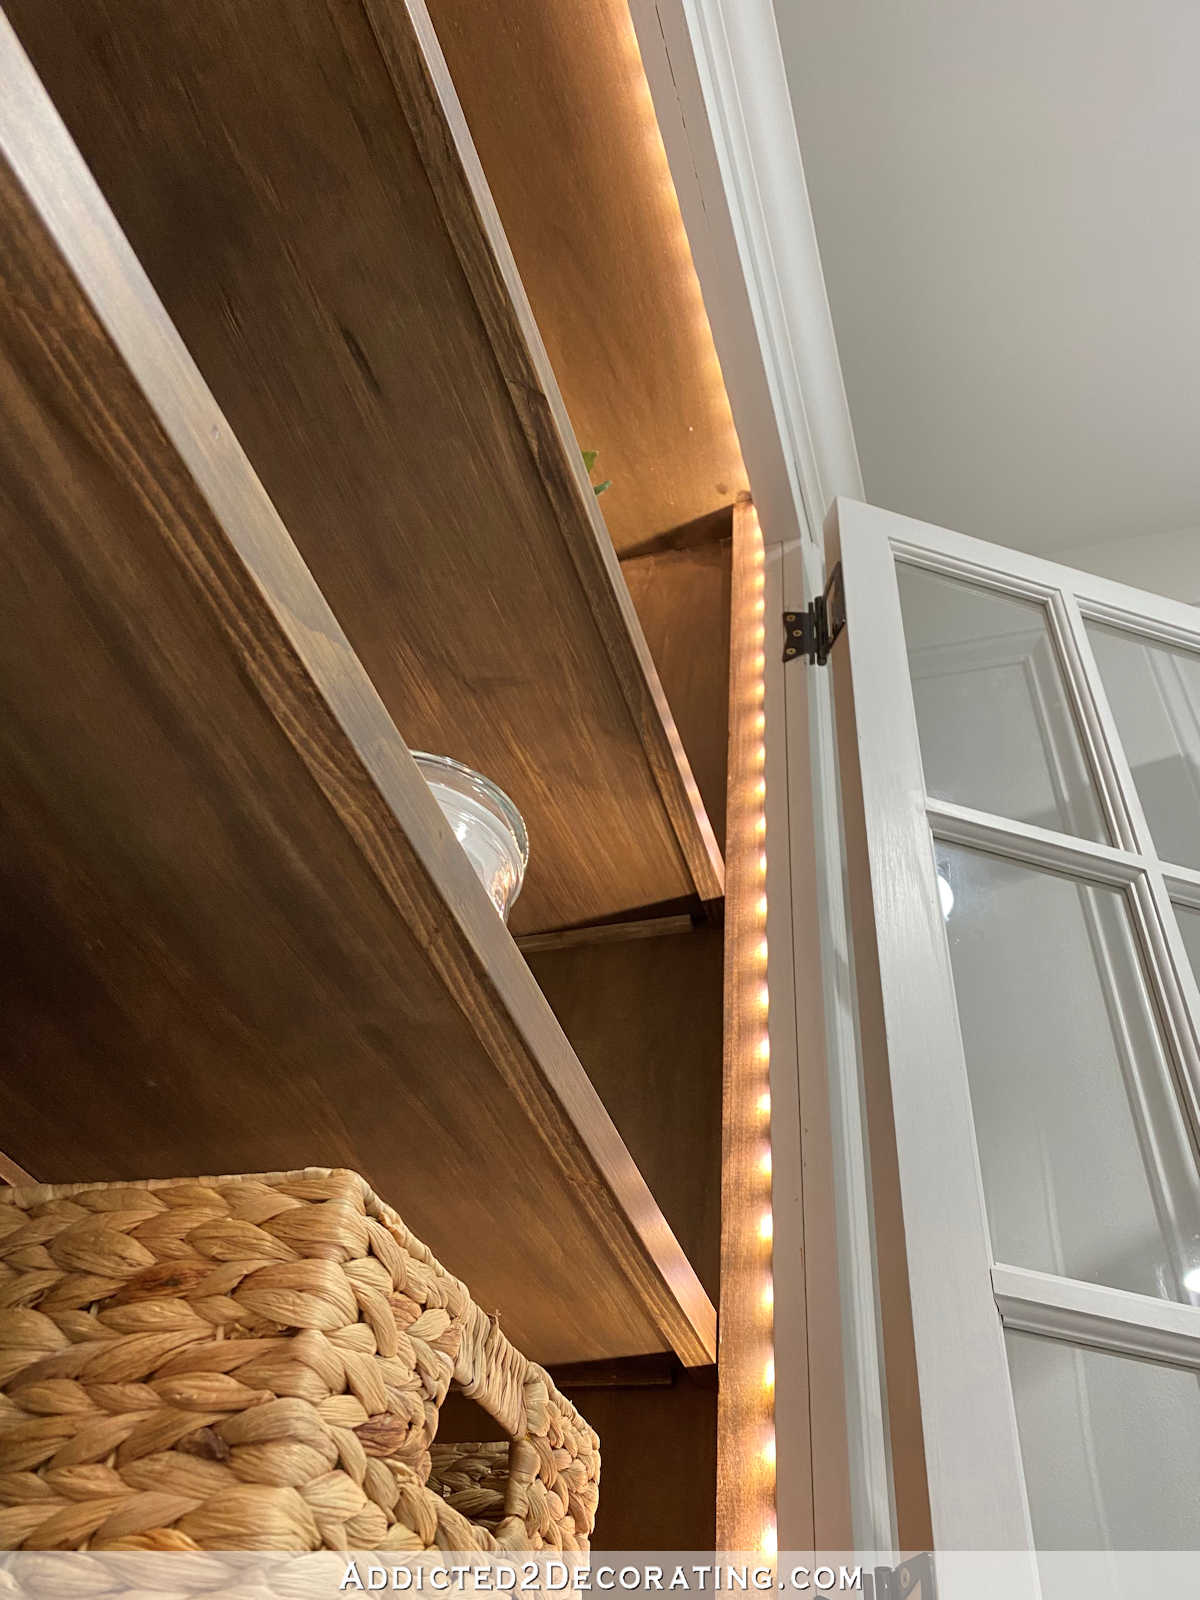
If the tape light strip is too long, there are certain places on the strip (about every 10 inches or so) where you can cut them. So they won’t always be the perfect length since you can only cut them at those specific places, but at least you won’t be stuck with several feet of excess lights.
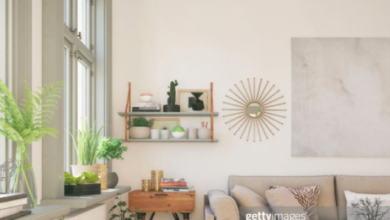
Then I used a short white extension cord (since my walls are white), plugged that into the wall, hid it a bit with a plant, and then ran that extension cord under the cabinet and plugged the light into it.
The tape lights come with a remote. They are dimmable, and these will actually change colors. But since I’m using them as a nightlight as well, these lights will just stay on all the time. I keep the lights in the hallway closet open shelves on 24/7.
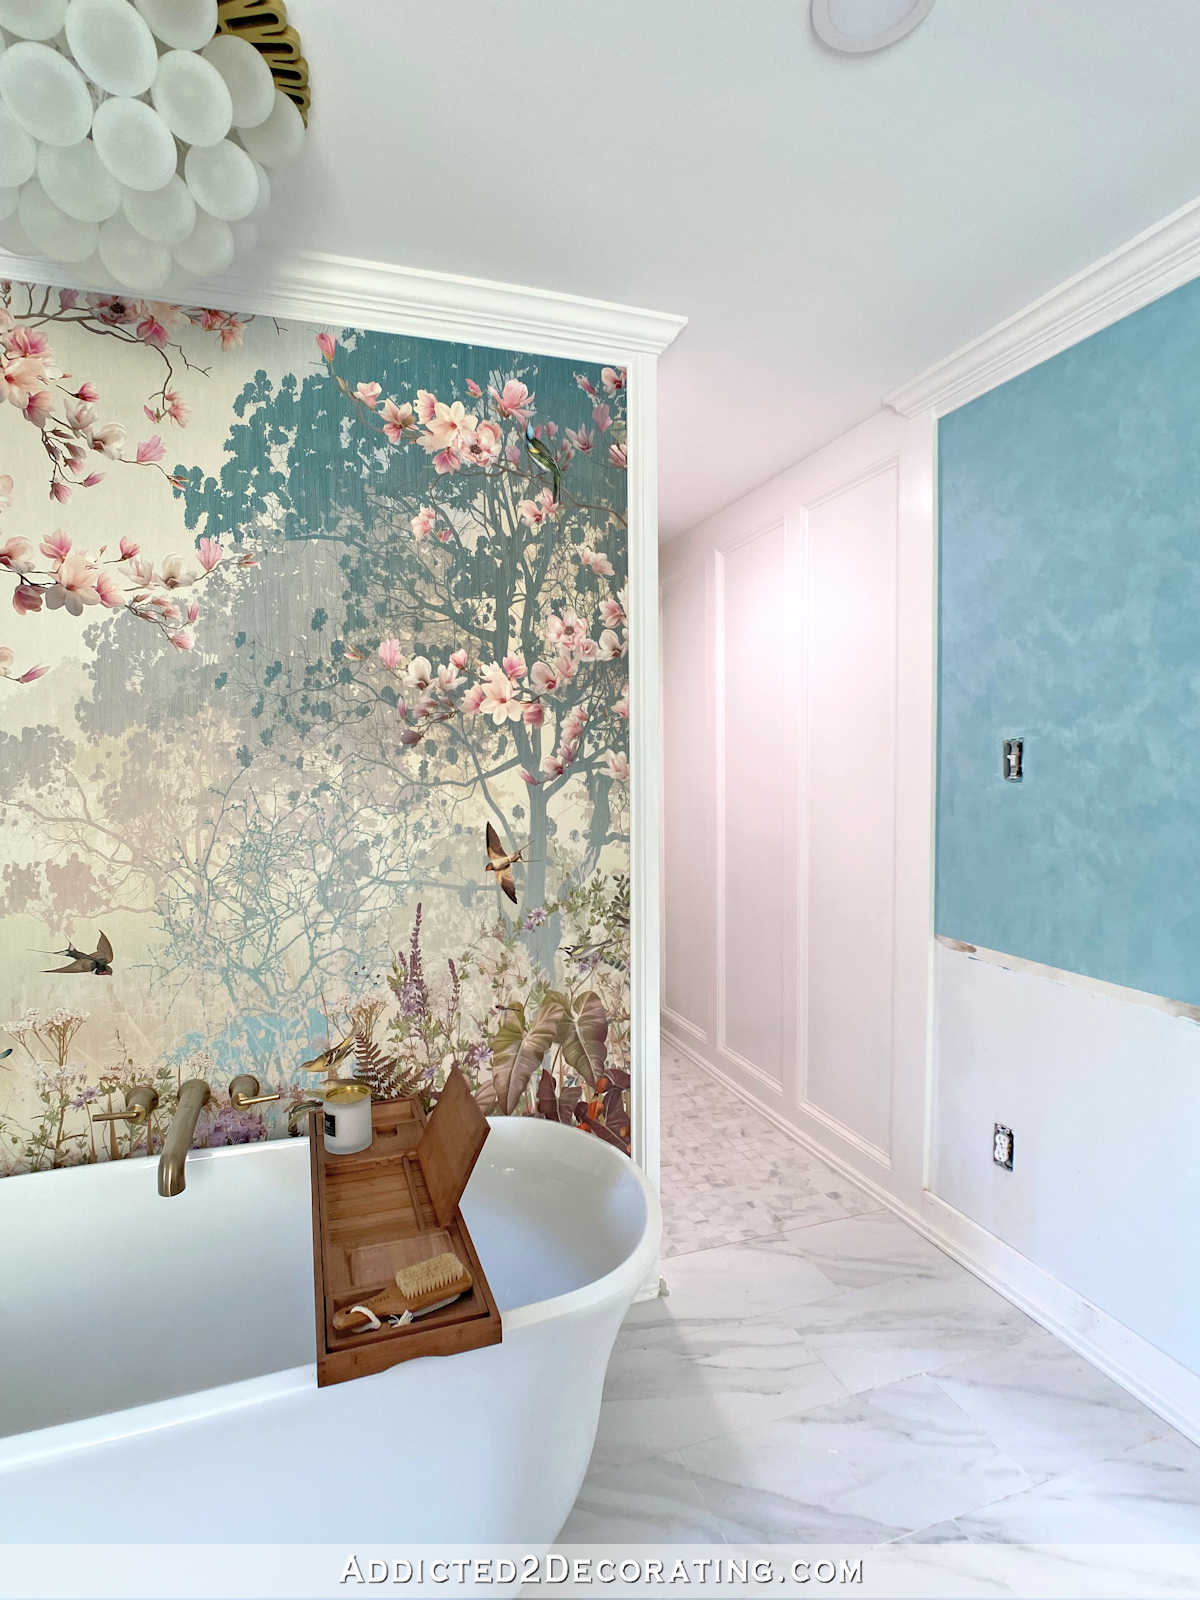
So now let’s take a quick look back at this area of the room. Keep in mind that this room was originally the master bedroom, and this area of the room that is now the water closet is where the doorway from the bedroom into the hallway used to be.

And then we moved that whole wall back into the hallway, making the hallway smaller (thank goodness we had plenty of room to spare in the hallway) to square up that wall with the back wall of the walk-in closet, which is behind the closed door on the left in the picture above.
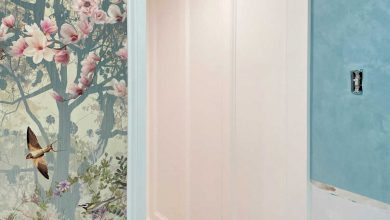
Once that whole back wall was squared off, and the doorway was closed up, and the wall separating the closet from the bedroom was gone (and a whole lot of other framing and other things were done), the new mural wall could be built, and the area behind that wall was separated into the shower on one side, and the water closet on the other.
So this view below is pretty much the same view as the one above.
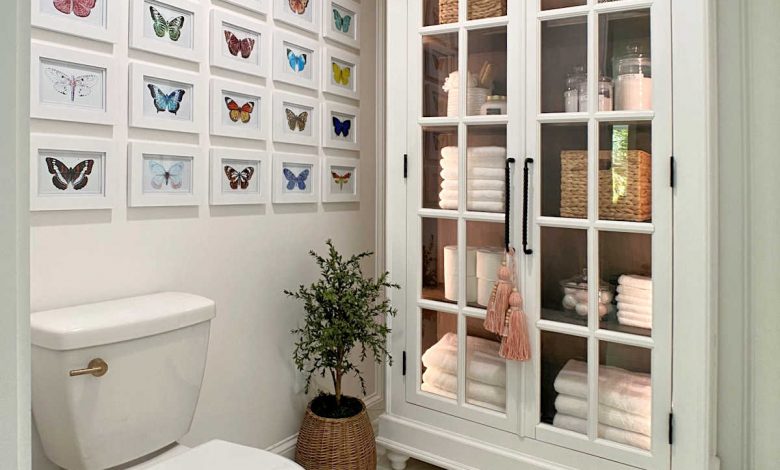
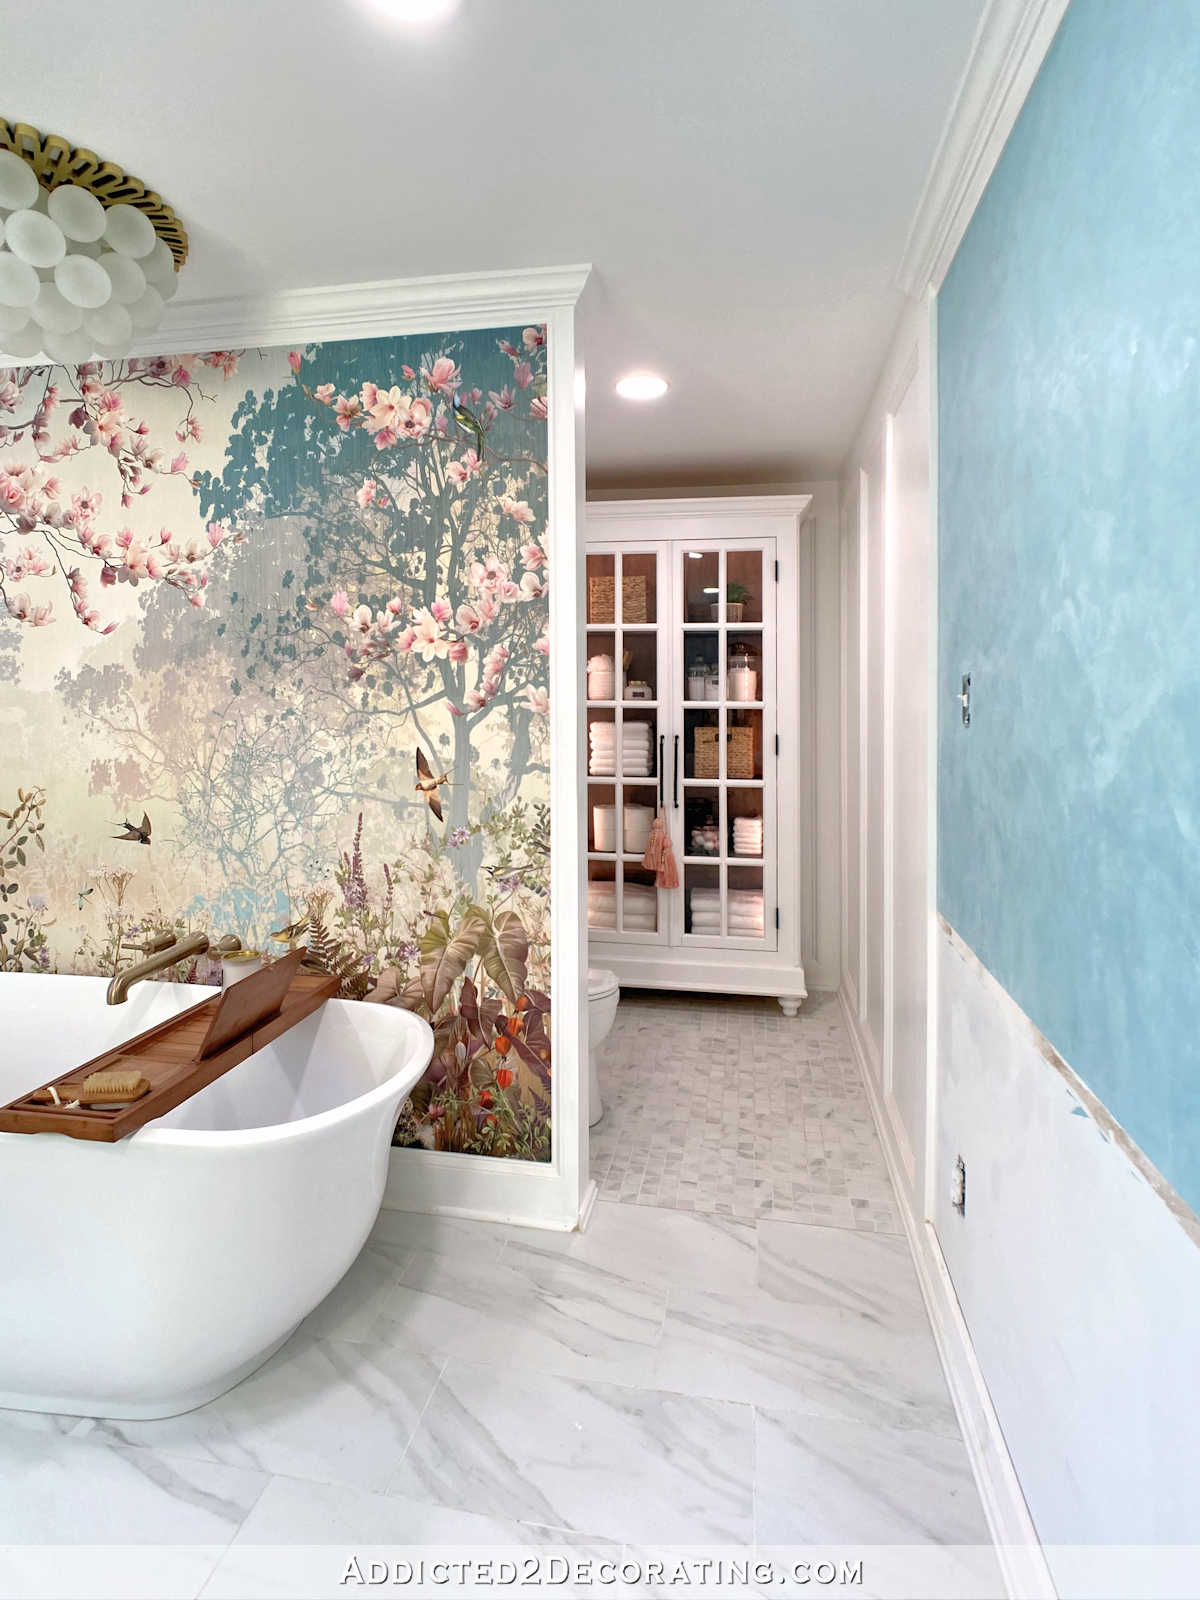
But now, it’s a useful space that not only has the toilet, but also has a large and pretty storage cabinet where we can keep all kinds of bathroomy things. Here’s the view from where my vanity will go…
Which is not much different from the view from the doorway between the bathroom and the home gym…
So you really have to peek around the corner to see the wall of butterflies. It’s a happy and colorful little surprise once you enter into this little room.

I’m not really a fan of toilets with round bowls, but I didn’t have much of a choice in this situation. I searched high and low for a toilet with an elongated bowl that would fit behind this wall and not stick out further than the wall. I did find one. It was a wall hugging one-piece skirted toilet. But when it was installed, not only did it not flush properly, but it was so small it looked like a child’s toilet.
So in order to get one that didn’t look like a child’s toilet, but that would also not stick out past the wall, I had to get a round bowl. It’s not my favorite, but interestingly, it bothers me way less than I thought it would. At least this one is a Delta, so not only does it work properly, but I was also able to purchase the little handle that matches the rest of the plumbing fixtures for the bathroom, since all of those are Delta as well.
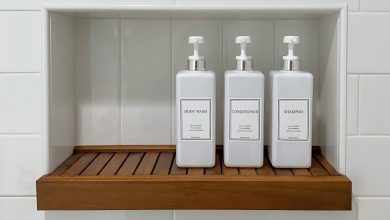
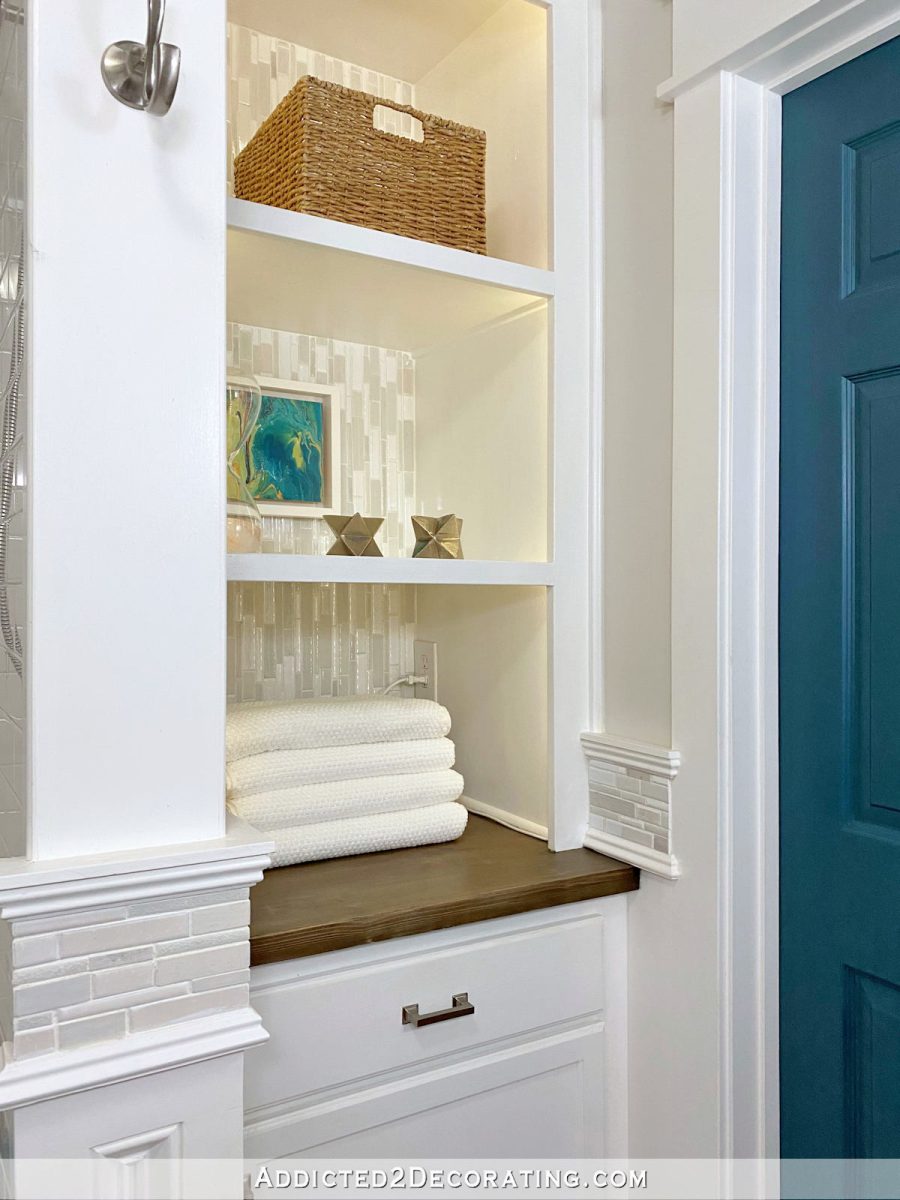
I filled the cabinet with our bath towels, hand towels, washcloths, toilet paper, bath bombs, Epsom salts (three different kinds stores in pretty little glass containers with labels), etc.
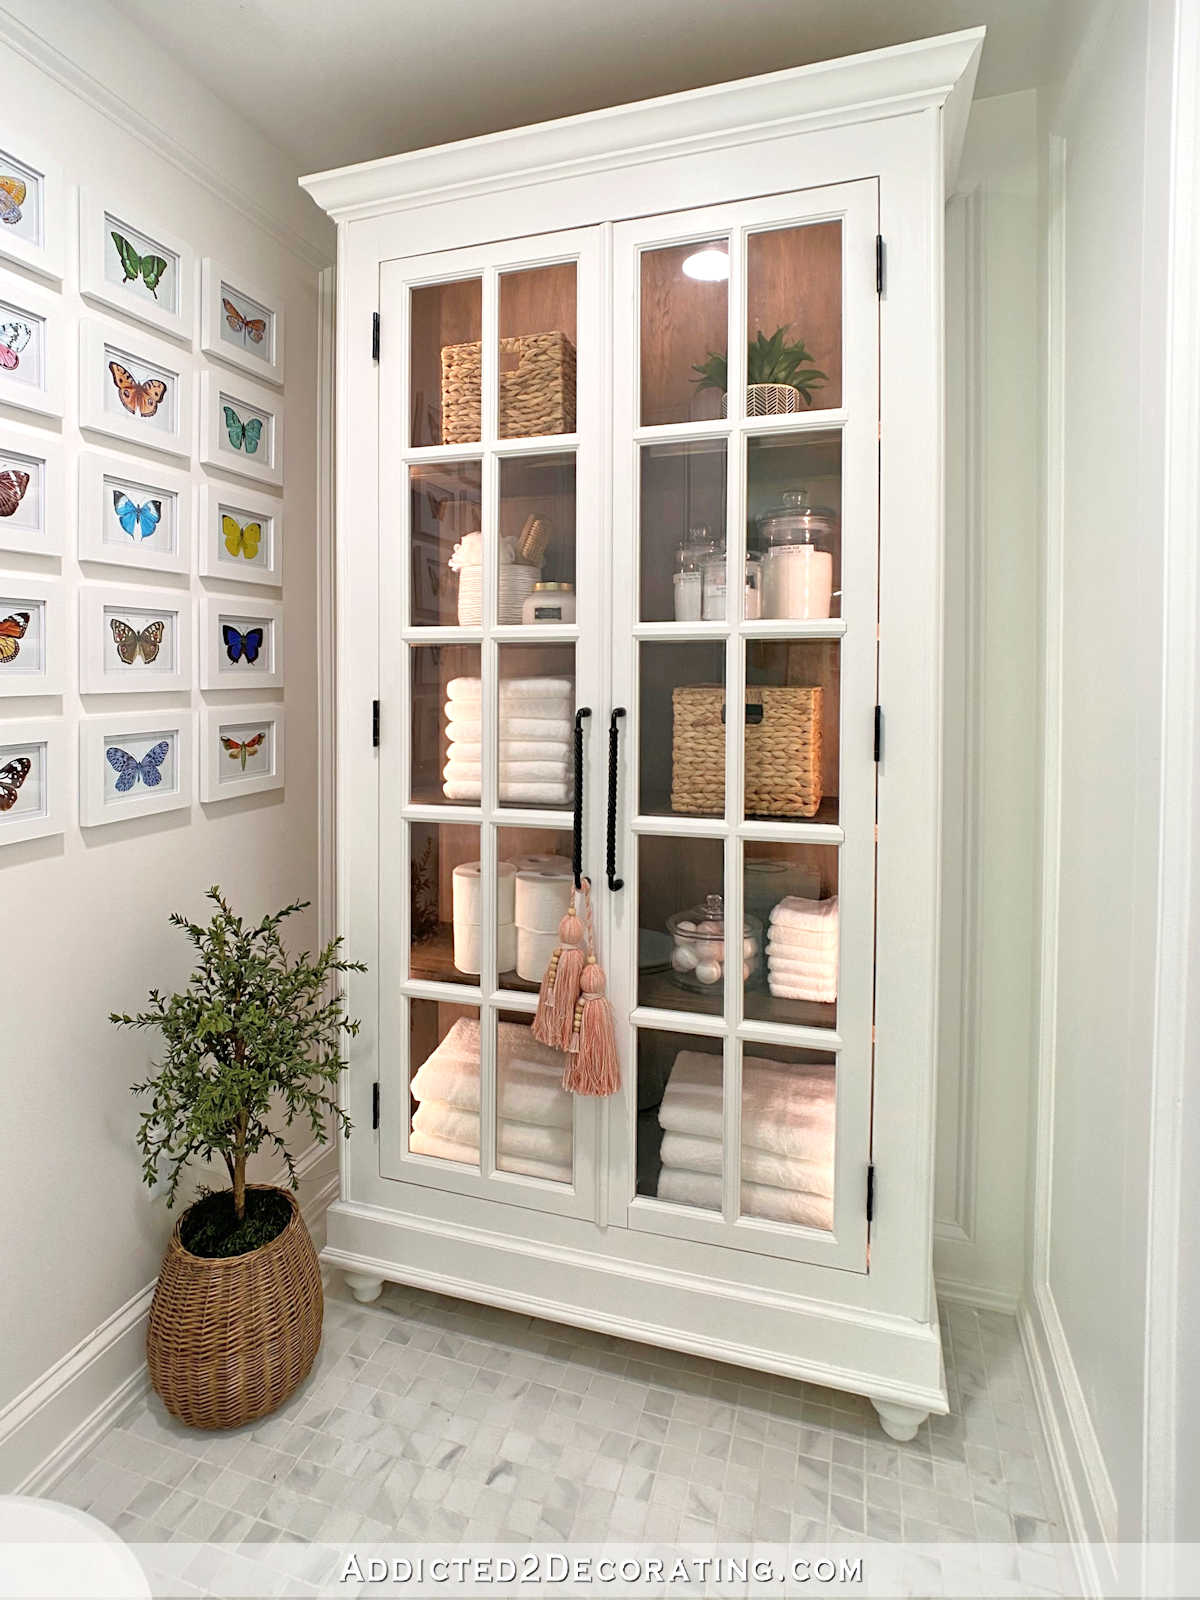
Here’s a closer view of the storage cabinet items. I love Epsom salt, and I found a new one that is a melatonin sleep formula. So I have that one, plus the coconut oil kind, and then the plain Epsom salt.
So that’s it! This area is now done, and the next thing is the main wall of walnut vanities and storage cabinet! YIKES!!

Addicted 2 Decorating is where I share my DIY and decorating journey as I remodel and decorate the 1948 fixer upper that my husband, Matt, and I bought in 2013. Matt has M.S. and is unable to do physical work, so I do the majority of the work on the house by myself. You can learn more about me here.
I hope you’ll join me on my DIY and decorating journey! If you want to follow my projects and progress, you can subscribe below and have each new post delivered to your email inbox. That way you’ll never miss a thing!
Source link